It's been a few days since the curtains fell on the 2017 Bay Area Maker Faire and I'm just about fully recovered. After missing last year, I had an absolute blast going back and showing off a small selection of my prop and costume replicas for faire goers. I'm still sifting through the hundreds of photos I snapped and looking forward to getting quite a few more from the folks I had on hand to help with the display, but I figured it was worth sharing some of what I've got.
For starters, you couldn't have asked for nicer weather over the weekend. I was running on little or no sleep for the days leading up to the event. But even my thoroughly sleep deprived eyes couldn't help but appreciate the scene as I emerged from the Robin Williams Tunnel on the way to the Golden Gate Bridge: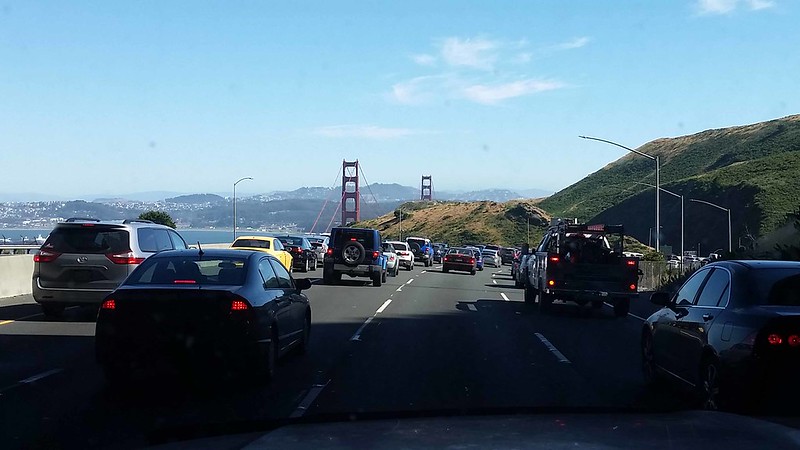
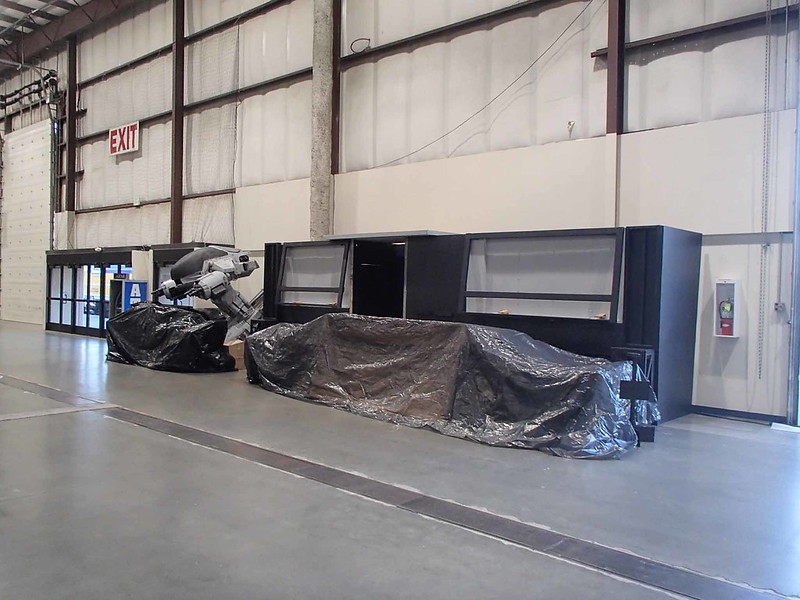
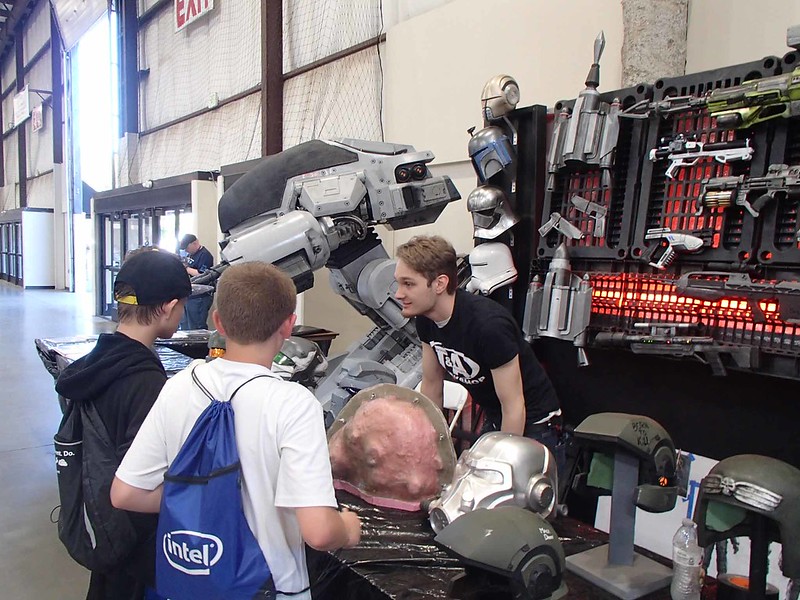
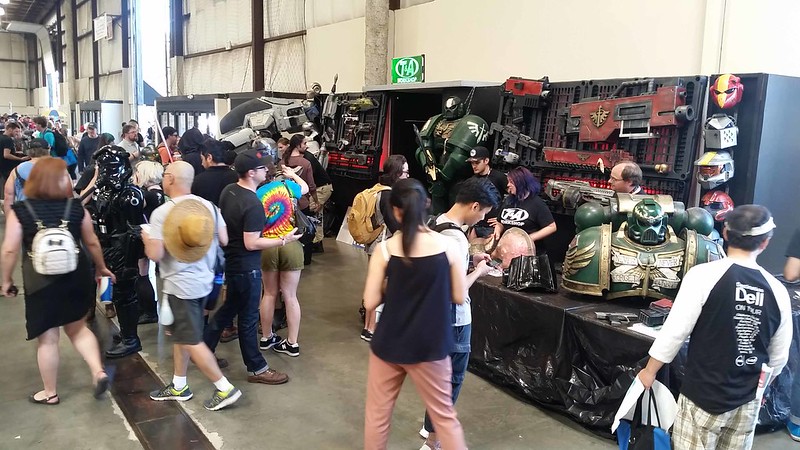
My friend Matt had arrived just a little earlier than me and set up ED-209, so once my truckload was on site it was pretty quick work to set up the display booth:
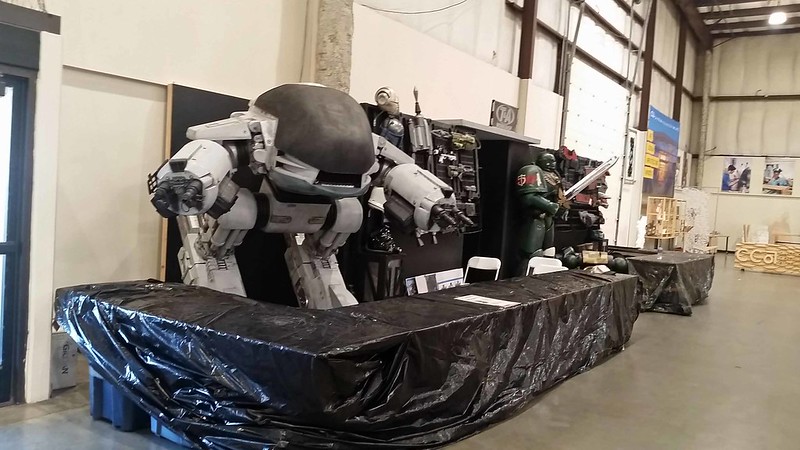
After hanging up a few prop weapons and rigging up a set of Space Marine armor for display, our work was done:
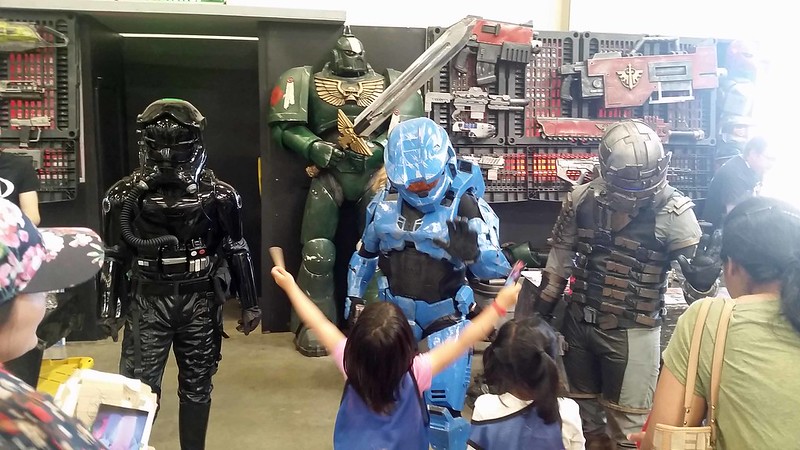
Friday afternoon the Faire opened up for school groups and special invitations. I had a few characters in costume. Always a hit with the kids:
Meanwhile, my friend Freddy fielded prop and costume making questions from the crowd:
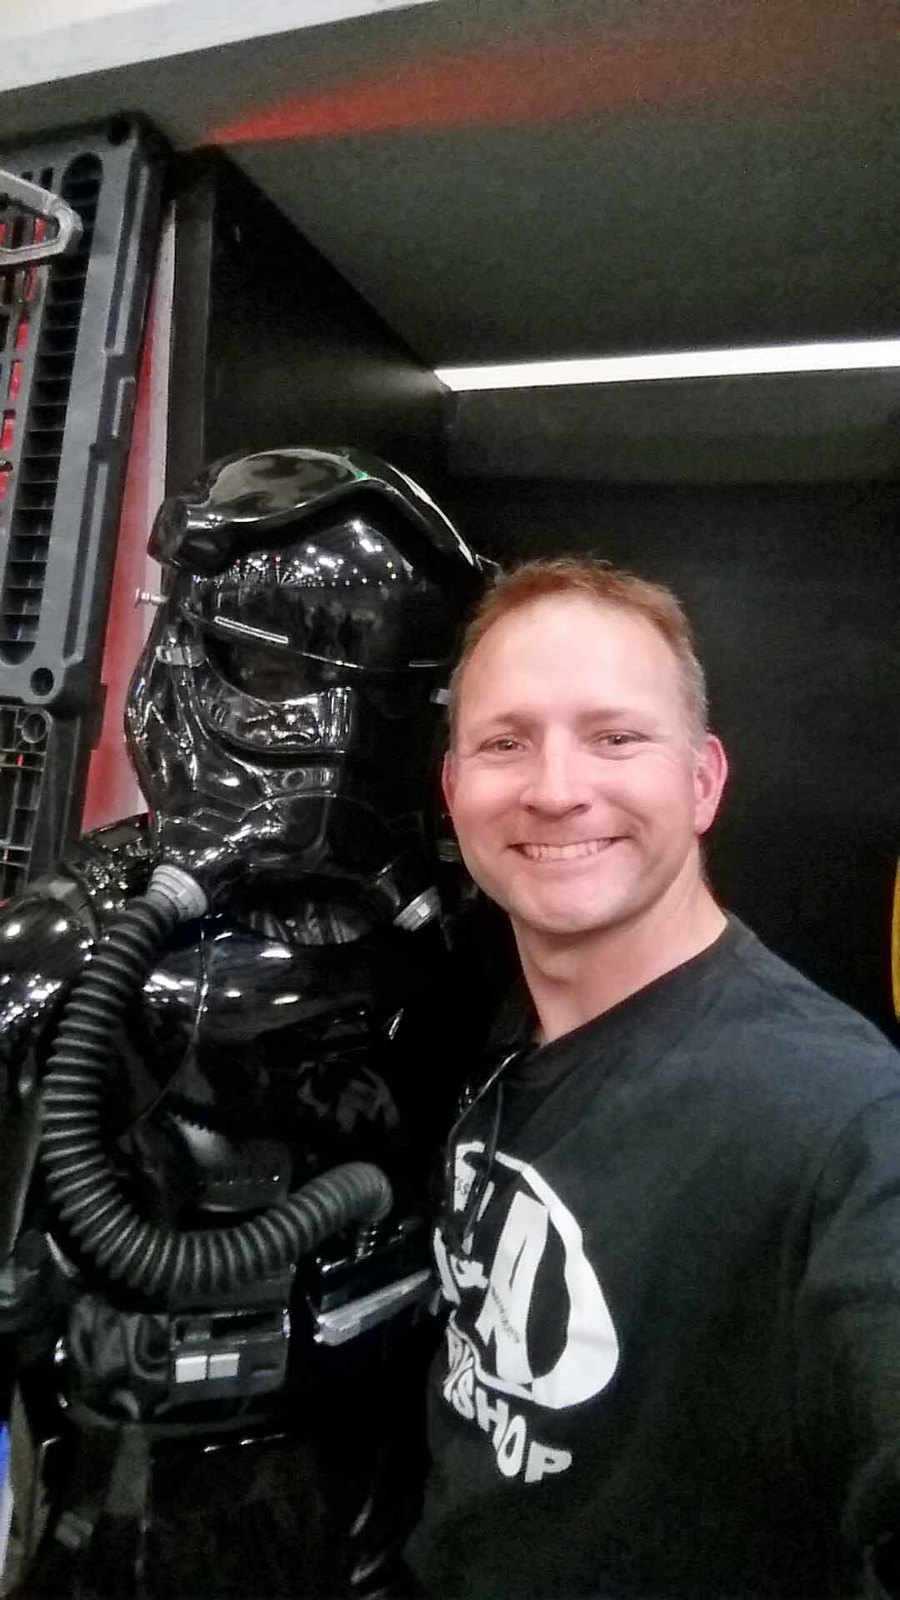
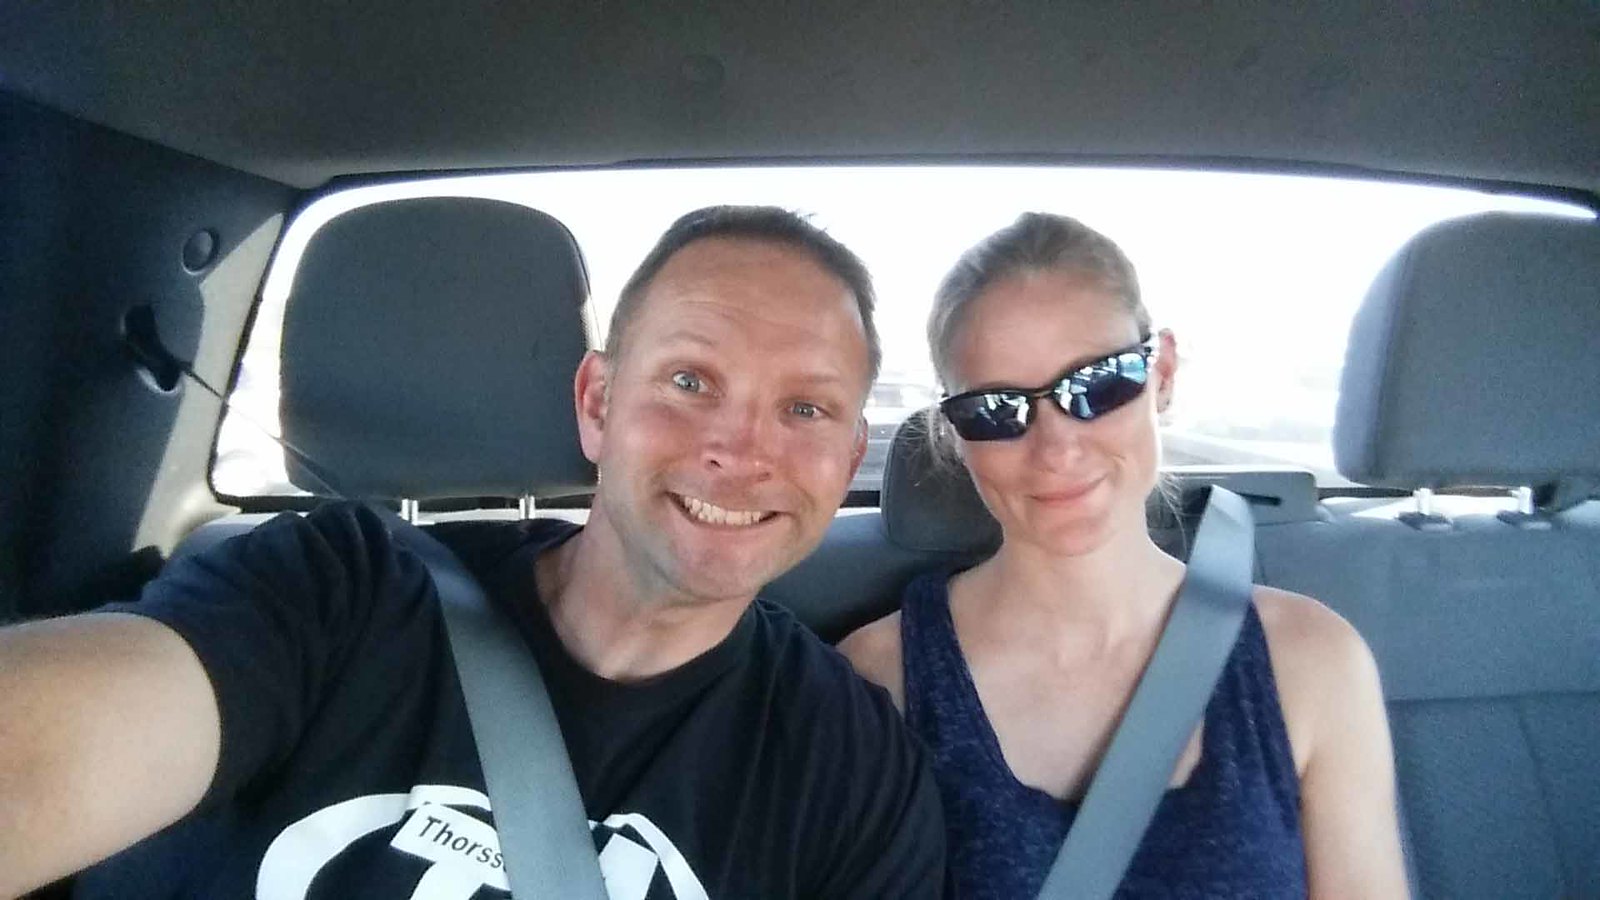
It was a pretty quick introductory day and I'm happy to say that my girlfriend Shawnon actually managed to make it up from Southern California for her first visit to the Maker Faire. That's her in the sexy TIE Pilot costume:
And here she is in normal people clothes on our way out to dinner that evening:
Saturday started off nice and easy. The booth was swamped with excited people as usual, but at noon I had to gather up a handful of characters and make my way to the Show and Tell stage to talk about my book, Make: Props and Costume Armor. The seats were jam packed and folks were gathered all around to hear my quick little talk. Still, a friend managed to snap this pic:
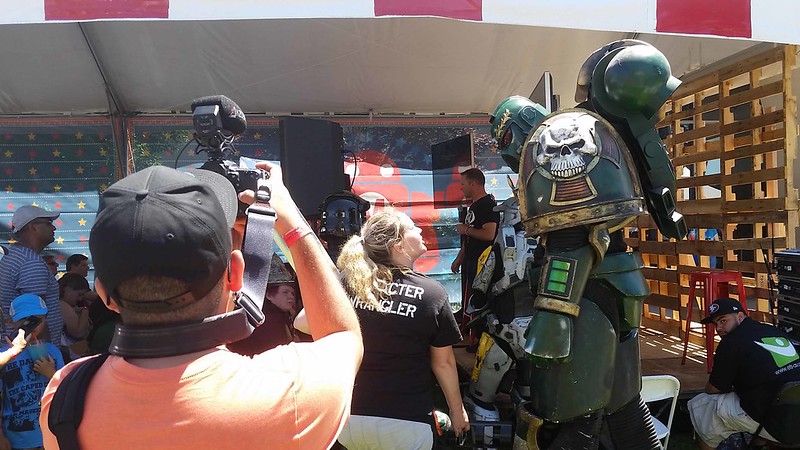
Afterward, we made our way back to the madness:
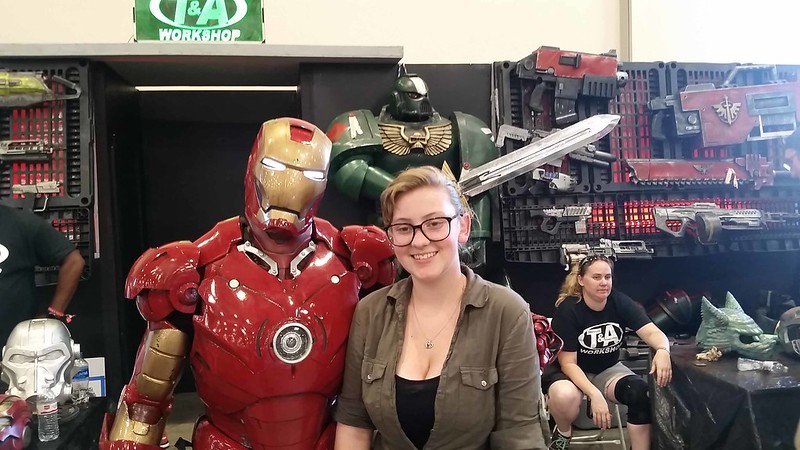
At various points throughout both days, I managed to dust off many of my favorite costumes from the past few years worth of building things in the shop. While I am proud of all of my work, for some reason it's my Ironman suit that usually seems to get all the love:
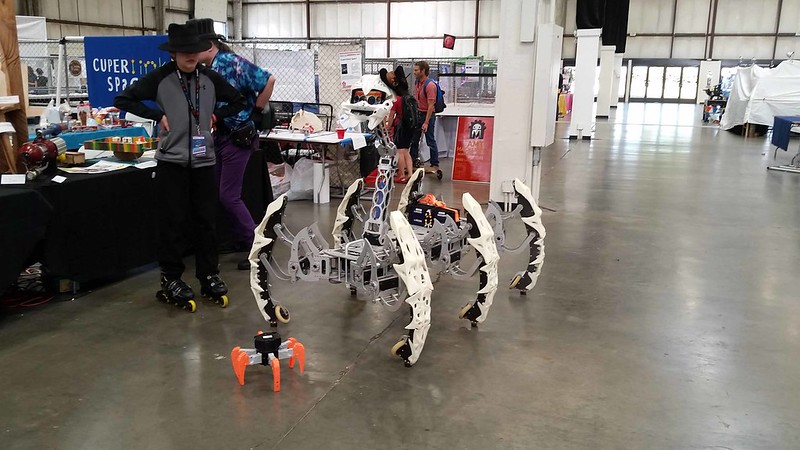
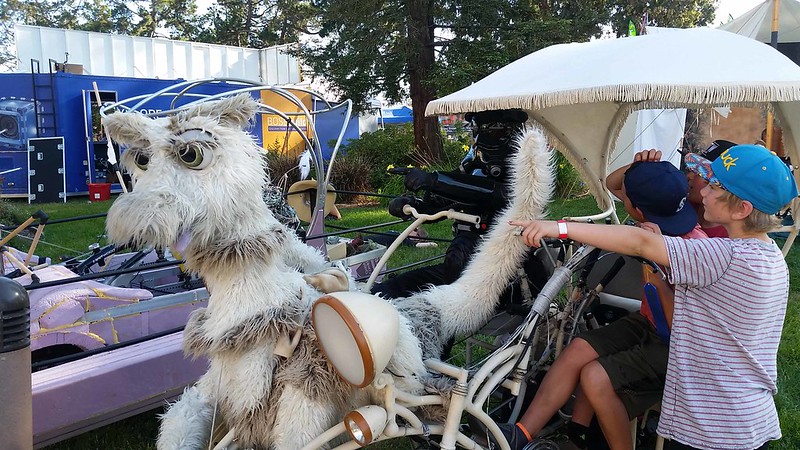
As usual, I didn't get much chance to see what else was going on at the Faire. On the very rare few occasions when I wasn't in my booth, I made it a point to snap pics. I wish I had more time though. For example, I have no idea what the story is with this thing:
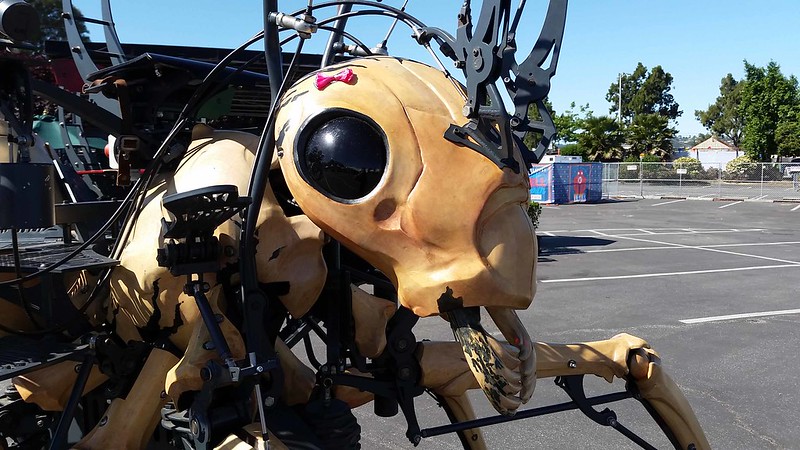
I saw this mechanical ant parked inside the main entrance on Sunday morning:
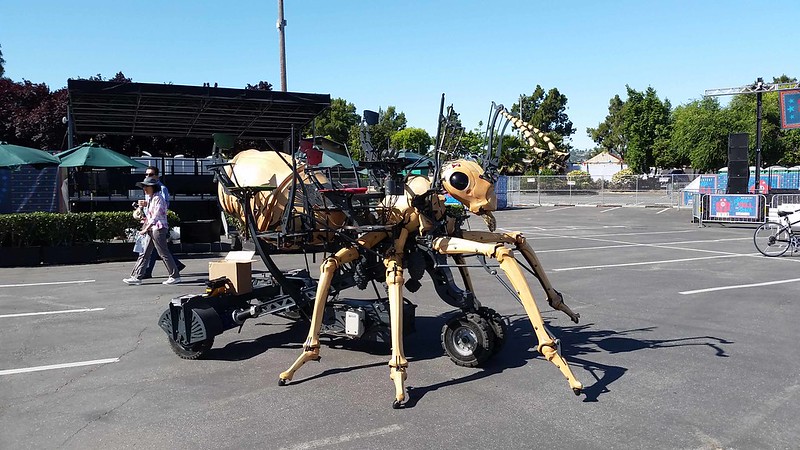
I would've loved to chat with her creator, but at least I got a close look at some of the details:
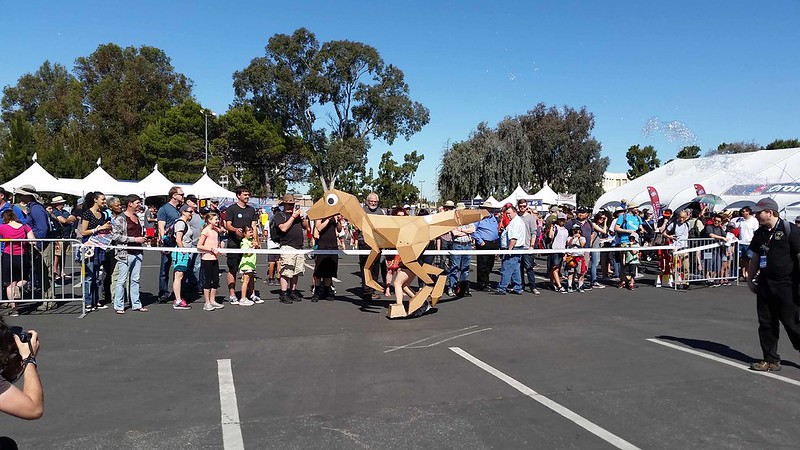
While I was gawking at the ant, there was a cardboard dinosaur harassing the crowd at the fence:
Not far from there was this other thing:
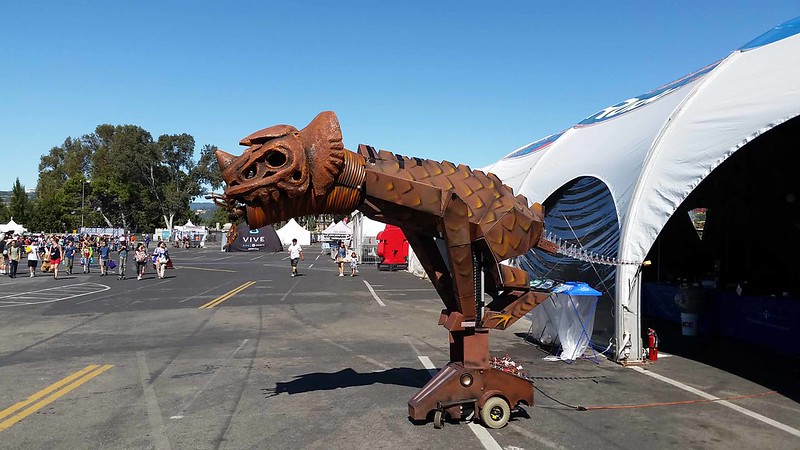 I guess it was pooping.
Then there was this little robot designed to jump on your trampolines for you:

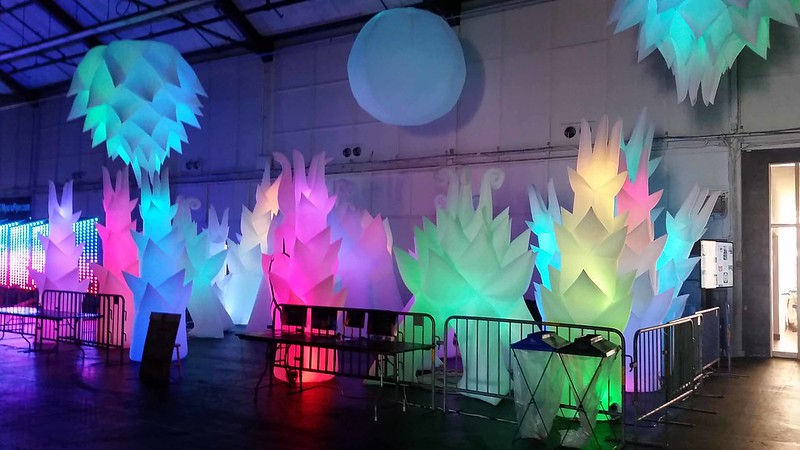
In the dark room there were these glowy inflatable creations:
But back at my booth there was no shortage of photo opportunities. Here's just a few of my favorites...
Ladies love a man in uniform:

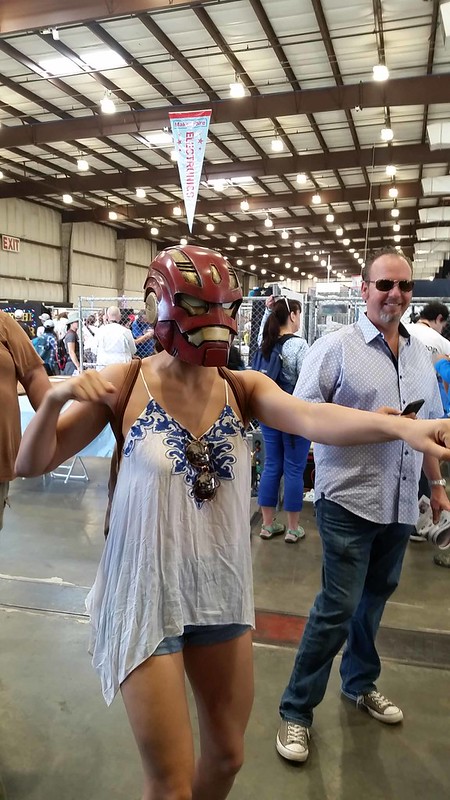
Here's someone trying on my Ironman Space Armor helmet:
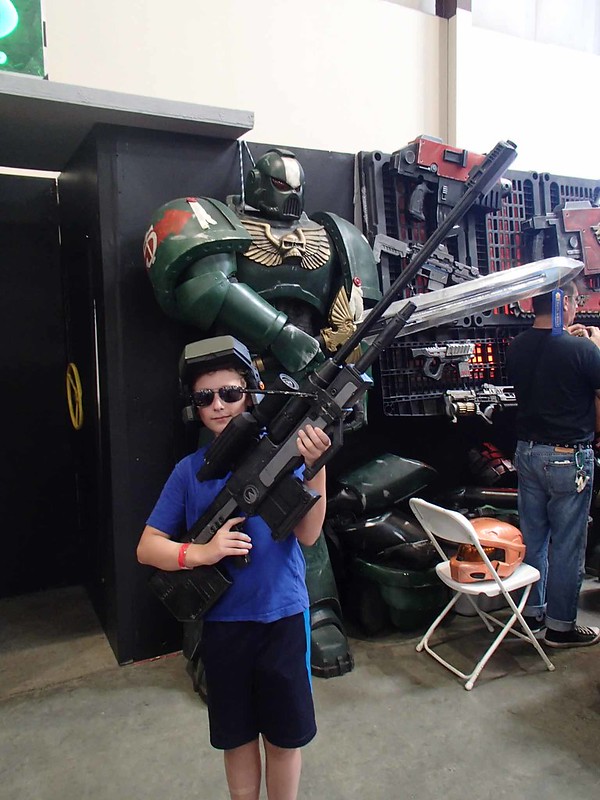
And a new recruit for the UNSC:
Ironman getting more attention:

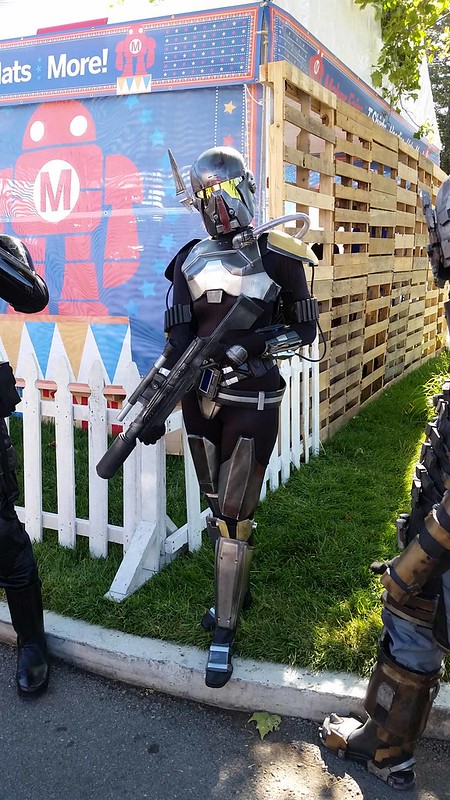
Shae Vizla out for a stroll:
Here's a TIE fighter pilot:
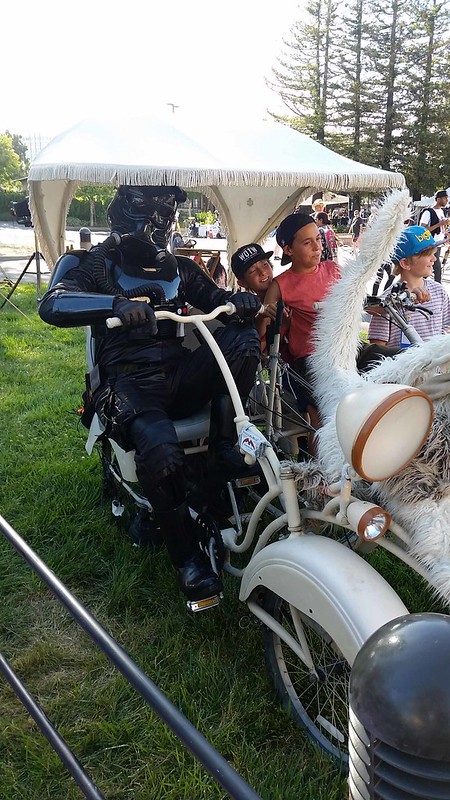
But he's not piloting a TIE fighter:
These are just my favorites that I snapped myself. I actually had a real-life photographer on hand for most of the event as well. Stay tuned for more professional images once he's done processing his images. You can look forward to a whole series of pics of a TIE fighter pilot piloting things that aren't TIE fighters.
This is Part 2 of the T-60 build. Part 1 (determining scale) is here: LINK.
Once I'd completely determined the scale I was going to use, the next step was to turn bits and bytes into pieces and parts. For the littler parts, I'm resigned to using my 3D printers. But since most of this build is going to be really damned big, printing everything would end up taking three quarters of forever.
Instead, the exact right piece of hardware to handle the big parts of this decidedly big build was my team of Carvewright CNC machines. If you've been reading my blog for any length of time, you've probably heard me mention Lopez* the Robot Whittler. What you may not realize is that somewhere along the way I picked up another Carvewright which I named "Lopez Dos Point Oh*." Then, about a year ago, I picked up a third one which was dubbed "Maria*." Some time since the arrival of Maria, I also got a good deal on a fourth machine which has yet to be named.
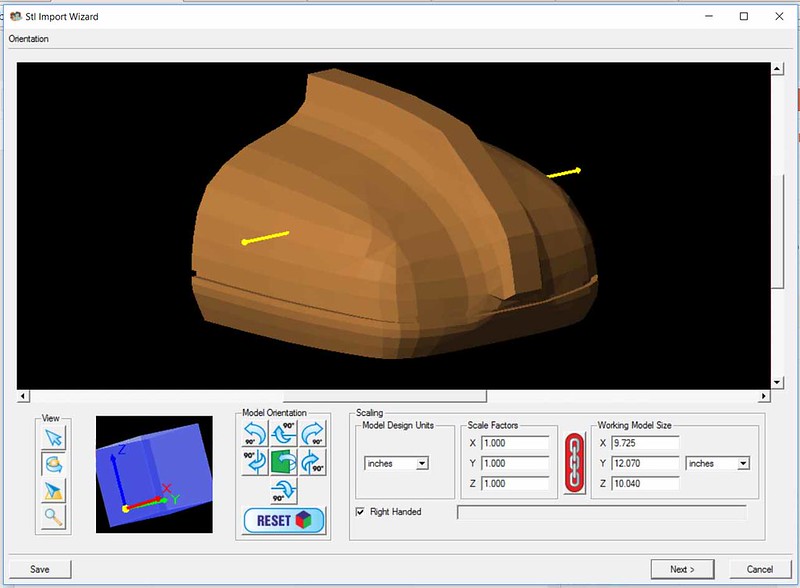
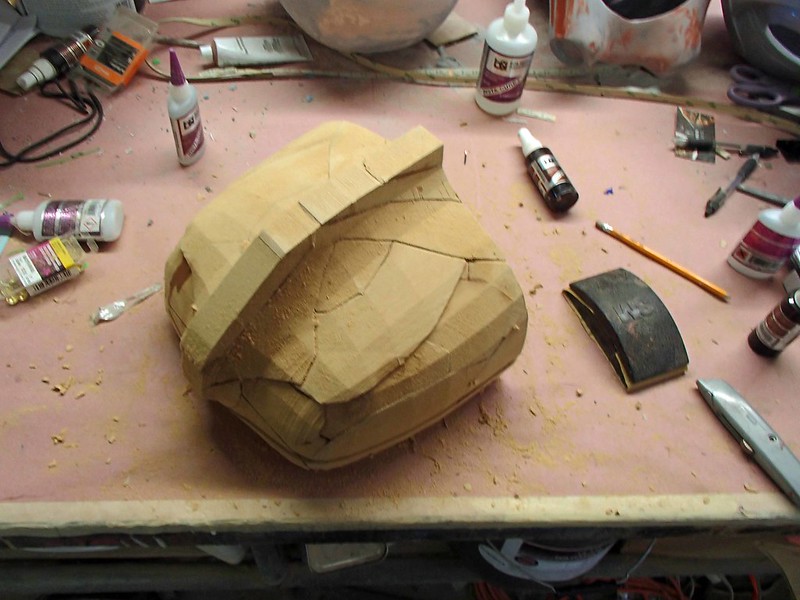
The Carvewright was originally intended to help hobby woodworkers step up their game by making simple relief carvings into pieces of wood. What makes it awesome for me is the STL Importer plugin for the proprietary Carvewright Designer software. This plugin allows me to import a 3D model into the program. For example, here's the beginning of importing the lower sholder piece:
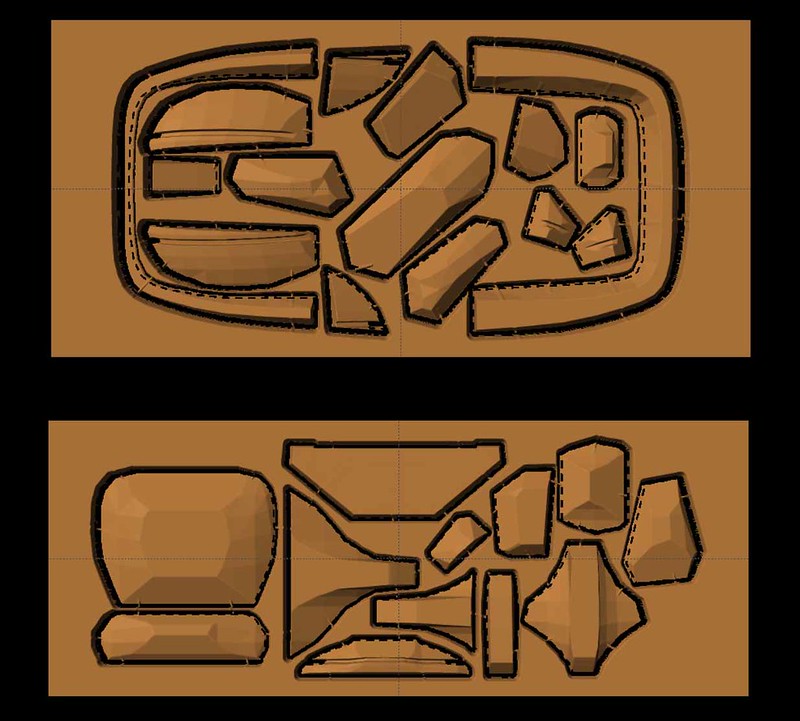
Once the model is imported, it's a simple matter of slicing it into piece that the 3-axis Carvewright CNC can actually carve. It takes a bit of experience to know what will work and what won't, but after a few of these projects, I've developed a knack. Here's the two separate boards that will be carved in order to make the shoulder:
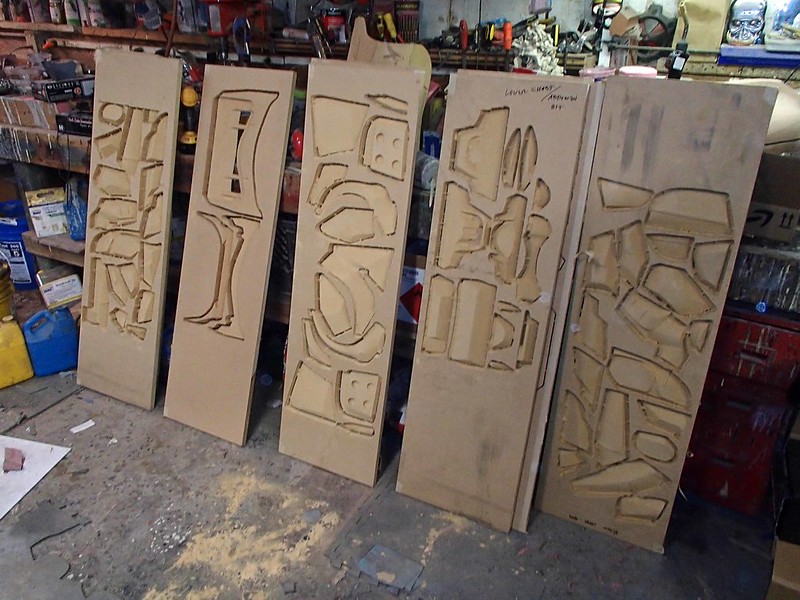
The Carvewright CNC machines are a bit on the noisy side. It used to was, I had to just accept the fact that whenever they were running I would either have to leave the room, wear double-layered ear protection, or just count down the days to my inevitable deafness. But due to a recent expansion of the workshop, the screaming machines get their own insulated room. Now they can make all the noise I want. I don't have to go deaf and I can still be there to hear if there's anything going wrong with the carving. So, after a few hours, Lopez Dos Point Oh and Maria would spit out boards that look like this:

Over the past few months, whenever I had some down time where the machines weren't busy with anything more important, I'd have them whittle out more parts. Eventually, the boards started stacking up:
When I got tired of looking at the stack of carved boards, I spent a few minutes removing waste and assembling parts. Here's the lower shoulder that I mentioned earlier:
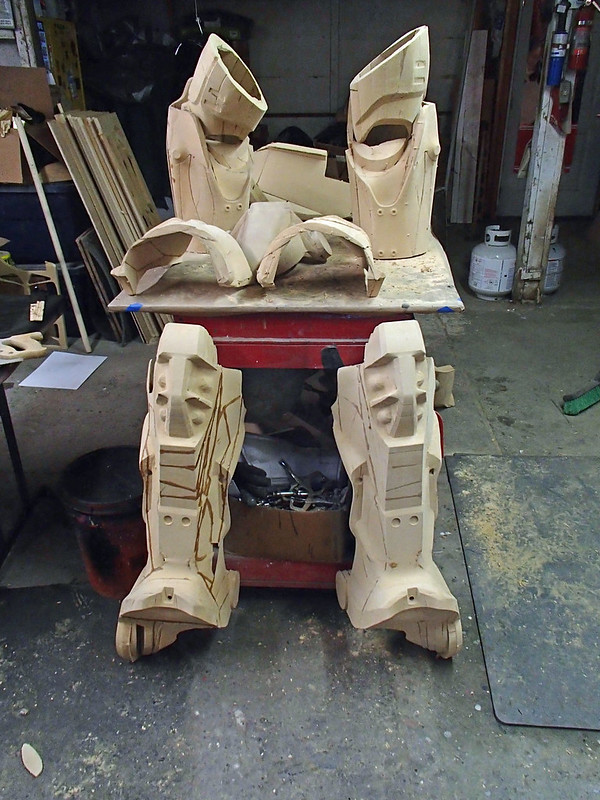
After a while, parts start stacking up:
Goofing around happens from time to time:
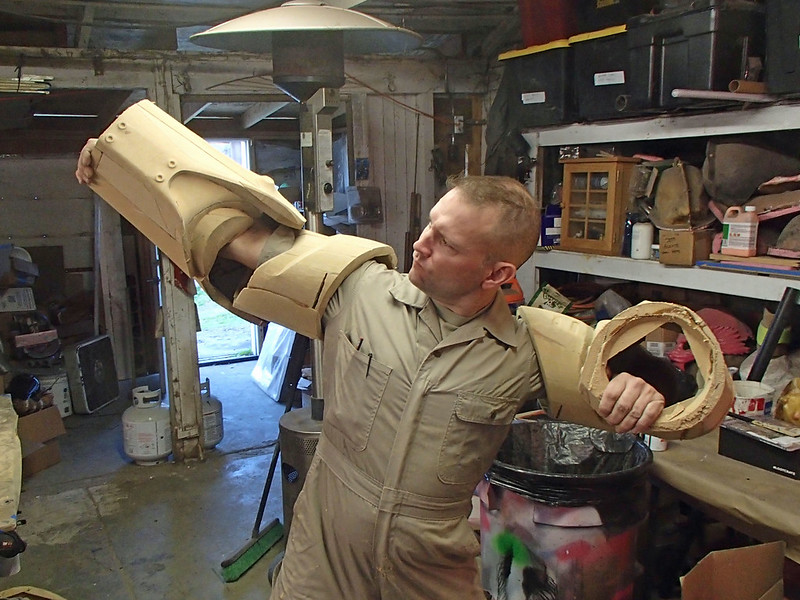
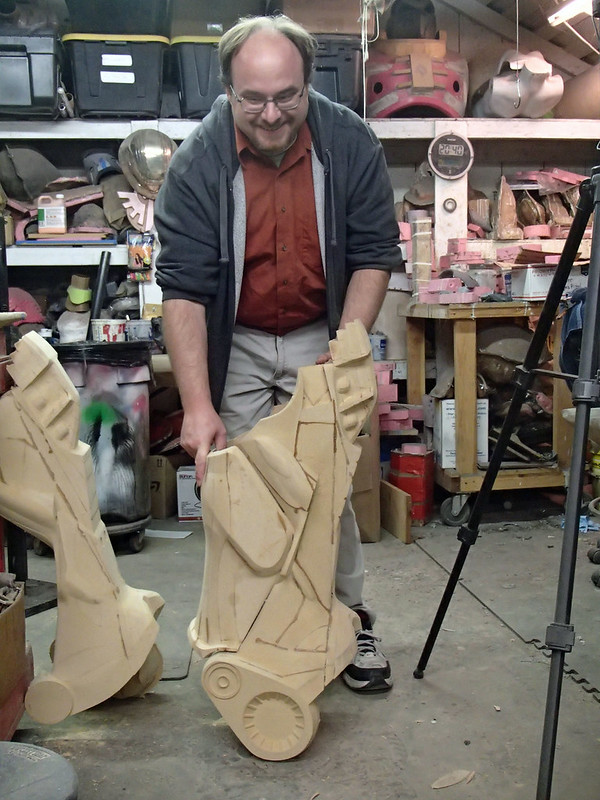
The most striking part about this build is how insanely huge most of the parts are. Here's my friend Matt with one of the lower legs:
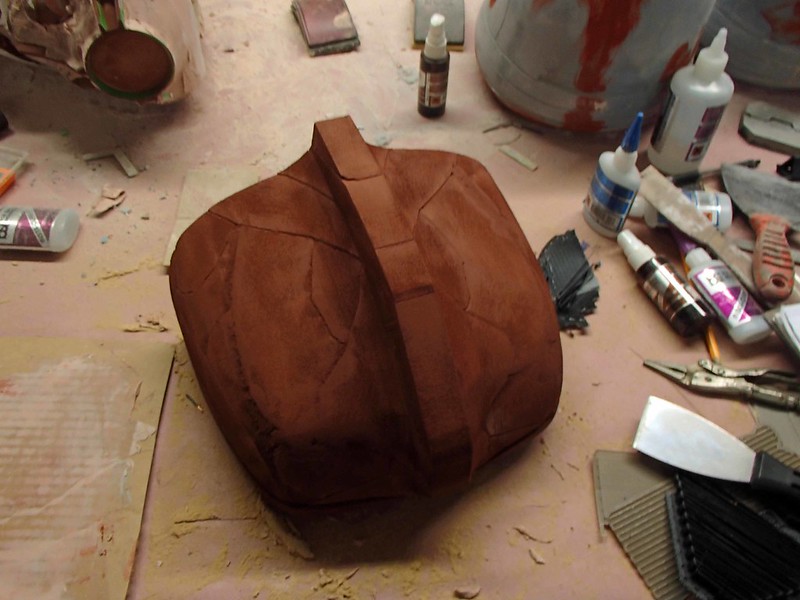
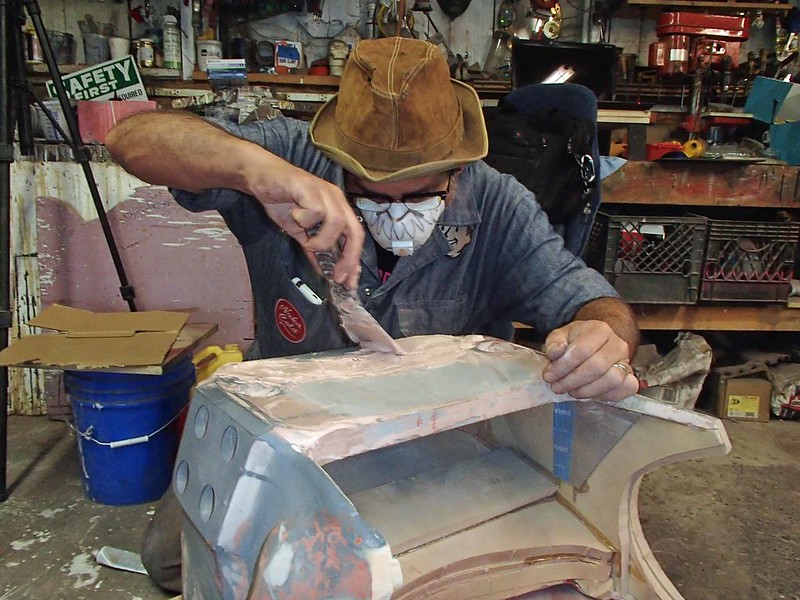
After a while, I got tired of having huge stacks of pieces sitting around and decided it was time to make more progress with them. I started by rough sanding them in order to get the basic shapes smoothed out. Then I'd spray the assembled parts with primer. Then more primer. Then more primer until no more primer could soak into the surface. Here's the shoulder again somewhere in the middle of the primer soaking process:
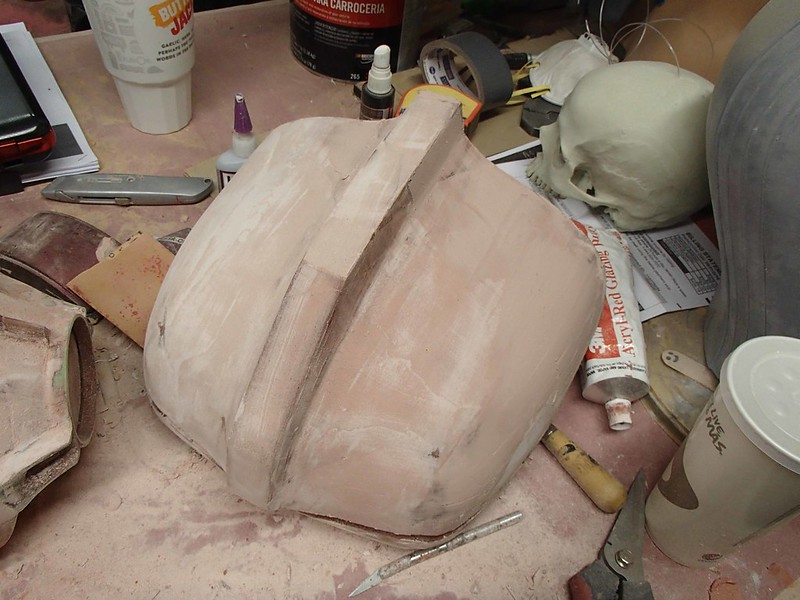
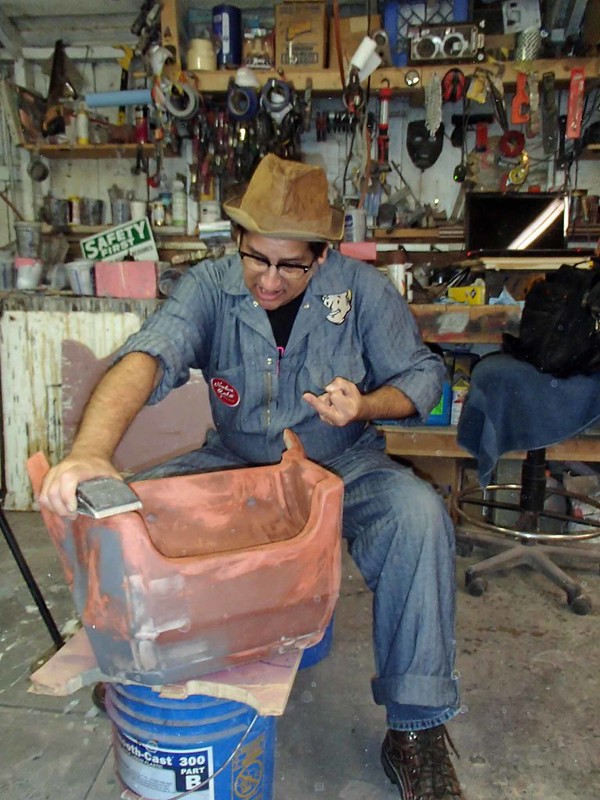
With the primer dry, primed parts would get filler treatment and a lot of sanding:
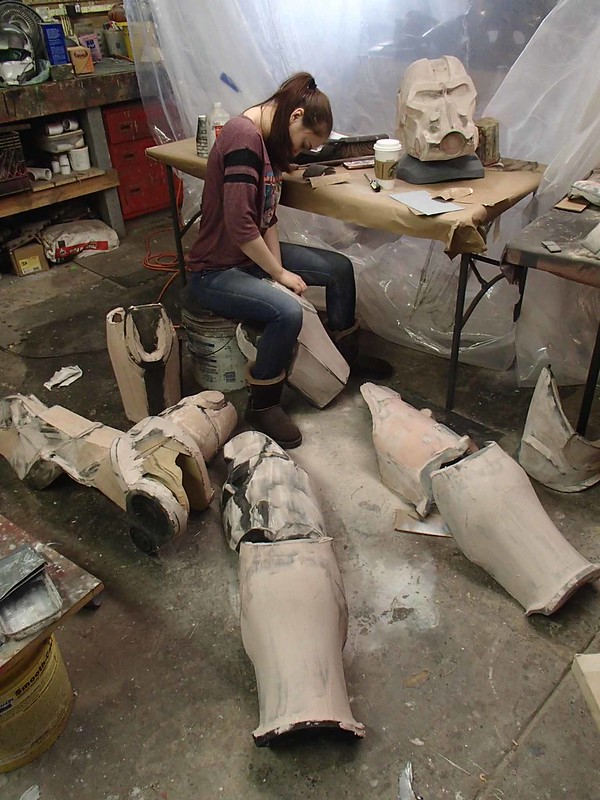
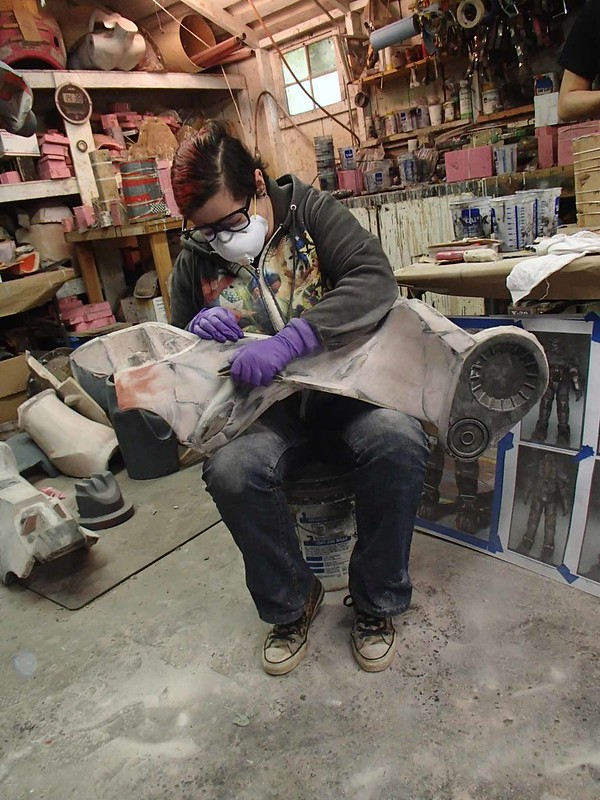
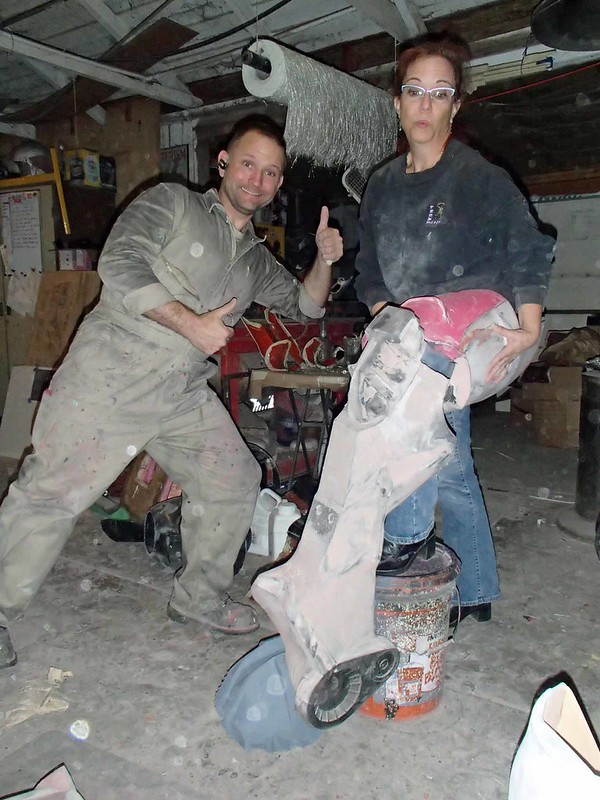
At this point, my friend Mallory started hanging out in the shop again. She was content to sit in the shop and spend all day sanding pieces, so I left her to it:
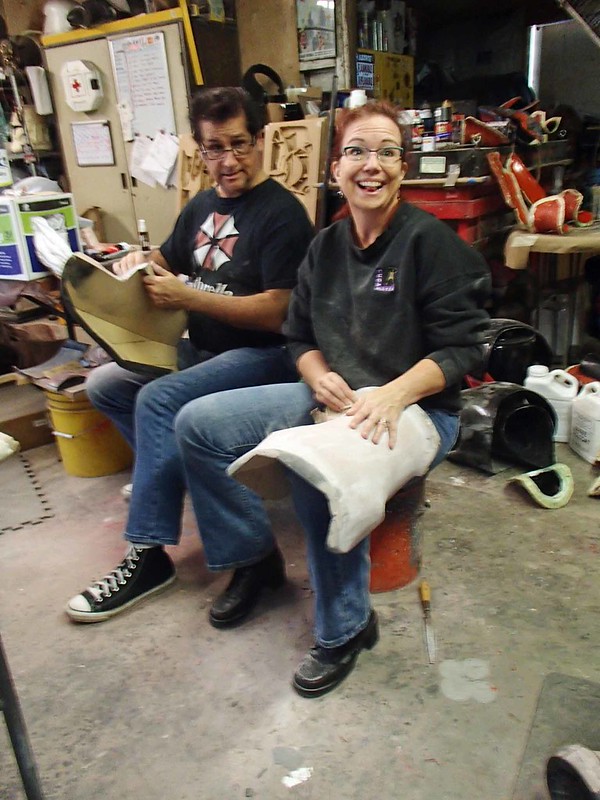
Eventually, Lewis and his wife Noelle start helping out with the project as well. Here they are smoothing out some leg parts:
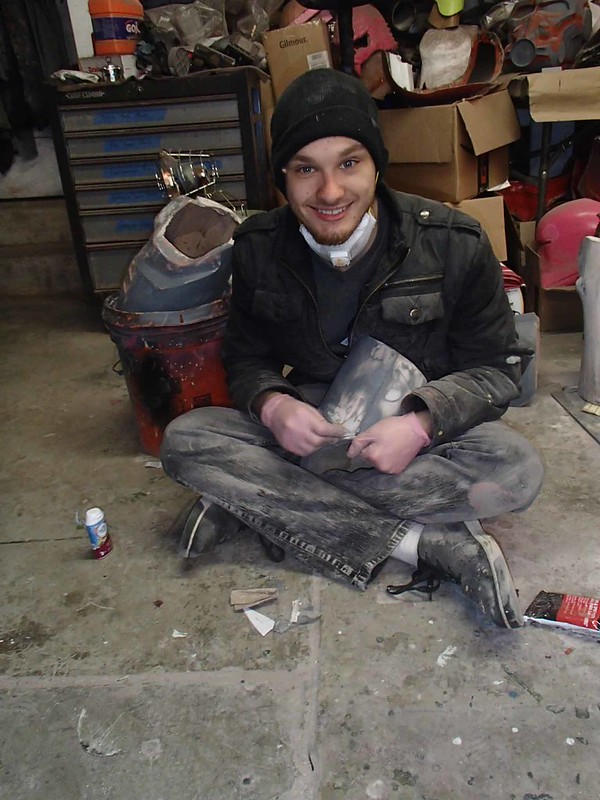
Then there were a few more folks who got on board. Here's Sierra smoothing out a shin:
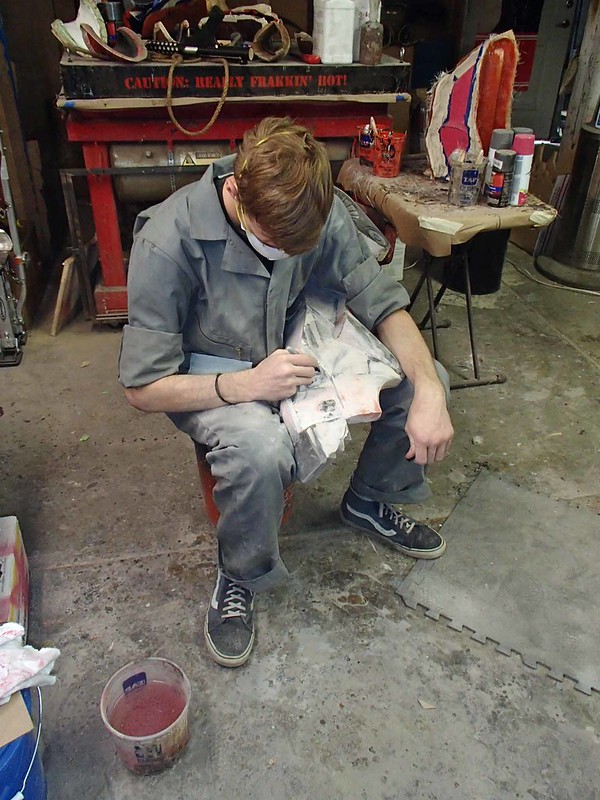
Freddy filing down a groove on an upper arm part:
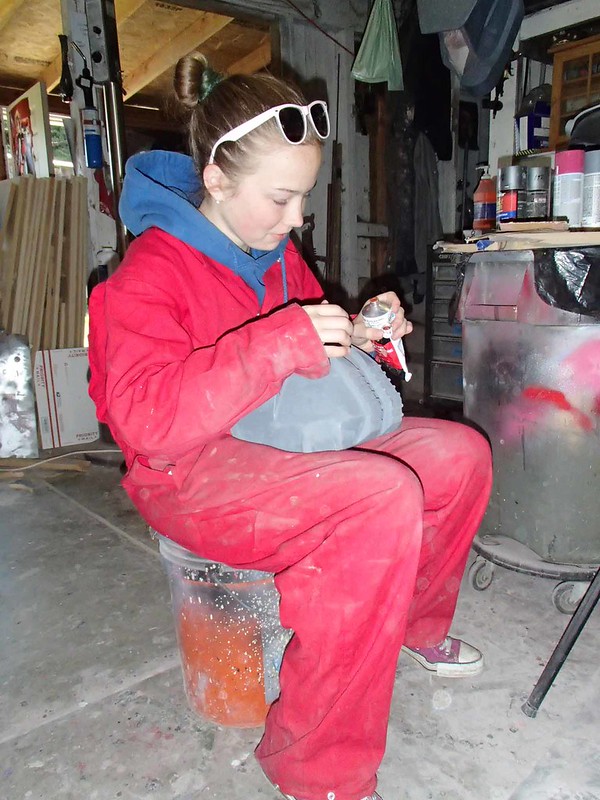
Charlotte adding spot putty to a toe:
Loki sanding the knee end of a shin:
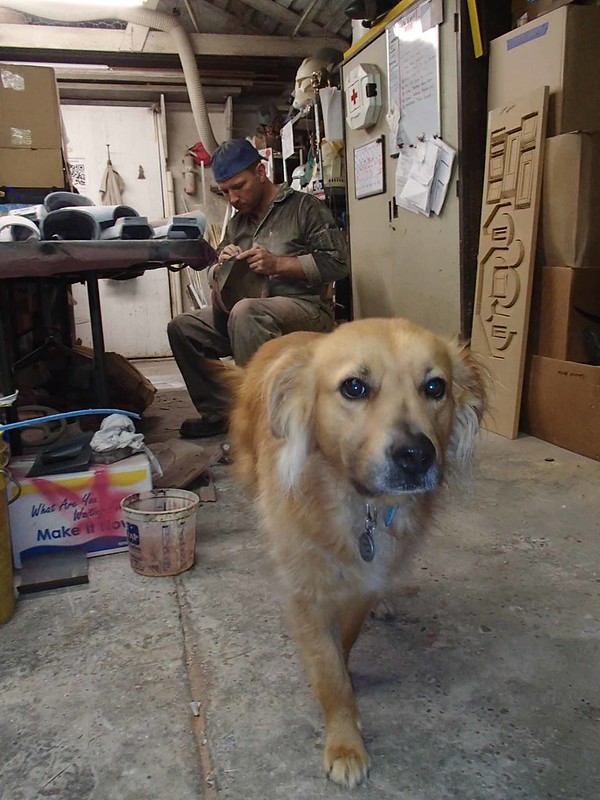
I tried to get my dog Leeloo to try sanding:
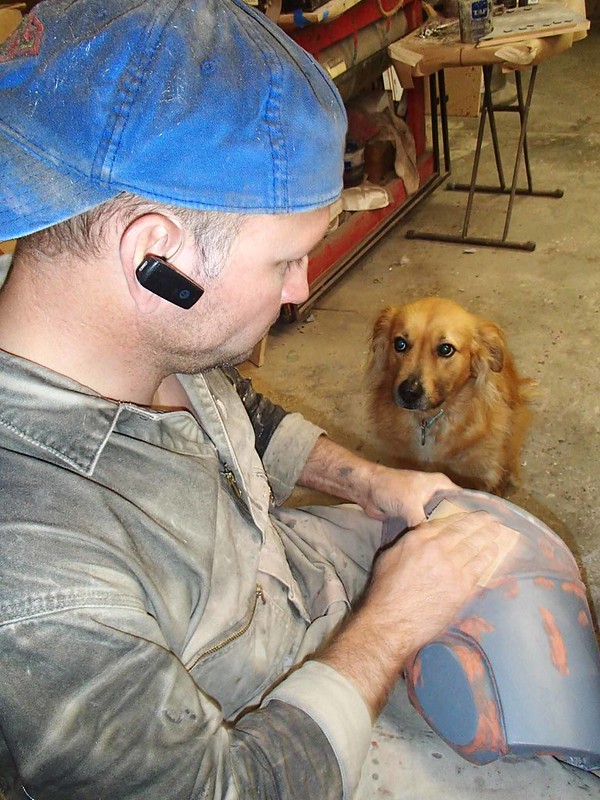
But she was having none of it:
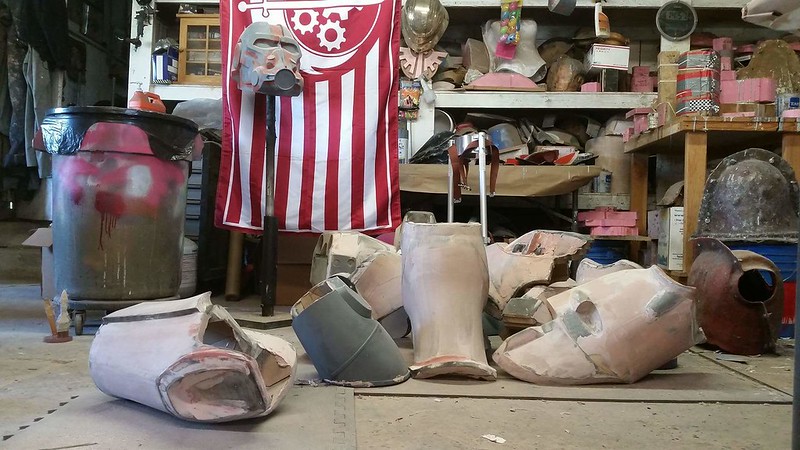
As time went by, the huge pile of rough parts slowly became smooth:
Along the way, there was still plenty of goofing around:
Lewis decided to adopt the chest box as his own personal project. He put an awful lot of focus on that one part:
But it seemed to make him happy:
Once the parts are smooth, they get a nice, glossy coat of paint. In this case (like all my other projects) it's pink. Here's the handplates as an example:
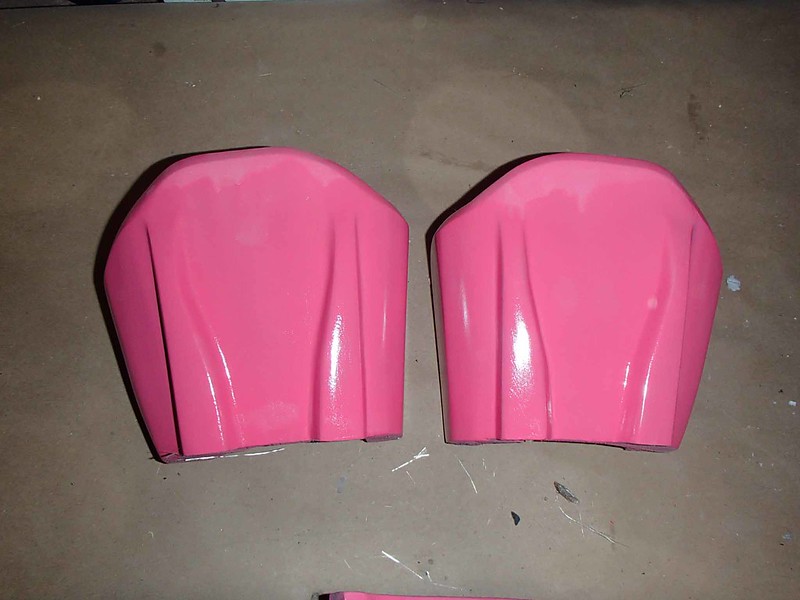
Then they get polished up and prepped for molding:
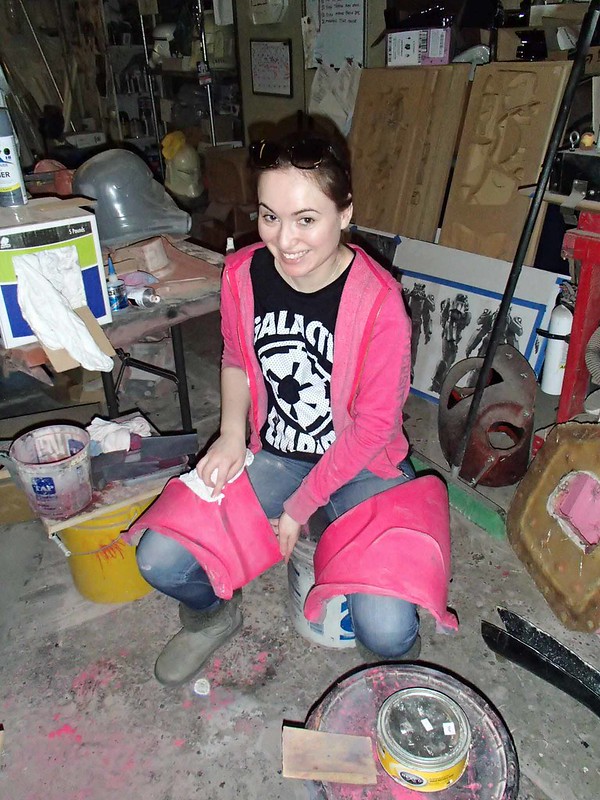
But that's a story for another blog entry.
Next up: pink parts get molded and turned into fiberglass!
*All of the robots in my shop have names. They're all taken from the names of robots or computers in popular culture. Lopez was the robot soldier in the popular web series called Red vs. Blue. Lopez Dos Point Oh was his replacement. Maria was the gynoid robot from Fritz Lang's "Metropolis." I also have "Jarvis" my Objet30 3D printer, the two Zortrax printers named Johnny Five and Seven of Nine, and a couple of other 3D printers that I've yet to name since they're in use yet (just like my fourth Carvewright).
