Back in 2011, I set up my display at the Bay Area Maker Faire for the first time. Starting from scratch in a bit of a rush, we made this nifty little setup:
Twenty feet wide with display racks on either side and a small, private changing room in the middle, it proved to be all sorts of useful. Still, I quickly outgrew it.
Over the years, this humble bit of wall with a tiny little changing room was expanded, rebuilt, repainted, redesigned, repurposed, and reworked to become some 50-plus linear feet of walls with two separate dressing rooms, display racks, pedestals, and storage areas for personal gear and whatnot.
After eight years of assembling, disassembling, packing, storing, neglecting, and meaning to improve the display booth, I finally decided it was time to scrap the whole deal and start over. So the parts were broken up and hauled away and I was ready to make a new booth.
Then the Bay Area Maker Faire stopped being a thing and the COVID pandemic began and I haven't had much of a need for it.
Fast forward to now. After a two-year hiatus, LUMACON will be returning on last day of April. LUMACON is a kid-centric comic convention put on by the local librarians. In the past I've had a limited display setup there to show off some of my various builds and sell copies of my book while some of my crew hangs out in costumes I've built. In order to comply with current restrictions for large gatherings in the current pandemic environment, the event is being held outdoors. With no walls to hang my display on, it's time to make a new booth.
When I made the original booth, I had a vague idea of what I needed to do, but no kind of background or experience in building these sorts of things. Since then, I've done some set construction work on TV series and movies and learned a few things. Chief among the things I learned: I was an idiot.
Taking those lessons to heart, I decided that instead of rebuilding the same clunky, overweight, rickety junk I built before, I'd build this new booth just like a movie set.
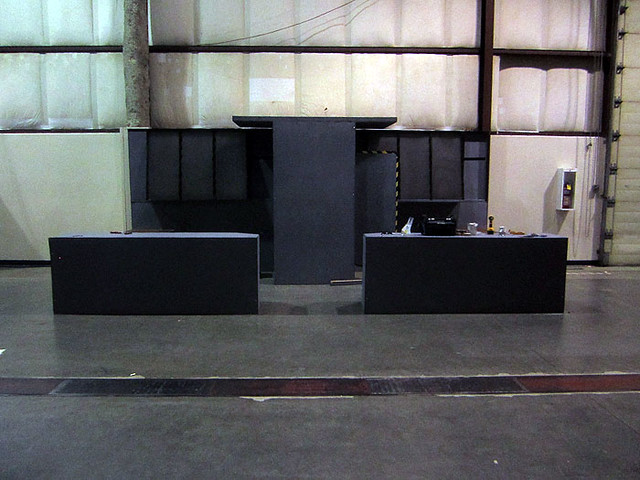
Movie sets can look like this:
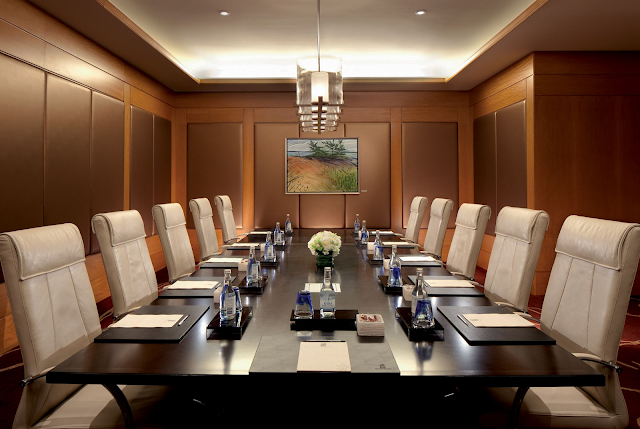
Or this:
Or this:
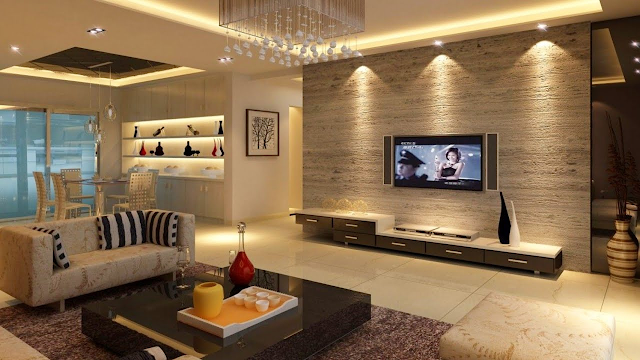
Or this:
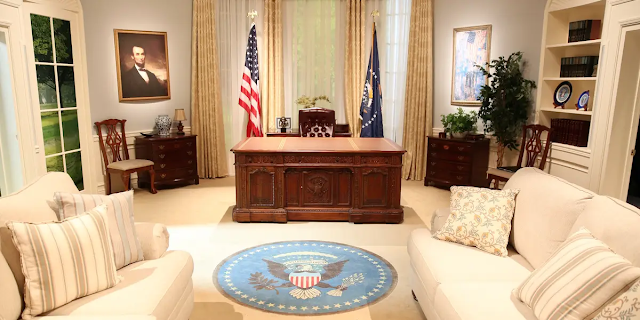
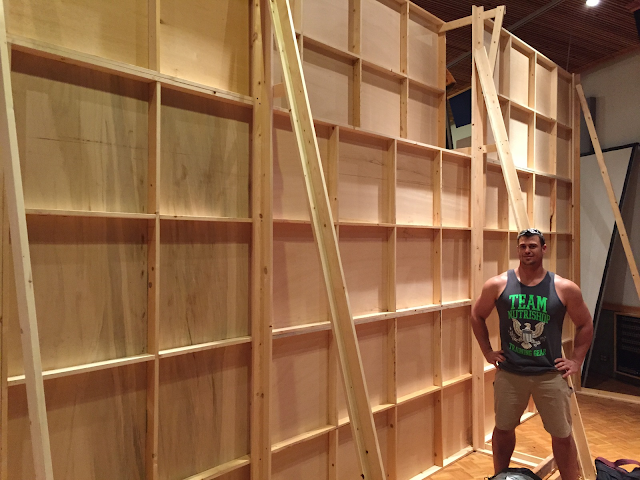
These lightweight but surprisingly versatile wall panels are called "flats."
1 sheet 1/4" or 1/8" plywood (or Masonite if you're into that)
5 and a half 8' lengths of 1x3
A couple handfuls of 1-5/8" screws
A couple handfuls of 1" screws
wood glue
NOTE: ideally, I'd have used wide crown construction staples instead of 1-5/8" screws and narrow crown staples instead of 1" screws, but I don't own the staplers for either of them and wasn't going to spend $400 to own them for this one project. You'll also notice in the following photos that we used 1x4 framing instead of 1x3s. This is because the first store we went to was out of 1x3 and I was eager to get started.
ALSO NOTE: If you're one of those folks reading from every other country in the world, I won't be providing metric conversions. All y'all have your own kinds of standard dimension lumber and I don't know what it looks like. You're on your own there.
Step 1: Measure and cut your framing lumber: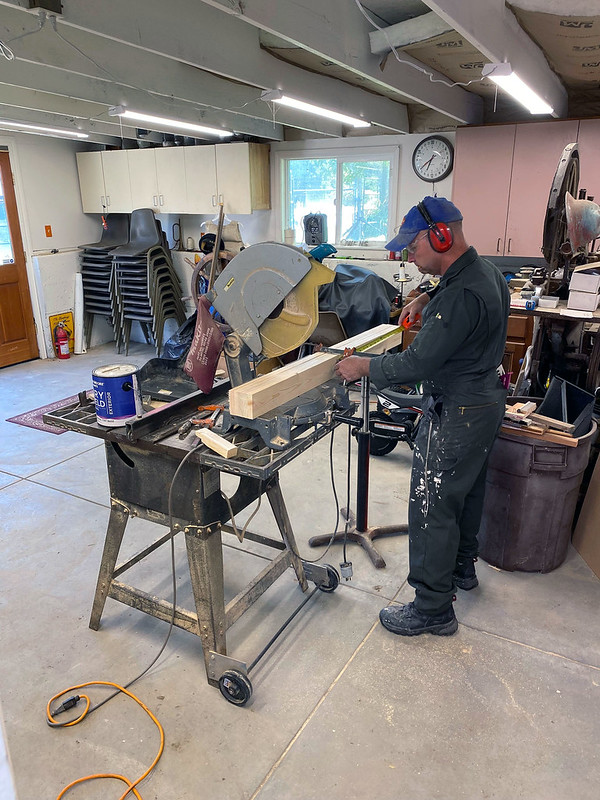
2 pieces 48" long (the "top plate," and matching "bottom plate.")
3 pieces 94.5" long (the "studs" that are eight feet long, minus the combined thickness of the top and bottom plates)
6 pieces 22-7/8" long (the toggles, four feet long, minus the combined thickness of the three studs, split in half)
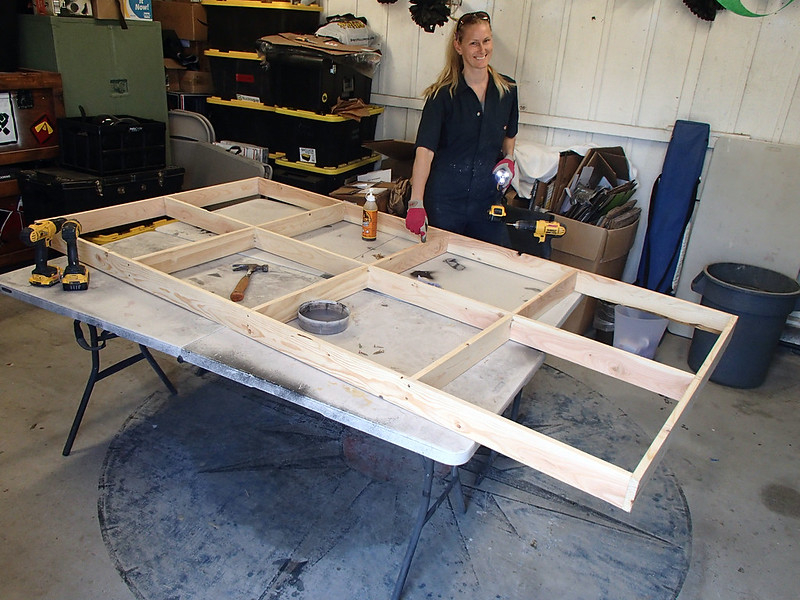
Once you've made your cuts, it's a good idea to clamp all of the like pieces together and pre-mark for centers. Here you can see me measuring all of the studs so I can mark the center locations for the toggles:
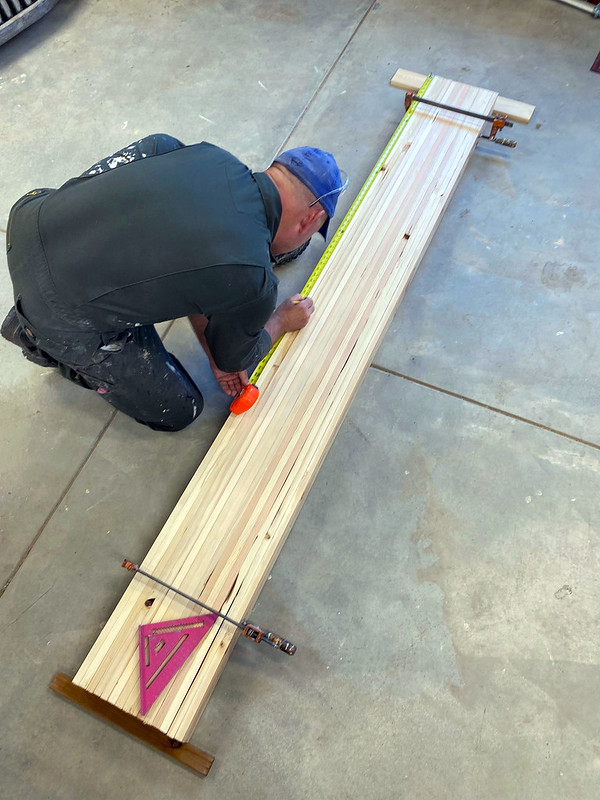

Disregard the background clutter. This room has yet to be properly built out.
Step 3: Set up three studs on edge and attach the bottom plate:


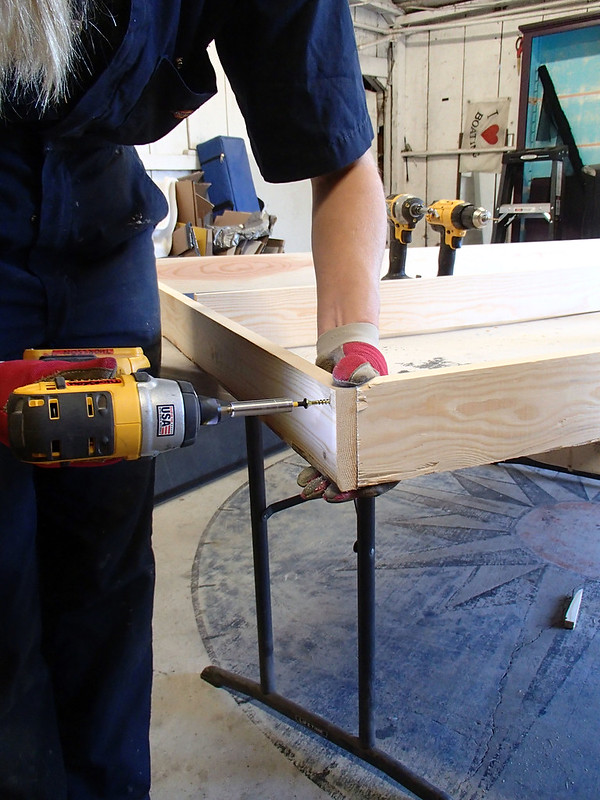
Then, because we're using really thin, cheap lumber, we'll pre-drill each screw hole:
Finally, the boards were screwed together:
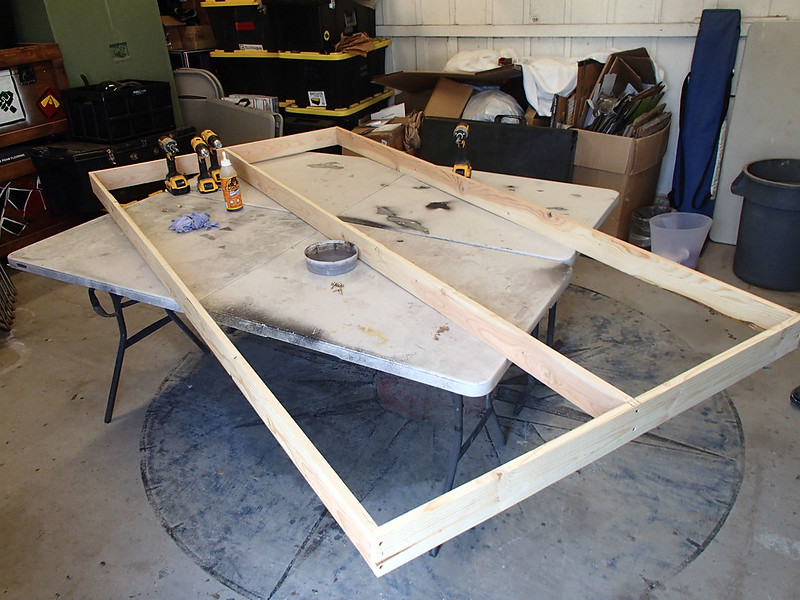
With the bottom plate attached, it's time to attach the top plate. Now the assembly looks like so:
Step 4: Attach toggles on one side. These are installed on two-foot centers with screws through the studs into the toggles:

These are easy because you can drill and screw them through the outer stud and the inner stud:

Step 5: Attach toggles on the other side. These area bit trickier. On the outside stud, you can still screw through into the toggles like we did for the first half:
But the inside stud is blocked by the toggle on the other side. To work around this, I toenail through the stud into the toggle to attach it:


Then, just like that, all six toggles are glued and screwed in place:
Step 6: Attach the skin.
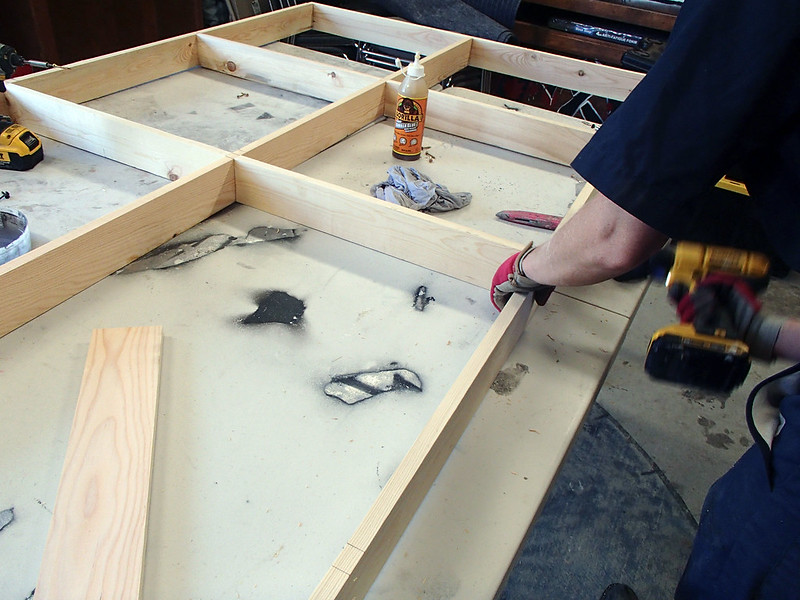
We start by applying glue onto the surface of the frame:
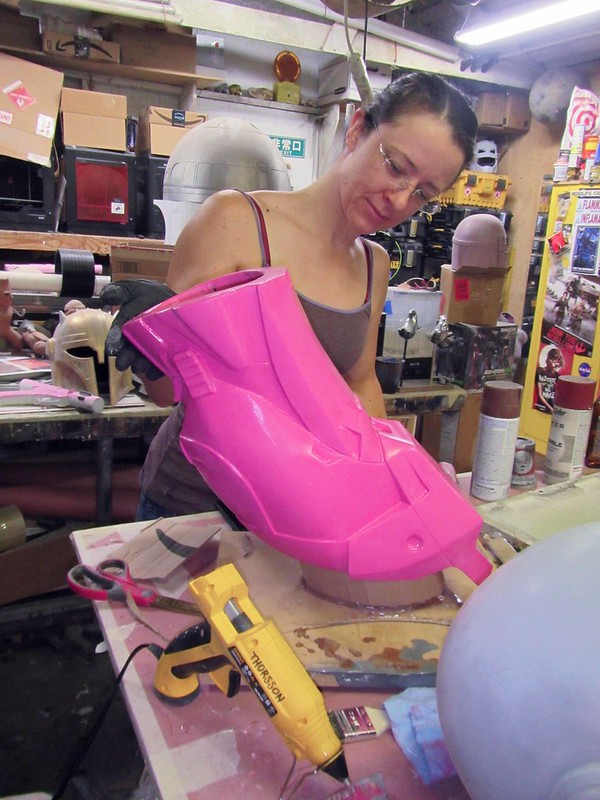
NOTE: as you can see Doctor Girlfriend doing here, you want to put the glue on the center stud and the toggles first, then the outside edges last. That way you don't have to lean your carcass across the sticky parts and make a mess of yourself.

Once the glue is applied, you can screw down the skin:
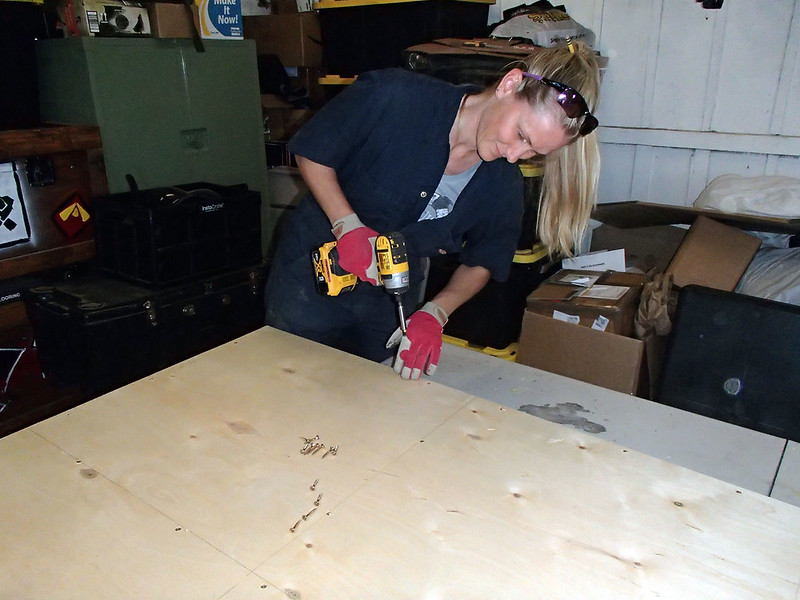
Despite what your mom says, there's a right way to screw. Start by making sure the skin is flush on one corner and put a screw there first:

Then screw down the long side, straightening the stud to keep it flush as you go:

Once the long side is screwed down, screw down bottom edge. Working from the first corner you screwed down, you'll be pushing and pulling the bottom plate up or down as needed to make sure the edge of the skin is flush with the framing.
Once that's done, continue screwing down the skin, working from bottom corner upward and outward to make the whole thing flatten out as you go. At this point, things might look a bit off.
The first corner and first two edges were nice and flush when we started:
But because the sheet isn't exactly 48" x 96" (and if we did it right, our framing was exactly 48" x 96") the edges of the plywood will overhang a bit:


Step 7: This tiny excess gets trimmed off with a router using a panel trim bit like this one:

The end result is a nice, flat panel 48"x96" and ready to be painted, dressed, and made into something awesome.

To make it easier to get a nice finish, the screw holes are filled and sanded:
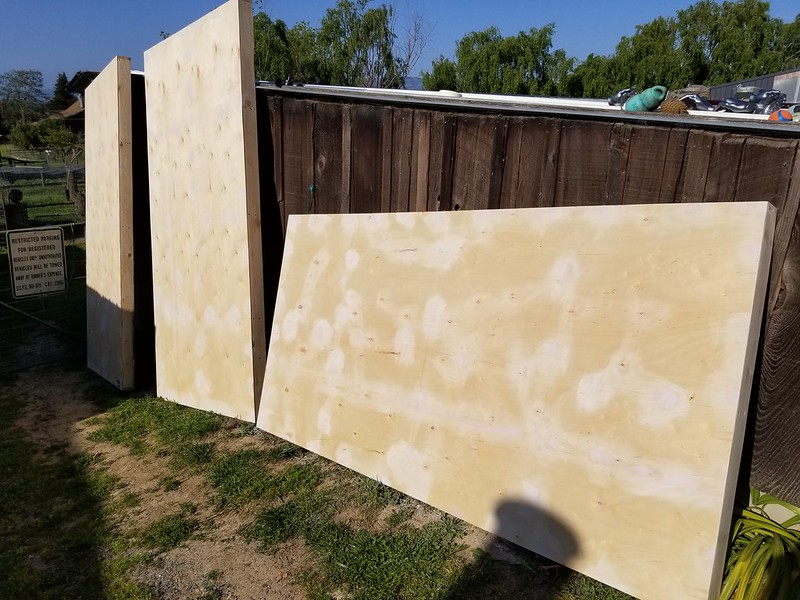
Then they all get a couple of good coats of primer:

Finally, paint:

We went for basic black for starters. All told we made 5 of them.
Next I'll have to build something to keep them from falling over:
Stay tuned for more on this somewhat useful new project...


 |
|