
A while back I was asked by a local HALO fan named Bill if I could still make another suit of the HALO 3 armor that my crew and I made way back in the day. You can read about that project here: LINK.
I was a bit leery about saying yes. Some of those molds were over ten years old and they'd been buried in storage for so long I hadn't laid eyes on most of them in probably five years. But I decided to give it a go anyway. First, I'd have to dig them out of storage:
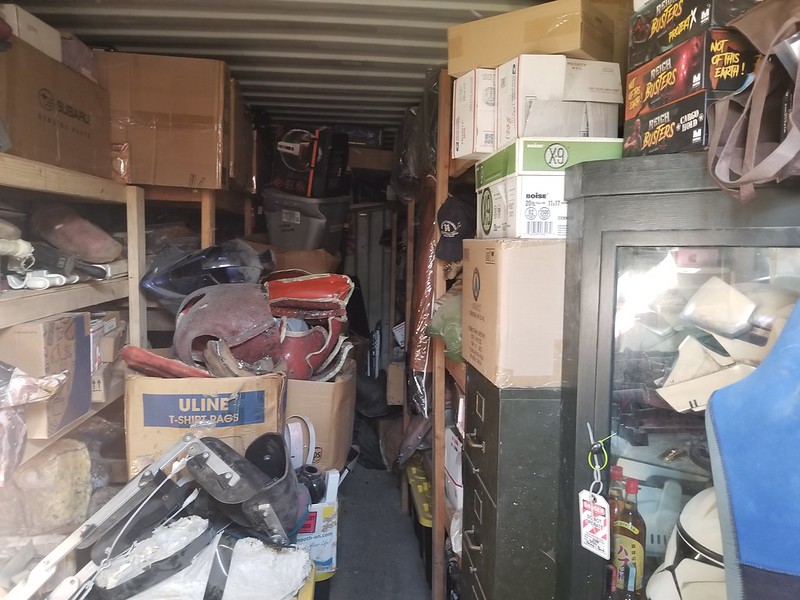
My storage bin is a fascinating and terrifying place. It's a 20-foot shipping container where I put things I'll get back to, knowing they may well never be seen again. When I've wrapped a big project, the molds get placed there until I have need of them again. When I run out of space, I spelunk my way into the deepest, darkest corner, farthest from the entrance, and get rid of the older molds that I haven't seen or needed in the most years. Then I re-Tetris the stack to hopefully shoehorn a few more pieces into the container before I force the doors closed. I'm way overdue for another such container, but that's a problem for a different day.
Getting out the HALO armor molds meant digging through sedimentary layers of past projects like a propmaking archaeologist. Years of accumulation made pulling out the full set of molds into most of a days work for me and my assistant Rachel. Still, we got them.
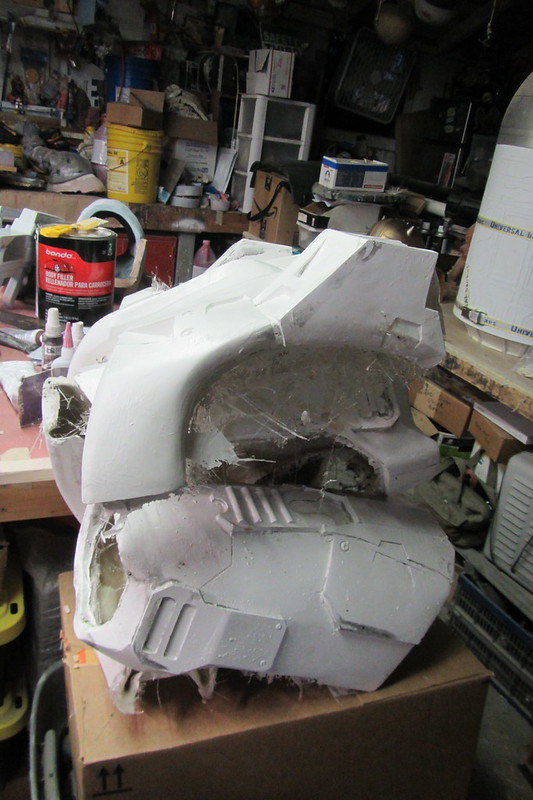
A quick survey of resulting pile made it clear that I'd at least be able to get one good pull from most of the old molds. Since this was basically my first project on this scale, the molds showed a clear progression in quality as my skill level developed. Most of them had been made using plurple AM128 silicone, the likes of which I haven't used in at least eight years.
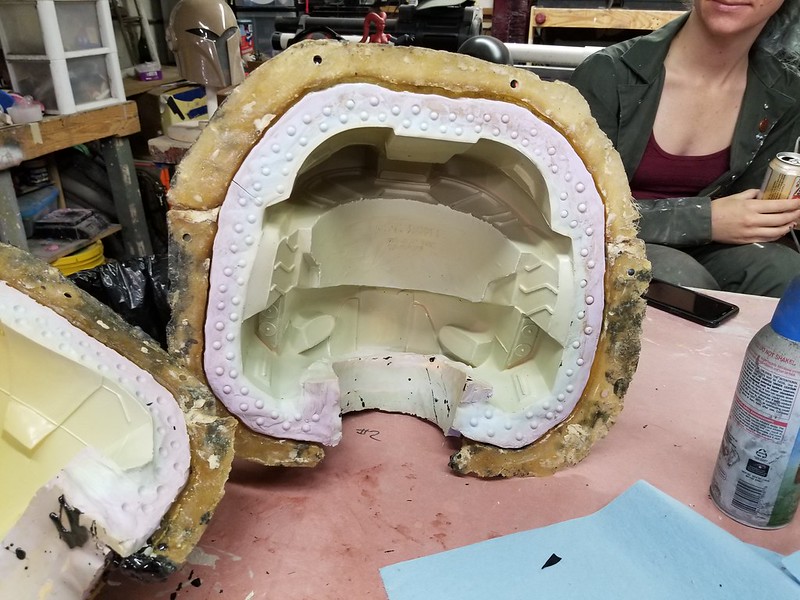
The lighter blue and yellowish areas show where the mold has aged and dried out over the years.
A few that had fallen apart in use were replaced years ago using pink Mold Max 30, my current go-to. Even fewer were made with blue silicone from TAP plastics which I haven't bought since seemingly forever. Missing from the stack was the mold for the lower leg. I'm pretty sure I've long since thrown it away for fear that I might be tempted to coax another casting out of the clearly useless mold and buy myself days worth of prep and cleanup work. Better to just make a new mold.
To make a new lower leg mold, I pulled out my old blue suit (Private Leonard Church from the popular web series, Red vs. Blue). Having not come out of the box in years, it was also in pretty rough shape. I'll have to get back to rebuilding it later when I have some luxury time. Still, I pulled out both of the lower leg parts. Since they're interchangeable, I picked the nicer one of the pair, and set it up for remolding.
The first order of business was to grind off any flaws and sand through the old, funky paint job: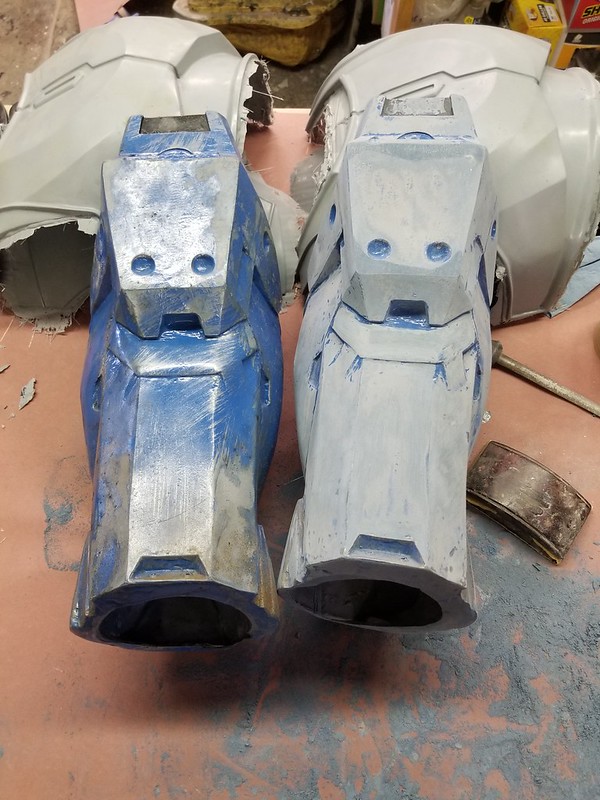
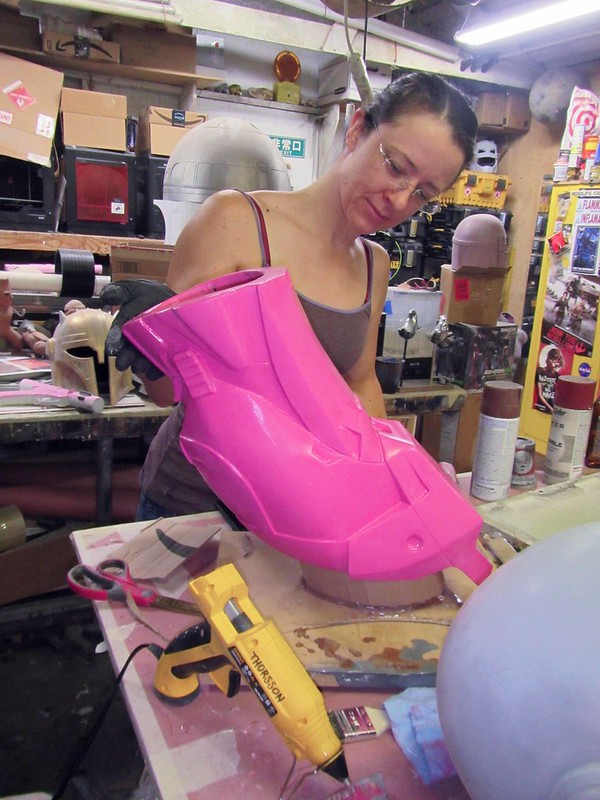
After a bit of sanding and a couple of coats of primer, it was given a coat of glossy pink paint and one of the Rachels mounted it for molding:
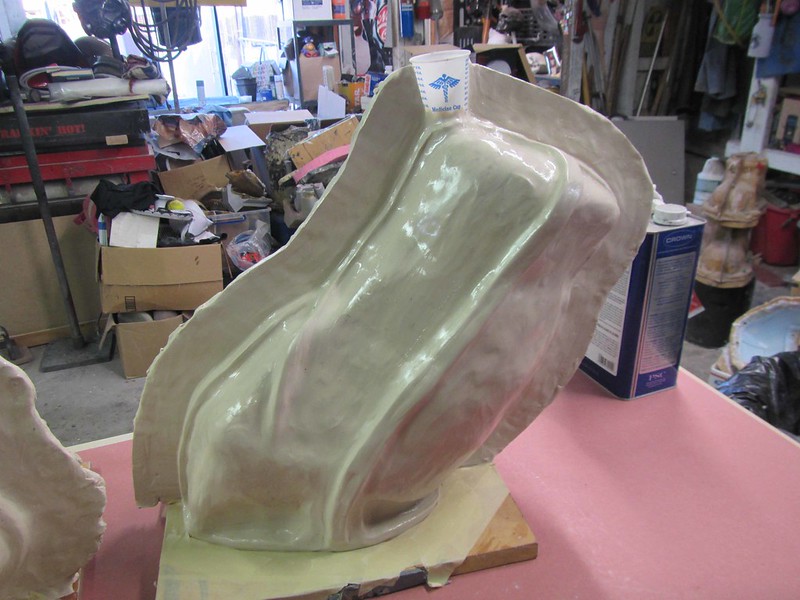
Since we've been on a roll with matrix molding lately, we decided to use the same method to mold this piece. Here's the clay bulk built up before the registration keys were added:

And the final matrix once the keys were built up and the parting wall was in place:

In any case, in no time at all, we'd poured the silicone, demolded and trashed the master, and started rotocasting shins in time with all of the other parts. Here's the first pair out of the mold:
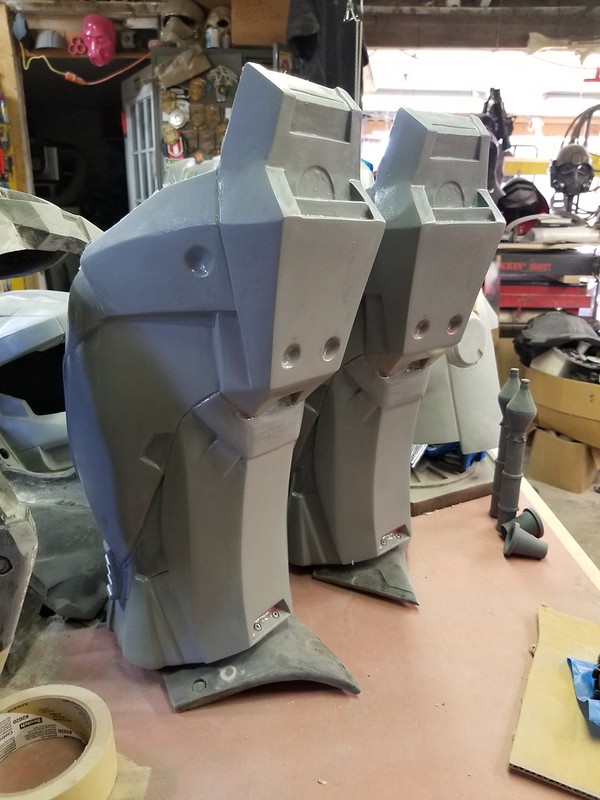
After a bit of trimming and sanding, they were ready for primer and paint:

Given the huge nightmare of digging out all of the molds, I figured I might as well make two sets of parts instead of just one. It seems like every time I get excited about a project like this, I fall into the same trap. I tell myself that once the molds are made, making two is only slightly more work than making one. It's not quite true, but I have yet to really learn my lesson. This is why I have boxes and boxes of unfinished sets of armor laying around.
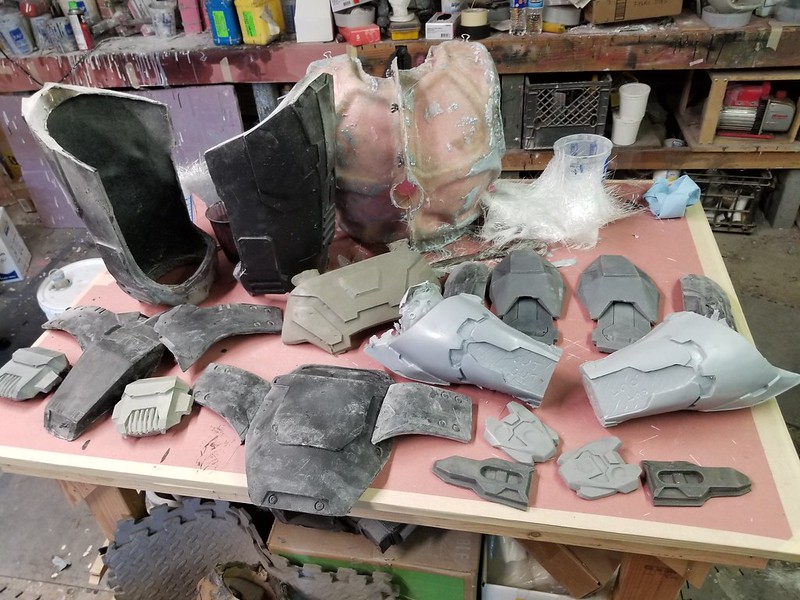
I also decided to make the larger parts out of fiberglass this time around instead of rotocasting them in urethane like we did with the original suits all those years ago. The result is lighter, stronger, and all-around better. Normally I run into problems trying to lay up fiberglass parts in tin cure silicone molds. It turns out that tin cure silicone can inhibit the cure of polyester resins. It also turns out that older molds are less likely to have this issue as the oils dry out of them. Given how old most of these molds were, I figured it was worth a shot. In pretty short order, parts started stacking up:

I also made a couple of extra helmets: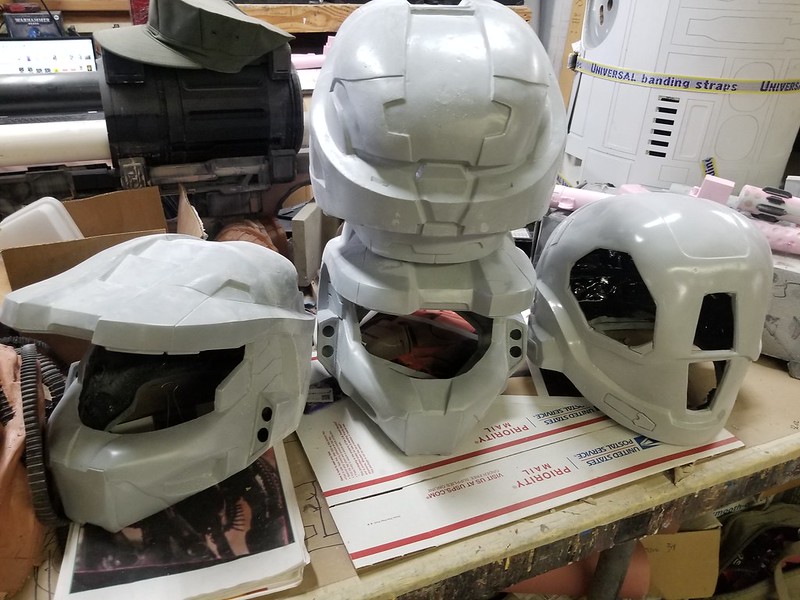
I did most of the rough trimming of the edges myself in the CNC room (where most of the noisy/dusty work is supposed to be done) but had to share some of the fine tuning and smooth sanding with my workshop assistants. Here's another one of the Rachels with a huge pile of itchy and scratchy laid out on a bench:

The back piece was molded with the shoulder sections separate, so assembling it into one solid piece required a bit more fiberglass work. I started by taping all of the pieces together in proper alignment with the chest in order to be sure everything would fit together properly later:

With everything taped and clamped in place, the seams between the shoulder blocks and the backplate were layered over with more fiberglass to make them one solid piece:
 |
|
After that, it was just a matter of smoothing out the surface flaws:


After a bit more consideration, we decided instead on the slightly darker, greayer Rustoleum Royal Blue. After a couple of coats of glossy blue paint, it was time to mess them up. First all of the parts were given a healthy dose of silver drybrushing to make the edges look scratched and worn. Then the black details were picked out in flat black to make them look like some kind of plastic composite before everything was given a healthy blackwash.
Here's a shot of the drybrushed shin (left) next to the blackwashed shin (right):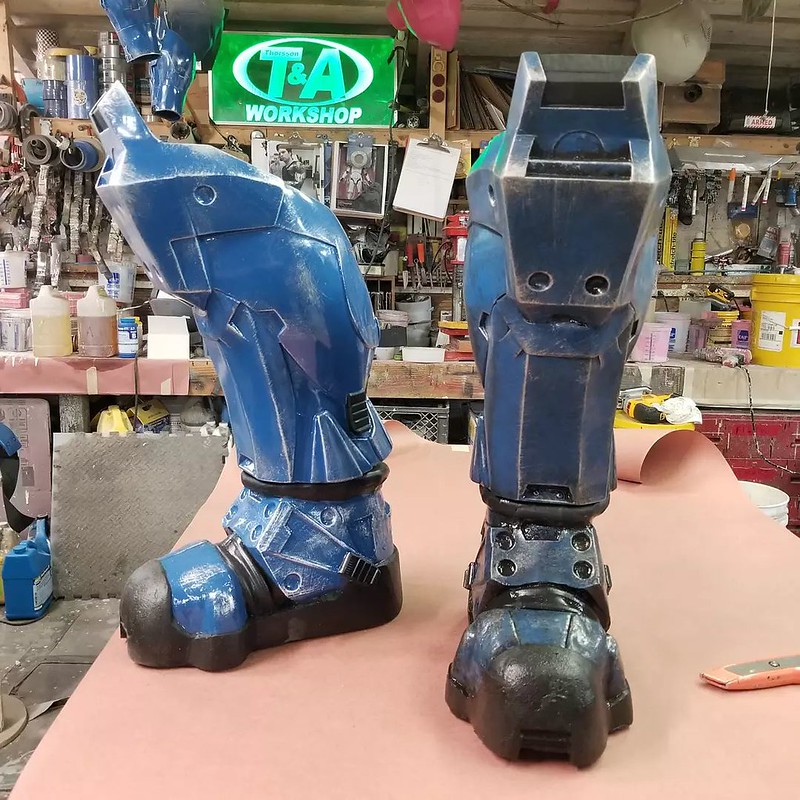

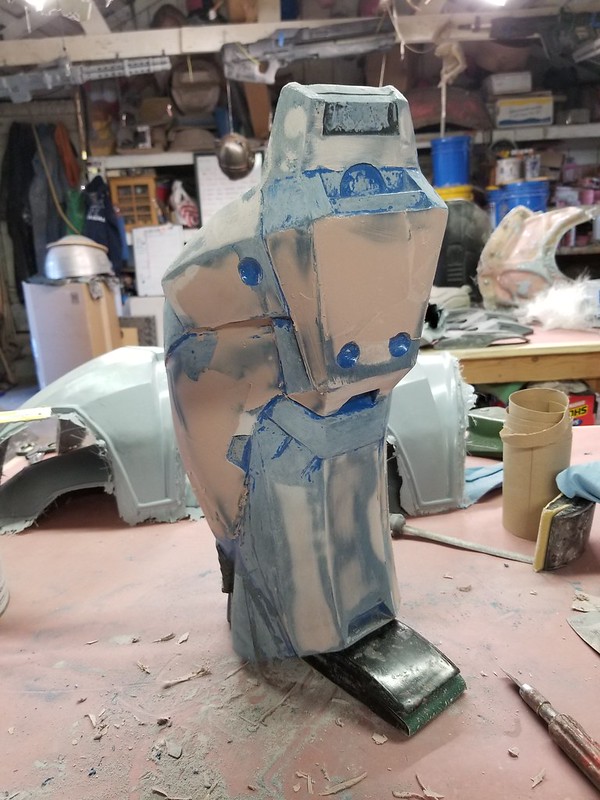
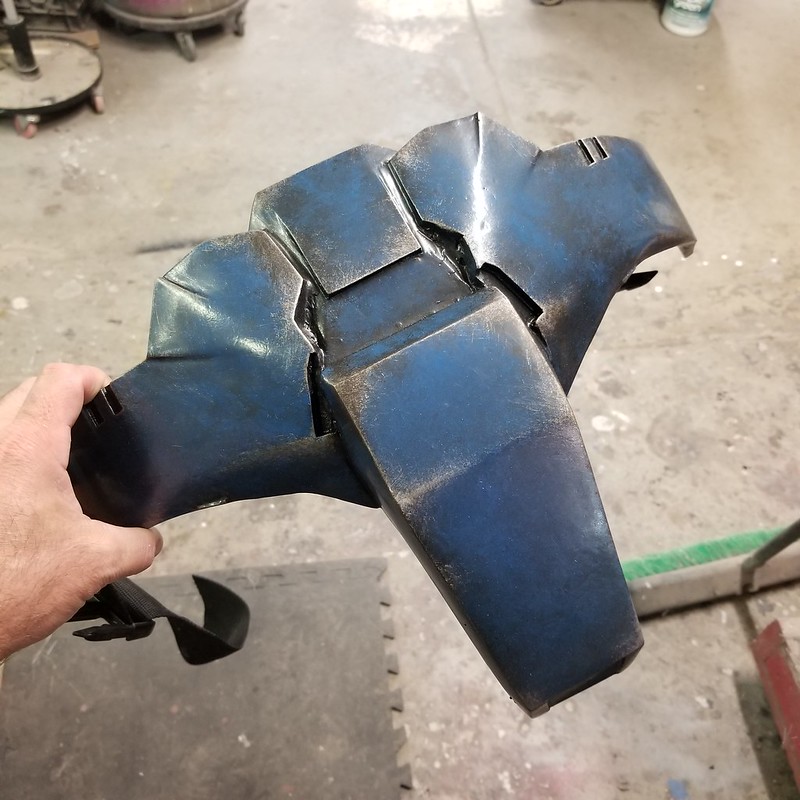
And the front of the iron space diaper:
In no time at all, the loose pile of parts was starting to look like a thing:

Since I was already taking forever to get the suit built, I decided I might as well put in the extra time to add all of the marker lights all over the suit. The wiring was simple enough, just an LED (or four in the case of the knee lights) soldered to a 2-cell battery holder sized for CR2032 button cell batteries:

If you're looking to replicate this assembly, you can get the batter holders here: LINK, the LEDs here: LINK, and the batteries here: LINK.
The LEDs were then glued in place inside the armor, angled to optimize the light cast through the light holes, then bedded in clear resin to diffuse the visible light on the outside. The final effect was just about right:
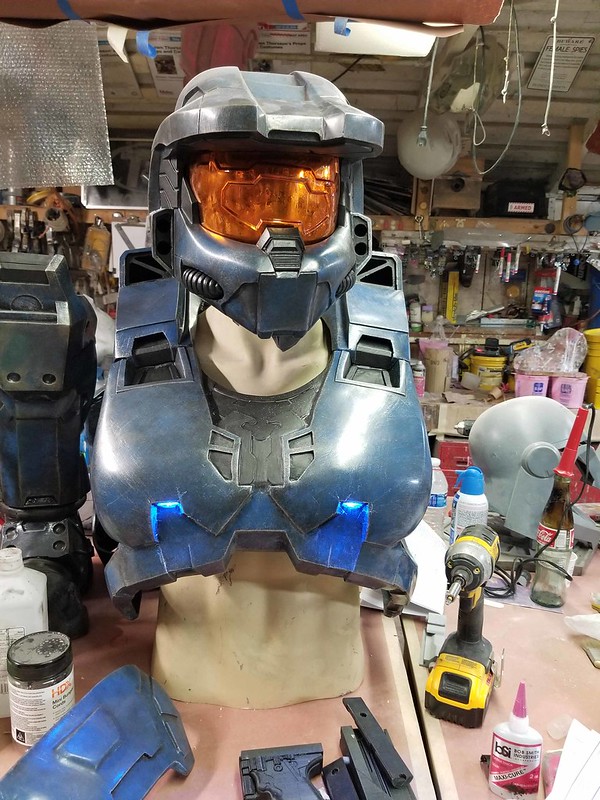
We also wired up cooling fans to help prevent the visor from fogging up and LED headlights in the helmet:

Since I never seem to be able to pour the clear resin into the light holes without getting at least a tiny bit onto the paint, Rachel had to go back and touch up the paint around the edges of most of the lights.
Then the whole thing got a healthy coat of "Dead Flat" clear coat, also from Rustoleum.


Once the clear had dried, I was ready to strap everything together and call it finished. Here's Bill, aka "William-043" all suited up in the shop for the first time: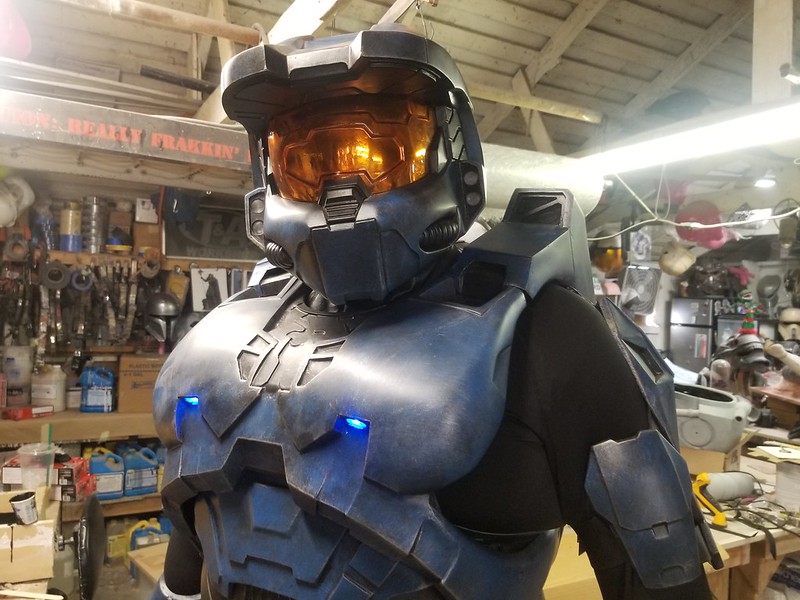
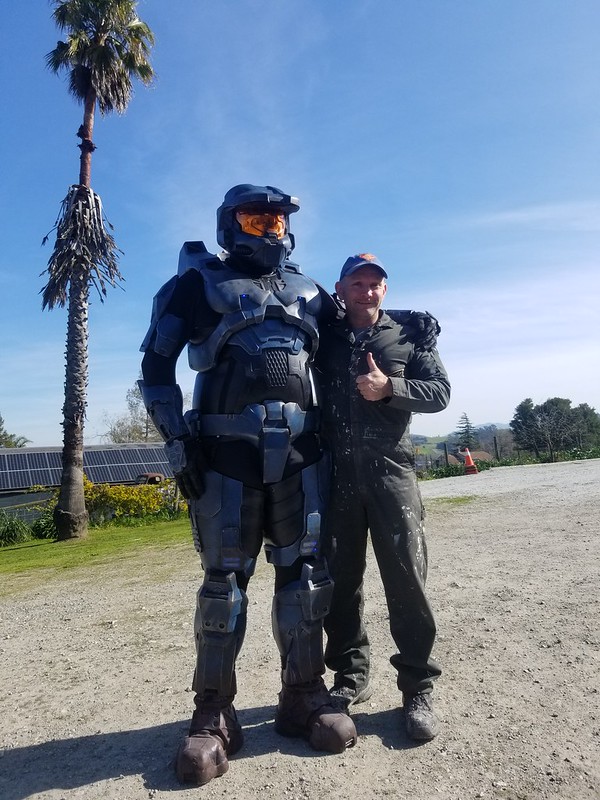
It helps that I'm a little short for a stormtrooper.
In the end, he's as happy with the finished armor as I am:
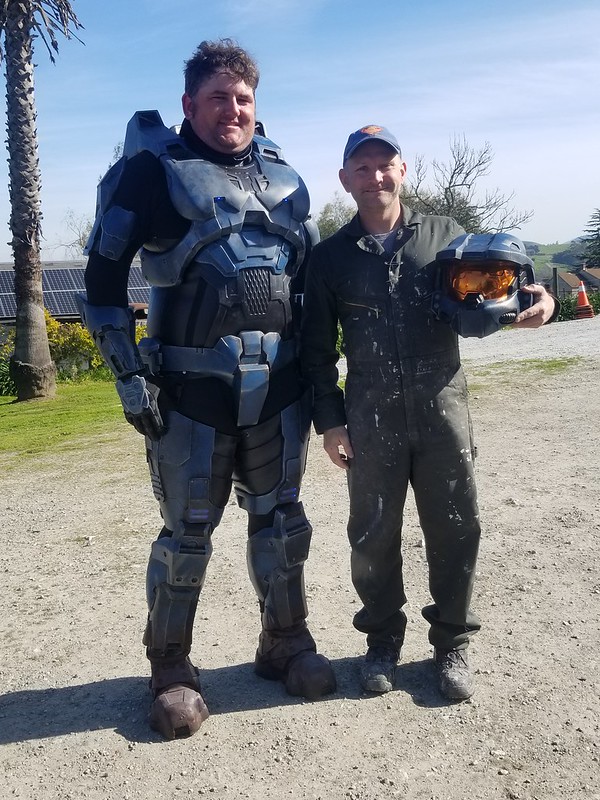
In fact, he has been taking it out regularly for photoshoots at various locations all over Northern California:


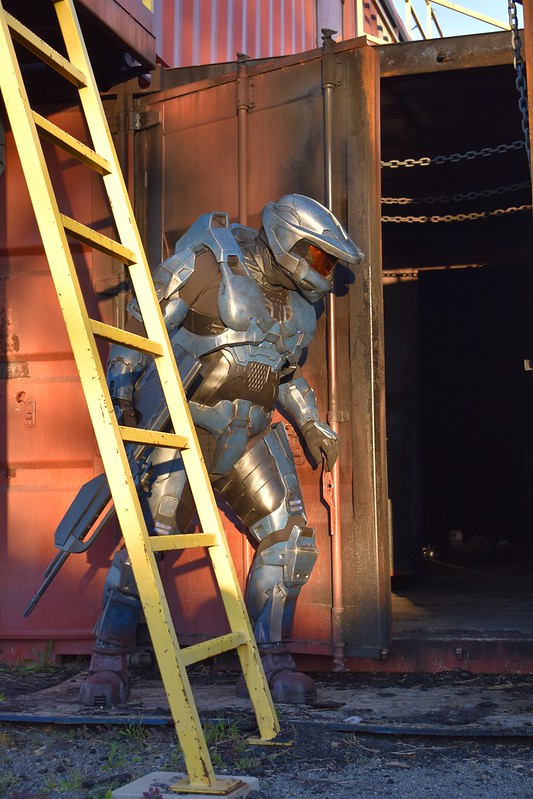
Now that I've made a dozen or twenty of these suits, I can say without reservation that his is the best-looking kit I've made from these molds. It makes me really want to go back through my own suits (I still have Washington, Tex, and Church tucked away in storage) and tune them up again.
Then again, I still have another set of parts tucked away for a whole new build:

Awesome work as always !
ReplyDeleteNice work, mate and thank you for sharing. I'm intrigued as to where you get all your Rachels from. It's something to do with your TARDIS-like storage container, right?! Keep up the good work and stay safe.
ReplyDelete