
This is the fourth and final article describing the various parts of the Kali costume which I built for Hi-Rez Studios to promote their recently released game "SMITE." In case you missed the other parts, you can read them here:
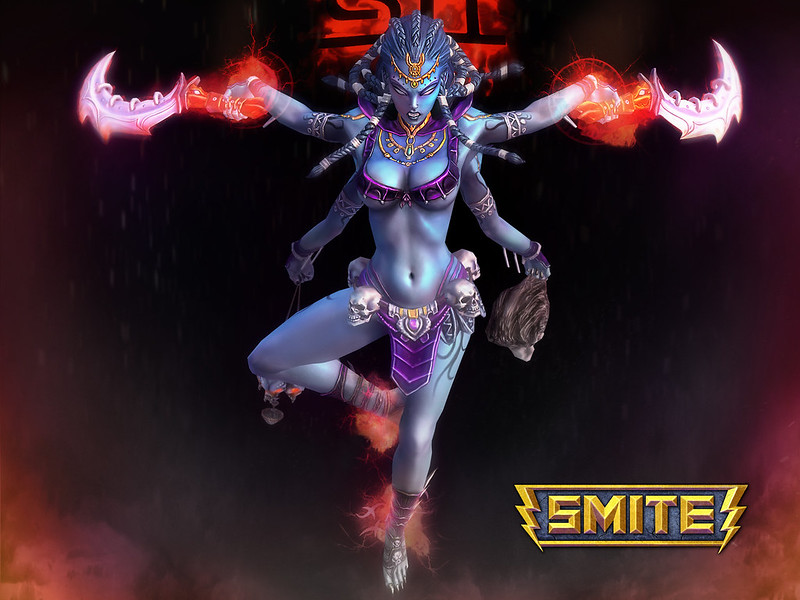
With those bits out of the way, I'm going to detail the making of the skirt, the armbands, the shoes, and the hairdo, as well as the thoroughly entertaining process of turning this girl:

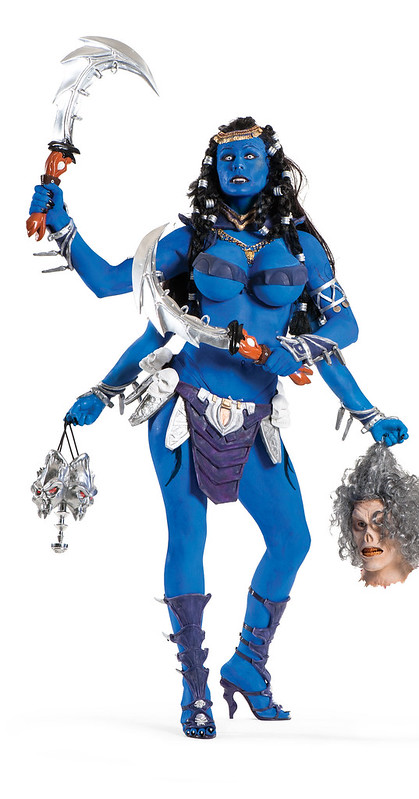
Into this goddess:
If you want to see tons of additional pics as well as the step-by-step description, read on...
The Skirt:
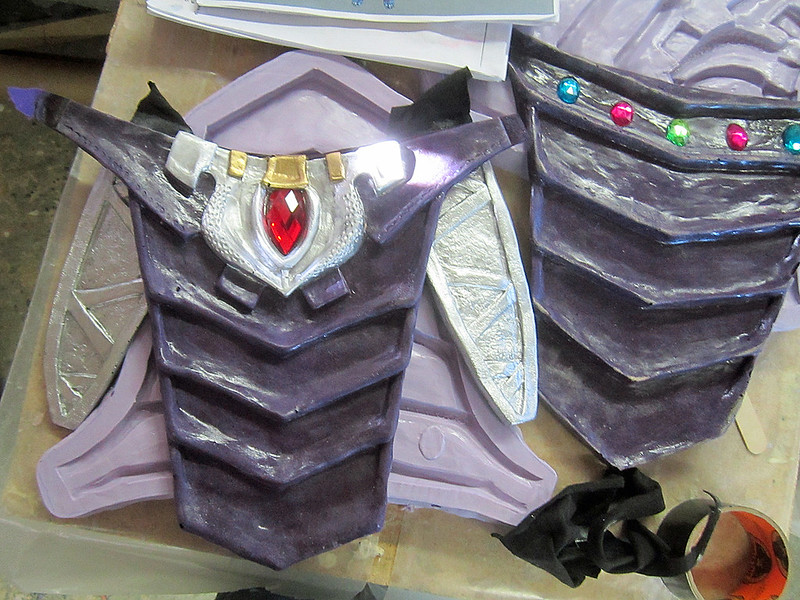
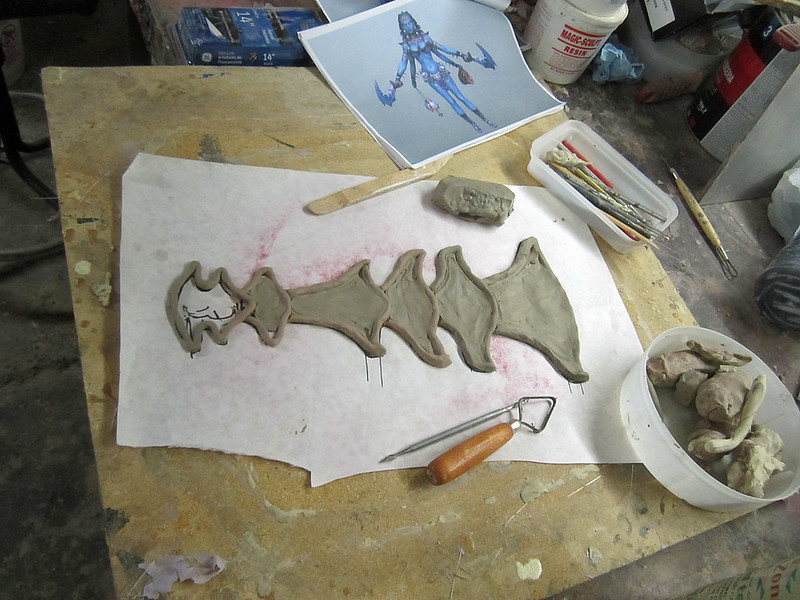
Starting with highly detailed renderings of the on-screen character, I decided to make the skirt in two layers. The outer layer would have the front and back panels (the plurple parts) and the inner layer would be the silver leaf-shaped pieces. Each layer would be worn like a belt with the four skull pieces covering the buckles that would hold it all together.
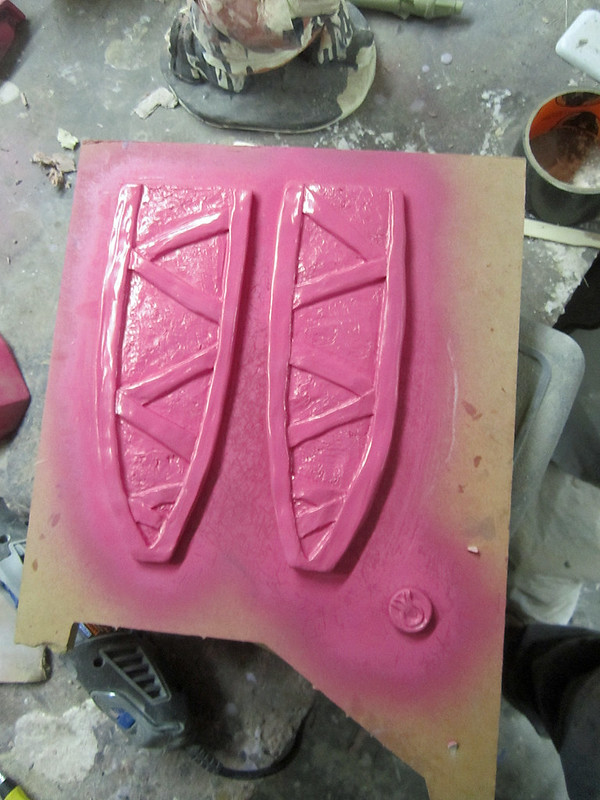
Since the leaf-shaped parts were basically multiple copies of the same two shapes, all I had to do was sculpt two pieces:
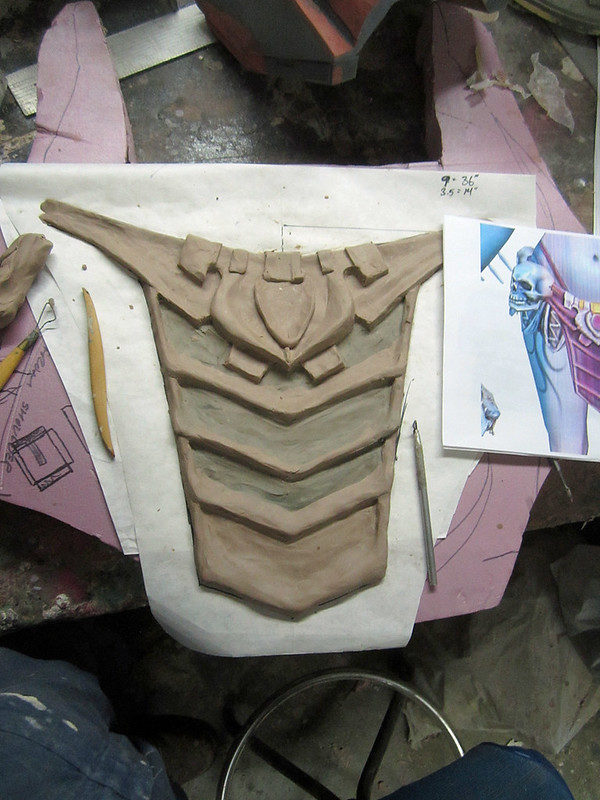
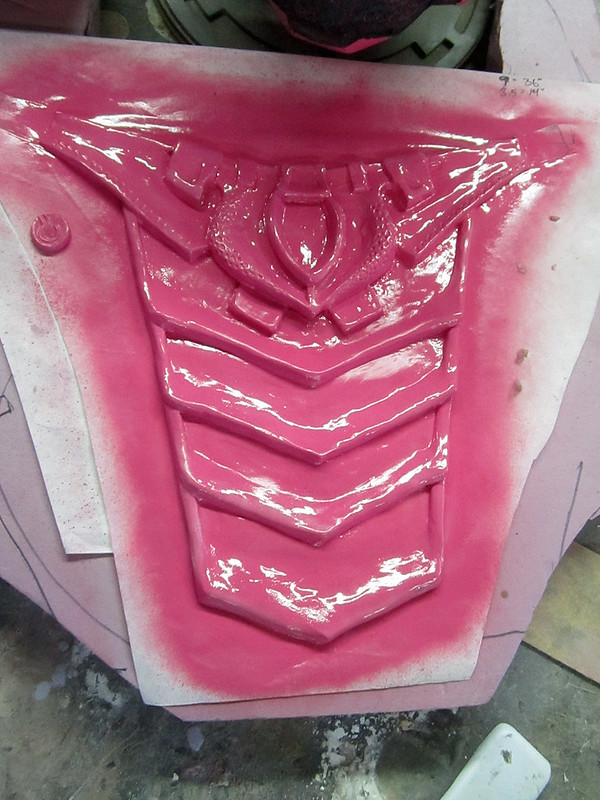
Here's an early shot of the sculpt for the front panel of the skirt:
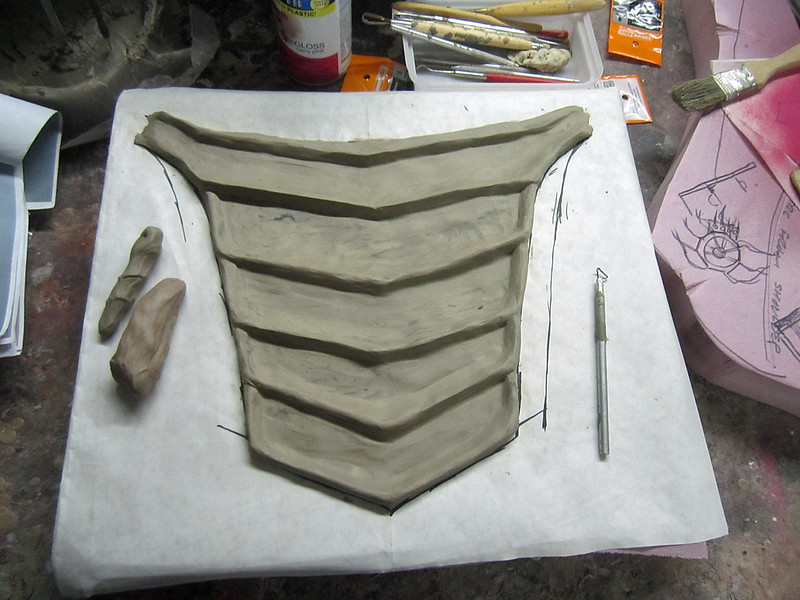
This is the slightly plainer back section in progress:
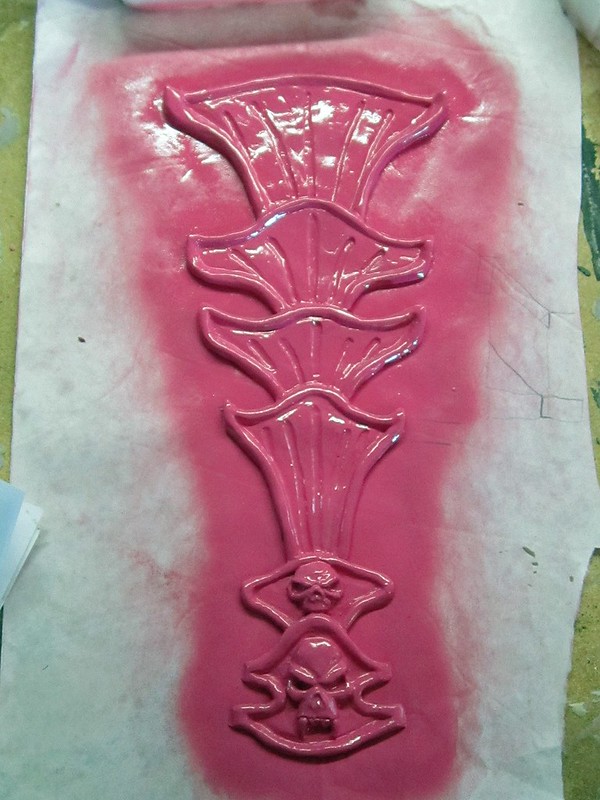
As each sculpt was finished, I sprayed them with a glossy coat of my standard prototype color:
Since I can't have a model walking around in an outfit made of clay, the parts had to be reproduced in a more durable, wearable material. So each piece was molded and cast in flexible expanding foam with a fabric backing.
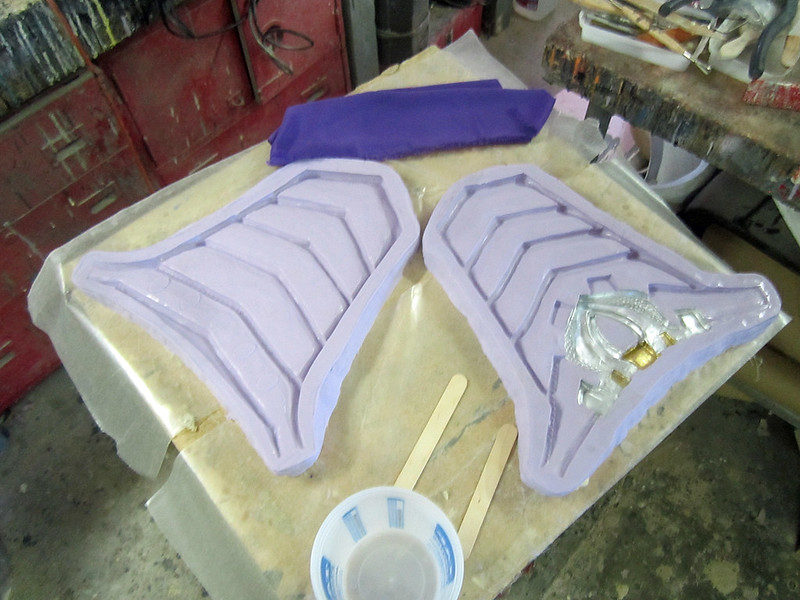
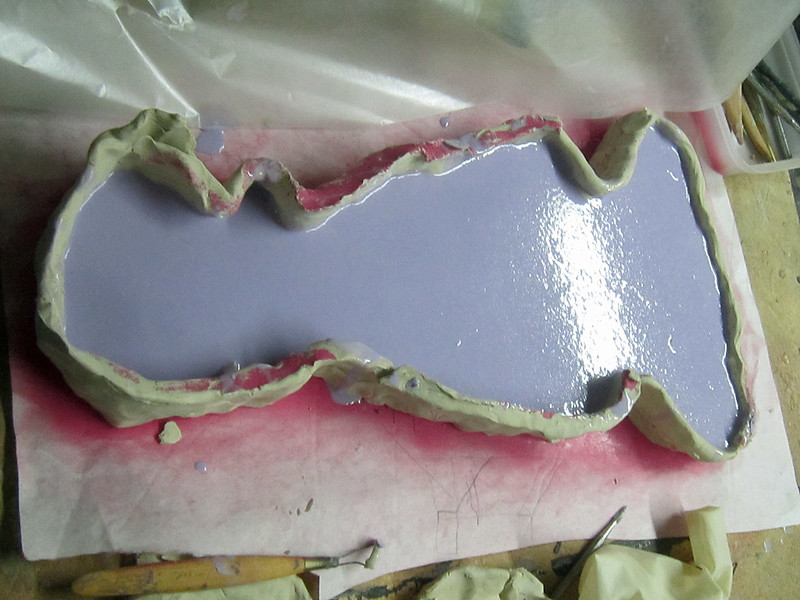
The molds were very simple. I started by building a clay wall around each of the pieces:
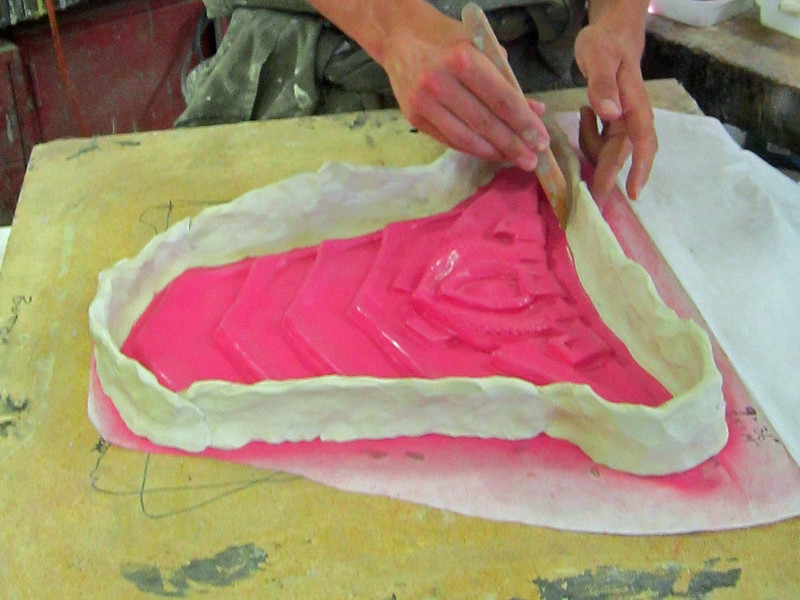
Then I filled the whole thing with silicone:
With the original sculpt removed, the molds were laid out for foam casting. In order to save time, the parts that would need a metallic finish were dusted with metallic powder in order to bond it to the surface of the foam castings:
The foam was mixed, tinted plurple to match the in-game character, and then poured into the molds. In order to give me something stronger to sew straps onto, I laid a piece of plurple spandex over the top of the mold, then clamped a board down over the whole thing to apply back pressure and wait until the foam had cured.
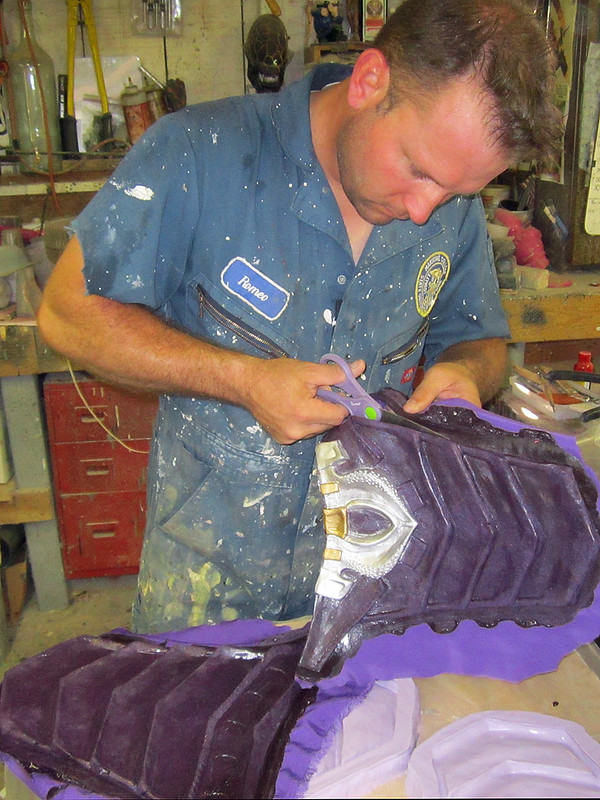
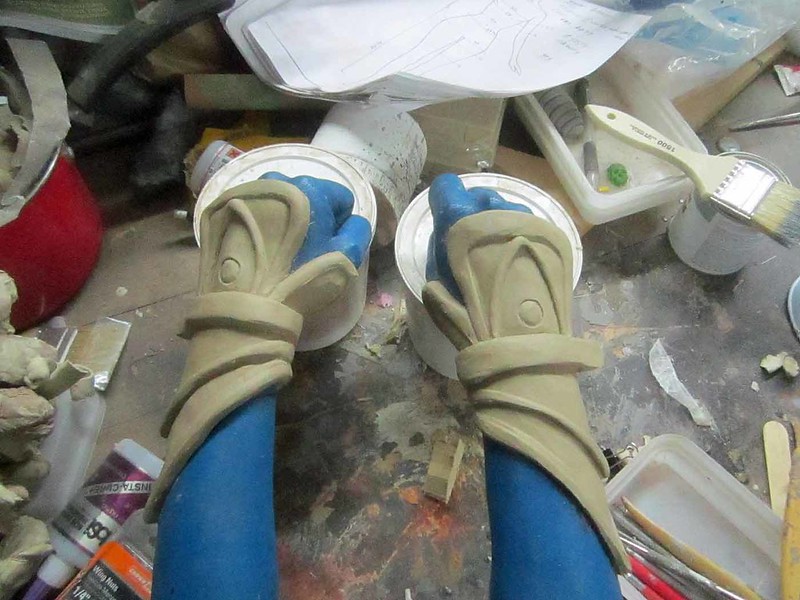
After everything had set, I pulled the parts out of the molds and trimmed off the excess fabric around the edges:
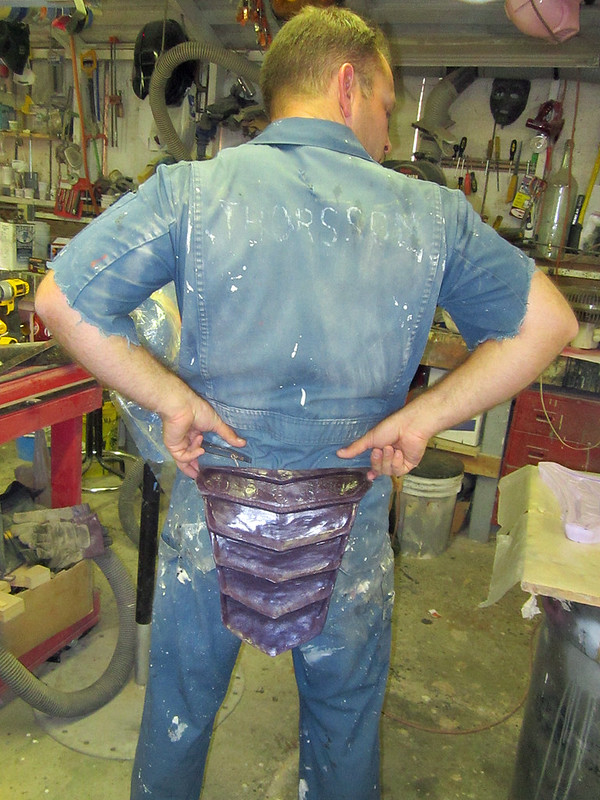
At this point, it's important to test the pieces for a proper fit:
To cover the buckles on each end of the front and back panels, I sculpted, molded, and cast four fist-sized skulls to hang over them:
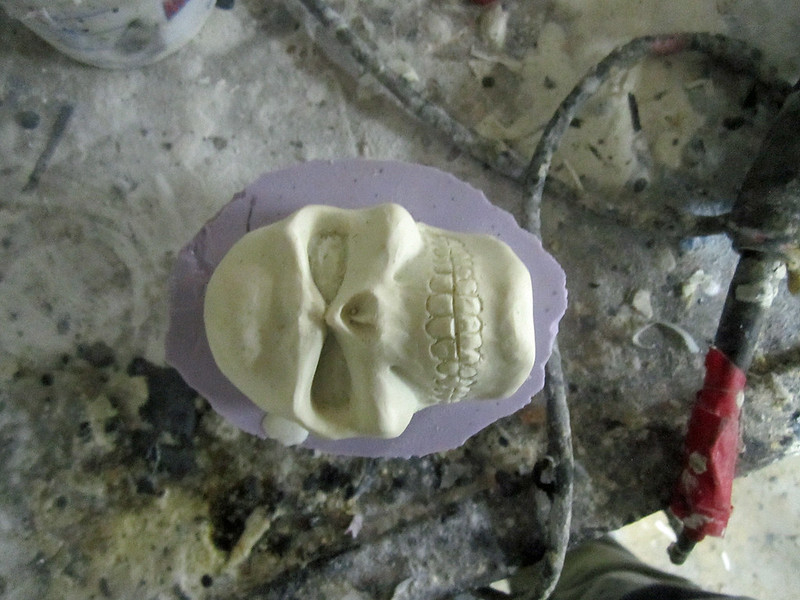
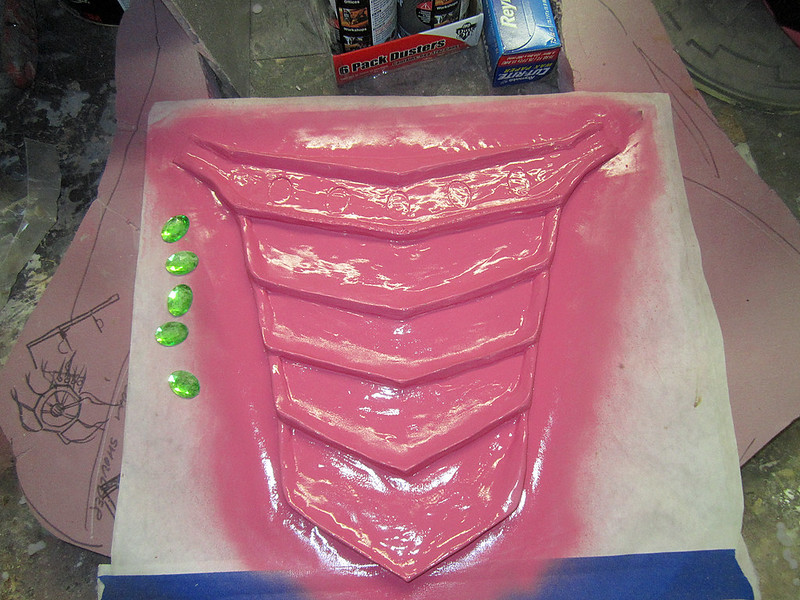
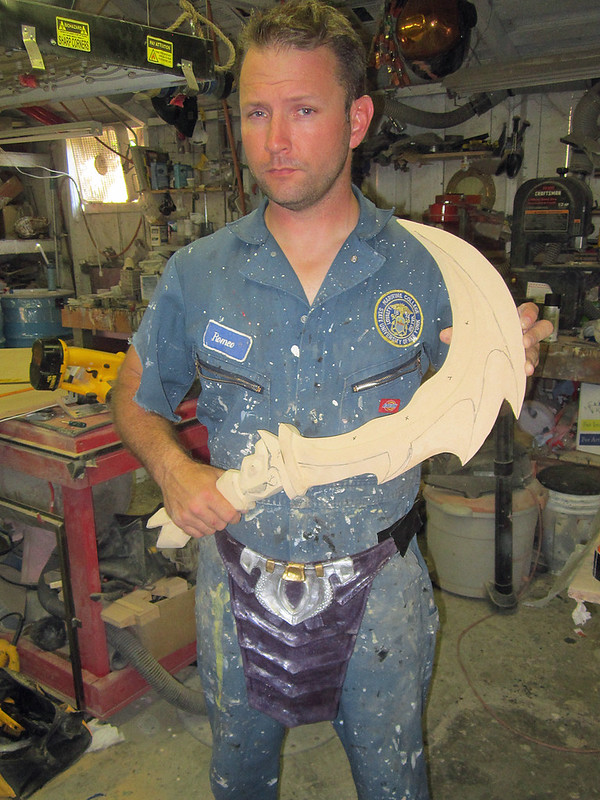
The last step was to fit the faux jewels into the finished parts:
The last step was to fit the faux jewels into the finished parts:
Since no goddess should ever be barefoot, it was time to get started on...
The Shoes
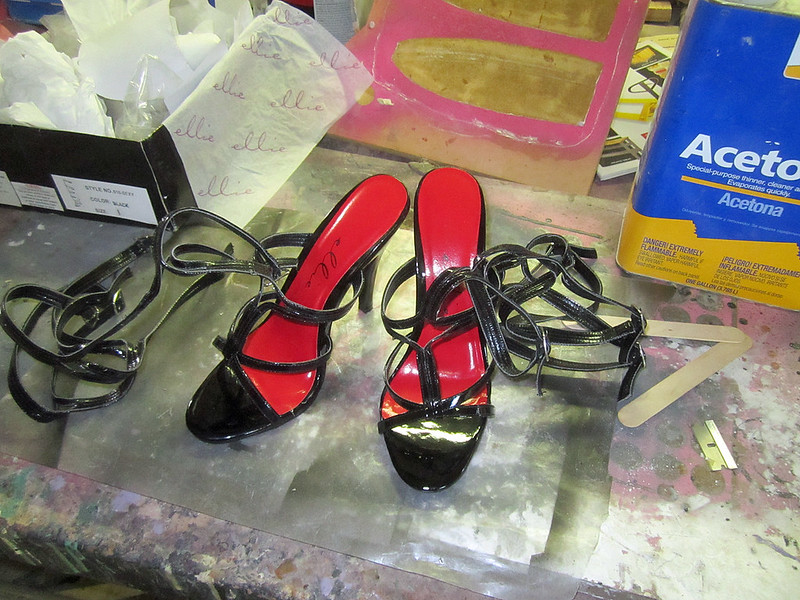
I'd like to say that I made everything about the shoes from scratch. But I couldn't think of any reason that wouldn't point to some sort of serious mental disorder. Instead, I started with a pair of donor shoes:
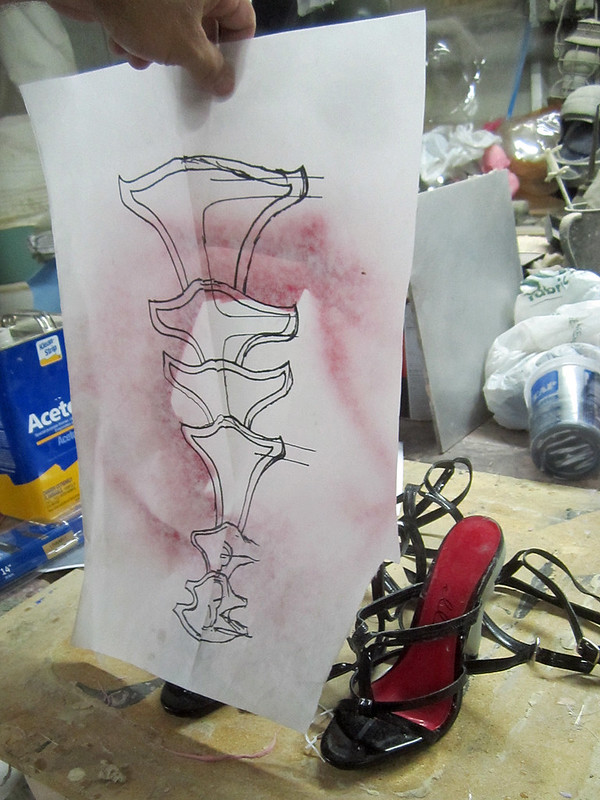
The first step in turning these run-of-the-mill, strappy heels into just what I needed was building the front panel that runs up the shin. I started by laying out a paper template:
Then I went ahead and sculpted the piece I needed right on top of the template:
Here's the finished sculpt:

Of course, I can't really call it done until it's prototype colored:
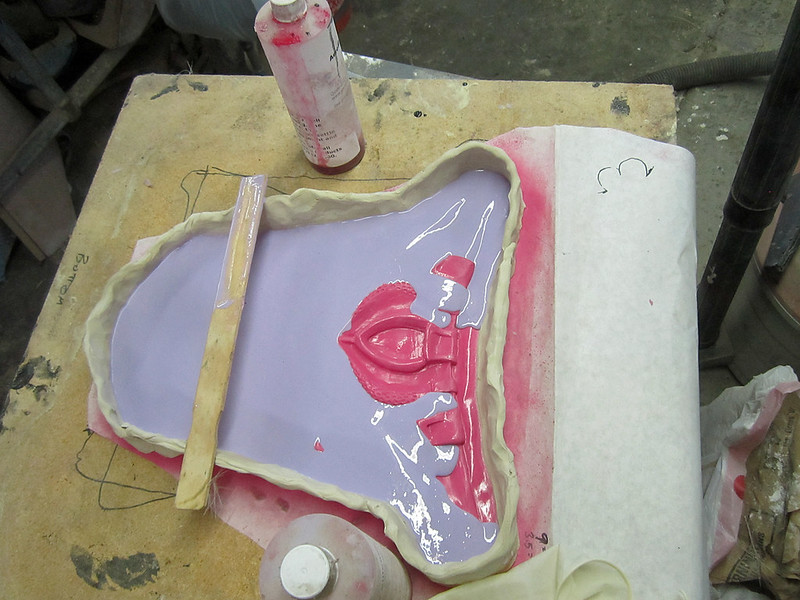
The shin panels were molded and cast in the same manner as the skirt panels. Here's the silicone mold after it was poured:
With that part out of the way, it was time to modify the heel. Using "Magic Sculpt" a two-part, epoxy-based sculpting putty, I turned the skinny, normal-looking heel into this:
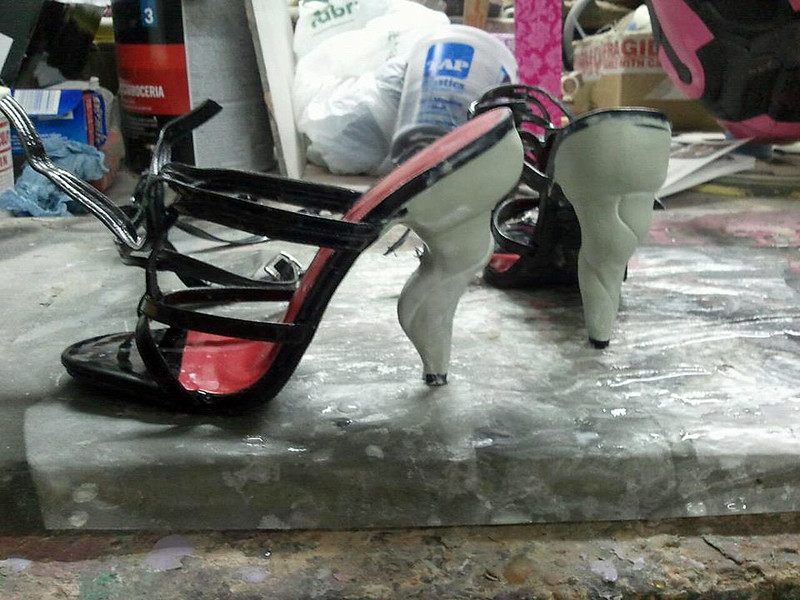
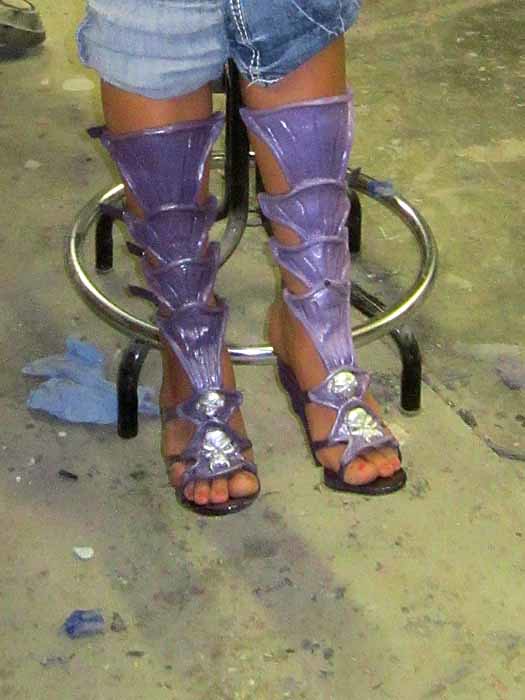
Then the black parts of the donor shoes were painted a gloss plurple and I stitched and glued the shin panels into place on the front straps and had my model try them on:

They looked the part:
The other parts were done in much the same manner, including the collar:

And the bracelets:
With the scant wardrobe done, I moved on to...
The Hair
In order to save he hours involved in doing up the model's hair every time the costume would be worn, I opted for a wig. Since "hairdressing" is not currently in my skill set, I opted to have the wig done up for me at T-Block Studios, my go-to hairdresser in this sort of situation.
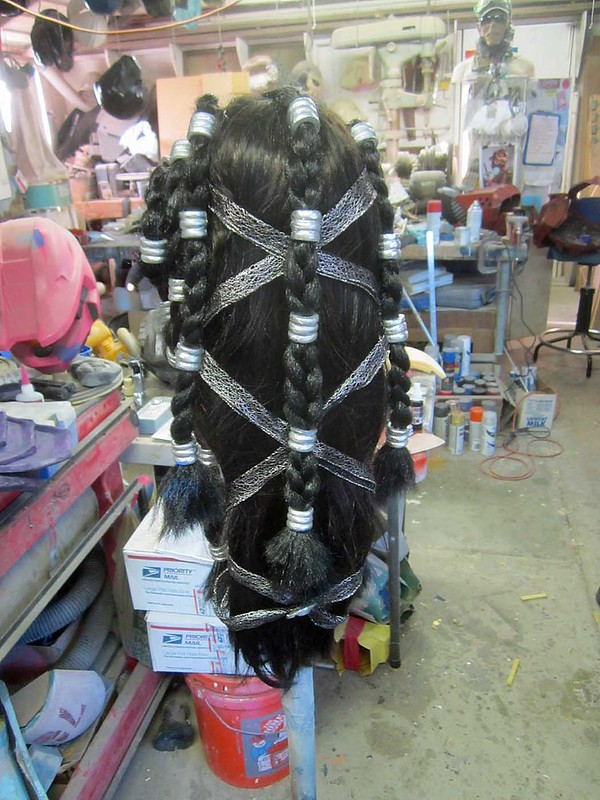
I made a set of rings to slide onto the braids. Laura at T-Block did the rest of the work. Here's the whole thing all done:
At this point I realized I'd neglected to address the character's pointed ears, so it was time to make...
The Ear Prosthetics
By now I'd done more lifecasting for this project than I'd done in the previous two years. So, since I had the model in the workshop for a minute anyway, I had her put in some earplugs, and mixed up some alginate to pull copies of her ears in Ultracal 30.
Here's a quick photo montage showing the process:
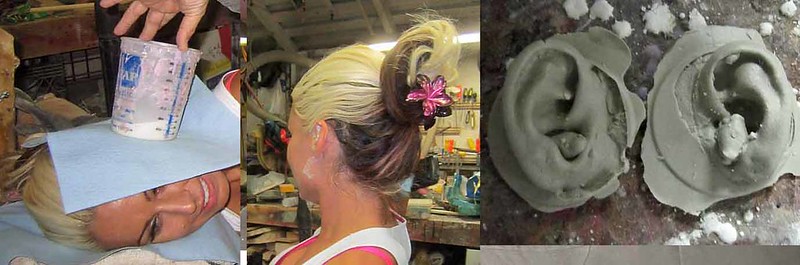
The pointed ears were then sculpted onto the stone castings in oil-based clay. After that, I pulled a mold and cast copies in Dragonskin silicone with blue pigment to match the rest of the character.
Here they are after being glued on during the makeup process:
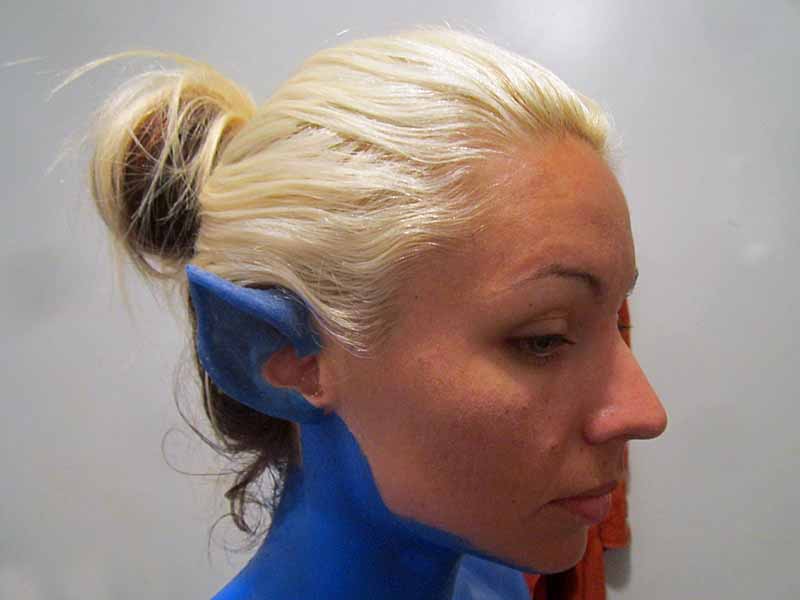
Here's another "during" picture of the make-up process after the contacts were in, but before the ears were fully blended in or the eyebrows were penciled in:
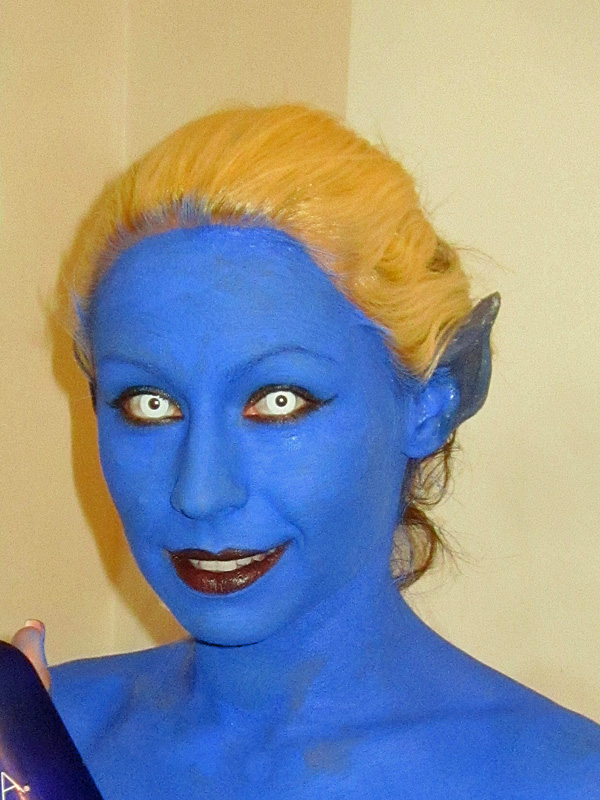
Once the make-up was set and the wig was on, all that was left was to get her into the studio for photos:

I think she came out pretty well.
The finished photos are courtesy of MAKE Magazine. You can pick up a copy of the issue she was in (along with oodles of other costumes I made) HERE.
.
More insane projects every few weeks. Be sure to subscribe so you don't miss any updates.
Insanely beautiful work yet again Mr. Thorsson! Bravo!
ReplyDeleteWhat kind of clay do you use? Do you reuse it over again or does the pink paint peel off?
ReplyDeleteAll kinds. In this case, I'm using oil-based clay. I forget the brand.
DeleteMy favorite is Monster Makers oil-based clay, but the cheapest I've found is a plasticine from Columbus Clay.
I re-use it. Some of the paint flakes off, but the rest just gets blended in. Eventually the clay is contaminated to the point where it becomes useless. Then I toss it or heat it up and strain it.
hi, I'm working on the new kali and found your blog. first of all: I love your work it's stunning and very motivating! <3 but I have a question: how exatly did you attached the 2 pair of arms on the back. I saw the back-holder but I would love to have more details.
ReplyDeletethanks
When I cast the arms, I had a galvanized steel armature that was inserted into the mold before I poured in the foam. Once the foam had set up, I dug out a cone-shaped hole around the shoulder end of the armature and filled it with urethane resin. This provided a hard plastic area that I could drive screws into.
DeleteI ended up pre-drilling it and using drywall screws driven through the back plates into the resin block inside the shoulders on the prosthetic arms.
I hope this helps. If you have any other questions, please feel free to email me at sthorsson99@yahoo.com.