
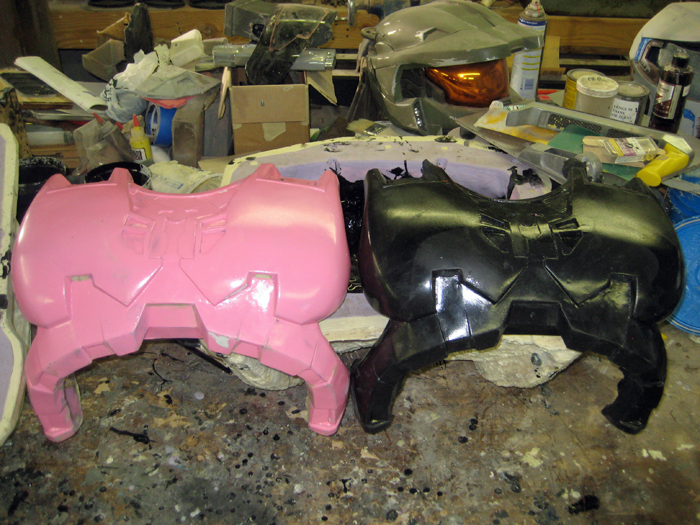
The details were perfectly reproduced and the first pull was reasonably strong without being ridiculously heavy.
The problem was that the rotocast pull had a very uneven thickness. On closer inspection, the edges were far too thin and would be prone to cracking. To keep this from happening again, I decided to make the one-part mold into a two-part mold so that it will form the inside and the outside of the chest armor all at once and so I can plan where I want the thickness to be built up, reproducing pieces of the same strength every time.
The first order of business was to grind down any overly thick parts inside the first pull, then blow out all the dust and build up the thin parts with some oil-based clay I had laying around. Grinding out the excess resin made quite a mess:

Here's what it looked like when I was happy with it:
After that I had to fit the whole thing back into the jacket mold and reassemble the mother mold over the whole thing:
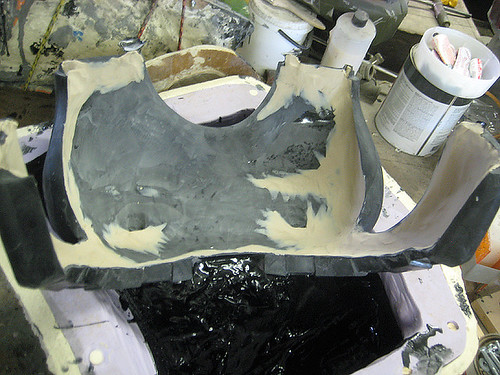
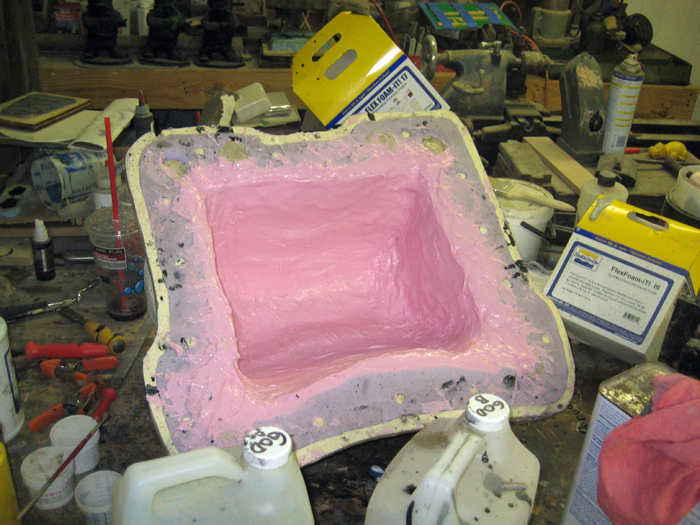
After applying a mold release to prevent the old silicone from sticking to the new silicone, the next step was to trowel on a thick layer of brushable silicone:
Once I'd filled in all of the deep voids and undercuts, the next step was to let it cure overnight before adding in a thin layer to smooth out all of the tiny ridges and holes:
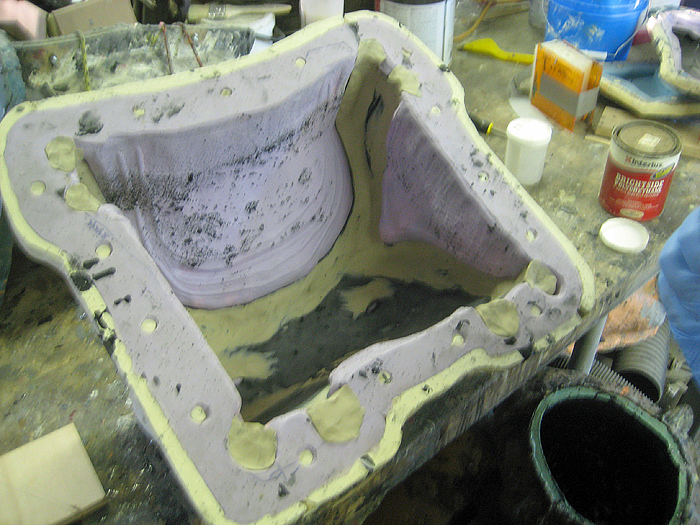
Once this set up, the next step was building a block of mothermold material to hold the inner rubber jacket in place. Here's what it looked like once it cured and I'd wrestled it back out:
Here's the rubber jacket mold without any of the rigid mothermold elements in place:
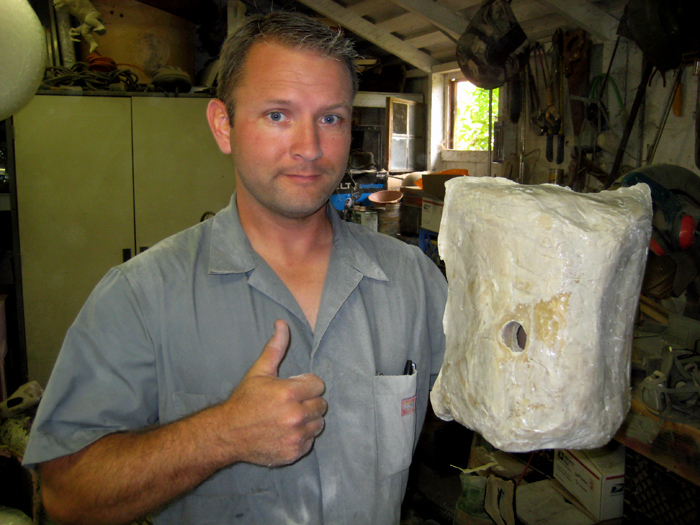
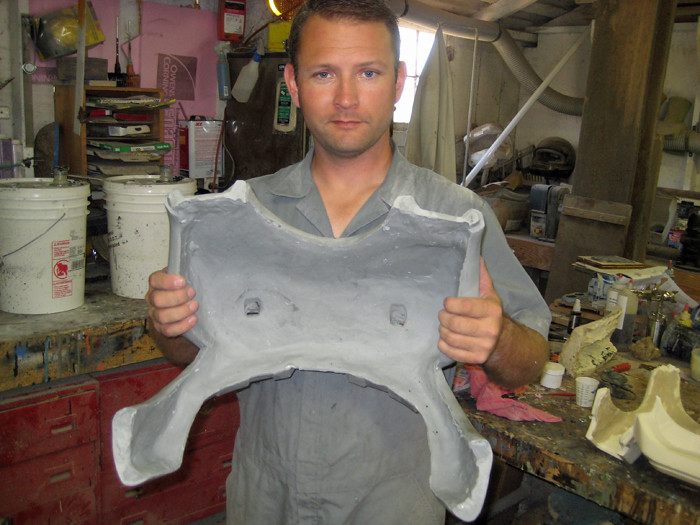
Once everything was bolted back together all that was left to do was to pour some resin into the mold and make sure it works. Here's the first pull coming out of the mold:

Here's what the inside looked like:
Here's my friend Matt wearing it:
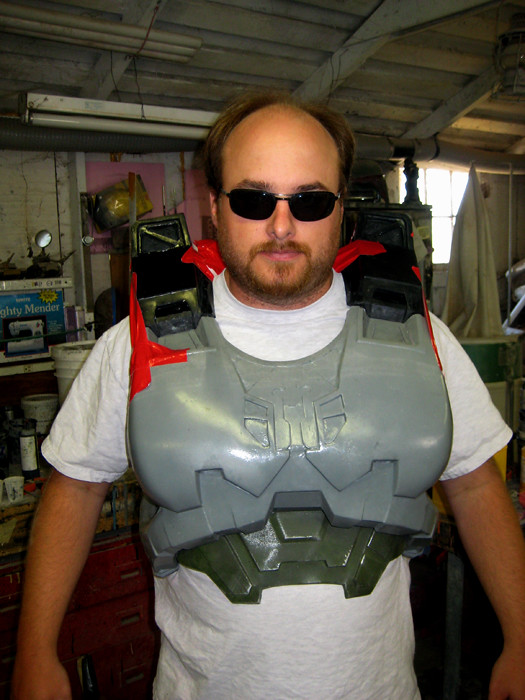
And finally, here's a picture of me testing it for strength:

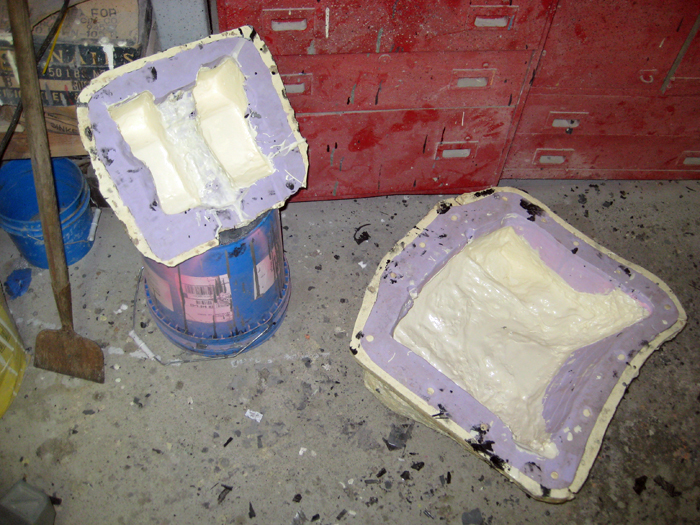
With the chest molds fully functional, the next step was to make a throwaway cast of the back and shoulder boxes and repeat all of the same steps. Here's the one-piece molds with the rotocast copies poured in:
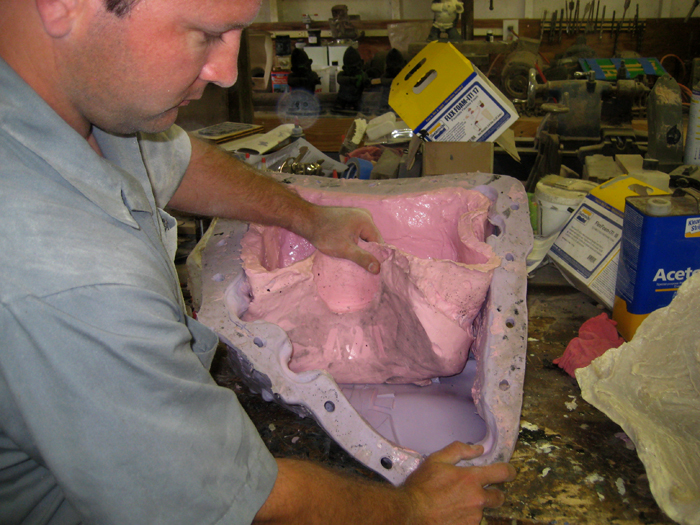
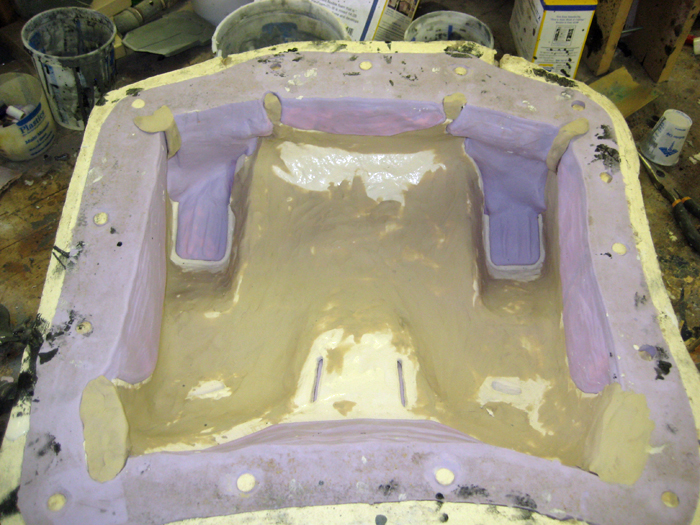
Here's the back piece with clay molded in to fine-tune the inside:
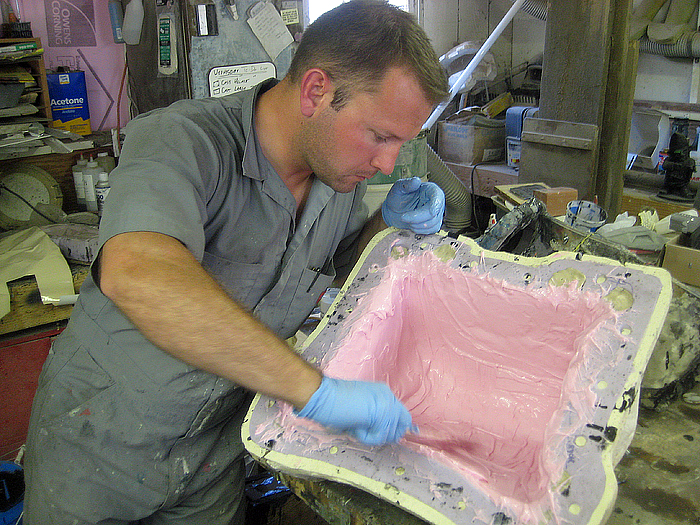
And here's the back mold with silicone brushed in to repeat the same plan as the chest pieces:
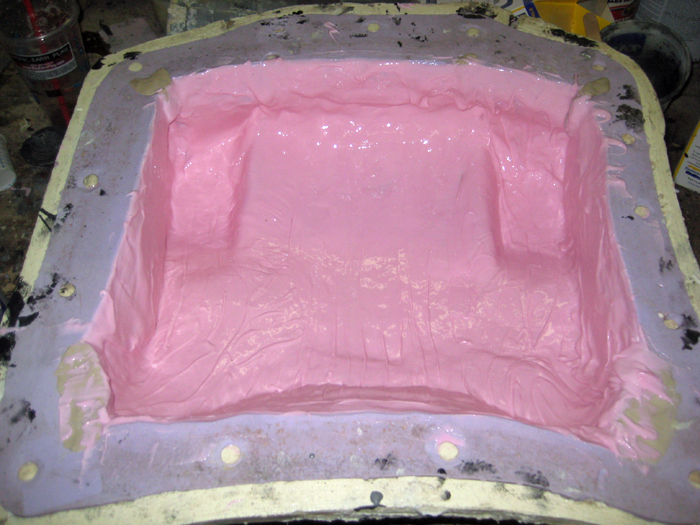
I still have to make a mold plug to keep the inside of the mold in place, but the process for the back and the shoulder boxes will be exactly the same as the chest piece, so it's hardly worth writing about.
While all of this has been going on, I've been lucky to have the willing and enthusiastic assistance of my niece Skylar. The only problem is when I stop paying attention for a moment, then turn around to find out she's playing with all of my toys:
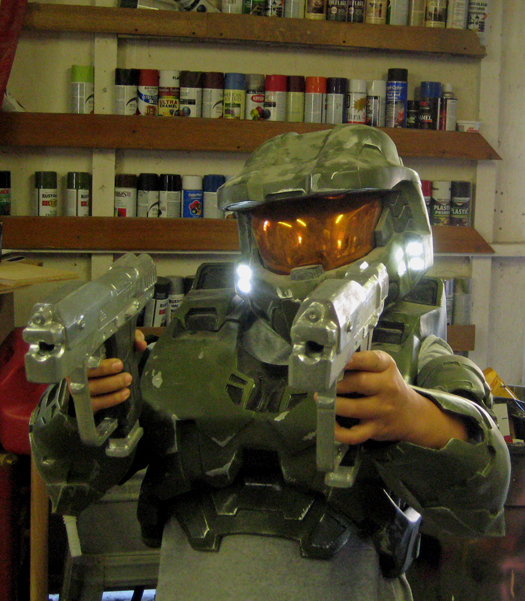
To keep her busy, I've got her started working on a helmet of her own. More on that when there's been a bit more progress.
Stay tuned...
dude your skills are amazing.....would you make and sell more casts of the helmet and chest piece...well actually the whole armor? if so, how much would you sell it for? thanks ryan
ReplyDeleteyou can get back to me by email
gotenks79@hotmail.com