Now it's time to talk about her belt. Depending on which render of her you find, her belt changes quite a bit from one image to the next. I suppose some folks might get frustrated by the lack of standardization, but for me this is just a bit of license to be creative and do what I want.
In any case, the first thing I'd have to do is head out to one of my favorite places to get leather: the Tannery:
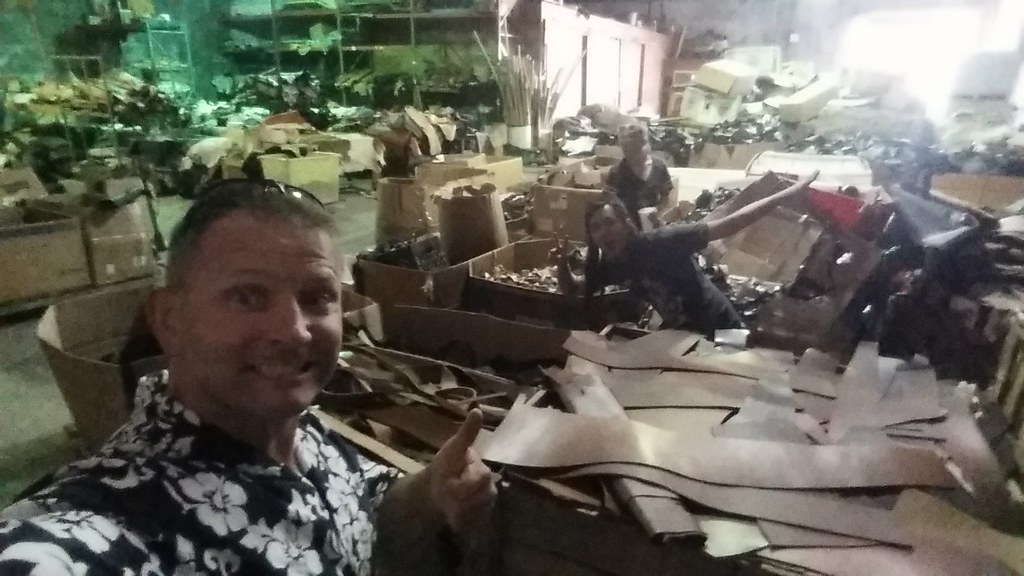
This is the warehouse at Barta Hide in Petaluma where you can buy off-cuts and scrap leather by the pound or you can get full hides in a variety of colors and thicknesses. If you can get over the smell, it's awesome. Pro tip: go on a day when the temperature and humidity are a bit lower. Your olfactory nerves will thank you.
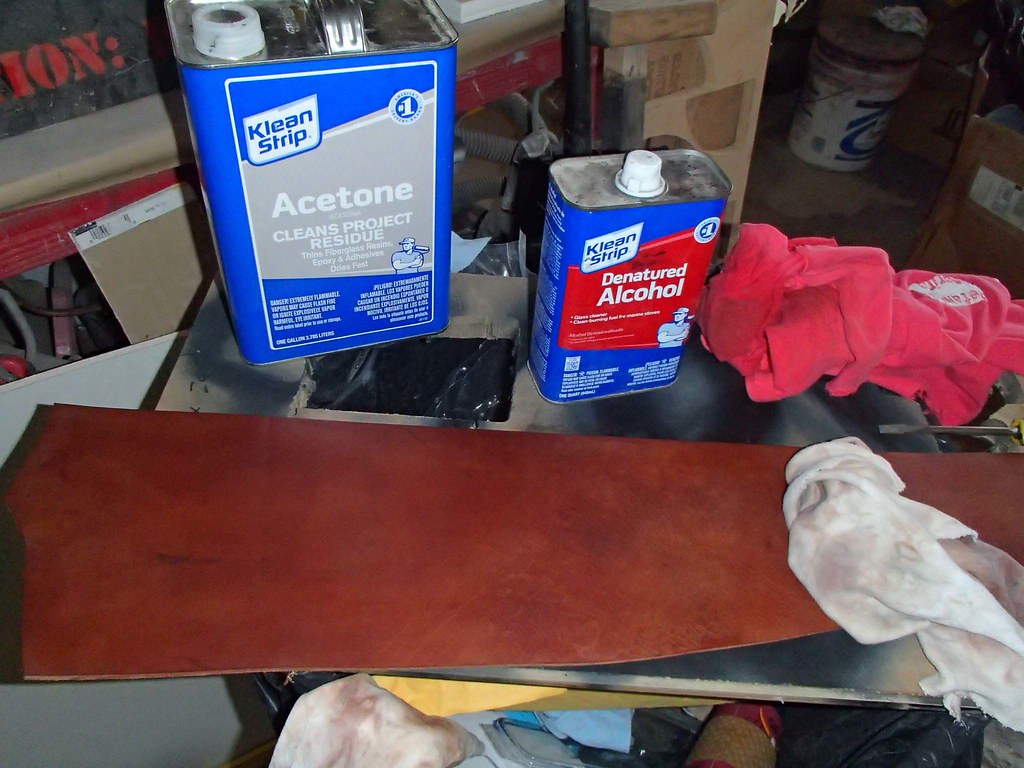
After picking up a few large, thick pieces of leather that I was happy with, the next step was to remove the existing finish. For this, I soaked the surface with denatured alcohol, then scrubbed with a rag. For some of the more tenacious spots, I used acetone:
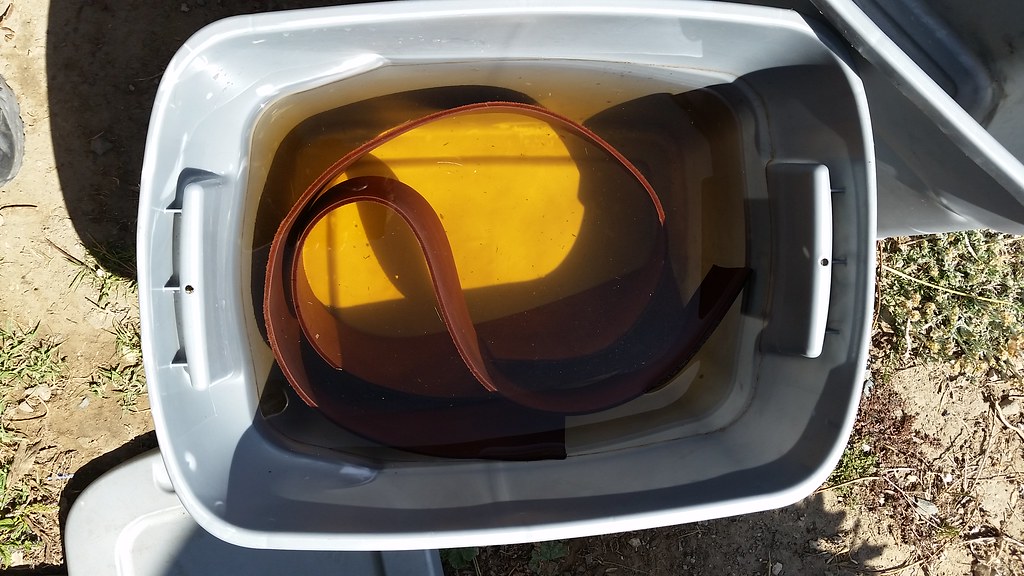
After the surface was stripped, the leather was "cased." This basically means I soaked it in water for a couple of nights. Here it is after just a couple of hours when the remaining dye started leeching out of the leather:
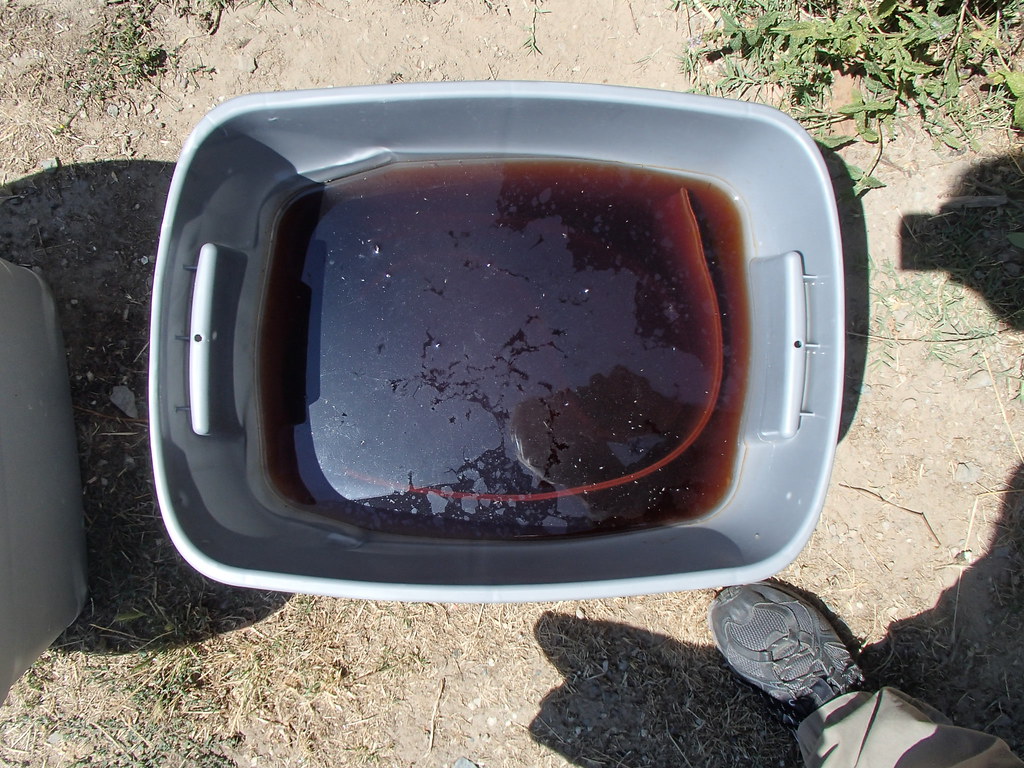
After leaving it overnight, it looked like so:
I also picked up a basic set of leather carving tools:
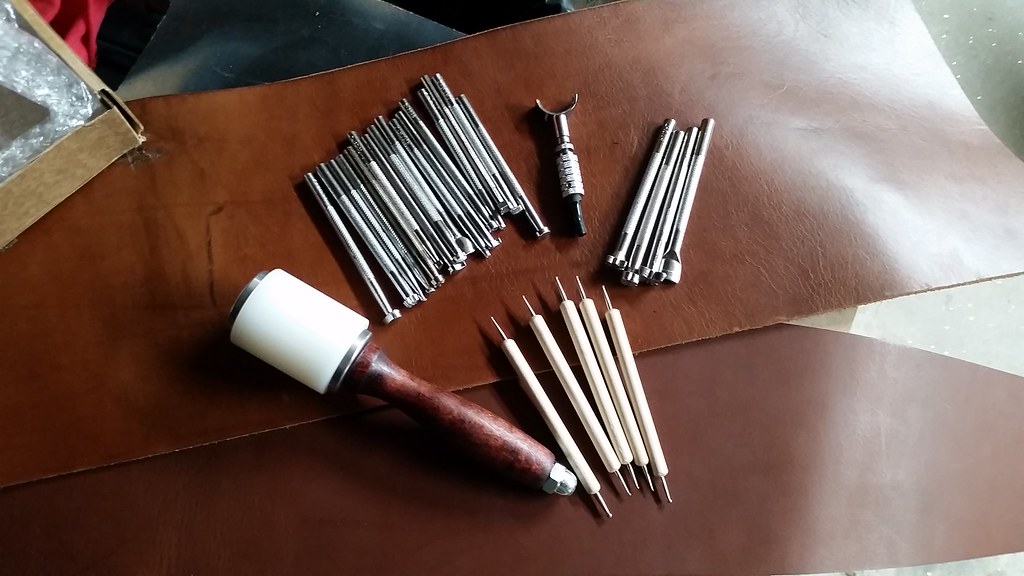
I got the whole set here: LINK.
The next step was to learn how to use them.
The process begins with a design copied onto tracing paper. Then you use a stylus to transfer an impression of the design onto the leather. With that done, you use a swivel knife to cut the lines of the design partway into the leather.
The next step is to use the tools and mallet to dent the surface of the leather wherever you want ot darken it by adding recesses.
There's a lot more to this, but I'm only just learning at this point. Here's how my first attempt came out on a scrap of leather:
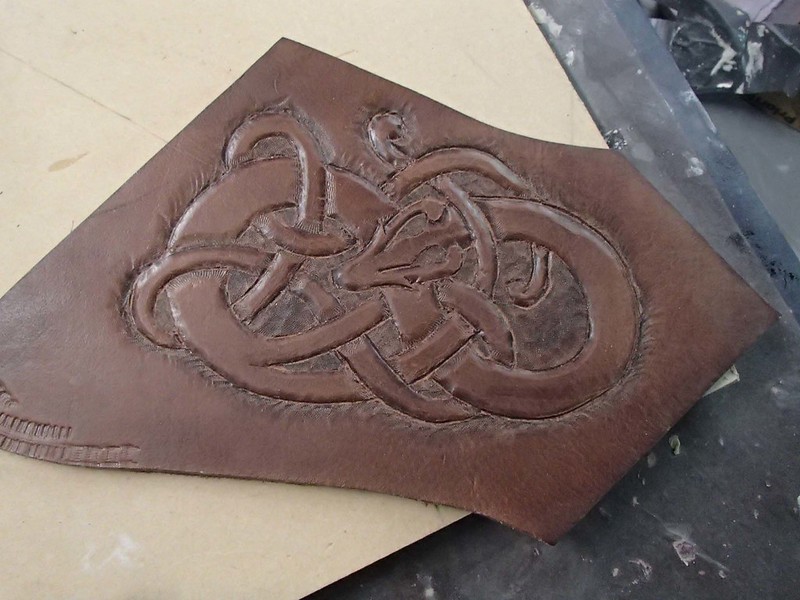
And here's my second attempt
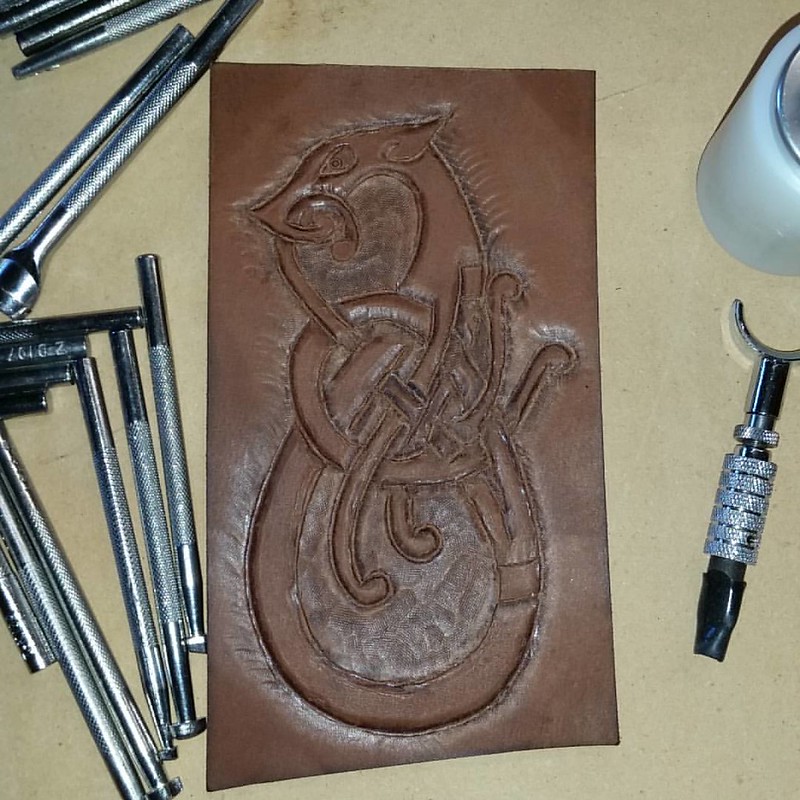
Not terrible for a beginner I suppose:
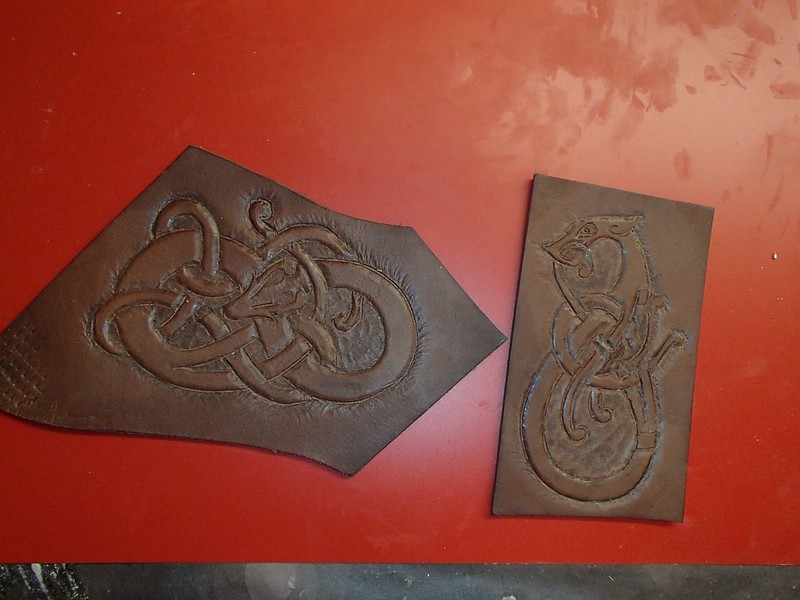
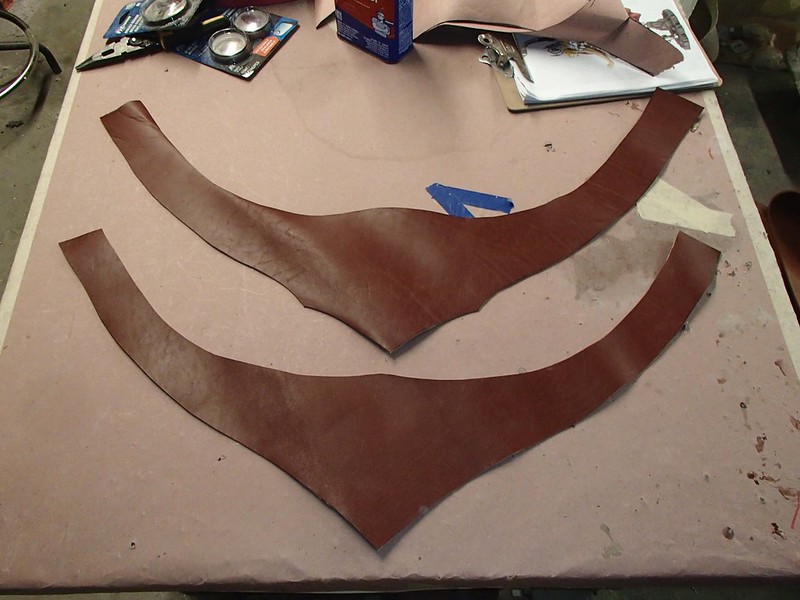
Having learned the very basics of leather tooling, I figured I could go ahead and make the Thor belt. I started by cutting out two different versions:
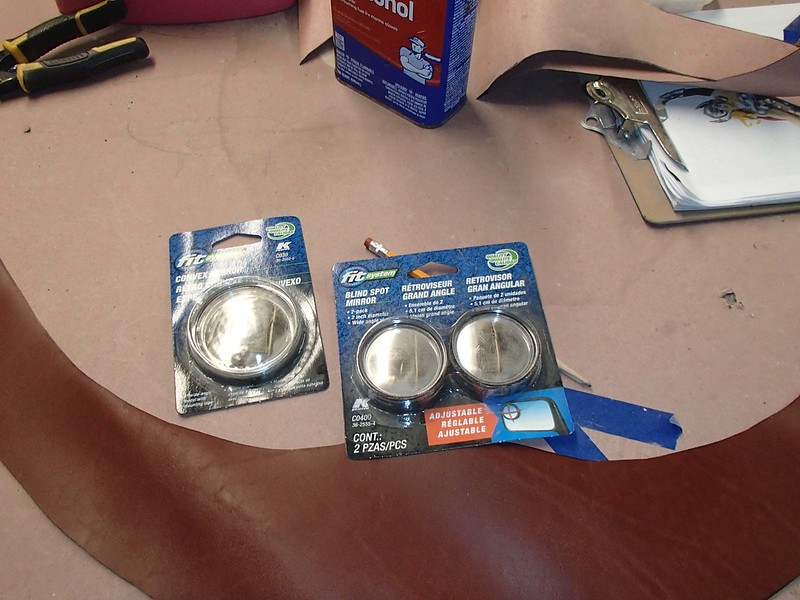
Then I got myself sidetracked thinking of the shiny metallic discs that are mounted on the belts. I decided that I could get away with some of these little blind spot mirror domes from the local auto parts store:
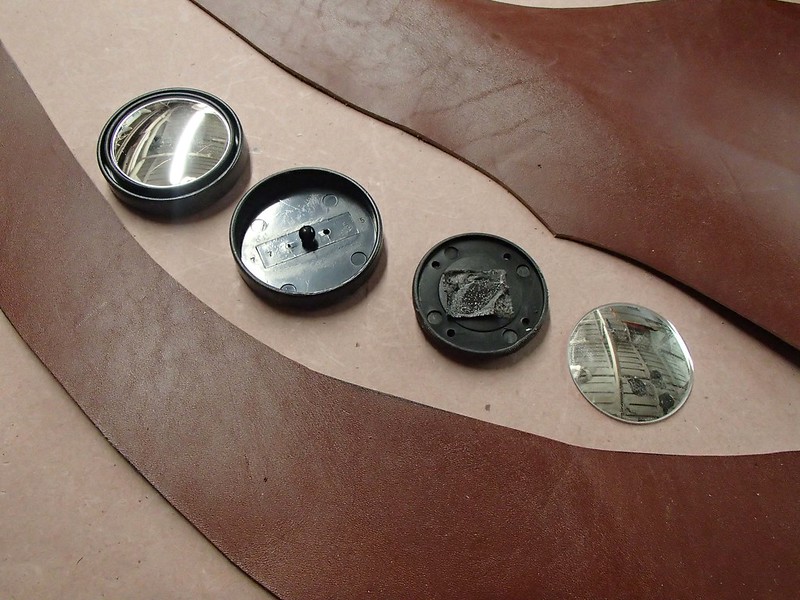
With the mount and frame removed, they're just about perfect:
They also come in different sizes:
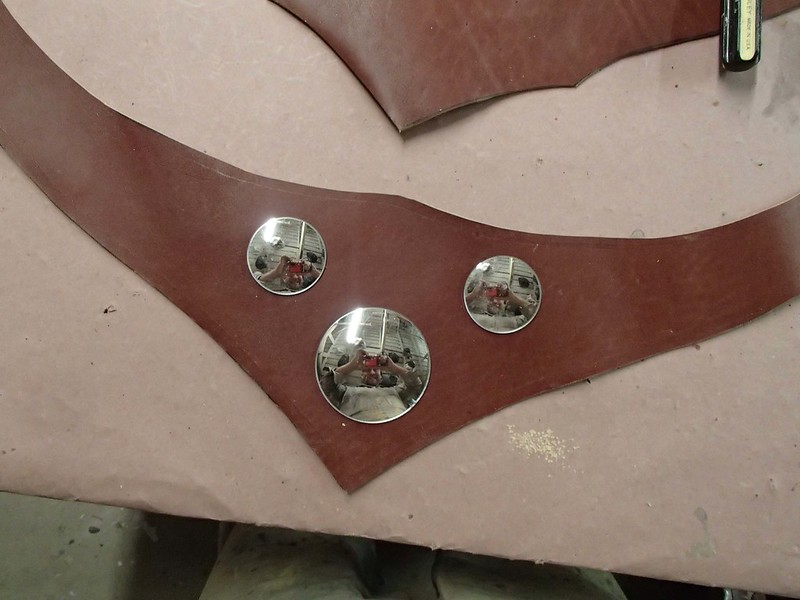
But since I wanted a lip around the edges, I went ahead and sculpted a clay surround, pulled a quick mold, and cast copies in resin:
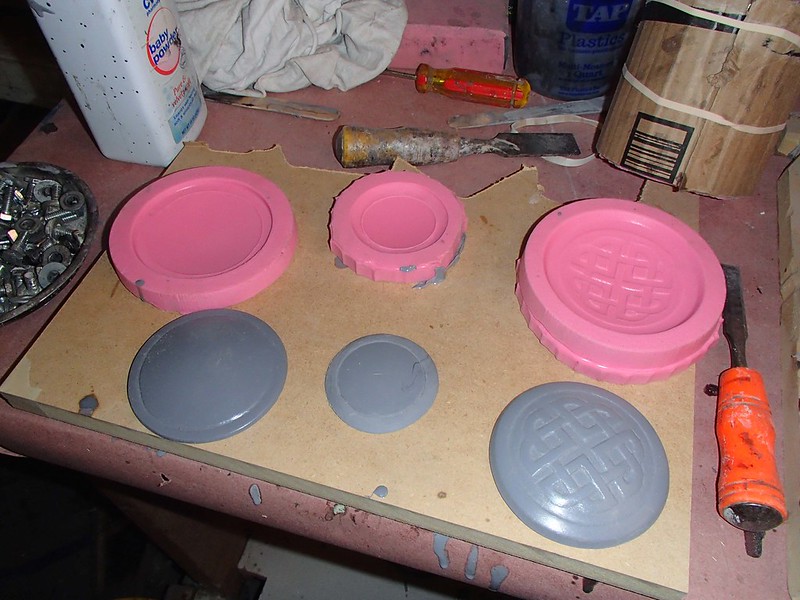
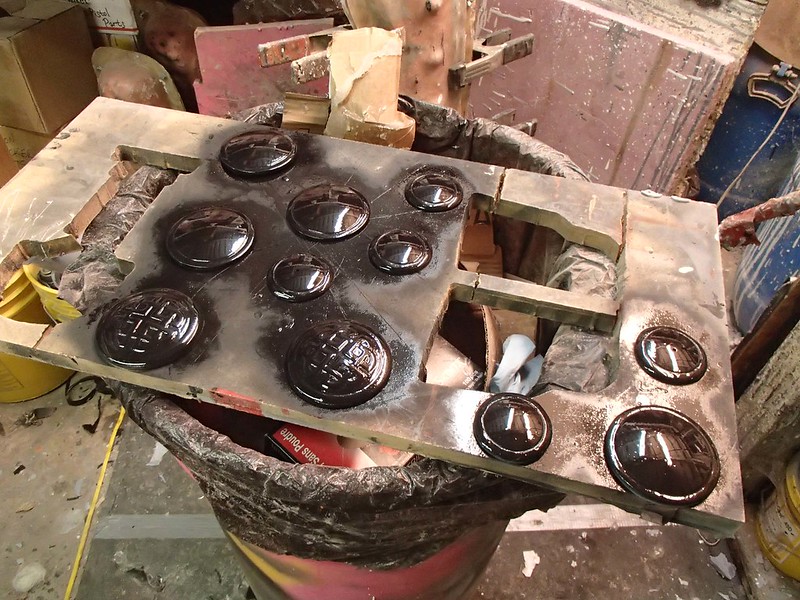
These were given a solid black basecoat before I chromed them:
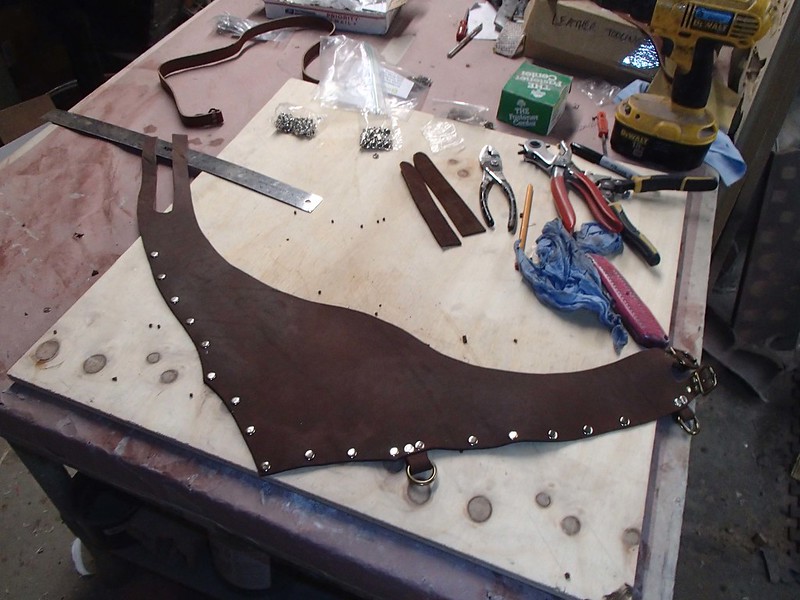
getting back to work on the belt, I stripped off the finish and added all of the rivet details around the edges:
Then I riveted on the strap that hangs off of the hip:
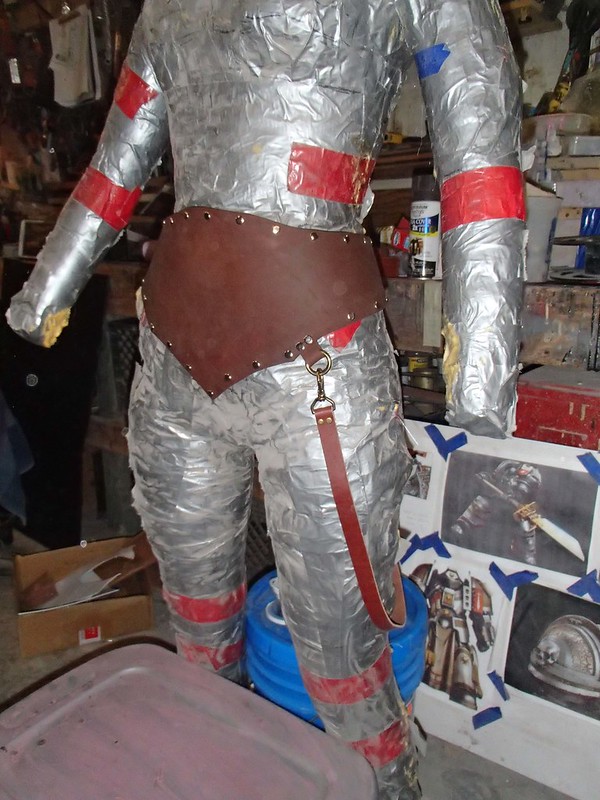
Since time was running out before her convention debut, I didn't get a chance t carve any detailed pattern into the belt itself. That'll have to wait for some later luxury free time. For now, she looks the part:
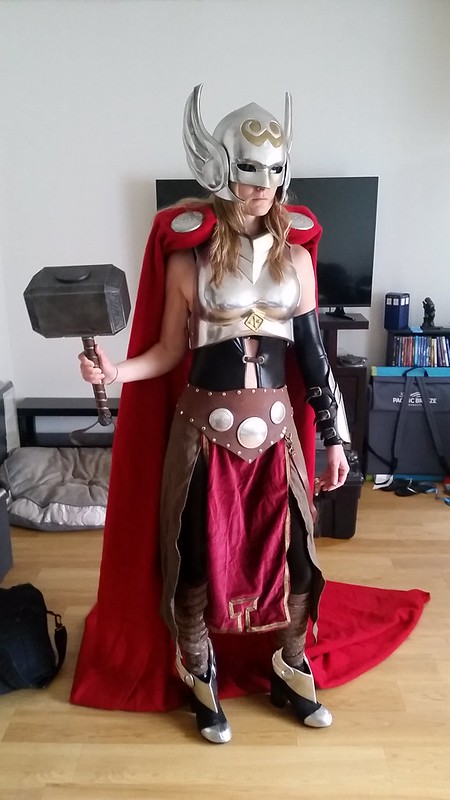
Stay tuned for the final product and better photos.

I like your version of "not terrible". I tried stamping some designs into a leather belt some years back and it did not turn out well at all. It probably would have helped if I had read a How-to article beforehand, but I stumbled across a free workshop at the local fair and decided to try something new.
ReplyDeleteLooking forward to the next update!