

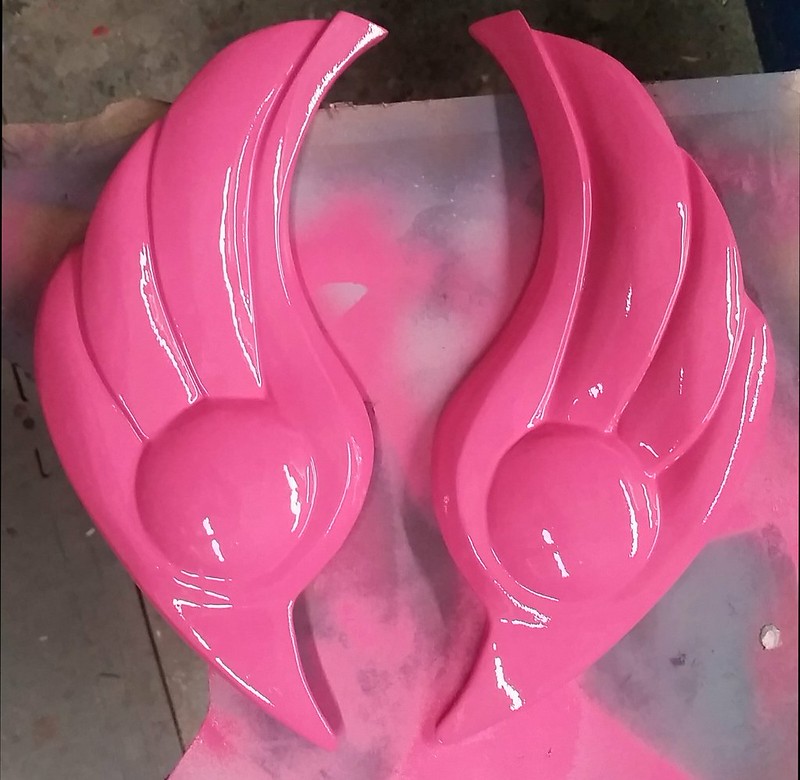
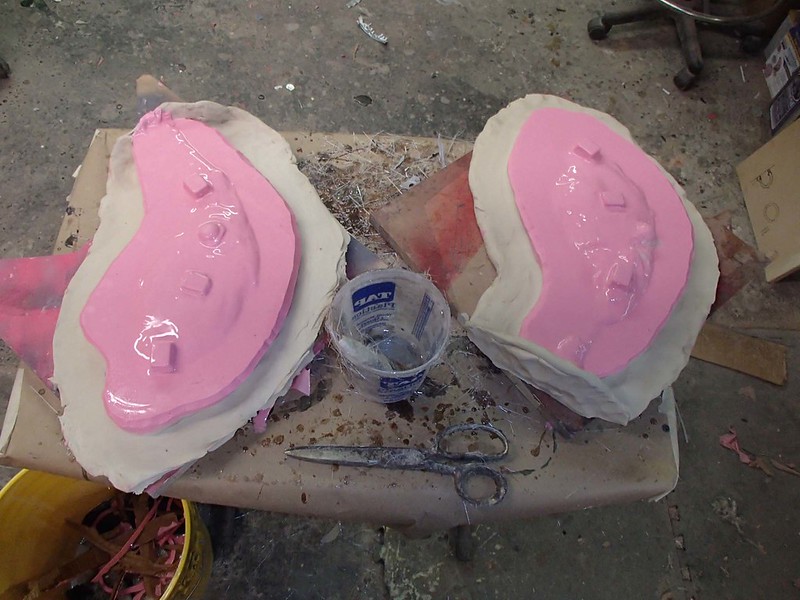
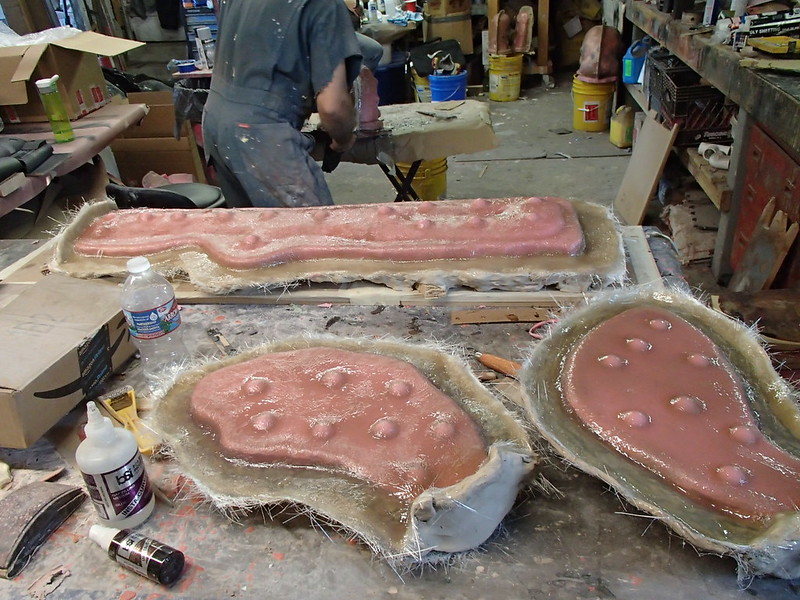
The other two pieces looked like this:
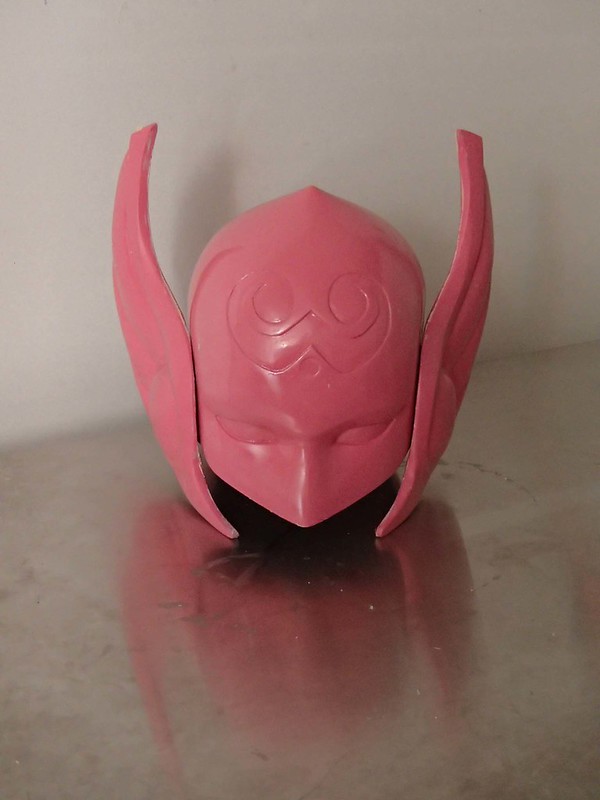
Tacked together in a hurry, they looked kinda like this:
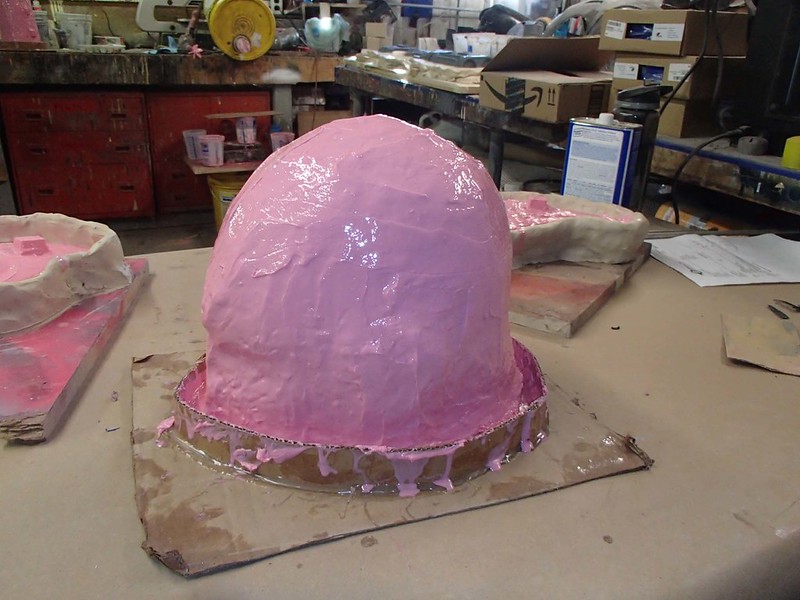
The problem: the carved and polished prototype helmet is way too thick, way too heavy, and way too pink. So it was time I turned it into this instead:
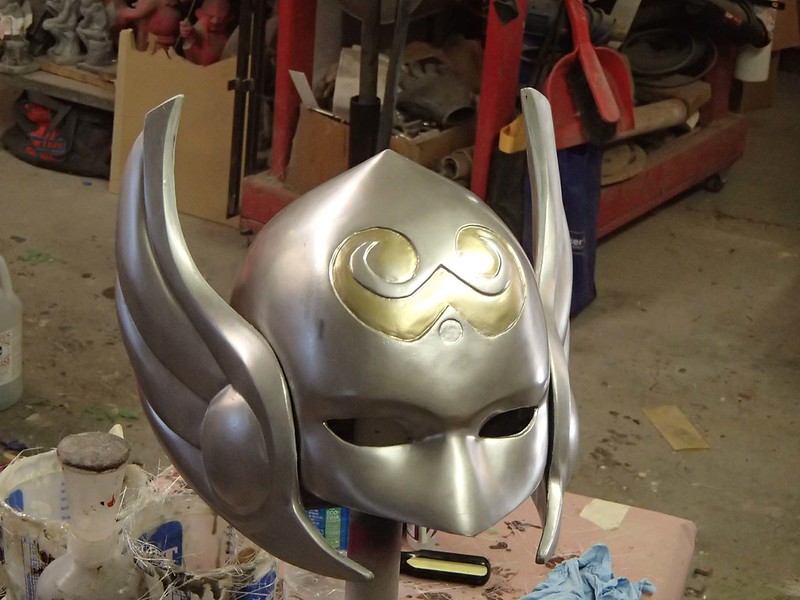
For details on how it was done, read on...
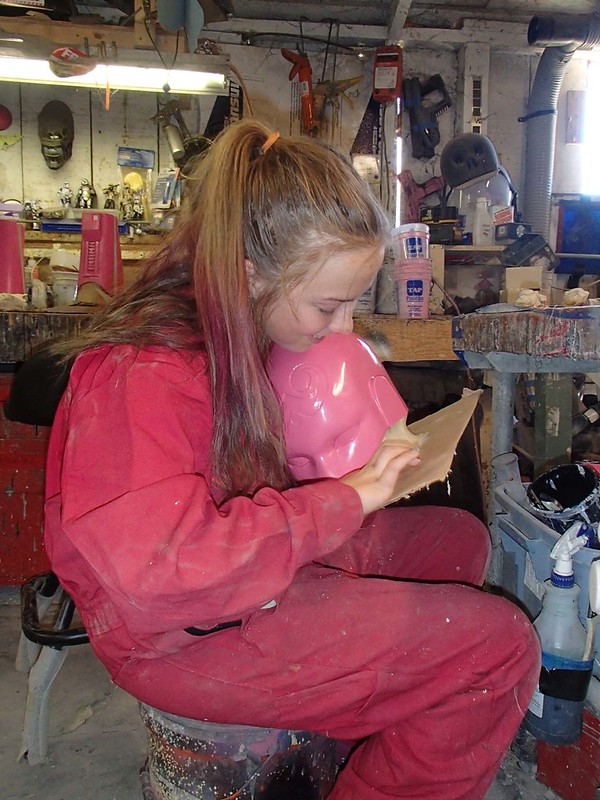
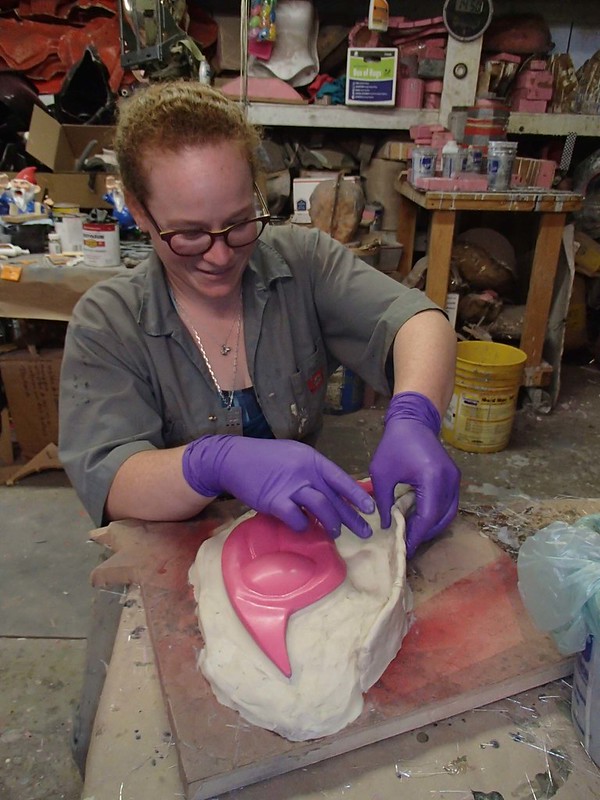
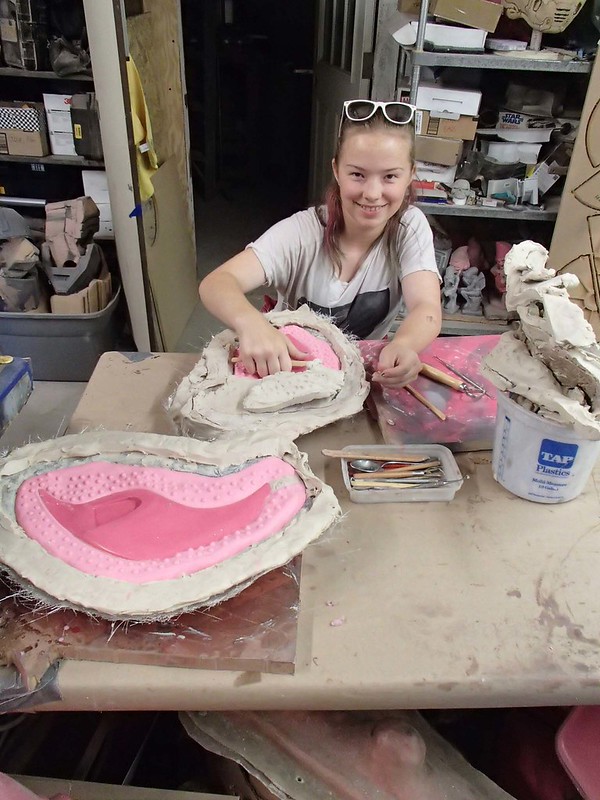
There were a lot of other things going on in the workshop when I decided it was time to mold this helmet. Fortunately, I had help that week. First there was Chuck (short for "Charlotte"), a young lady who I've been teaching some workshop skills to. She mounted the helmet body to a scrap of cardboard and built up a sort of clay skirt on the bottom edge:
That same day, my friend Sierra stopped by to do some tinkering. So I set her to work building a parting wall for the wing pieces:
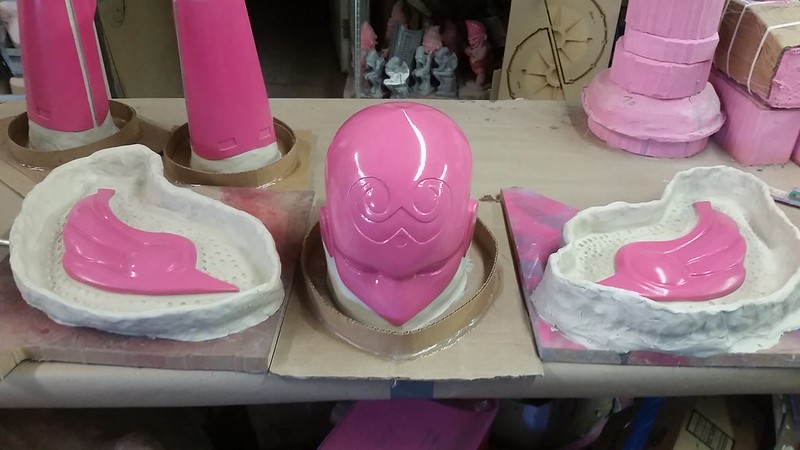
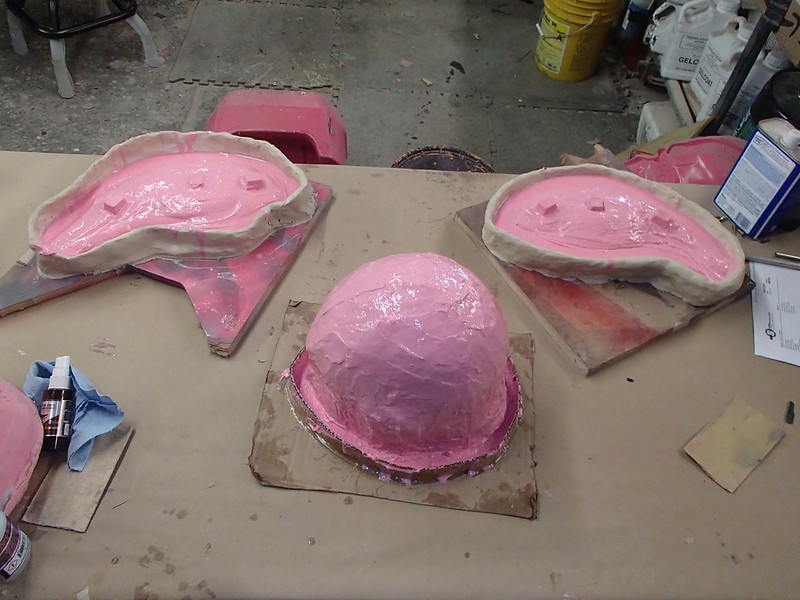
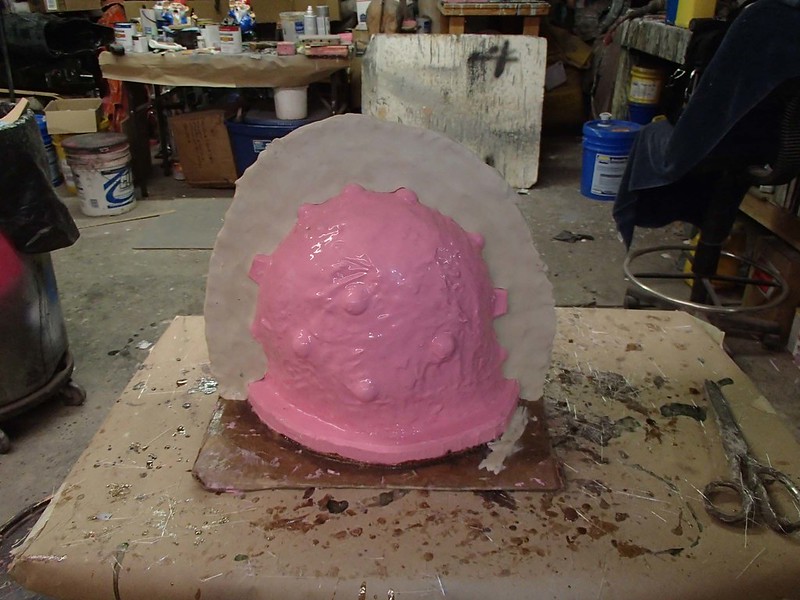
Before too long, all three pieces were mounted, prepped and ready for mold rubber:
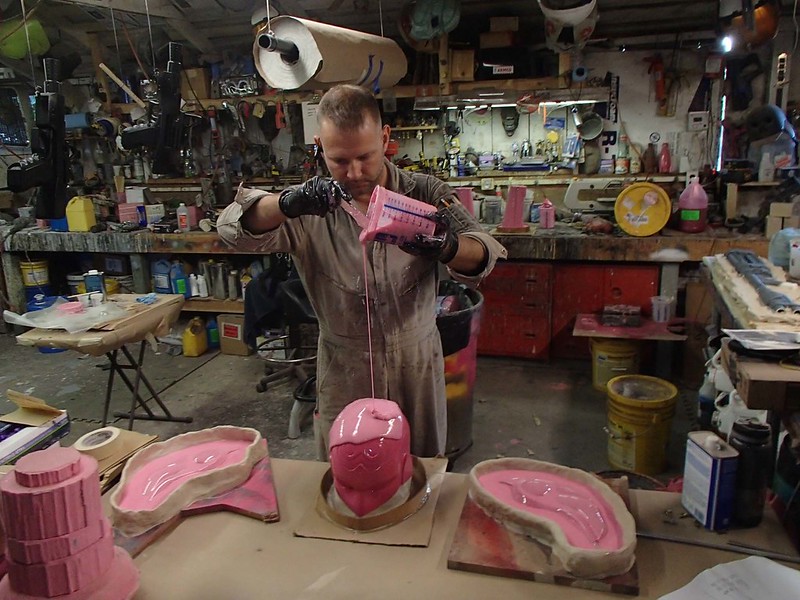
After the girls had left for the day, I started mixing and pouring silicone:
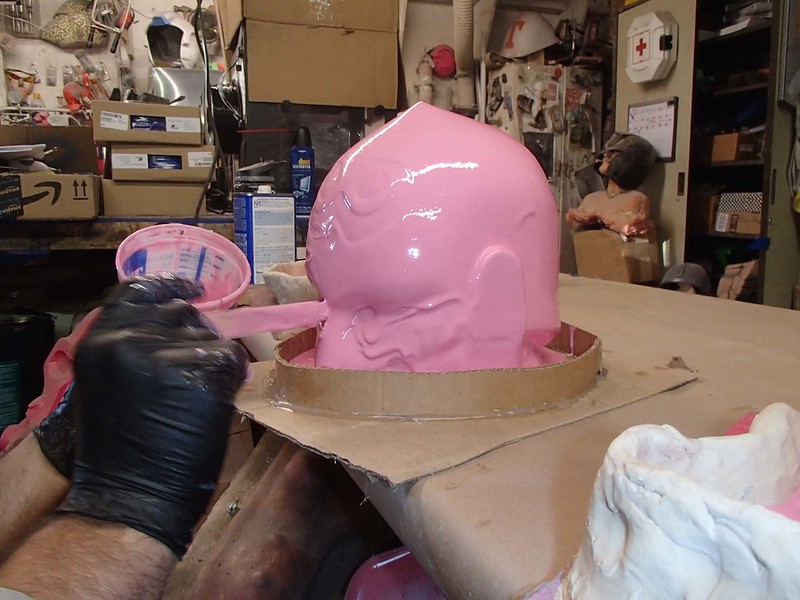
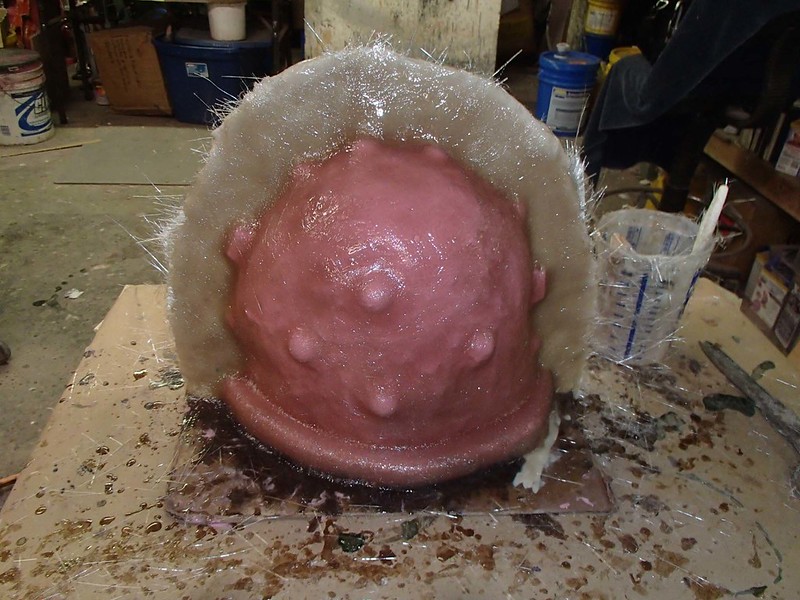
After letting it flow over all of the parts, I used a tongue depressor to ladle it back up onto the top of each piece, taking extra care to work out any bubble that were winding up in the undercut areas below the eyebrows:
After a bit of work, the silicone finally thickened up enough to stop flowing and I left it alone to cure overnight:

The next day, I mixed up a couple more batches of silicone with a thixotropic additive to make them thicker so I could trowel them onto the vertical surfaces:
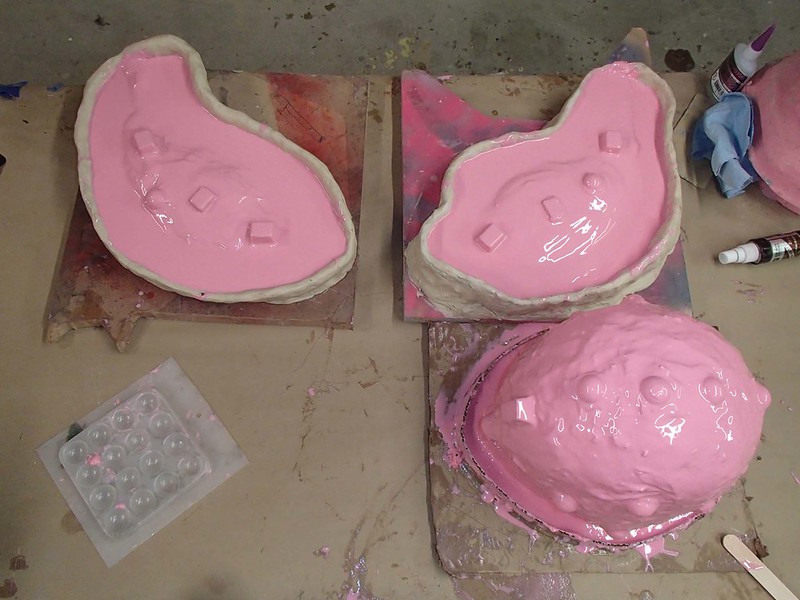
I did the same with the wings, then added registration keys:
After adding keys to all three pieces, I poured on another smooth final coat of silicone:
I left it overnight to cure, but when I returned to the workshop the next morning, I was met with a tiny tragedy:
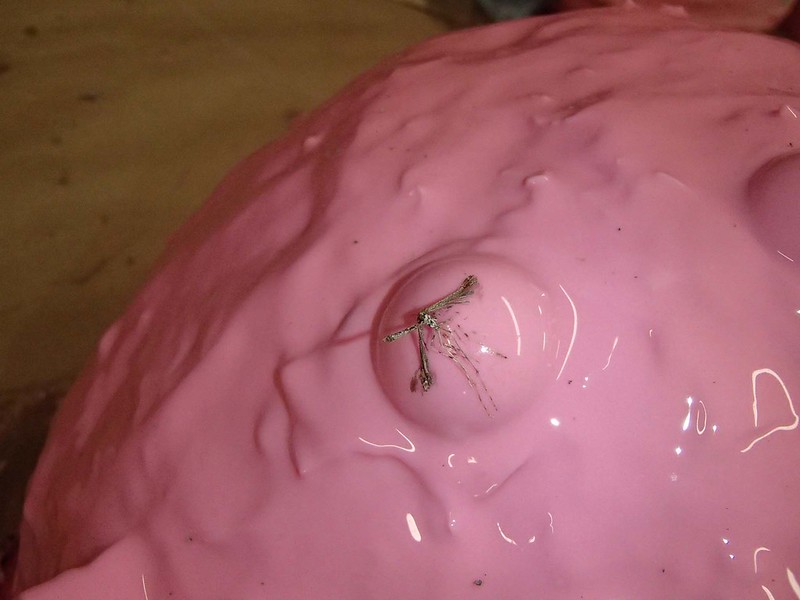
Let us now observe a moment of silence in observation of Carl the Cranefly. Carl always wanted to be a part of something bigger. In the end his dream came true, but it was his undoing. So it goes.
With the silicone cured, the next step was to set up the flanges for the mothermolds. Here's the clay walls for the ear/wings ready for fiberglassing:
And the flange in place for the main body of the helmet:
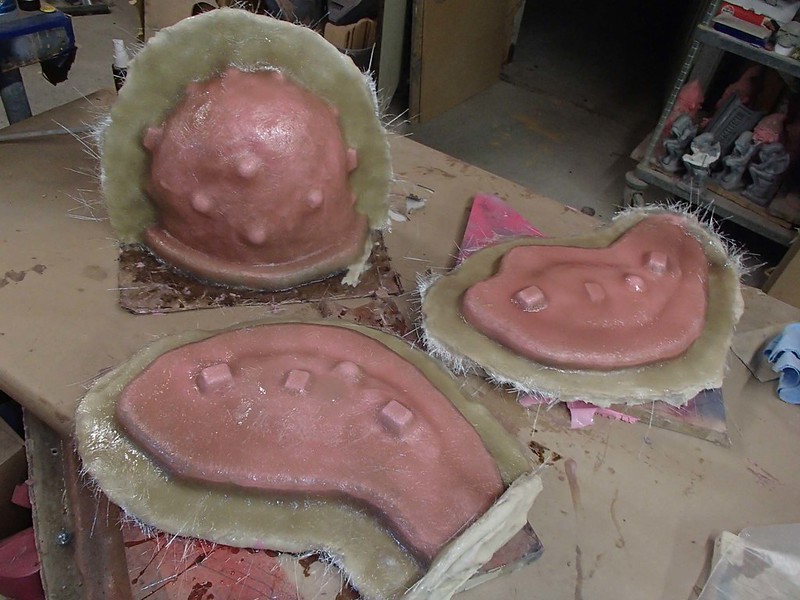
The mothermold was four layers of 3/4-oz. fiberglass mat:
The ear/wings got the same treatment:
After the glass had cured, I put Chuck back to work removing the clay from the backside of the parts:
The second half of the ear/wing molds were built up with silicone and then glassed over in the same manner as the first half. Here they are waiting to cure alongside a mold for an unrelated project:
With the mothermolds finished, it was time to drill bolt holes along the flanges, remove the prototypes, and dust the mold with metallic powder:
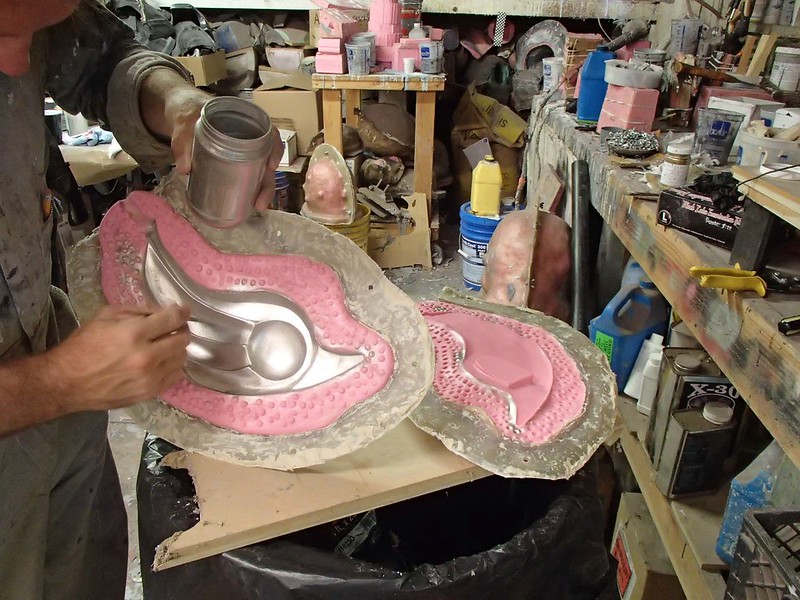
The main body of the helmet was rotocast in four layers of urethane resin. The ears were solid casts poured with the same resin. I mixed in some microballoon filler to reduce the weight. When the parts were removed from the molds, the metallic powder was bonded to the surface.
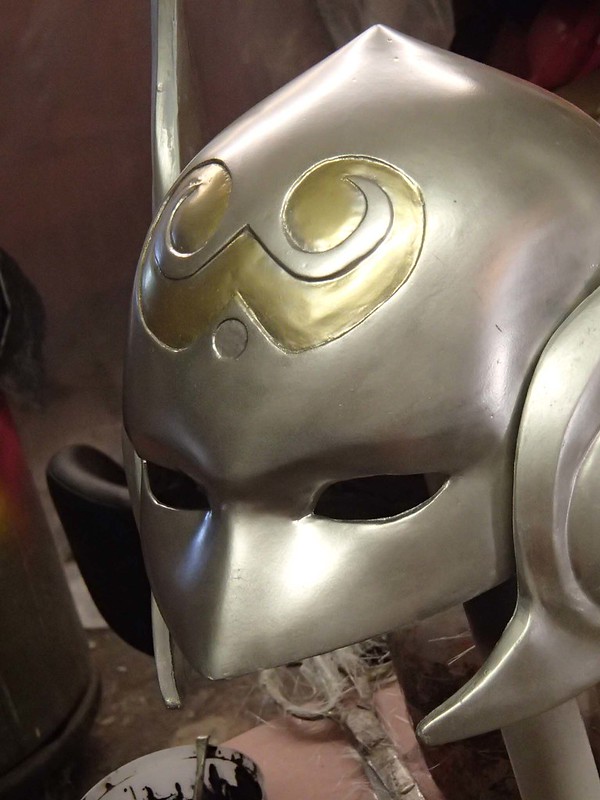
After temporarily attaching the ears and trimming out the bottom edge and the eye holes, it was starting to look about right:
Upon closer inspection, it's clear that I got a little sloppy with the edges where the silver and gold parts meet:
Moving on, I decided to do a quick test fitting on an old, beat-up lifecast I have of my girlfriend Shawnon:
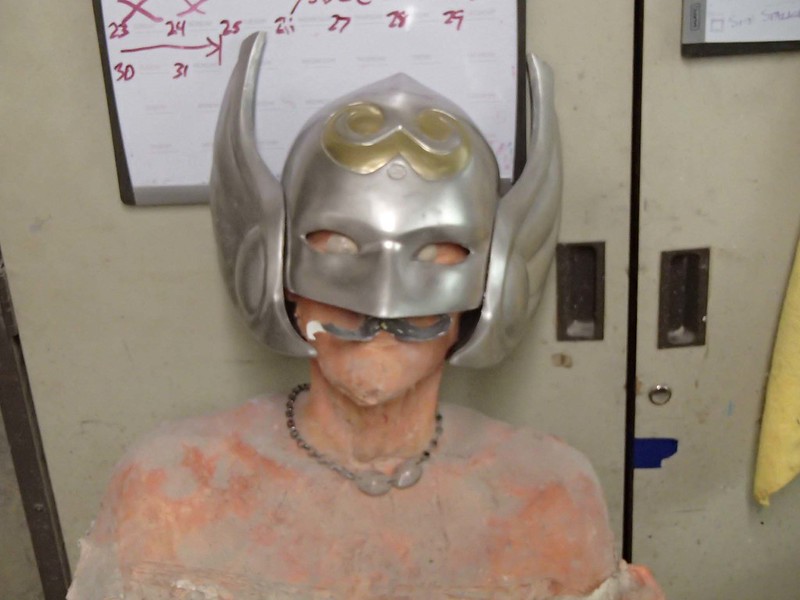
At this point I was relatively confident it would fit her. Which was good, but there was no way it would fit me:
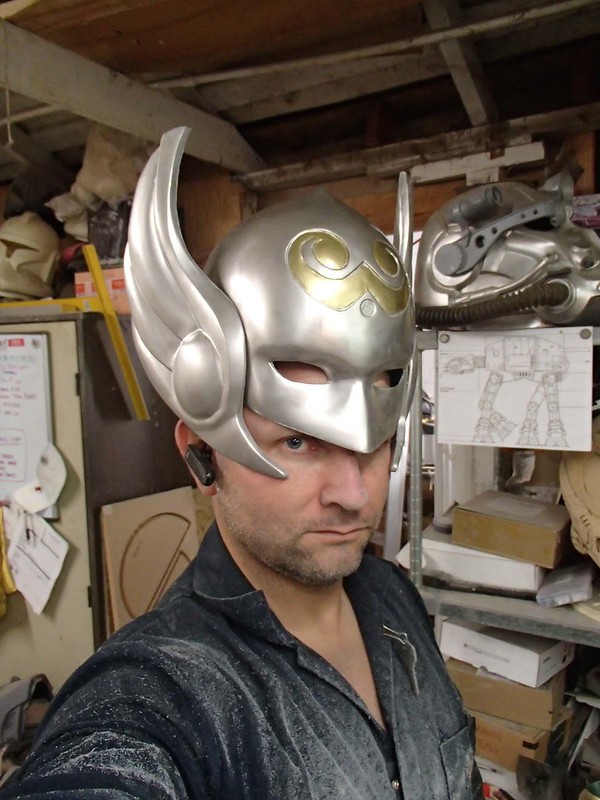
Clearly I'm not worthy.
When I caught up with Shawnon at San Diego Comic Con, I had her try on the helmet:
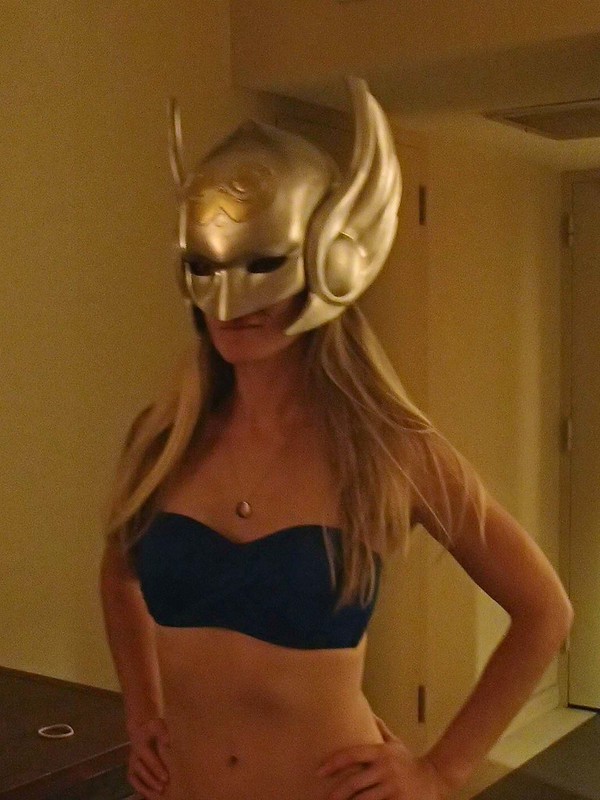
Excellent fit!
Coming up next: shiny armored boobs!
You better grow-up, son...
ReplyDeleteotherwise, you'll be left behind.
trustNjesus
Make Your Choice -SAW