
The Lady Shawnon had bought our tickets fully nineteen months before the actual event with the statement that "that should be more than enough time for you to come up with costumes for us to wear." She was right... ...kinda.
Among the many outfits I ended up putting together, were these four:
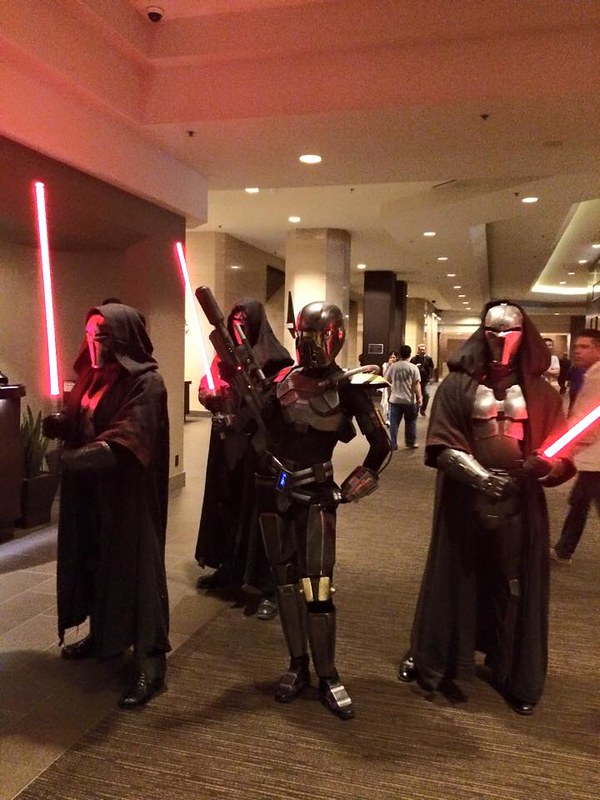
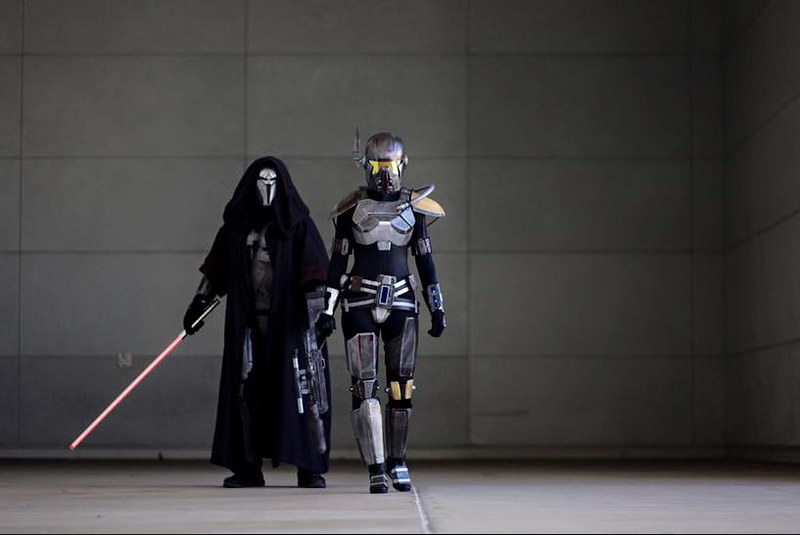
The girl with the blaster rifle was the Lady Shawnon in her Shae Vizla bounty hunter costume based on the trailers for the Star Wars: the Old Republic MMORPG. I'll get around to writing that one up. The important thing to know is that she looks even cooler when she's not all by herself. You can read about that build here: LINK.
The three lightsaber-wielding gentlemen were Sith Acolytes from the same game. You can see one of the videos that inspired the build here:
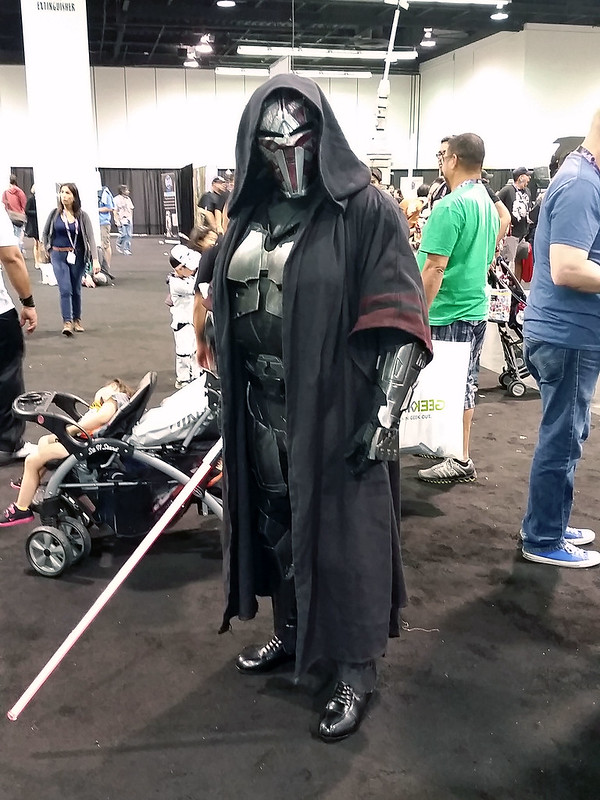
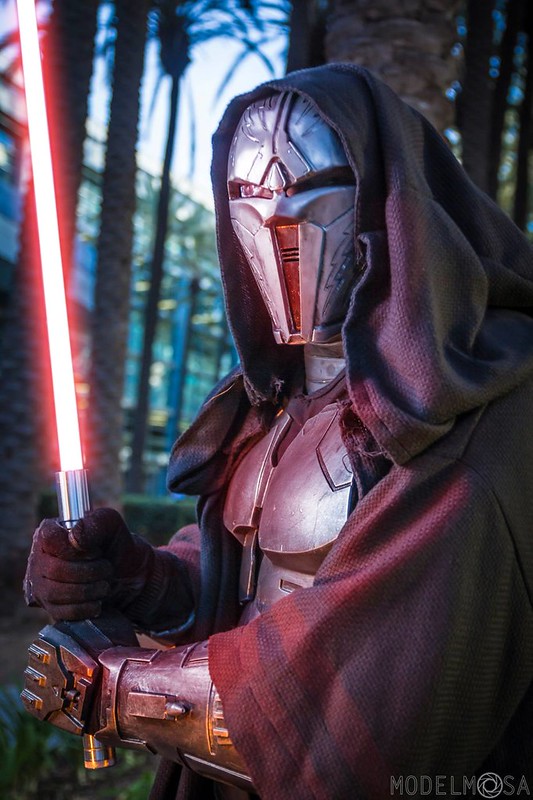
Here's a great photo showcasing one of the finished costumes:

For more photos and details showing how it was made, read on...
The Armor
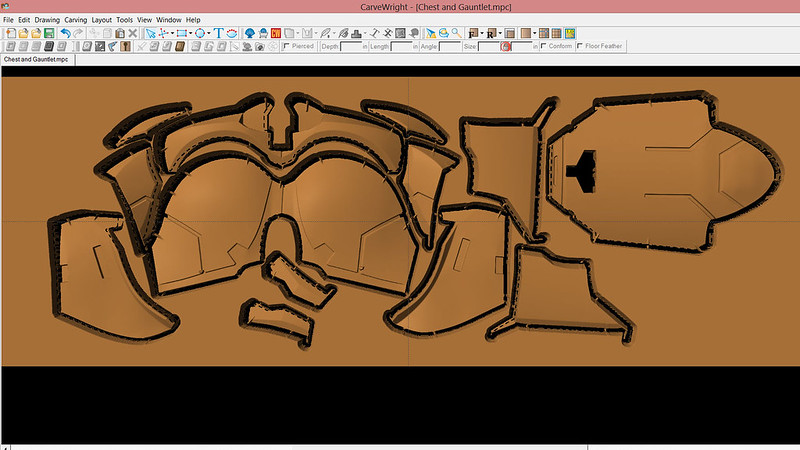
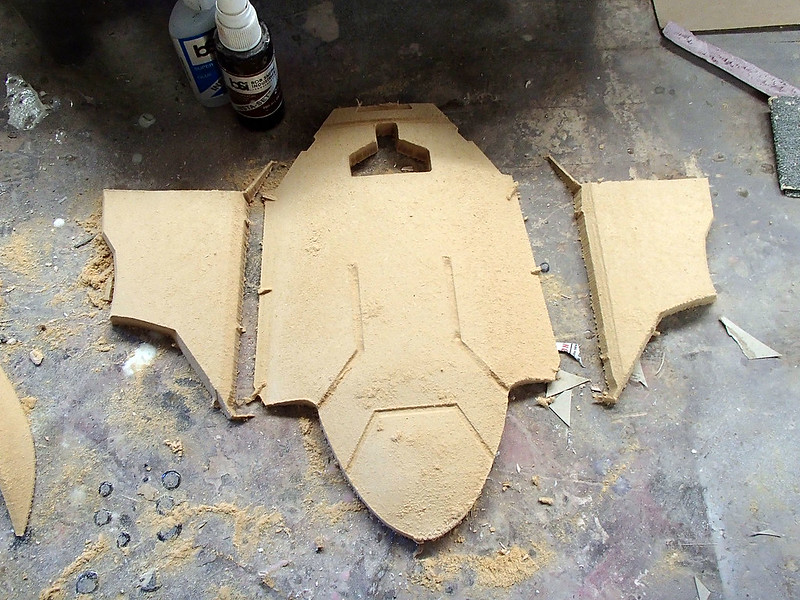
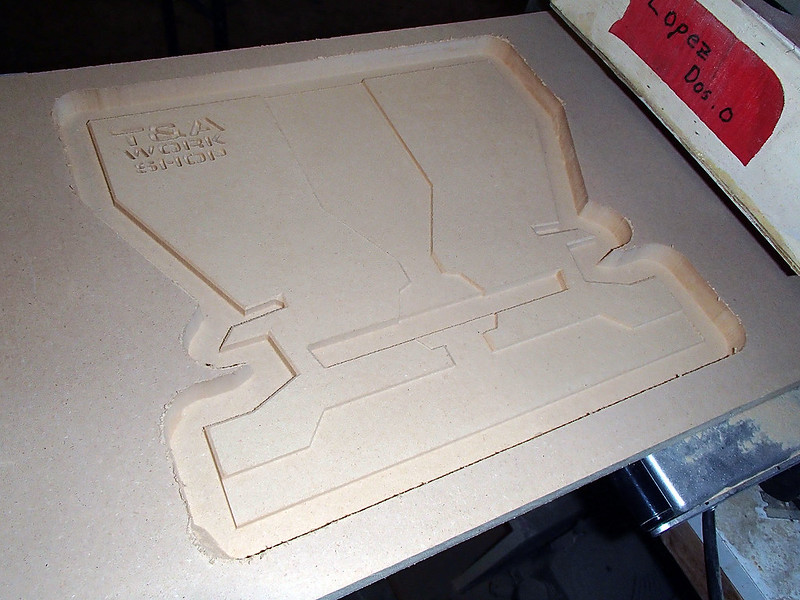
I started with a smooth version of the Sith Acolyte armor files from Fierfek's Premium Pepakura Files. After a bit of tweaking here and there, I sliced them up into pieces that Lopez could cut out. Here's a couple of the pieces sliced up and laid out in the designer software:
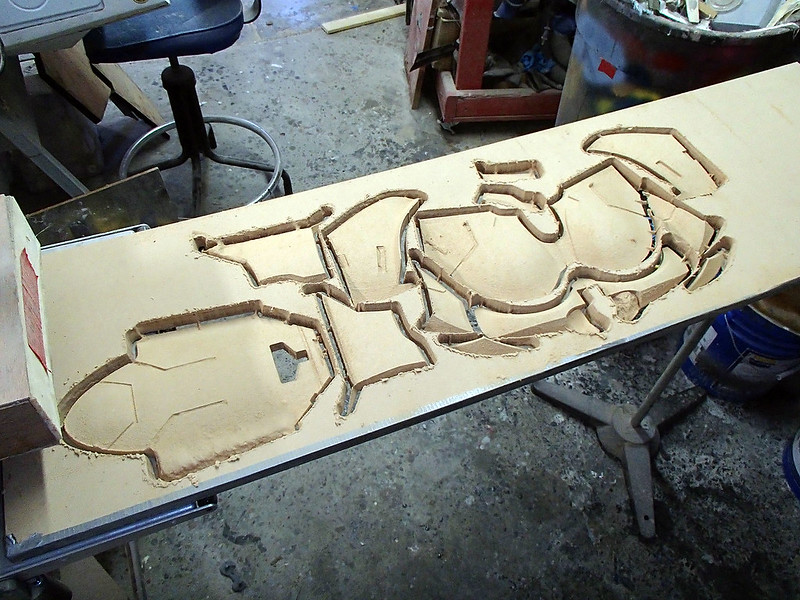
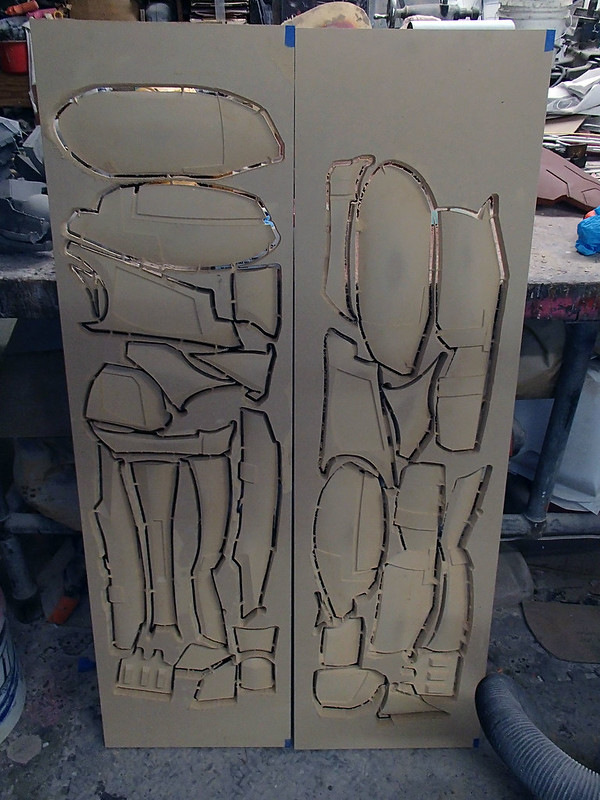
Here's how they came out when Lopez Dos Point Oh (my second Carvewright CNC machine) was done chewing on them:
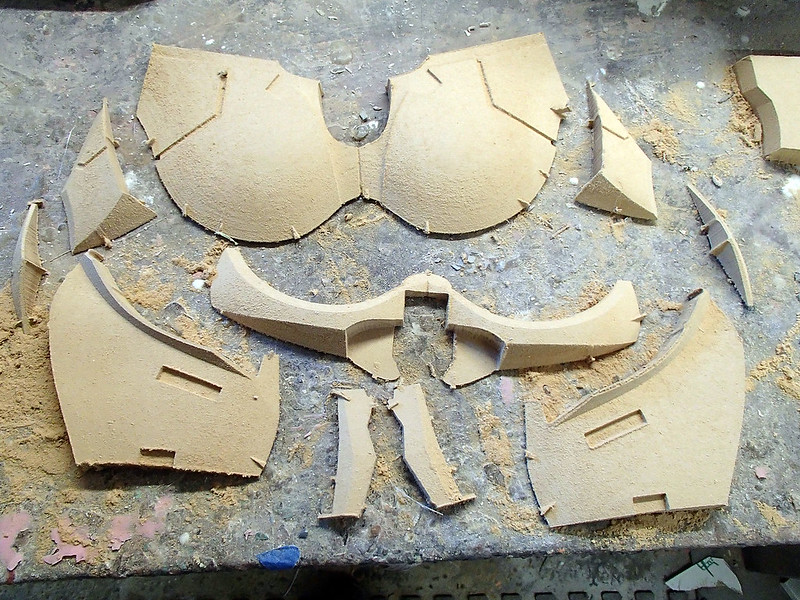
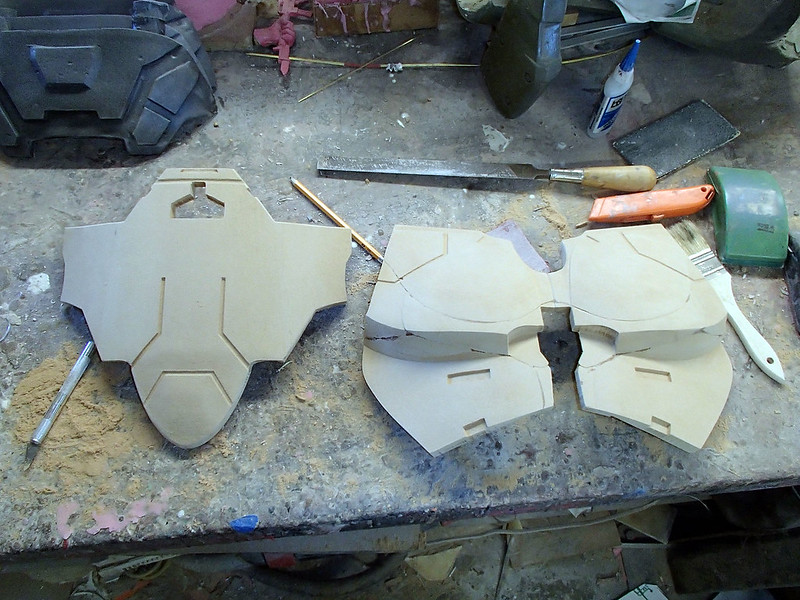
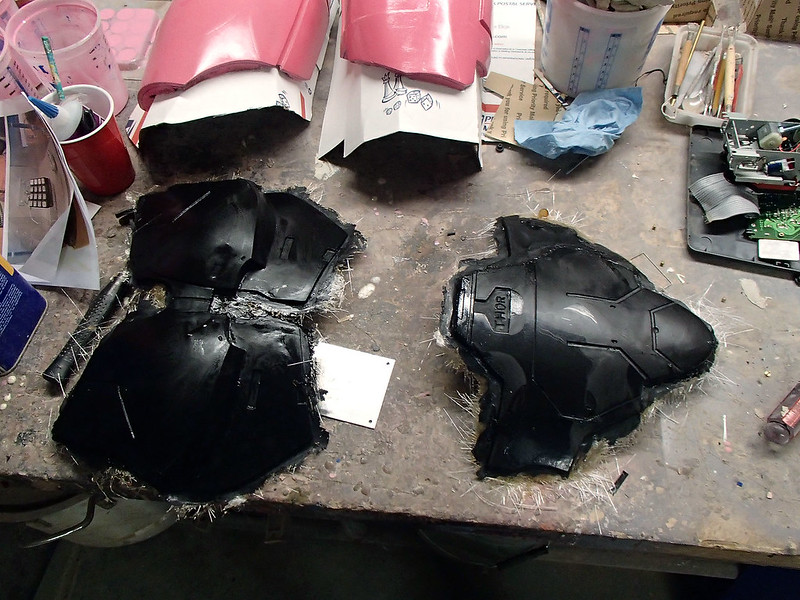
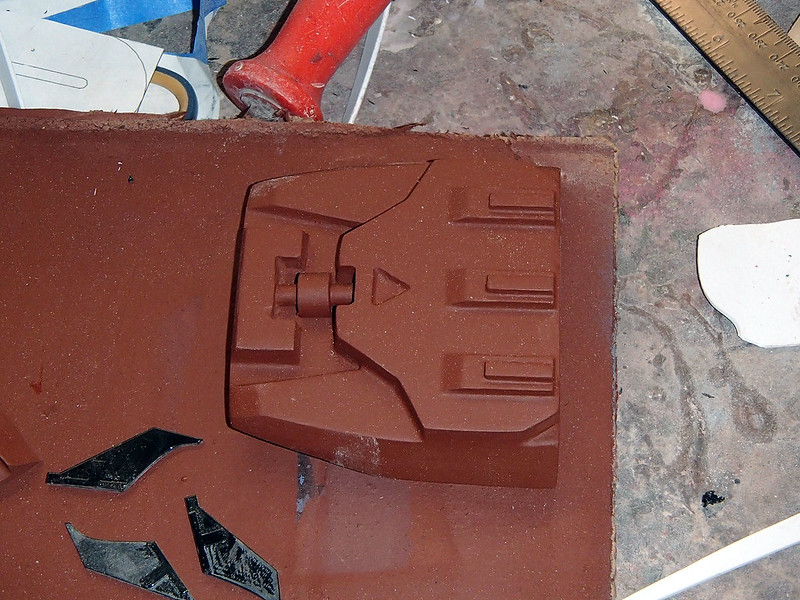
Once the waste was snapped off of the actual parts, here's what the chest parts looked like:
And here's the pelvis section:
Here they are fully assembled after a tiny bit of sanding:
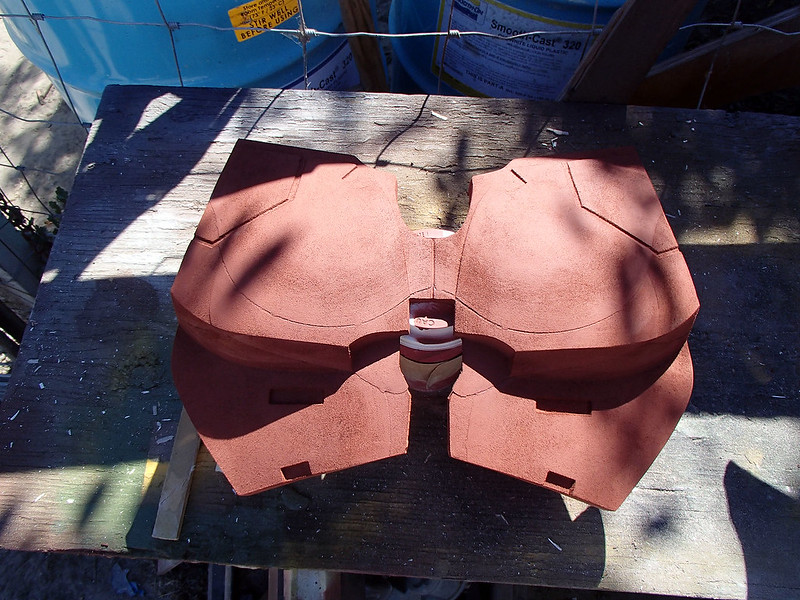
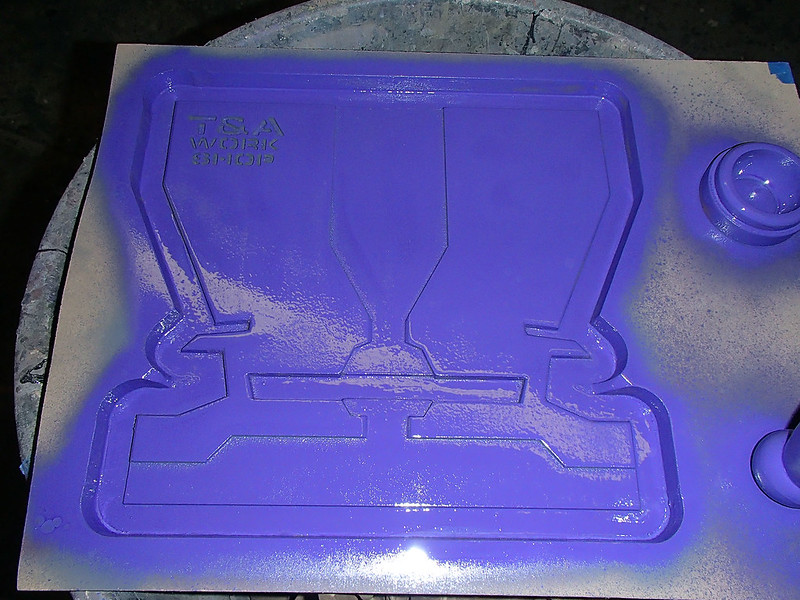
In order to get the surface ready for molding, the whole thing needs to be primed:
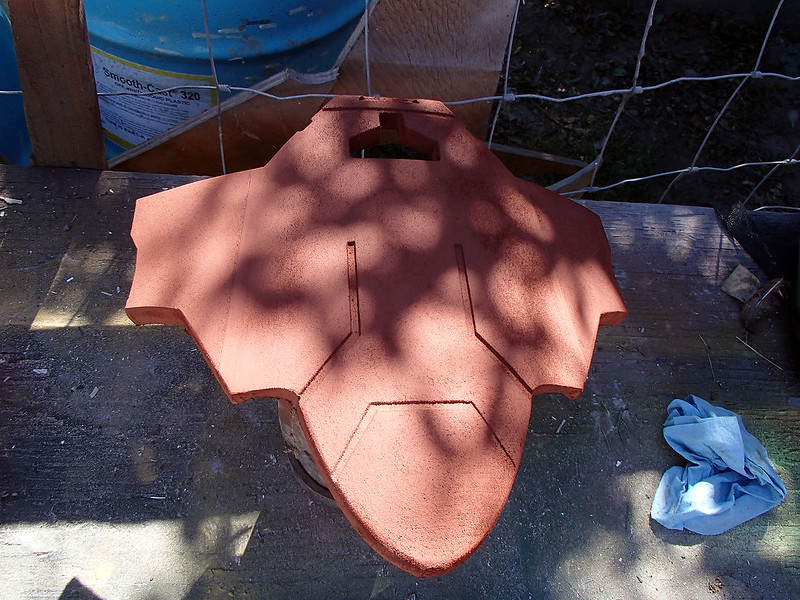
I keep adding coats of primer until the surface is finally made of more primer than MDF:
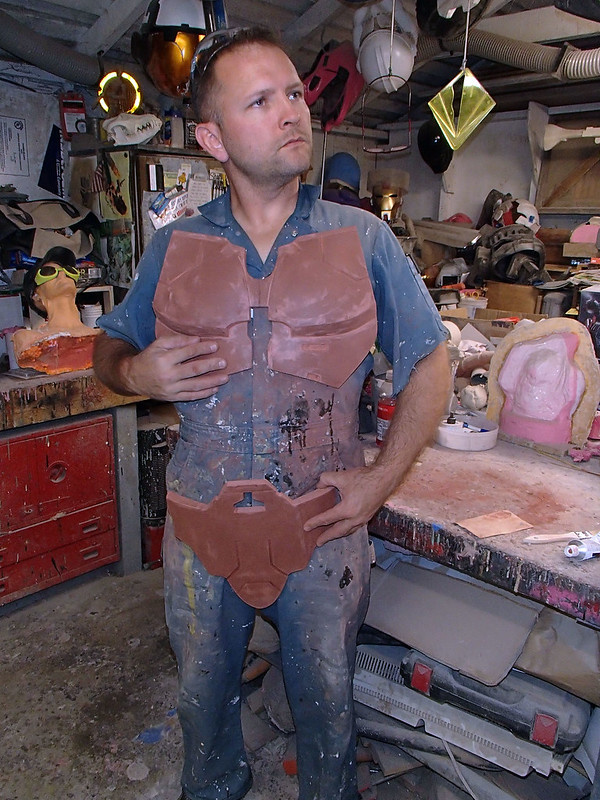
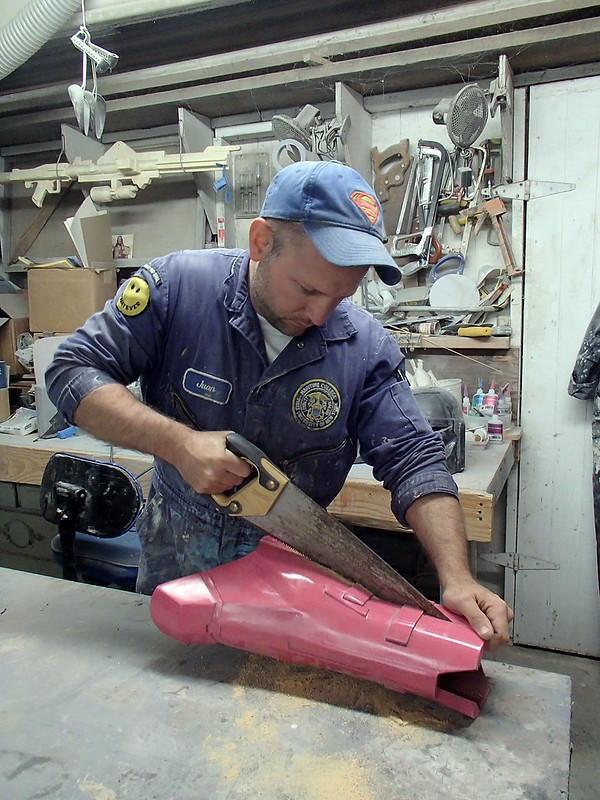
At that point, I can lightly sand the parts without having them just turn into more fuzz. Then it's time to add bondo and sand and spot putty and sand and try on the parts for an embarrassing workshop snapshot:
With a bit more sanding and smoothing and priming, things start looking pretty good:

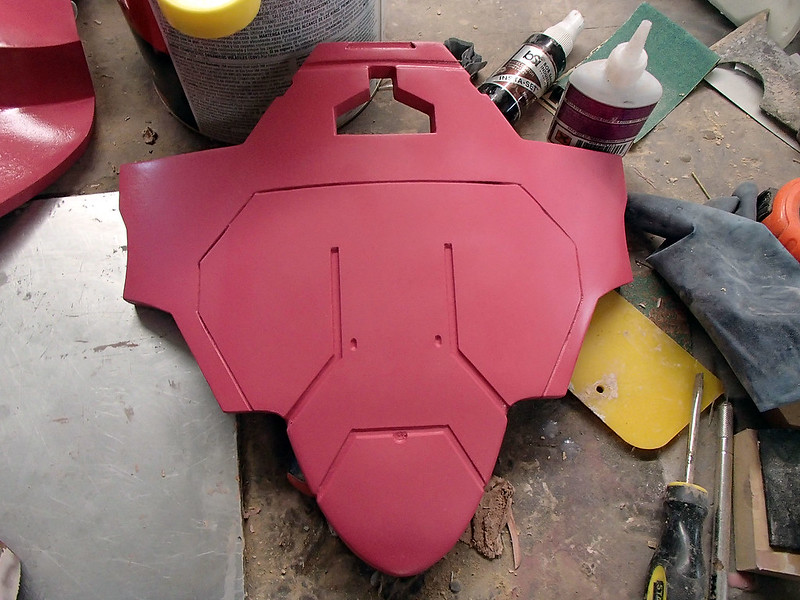
Then comes the coats of glossy paint:

As glossy as I can make it:
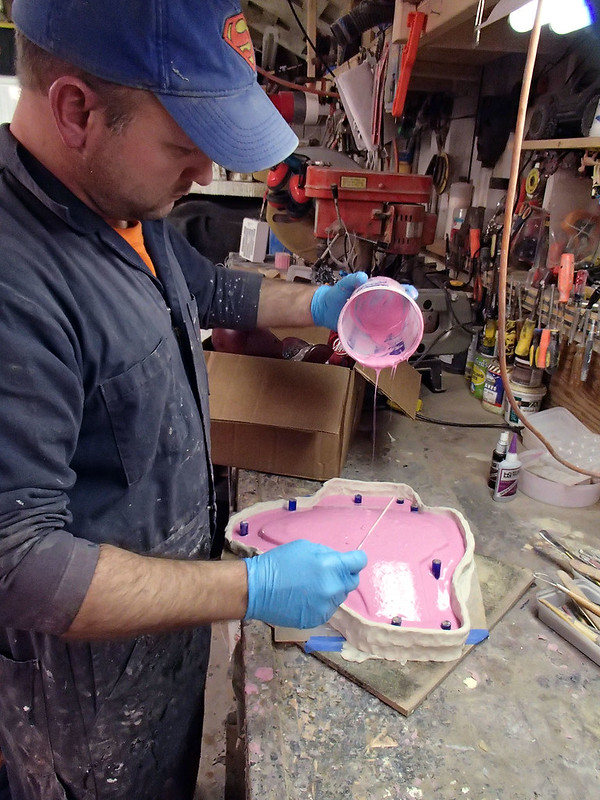
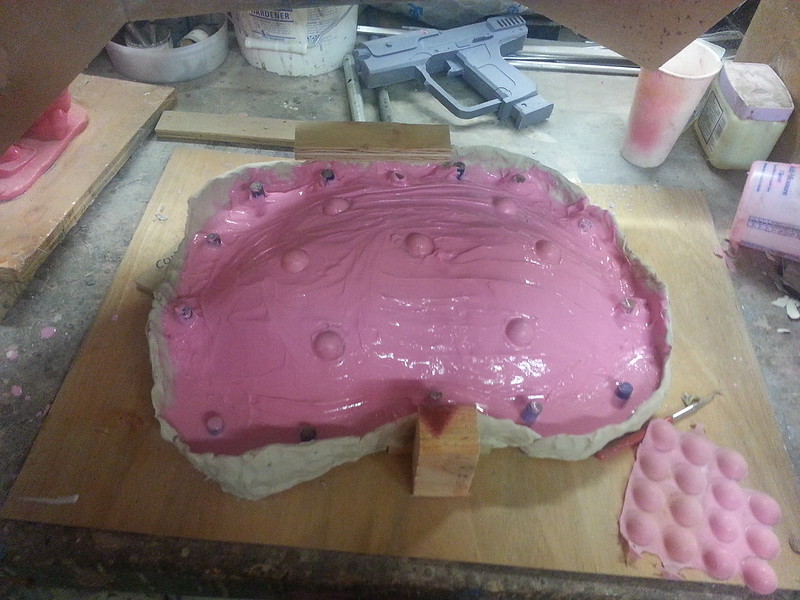
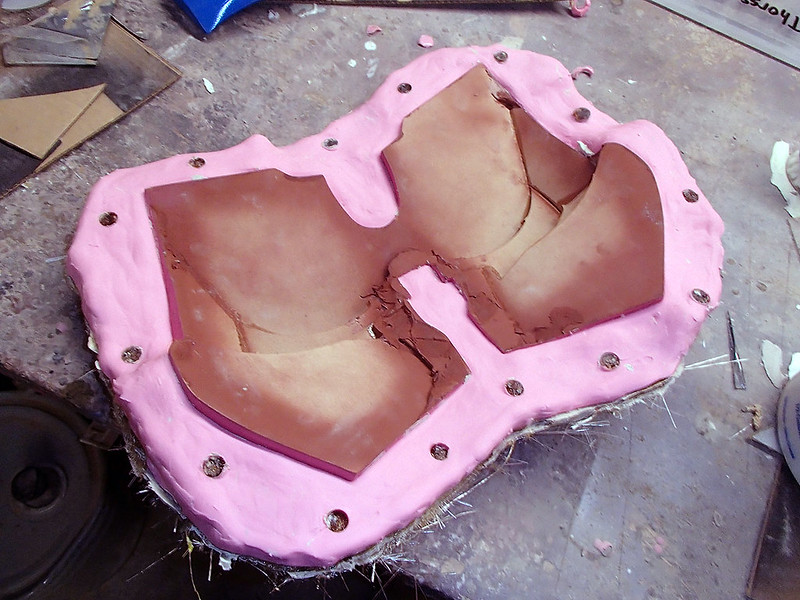
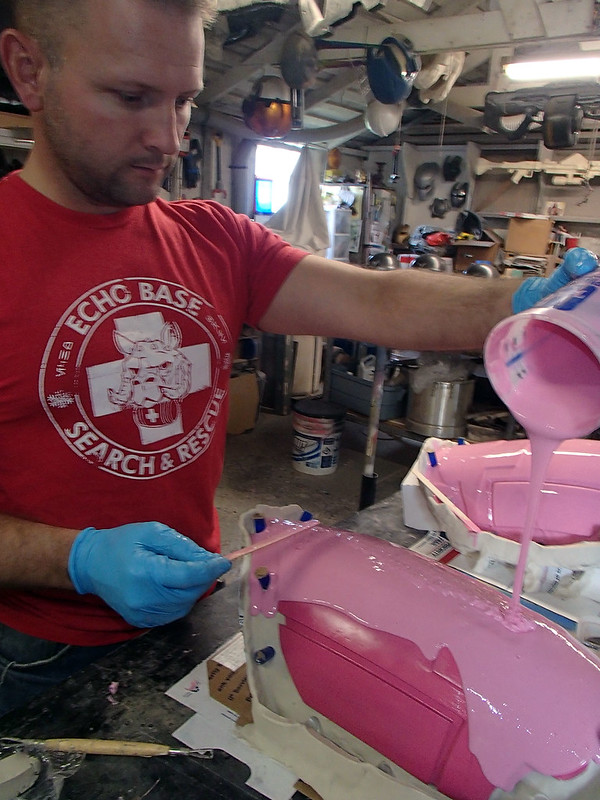
Once the paint had set up, the parts were set into a clay bed, added some 1/2" pegs aroudn the outside (that'll make sense later) and I poured on a silicone print coat:

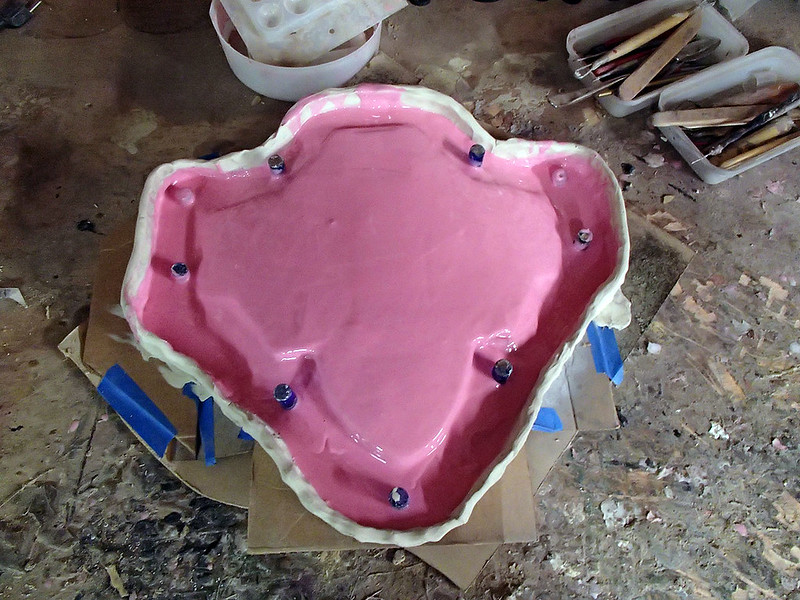
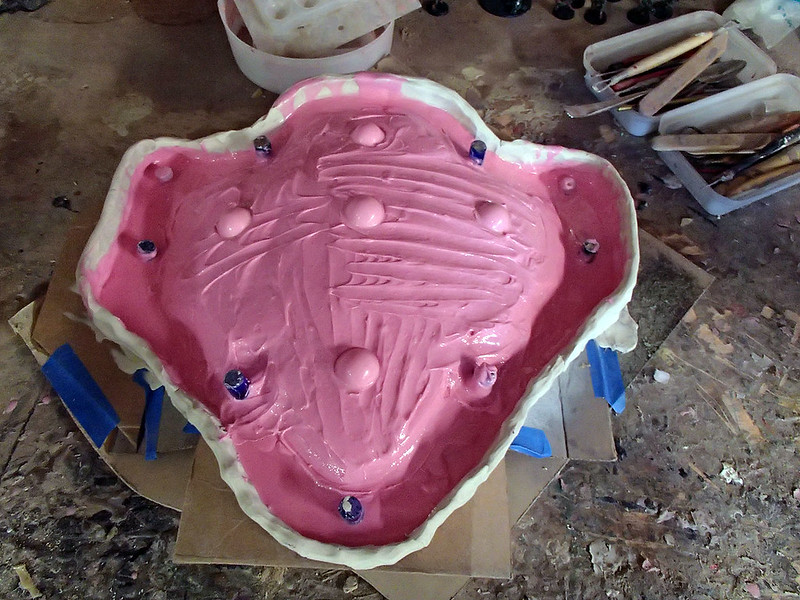
Then I built up a bit more thickness and added some registration keys:
 Once the silicone had cured, I pulled out the 1/2" pegs and the whole thing was prepped for a rigid fiberglass mothermold:
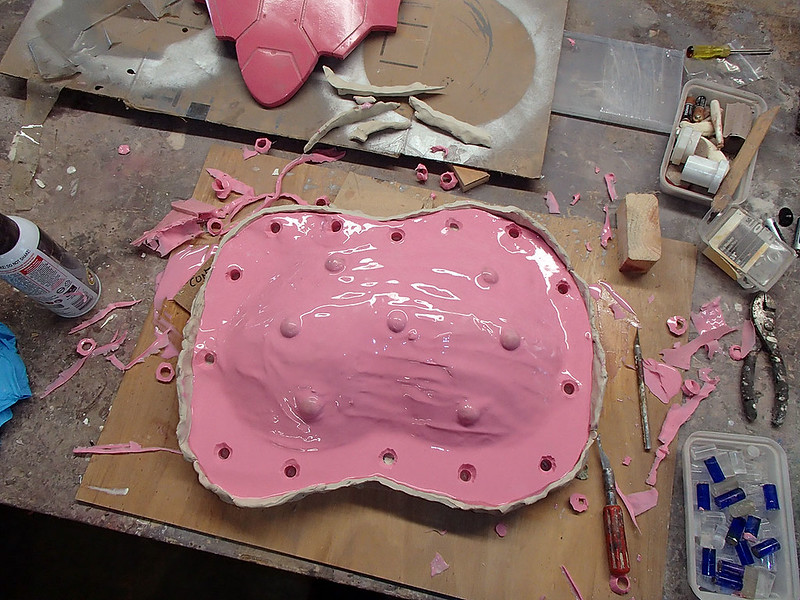
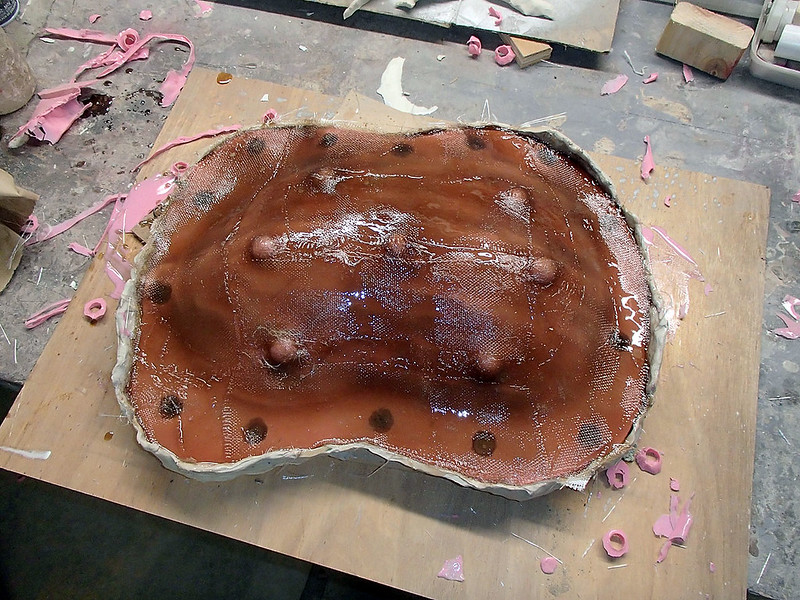
I started by stuffing tufts of fiberglass into the peg holes:

Then filled the holes with resin and laid up a few layers of glass over the whole thing:

After a few layers of fiberglass mat, I added one complete layer of lightweight fiberglass cloth:
Here's the finished mold before removing the prototype:
And after:
You'll notice that everywhere there was a plastic peg there is now a fiberglass peg that the rubber jacket gets hooked onto. This does a great job of keeping everything aligned properly.
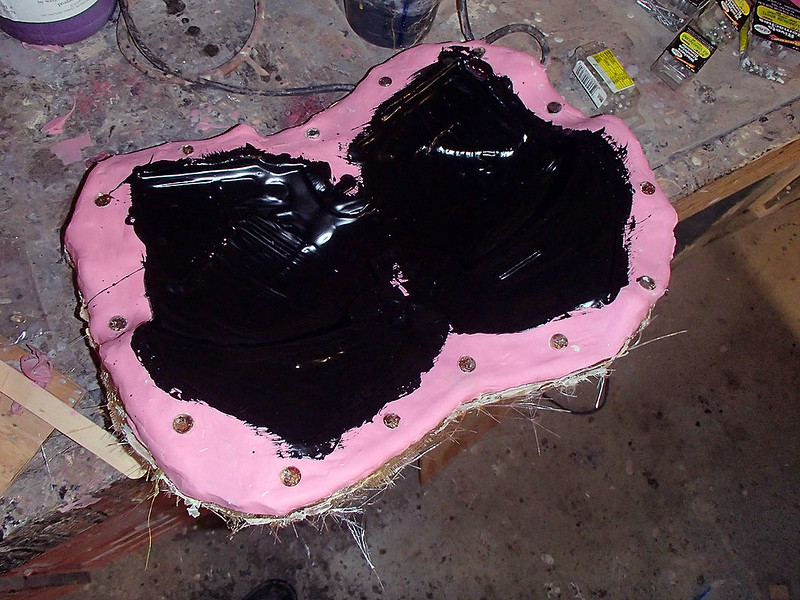
Once the prototype was out, I brushed in a layer of black gelcoat:

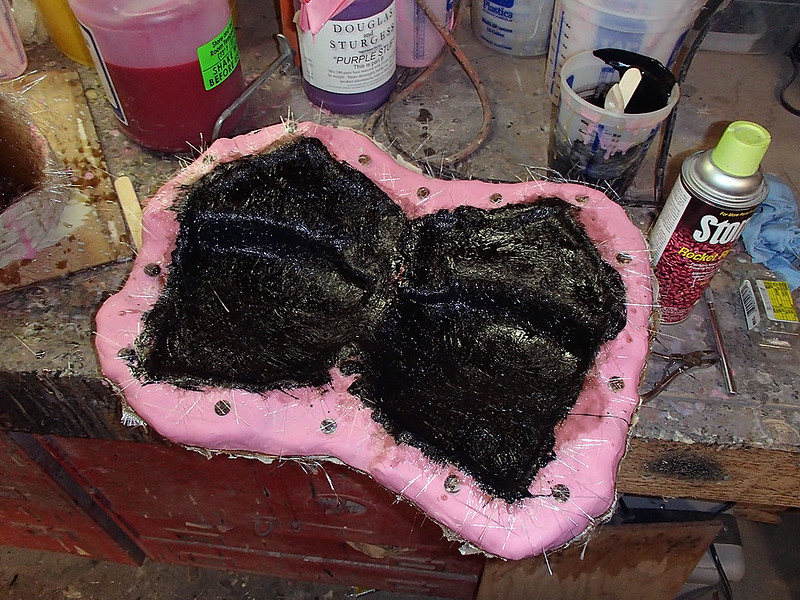
Then laid up three layers of 3/4-oz fiberglass mat:
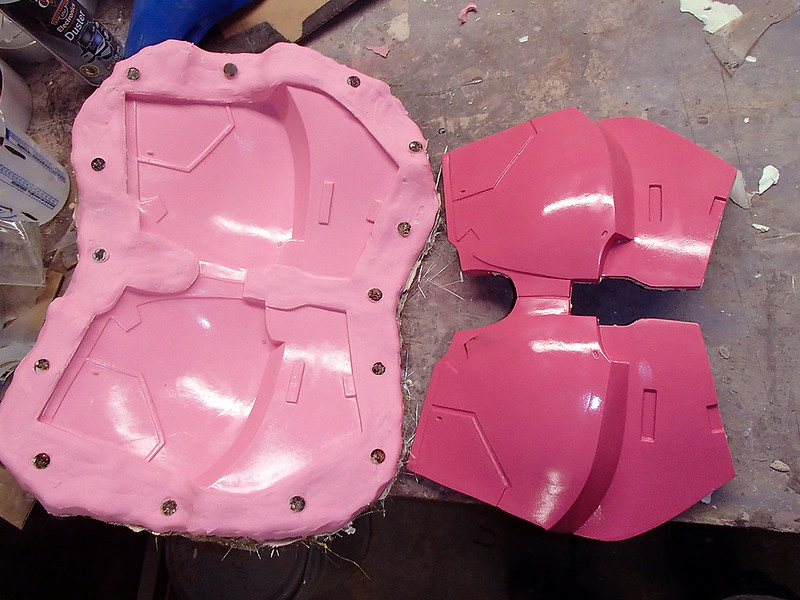
The parts came out nice and strong:
And with a bit of trimming and sanding, they were ready to prime and paint:

This is basically the same process I used for the thighs:
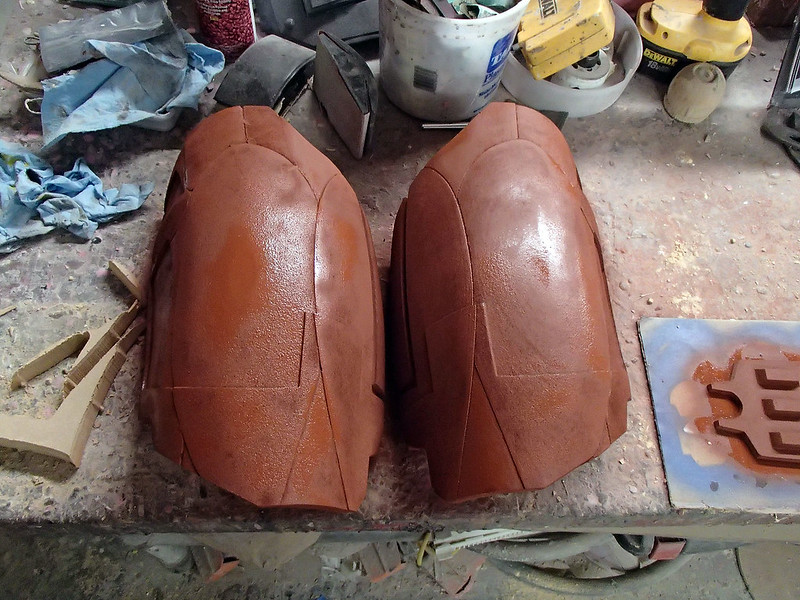
The molding was a tiny bit more difficult because of the depth of the parts:
But the end result was a nice, wearable pair of fiberglass thighs:

For the shins I had the brilliant idea of making them a single piece, but then I changed my mind and decided they'd be easier to get on and off if they were split into front and back halves. Unfortunately, I didn't have this epiphany until after I'd already built the prototypes. Fortunately there was a solution close at hand:
The moldmaking stage made me really glad I'd split them:

The first set of parts proved to be a good fit:
Those were all of the parts that were big enough to lay up in fiberglass. The next thing I did was switch gears and work on the flexible abdomen armor section. I started by having Lopez the Robot Whittler carve the correct shape out of MDF:
I sealed it with few coats of primer and a gloss coat:
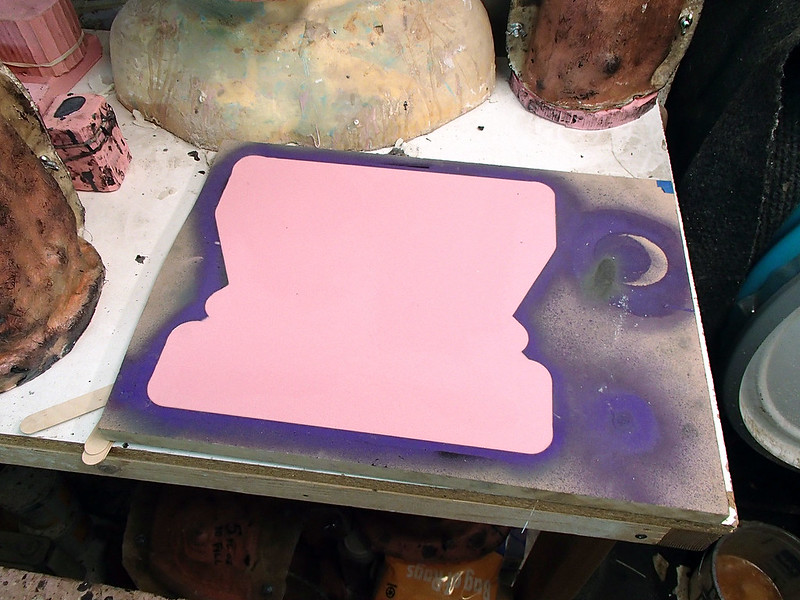
Then decided it needed a couple of different textured paints as well:

Since the wooden piece wouldn't be wearable, the whole carved recess was filled with silicone rubber:
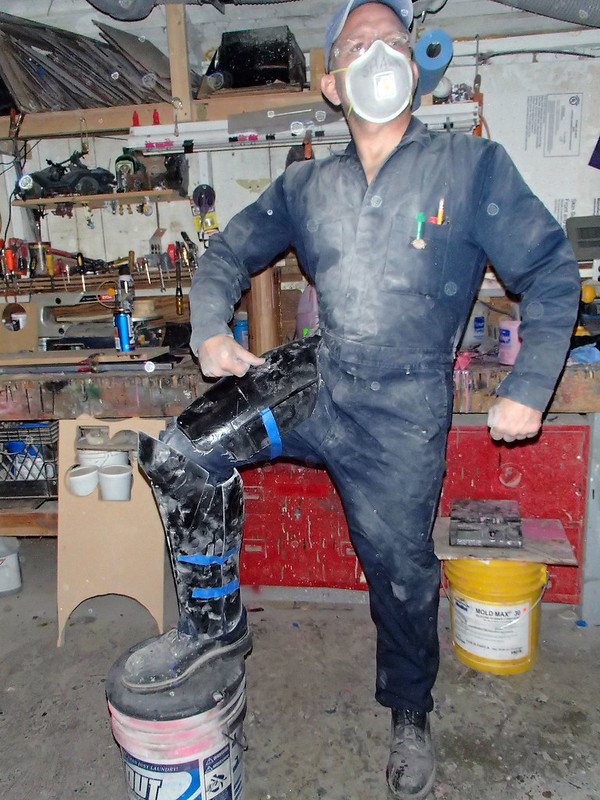
When the mold had cured, I cast a copy in flexfoam backed with fabric and then strapped all of the pieces onto my fried Matt. He was thrilled:

Not a bad start.
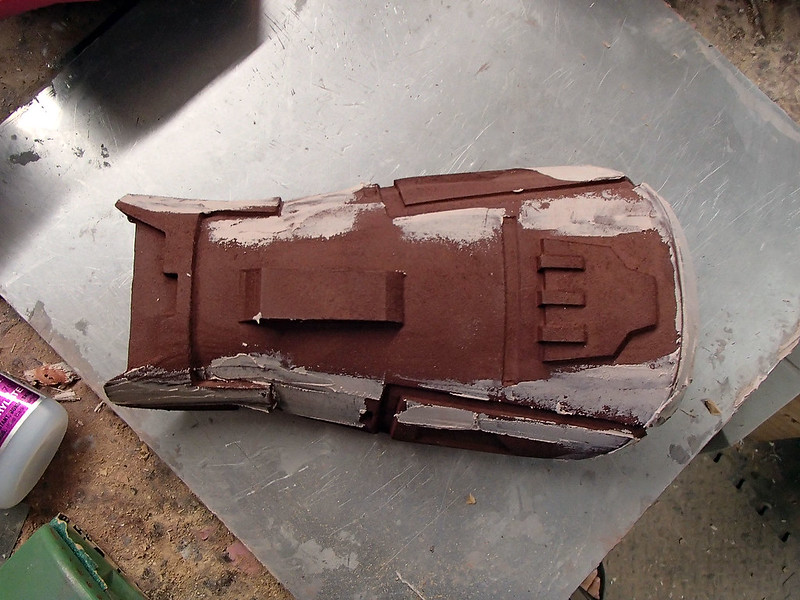
The next thing I needed to focus on was the forearms. Once again, I had Lopez whittle out a prototype:

Here's another view:
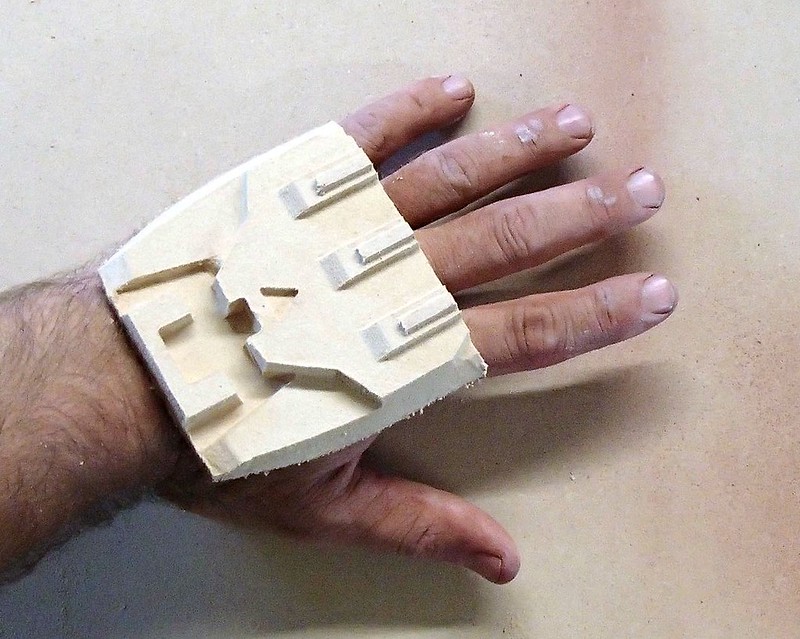
He also carved out a handplate:
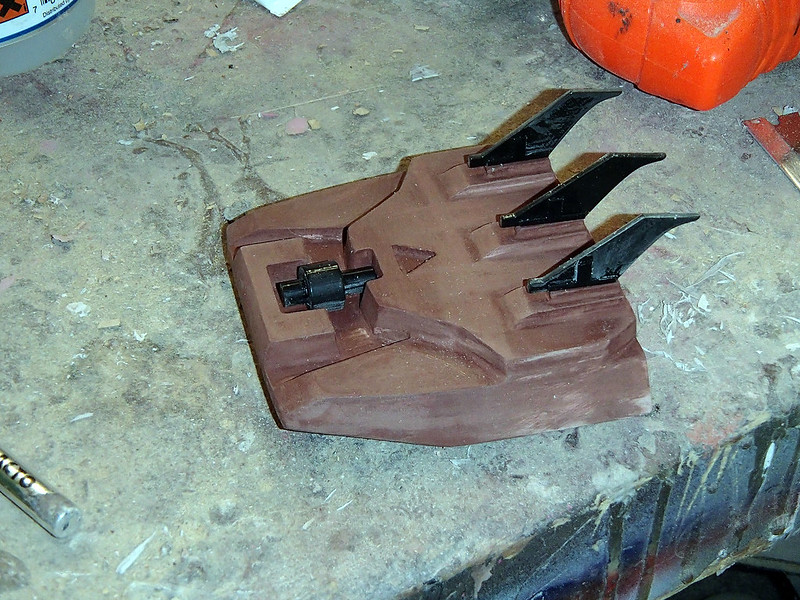
And I had Jarvis print up a set of claws:

Here's the handplate with the details attached:
The Helmet
With the arms done, the last of the hard parts that still needed to be made was the mask. I wasn't entirely happy with the shape of the digital model I already had, so I hit up my friends at DO3D.com to draw me up a better one. After Lopez carved out the parts, I assembled them and did a quick size comparison:
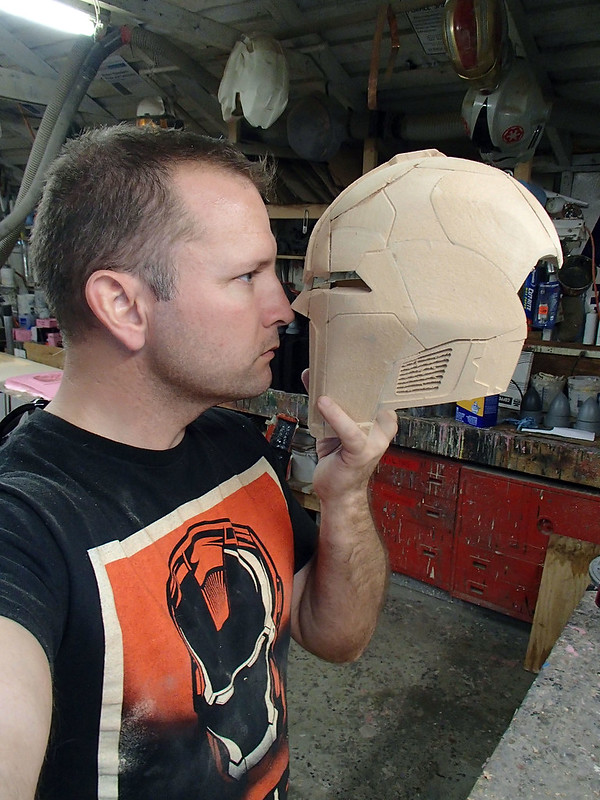
Then again in primer:
After I pulled a mold and cast a few copies, I primed them and handed them to some friends to doodle up some etching designs:
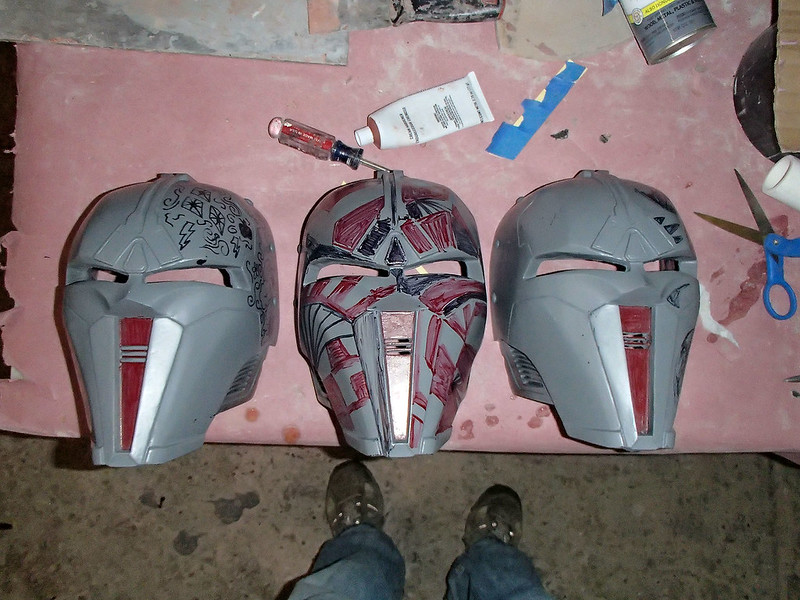
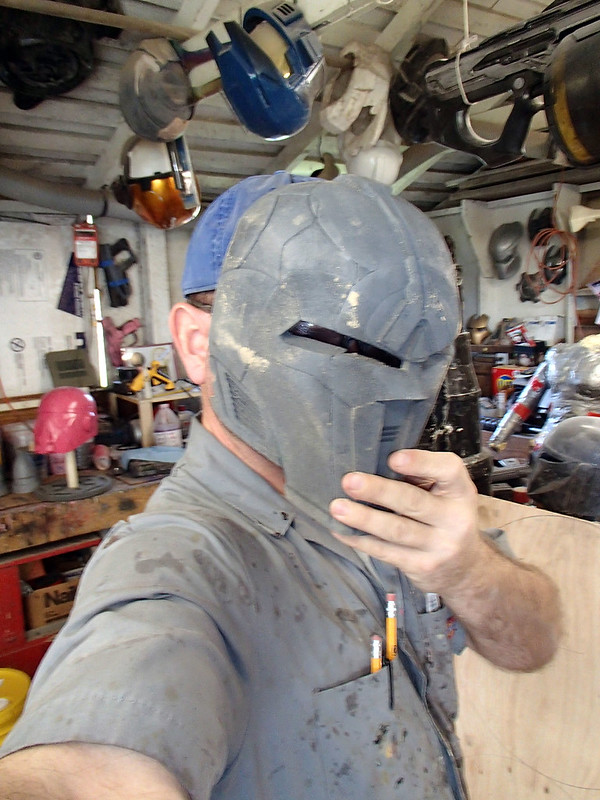
The designs were each etched into the surface of the masks with a Dremel before they were primed again and basecoated:

With all of the hard parts put together, it was time to move on to the soft parts.
The Neck Seal
The neck seal was initially sculpted in soft, oil-based clay:

Then I layered on a one-piece mold in Ultracal 30:

After removing the clay sculpt, I slipcast a copy in black latex:

A quick test fitting with one of the masks suggested that it was going to work out:

The Robes
I'll go on record here and say that I absolutely despise sewing. I'm sure there's a lot to enjoy about it, but whenever I find myself sewing I tend to think there has to be an easier way to do whatever I'm doing. Mostly I think there has to be a faster way. Then professional seamsters and seamstresses visit and tell me I'm working just the way I should and it makes me even more upset.
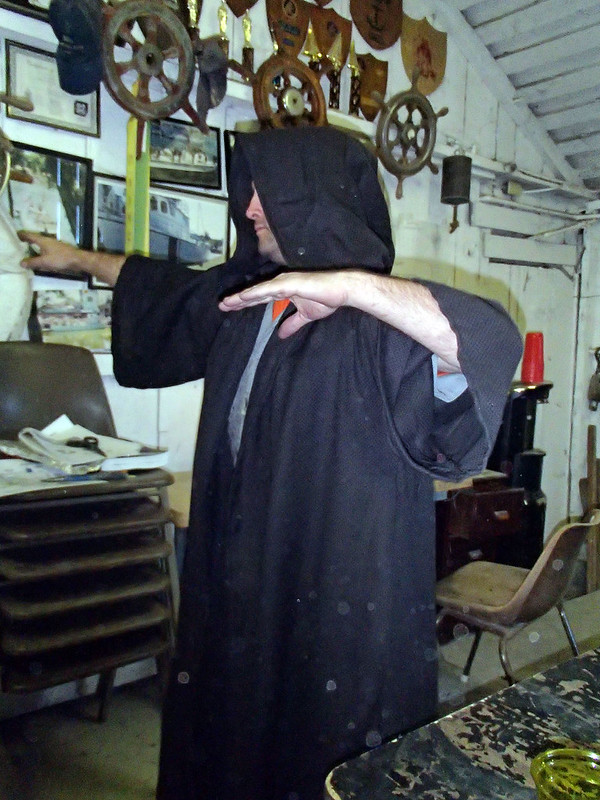
What I'm saying is: when I'm sewing, I'm probably angry:

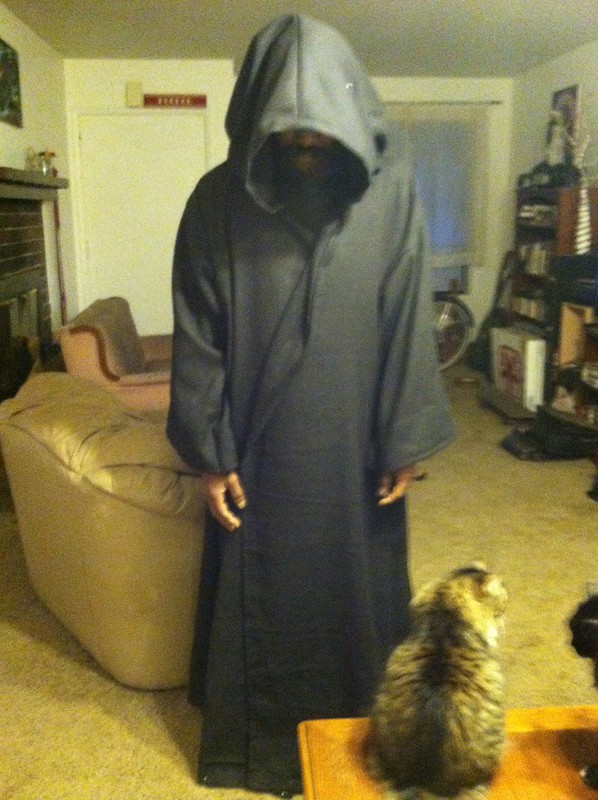
The robes were made out of a coarse weave fabric called "monk's cloth" which is probably not ideal for garments, but with the help of a very well-written tutorial I managed to pull it together:
The tutorial was written by Ani-Chay Pinn and includes pattern guidance. You can find it at: thejediassembly.com.
Meanwhile, a friend made another one at her place:
Finished Photos
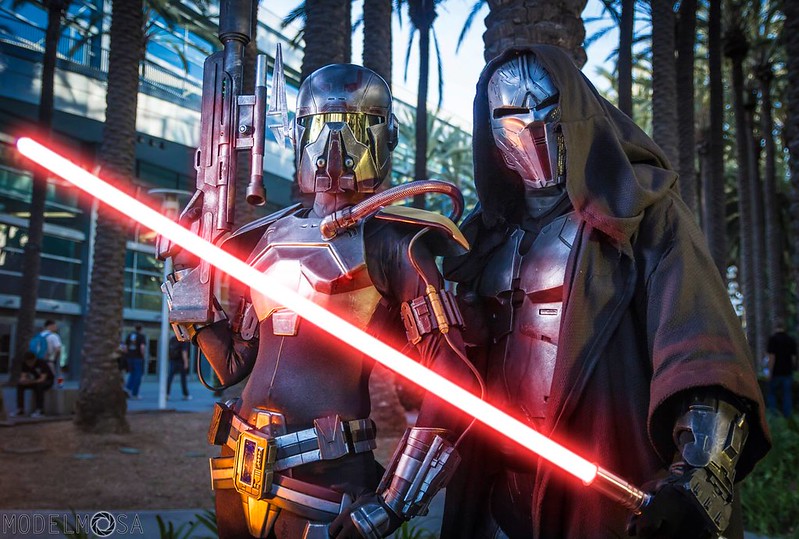
With the robes made, all that was left was to strap everything together and head out to the convention. There were three of us walking around with Shae Vizla:

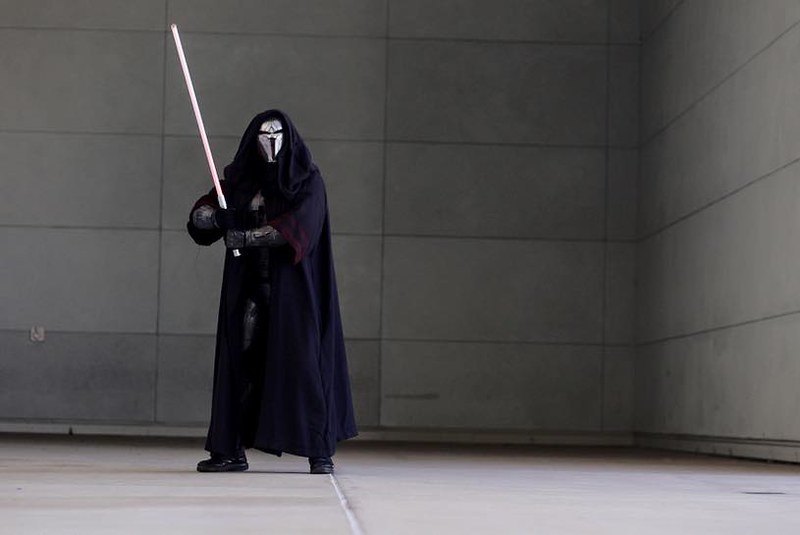
Here's me all by my lonesome:
While we were there we made a lot of new friends:

We were almost constantly attacked by a variety of Jedi younglings:

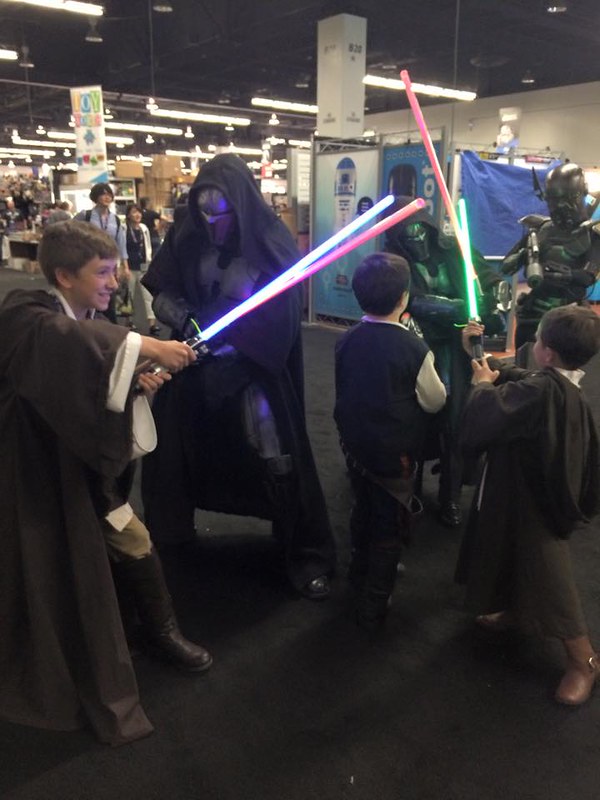
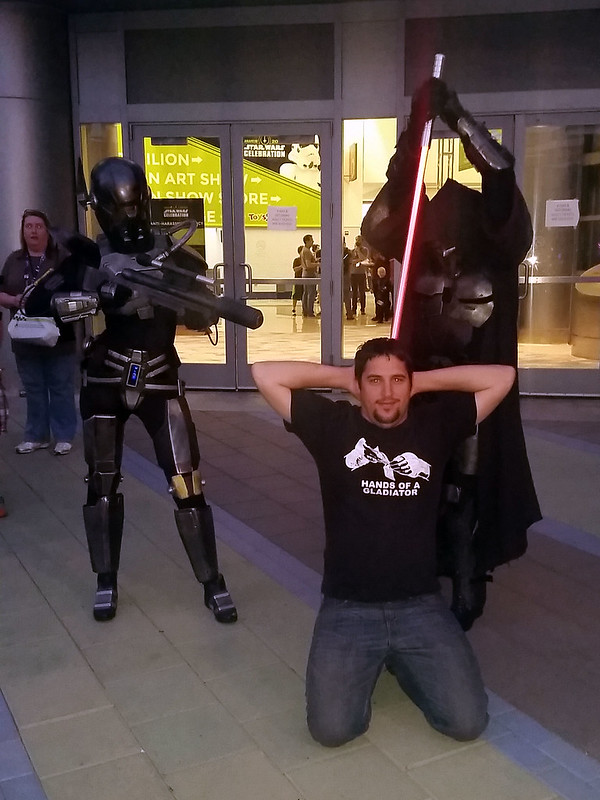
There were all sorts of other shenanigans:
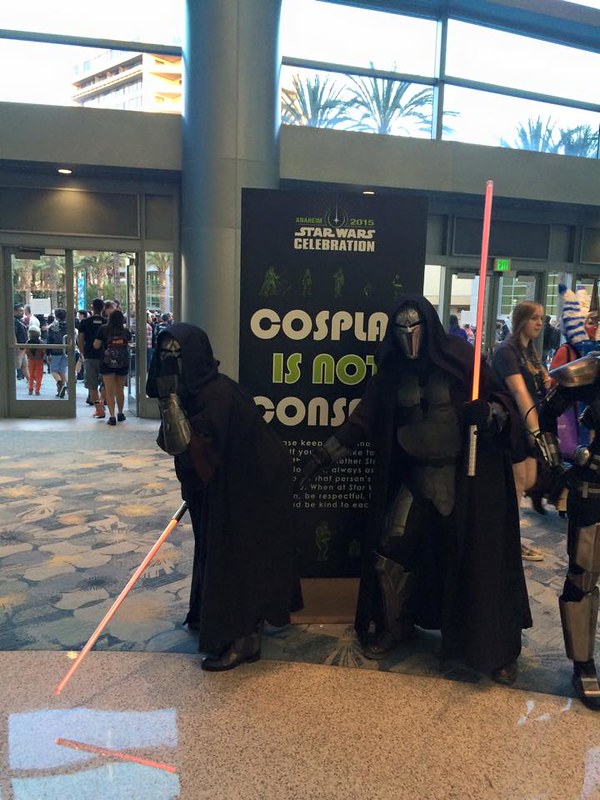
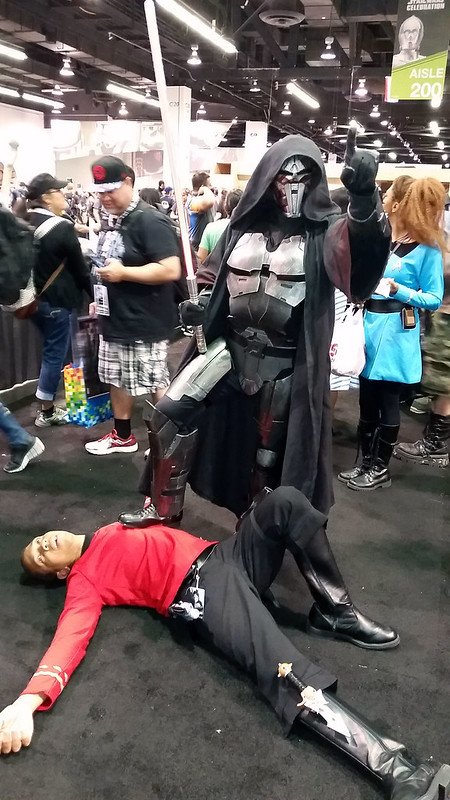
For some reason, this was the most popular pose for folks who asked for photos with us:
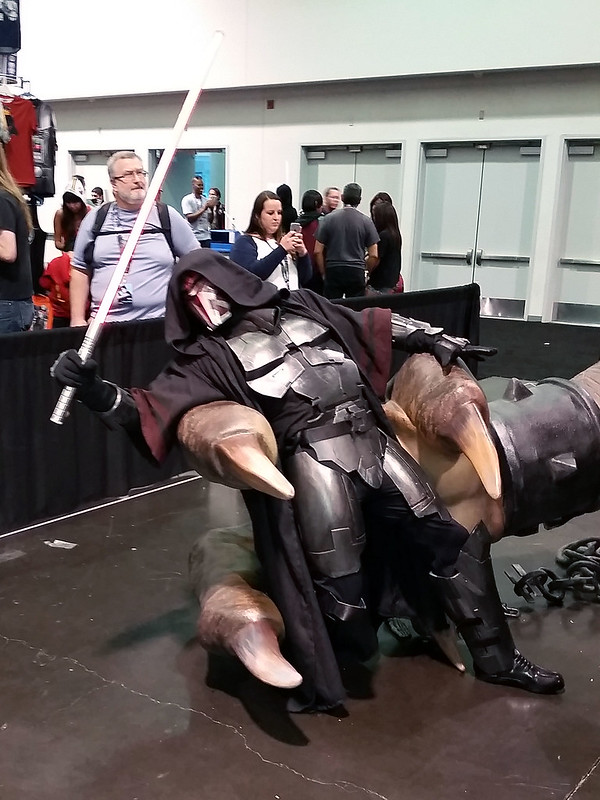
Some of my favorite photos were the ones we took with Roxy the Rancor:
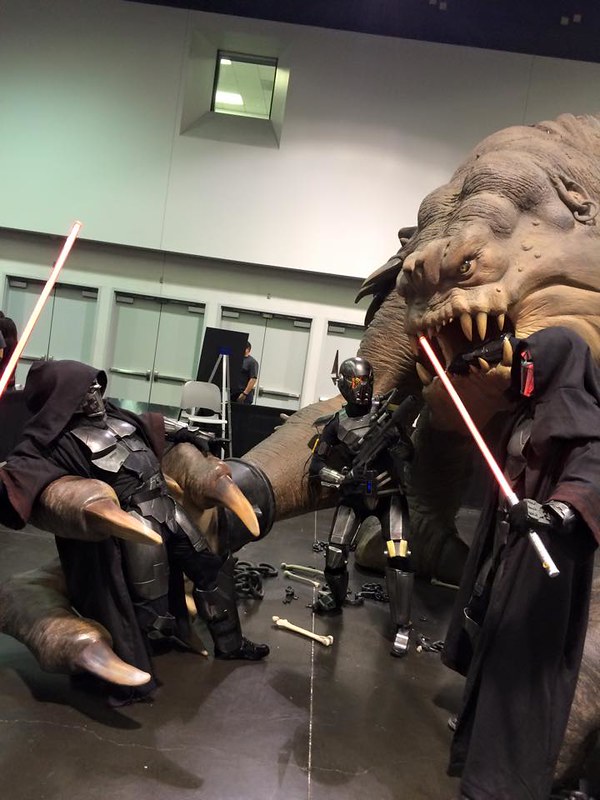
I'm this one:
There were also a variety of well-equipped photographers who kept asking us to pose for photos so they could expand their own portfolios. Here's a few of them...
Photos by Modelmosa:
Photos by Debshots Photography:
In the end I'm really happy with how these guys turned out.
The only bummer was that I'd built and packed five full sets of the Sith Acolyte armor and only two of the guys in my crew showed up to wear them. I guess they were too busy getting carried away on the finishing touches on their Death Watch costumes. I should be finishing the last couple of articles about that project sooner than later.
Hopefully I'll also find a few minutes to take some better shots of the whole group of Sith Acolytes together.
Stay tuned...
Any chance buying a pull of the neck seal?
ReplyDeleteCrazy awesome build. I'm with the other commenter here. Love that neck seal.
ReplyDelete