
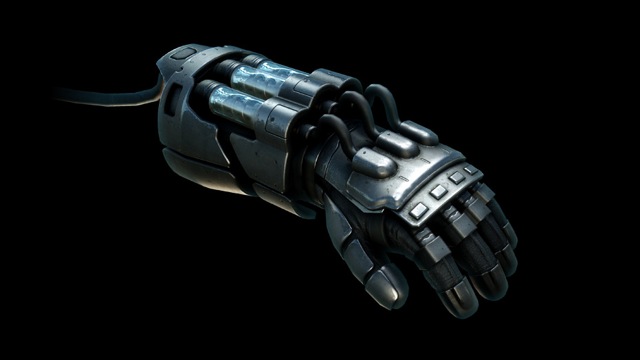
Here's what it looks like in the game:
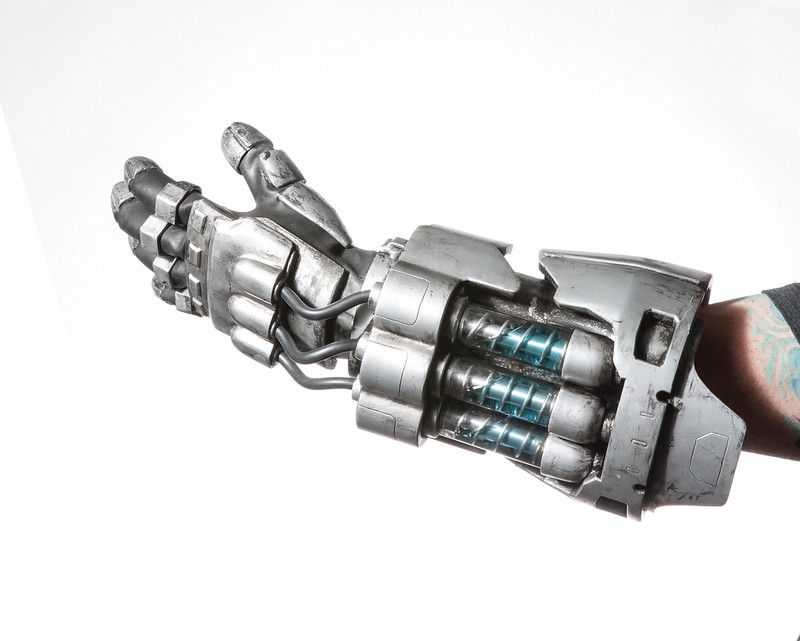
This is the finished piece my crew and I put together in the shop:
For all the grisly details describing how it was made (and a lot more photos), read on...
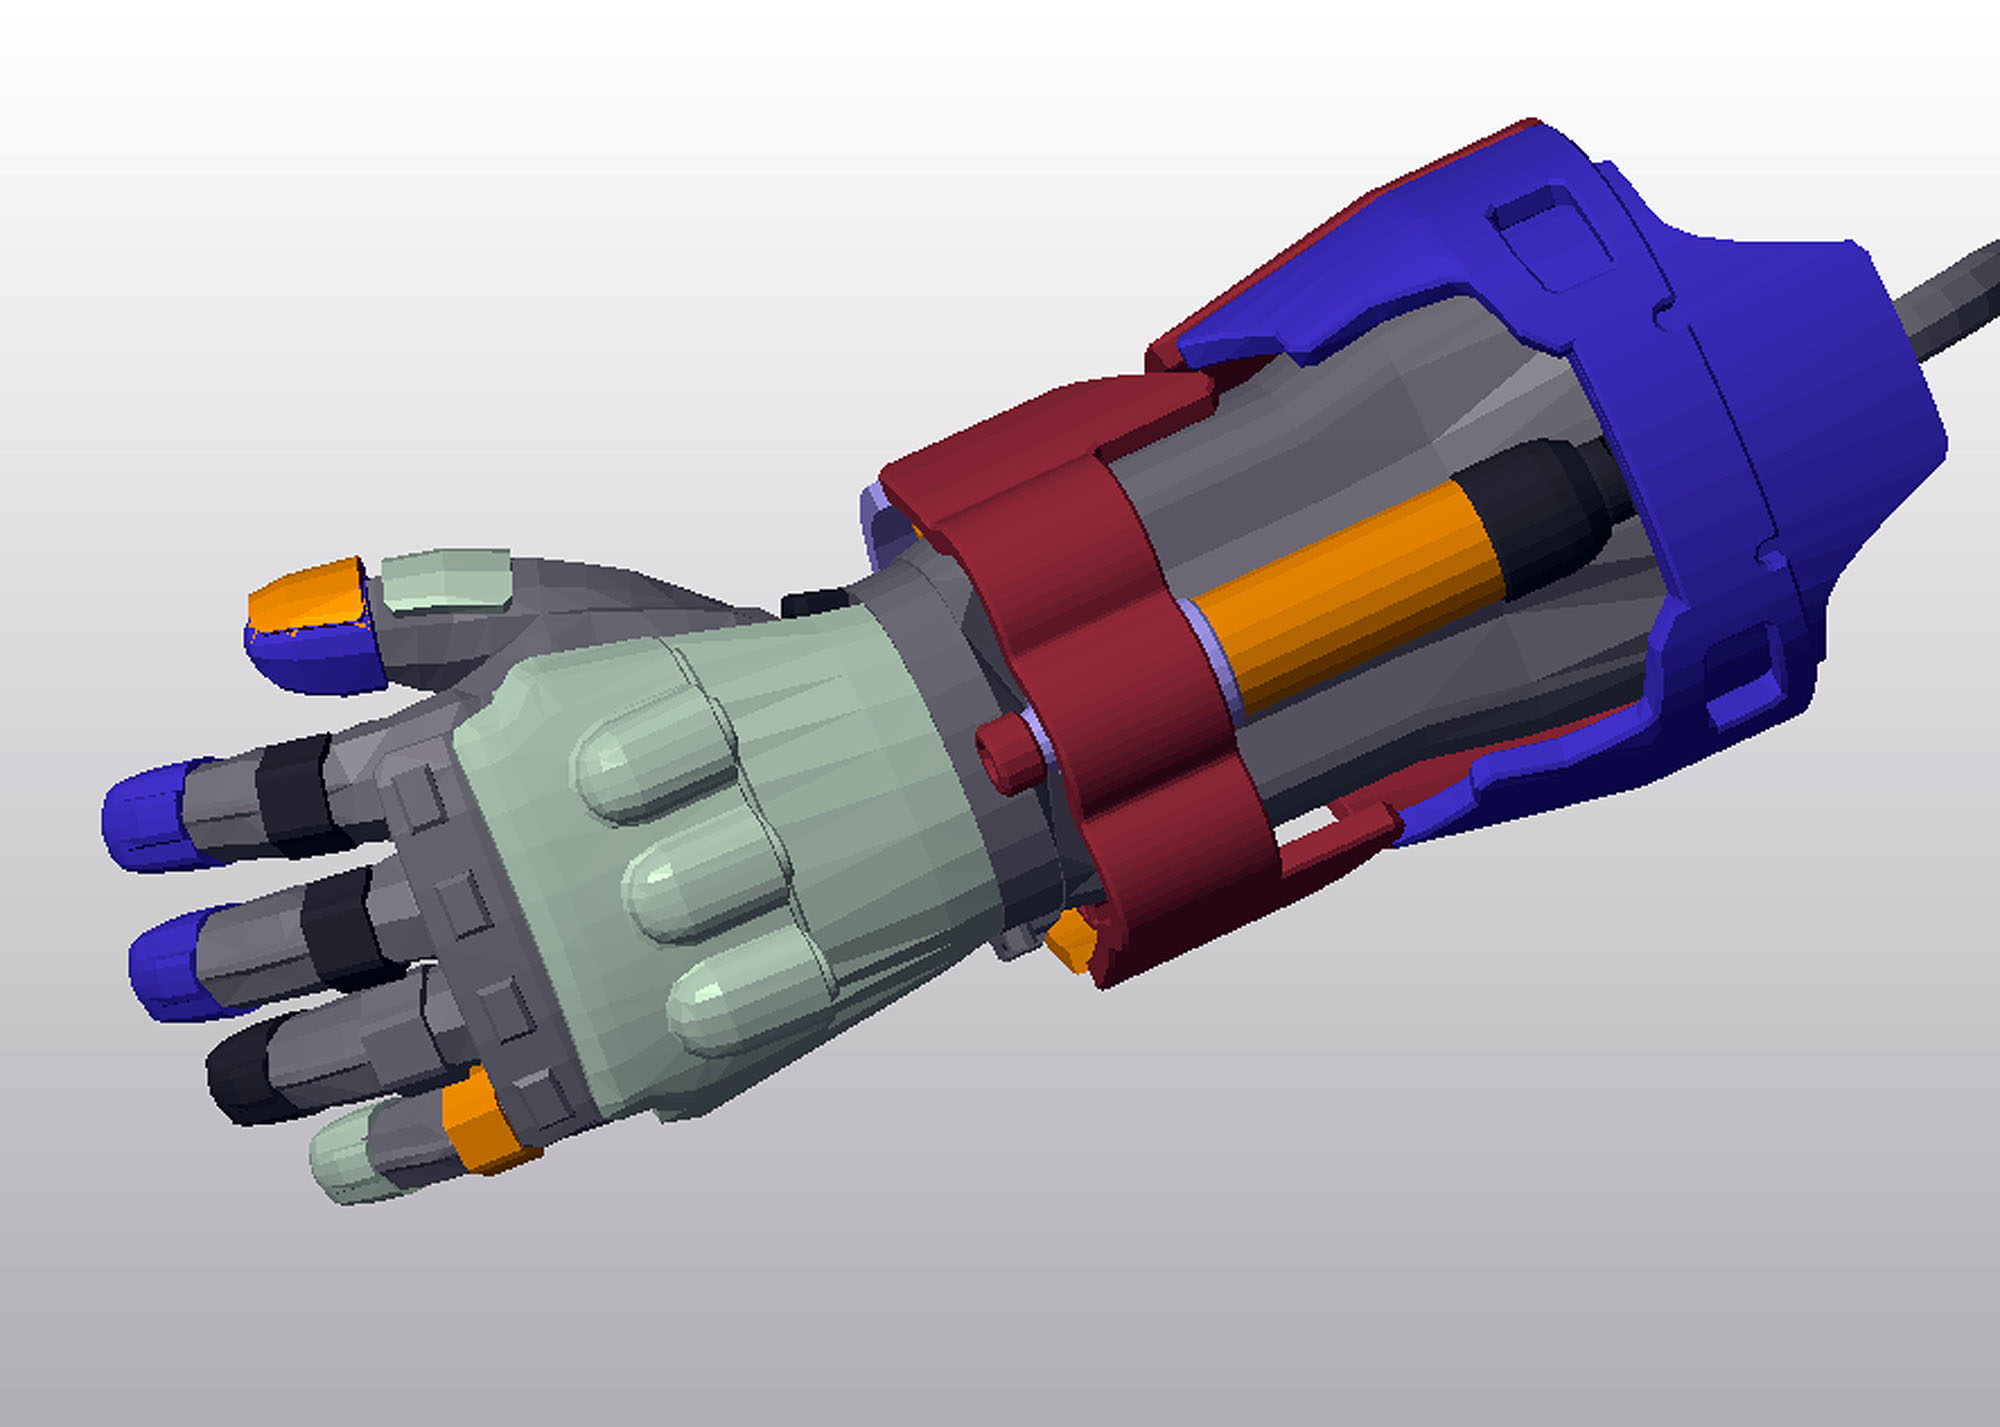
Once again I went through the tedious process of cleaning up the cinematic cut scene model, closing all of the open geometry, splitting it into parts that made some kind of sense for fabrication, and deciding which pieces would be made by what machines. Here's the digital model broken down into all of its unique parts:
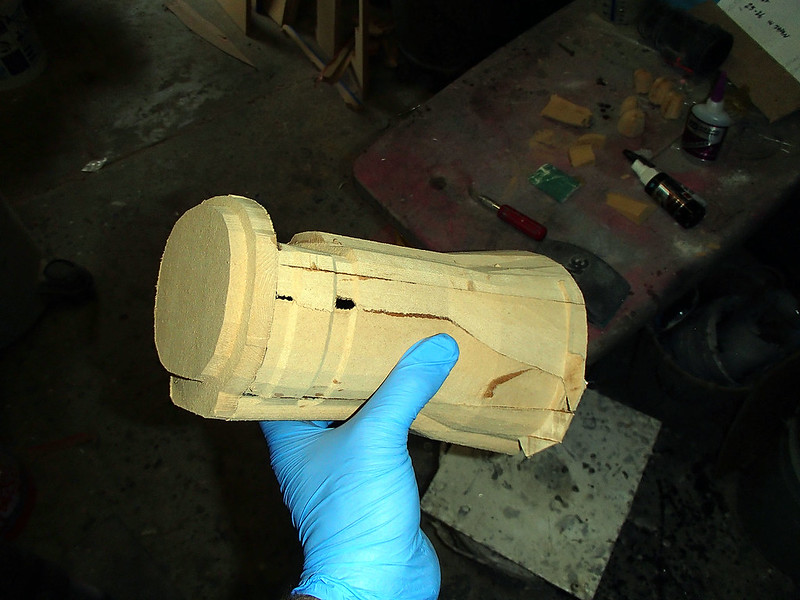
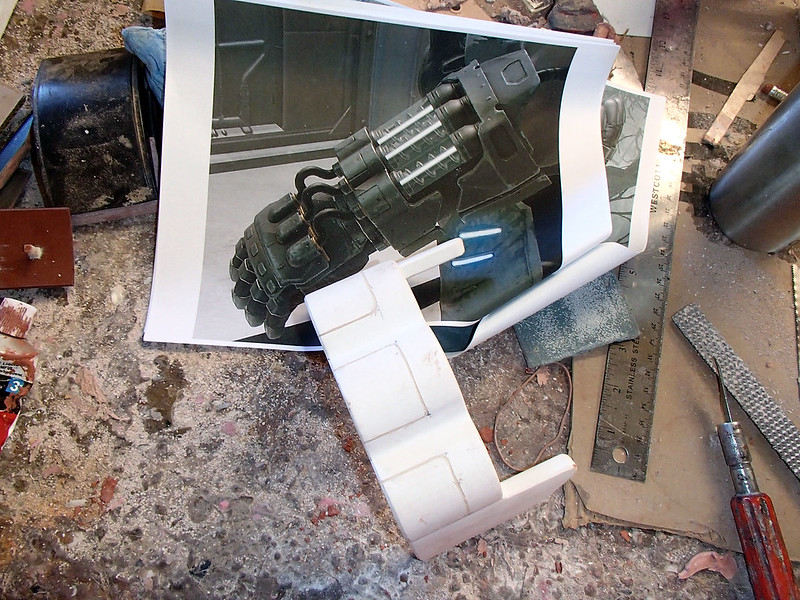
I started by carving out the base shape on the Carvewright CNC machine. Here it is tacked together:
Since they were pretty simple shapes, I also had the Carvewright cut out all of the fingertips. Then everything got a few heavy coats of primer:
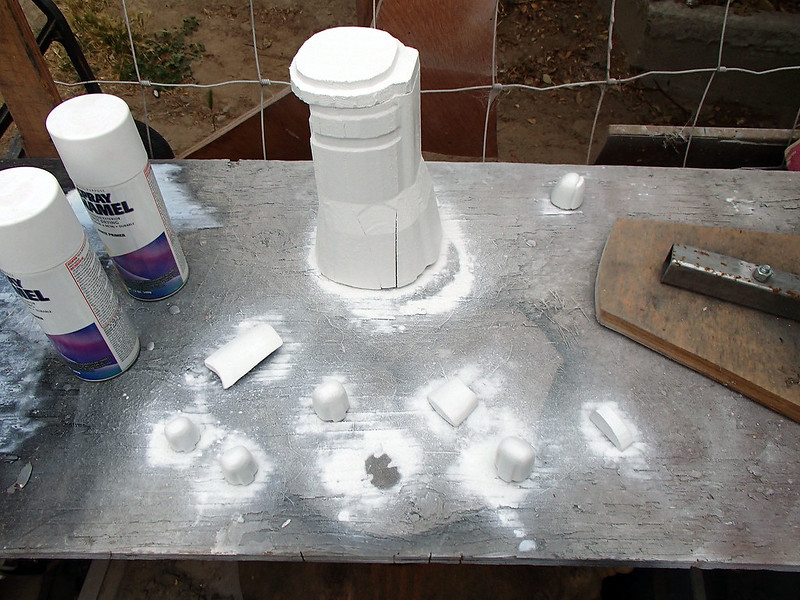
Smaller parts were printed out on the Objet30:
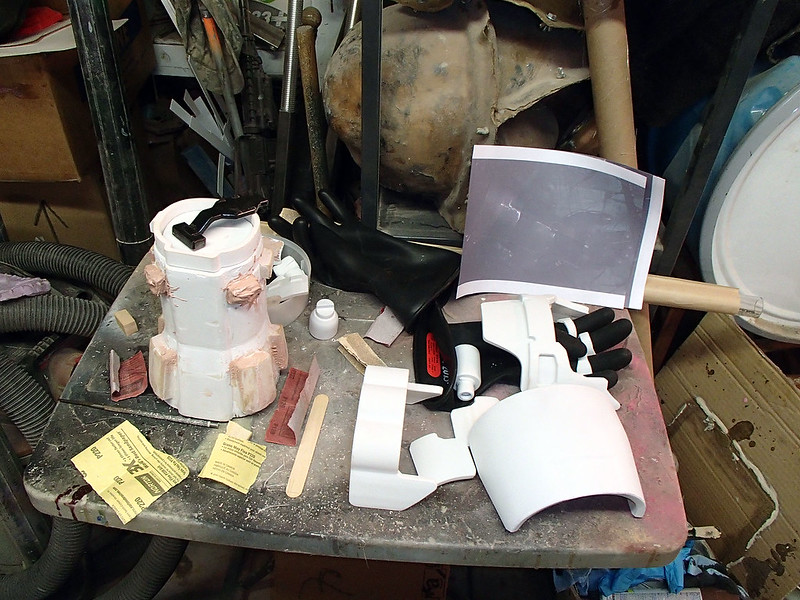
After a bit more cleanup, here's the first round of carved and printed parts:
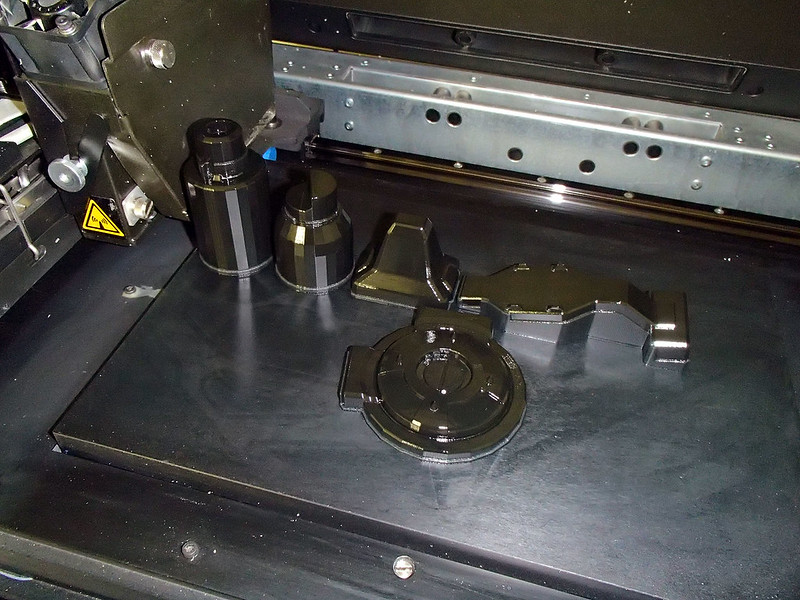
Since time was getting short, I opted to have the big cover plates printed out on the Zortrax M200. This way the finished pieces could be used on the final piece if I didn't have time to make molds and pull resin copies. Here's the first printed plate:
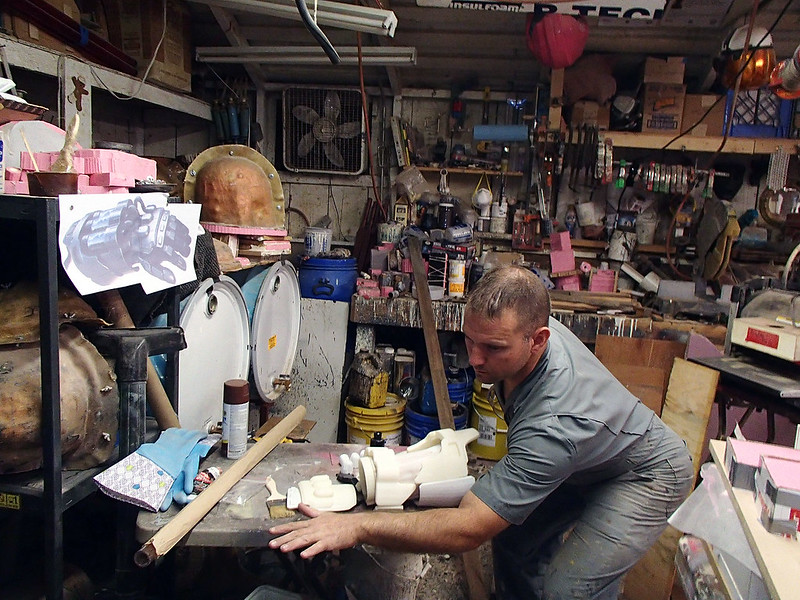
At this point, it was vital to ensure that everything was about the right size. For this, I employed only the most scientific of methods:
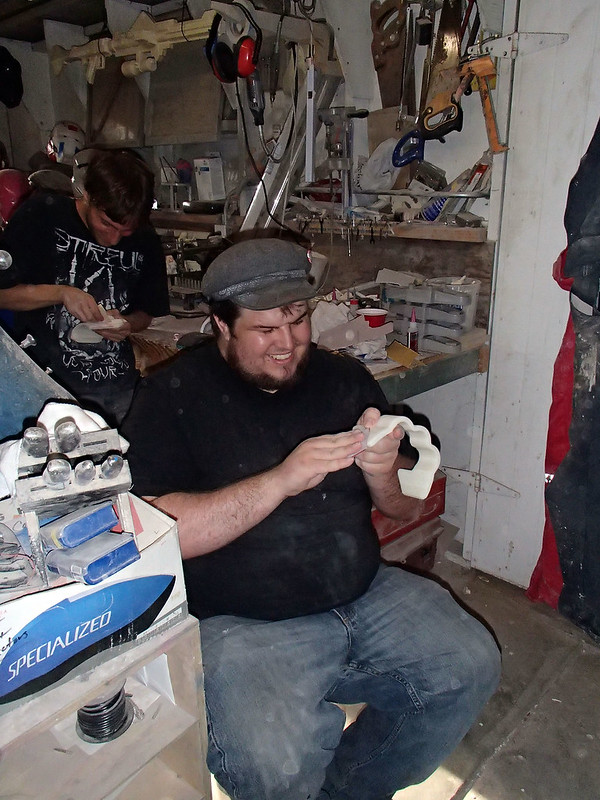
While I was working on some of the other pieces, I set Dan to work sanding the print lines off of the cover plates:
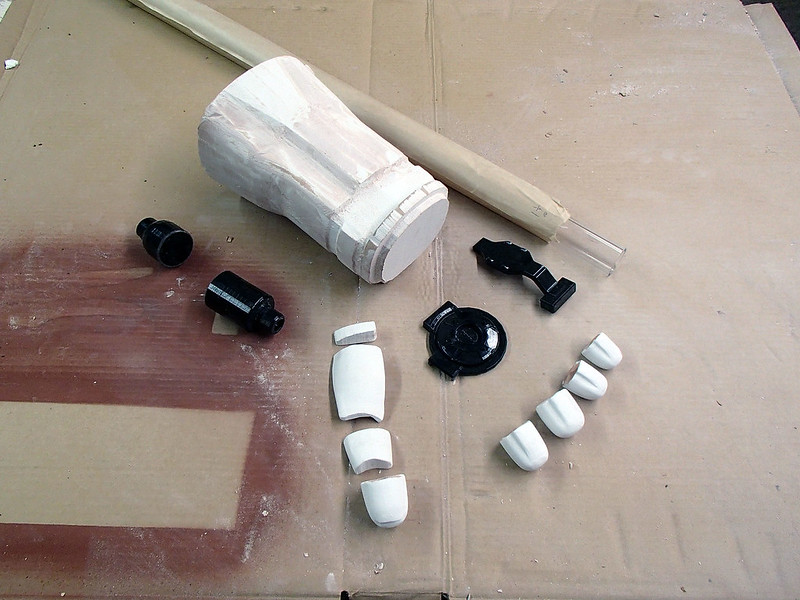
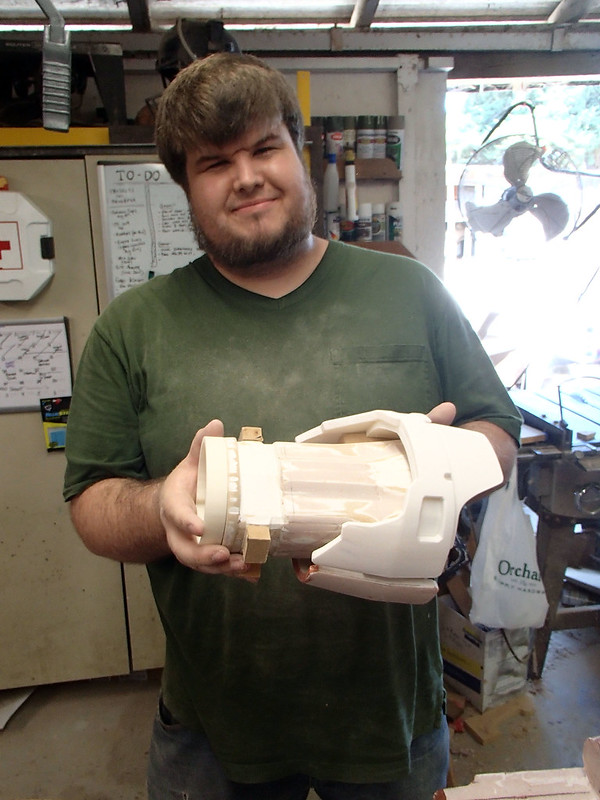
After a solid day of sanding and filling, here's what the full set of parts looked like:

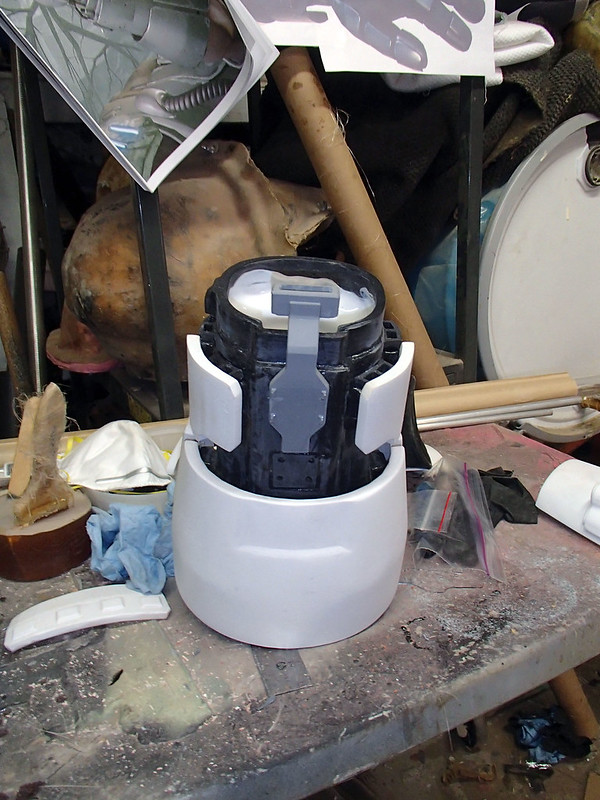
To hold the printed cover plates onto the base, I was going to need something more robust than the little brackets that were part of the digital model. To that end, I cut out some rough blocks and added them to the base piece, Then rough shaped them until the plates seemed to fit right. Here's Dan dry-fitting one of the plates:
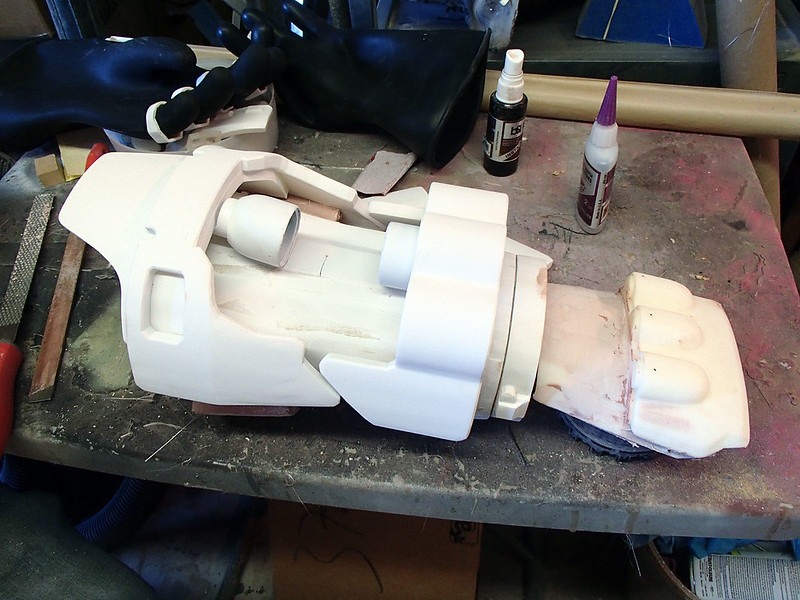
After a bit more grinding and trimming, the plates were settling into position nicely:
Here you can see another round of Bondo being gooped onto the blocks at the wrist end of the base piece:
As is often the case with video game models, the smaller details and fine seam lines were essentially painted onto the surface in order to keep the model as simple as possible and save rendering power. Since this piece will be seen up close in person and held by the audience, all of the seams and notches had to be physically present on the finished prop. So I set Dan to work scoring lines in the surface wherever we needed them:
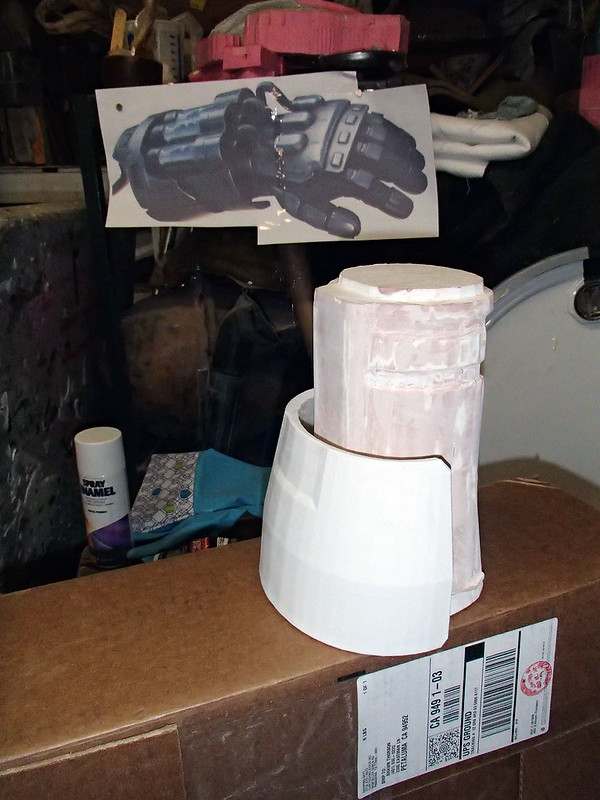
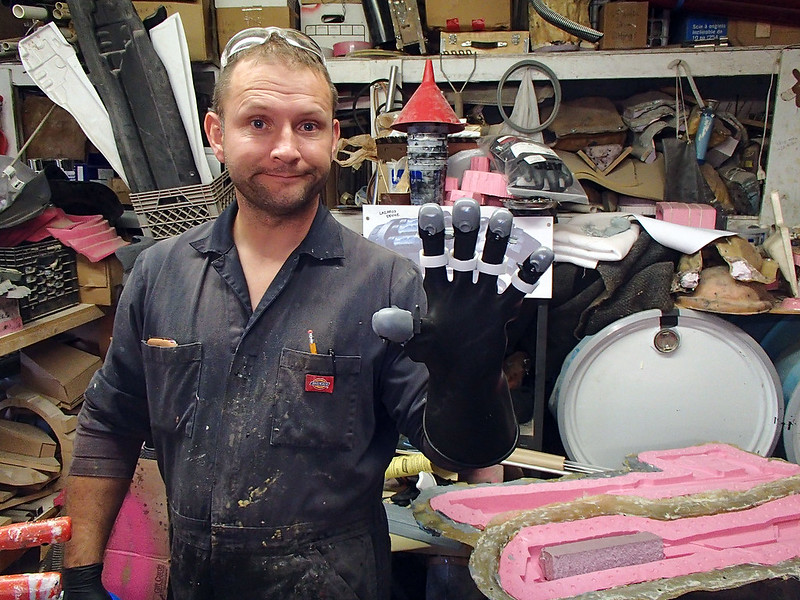
While that was going on, I spent some quality time test fitting various parts onto a rubber electrical safety glove that was being sacrificed for the cause:
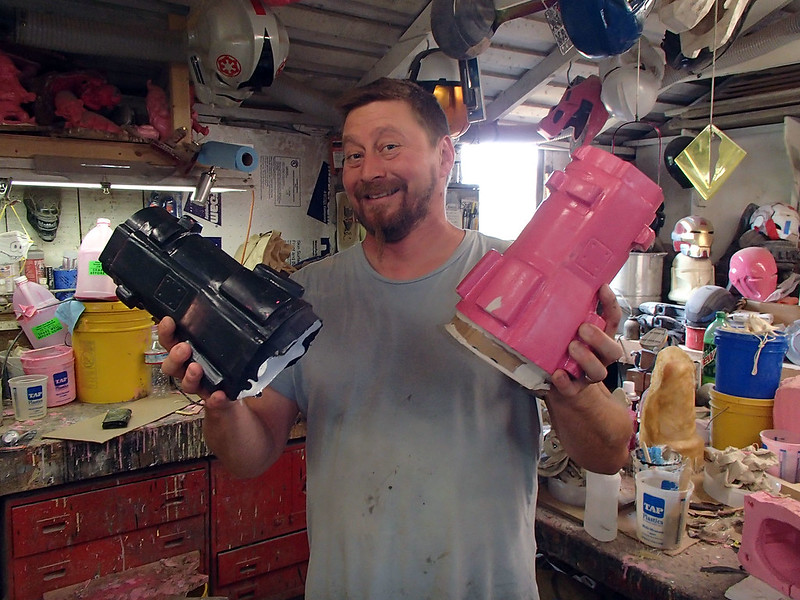
Meanwhile, Jason rotocast the first hollow copy of the base piece:
And as luck would have it, everything fit together:
I also made a rough mock-up of one of the clear liquid cylinders for the backside of the device:
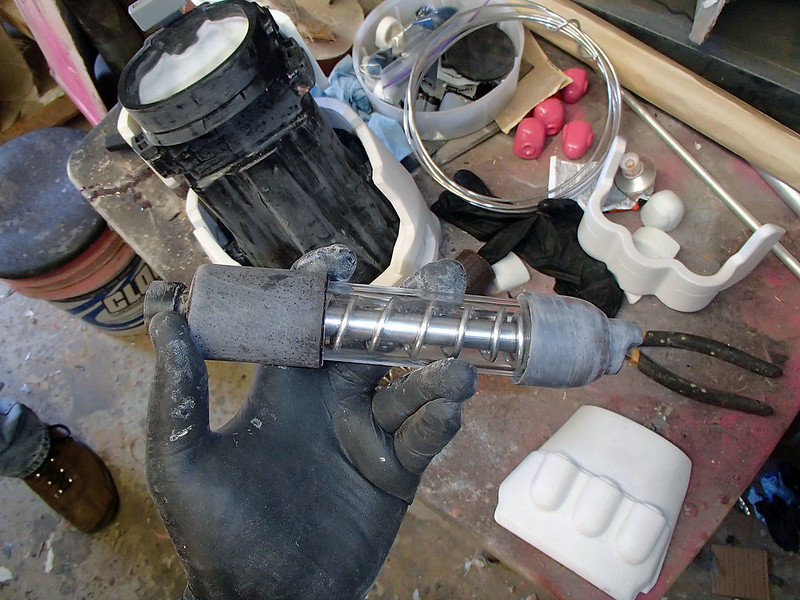
I faked the piston on the inside by using a piece of 1/2" aluminum rod and then a coil of 1/8" aluminum armature wire was twisted into a rough spring shape to detail the inside of the cylinder. Here's how it would fit onto the device:
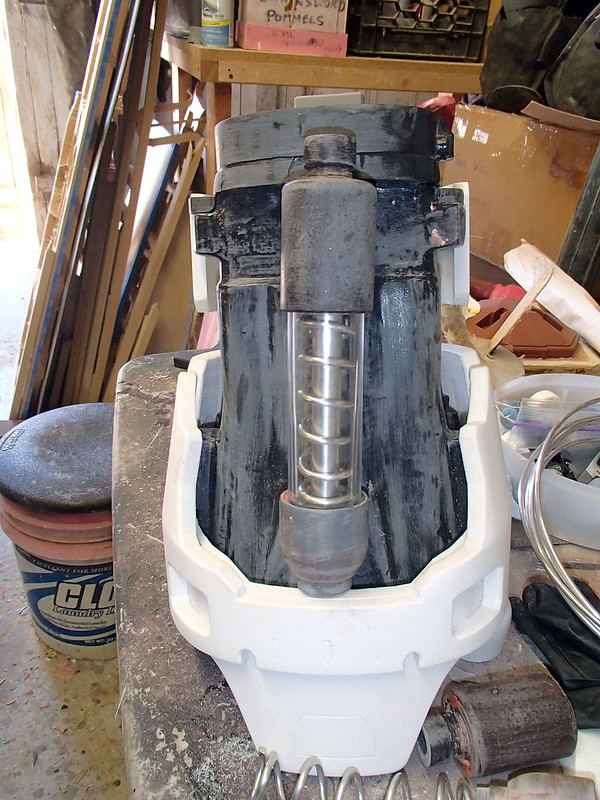
For the liquid inside, I had Greg mix up a bit of distilled water and blue food coloring. Then the whole assembly was solvent welded together, making a perfect little watertight container:
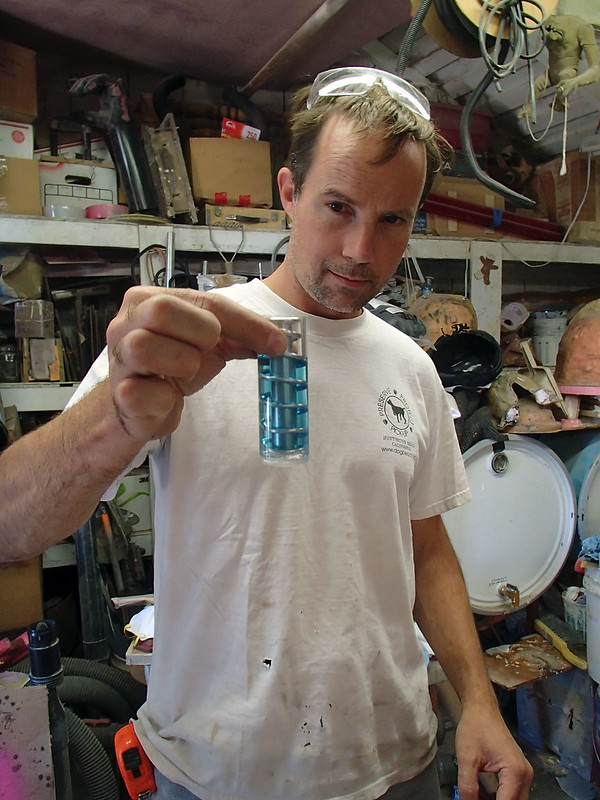
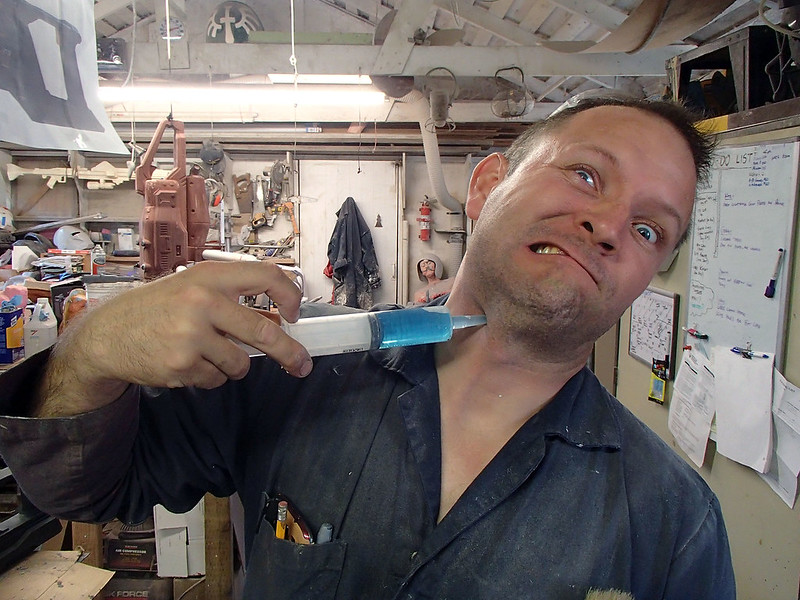
Since there was a tiny bit of blue liquid left over, I didn't want to let it go to waste:
With all of the sub-assemblies assembled, the clear parts were masked off and the whole thing was primed and ready for paint:

The paintjob was left up to Matt. He started with a base coat of shiny chrome paint:
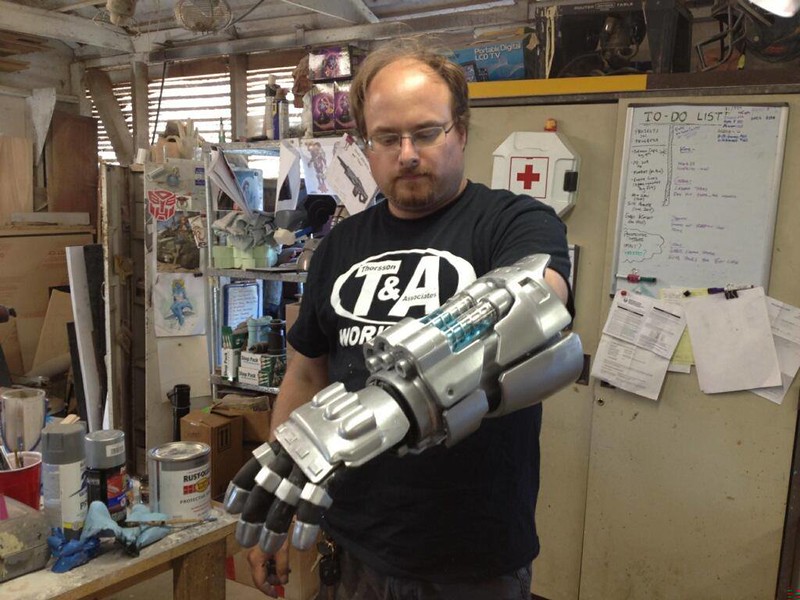
Then the whole thing was given a heavy blackwash before the final set of hoses was added and it was put on the bench with the rest of the lineup:

Here's a nice studio photo of the finished Lazarus Device, courtesy of Make magazine:
And another:

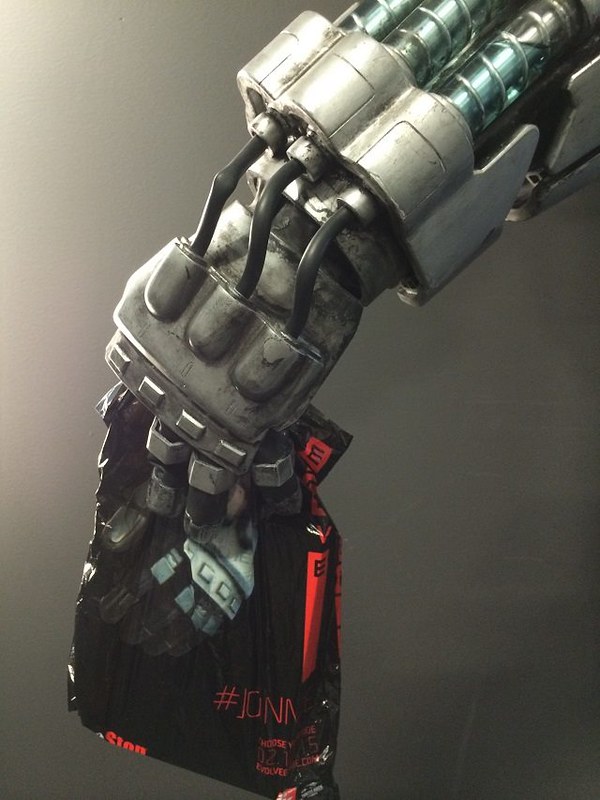
If you've been following EVOLVE's Facebook Page, you've probably seen more than a few images like this:
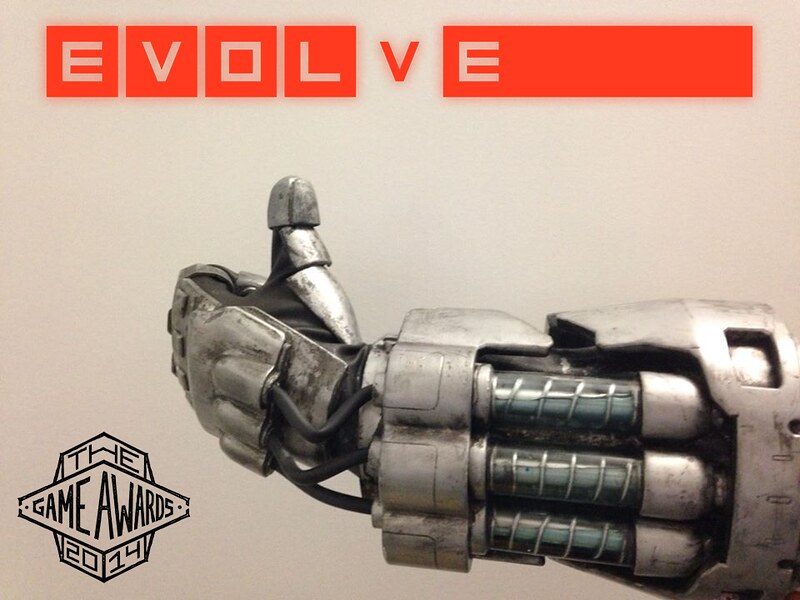
Or this:
If you don't follow EVOLVE's Facebook Page, hurry up and do that so you can get all of the latest updates as we race towards next month's release date.
Stay tuned for more. Next up: the Laser Cutter!
.
This is amazing! It would be double amazing if you made a giveaway! :D
ReplyDeleteI have been waiting with baited breath for this. Was not disappointed.
ReplyDelete