
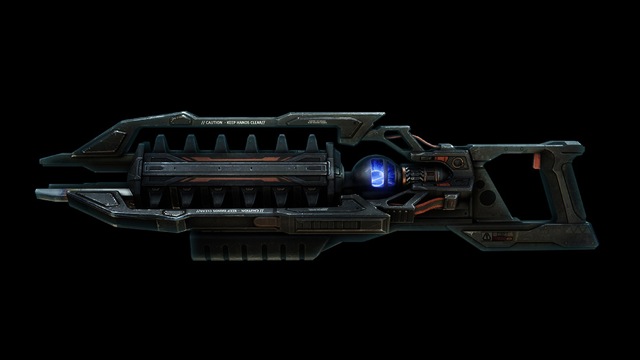
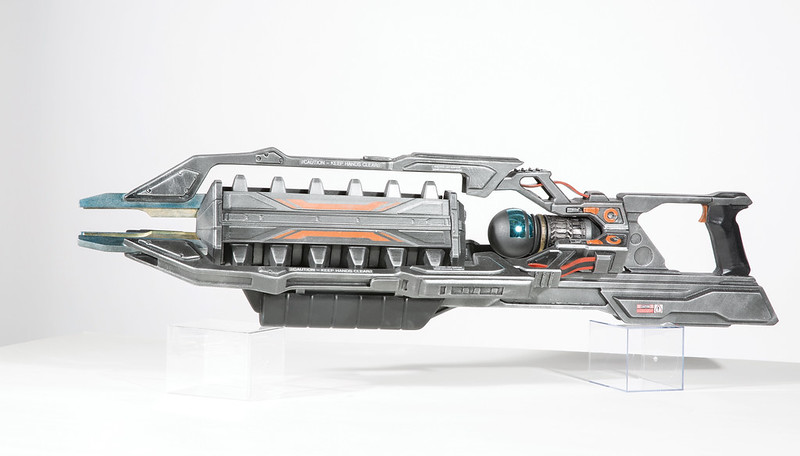
Once I'd built one weapon for each class of hunter, my favorite one to see in real life was the Lightning Gun carried by an Assault-class hunter named Markov Golushko:

That thing's pretty nifty.
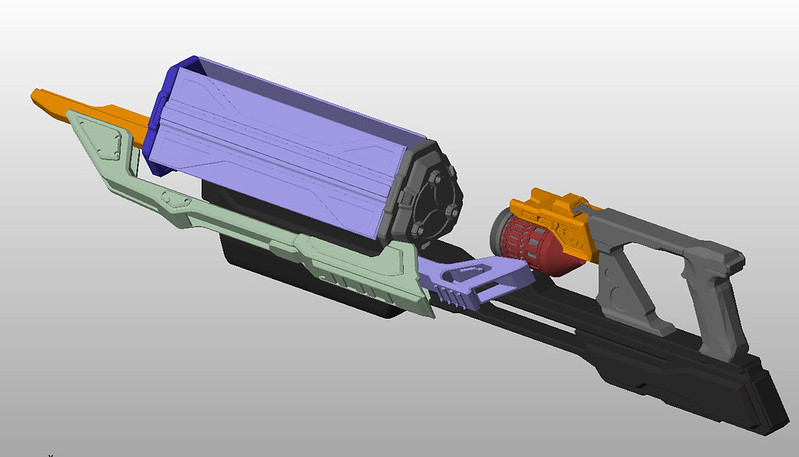
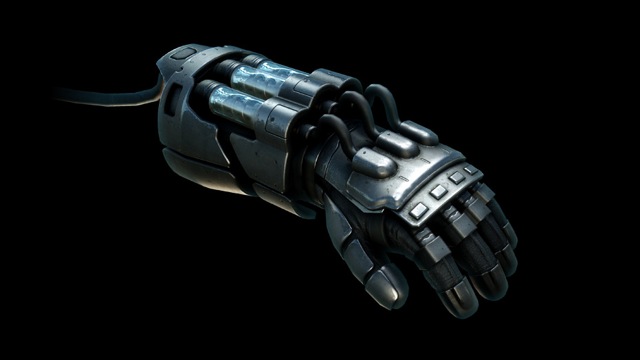
Here's the Lightning Gun render that I started with:
For details about how it was made into a practical prop, read on...
Looking at the digital model, it was richly detailed and there were a lot of pieces:

As luck would have it, many of the pieces were just repeated copies of the same parts over and over. After a bit of cleanup, I'd found about thirteen unique parts that I would have to prototype and mold:
Just like the Harpoon Gun, the larger parts were carved out on my Carvewright CNC Machine:
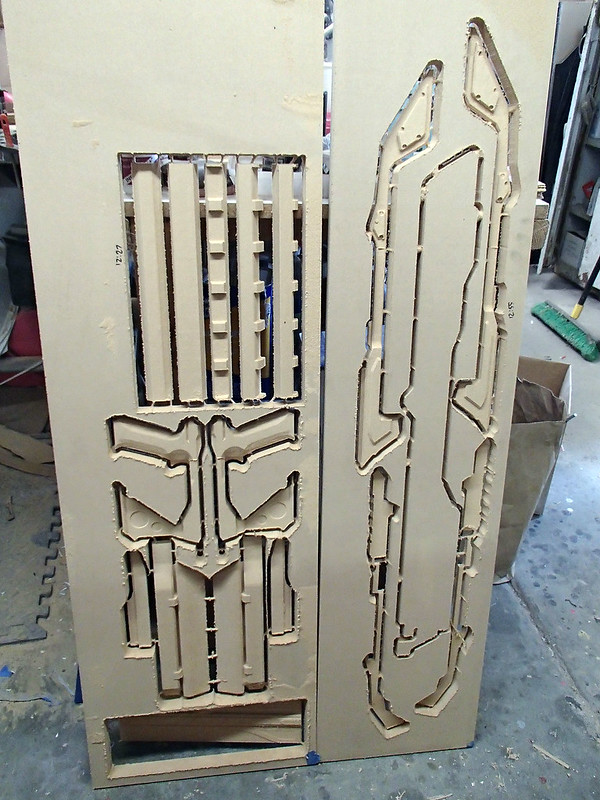
Here they are glued up before I'd done any real cleanup work:
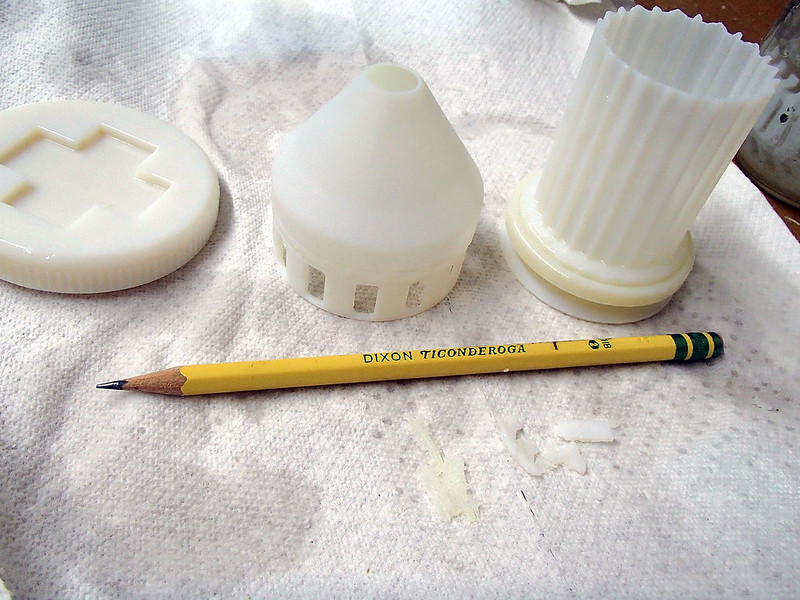
The smaller, more detailed parts were cranked out on my Objet30 3D printer. Here's a few of the pieces on the build tray:

After cleaning off the support material, they looked great:
These two pieces on the right are most of the support for the plasma ball section in the middle of the gun:
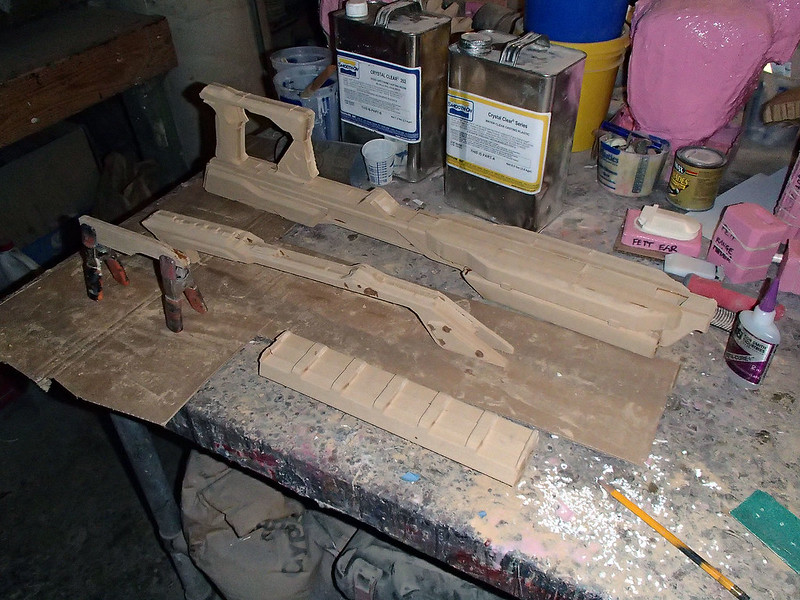
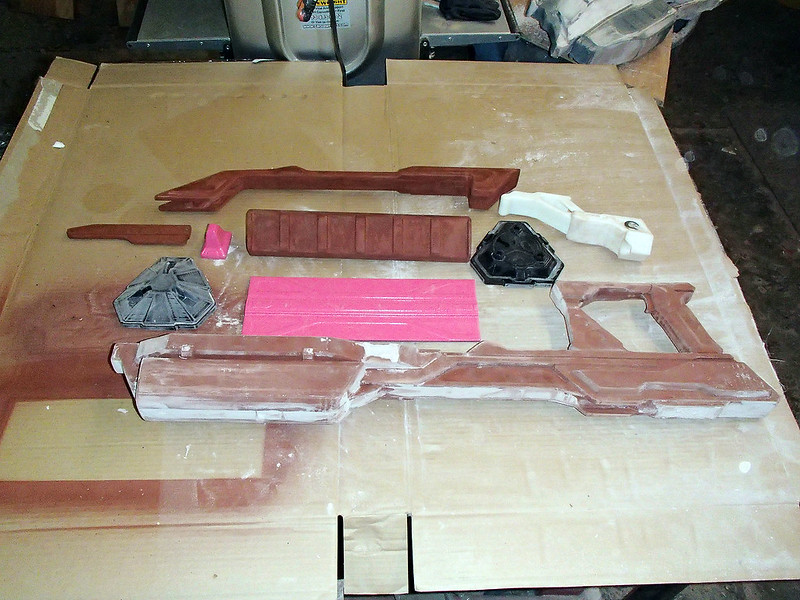
Once the glue had set up on the carved parts, they were given multiple heavy coats of primer:
Then I started filling and smoothing out the seams. Here's the stack of parts after a day or two worth of attention:
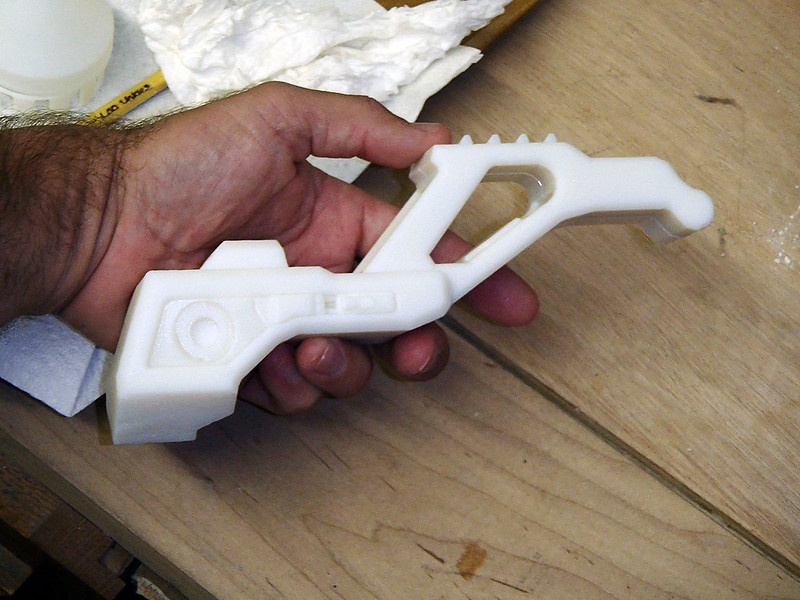
Here's a couple of the parts off of the Objet30. After initially cleaning off the support material, all they need is a light sanding and a coat of primer and they're basically ready to mold:
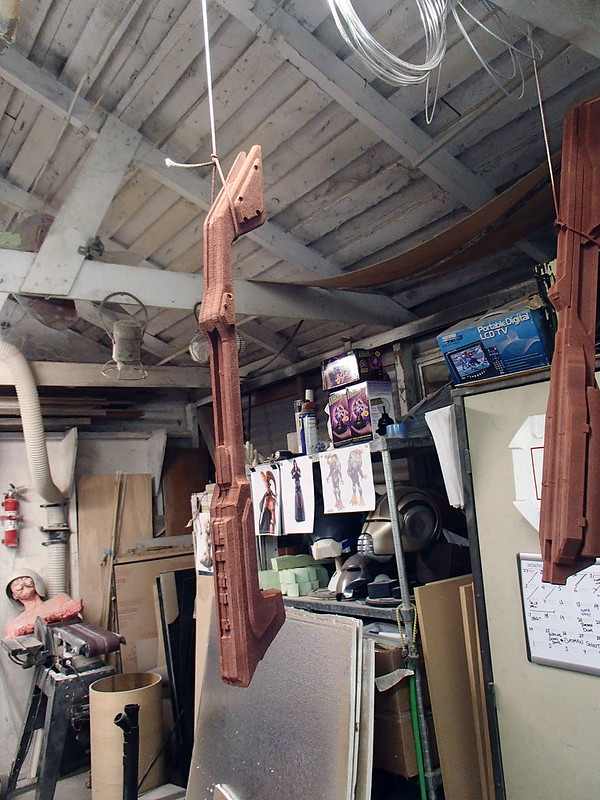
The CNC'ed parts take a bit more effort. Here you can see the outer rail parts shaping up:
And a closeup of the 3D printed bracket that goes on the back end of each rail:

Just as soon as I had parts that were ready to mold, I started making up mold boxes and pouring rubber:

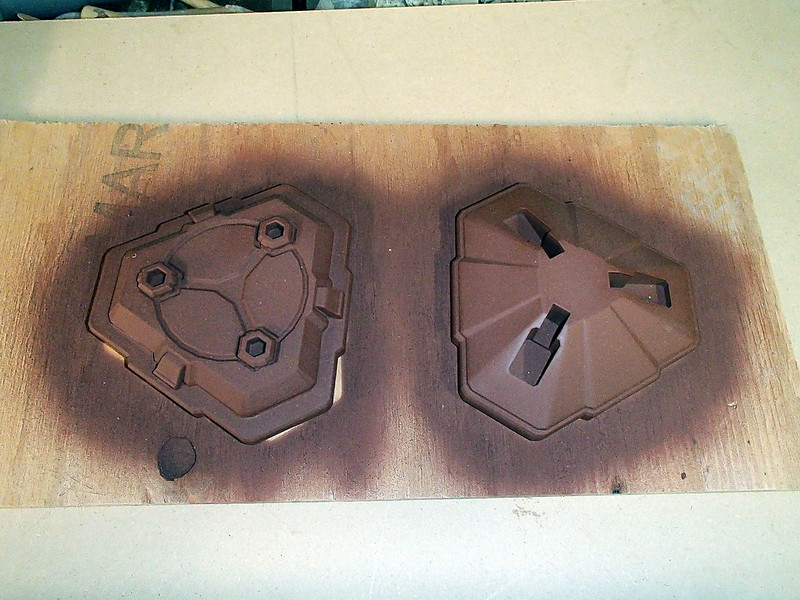
Since I needed more copies of them than anything else in this project, the first thing to be molded was the "tooth." The finished piece would need six of these teeth to be placed under each of the three outer rails, so I set to work casting copies as soon as the mold was ready:

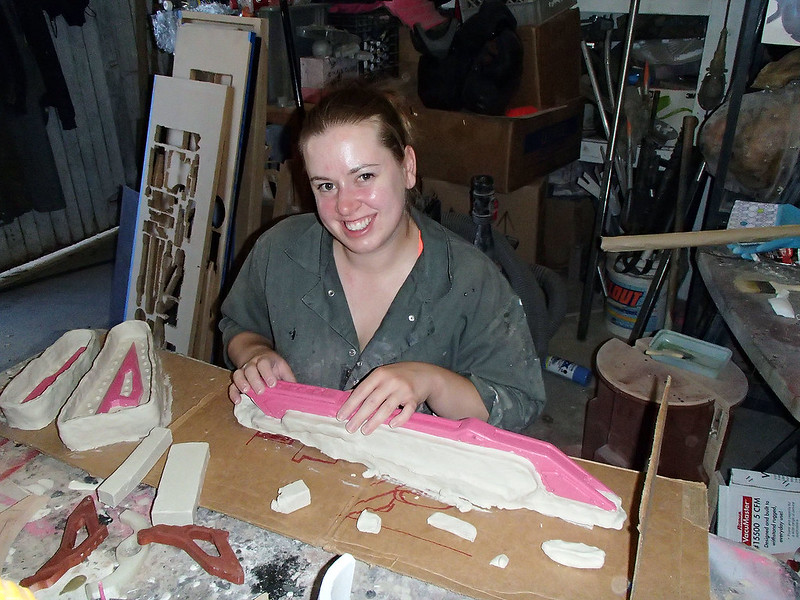
Once the outer rail prototype was shined up and ready to mold, I had my assistant Kate block it up with clay:
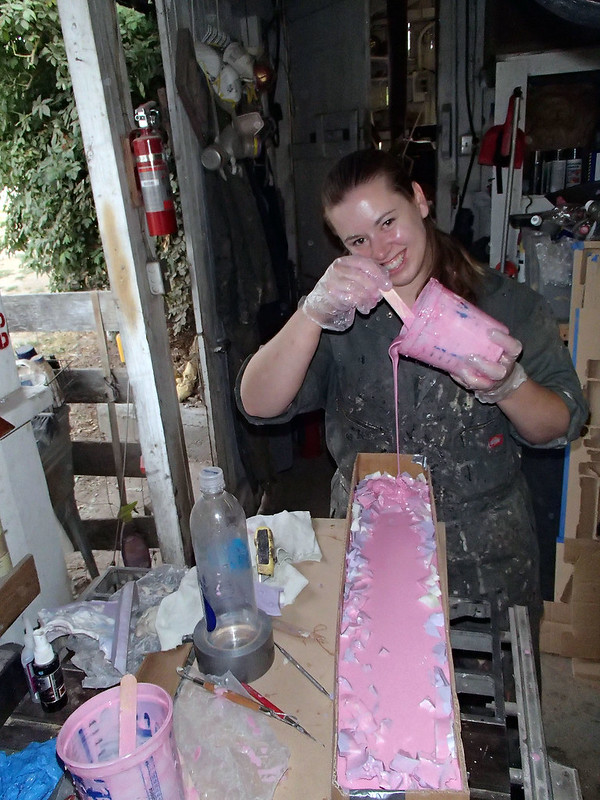
Once a good, smooth clay wall was built up, Kate built a box around the outside of the whole thing and started filling it with silicone. In order to fill up more space without wasting a bunch of expensive silicone rubber, Kate cut up a bunch of old retired molds and sank chunks of them in the new silicone before it cured:

Then she added even more chunks of cured silicone:

And poured in even more silicone:
When the whole mess had cured, we flipped it over, removed all of the clay, and poured in the second half of the mold. The next day I removed the prototype and cast the first copy. Kate was very proud of it:
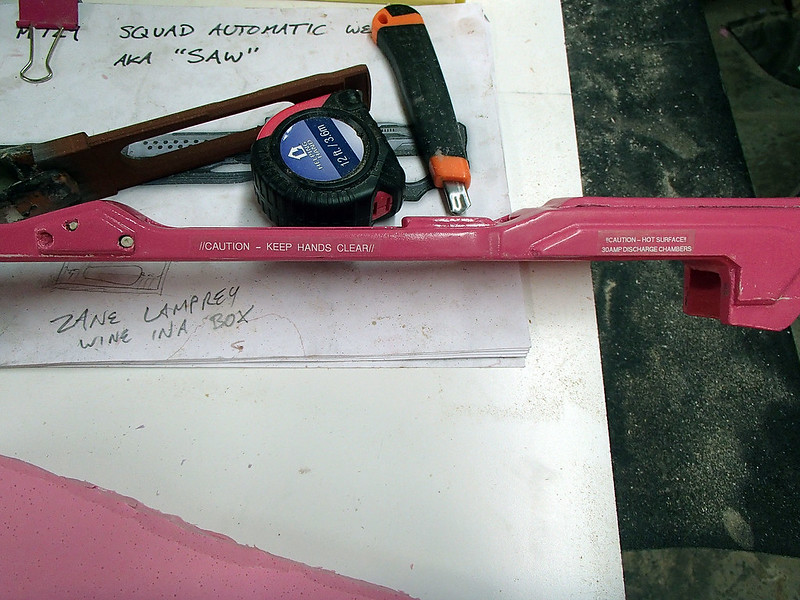
While the other copies were cast, the prototype was used to test the sizing of the lettering that would be added to the finished piece:
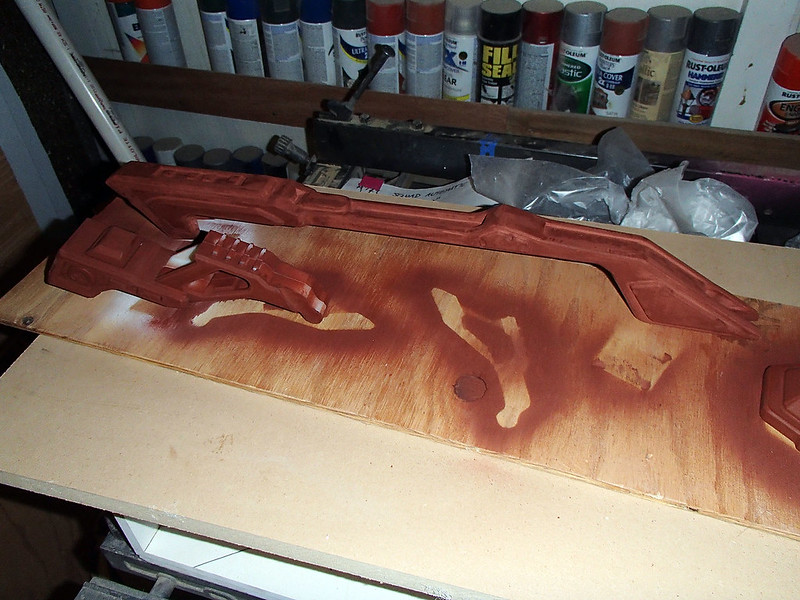
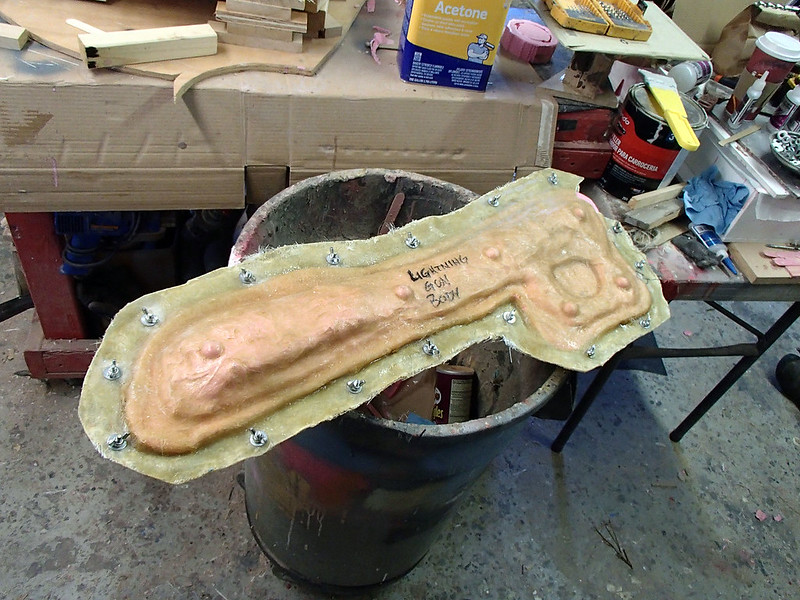
The main body of the gun ended up being the foundation that all of the other parts were mounted to. Here it is shortly before molding when I'd given it a glossy coat of my standard lightish-red prototype color:
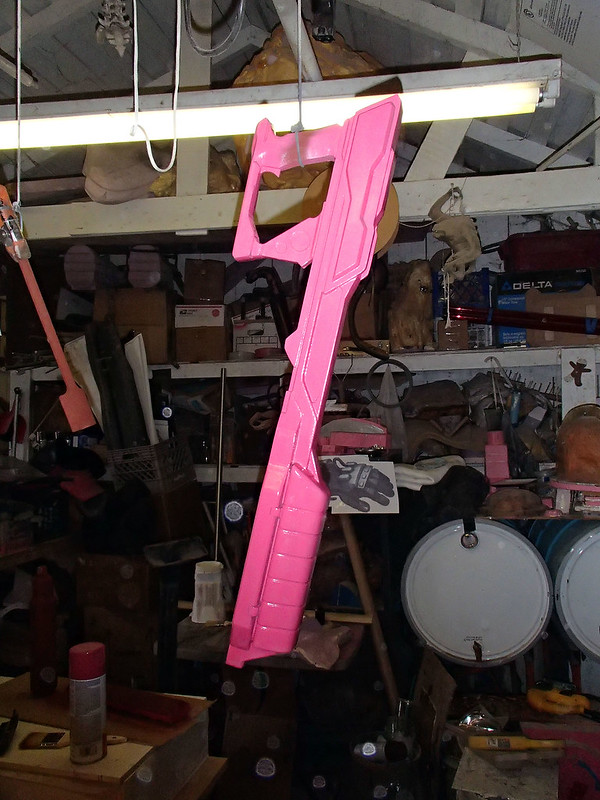
Usually I'll spray everything pink if it needs to be shiny before molding. With four separate projects going simultaneously, I decided not to do this with the parts of the other props in order to avoid confusion.
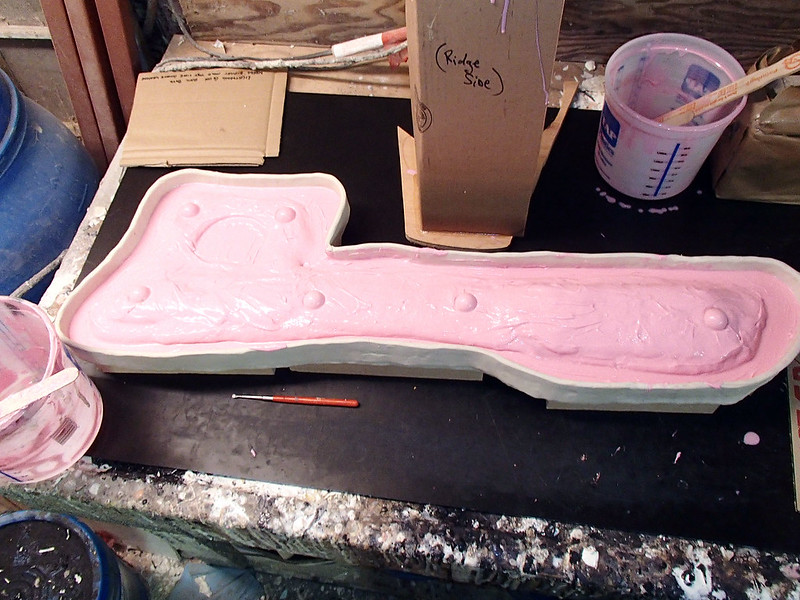
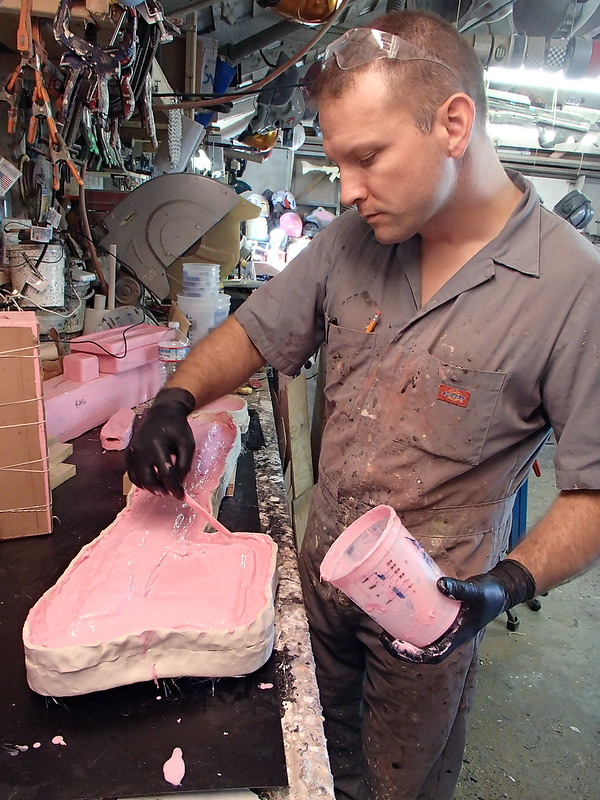
Once the paint had dried, a mold wall was set up and it was ready to go. Here's my assistant Jason pouring the print coat for the first half of the mold:

Later that day, I thickened it up and added the half-dome registration keys:
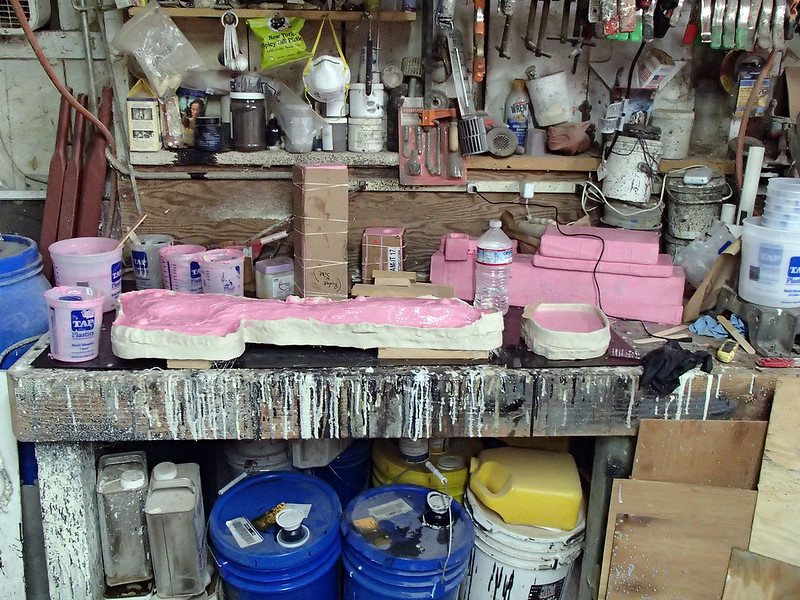
There was a lot of other moldmaking going on at the same time. Most of these molds would be used to make Lightning Gun parts:

With the first half of the mold cured, I flipped it over and laid up the second half:

The later stages of the process are a lot like frosting a cake:
Fun:
Since the silicone is flexible, I needed to lay up a fiberglass mothermold in order to keep it from collapsing under its own weight:
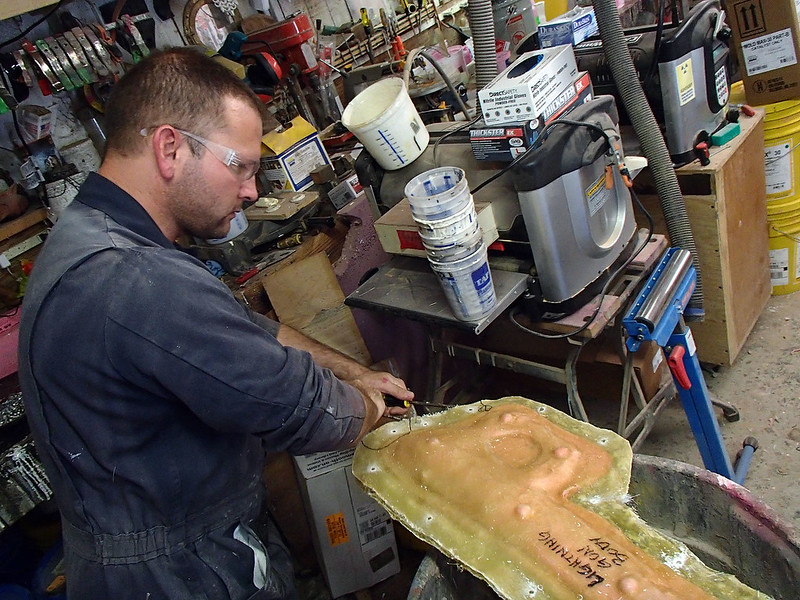
After I'd laid up both halves of the fiberglass mothermold, the edges were trimmed smooth:

Then I drilled a series of bolt holes around the outside edge before prying the mothermold open:
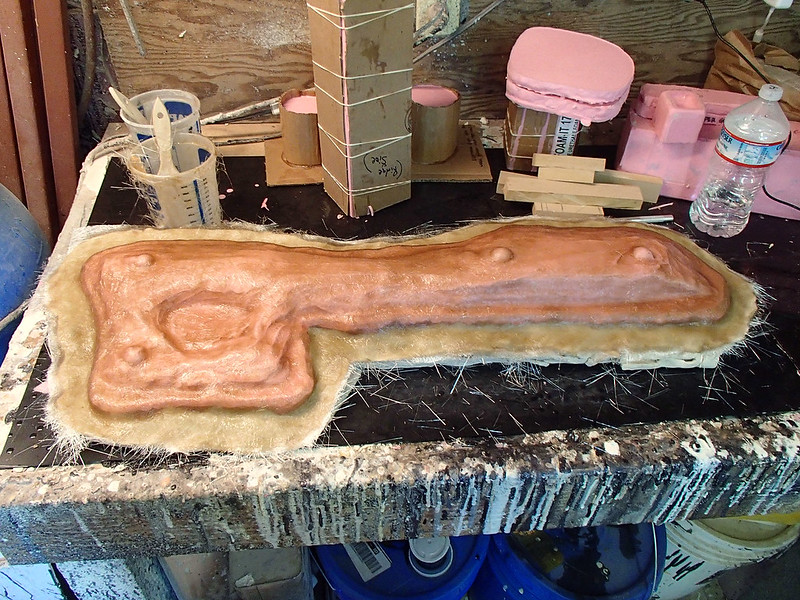
After removing the prototype, the mold was reassembled and bolted together:
The first casting came out a bit heavy, but it still looked pretty good:

At this point, I'd already been stacking up castings of all of the other parts:

There were a lot of them:

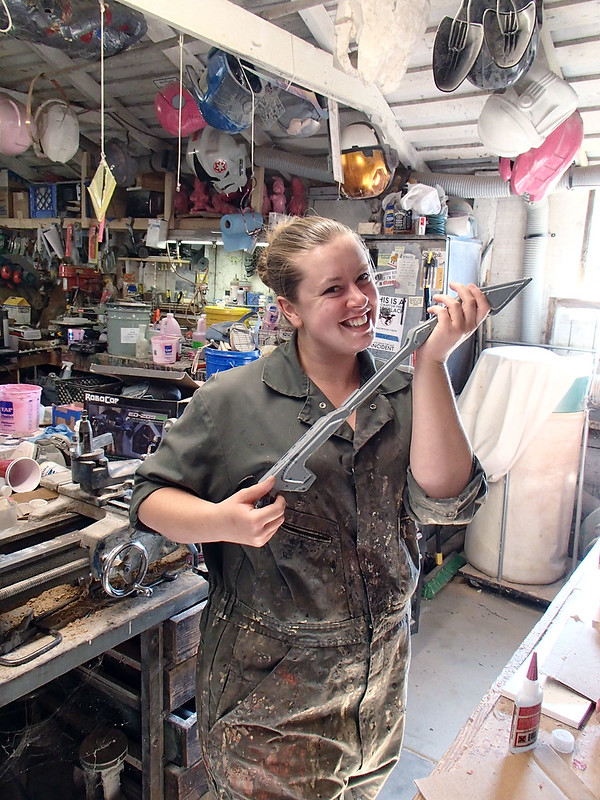
To see if the whole thing was too heavy, I taped a full set of pieces together and had Kate carry it around for a while:
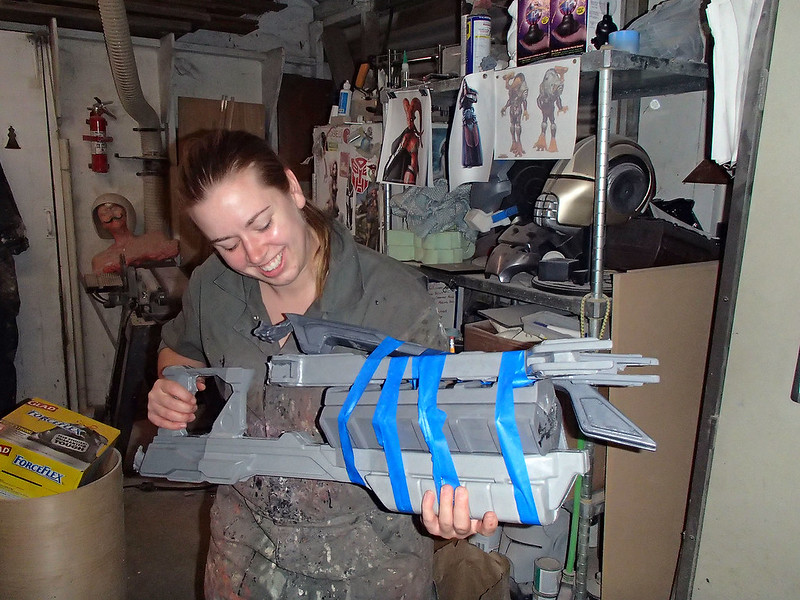
We decided that, yes, it was heavy, but that the weight of the whole thing would actually be a good thing when it was handed to folks at conventions.
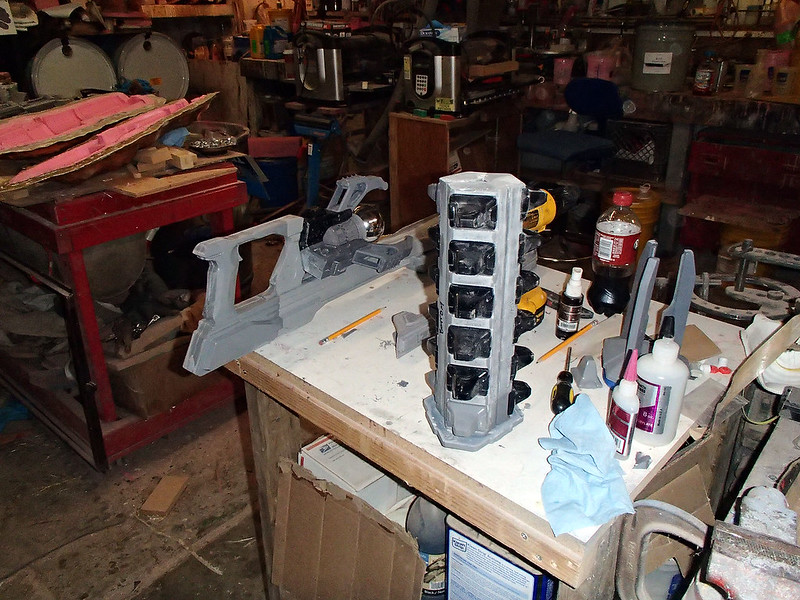
Satisfied that the parts were good go, I set to work gluing together the various sub-assemblies:

Most of the weight comes from the central core piece with all of the teeth installed:
Once it had been bonded together, I added the electrode-looking points to the front end:
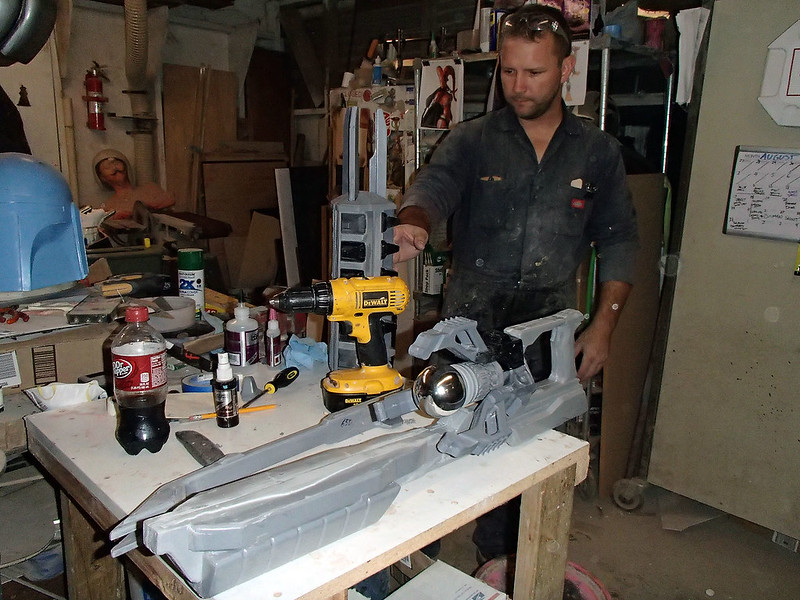
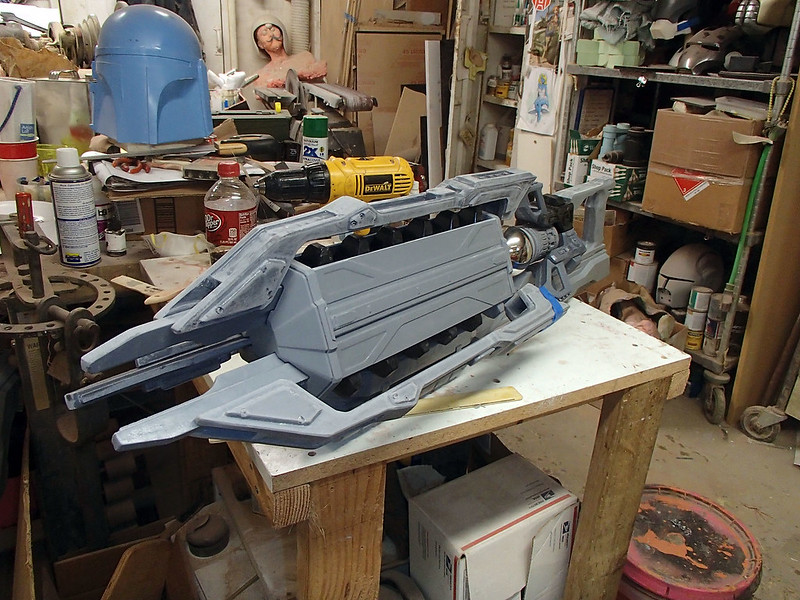
Then it was time to dry fit the outer rails:

Fully assembled, this thing was quite a sight:
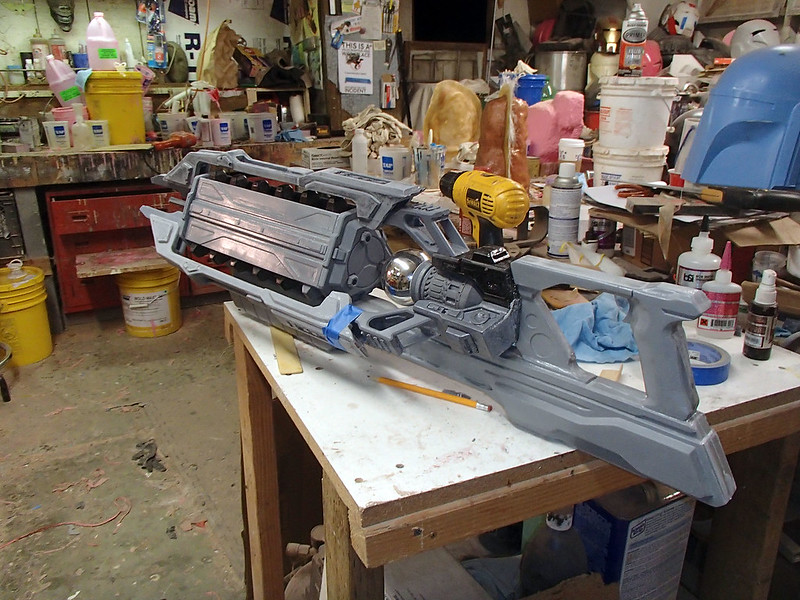
Since there was no time or budget for functional electronics, I wasn't able to build a plasma ball into the back end of the gun. Instead, my friend Matt showed up with a couple of Christmas tree ornaments that were just the right size to fit in. We ended up putting in a blue metallic ornament in the finished piece, but we had a plain silver one for test-fitting:
Once I was certain that all of the pieces fit together properly, it was time for a tiny bit more sanding and filling:

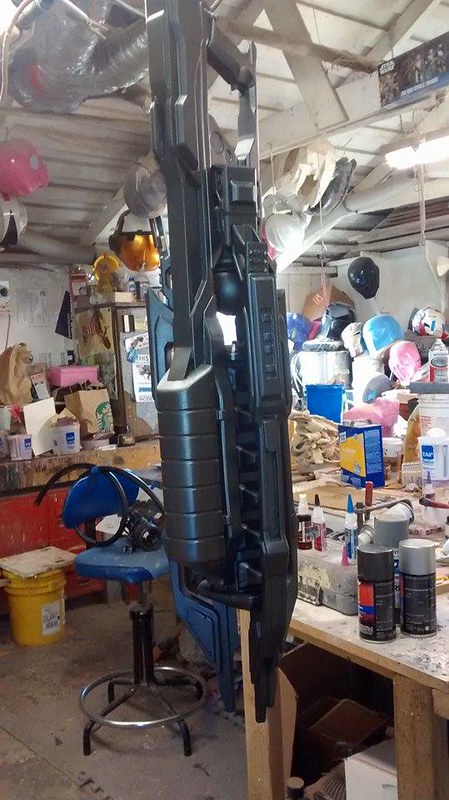
The parts were all given a couple of coats of black primer:
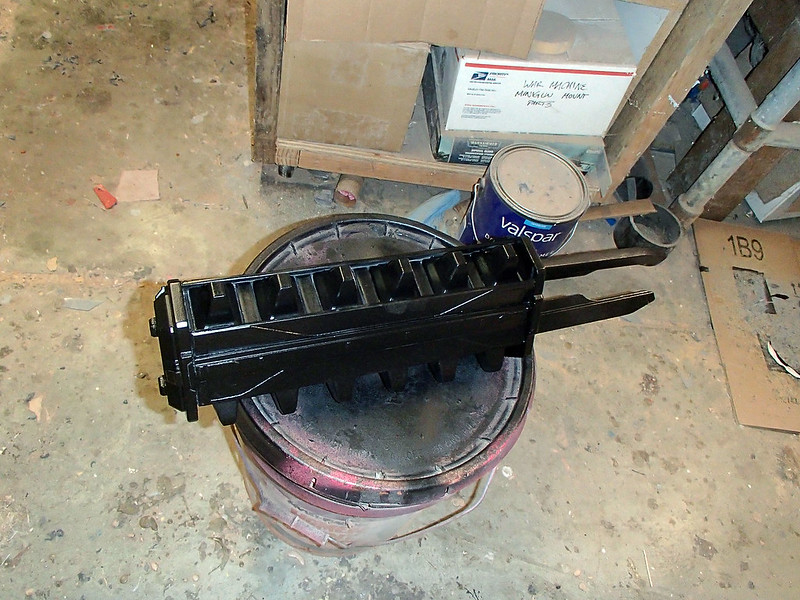
When the primer dried, it was time for final assembly:

Throughout the priming and painting process, strips of masking tape covered a few areas of the blue metallic Christmas tree ornament. The rest was painted to match the body of the gun.
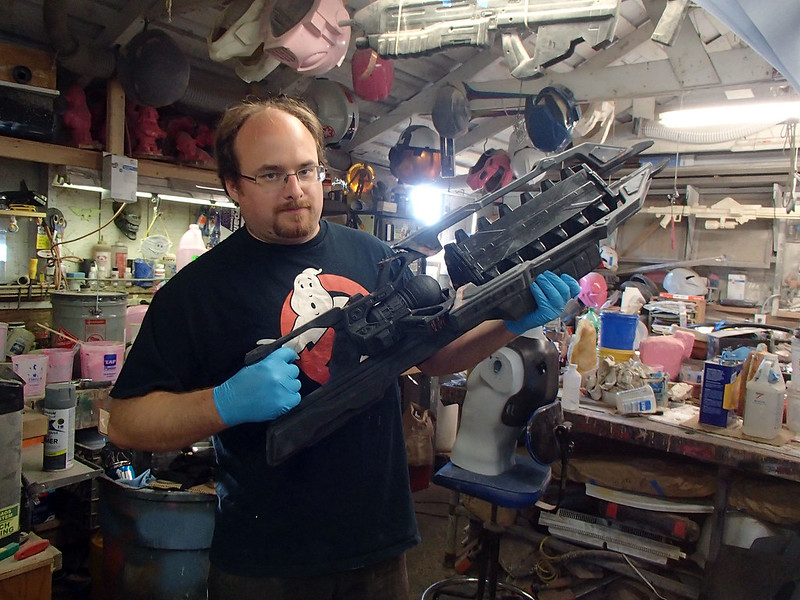
I was damned proud of this piece:
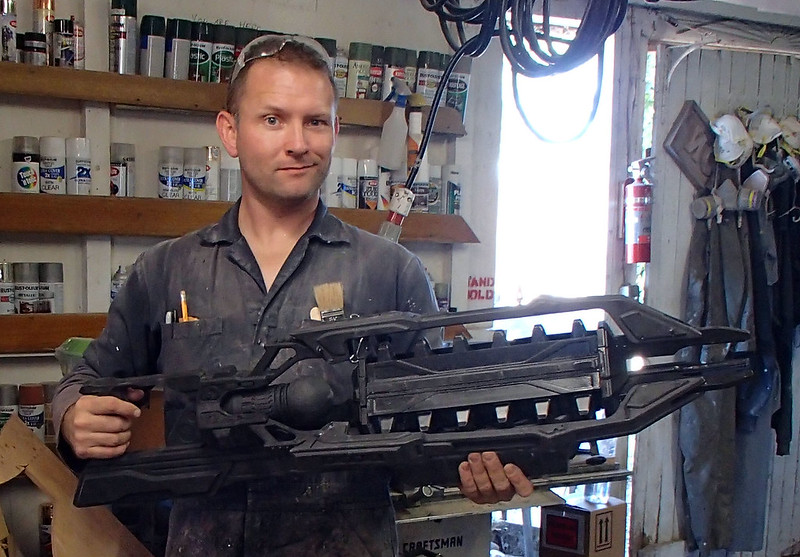
Here's my friend Matt practicing his best "brandishing" look:
With the primer dry, the whole gun was given a few coats of a very dark, almost black, metallic grey:
After a heavy drybrushing with silver paint to bring out all of the raised edges, a few of the details were picked out in various other metallics and a rust orange color. Then it was time to peel the masking tape off of the Christmas tree ornament:
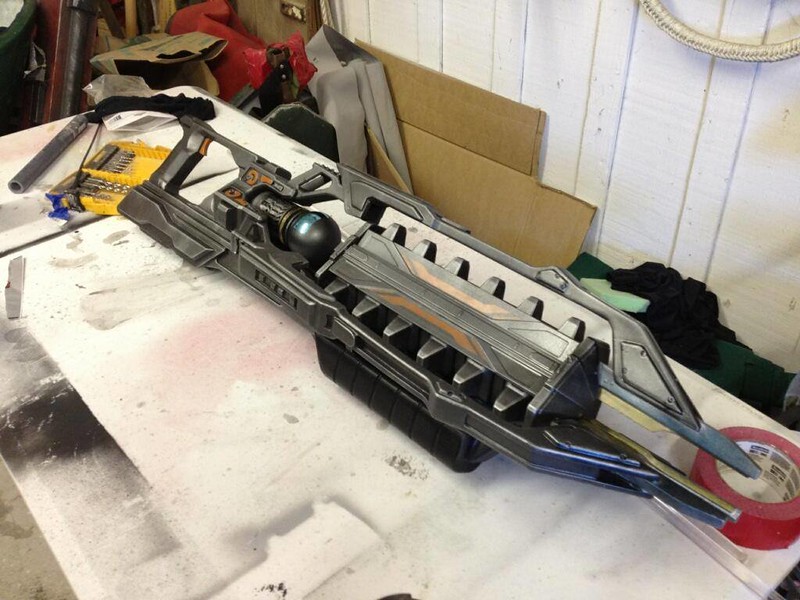
The final touch: a warning label for either side of the main body. Since the lettering was going to be so small as to be nearly illegible, I had a bit of fun with the text:


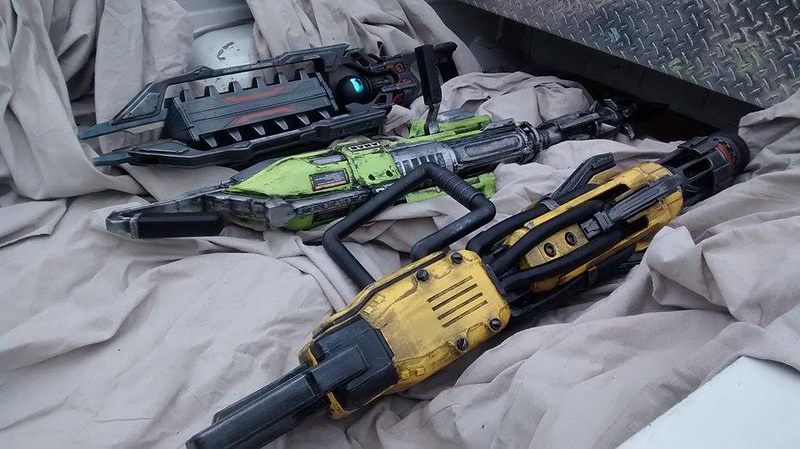
With the painting and weathering done, the Lightning Gun was stacked up with the rest of the props to await pickup:

Here it is loaded into the pickup:
Finally, here it is all finished in the studio, (image courtesy of Make: magazine):
Here it is in action at PAX Prime in Seattle:

Next up I'll be detailing the build process for the Lazarus Device:
Stay tuned...
.
Those warning labels made me laugh. Excellent job, as if that is surprising coming from you.
ReplyDeleteAwesome work!
ReplyDeleteWell done, Keep up guys!
ReplyDeleteAmazing, I would love to hire y'all to build a prop for me.
ReplyDeleteIf there's something you'd like me to build for you, shoot me an email at sthorsson99@yahoo.com. Just let me know what you're after and roughly what kind of budget and timeline you have in mind.
Delete