About Me

My photo
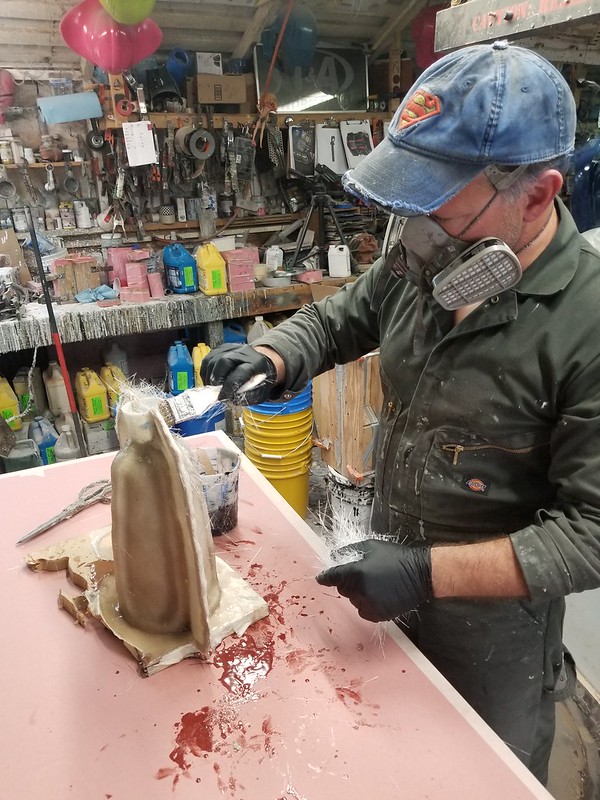
I make toys for kids who don't want to grow up. I'm on the lookout for new projects. If you're interested in commissioning me to build something ridiculous, shoot me an email.

Sunday, December 13, 2020

December UFO Sightings in the Workshop

I've been doing better about actually finishing blog entries about completed project lately, but there's also a chance that people are missing the occasional chance to see UnFinished Objects (UFOs) I'm not currently finishing in the shop.  So I figured why not write up a few of my works in progress.

Every once in a while someone will ask me the ill-advised question, "how many projects do you currently have in the works?"  The answer: no idea at all.  While I usually only have one or two primary paying projects for clients going on at a time, I also have a significant stack of hobby projects in some stage of completion.  

How many hobby projects?  Still no idea.  The closest thing I can come up with was a list I started a few weeks ago.  I was talking with one of my shop assistants about the photo spread we did for Make Magazine volume 32 back in the day.  It was when we shot this pic:

MAKE Centerfold

This image was actually a composite of a whole bunch of separate photos.  Most of the characters were shot individually and the separate images were combined into this one big photo.  All of those characters were shot in one long day.  We loaded up three or four pickup trucks with costumes, drove out to Make's studio (then located down the road in Sebastopol, CA) and strapped people into costumes one or three at a time to pose for the camera.  It was a long day, and by the end of it my crew and I were pretty worn out.  By the time the staff from Make called it done we still had another eight costumes that were never even taken out of their crates.

Ever since then, I've thought it would be a good idea to do another photoshoot day to add onto this composite image of all of my finished stuff.  The only problem is that whenever I think of scheduling the big photoshoot day, I keep thinking it'll be better to wait until I finish the next big thing I'm working on.  After all, it'd be terrible to go through all that effort and not have, say, the Mark I War Machine costume in the lineup.  So if I just put if off for another month, it'll finally seem complete.  As a result, I have now been kicking that particular can down the street for years.  So how many things are on the list that need some time in front of the camera?  I started noodling it over and wrote down a list:


Later I sat down and generated a nice, neat spreadsheet version of the list and added even more things I didn't think of the first time.  Along the way I came up with a few fun facts.  First off, I have 23 unique costumes that are camera-ready right now and weren't in the Make spread.  I have more than one example of 6 out of those 23 (i.e., I have 5 Deathwatch Mandalorians and 8 Sisters of Battle.  Those are only two of the twenty-three line items on the list).  In addition to those 23 finished costumes, I have another 53 costumes or free-standing props (such as ED-209 or my BB-8 build) that would be welcome additions to the next photo spread.  Of those 53, 22 could be ready for camera in a week or less.  Of course, that's each one of them taking a week or less to finish and it would require me to be able to focus on one thing at a time and not start working on something else.  

So I guess I have a problem.

I also came to realize that I have a new problem.  When we did the Make spread, there was one photographer with his lighting setup and backdrop.  I brought a crew of fourteen or so people to alternate between being in costumes and helping each other get in and out of costumes.  Even with all of that support, we only had time to shoot seventeen costumes (some of which we shot two at a time).  So even if I was to just pull out everything that's ready to go tomorrow, I'd still probably not have enough time to get good photos of everything in a single day.  So I'm starting to think I'll have to just plan for a big photo session every couple of months until I'm caught up.  Hopefully by the time the pandemic is under control and I can start getting large groups together I'll be able to make it all happen.

With that in mind, here's a few of the things that are out on the bench taking up much of my time and thought when I'm not working on the things that pay my bills.

First up, the Havoc Trooper:
2nd Primer Pass for Helmet

A few years back, I made a Shae Vizla costume and a handful of Sith Acolytes to attend Star Wars Celebration Anaheim.  These were characters from the trailers for the Old Republic MMO.  I had a lot of fun building these and have been wanting to bring more things to life from that era of the Star Wars universe.  So when a very talented 3D modeler name Marko Makaj offered up 3D printing files to create the complete Havoc Squad Trooper, I figured it would be a good thing to keep my printers busy instead of letting them sit idle between more important projects.  The results have been great:
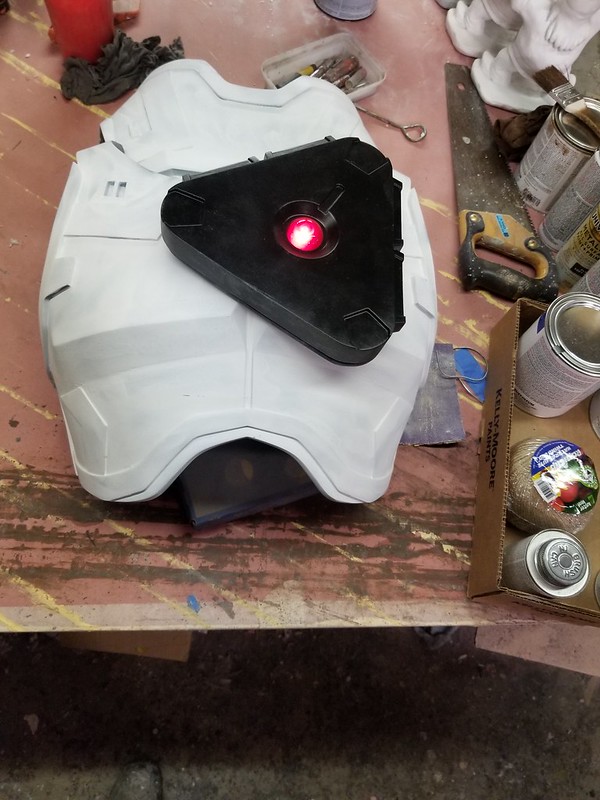
Shield Generator Test Fitting

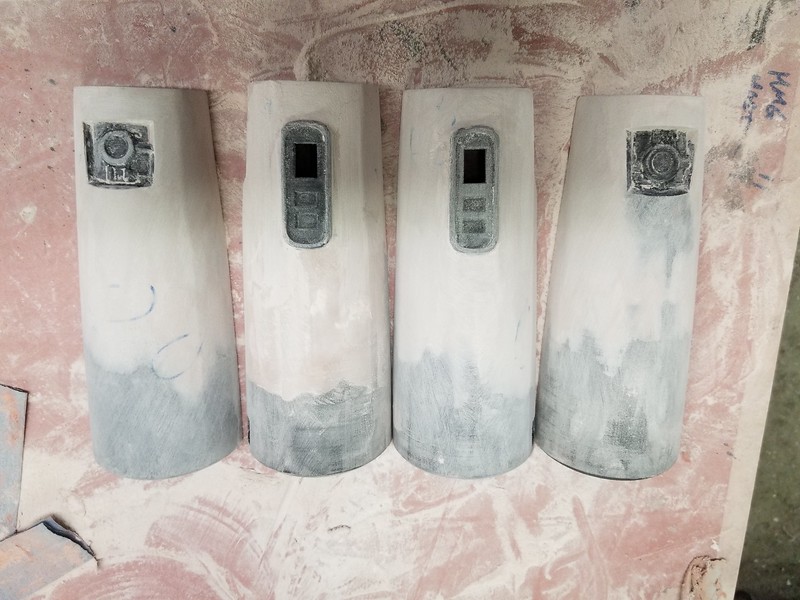
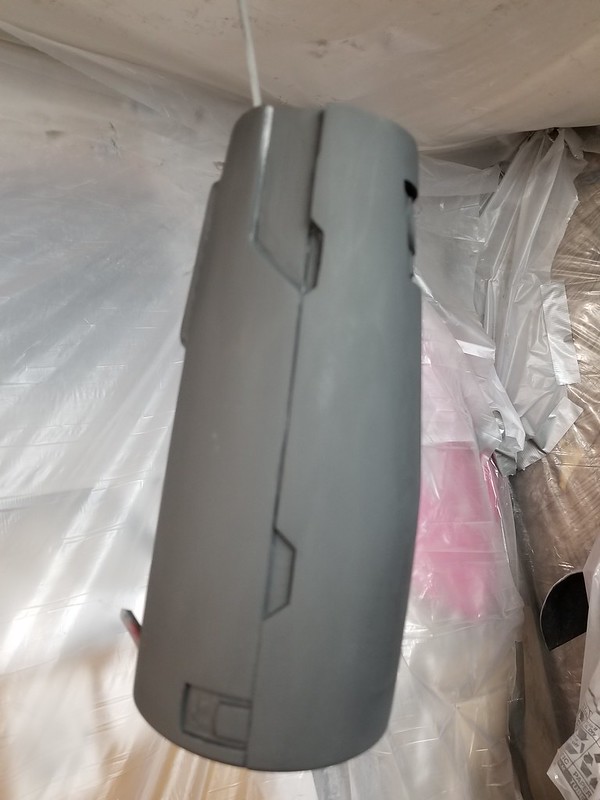
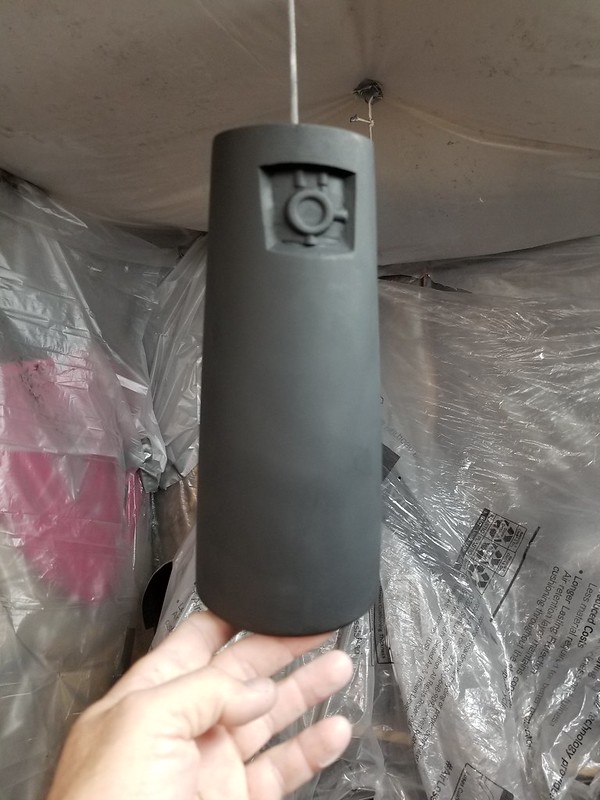
At this point I've printed all of the armor parts and done about half of the sanding and prep work to get them ready to paint.  I may still re-print the thigh armor though since they're a bit tight on me.  I've also printed the blaster rifle, knife, shield generator (the black thing with the red light pictured above) and the pistol and sheath.  I'm not sure if I'll go through the added trouble of printing any of the big heavy blasters, but it's tempting.  The best part is that Marko included all of the files to print every piece of gear these guys are shown carrying in each of the trailers:


This includes the backpack (not pictured).  If you'd like more info about how to get a hold of these files to print your own copies of this ensemble, Marko has started a Patreon page at https://www.patreon.com/mysterymakers.

As long as I'm plugging his work, I should also bring up my Heavy Infantry Mandalorian build.  You might remember this helmet I made a while back: 
Sunset Heavy Infantry Mandalorian
While the helmet was based on a heavily-modified file from Do3D.com, I've been building the rest of the parts from Marko's files:

HIM Upper Body Parts Printed

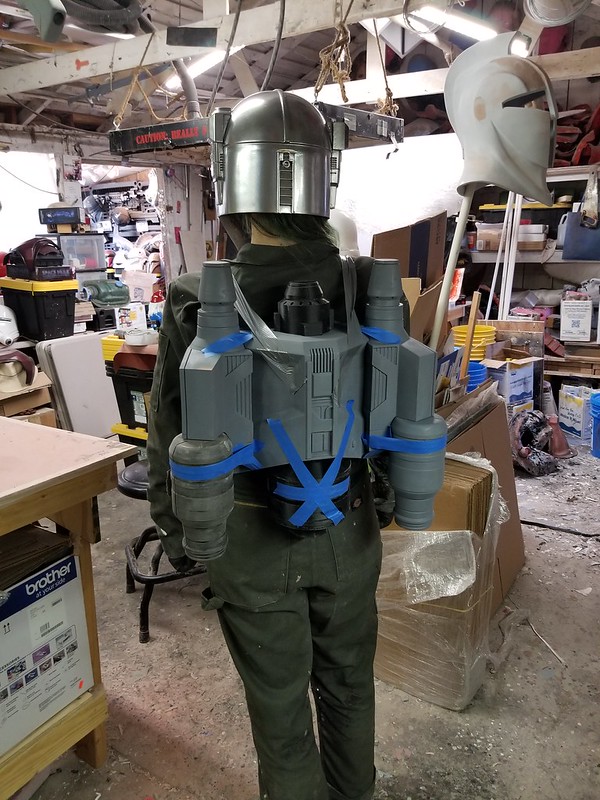
This includes the jetpack:
HIM Jetpack Test Assy

While I've been making slow and steady progress on all the parts, the next thing I'm about to finish molding is the main body for his heavy blaster:
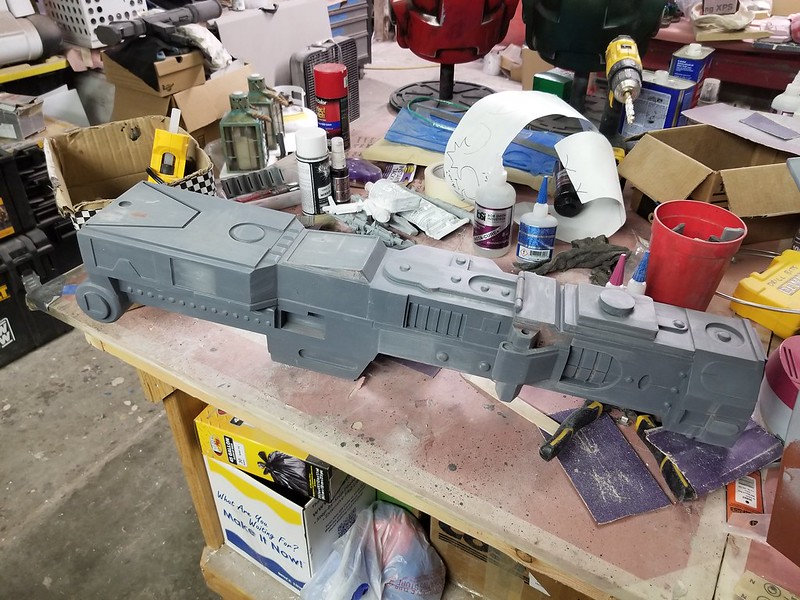
HIM Blaster Main Body

That big chunk of plastic will be the final portion of this beauty: 

Fully assembled, the complete blaster will be just a hair under five feet long (or 1523.17mm if you're one of those people).  So it's not small.

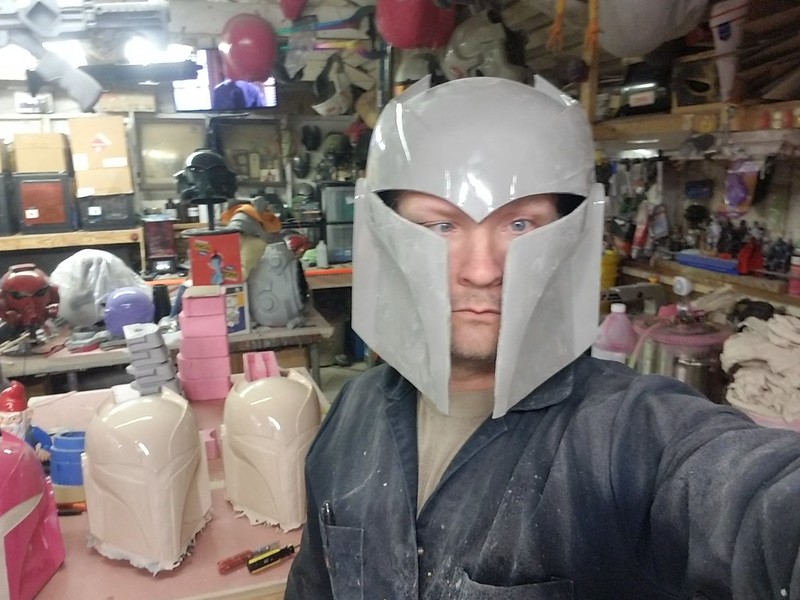
While I'm on the subject of Mandalorians, I need to mention another 3D modeler who's been doing some great work.  Sean Fields of Project 842 has made all kinds of amazingly accurate models of various Star Wars things.  His file was the starting point for my Sabine Wren helmet from Rebels:       
Fitting and Trimming 3
I've molded and cast a few copies and, because I can't make up my mind, I'll probably make enough copies to match her ever changing color scheme from each season of that show.

In the same vein, I started with Sean's model and built the helmet belonging to Sabine's mother, Ursa Wren:
First rough-trimmed cast

Sean was also responsible for the models used to print my Battle Droid which is now tucked into a box awaiting a week's worth of sanding to prep it for paint:
Battledroid Parts 2

As long as I was in a helmet casting mood, I figured I might as well go ahead and mess around with a custom paintjob on at least one of them.  So I rolled out a cast of my Heavy Mando and started messing around with camouflage patterns:
Kryptek Knockoff Stenciling Done
It's still early on, but I think it'll be a fun thing when it's all said and done.

So that's a lot of Star Wars stuff, but as usual my complete distractibility means there are plenty of other franchises I'm making things from as well.  Case in point, a while back I finished up the helmet for Locus from Red vs. Blue:
Locus Helmet Painted

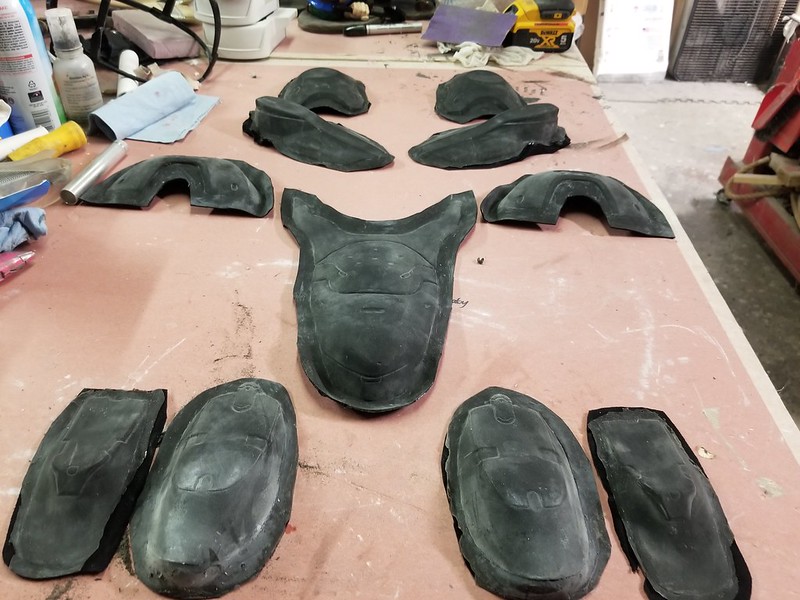
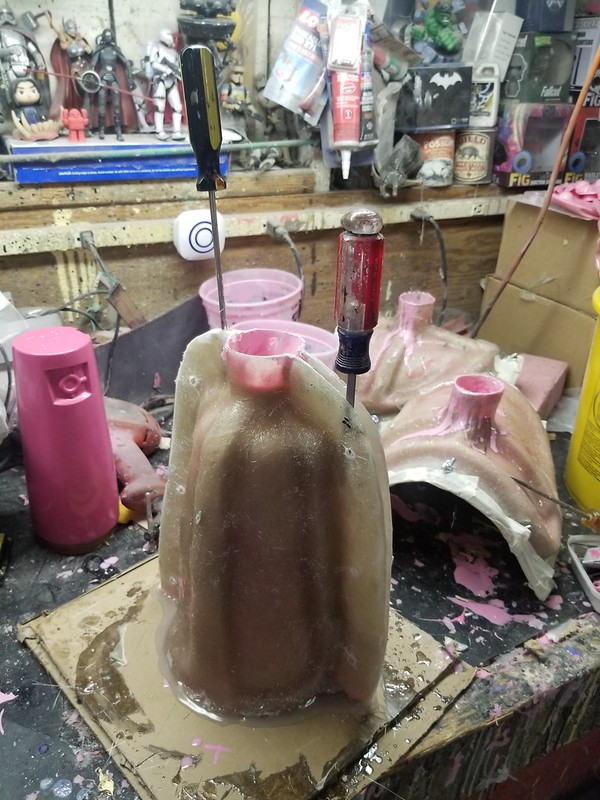
As much as the helmet looks cool all by itself just sitting on the shelf, I still feel compelled to make the rest of his outfit.  While I've made plenty of Halo 3 armor, the newer stuff from Halo 4 and 5 requires much more detailed and elaborate undersuits than the previous iterations.  So I decided to start with that as a base before making the armor parts to wear over it.  While a lot of it will be custom sewn with panels of neoprene and scuba hex fabric, there are a few pieces that just need to be custom cast sculptural parts.  So I've been making stone molds and slipcasting them in latex just like halloween masks, but with fabric backing cast into the rubber.  Here's the parts I've made so far:
Latex Undersuit Parts

What you're seeing here is the crotch, knees, elbows, shoulders, and hip pads.  There's another half dozen or so bits that still need to be molded and cast, but they're coming right along.

Finally, some time ago I started tinkering with making a Mouser from the Teenage Mutant Ninja Turtles.  My plan was to make one, but due to an odd set of miscalculations, I now have a handful of boxes squirreled away in the darkest corners of my shop which contain all of the parts I need to make at least seven of them.  Needing more things to do with my hands a while back, I broke out one of the boxes and started the final assembly for one of them:
MOUSER body progress

I'm still not done deciding exactly how much articulation I want to give the neck, but once I get that sorted out, I'll somewhat rapidly have a squad of these guys standing around.  For now they're just kinda hanging out in pieces:
Mouser Eating Doorknob

So that's a few of the current UFOs cluttering the workshop.  As you can see from the background of most of these photos, there's still plenty of other things I'm tinkering with.  Be sure to stay tuned so you don't miss the next exciting installment of me actually getting around to writing about things that are getting finished.


Friday, December 11, 2020

Primaris Space Marine Helmets

A while back someone asked me if I 3D print everything I make or if I do any sculpting by hand.  The answer: both and then some.

Take for example these helmets: 

Finished Blood Angel and Dark Angel Primaris Helmets

If you want to see all of the various processes, tools, and convoluted thinking that went into making them, read on...

Saturday, December 5, 2020

Building the Fallout 4 T-60 Power Armor Part 4: Prototyping the Smaller Parts

This is the fourth article about my T-60 Power Armor from Fallout 4.  If you're just tuning in, here's links to the previous articles: 


At this point I've explained the sizing, the making of the big prototype parts, and how they were molded in lightweight fiberglass.  So we're well on our way, but there's a long way to go.  

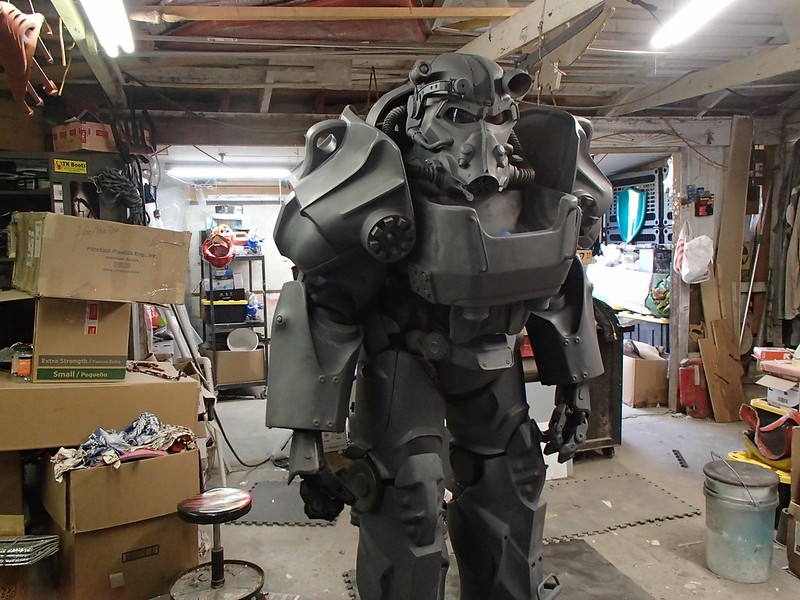
The T-60 armor is big.  Everything about it is big.  It's designed to look like an old-school, heavy-duty, over-engineered piece of military hardware.  But there are still no shortage of small parts built into it as well:
T-60 Re-Rigging 28

Now it's time to take a moment and appreciate the little things...

Sunday, November 29, 2020

Building the Fallout 4 T-60 Power Armor Part 3: Molding the Big Parts

About a gazillion years ago I set out to make a lifesize set of T-60 Power Armor from Fallout 4.  My plan was to thoroughly document the entire build and release a series of videos explaining the various processes involved.  Sadly, I don't have the time to sit and edit video and the various folks who have offered to do it for me have failed to deliver anything.  Along the way much of the key footage has been lost and it looks like we'll need to wait for some other big project for me to actually do a video series.  For now I'll stick to blogging about it.
This is Part 3 of the T-60 build.  Part 1 "Determining Scale" is here: LINK. Part 2 "Prototyping with Carvewright" is here: LINK.
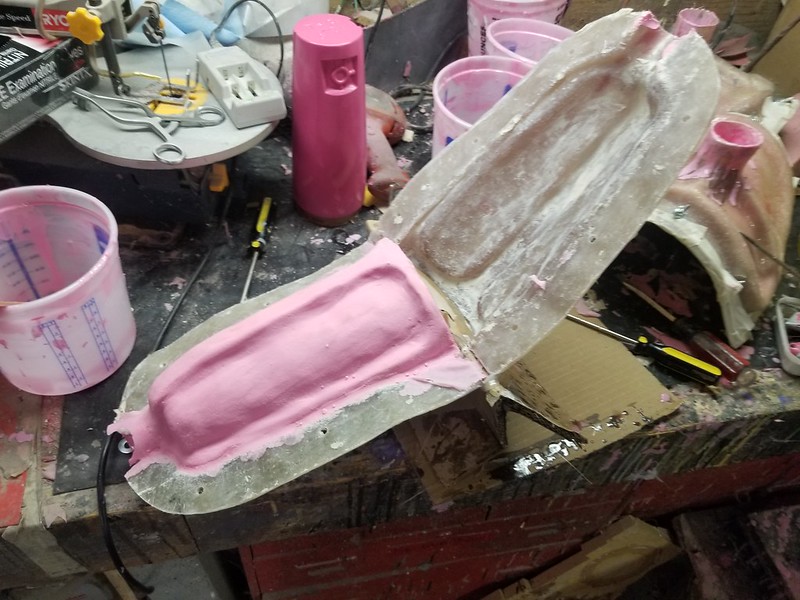
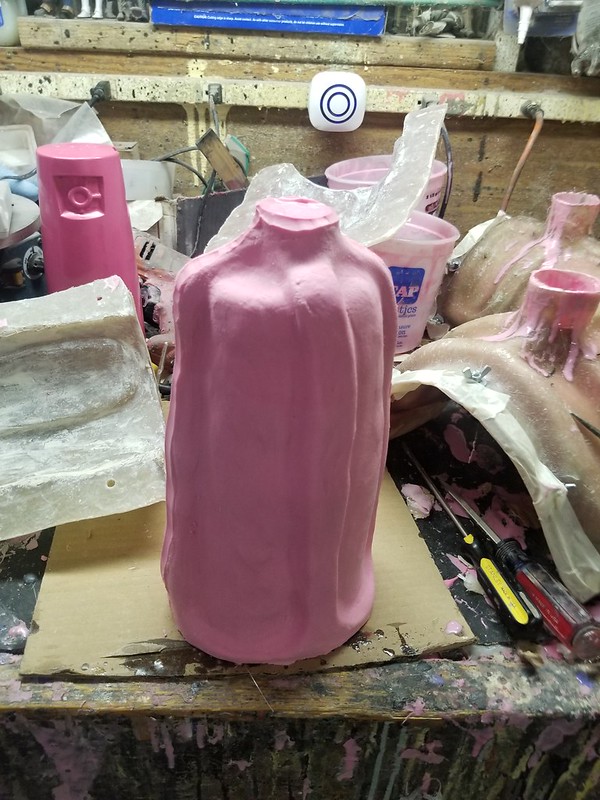
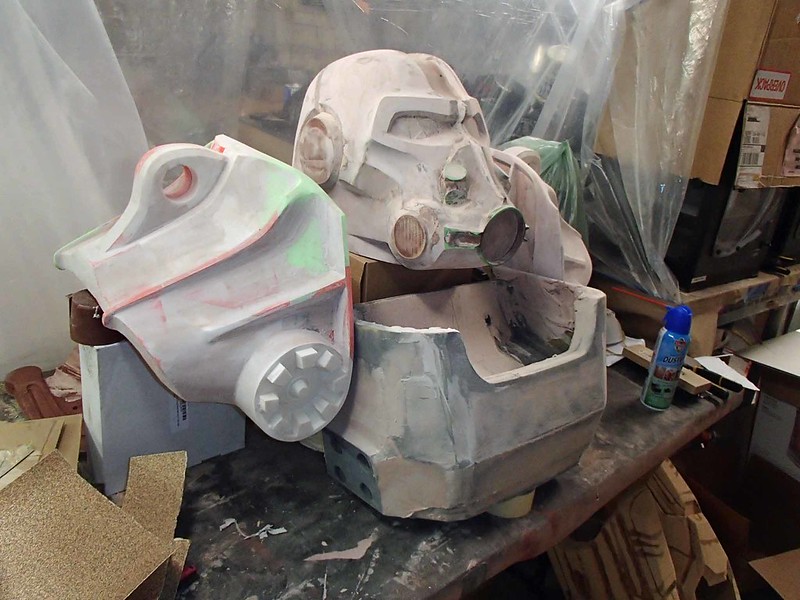
Now if you'd like more details on how I turned a big pile of sawdust, bondo, plastic, and garbage like this: 
Stacked Parts Side

Into a lightweight, durable, wearable work of art like this: 
T-60 Texture 

Read on...

Saturday, September 26, 2020

Second Sister Costume from Jedi: Fallen Order Part 2: Prototyping and Molding the Other Hard Parts

If you're just tuning in, this is the second entry about building this woman's costume:
In-Game screenshot

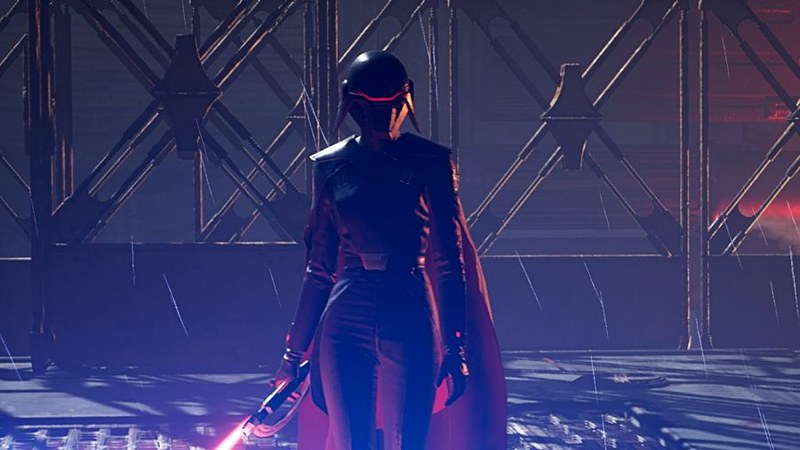
That's the Second Sister from the video game Jedi: Fallen Order.  She's one of the Imperial Inquisitors on a mission to hunt down the remaining Jedi sometime between Order 66 and the beginning of A New Hope and she's a bit of a badass.

In case you missed it, my last article about this build covered the prototyping, molding, and casting of her helmet.  You can read it here: LINK.  In that case, I started with the in-game digital models of the character and made a few tweaks to make it wearable for an actual, real-life human being.  With that done, it was time to move on to the other hard parts of the costume.

Just like the helmet, the shoulders, rank bars, and belt buckle were printed from the game model as well.  Here they are after a bit of sanding, smoothing, priming, and lightish red gloss paintjob:
2nd Sister Shoulders, Buckle, and Rank Bars

Molding the rank bars and belt buckles was a simple matter of making a couple of plain block molds in RTV silicone rubber:
Block Molds for buckle and rank bars

The parts were cold cast in aluminum for a convincing metallic surface.  "Cold casting" is a pretty neat way to get a metal finish without any paint involved.  The secret ingredient?  Real metal.  In this case, I'm using atomized aluminum powder which I pick up at Douglas and Sturgess in Richmond, CA.  If you need most anything in the way of art supplies, check out their website at artstuf.com.

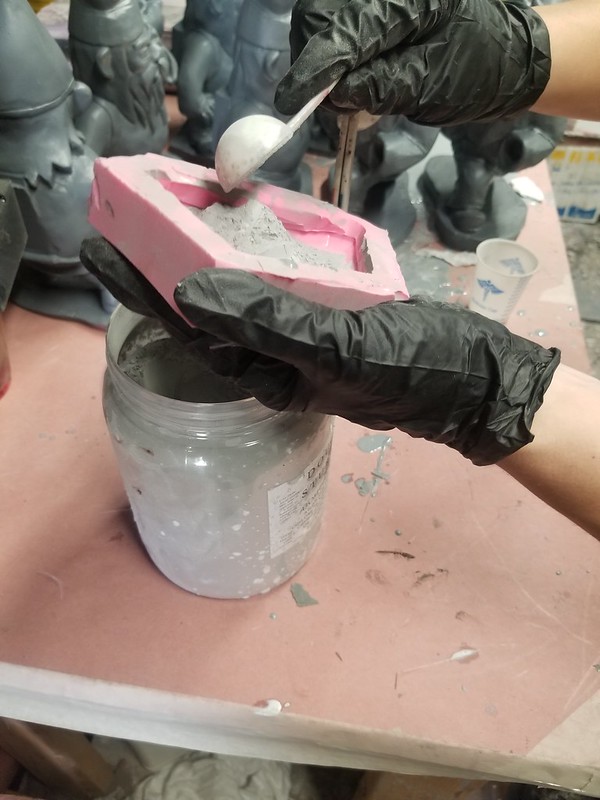
I usually start by either dusting the inside of the mold or, in the case of little pieces like these, completely filling the molds with the atomized metal powder:
Dusting the Mold

Then I pour the powder back into the container and tap the mold a few times to remove any loose metal dust:
Emptying the Mold

The next step is to mix up a small batch of resin with as much metal powder as I can add in and still be able to pour it into the mold:
Mixing Resin with Aluminum Powder for Cold Casting

In this case, I'm using Smooth-Cast 300 casting resin and some black urethane pigment (I think it's Smooth-On's "so strong" color, but I'm not sure).  I start by mixing 1 fluid ounce of part A with 1 fluid ounce of part B with a few drops of black pigment, then add about one and a half tablespoons of atomized aluminum and stir thoroughly.  Then the pouring:
Gently Pouring for Cold Casting

The goal is to mix it and pour as quickly as possible to allow the material as much time as possible to settle in the mold.  Any entrained air bubbles will rise to the top which is the backside of the parts, so nobody will see them.  More importantly, the heavier metal powder will have more time to sink to the bottom of the molds where it will be more visible on the front of the parts.

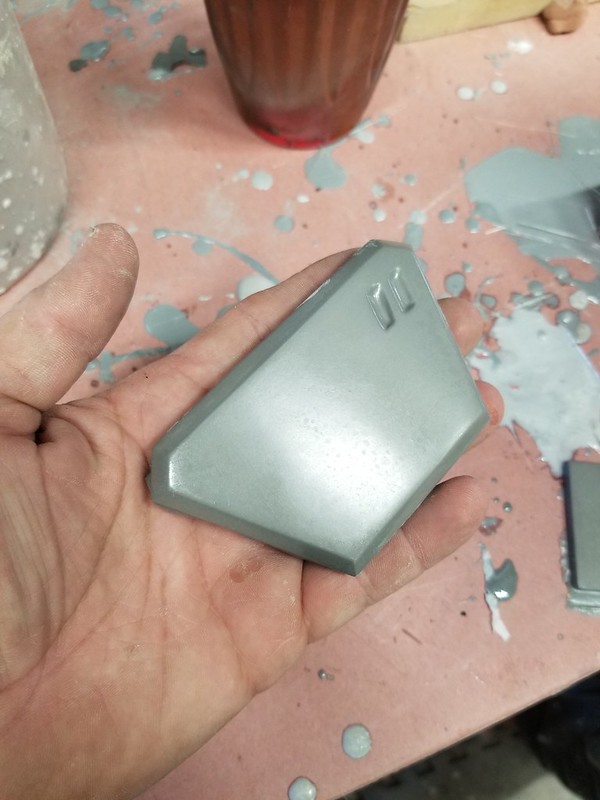
Once the resin has cured, the parts are pulled out of the mold and don't look like anything special at all:
Raw Belt Buckle Pull

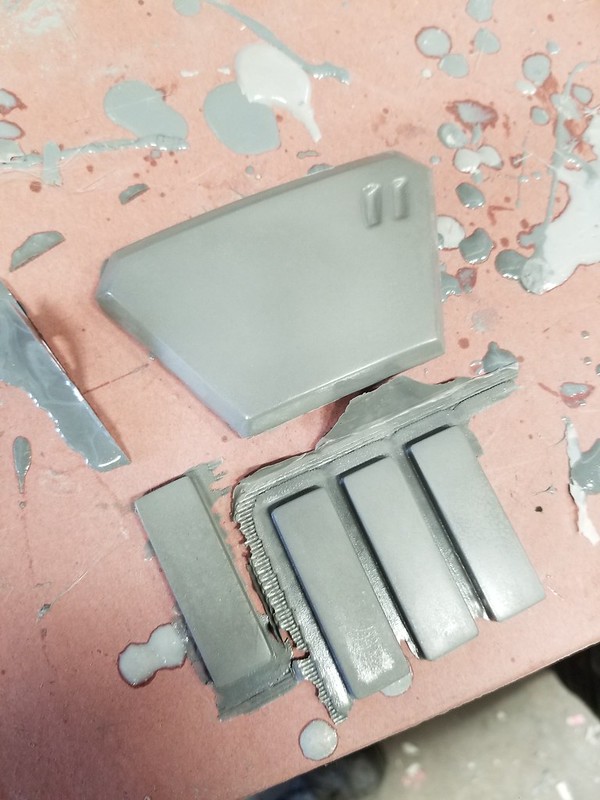
Raw Cold Cast Parts

This is because there's still a little bit of resin film on the outside surface covering the metal powder mixed into the parts.  Now it's time to gently buff the surface with some fine steel wool to bring out the metallic shine:
Buffing Belt Buckle with Steel Wool

To facilitate mounting them onto the tunic, the rank bars had single bar ribbon holders from a military surplus store glued to their backside:
2nd Sis Rank Bar Pin Backing

Here's a set of parts all buffed and finished.:
2nd Sis belt buckle and rank bars 
The bracers and shoulder plates were a tiny bit more complicated to make.

For the bracers, I started with a 3D model that was made by another fan on the Second Sister Build Group on Facebook.  She did a pretty amazing job with the initial shape, but after poring over the reference images, I soon found myself making changes to almost every part.  I beefed up the wrist end, changed the profile of the inner arm, and more.  You can see the beginning of the modifications here:
2nd Sister Gauntlet Bodyshop Progress 1

The dark greay parts are the original printed bits.  The light pink/beige bits are the Bondo modifications.  I also opted to join the halves of each of them to make a single part to simplify molding:
20200730_223016

After a few rounds of sanding and filling, the bracers were ready for primer:
Primed Bracer Prototype

Primed Bracer Prototype

Once I was happy with the shape and overall smoothness, I gave them both a coat of gloss lightish red paint and let them dry for a couple of days prior to molding.  

Just like I did with the helmet, the bracers were wrapped in plastic before a layer of clay was built up over them and a fiberglass mothermold was laid up:
Mothermold in Progress

Here's the first half of the mothermolds laid up:
First Half of 2nd Sister Gauntlet Mothermolds Laid Up

At the same time, I was already in the process of laying up the mothermolds for the shoulders.  Here's all four parts when the fiberglass mothermolds were laid up:
Shoulder and gauntlet mothermolds for 2nd Sister

Once the mothermolds were trimmed and drilled, it was time to start pouring in the silicone:
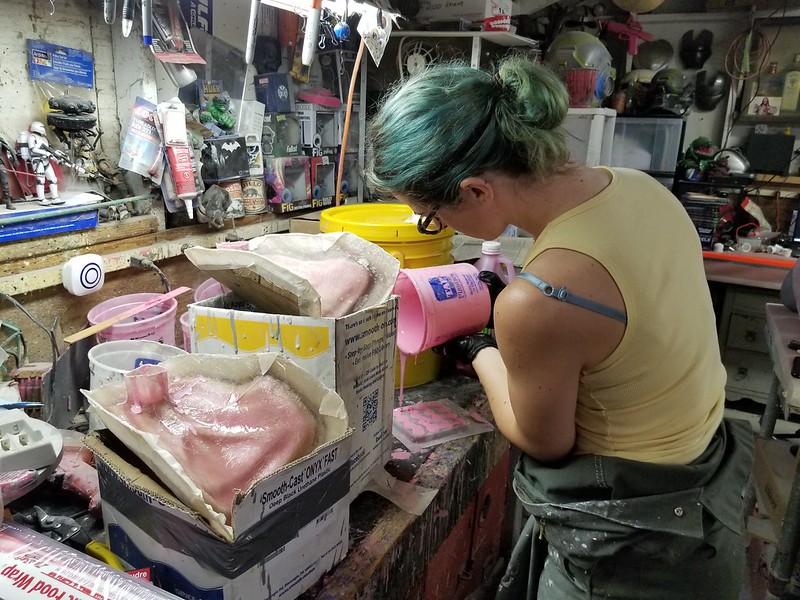
Pouring Rubber for 2nd Sister Shoulder Molds

I didn't take nearly enough photos of this process, but if you've been following my blog for a while or even read the article about molding the helmet, you've seen it before.  The shoulders were done in two sections, the inner and outer portions:
2nd Sister Shoulder Mold Rubber Jacket

Once the second half was cured, the rubber was peeled apart and the prototype was removed:
Demolding 2nd Sister Shoulder PRototype

Here's a shot of the first half of one of the bracers' mothermolds being placed:
Trimmed Mothermold in Position

After placing the second half and sealing up the edges with hot glue, the void was filled with silicone and left overnight to cure.  The next morning I removed the hot glue and gently pried the two halves of the mothermold apart:
Rubber Cured and Flange Drilled

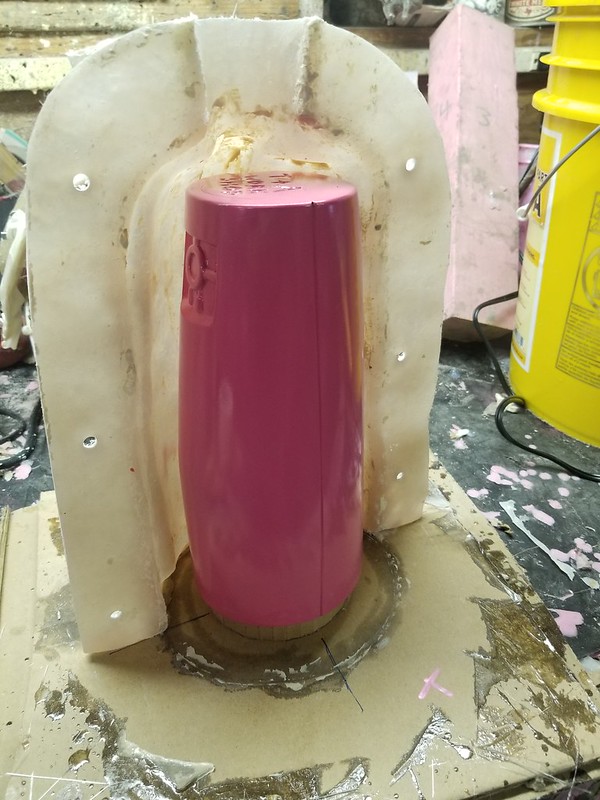
Here's the rubber jacket after removing one of the mothermold halves:
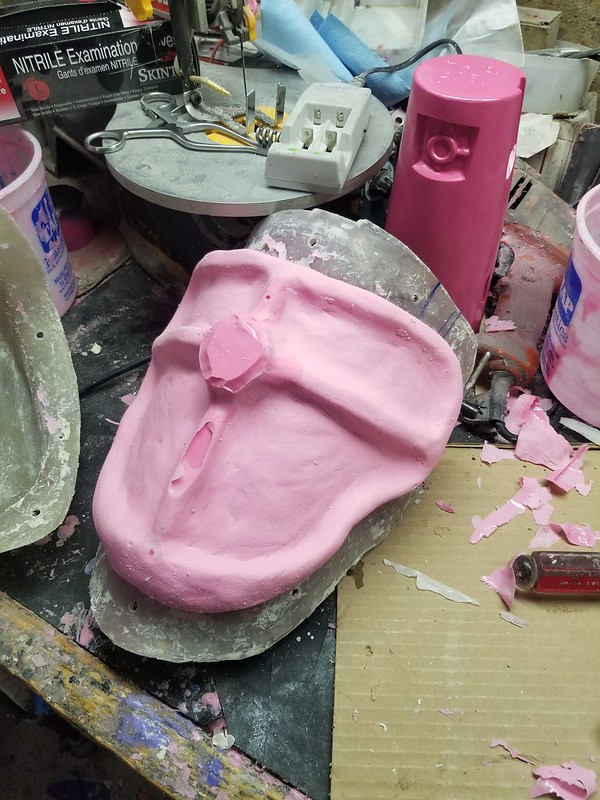
Separating Mothermold

After a little love with a knife, the thin flashing edges were removed:
Cured Rubber Jacket out of the Mothermold

Next, I dug up one of these nasty, hook-shaped knives to split the mold jacket:
Hook-Shaped Blade for Jeweler's Cut

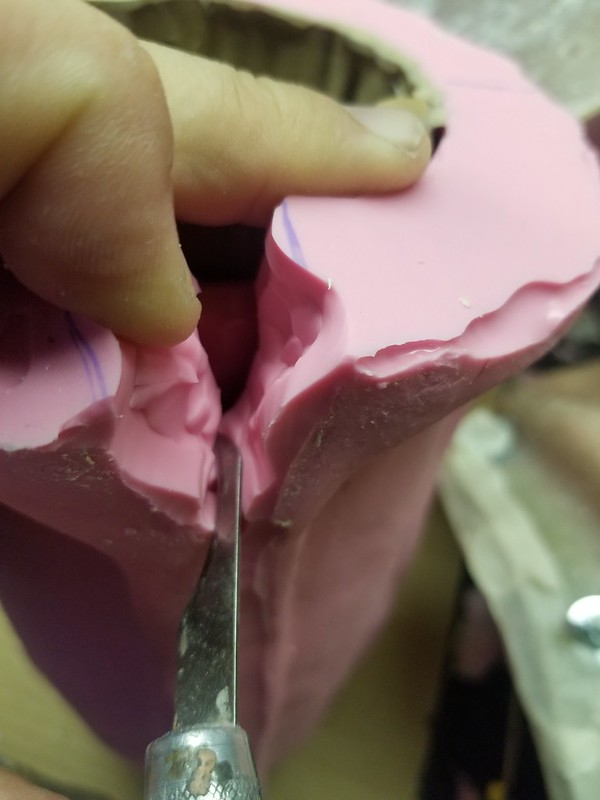
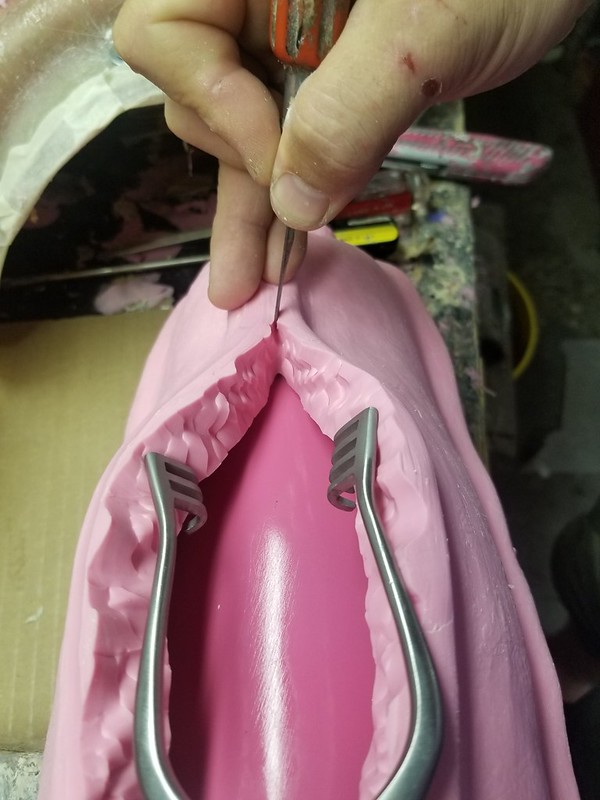
In order to ensure that the cut will close securely during casting, I used a "jeweler's cut."  This method is designed to make the seam line as straight as possible along the part while making the cut itself as uneven and wavy as possible like so:
Starting Jeweler's Cut on 2nd Sister Gauntlet Rubber Jacket

As the cut progresses along the length of the prototype, I use a surgical retractor to keep the rubber pulled to the sides and hold some tension while I'm cutting:
Jeweler's Cut on 2nd Sister Gauntlet Rubber Jacket

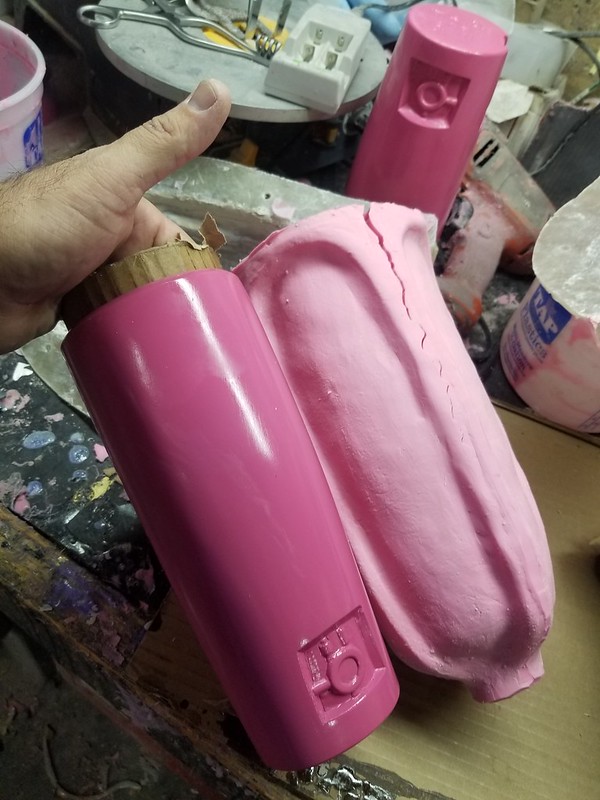
Here you can see the demolded prototype after it was removed from the neatly cut rubber jacket:
2nd Sister Gauntlet Prototype Demolded

This was done for the left and right bracer molds and then they were reassembled in the mothermolds, bolted together, and ready for casting:
2nd Sister Gauntlet Molds Ready

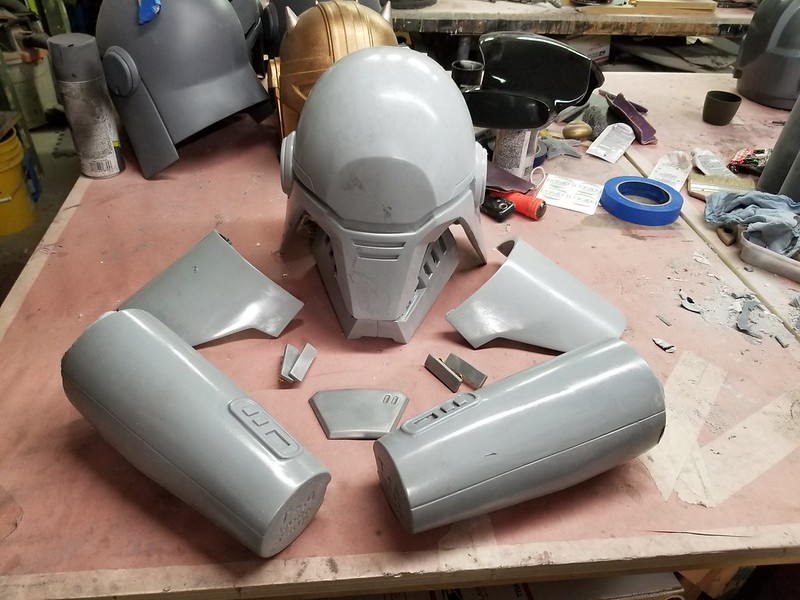
With that done, the shoulders were solid cast in greay tinted urethane resin and the bracers were rotocast in two layers of Smooth-cast 300 backed with a layer of Smooth-cast Onyx for rigidity.  With that done, all of the hard parts of the costume were maked:
Raw Set of 2nd Sister Casts


Tune in next time when I'll detail the trimming, prepping, painting, assembly, and wiring up lights for the finished parts.

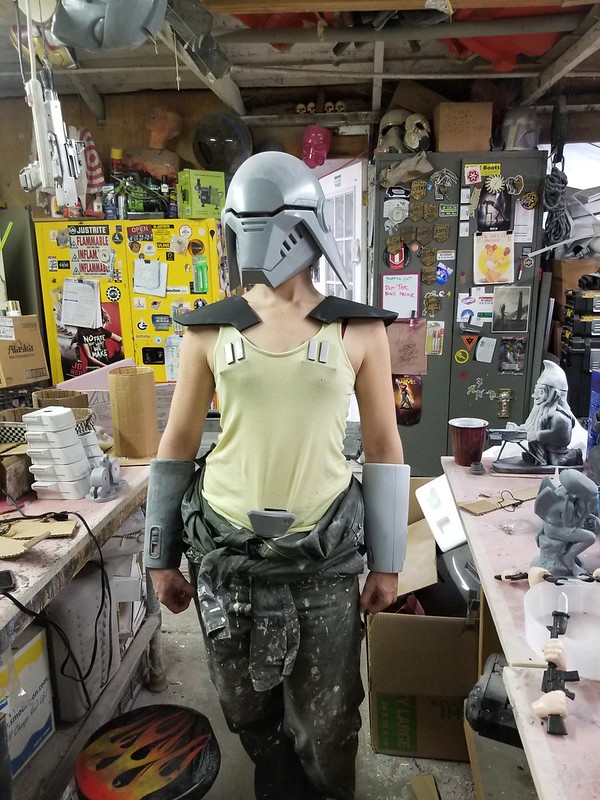
It turns out they need finishing.  So far they don't quite look the part yet:
Awkward Test Fitting

Progress continues...