
At this point I've explained the sizing, the making of the big prototype parts, and how they were molded in lightweight fiberglass. So we're well on our way, but there's a long way to go.
The T-60 armor is big. Everything about it is big. It's designed to look like an old-school, heavy-duty, over-engineered piece of military hardware. But there are still no shortage of small parts built into it as well:
The T-60 armor is big. Everything about it is big. It's designed to look like an old-school, heavy-duty, over-engineered piece of military hardware. But there are still no shortage of small parts built into it as well:
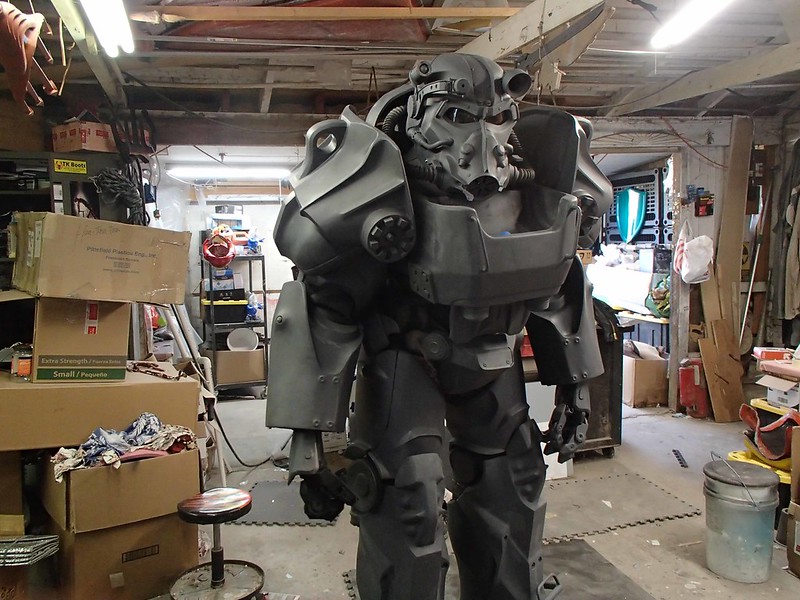
Now it's time to take a moment and appreciate the little things...
The Carvewright CNC machines were my main workhorses during the prototyping phase, but the full costume was also riddled with little widgets that would get obliterated if I tried to CNC them out of cheap MDF and require more post-processing and reconstruction than I wanted to deal with.
It's worth mentioning that this project started sometime in the latter half of 2016. While I'd already had my big Objet 30 3D printer, the cost of maintenance and consumables made it less than ideal for most of my projects. At the same time, most hobby-grade FDM (Filament Deposition Modeling) printers made really rough parts that just required way too much cleanup in order to make them presentable. I had spent a few years searching for a 3D printer with the just-right balance of cost, reliability, and resolution.
It's worth mentioning that this project started sometime in the latter half of 2016. While I'd already had my big Objet 30 3D printer, the cost of maintenance and consumables made it less than ideal for most of my projects. At the same time, most hobby-grade FDM (Filament Deposition Modeling) printers made really rough parts that just required way too much cleanup in order to make them presentable. I had spent a few years searching for a 3D printer with the just-right balance of cost, reliability, and resolution.
Enter Zortrax.
Working on the Evolve project I did for 2K games a while back, time was short and my own machine couldn't churn out enough parts fast enough to meet the deadline. So I outsourced a bunch of parts to a friend's shop who printed them out for me. He said his own printer was a Zortrax M200, an FDM machine that had a 0.9mm layer thickness, so the parts would have pretty high resolution. The layer height on my Objet30 was 0.028mm (about 1/4 of the thickness of a dollar bill), so I was pretty spoiled with smooth printed parts.
Working on the Evolve project I did for 2K games a while back, time was short and my own machine couldn't churn out enough parts fast enough to meet the deadline. So I outsourced a bunch of parts to a friend's shop who printed them out for me. He said his own printer was a Zortrax M200, an FDM machine that had a 0.9mm layer thickness, so the parts would have pretty high resolution. The layer height on my Objet30 was 0.028mm (about 1/4 of the thickness of a dollar bill), so I was pretty spoiled with smooth printed parts.
I had doubts, but the very first part he brought me had me convinced that this was the exact machine I'd need. Most of the pieces he printed would only need a few coats of primer before painting and molding. At worst, they'd need a light sanding before painting and molding. The machine could use a variety of filament and had no problem with third-party materials. The software was intuitive and fast. The build volume was adequate for anything I deemed too small to just carve out on the Carvewrights. It was just what the doctor ordered.
If you're a 3D printing aficionado, you're probably thinking there are countless other machines with similar resolution that cost a lot less money. I've looked into them. While this kind of technology gets cheaper every day, I find that the lower priced machines usually require a lot more assembly and calibration than I really have time for. The Zortrax worked as soon as I took it out of the box and plugged it in. I could've saved some money by getting some other machine that's sold as a kit to build myself, but I was looking for a new tool, not a new hobby.
If you're a 3D printing aficionado, you're probably thinking there are countless other machines with similar resolution that cost a lot less money. I've looked into them. While this kind of technology gets cheaper every day, I find that the lower priced machines usually require a lot more assembly and calibration than I really have time for. The Zortrax worked as soon as I took it out of the box and plugged it in. I could've saved some money by getting some other machine that's sold as a kit to build myself, but I was looking for a new tool, not a new hobby.
By the time I was working on the Schick Hydrobot, I got one of my very own. Then another. I now own three of them that run almost non-stop on a shelf in my shop now. I wouldn't mind having more of them too.
So now that I had the perfect robot to grow me some tiny bits, it was just a matter of making sure the 3D models were smooth and watertight. Then importing them into the Zortrax Z-suite software to orient, set up supports (which the software does automatically) and then uploading to an SD card for printing.
The printing is pretty much a dream. Here's the handwheel that goes in the lower back as it looked when the printer had finished:
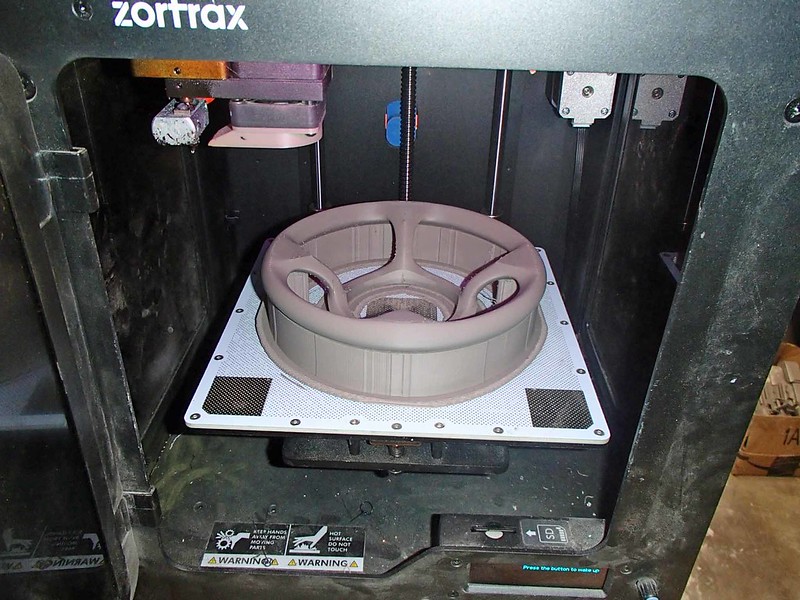
I'd like to say this part of the build process was more interesting or nuanced. That it required every ounce of skill and experience I've gleaned over the years of building things since receiving my engineering degree. But all I really had to do while the printers worked their magic was wait:

When the parts were removed from the printer, they did require a tiiiiiny bit of cleanup. This is one of the rear canisters after a light sanding:

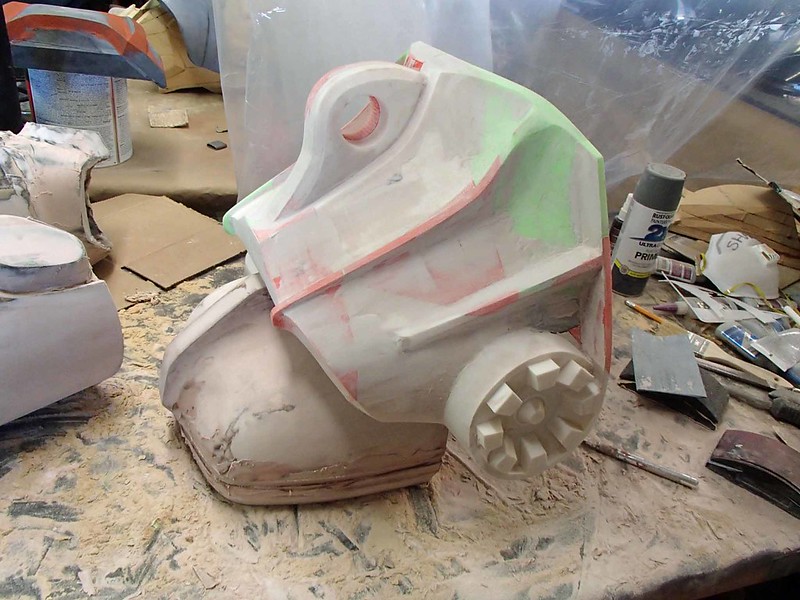
Parts with long sloping areas have more visible print lines, so they'd occasionally need a bit of spot putty to fill in between the lines before sanding, priming, and painting:

But after just a bit of elbow grease, the parts were ready to mold:

NOTE: the toe and calves pictured above were carved in MDF. It's the little widgets that were printed.
Parts with long sloping areas have more visible print lines, so they'd occasionally need a bit of spot putty to fill in between the lines before sanding, priming, and painting:
But after just a bit of elbow grease, the parts were ready to mold:
NOTE: the toe and calves pictured above were carved in MDF. It's the little widgets that were printed.
As a general rule of thumb, whenever any piece of this build was bigger than a shoe box, it was usually faster and easier to carve the model on the Carvewrights. Anything smaller than a shoebox and I'd grow it on the 3D printers. The main exception in this build was the big upper shoulder plates:

With all of the weird undercuts and details on five out of six sides as well as the toothed lug detail on the front, I couldn't come up with any good way to slice it so the carving machines could chew on it. Instead, I just hacked the 3D models into printable sections that could be grown on the printers:

Piece by piece, they were glued together:

Then the seams were filled and sanded and the whole piece got a bit of bodyshop work:
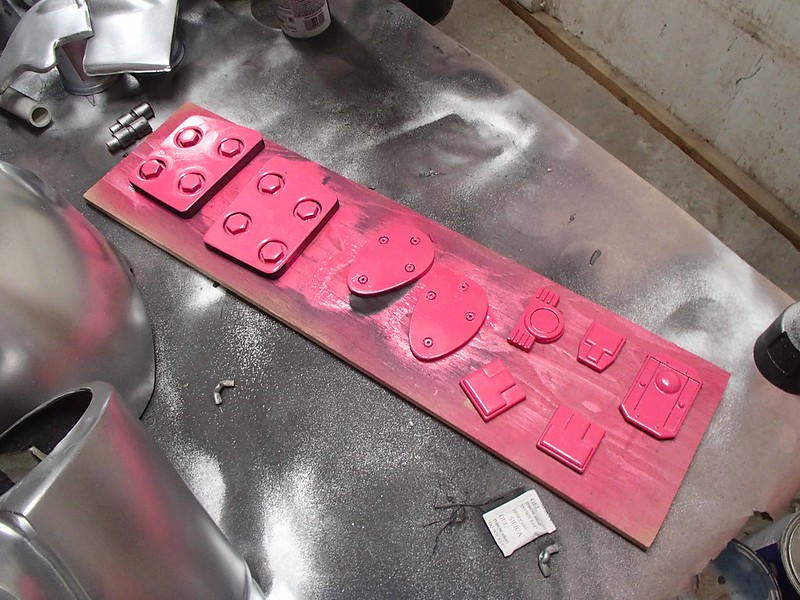
After a couple rounds of sanding, filling, priming, and so on, they got their final gloss pink paintjob prior to molding:

Those guys were molded in fiberglass as detailed in my last article on this build. Otherwise, most of the small printed detail bits were molded in silicone and cast in urethane resin.
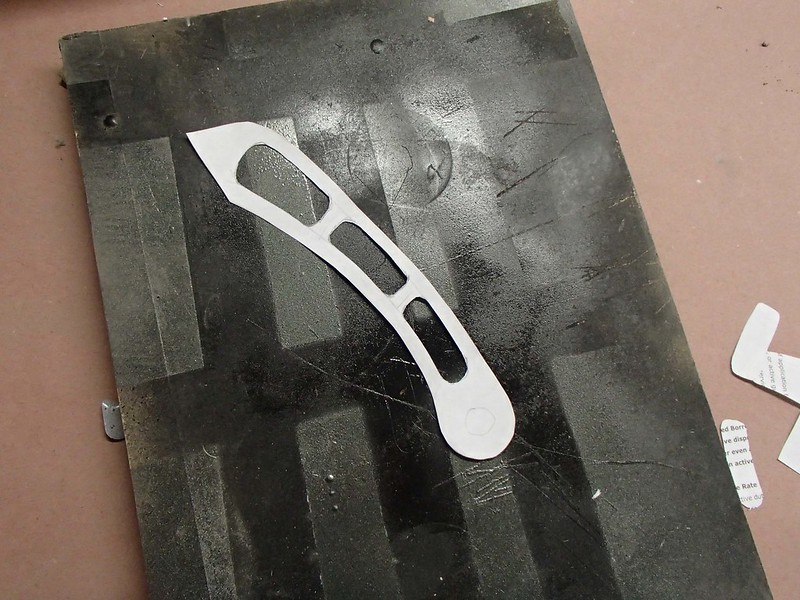
While most of the model bits had all of the necessary details prior to printing. Every once in a while I'd notice something that was overlooked in the digital stage. Take for example these brackets that hold the shoulders onto the rest of the body:
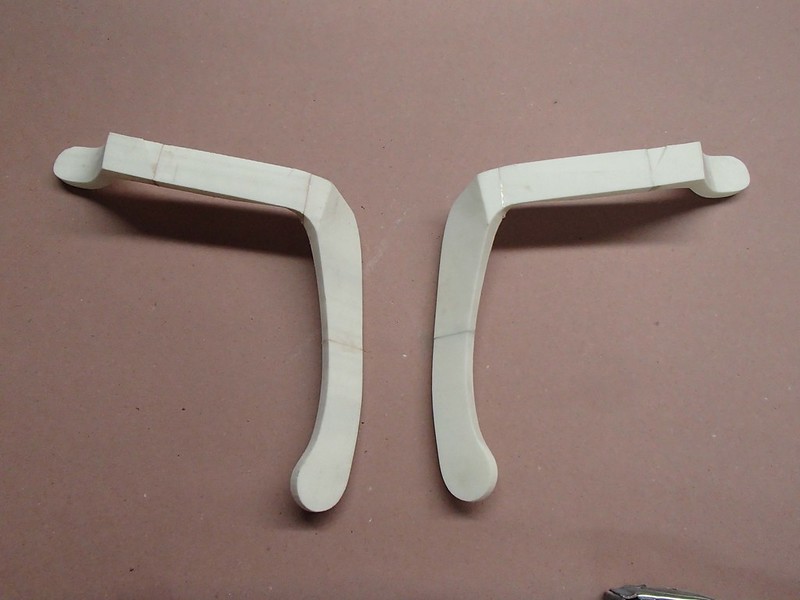
The vertical portion is supposed to have a seires of recessed details that were missing from the model. To rectify this, I drew a quick and dirty paper template:
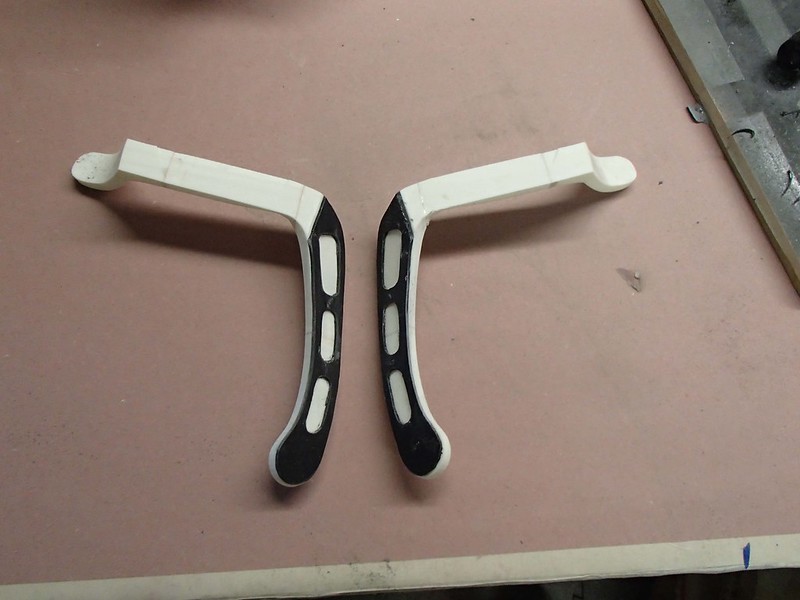
This was traced onto a sheet of 1/8" Sintra foamed PVC sheet and then cut out. The sheet parts were then glued into place on the printed part:
After a bit of filling and sanding, the edges were blended together:
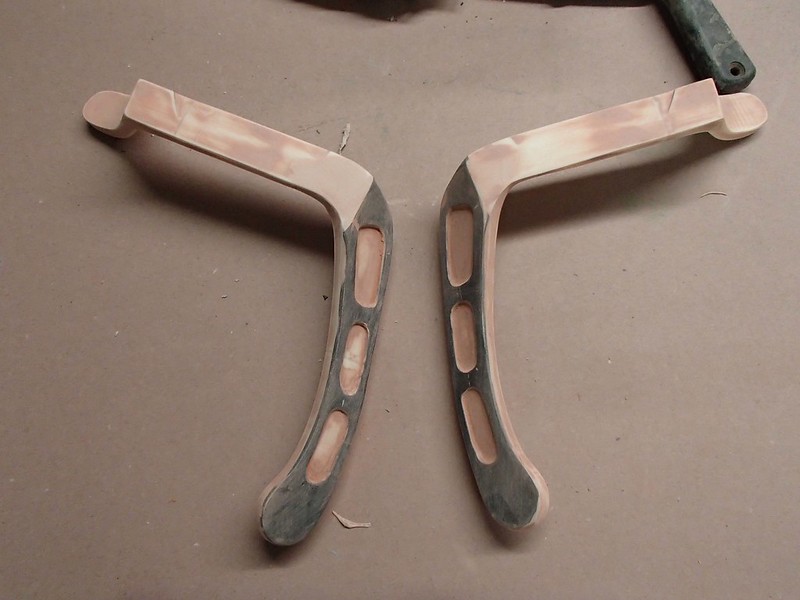
After a coat of primer, you'd never know:

While the CNC machines and the 3D printers were doing the bulk of the prototyping at this point, there were still a few pieces and parts that made more sense to make by hand. Take for example this bolt-on detail on each side of the chest box:

While it would've been simple enough to just 3D print or CNC carve that whole thing, I could never feel good about printing a part that could easily be had at the local hardware store for relatively cheap. Instead, the base shape was cut from a piece of 1/2" MDF, countersink holes were drilled in with a Forstner bit, and some bit hex bolt heads were glued in place. After a couple coats of primer and some shiny pink paint, these parts were ready to mold:
Yes, the original parts could've just been painted and glued onto the chest as-is, but molding them meant I'd be able to make more than one copy of the armor without having to go through that whole process every time.
Whenever we had a sizeable pile of mold ready parts, we'd make up some boxes with cardboard and hot glue and get to mixing and pouring silicone:

Some of the mold boxes were a little goofy-looking:

Okay, maybe a lot goofy-looking:
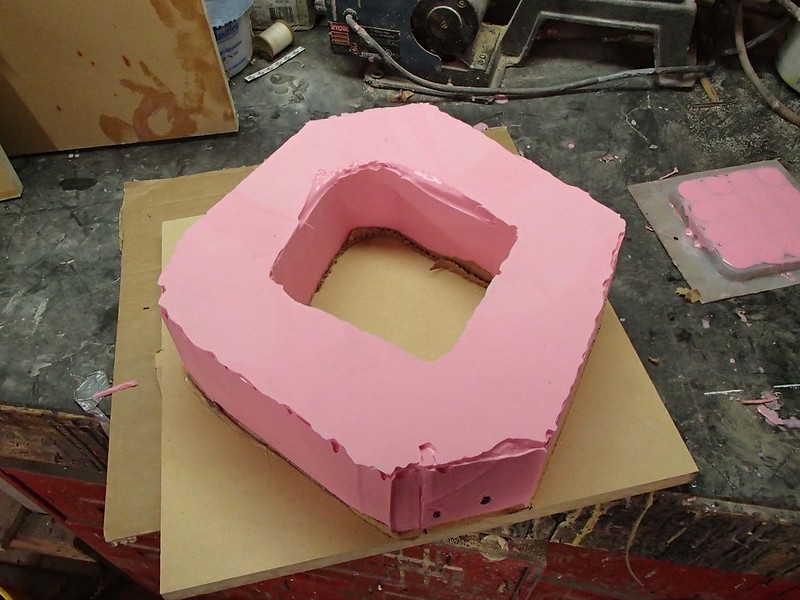
As we got uncomfortably close to the planned debut I got impatient and made one-piece molds that probably would've been better off as two-piece molds:

But the cast parts all came out great.

And everybody was still having a good time:

Soon it would be time to figure out how to put it all together:

But that's a whole different article.
Soon it would be time to figure out how to put it all together:
But that's a whole different article.
Tune in next time and I'll tell you all about how the helmet was built from start to finish:
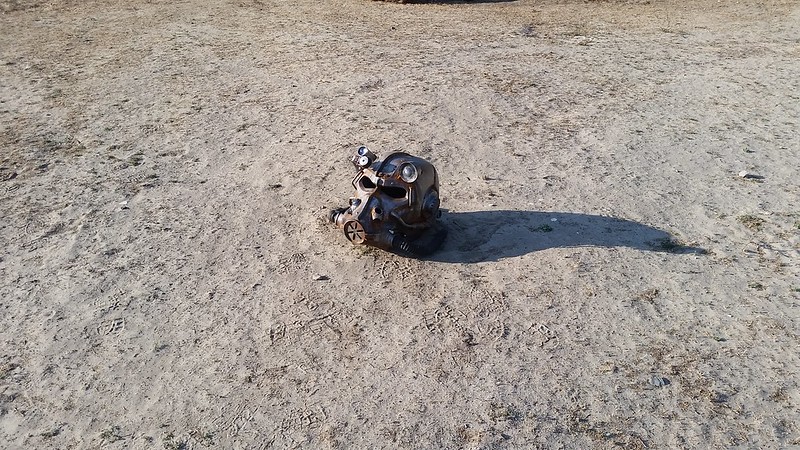
In hindsight, I suppose I should've started with that article first. Oh well.
i must say, i enjoy your writing style, good sir.
ReplyDeleteTruly epic build! Amazing work and so great to see the details all itemized to really appreciate the insane amount of work and effort needed to bring something like this to life. Looking forward to the helmet start/finish, but MORE looking forward to how the whole thing was put together/engineered to wear.
ReplyDeleteI'd say that's more of a lightish-red. Certainly not pink.
ReplyDelete