
You can read about the first two parts of the build here:
Part 1: the Helmet
Part 2: the Armor
Part 3: Rigging
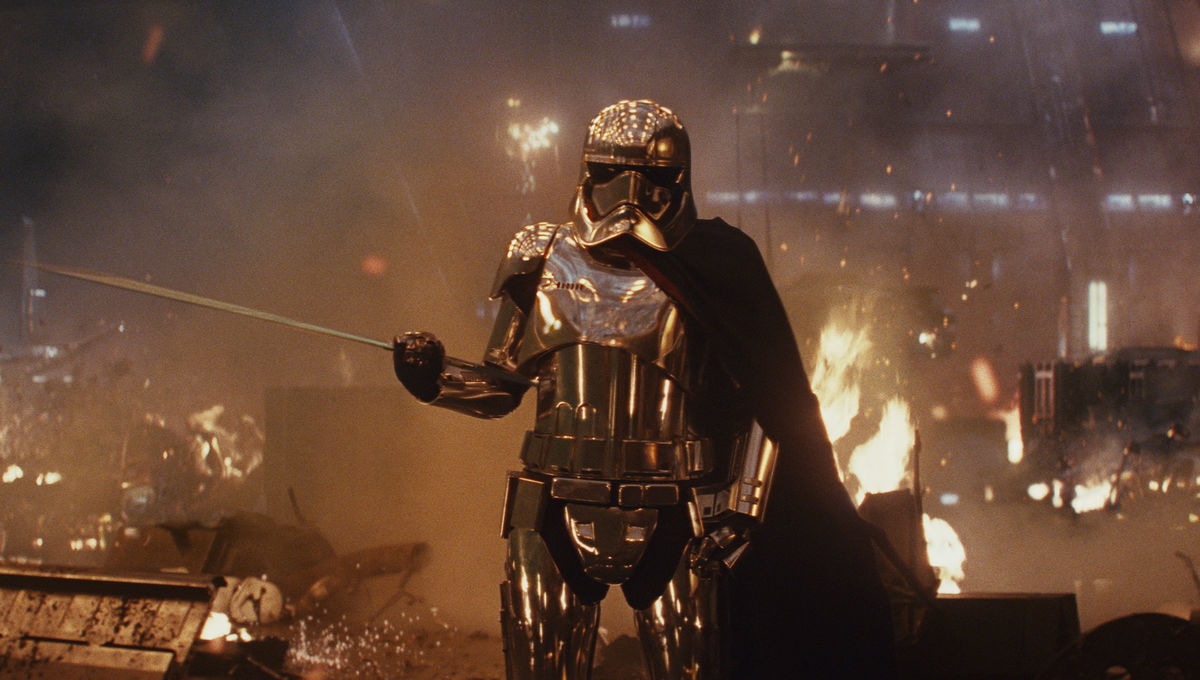
Those articles covered the making of all of the parts. But they're all plastic and rubber. So how do we make this:

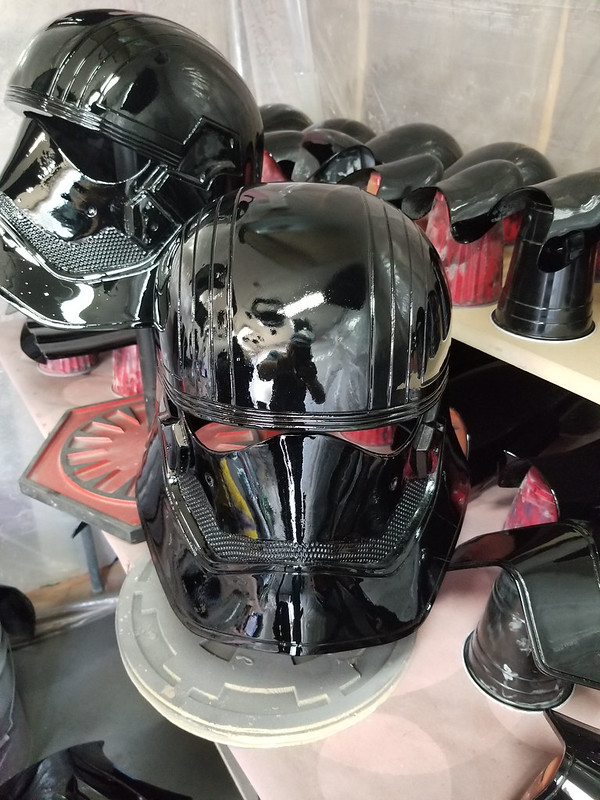
shiny and metallic and awesome like this:
For details on that process and photos of the finished costume, read on...
If you're looking for the quick and easy way to take some rough fiberglass and resin parts and make them look like chrome, look no further. There isn't one. The simple fact of the matter is that any chrome process that exists needs a perfectly smooth surface in order to have a perfectly reflective finish. It doesn't matter if you're using paint, silver nitrate, vacuum metalizing, or electroplating, you still need the base to be smooth in order for the chrome to shine like it needs to.
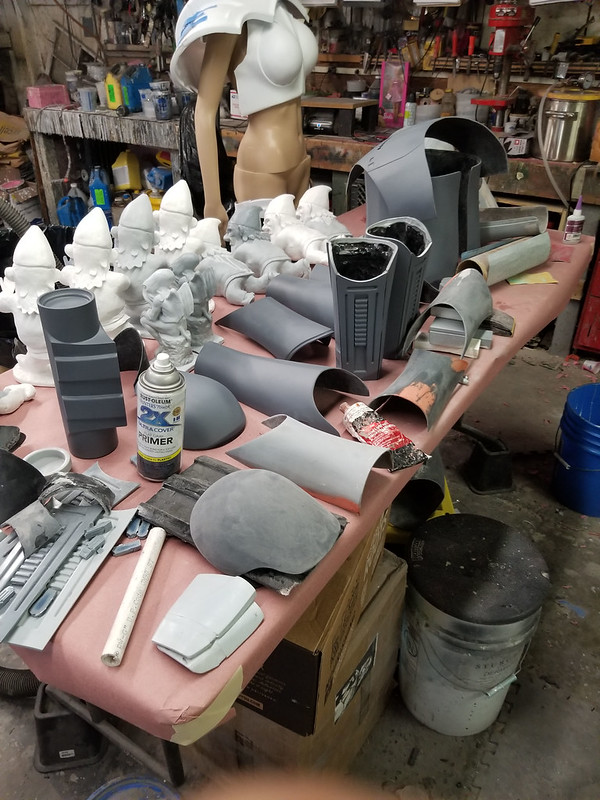
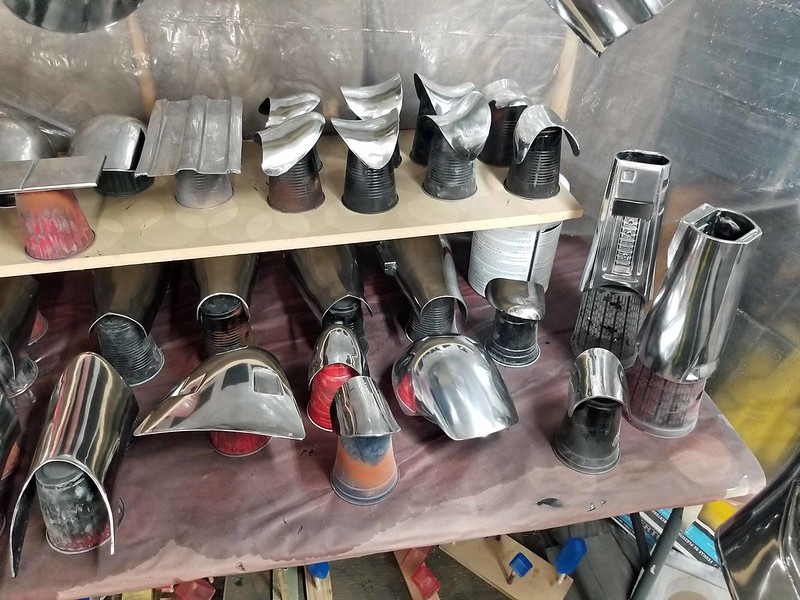
In this case, we started with a lot of cycles of priming and sanding and filling and priming the parts. This meant that whenever there's been time between other projects, a few more Phasma parts would be pulled out and sanded:
We tented off a section of the shop with plastic sheet to keep these parts dust-free while they were being painted:
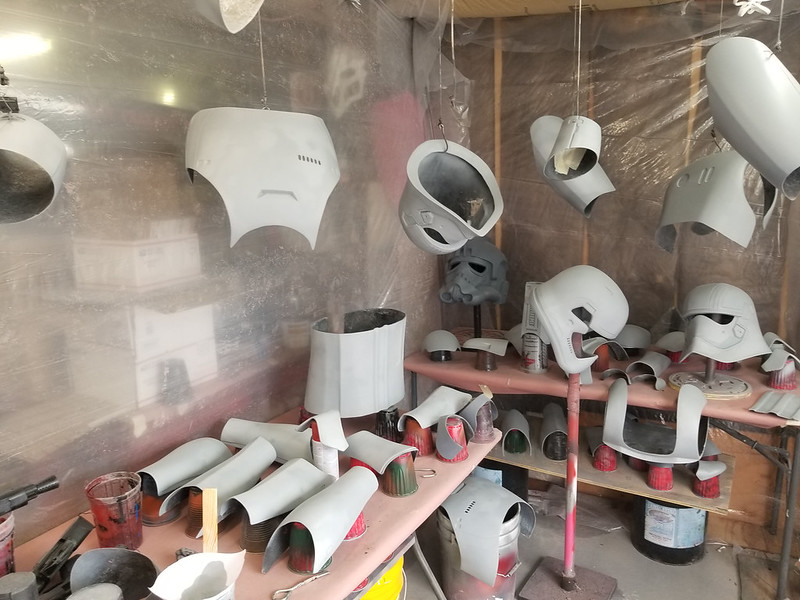
Whenever I had a morning to kill, I'd wet down the floor and walls in the tented area, wait for the water to stop dripping, then spray a coat of gloss black urethane paint:

Of course, if there was even the tiniest speck of dust in the gloss black basecoat, the parts would be wet sanded and recoated:

It took several iterations of paint, sand, repeat before I was happy with the finish:
Here's a self-portrait I snapped in a piece that I decided wasn't quite shiny enough:

I wasn't willing to call it good enough until the gloss black base coat looked like it was already chrome:

At this point my shiny black ass was as shiny as black can get:

Only then were the parts ready for chrome:

The chrome paint I'm using is Spaz Stix Mirrorchrome:

It's a pretty good version of chrome when it's sprayed on, but it also tends to be a bit delicate. Without a protective clearcoat, the paint can actually be rubbed off with your bare fingers. Here's my shiny metal ass with the chrome freshly dried:

And a few of the other parts in raw chrome:
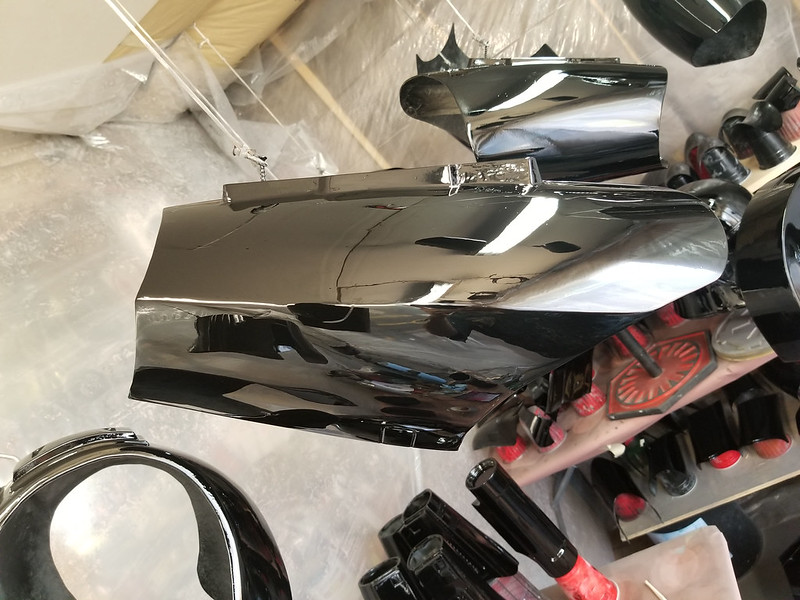
With the clearcoat you lose a bit of shine, but with a bit of care and proper spraying techniques, it still looks pretty good:

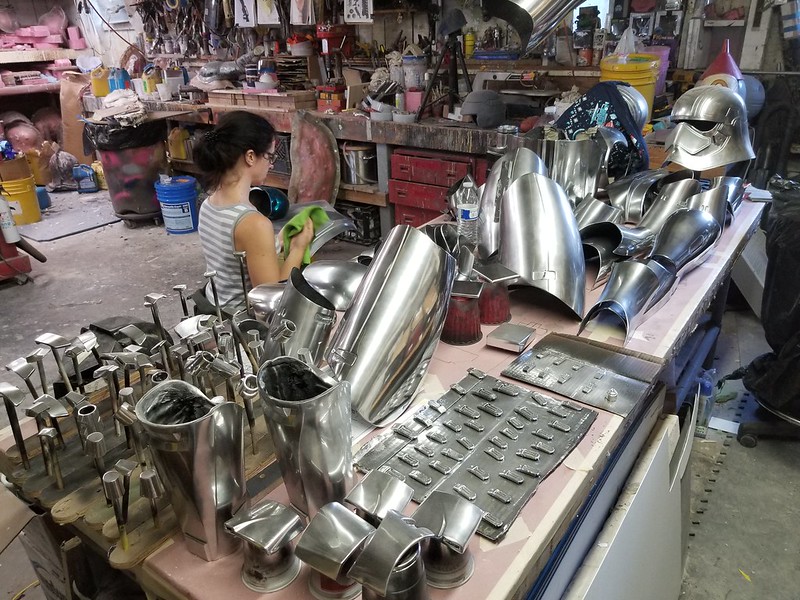
Once the clearcoat had plenty of time to cure, the parts were gathered up on one of the tables in the shop. Here's my shiny metal ass next to a shiny plastic crab:

Before too long, it was the only thing that fit on the table:
Here's Rachel giving my shiny metal ass a final buffing:
While we'd already rigged all of the parts once before, we never added the holster bracket that goes on the right thigh. Since locking a blaster in and out of the holster is likely to chip the paint, I figured it would be best to make these parts out of actual metal. My friend Mark had a whole sheet of holster brackets that were cut out of 1/8" thick aluminum with a waterjet:
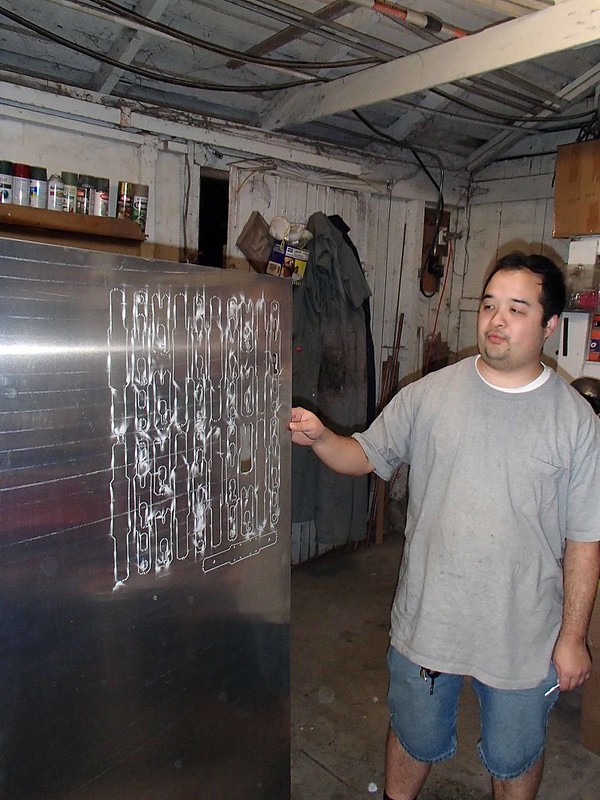
I took an early snapshot once the parts were removed from the sheet:

Here's the stack of parts in various stages of assembly:

After being drilled, sanded, buffed, polished, and bolted into place, they fit right in:
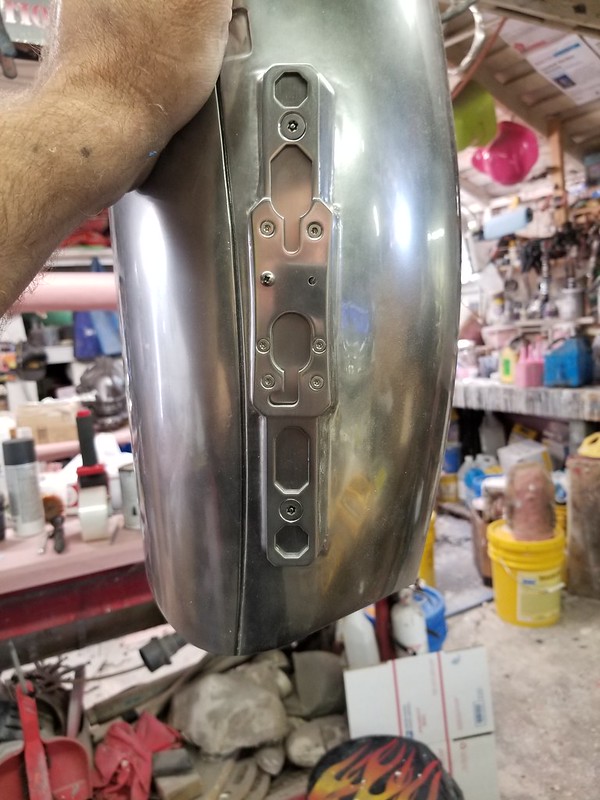
Now if it gets scratches when someone slots a blaster into it, the only thing that will show through the scuffs is bare metal:

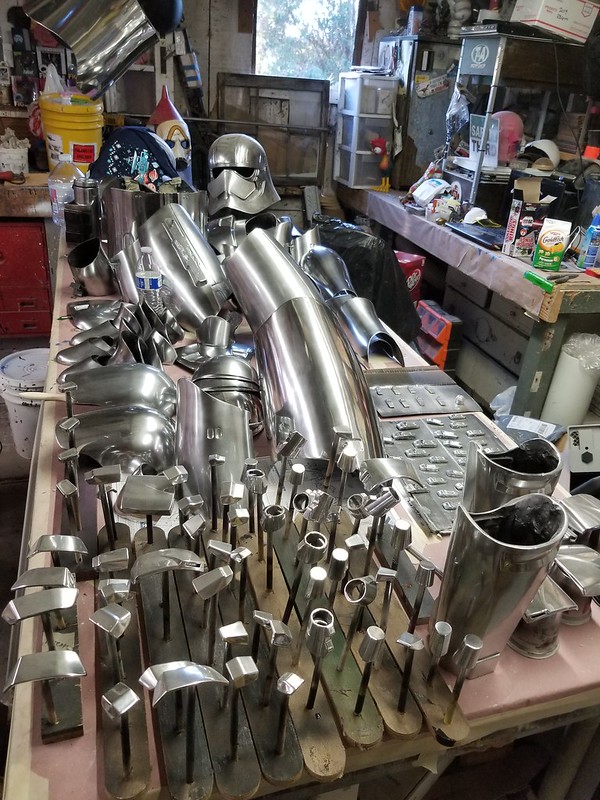
With that little detail added, all we had to do was install all the same straps we'd put in place before the painting. Here's the full set of parts laid out on the bench while we were re-rigging everything:
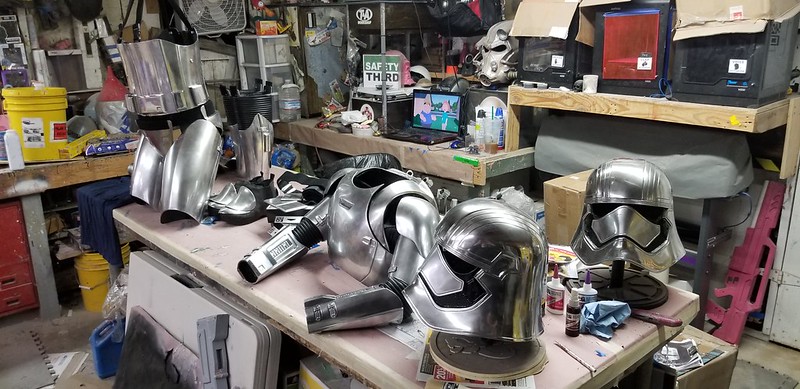
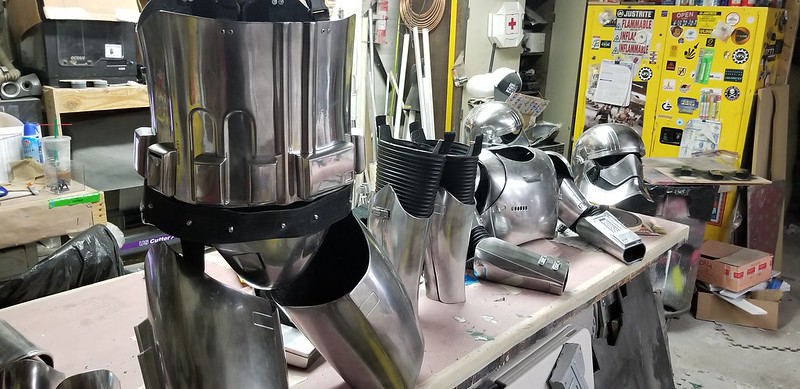
Shiny!
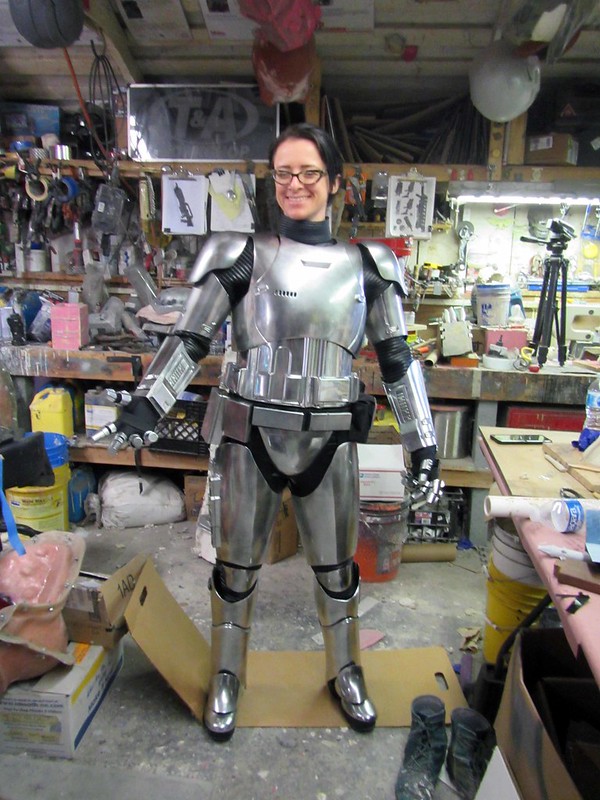
Once again, I enlisted Rachel's help to test-fit everything:

The knee plates had to be glued in place on the rubber knee sections. This meant we didn't do this until we actually had someone inside the armor to get the placement right:

Then the shin plates were velcro-ed in place:

With the legs all put together, it was time to install the shiny metal ass:

The other thing I hadn't done before was bolt the thermal detonator tube onto the lower back plate:

Even though this part is included on the action figures, once the cape is in place it'll be almost impossible to see. Same goes for the lower back plate. I figure these can both be left off in order to make the costume a bit more comfortable, reducing the overall weight and allowing air to flow in to keep the wearer a bit cooler. This will matter a lot when you consider all of the rubber seals at the rest of the joints:

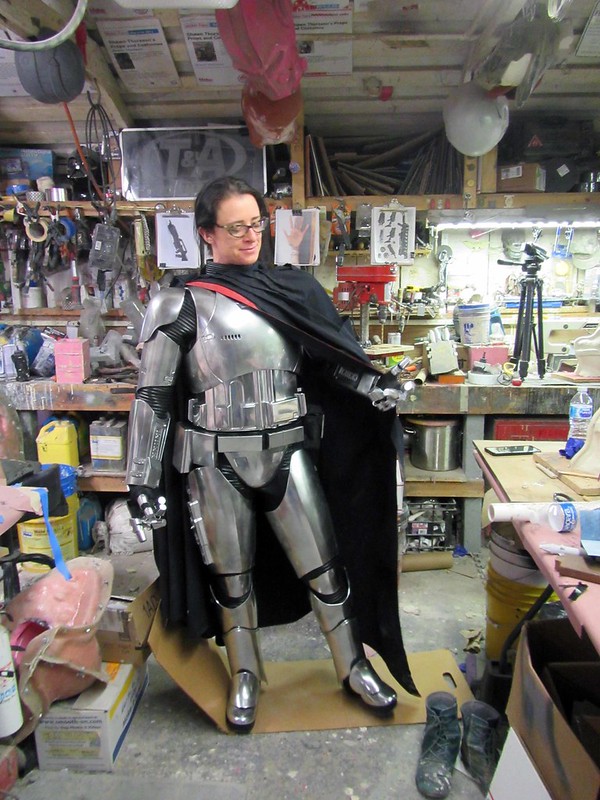
I'm not entirely happy with how sloppy the shoulder rigging looks at this point, but it all gets covered by the chest, back, and shoulder armor:
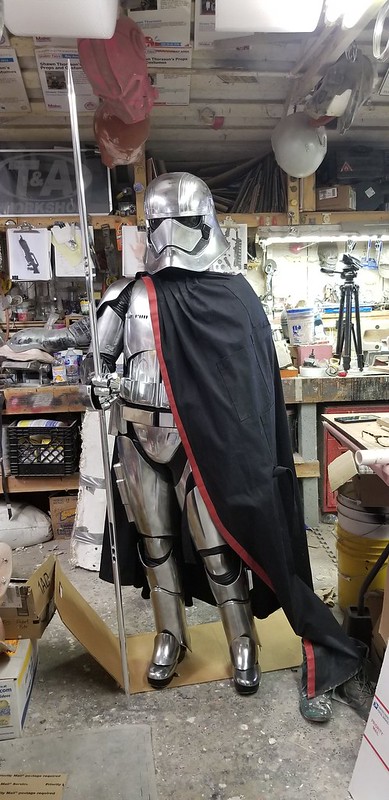
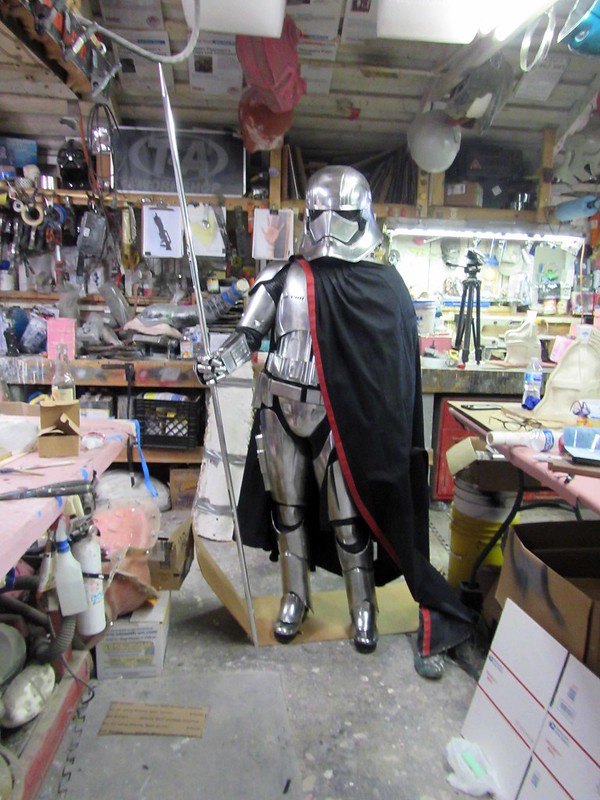
Then the cape goes on top of everything:
Top it all off with the helmet:

And add a shiny stick:

Shiny stick is too tall for my overhead storage solutions:

Fun side note: ever since they released the Black Series 6-inch Phasma action figure, I've had one sitting in my workshop. Somewhere along the way, she was handed this little miniature rubber chicken:

So once the costume was done, we had to recreate this full-sized:

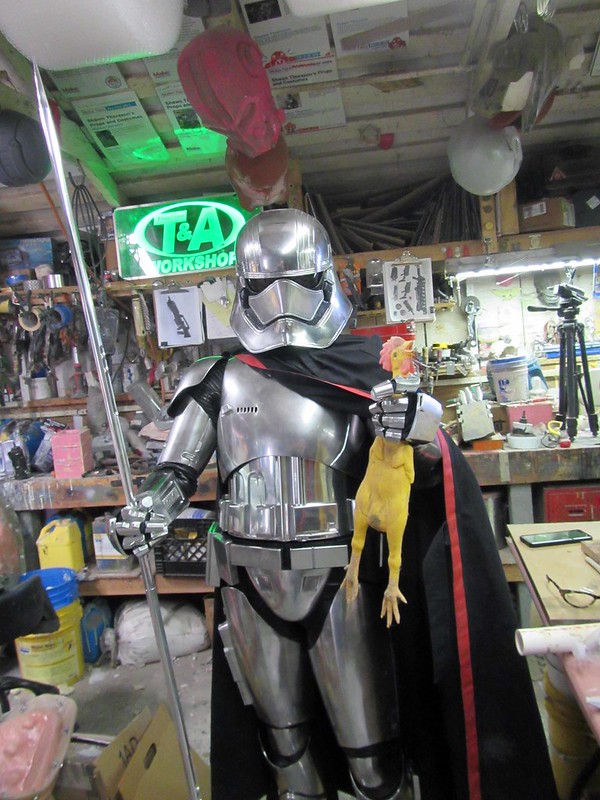
That'll have to do until we can do a proper photoshoot:
In the meantime, I've got the Flametrooper to finish:
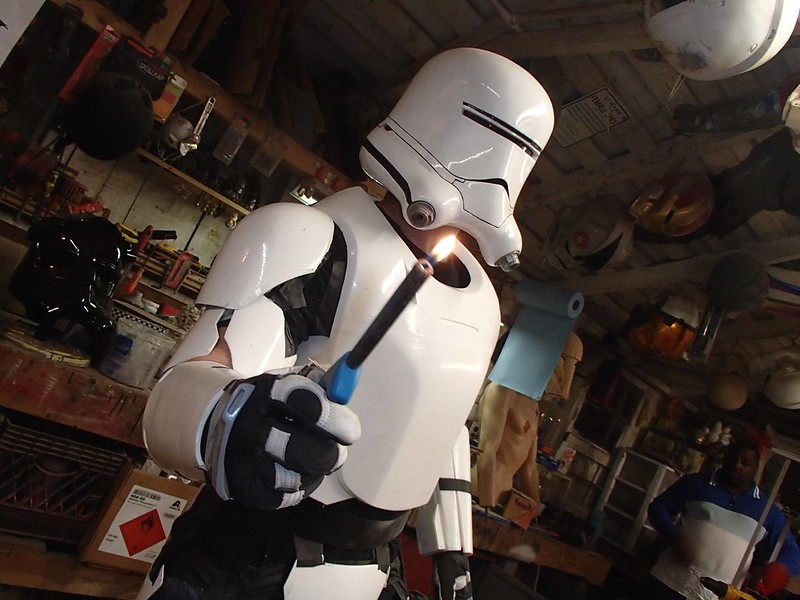
Stay tuned...
No comments:
Post a Comment