
Part 1: the Helmet
Part 2: the Armor
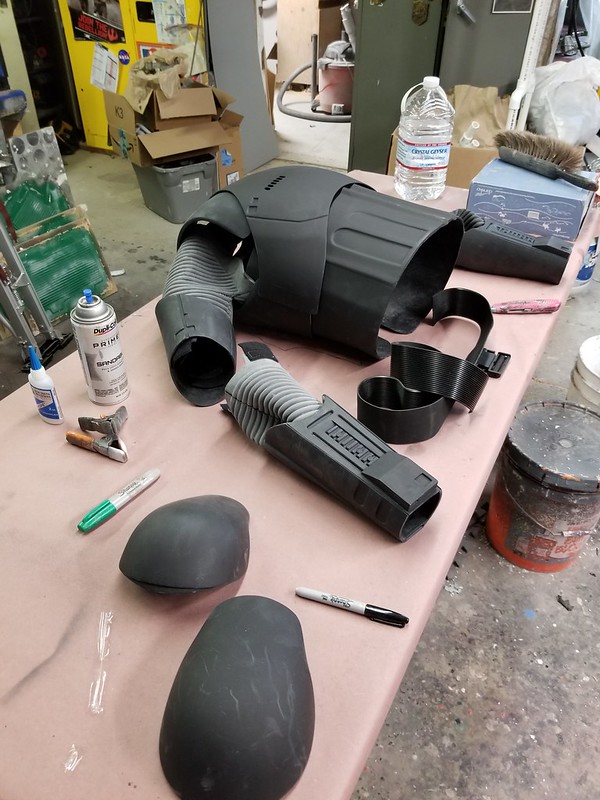
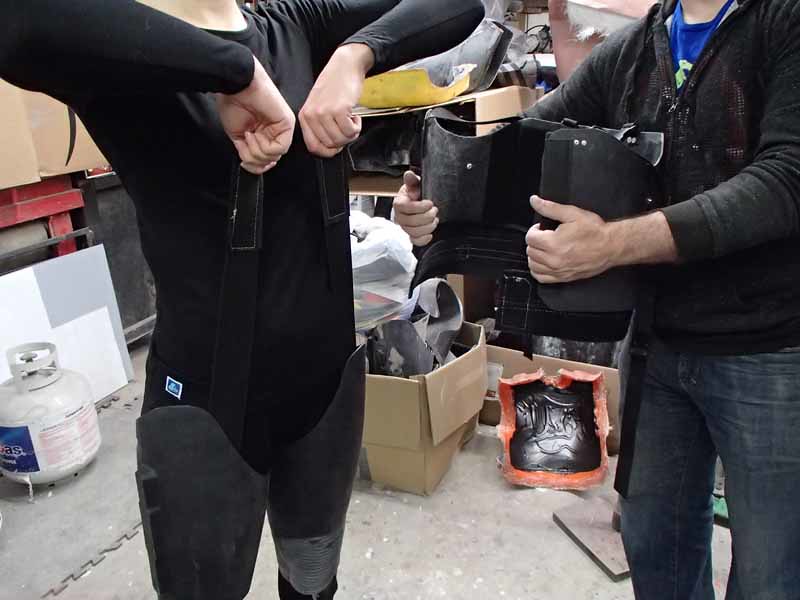
That pretty much covers the making of all of the hard parts. But now it's time to make all of the pieces that hold it all together and make it wearable like so:
For more information on how it all goes together, read on...
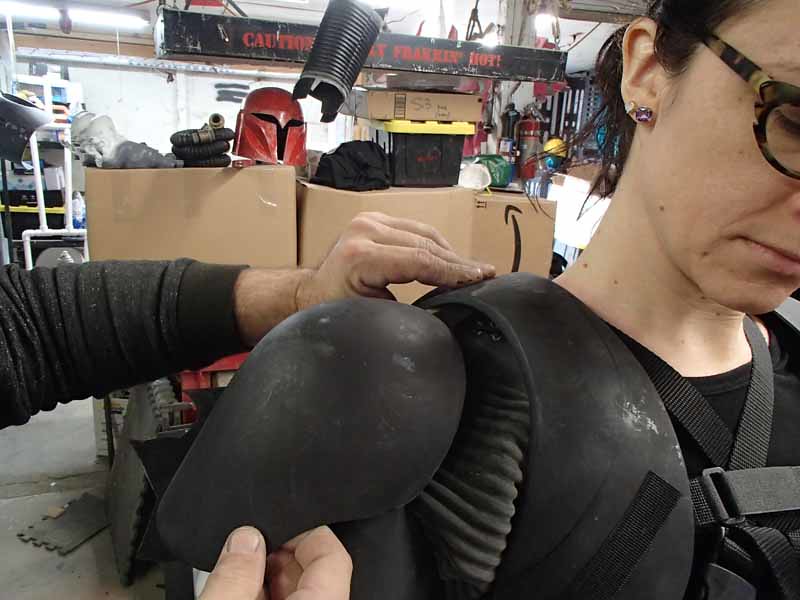
The design team behind the new Star Wars trilogy made a lot of changes to the stormtroopers' armor to reflect the decades of technological advancements since the original trilogy. One of the key design improvements was the addition of rubber "gaskets" in the knees, elbows, and shoulders. This effectively seals the gaps in the armor and makes it impossible to see the skinny little nerd arms inside.
Some time ago I'd sculpted out the shape I wanted for the flat version of the rubber gaskets and molded them in silicone so I could cast them in urethane rubber or flex foam. I thought I was pretty clever, but they ended up being stiff, heavy, and generally uncomfortable. To recoup some of the effort wasted, I went ahead and cast a copy of those parts in resin and mounted each of them to some scrap MDF.
Here's a shoulder:
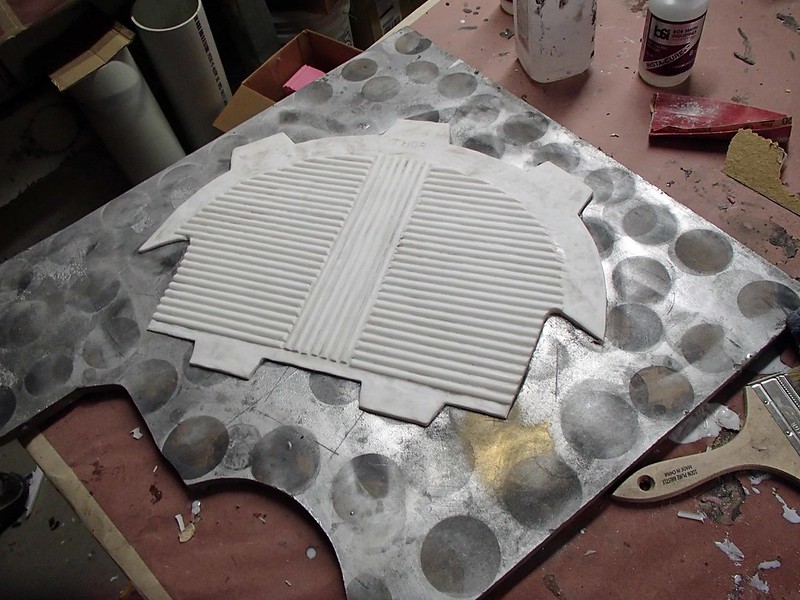
After sanding and smoothing, each of these flat parts was given a couple of coats of high gloss paint. Then I built up a drip wall around them and my assistant Rachel poured in some Ultracal 30:

Ultracal 30 is a gypsum product (similar to plaster of Paris) which hardens to create a porous stone material. Once it had solidified, we turned each of these stone molds over, pried out the resin prototype, and left them to air out in order to allow as much moisture to evaporate as possible.
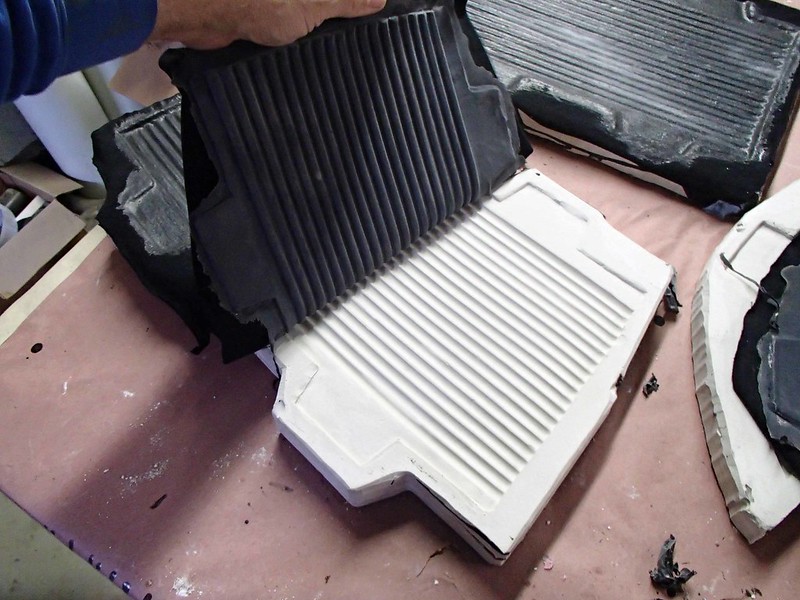
The next day, each one was filled with black tinted liquid latex:
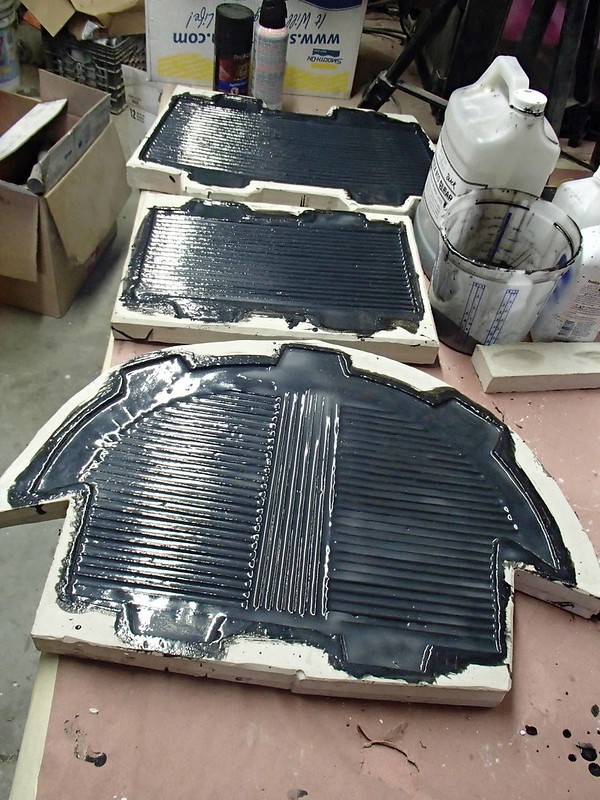
When the latex is poured into the stone mold, the porous surface of the mold wicks away moisture from the latex. This essentially dries it on the spot, forming a solid rubber skin. Then excess liquid rubber gets poured back into the jug and can be re-used later. The longer the liquid rubber sits in the mold (called "dwell" time) the thicker the rubber skin will be.
Eventually, the inner surface, exposed to the air, also dries to form solid rubber. Then additional coats of latex can be added to thicken the skin if needed. In this case, since there would be some amount of strain on the rubber pieces, I laid in a layer of black stretch fabric for reinforcement. Since it was completely saturated with liquid latex, it is completely integrated into the final rubber part once everything dries.
Since the dried rubber is still a bit tacky for a while, it's a good idea to dust it with talcum powder before de-molding the parts:
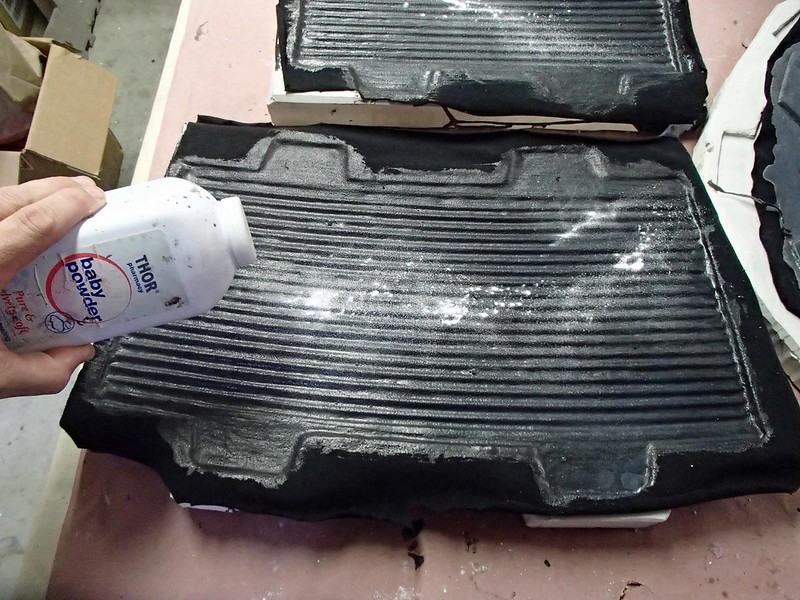
De-molding is just a simple matter of peeling the parts out of the mold:
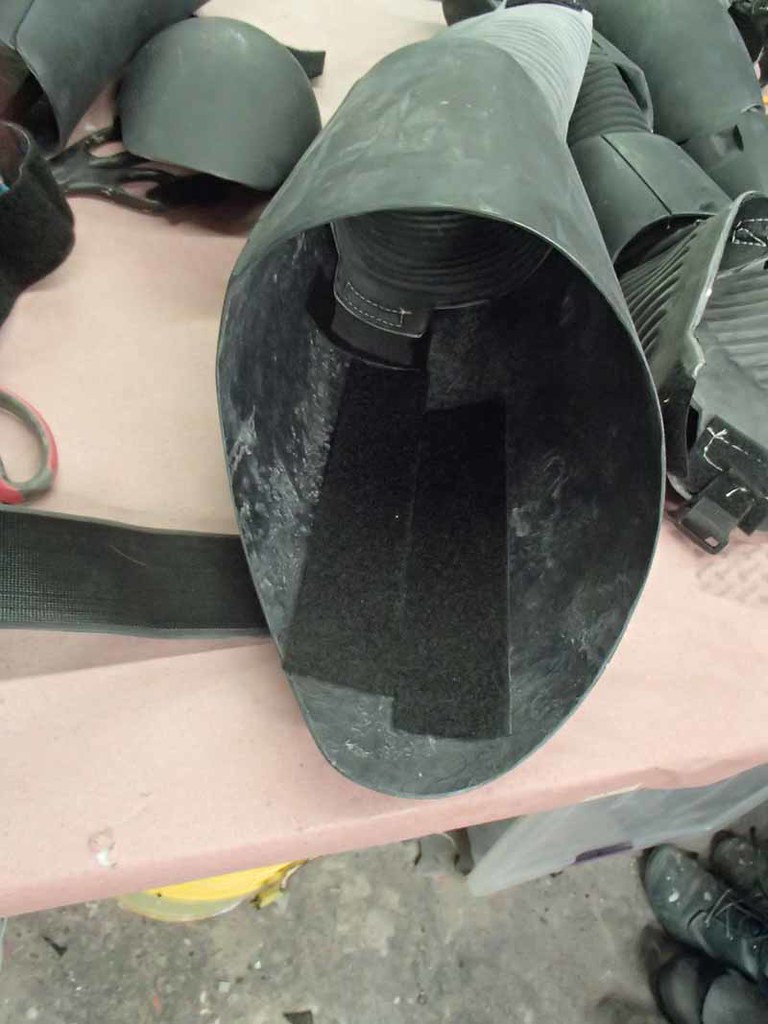
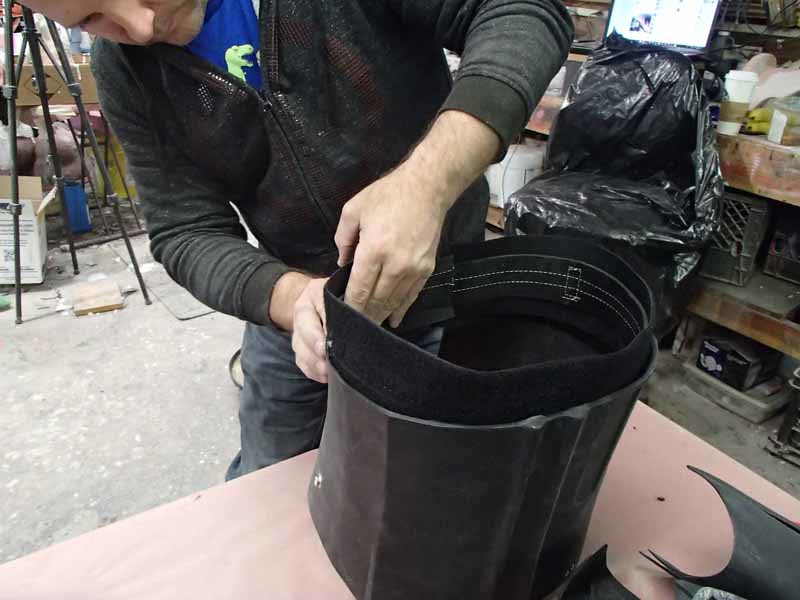
Once the edges of the rubber gaskets were trimmed, they were wiped down and patches of velcro were sewn onto the tabs. Then they were rolled into their final tube shape and the ends were bonded together with CA glue backed with gaffer's tape for good measure.
Then it was just a matter of sticking them into their corresponding armor parts:
Once everything is chromed, I may make the attachments more permanent, but for now I like the adjustability of it all. Here's the legs:
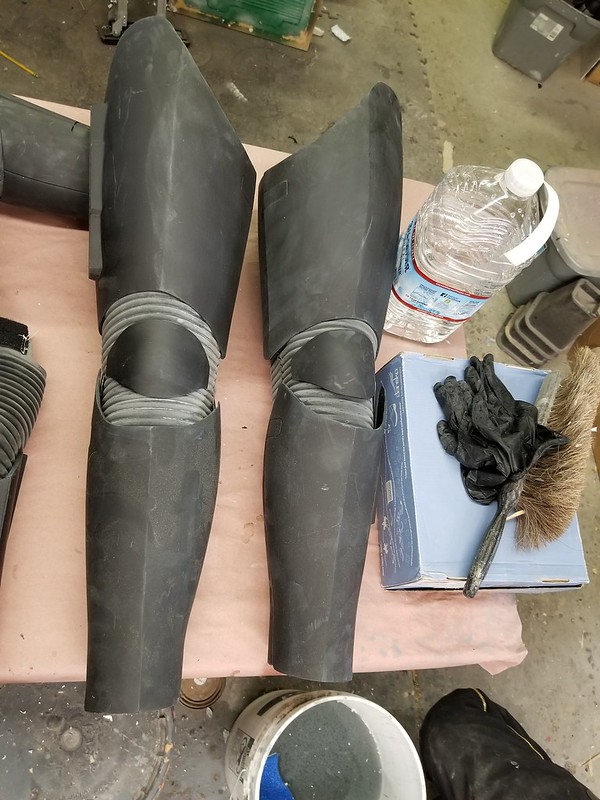
To hold the thighs up (and keep everything adjustable), I installed a large velcro patch inside:
Then I had my assistant Rachel sew up a couple of elastic straps with velcro ends:
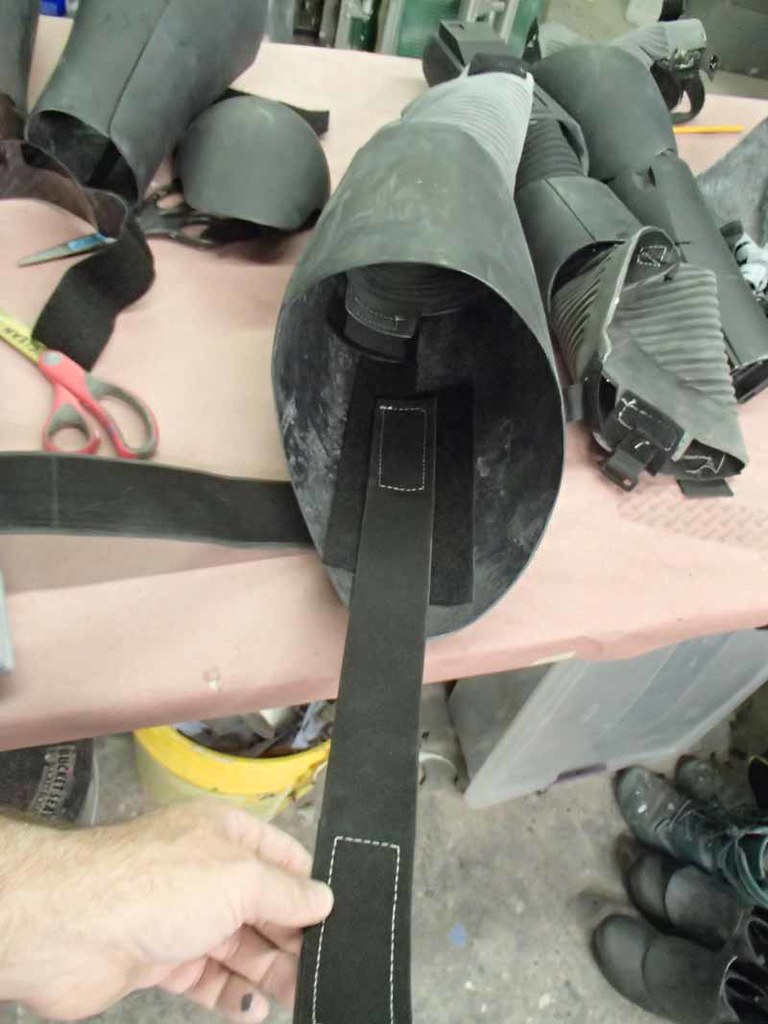
Next up was the belt. I started with a strip of rubber cut from a ribbed floor mat:

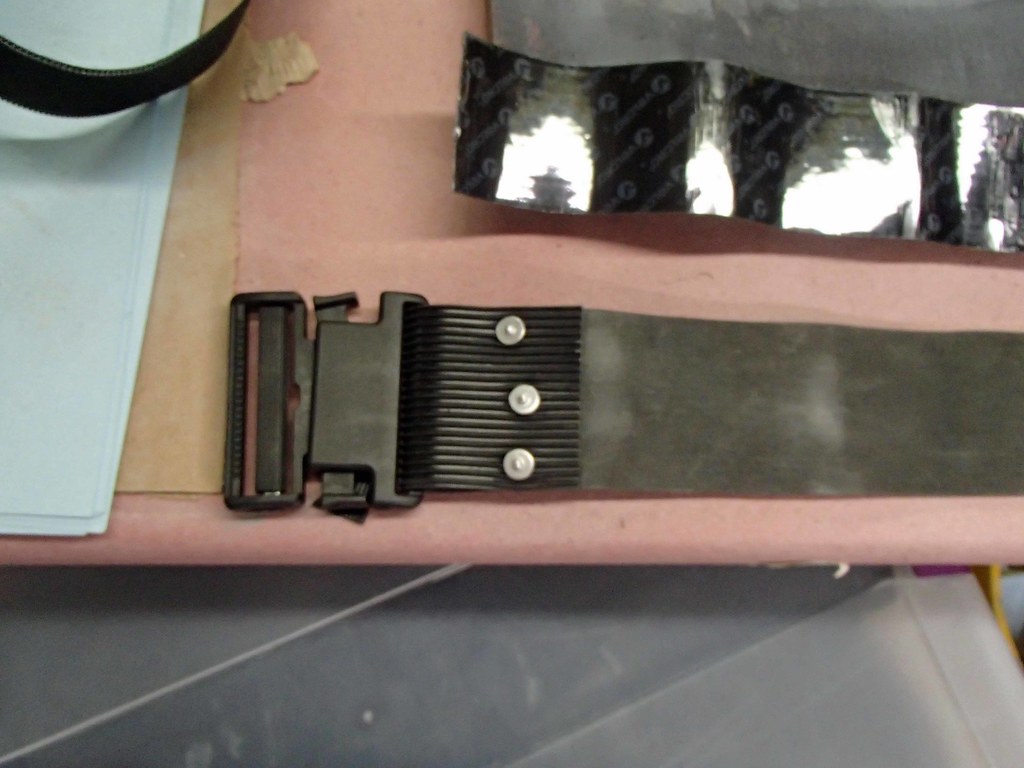
One end was riveted to what I'm told is a screen-accurate buckle:
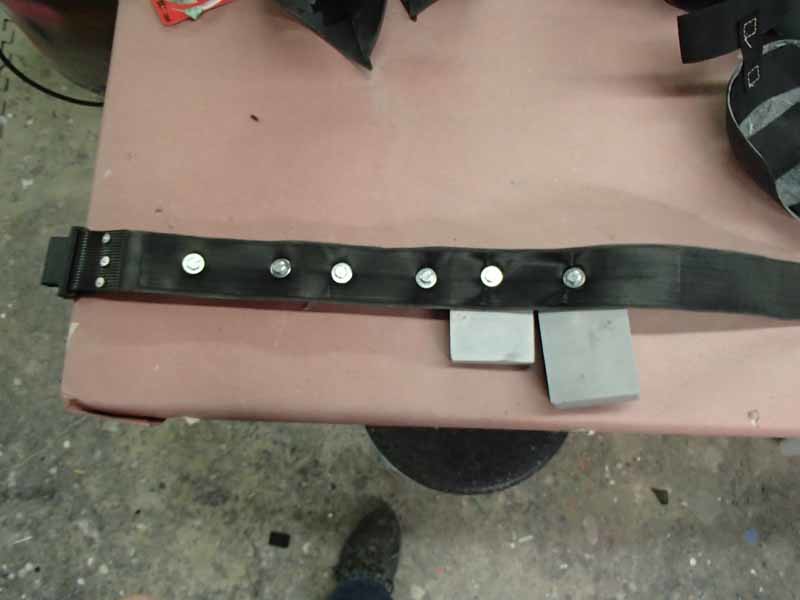
Then I added stick-on velcro to the back and the various belt boxes were bolted on:
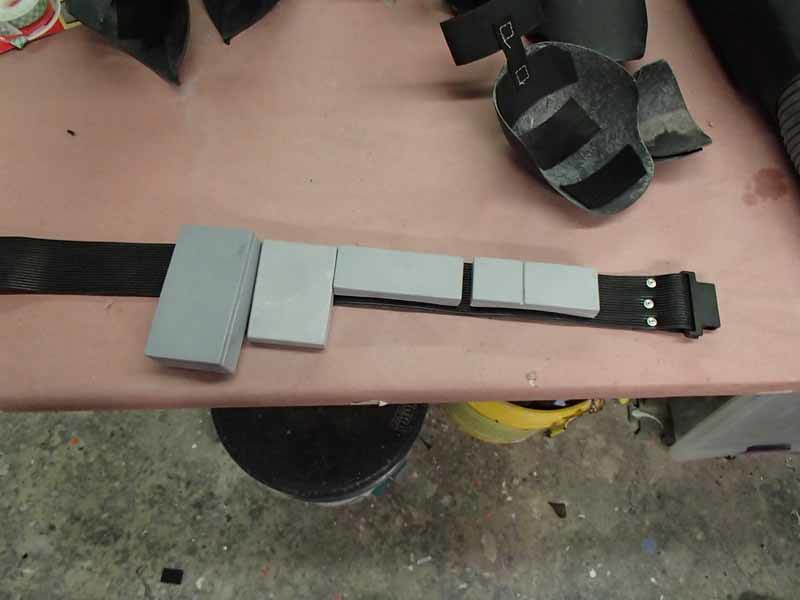
Literally bolted on. Each belt box was drilled and fitted with T-nut which was then bedded in place with casting resin. This left a handy, threaded steel insert that I could run bolts into:
In order to have something to stick the velcro to and to pad the bottom edge of the waist armor, we sewed the loop-side velcro onto a piece of heavy strap leather:

This was then stuck onto matching hook-side velcro inside of the waist:
That seemed like a good time to try it on:
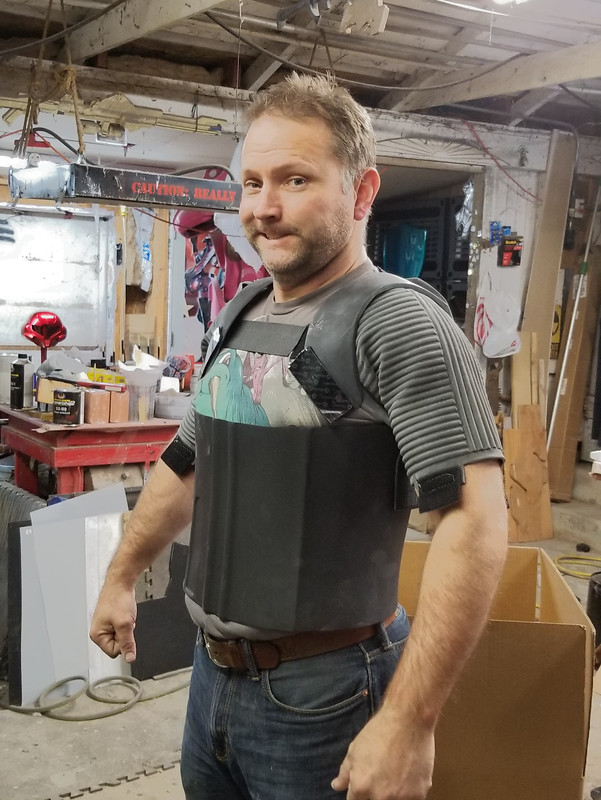
This particular suit is meant for someone that looks not at all like me. Since the Lady Shawnon wasn't available at the time, I enlisted the help of my assistant Rachel:
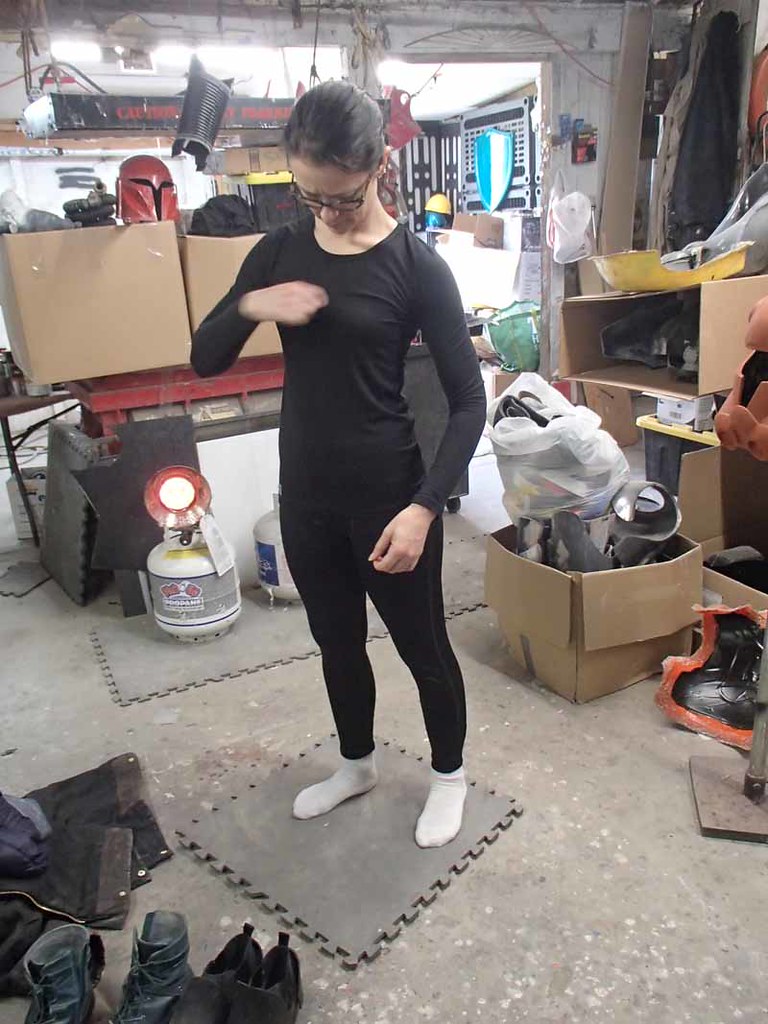
Dressing starts with the thigh armor an straps:
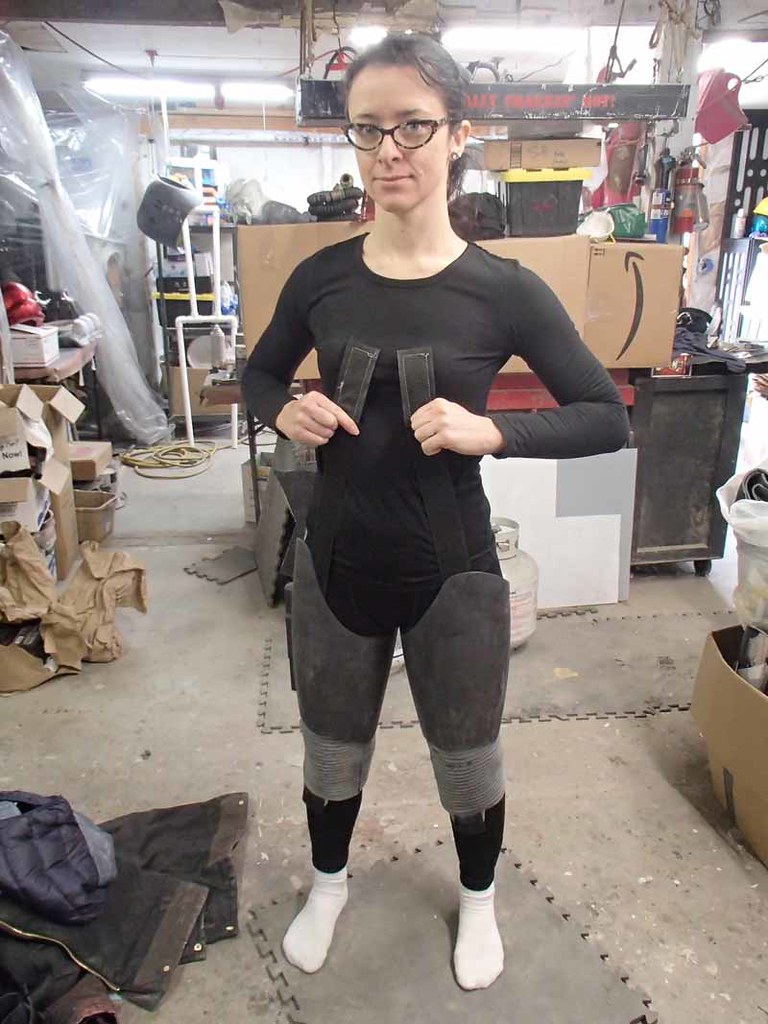
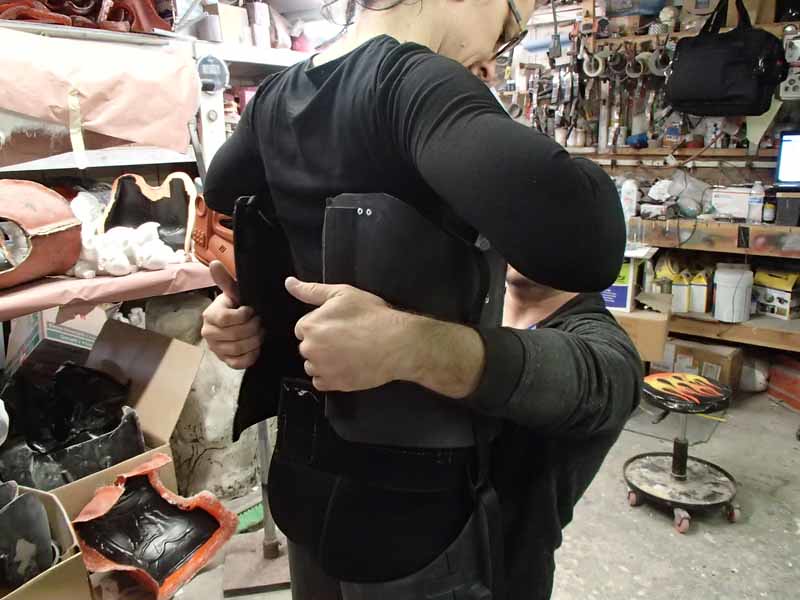
Then the waist is pried open and slid into place:
At this point, Rachel velcros the thigh straps to the inside of the waist armor:
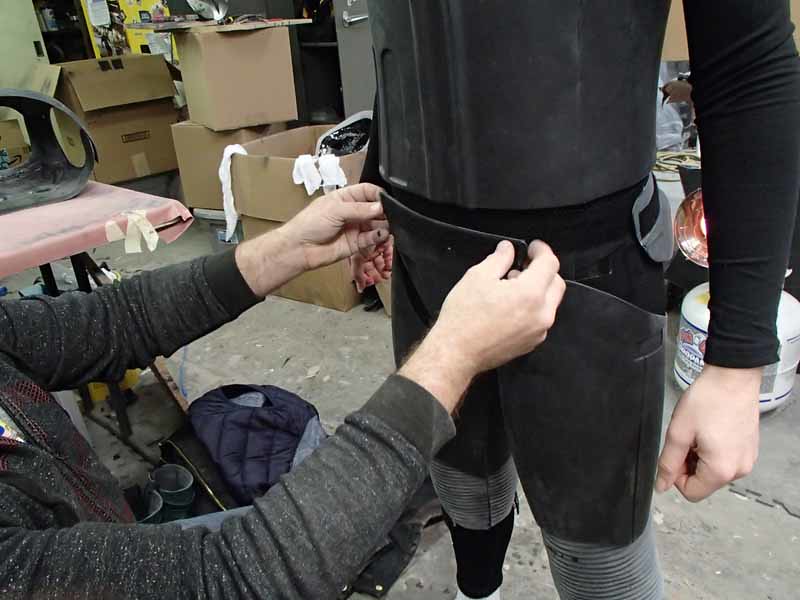
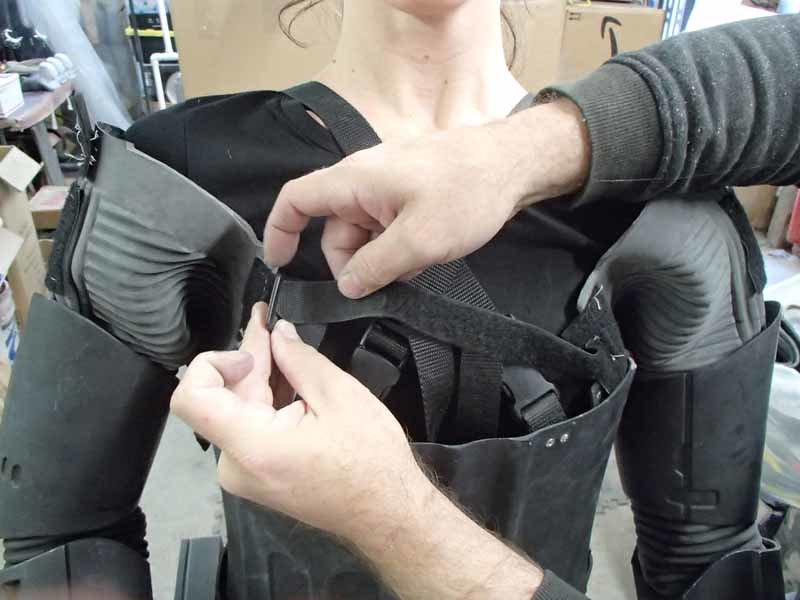
Then the suspender straps are buckled to the front of the waist:
With the waist in place, the gap at the rear is covered by the lower back plate which velcros in place:

The butt plate attaches to the inner belt with more velcro:
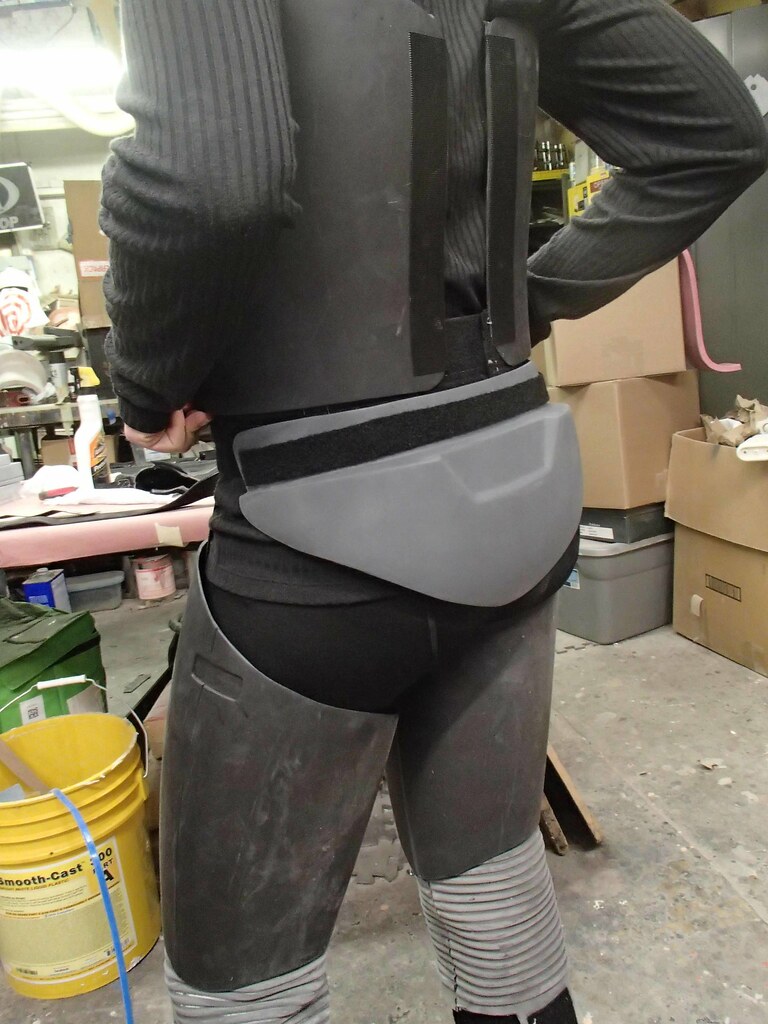
Same for the codpiece:
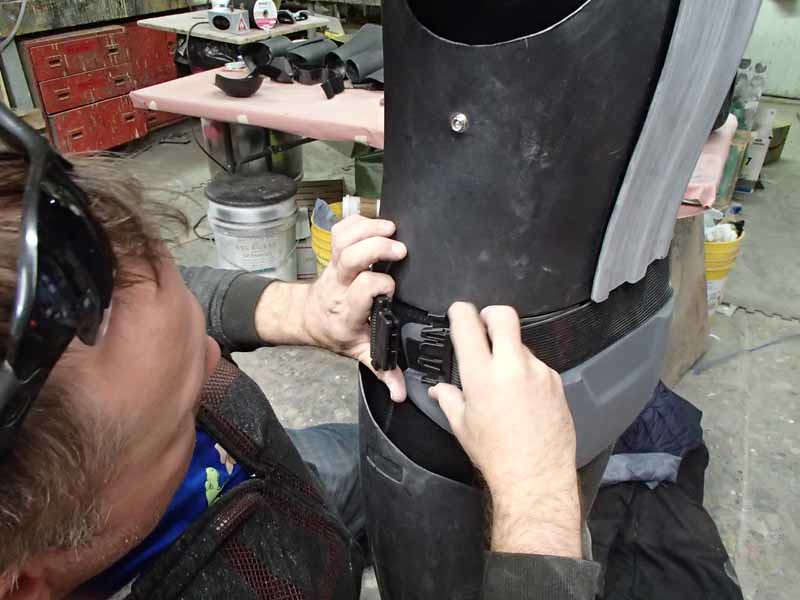
Normally I'd be nervous about counting on velcro to hold pieces like this from falling off, but then the outer belt is attached:
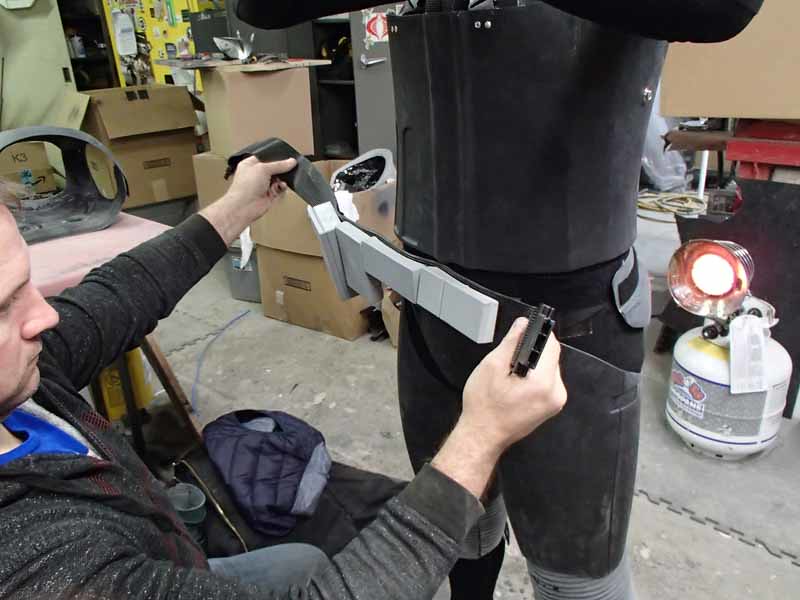
Once it's buckled on, the velcro just keeps everything from slipping:
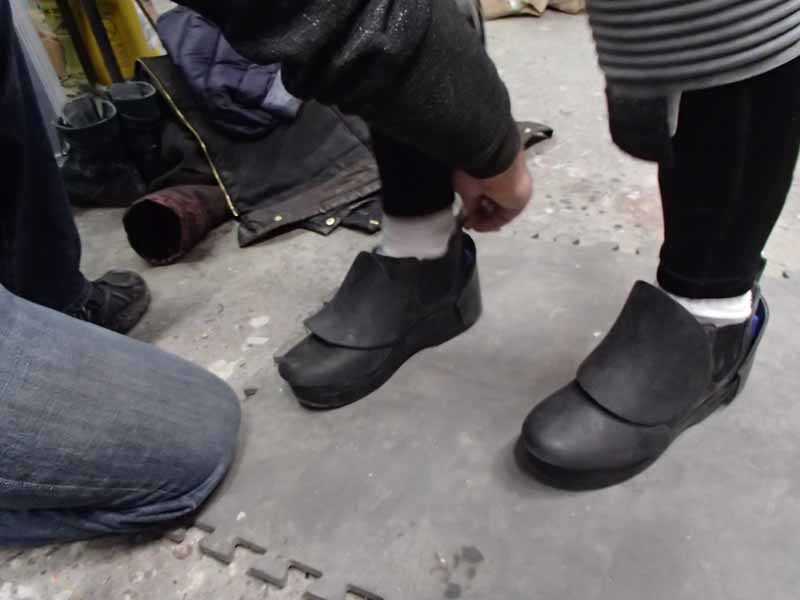
At this point, Rachel can't bend at the waist well enough to pull her own shoes on. Fortunately, they're slip-on shoes and I only have to help her toes find their way in:
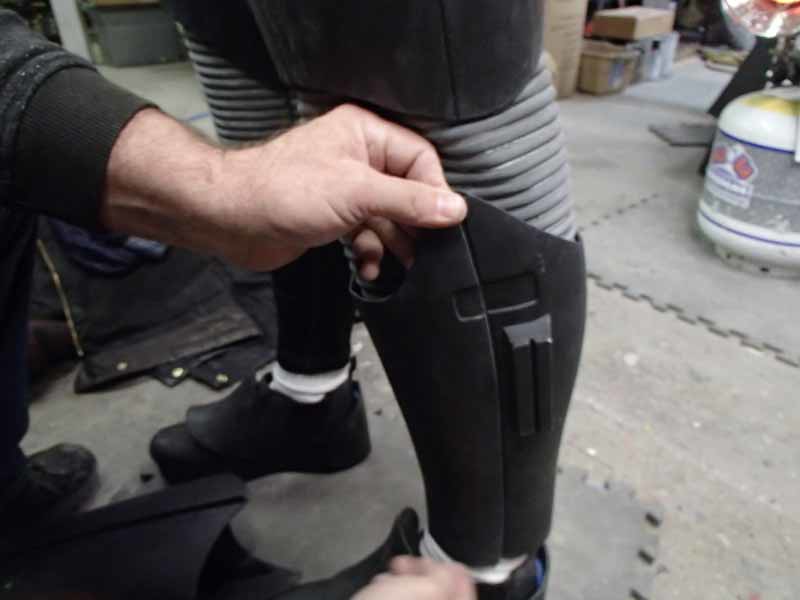
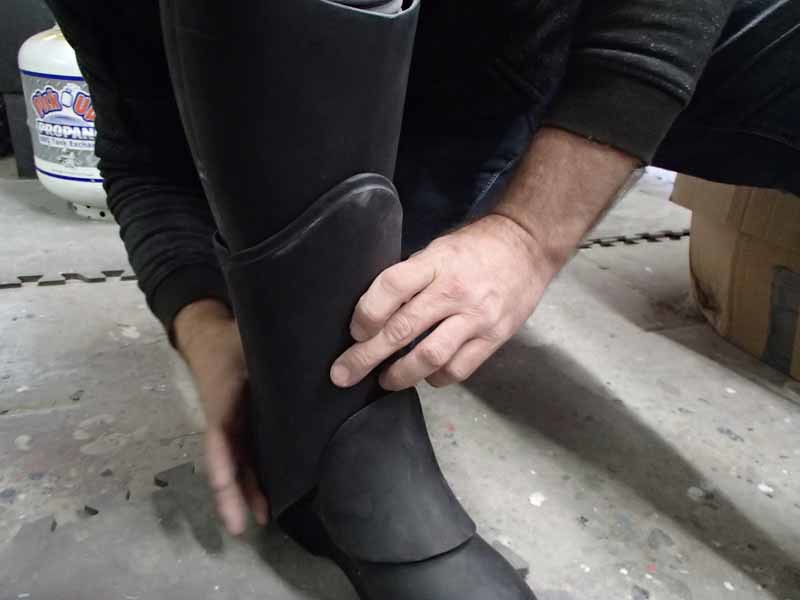
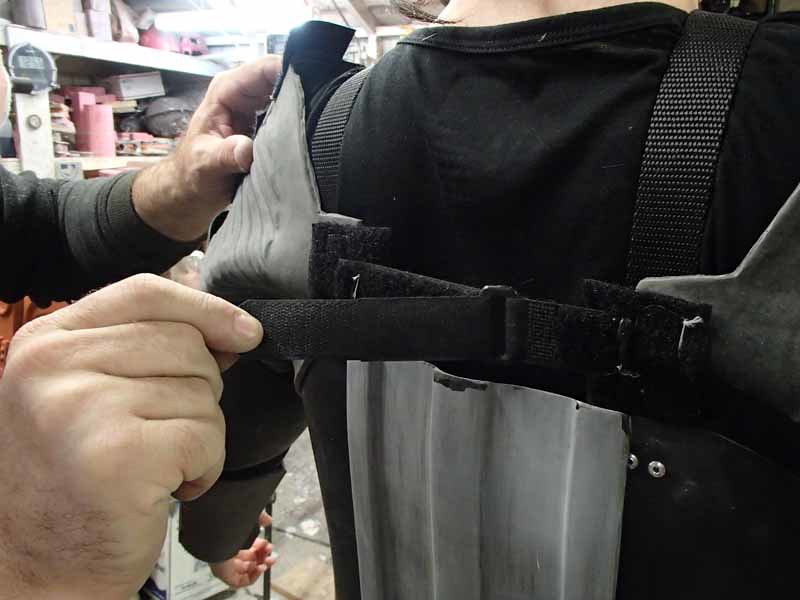
Then the shin plates are velcroed in place, attached to the rubber knee gaskets:
The lower end gets covered by the ankle plates, which are also attached to each other by velcro:
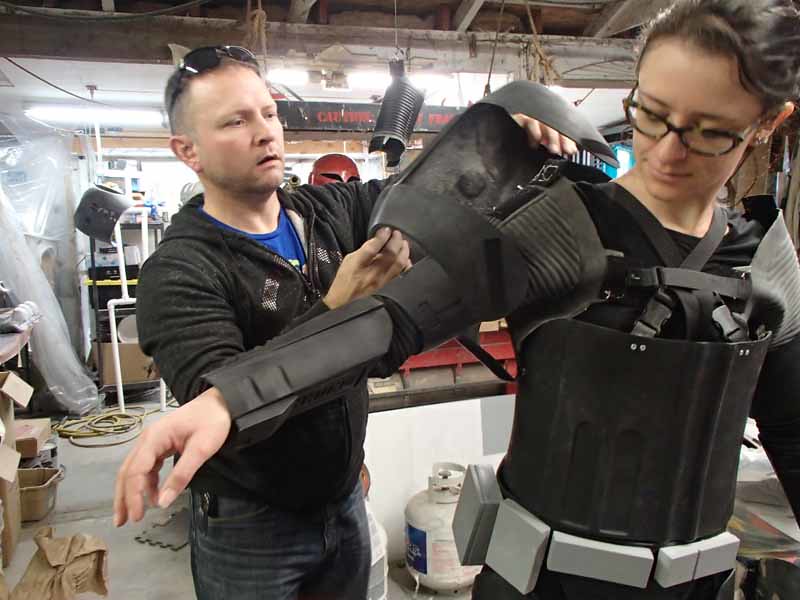
The arms are pre-assembled with all of the rubber pieces in place, so it's just a matter of slipping them on:

To keep the armpit from coming untucked, I've attached an elastic strap with a snap onto the waist armor:
Same for the other side:
Then there's a pair of straps that hold the upper ends of the shoulder gaskets and keep the rubber tucked in:
There's a matching strap on the backside:
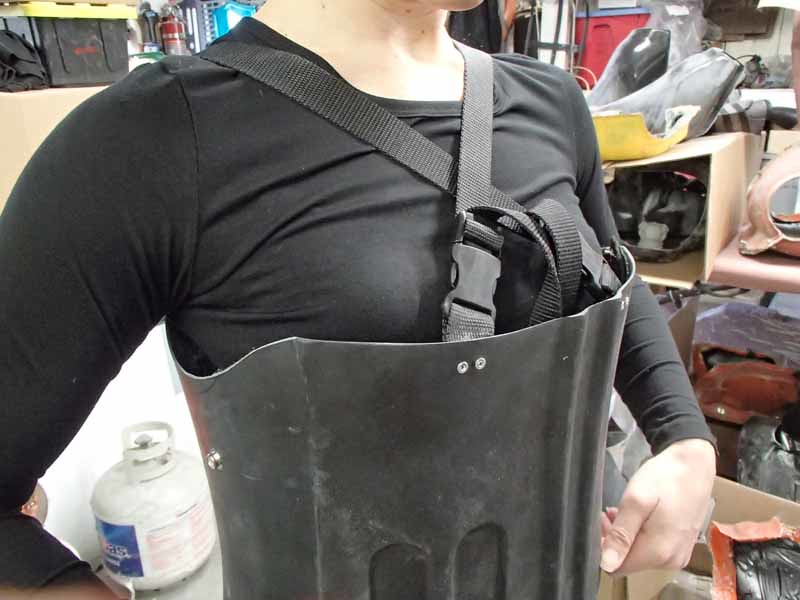
Finally, the back plate is hooked on over the shoulders:
Which neatly hides the ugly shoulder strapping arrangement:
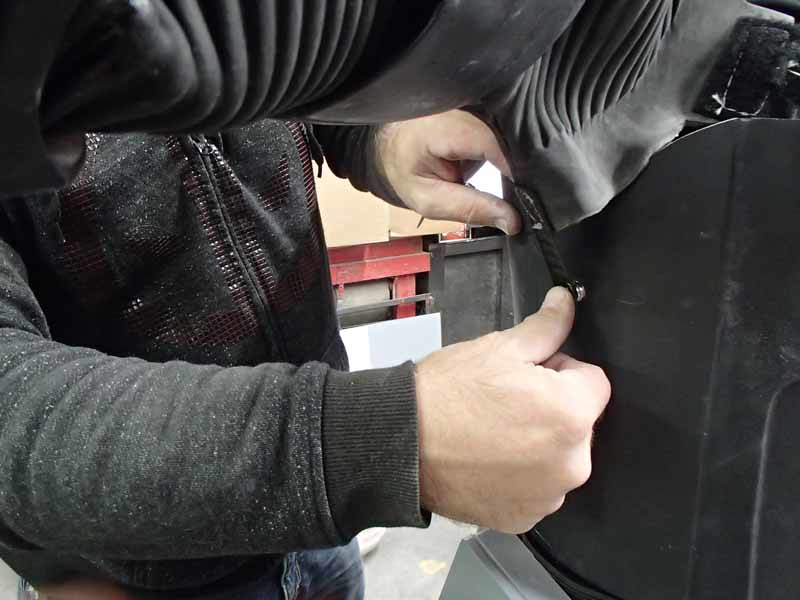
Then the shoulder armor gets attached to the backplate:
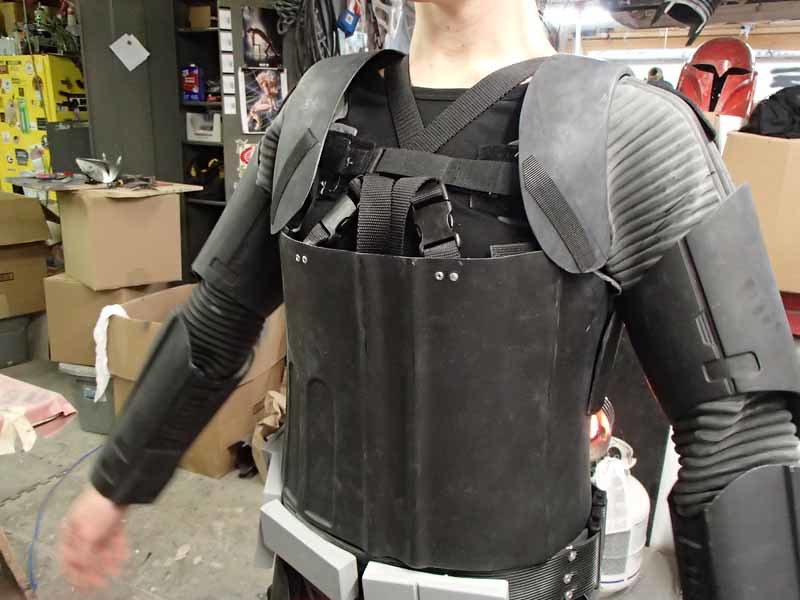
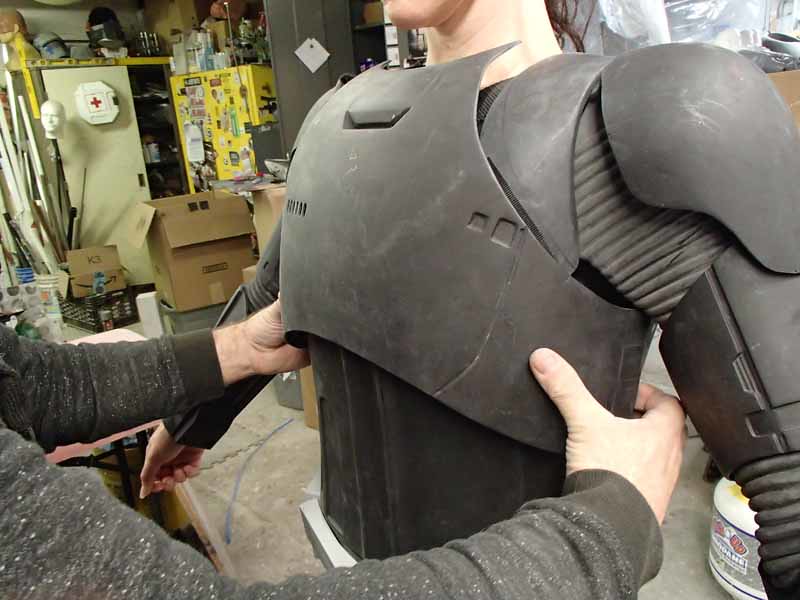
And the chest plate gets put in place with yet more velcro:
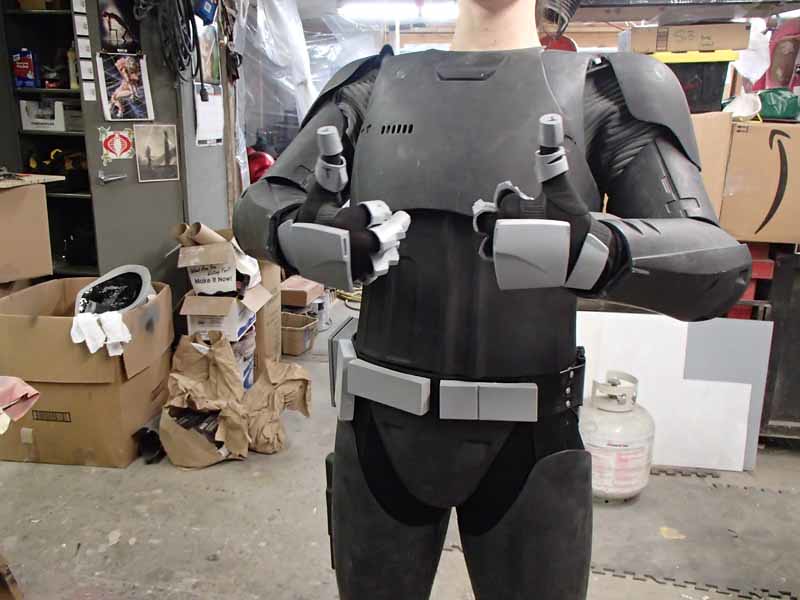
While Rachel's hands weren't quite the size I was looking for, my other occasional helper Sierra's hands were just about perfect. So we had her put on the base gloves so I could glue all of the phinger parts onto them:

they still fit Rachel's hands, albeit with larger gaps than I wanted:
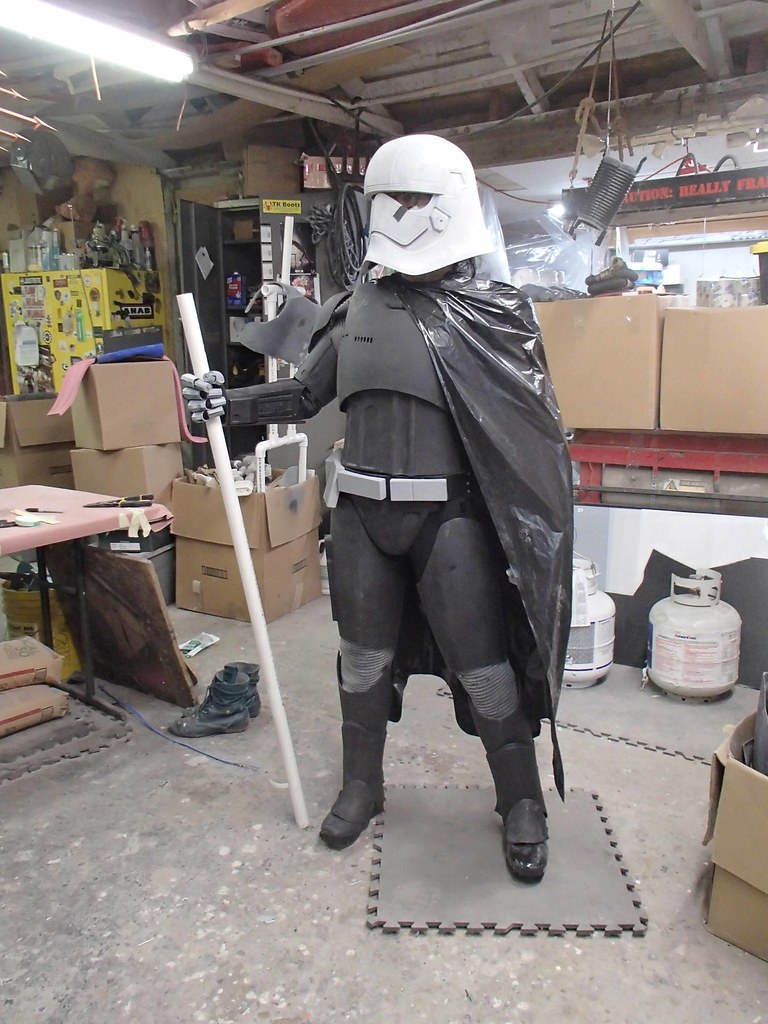
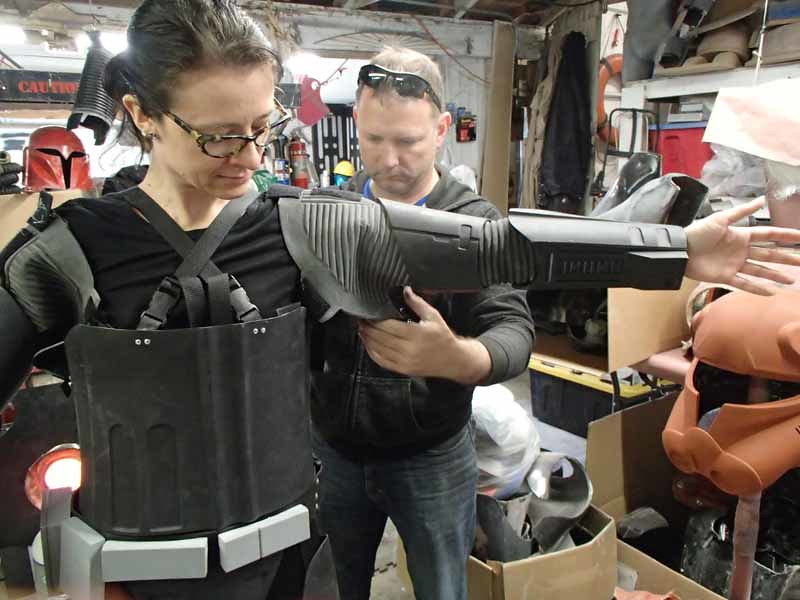
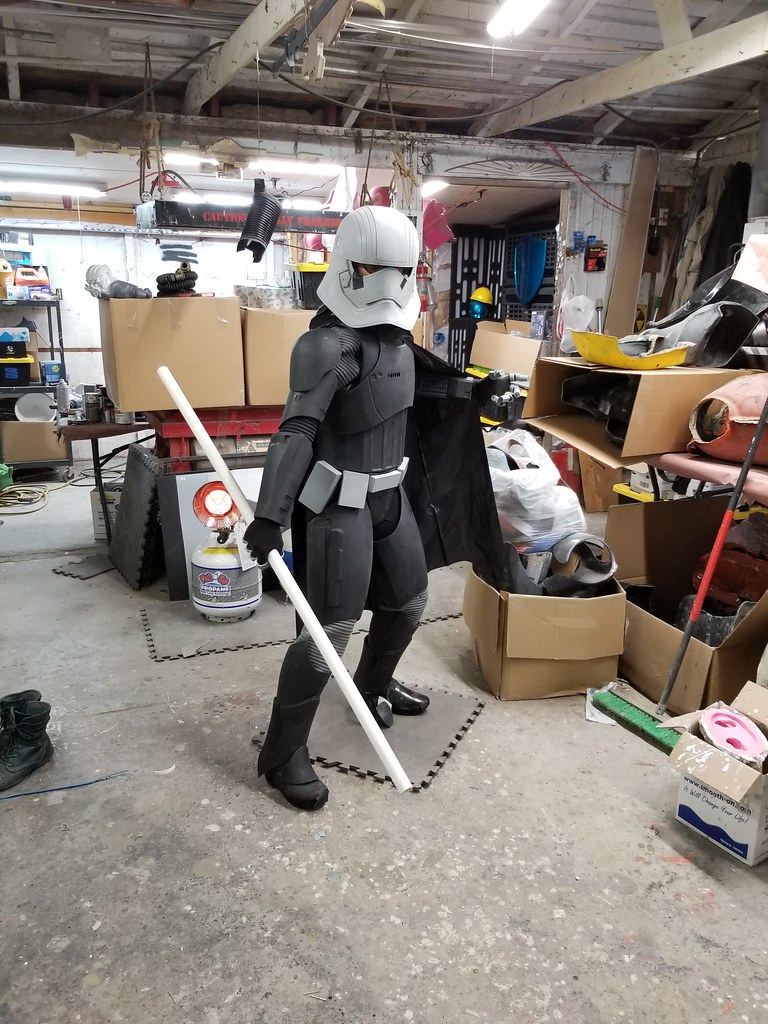
This was just a quick test for functionality, but I still had to see how she'd look with the helmet and a stand-in for the cape:
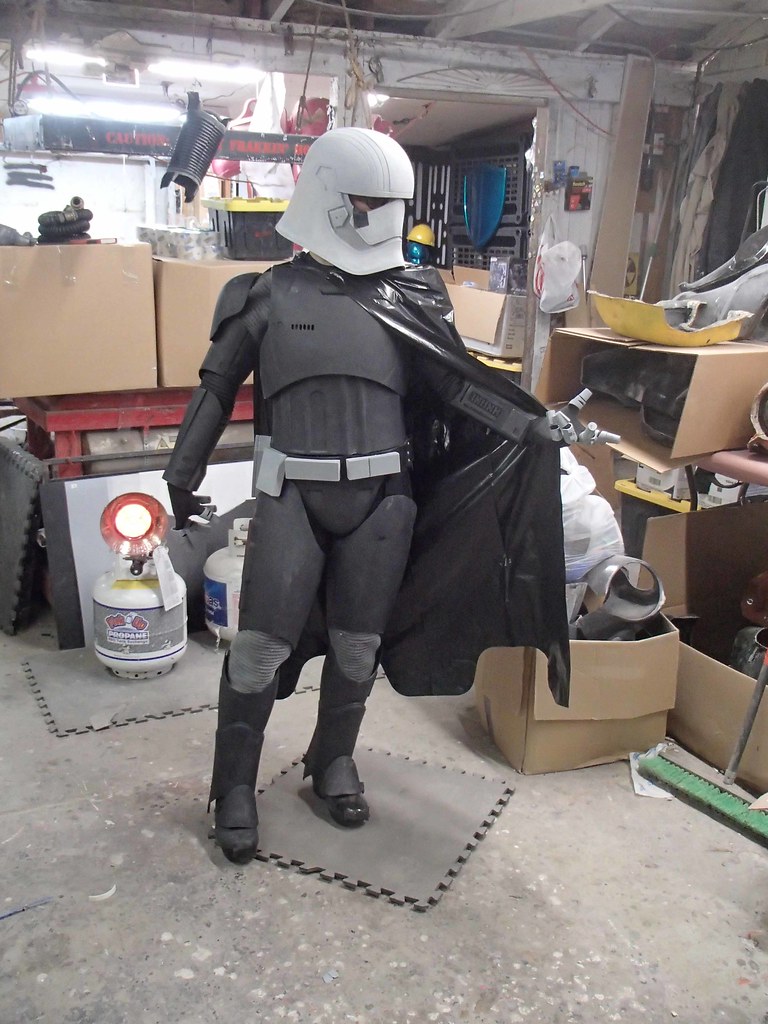
And even though this is the Episode VII version of the armor, I still wanted to see it with the Episode VII spear:
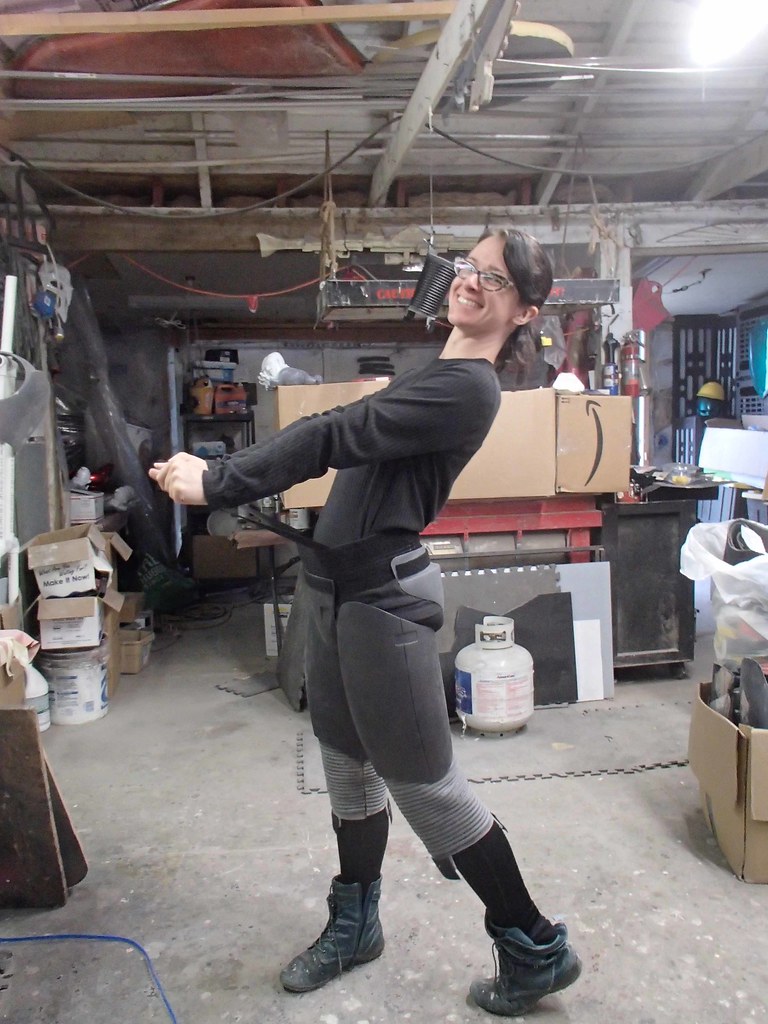
Like any armor, movement is a bit restricted, but this one still allows for some limited action poses:
Rachel was still plenty happy to get out of it afterwards:
So that's where that project stands at this point.
Tune in next time for details on how I fake it to look CHROME!
No comments:
Post a Comment