I have to admit, I haven't done much on this project since my last update. I've been distracted with working on some other projects and have mostly been off site and working out of the shop, but I did manage to finish laying up the mold sections for this side of the carapace: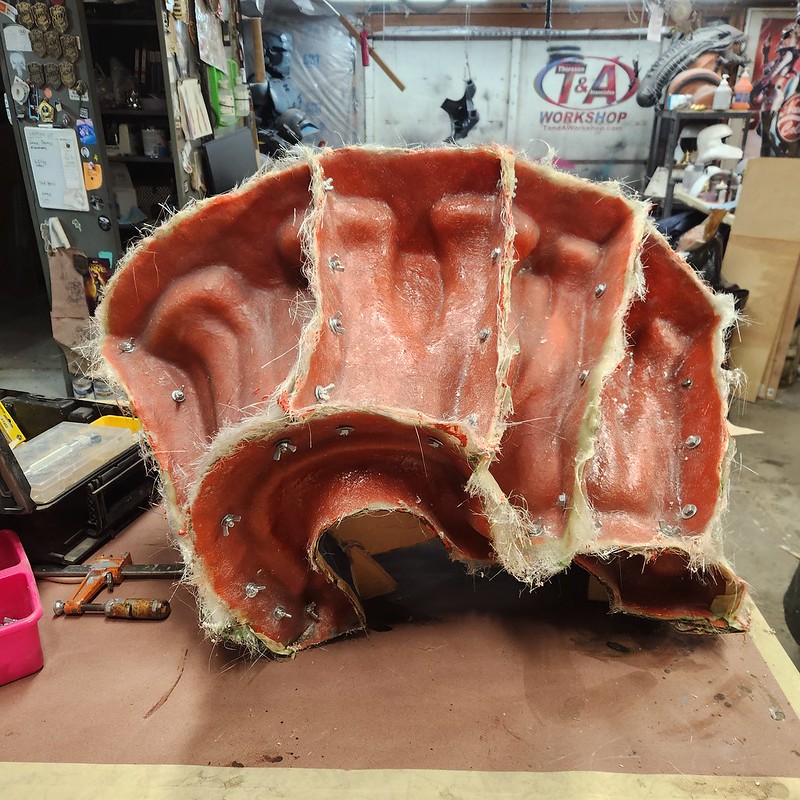

And repeated the layup for the mold sections on the right hand side:
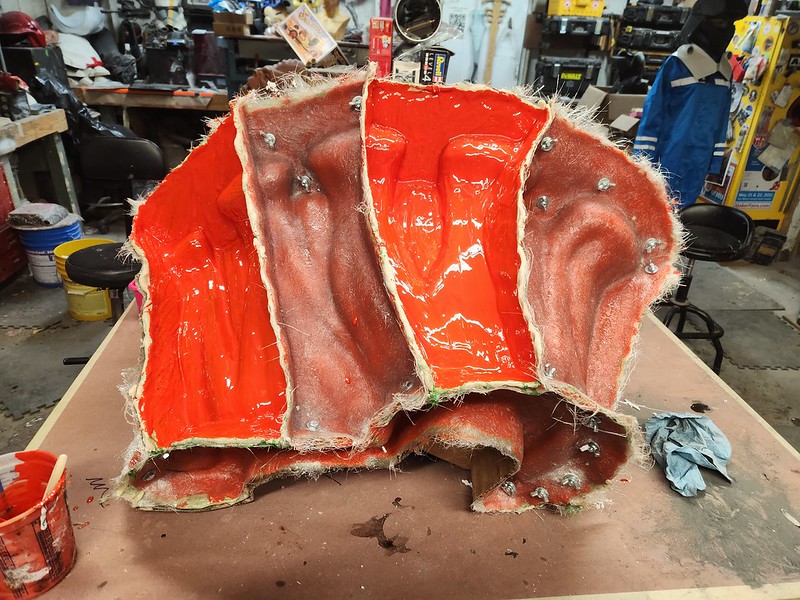
Once I was done with the layup and all of the sections had cured, it was time to demold the whole thing. I'm happy to say that here, in this moment of truth, the mold separated with no real strain and nothing had to break to take it apart:

It turns out I'm getting pretty good at this.
So in short order, I had all of the mold sections removed:
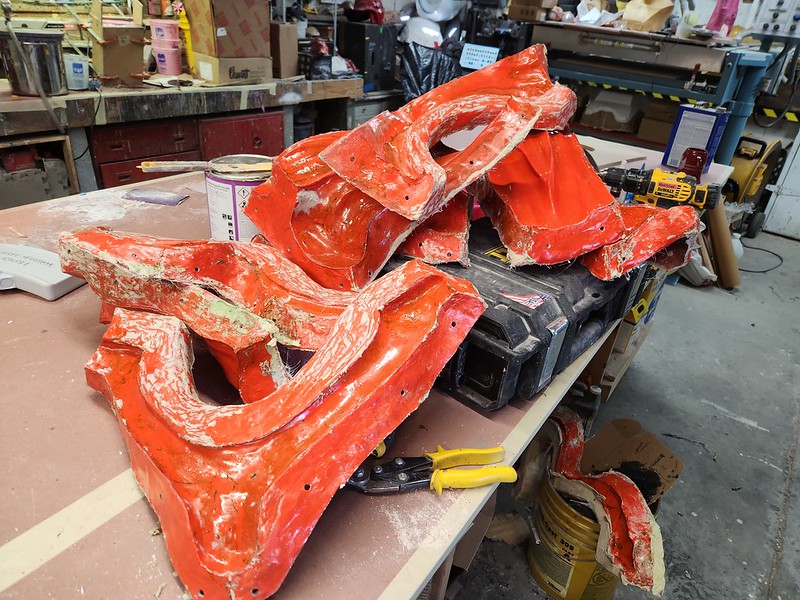
The master now serves no further purpose, but I'm still hesitant to throw it away. So for now it clings to the side of my rolling trashcan until I finally acknowledge that it's gotta go:


The master now serves no further purpose, but I'm still hesitant to throw it away. So for now it clings to the side of my rolling trashcan until I finally acknowledge that it's gotta go:

Maybe I'll turn it into an ornamental birdbath or something. But probably not.
The next step was to trim the the mold sections to get rid of the fuzzy edges, then smooth the edges out on the belt sander to eliminate any little loose splinters of fiberglass that I don't want to find later with my hands. Then the parts were taken outside so I could scrub off all of the clay and mold release and various other bits of schmoo that they'd picked up along the way.
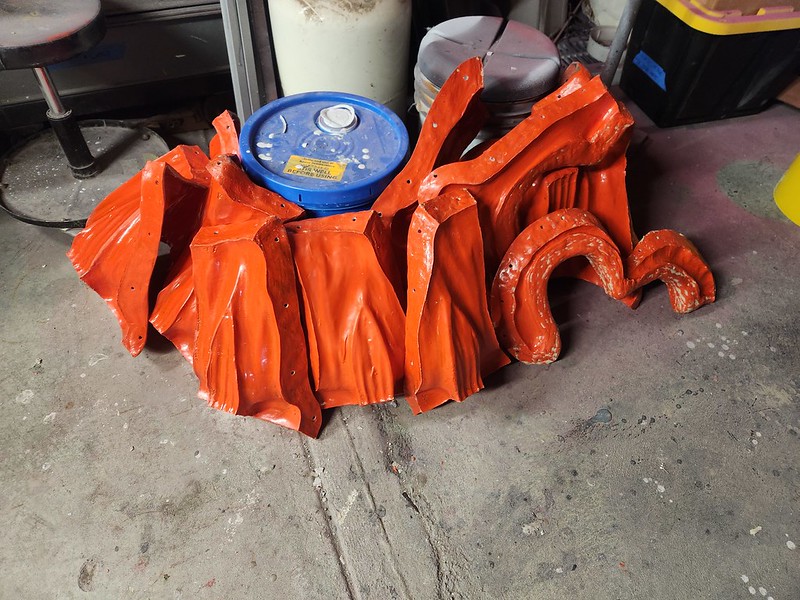
That done, they're now just leaned up against a handy bucket to dry until I get a minute (or a couple of hours) to polish them in preparation for laying up my first copy:
Once I have the first carapace out of the molds, I'll finalize the shape of the chest piece so I can be sure they two parts will connect to each other with a perfect snap fit to make it easy to get the piece on and off without having to add any extra hardware or other fasteners. That's the goal anyway.
The next step was to trim the the mold sections to get rid of the fuzzy edges, then smooth the edges out on the belt sander to eliminate any little loose splinters of fiberglass that I don't want to find later with my hands. Then the parts were taken outside so I could scrub off all of the clay and mold release and various other bits of schmoo that they'd picked up along the way.
That done, they're now just leaned up against a handy bucket to dry until I get a minute (or a couple of hours) to polish them in preparation for laying up my first copy:

Once I have the first carapace out of the molds, I'll finalize the shape of the chest piece so I can be sure they two parts will connect to each other with a perfect snap fit to make it easy to get the piece on and off without having to add any extra hardware or other fasteners. That's the goal anyway.
In other news, I've decided that the digitigrade stilts I'd already made were going to be way too bulky to fit under the somewhat svelte leg armor of the genestealer. Fortunately, I'd already been working on a much simpler version of digitigrade feet for my friend Rachel.
Unfortunately, each pair has to be custom-made to fit only one wearer. The process starts with slathering the lower legs with lotion:
Unfortunately, each pair has to be custom-made to fit only one wearer. The process starts with slathering the lower legs with lotion:
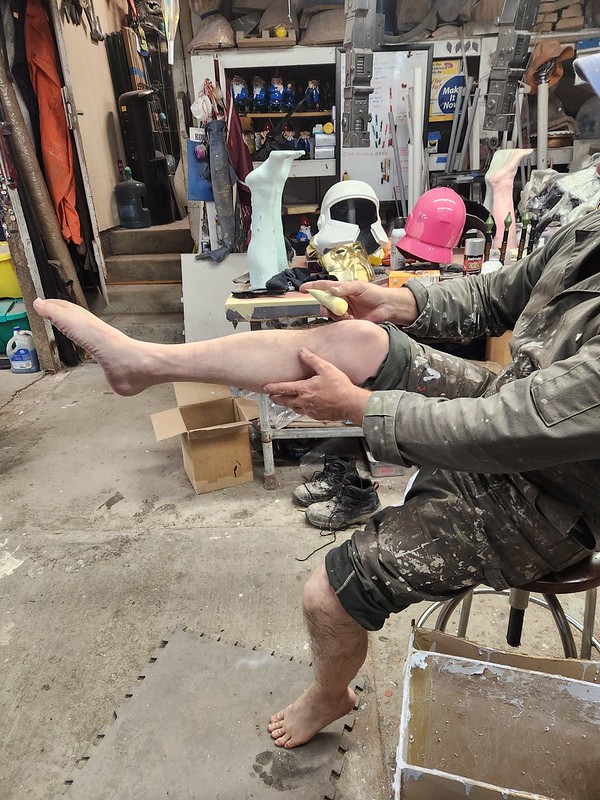
Then standing in a purpose-built box full of lifecasting alginate:

For a while:

Once the alginate has set, the feet have to be pulled out. Hilarity ensues:
Then, because the alginate shrinks as it dries out, the cavity left behind by the legs has to be filled with resin as quickly as possible in order to prevent distortion. So, with no time to stop and put my shoes on, I rushed to mix the resin:


Then, just like that, I've got new legs:
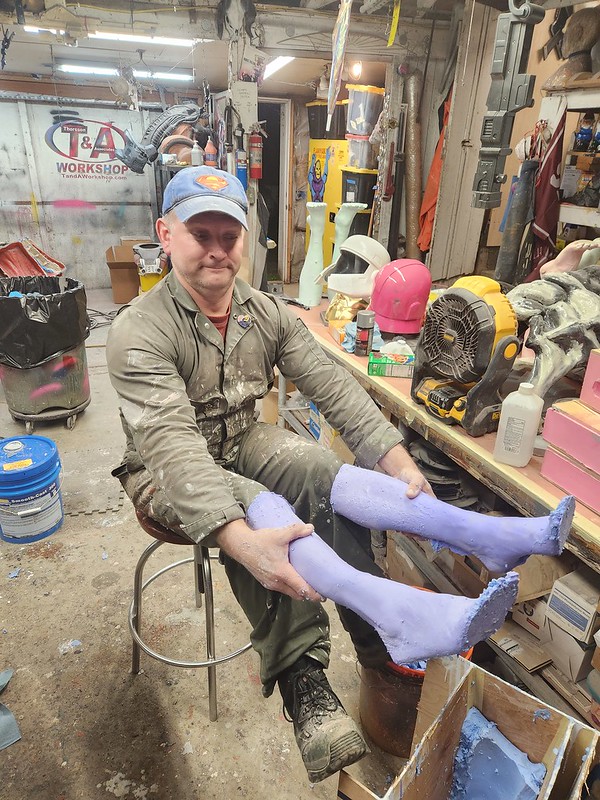
Namaste:
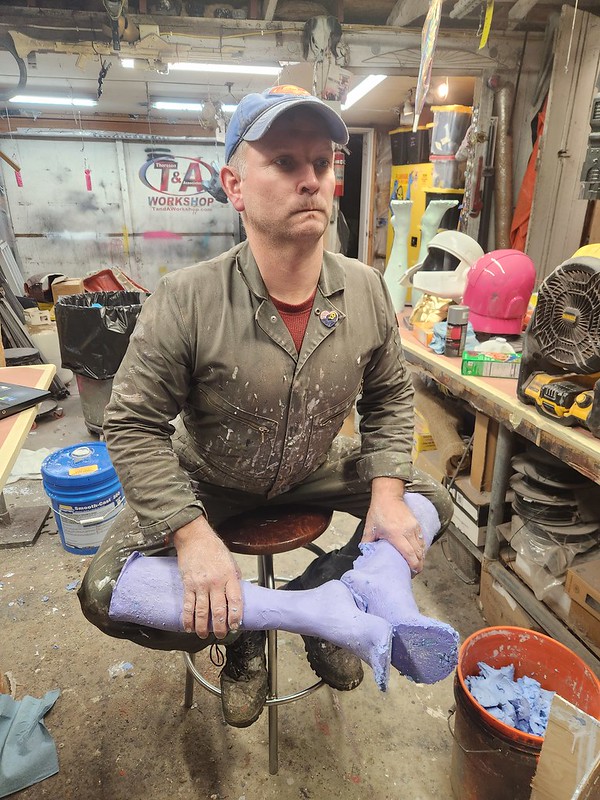
We did the same thing to Jeff:
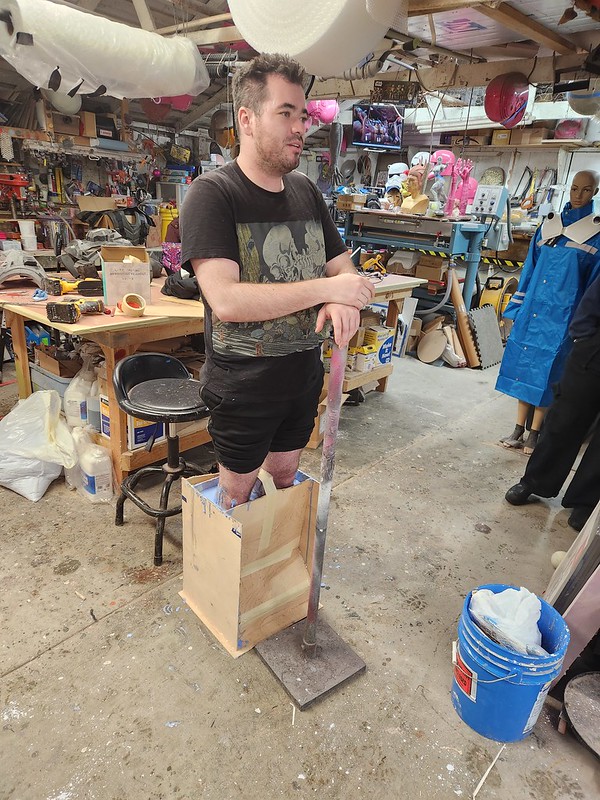
So now I have a variety of legs:

In an economy where everything costs an arm and a leg, it's basically like I'm printing money...
Ahem.
So anyway, these will be wrapped in a layer of clay to give us an offset to allow for padding later. Then they'll be wrapped in fiberglass and a steel strut will be glassed onto the bottom of the foot:

Once they are trimmed and cut properly they'll be fitted with straps, padded, and then they're ready to go. Here's Rachel learning to walk in the pair we made for her:

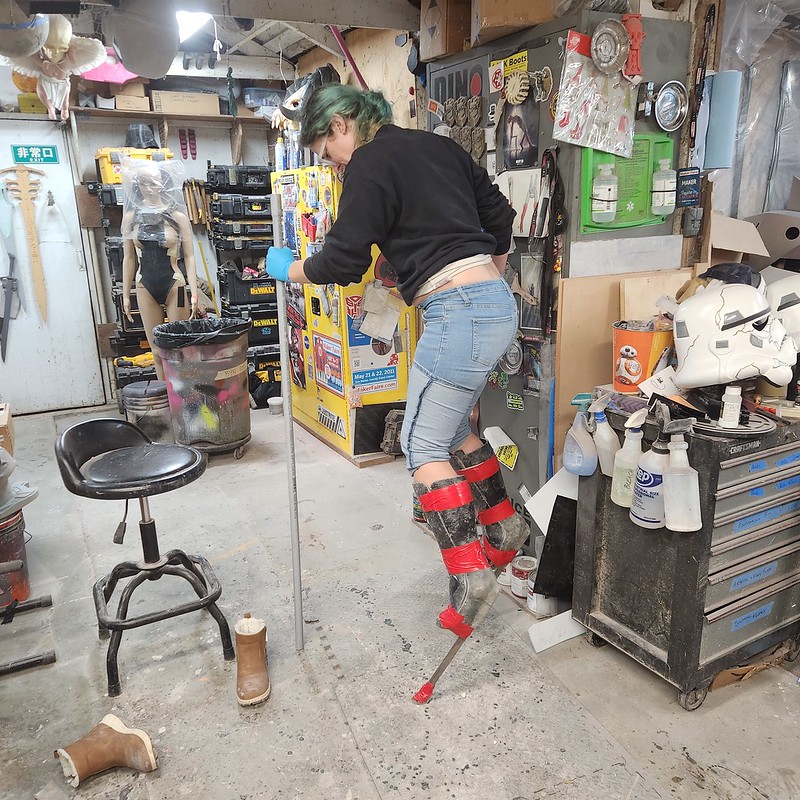
She say's they're not particularly uncomfortable, so once she learns how to balance with these new extra-long feet and her ankles braced in place, she'll be good to go.
I'll be sure to post a video clip of Jeff falling over once he tries his on.
I'll be sure to post a video clip of Jeff falling over once he tries his on.
Meanwhile, this guy still sits on the bench in the middle of the room:

I can't help but feel like he's taunting me...
Stay tuned for next week when I dust off the CNC machines and finally get started on the arm parts.

I love this project, can't wait to see it finished.
ReplyDeleteAdam