
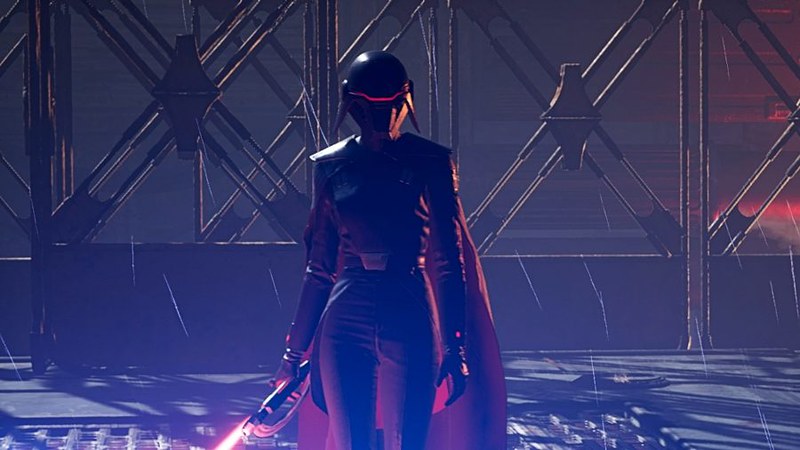
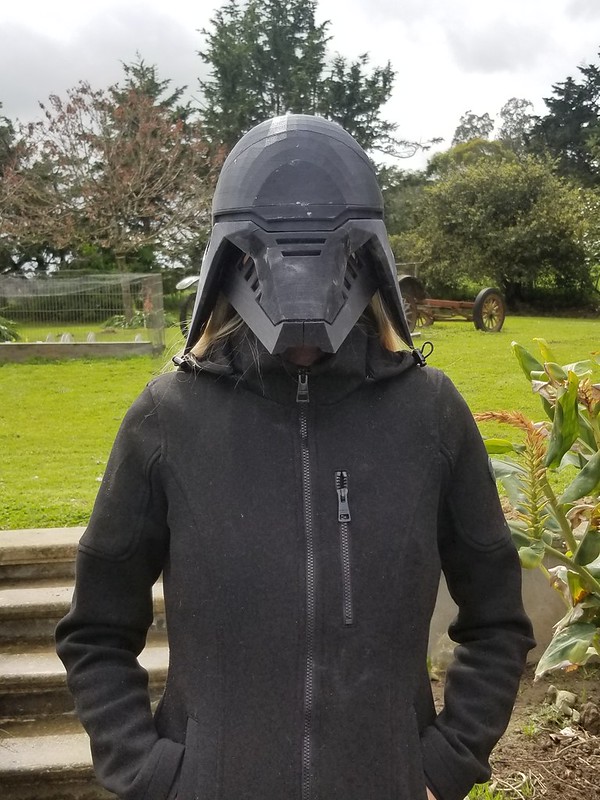
That's the Second Sister, one of the Imperial Inquisitors on a mission to hunt down the remaining Jedi sometime between Order 66 and the beginning of A New Hope.
Because I suck at gaming, she's been repeatedly kicking my butt in a lightsaber duel that is likely going to take me days to figure out. But that hasn't stopped me from wanting to bring this character to life. Originally was just going to shop around for a nice, smooth 3D model so I could print the helmet and call it done, but I never came across one that I was happy with. Instead, I decided to start with the in-game 3D model which someone was good enough to rip and post online. Here it is imported into Netfabb:
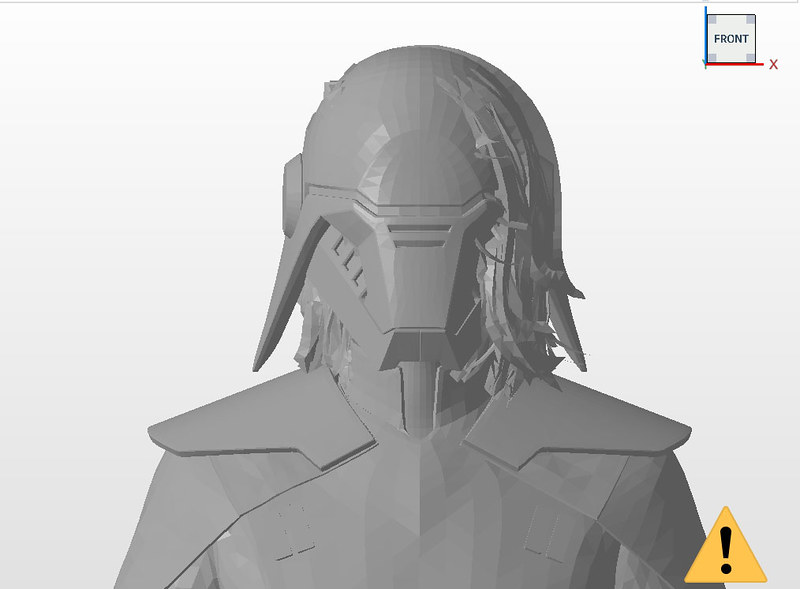
At first glance, the model is a bit of a mess. That's because it includes everything. Soft parts, body parts. Even her hair, eyes, and teeth are mixed in there. After deleting the geometry I didn't need, here's what the hard parts looked like:
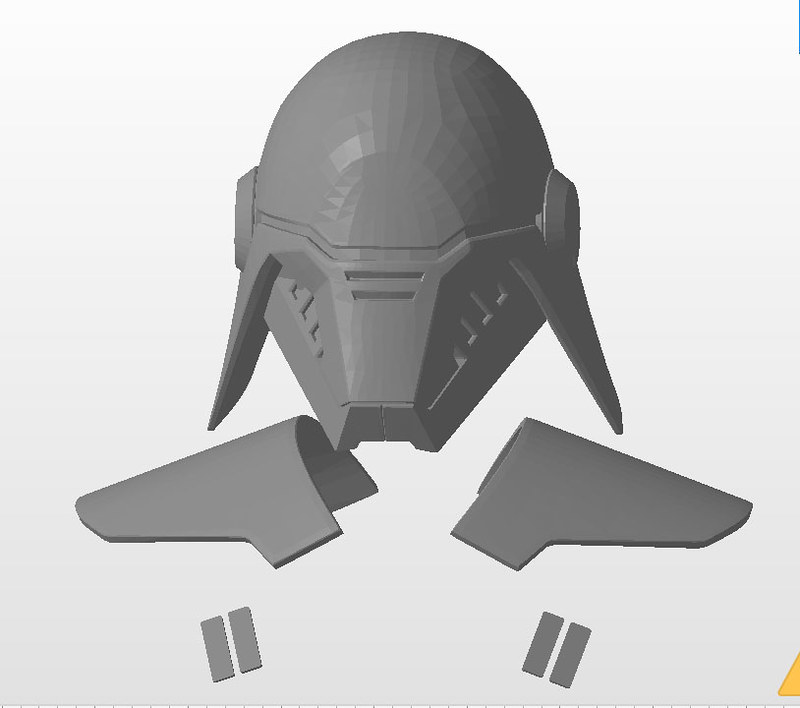
Much better.
Here are the hard parts imported into Armorsmith for a digital test fit on a slightly taller than average female figure:

If you've never heard of Armorsmith, it's a tremendously helpful tool to do virtual test fitting of your costumes before you commit a bunch of time to making something the wrong size. You can get more information and check out the software here: https://www.thearmoredgarage.com/
I usually have at least a dozen random costume and prop projects running simultaneously. While I am always pretty gung ho about them when I start, sometimes I lose steam and things find their way to the backburner or get filed away in storage until I get back to them "someday." Since I know this about me, I've gotten into the habit of starting armored character projects with the helmet. That way, if that's all I end up getting done at least I've got a piece that will look cool hanging on the wall.*
Taking a couple of slices out of the helmet model, I printed a quick and dirty size tester. Here's Dr. Girlfriend trying it on:

It fit her 21.5" head with room to spare, but it was a bit snug on my 23.5" head:

Satisfied that this was a good size for her (and potentially an adequate size for me) I went ahead and printed all of the helmet parts:
At a glance, it looked good:
But it turned out to be really snug in the cheek area:
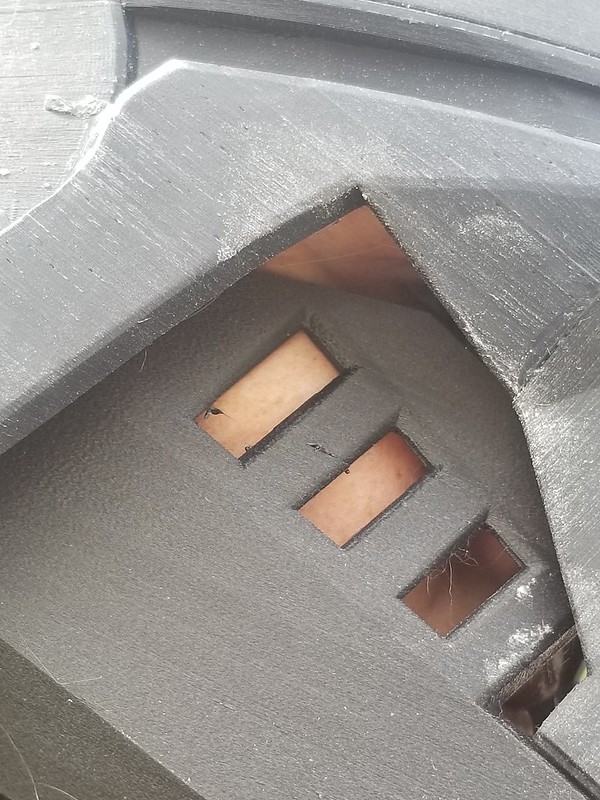
Looking back at a full-color render of the in-game model, it was even worse for the on-screen character:

That bit of pallid, sickly skin tone is her cheekbone sticking out through the geometry of the helmet. So I had to make it a tiny bit bigger. I also changed the angle of the cheek vent area to make the cheek indents a bit shallower. The larger modified model is almost indistinguishable from the original test:
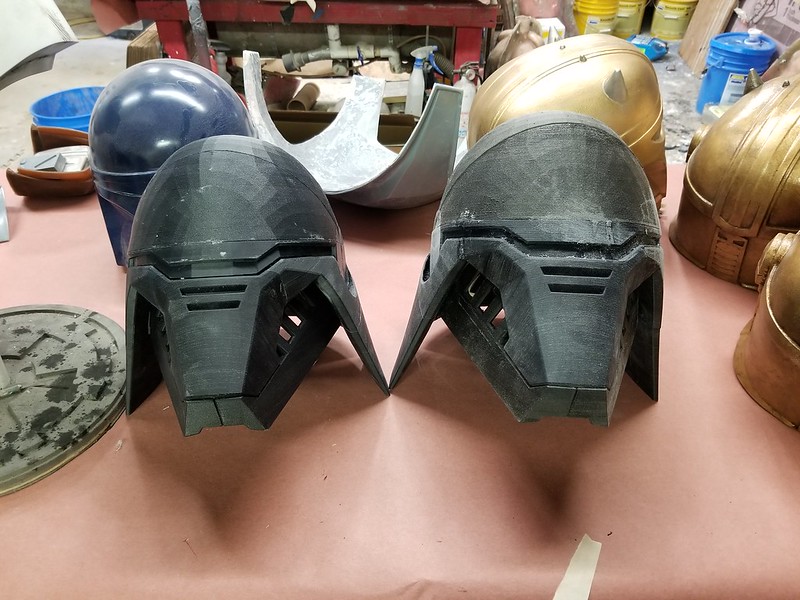
When Dr. Girlfriend tried it on, it still looked good:

So I got to work smoothing it out. Step one was rough sanding the whole thing to knock the corners off of the low-poly print:
Then a layer of Bondo and some more sanding:
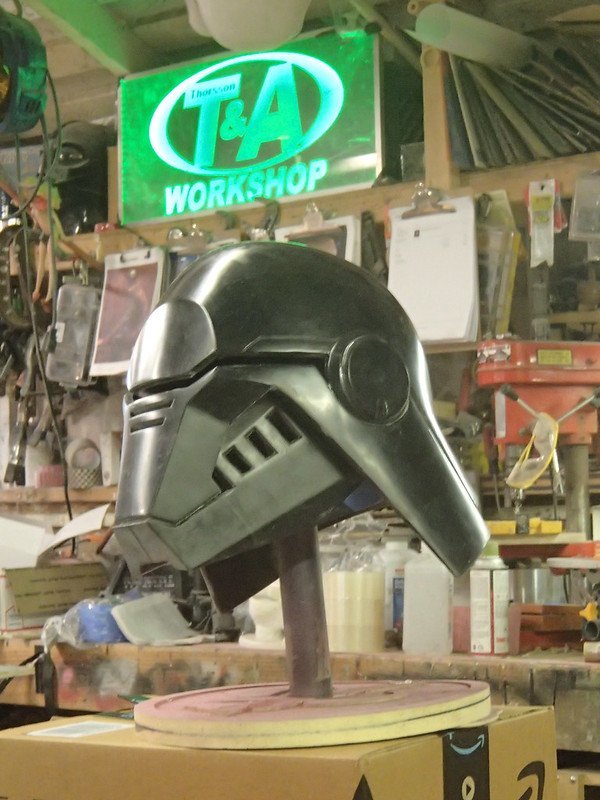
At the end of the day it looked like so:

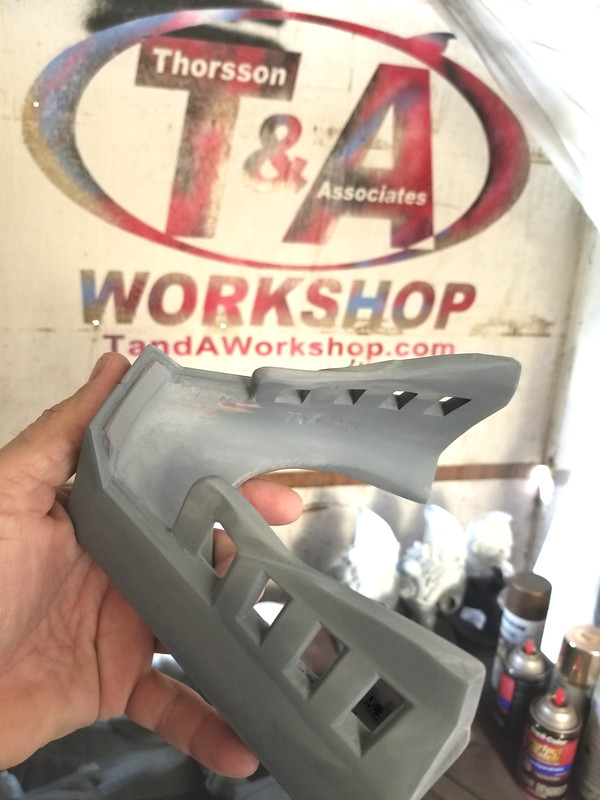
The next day I printed the shoulders, belt buckle, ears, and rank bars:

I also printed the inner skirt section:

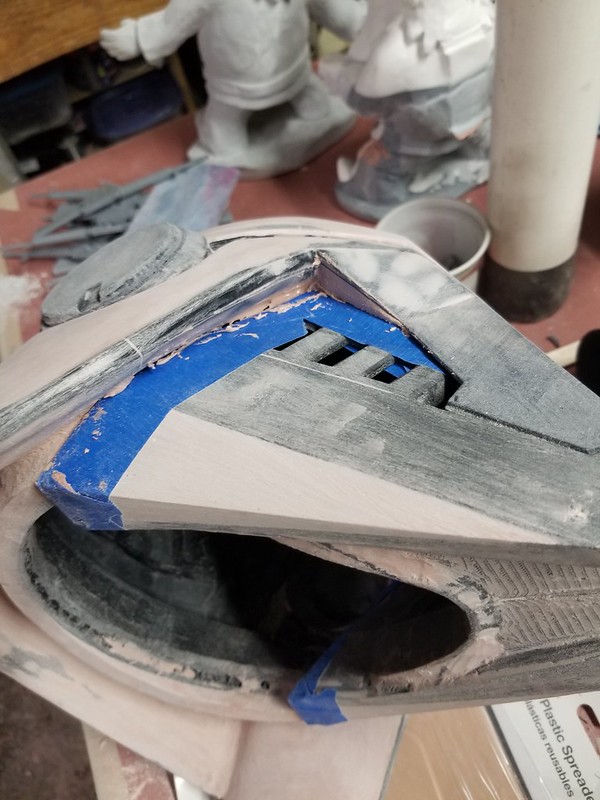
In order to fit a wider variety of sizes, I decided to widen the neck opening a bit:
Here's the helmet after the second bodyshop session:
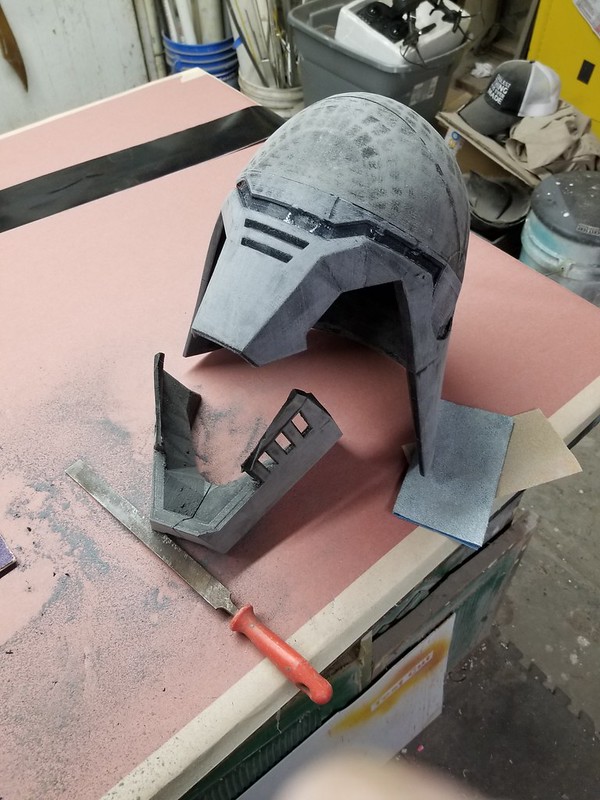
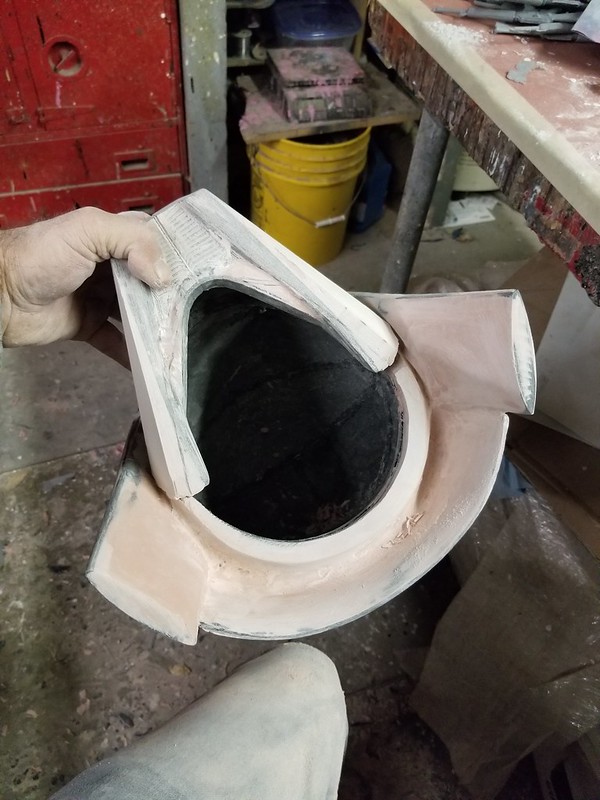
In order to get someone's head in through the tiny neck hole, I've decided to mold and cast the jaw separately so it can be removable. To ensure the two parts mate up properly, I covered the end of the jaw in masking tape and a thin coat of vaseline. Then piled up some Bondo on the edge of the inner skirt and pressed the jaw into place. When the Bondo had mostly cured, I roughed out the shape with a knife:

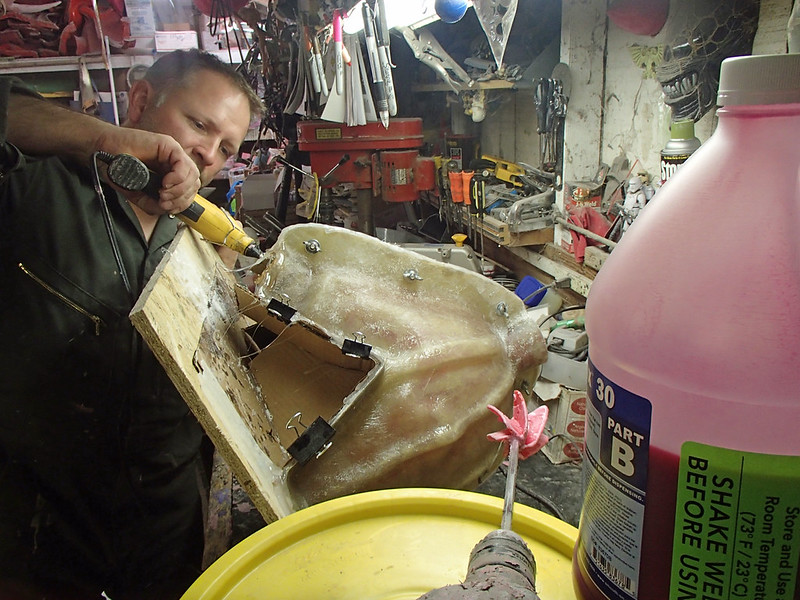
To make the jaw thinner (and more importanly, lighter) I ground out most of the inner geometry with sanding drum on my Dremel:
Then did a quick and dirty job of fairing it out with some more Bondo and 60-grit sandpaper:

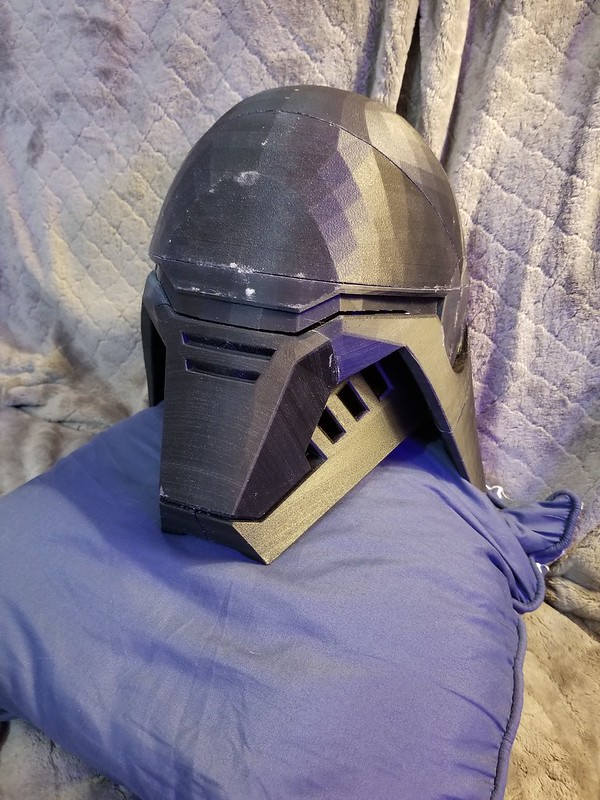
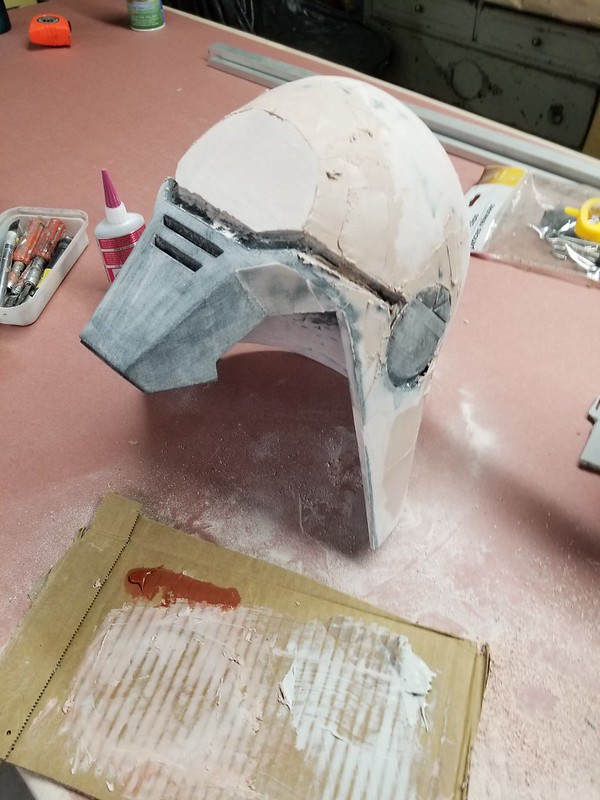
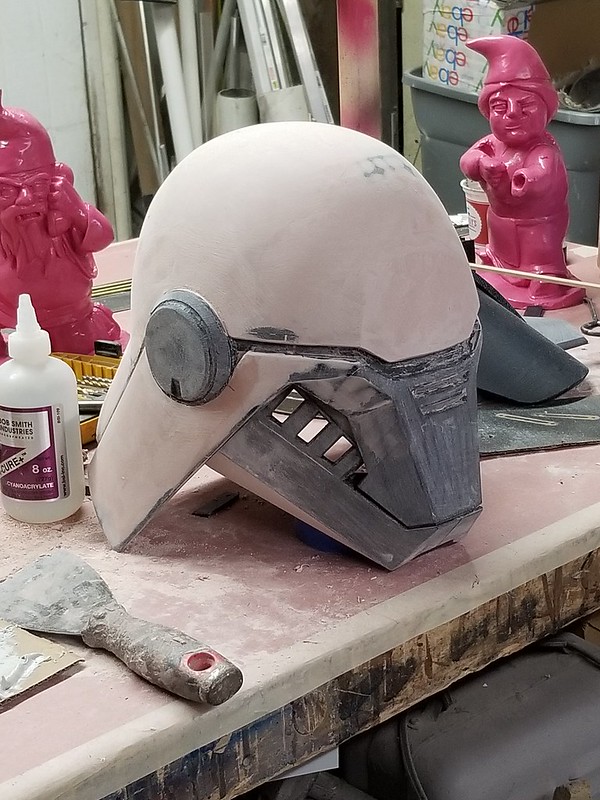
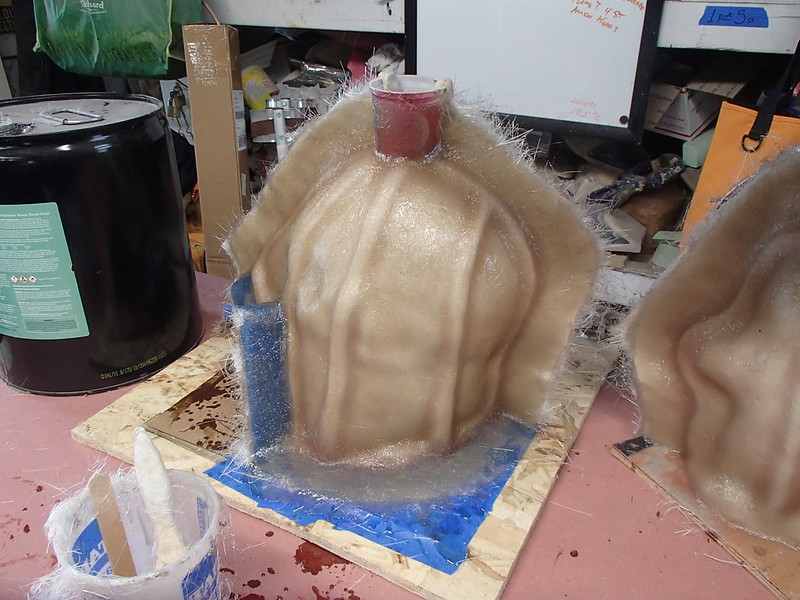
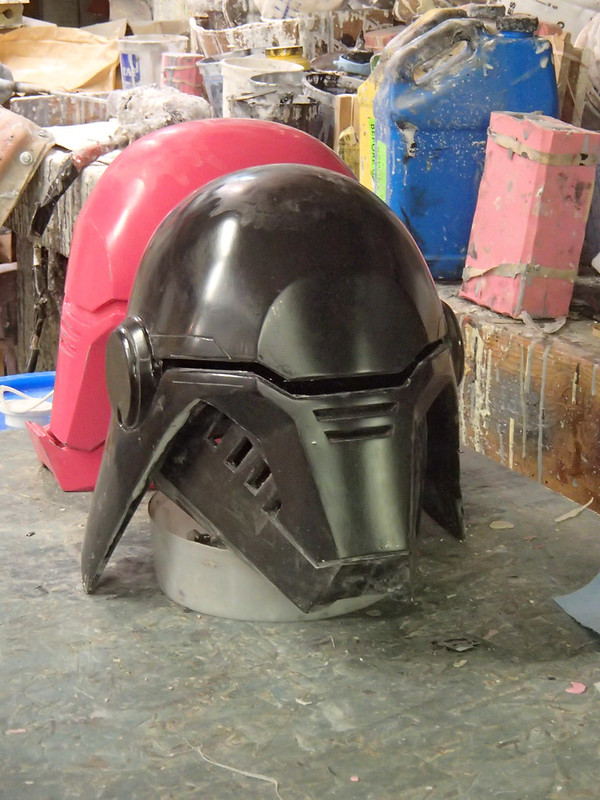
At the end of the third bodyshop session, I gave the helmet dome a coat of gray primer to see where I stand:
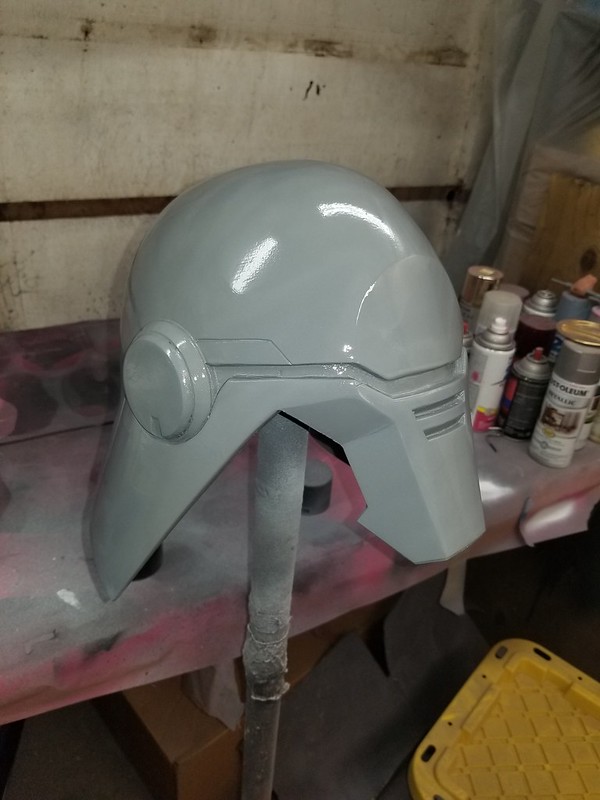
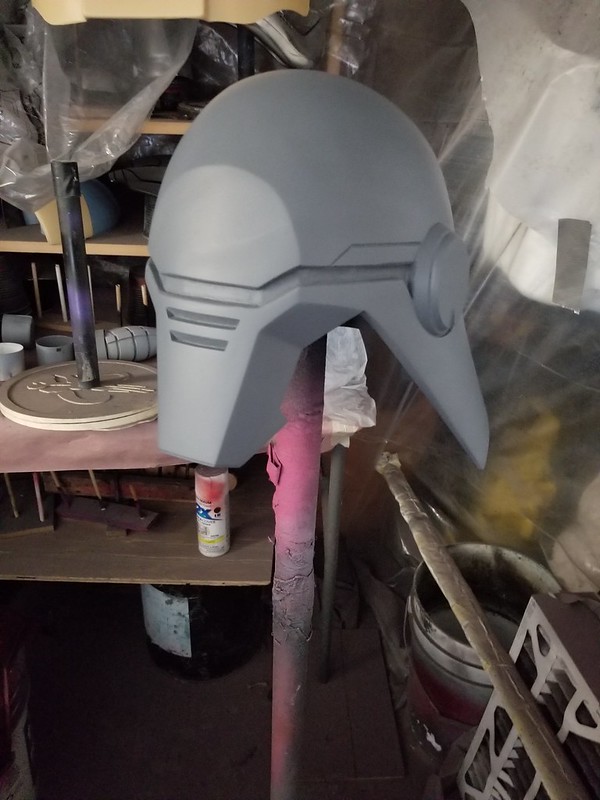
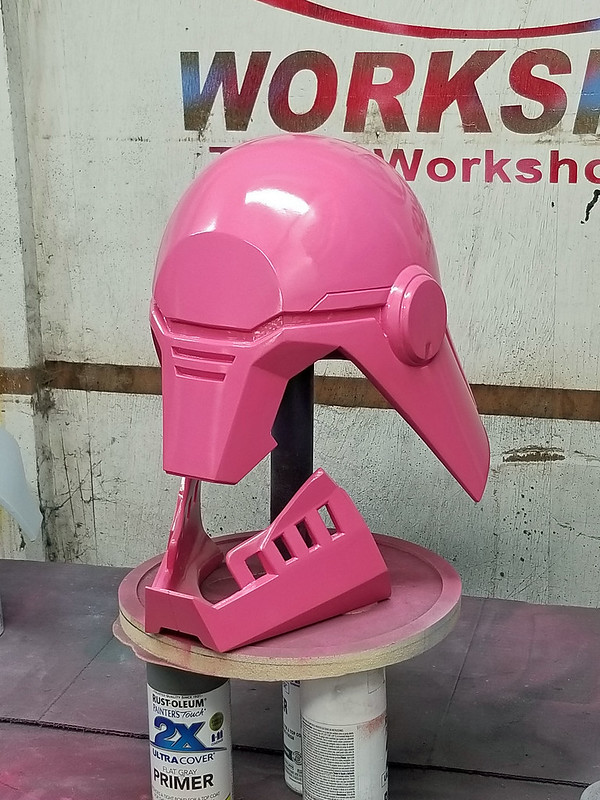
Happy that it was smooth enough to proceed, I went ahead and gave it my customary gloss coat of lightish red paint:


Moldmaking
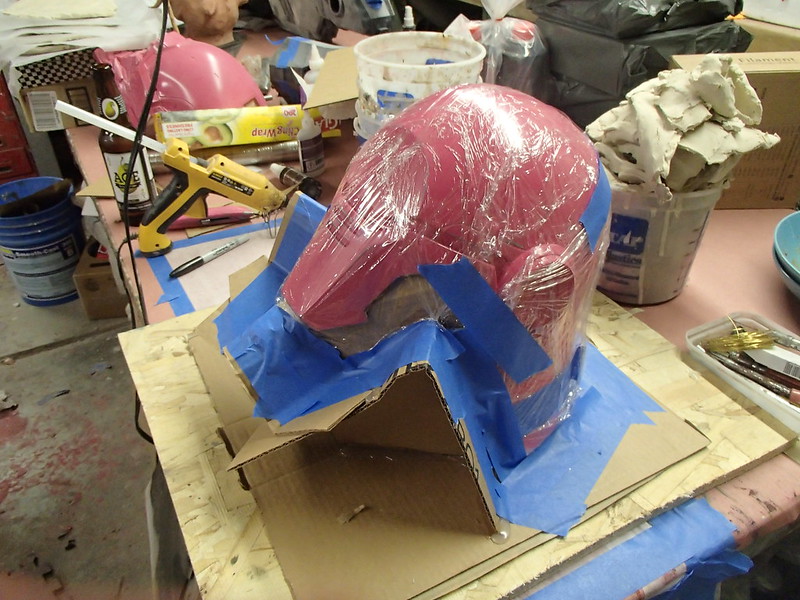
I started by mounting the helmet to some cardboard scraps:

Then wrapped it in plastic wrap:
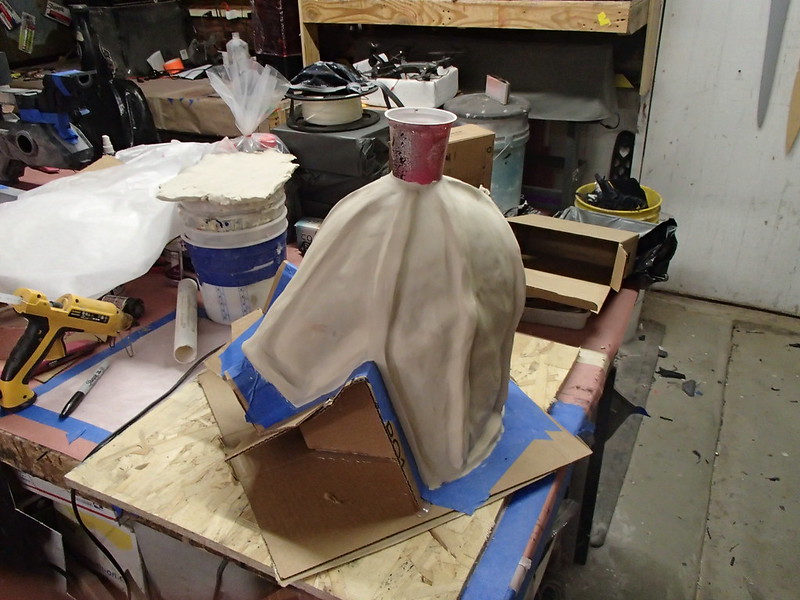
The surface was covered with a 3/8" layer of oil-based
clay with ridges here and there to act as registration keys and allow bubbles
to escape. A small cup was positioned at the highest point to form a funnel:
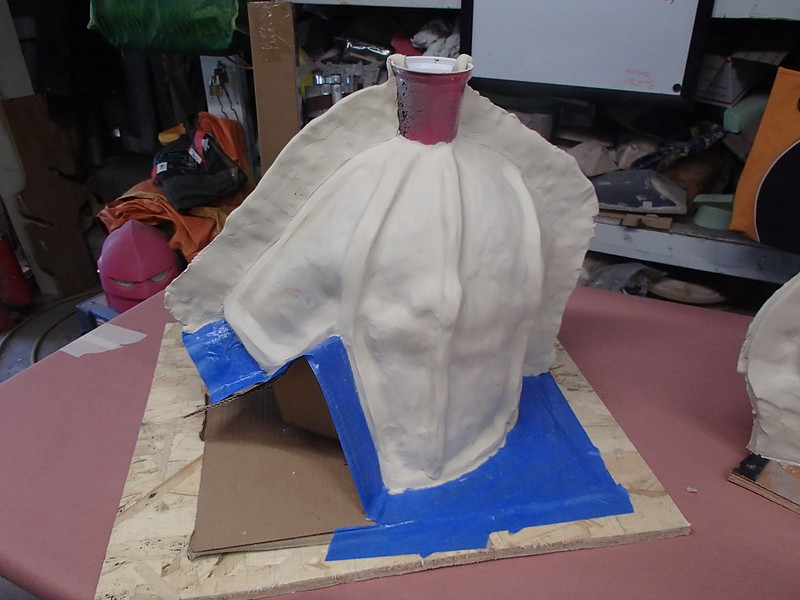
Then I added a mold flange:
And laid up the first half of the fiberglass mothermold:
Once the first half was cured, I removed the clay parting
wall and prepped the other side for layup:

By the end of the day, I was pretty exhausted but I'd just finished the second side of the mothermold:

Once the glass had cured, I drilled a series of bolt holes along the flange:

Once the glass had cured, I drilled a series of bolt holes along the flange:
Then, using a pair of regular screwdrivers and exceptional, masculine brawn, I separated the two halves of the mothermold:
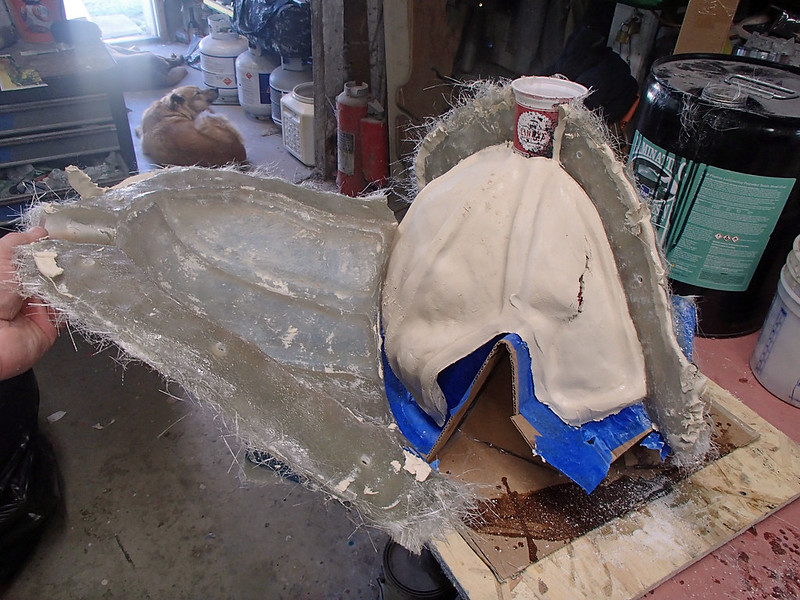
With the mothermold set aside I removed the clay, taking care not to disturb the cardboard glued to the bottom of the helmet:

Then I clayed up the lower end of the helmet and added registration dimples all the way around:

With the helmet thus ready for a rubber jacket, I used hot glue to reseal the mothermold in place,
In order to ensure expensive liquid silicone wouldn't drool out and end up all over the place, I used probably too much hot glue on all of the edges:

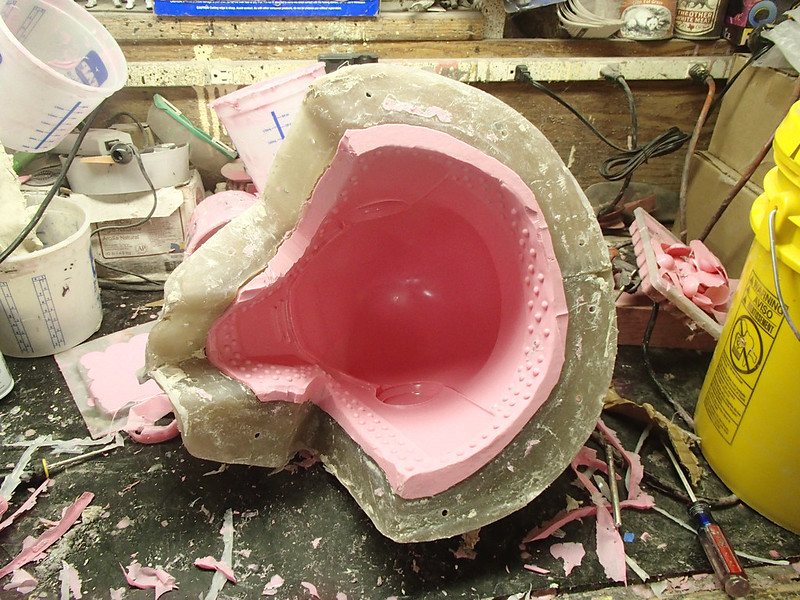
Once I was convinced it was all sealed, I mixed and poured in the silicone. This creates a rubber jacket with a nice uniform thickness and no wasted rubber, but there are tons of things that can go wrong in the process.
With the mothermold set aside I removed the clay, taking care not to disturb the cardboard glued to the bottom of the helmet:
Then I clayed up the lower end of the helmet and added registration dimples all the way around:
With the helmet thus ready for a rubber jacket, I used hot glue to reseal the mothermold in place,
In order to ensure expensive liquid silicone wouldn't drool out and end up all over the place, I used probably too much hot glue on all of the edges:
Once I was convinced it was all sealed, I mixed and poured in the silicone. This creates a rubber jacket with a nice uniform thickness and no wasted rubber, but there are tons of things that can go wrong in the process.

In this case, nothing went wrong and the first portion of the mold was complete. So it was on to making the next part of the mold. I started by removing the cardboard that had been attached to the bottom of the helmet and cleaning up the surface of the mothermold. Then attached a new cardboard skirt to the inner edge with hot glue:

NOTE: the binder clips are there to temporarily hold the parts together while the hot glue cools. Otherwise I've got to stand there like an idiot and hold them with my fingers (which get scorched in the process).
Once that was done, I added more clay to form the shape of the lower section of the rubber jacket. Once again, a small cup was positioned at the highest point to form a funnel:

As before, this was fiberglassed over, then the clay was removed and the resulting void was filled with silicone rubber. Then it was time to demold and remove the prototype:

Here's the finished upper section of the mold:
And the uglier but just as effective lower section of the mold:
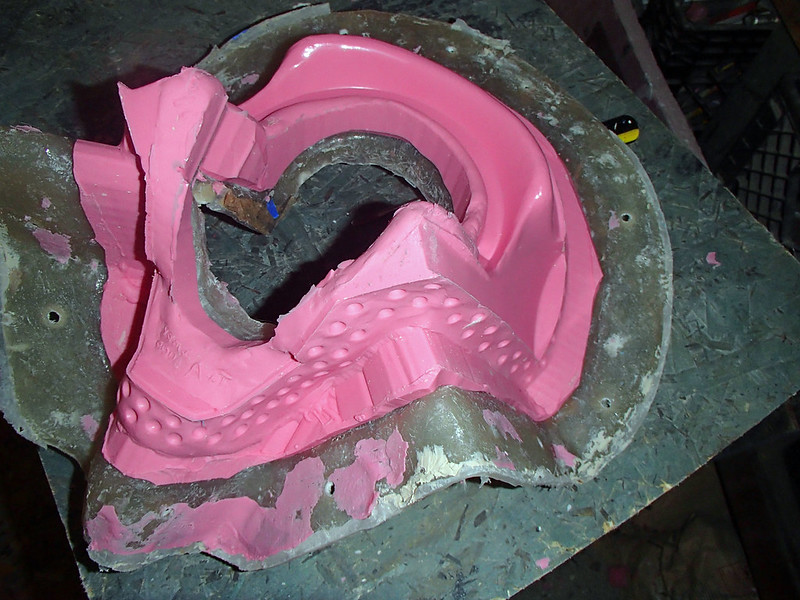
Here's the whole assembly bolted together and ready to use:
As before, this was fiberglassed over, then the clay was removed and the resulting void was filled with silicone rubber. Then it was time to demold and remove the prototype:
Here's the finished upper section of the mold:
And the uglier but just as effective lower section of the mold:
Here's the whole assembly bolted together and ready to use:
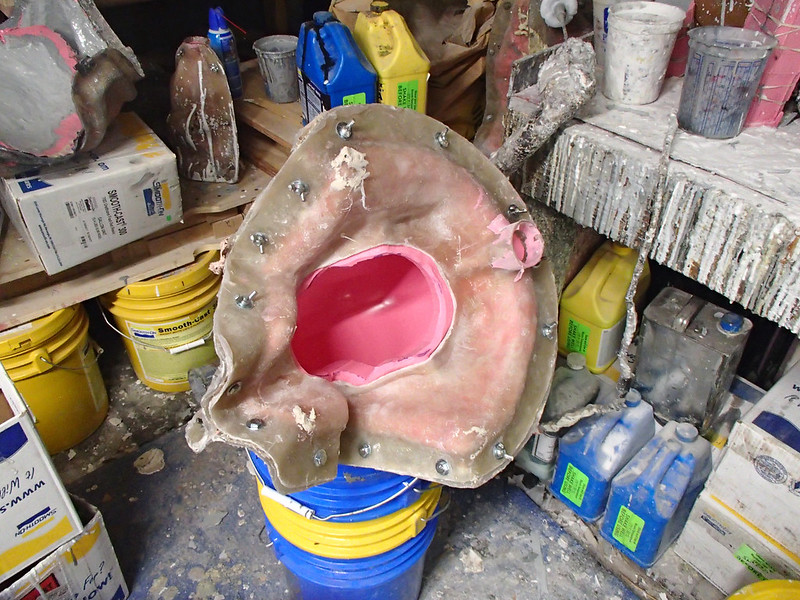
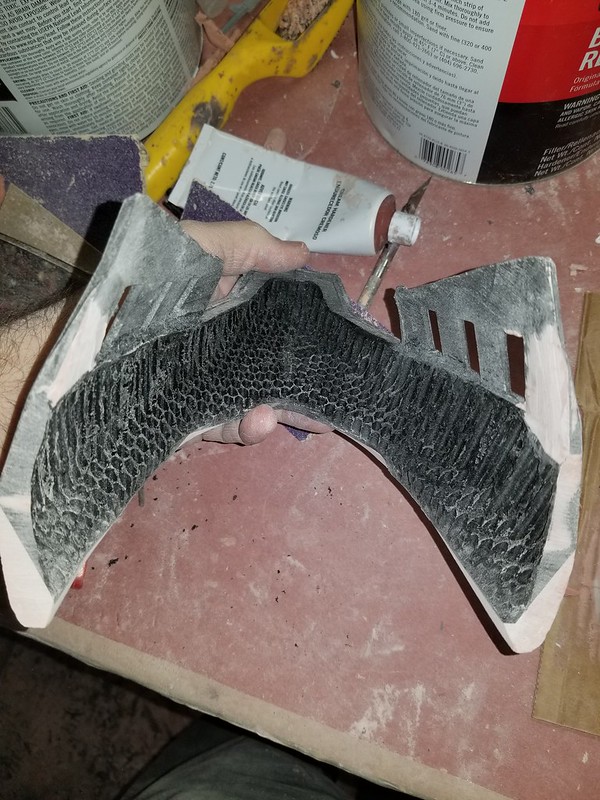
The mold for the jaw section was handled in pretty much the same way. Here are the parts once they were all separated:

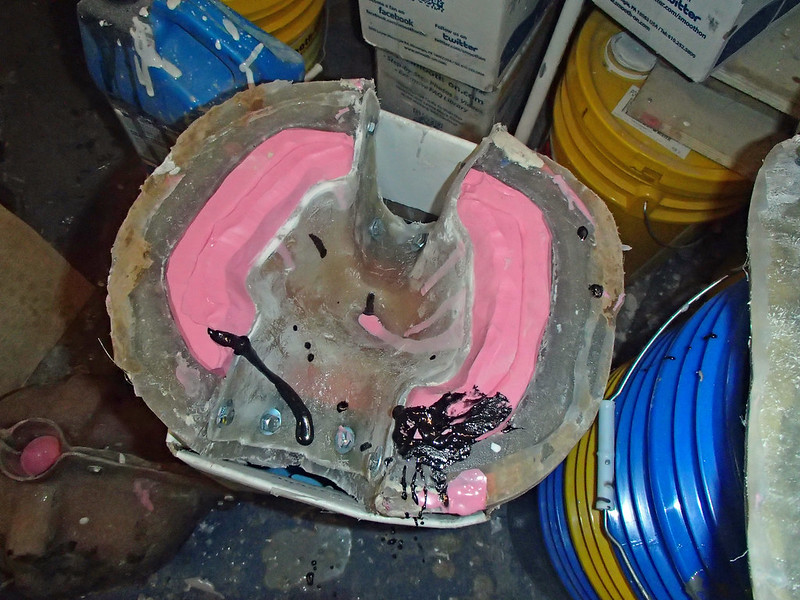
Casting the jaw was a simple matter of injecting resin into the sprue on one side until it drooled out of the vent on the other side:
This is the first set of cast parts out of the mold:
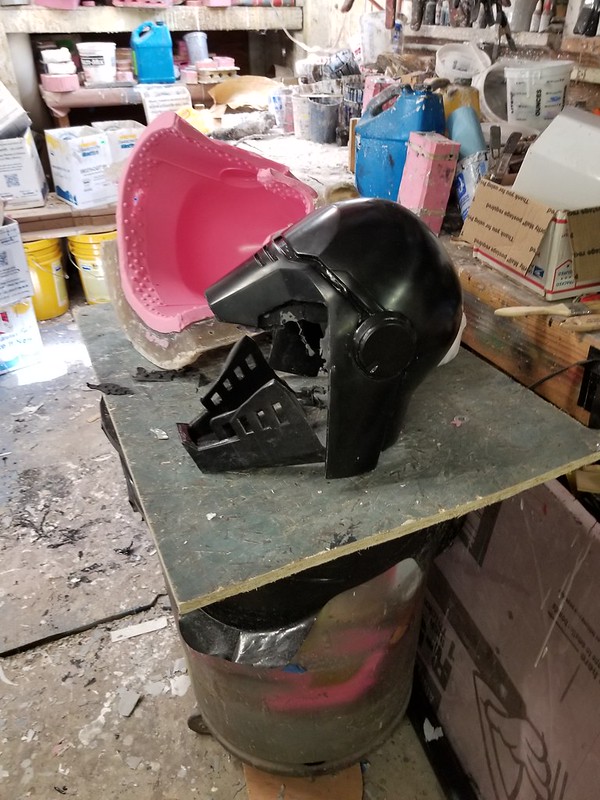
After trimming the flashing and cleaning up the edges, the eye slit was cut out and she was really starting to take shape:
But I'll write more about the finishing of the helmet in the next post about this build.
I was still excited about the build and not really ready to get back to the game and having this lady hand me my own ass a few dozen more times, so I continued making parts. Tune in next time for the fascinating saga of prototyping and molding the other hard parts.
*I'm still living on a boat with no place to display any of my finished works. Given the number of helmets I've completed at this point, whenever I move into a house again it's going to have to have one hell of a wall.
Great to see you posting again, i regularly check your blog. Your work is brilliant and your writing style is great. Keep going!
ReplyDeleteThank you for commenting. It's nice to know that folks are actually reading my blog. I've been getting a bit discouraged by the lack of traffic.
DeleteI'll try to step up my writing schedule. :)
I read every post. Sometimes takes a while before I get to it, though.
DeleteI'm here too. My laptop crapped out and I lost all my links. I've learned a lot from you although I have yet to apply most of it. Thanks for keeping on with the blog.
ReplyDelete