
If you're just tuning in, this is the second entry about building this woman's costume:
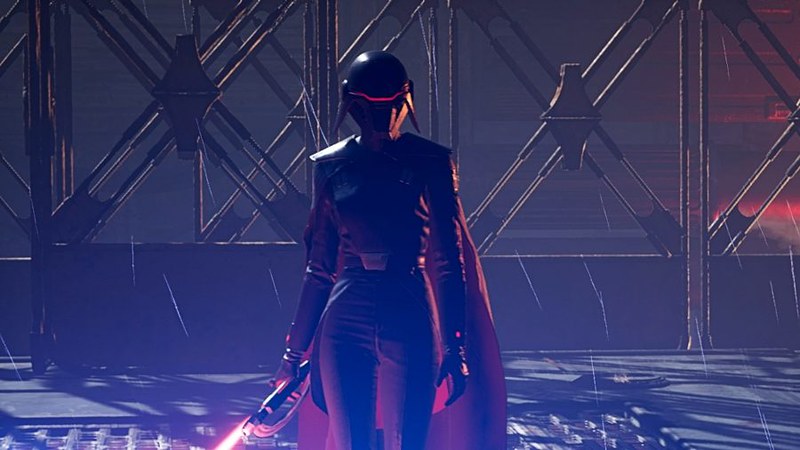
That's the Second Sister from the video game Jedi: Fallen Order. She's one of the Imperial Inquisitors on a mission to hunt down the remaining Jedi sometime between Order 66 and the beginning of A New Hope and she's a bit of a badass.
That's the Second Sister from the video game Jedi: Fallen Order. She's one of the Imperial Inquisitors on a mission to hunt down the remaining Jedi sometime between Order 66 and the beginning of A New Hope and she's a bit of a badass.
In case you missed it, my last article about this build covered the prototyping, molding, and casting of her helmet. You can read it here: LINK. In that case, I started with the in-game digital models of the character and made a few tweaks to make it wearable for an actual, real-life human being. With that done, it was time to move on to the other hard parts of the costume.
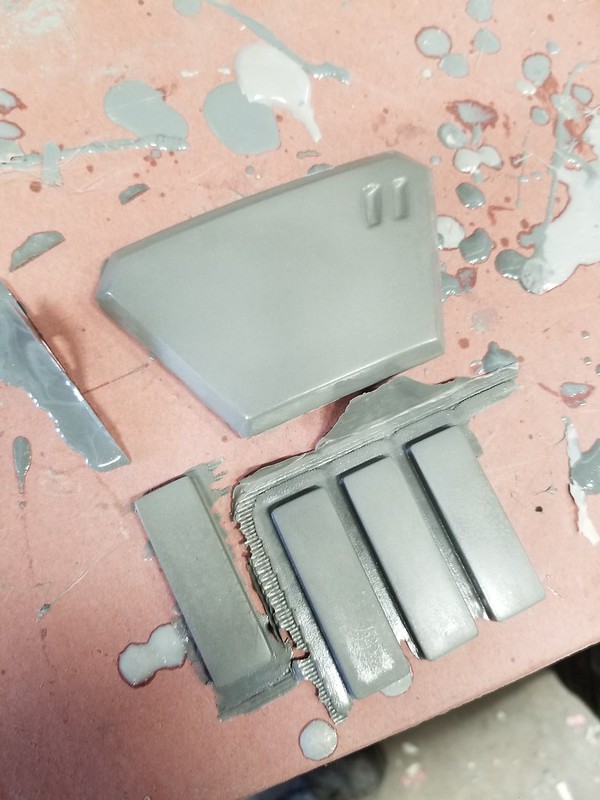
Just like the helmet, the shoulders, rank bars, and belt buckle were printed from the game model as well. Here they are after a bit of sanding, smoothing, priming, and lightish red gloss paintjob:

Molding the rank bars and belt buckles was a simple matter of making a couple of plain block molds in RTV silicone rubber:

The parts were cold cast in aluminum for a convincing metallic surface. "Cold casting" is a pretty neat way to get a metal finish without any paint involved. The secret ingredient? Real metal. In this case, I'm using atomized aluminum powder which I pick up at Douglas and Sturgess in Richmond, CA. If you need most anything in the way of art supplies, check out their website at artstuf.com.
I usually start by either dusting the inside of the mold or, in the case of little pieces like these, completely filling the molds with the atomized metal powder:
I usually start by either dusting the inside of the mold or, in the case of little pieces like these, completely filling the molds with the atomized metal powder:

Then I pour the powder back into the container and tap the mold a few times to remove any loose metal dust:

The next step is to mix up a small batch of resin with as much metal powder as I can add in and still be able to pour it into the mold:

In this case, I'm using Smooth-Cast 300 casting resin and some black urethane pigment (I think it's Smooth-On's "so strong" color, but I'm not sure). I start by mixing 1 fluid ounce of part A with 1 fluid ounce of part B with a few drops of black pigment, then add about one and a half tablespoons of atomized aluminum and stir thoroughly. Then the pouring:

The goal is to mix it and pour as quickly as possible to allow the material as much time as possible to settle in the mold. Any entrained air bubbles will rise to the top which is the backside of the parts, so nobody will see them. More importantly, the heavier metal powder will have more time to sink to the bottom of the molds where it will be more visible on the front of the parts.
Once the resin has cured, the parts are pulled out of the mold and don't look like anything special at all:
This is because there's still a little bit of resin film on the outside surface covering the metal powder mixed into the parts. Now it's time to gently buff the surface with some fine steel wool to bring out the metallic shine:

To facilitate mounting them onto the tunic, the rank bars had single bar ribbon holders from a military surplus store glued to their backside:

Here's a set of parts all buffed and finished.:

The bracers and shoulder plates were a tiny bit more complicated to make.
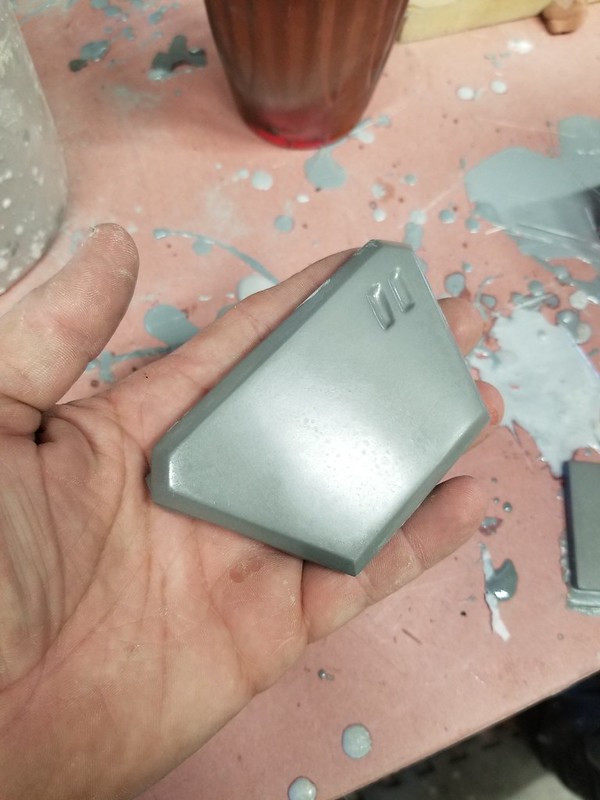
For the bracers, I started with a 3D model that was made by another fan on the Second Sister Build Group on Facebook. She did a pretty amazing job with the initial shape, but after poring over the reference images, I soon found myself making changes to almost every part. I beefed up the wrist end, changed the profile of the inner arm, and more. You can see the beginning of the modifications here:
For the bracers, I started with a 3D model that was made by another fan on the Second Sister Build Group on Facebook. She did a pretty amazing job with the initial shape, but after poring over the reference images, I soon found myself making changes to almost every part. I beefed up the wrist end, changed the profile of the inner arm, and more. You can see the beginning of the modifications here:
The dark greay parts are the original printed bits. The light pink/beige bits are the Bondo modifications. I also opted to join the halves of each of them to make a single part to simplify molding:

After a few rounds of sanding and filling, the bracers were ready for primer:
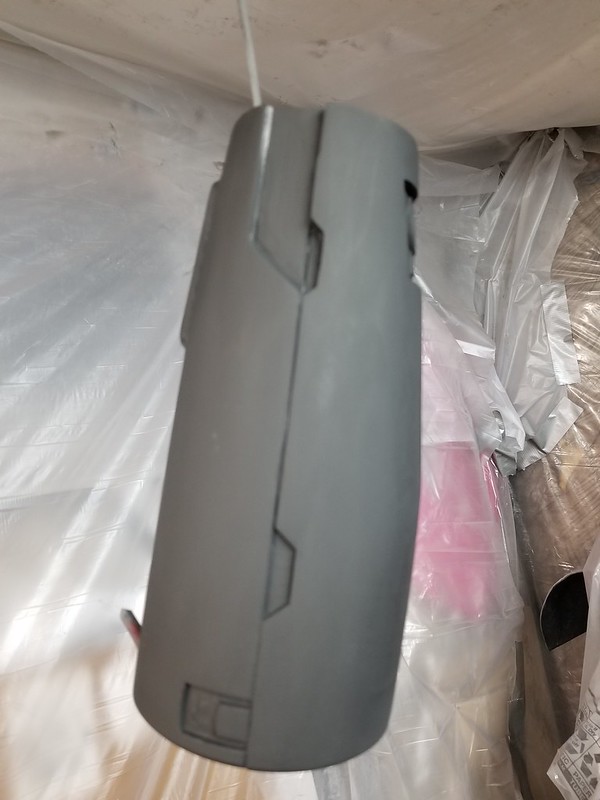
Once I was happy with the shape and overall smoothness, I gave them both a coat of gloss lightish red paint and let them dry for a couple of days prior to molding.
Just like I did with the helmet, the bracers were wrapped in plastic before a layer of clay was built up over them and a fiberglass mothermold was laid up:
Here's the first half of the mothermolds laid up:

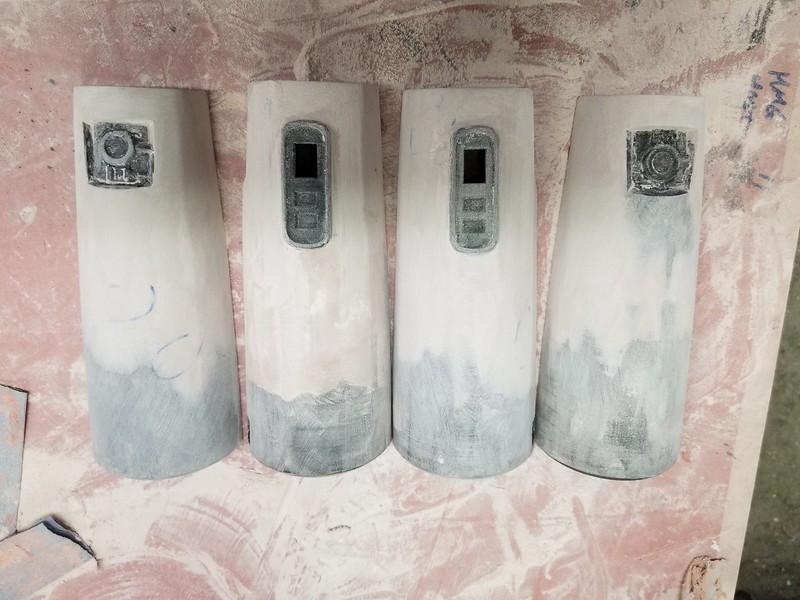
At the same time, I was already in the process of laying up the mothermolds for the shoulders. Here's all four parts when the fiberglass mothermolds were laid up:

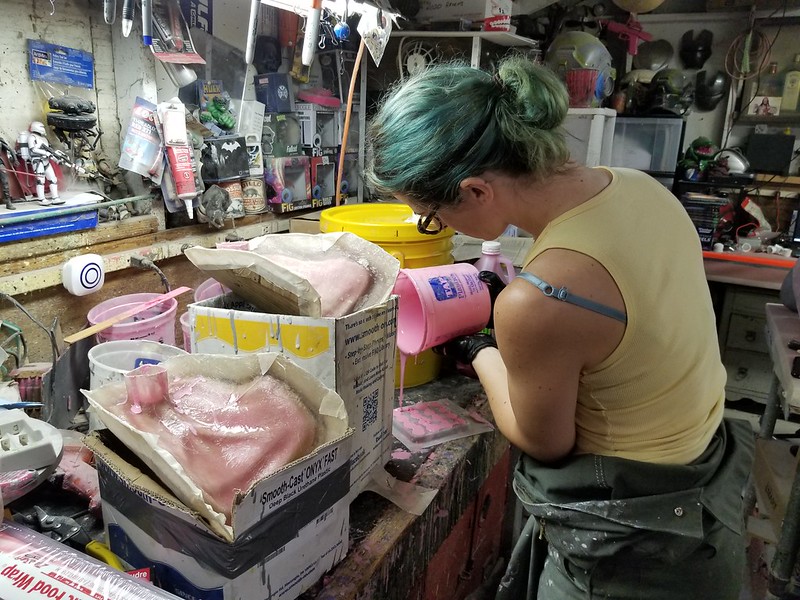
Once the mothermolds were trimmed and drilled, it was time to start pouring in the silicone:
I didn't take nearly enough photos of this process, but if you've been following my blog for a while or even read the article about molding the helmet, you've seen it before. The shoulders were done in two sections, the inner and outer portions:
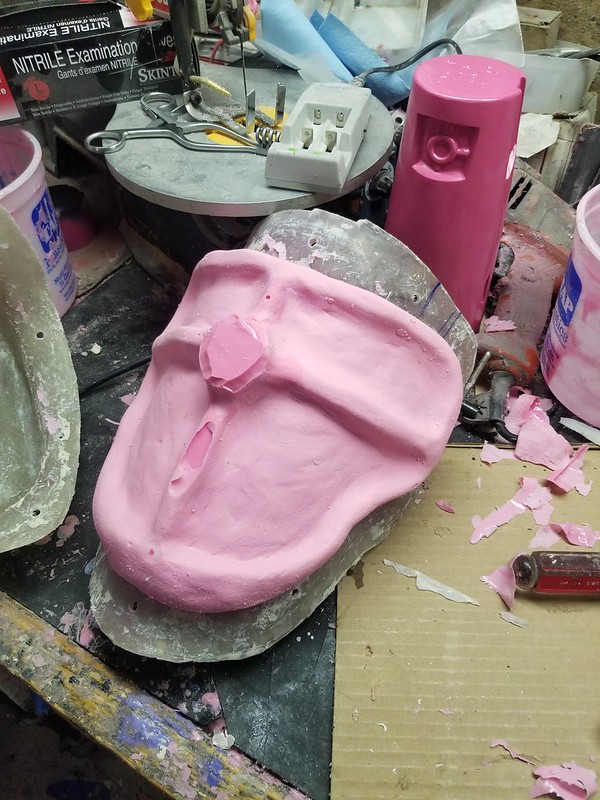
Once the second half was cured, the rubber was peeled apart and the prototype was removed:

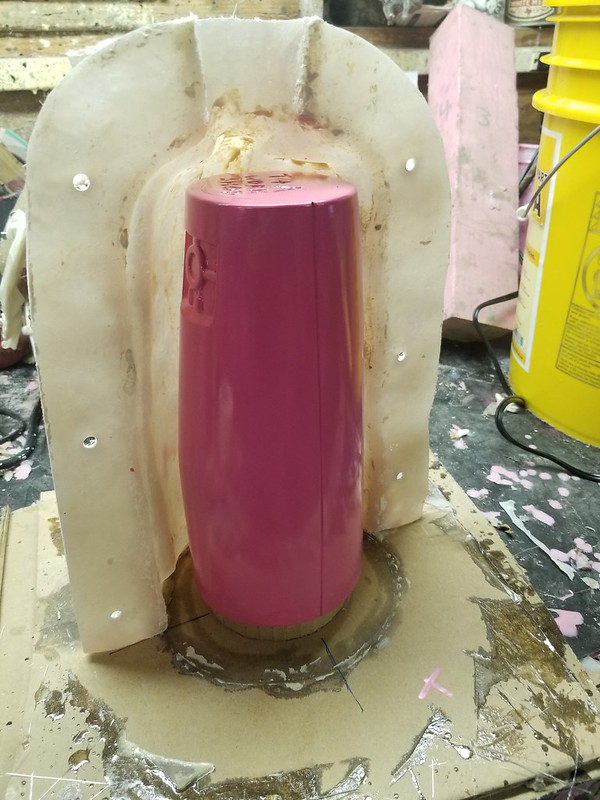
Here's a shot of the first half of one of the bracers' mothermolds being placed:
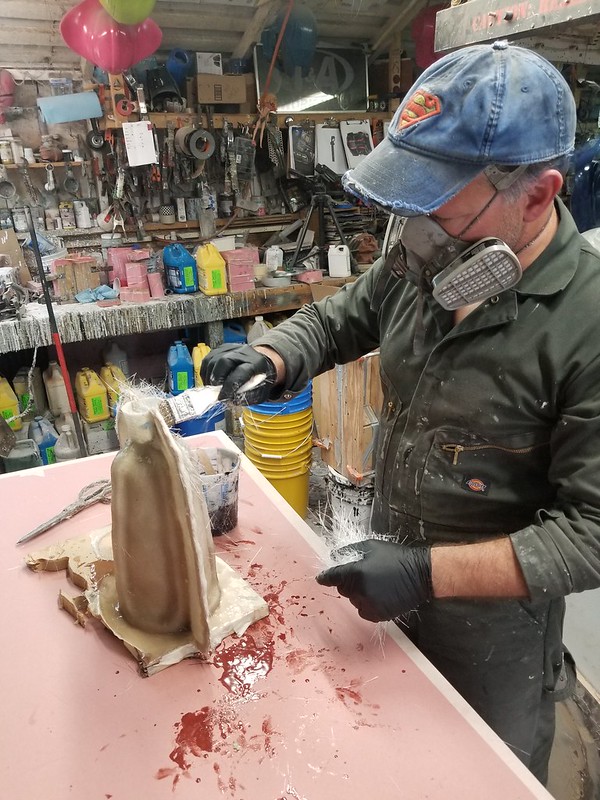
After placing the second half and sealing up the edges with hot glue, the void was filled with silicone and left overnight to cure. The next morning I removed the hot glue and gently pried the two halves of the mothermold apart:
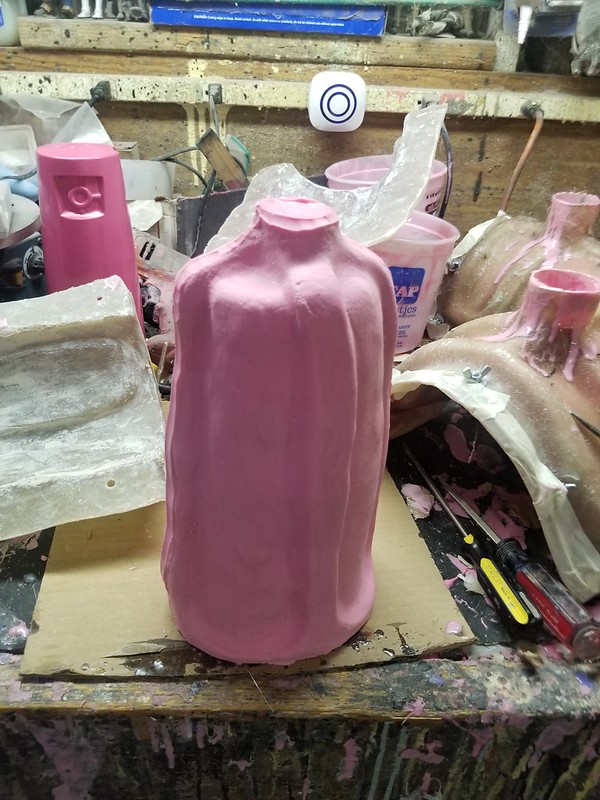
Here's the rubber jacket after removing one of the mothermold halves:

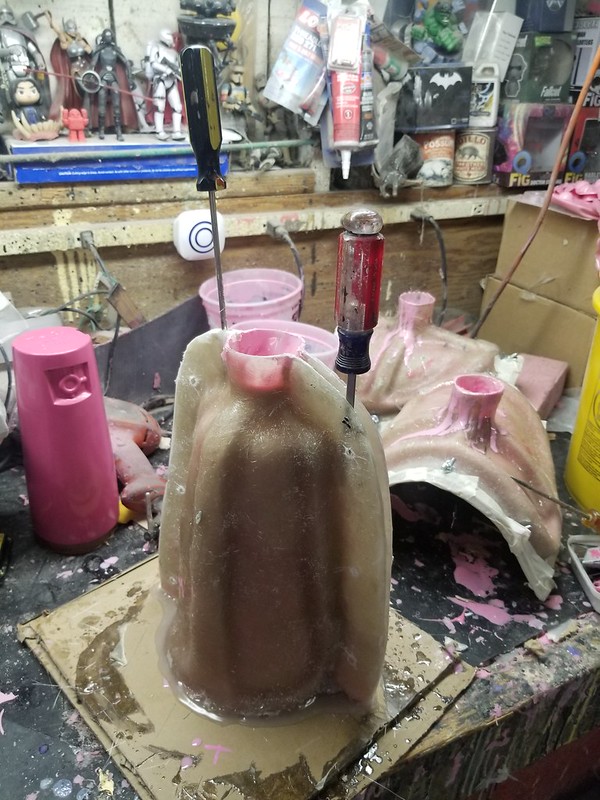
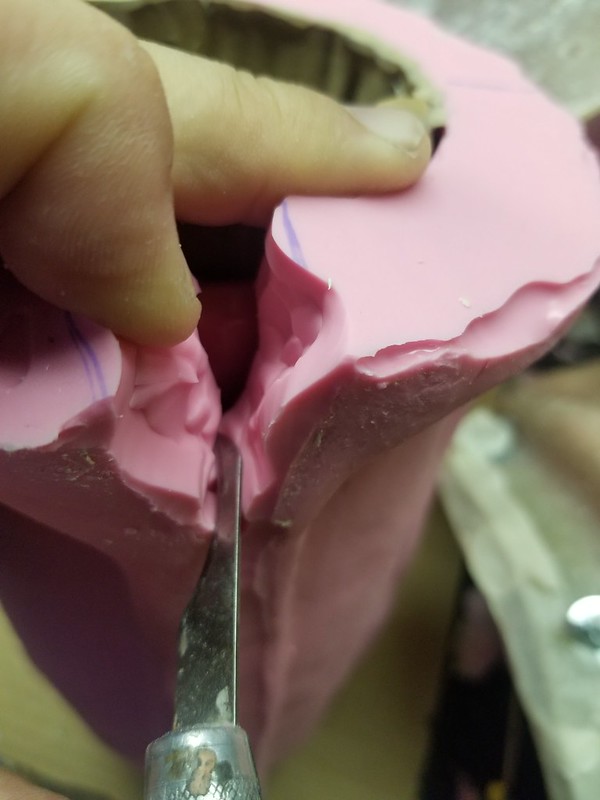
In order to ensure that the cut will close securely during casting, I used a "jeweler's cut." This method is designed to make the seam line as straight as possible along the part while making the cut itself as uneven and wavy as possible like so:
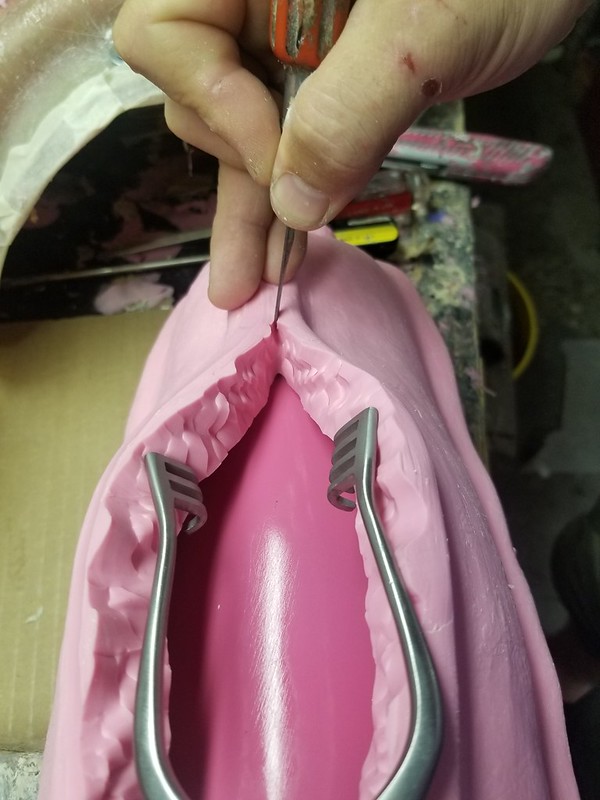
As the cut progresses along the length of the prototype, I use a surgical retractor to keep the rubber pulled to the sides and hold some tension while I'm cutting:
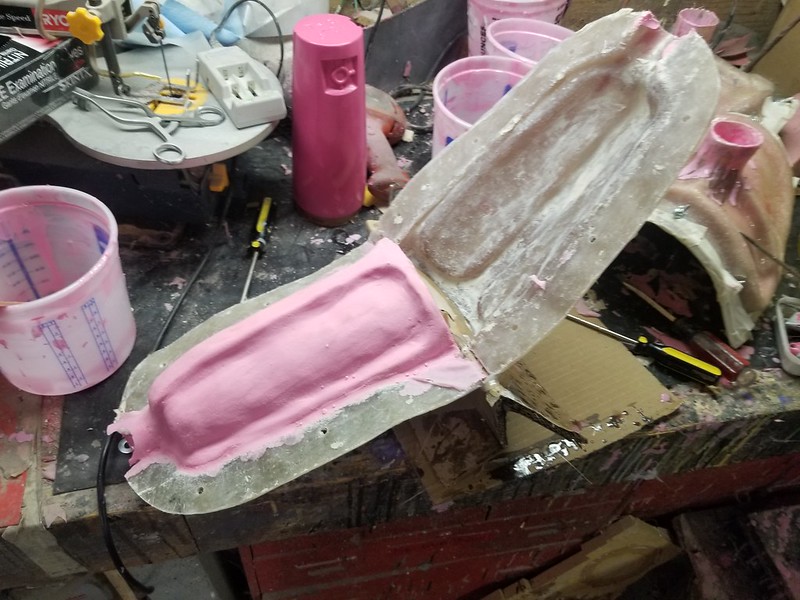
This was done for the left and right bracer molds and then they were reassembled in the mothermolds, bolted together, and ready for casting:

Tune in next time when I'll detail the trimming, prepping, painting, assembly, and wiring up lights for the finished parts.
It turns out they need finishing. So far they don't quite look the part yet: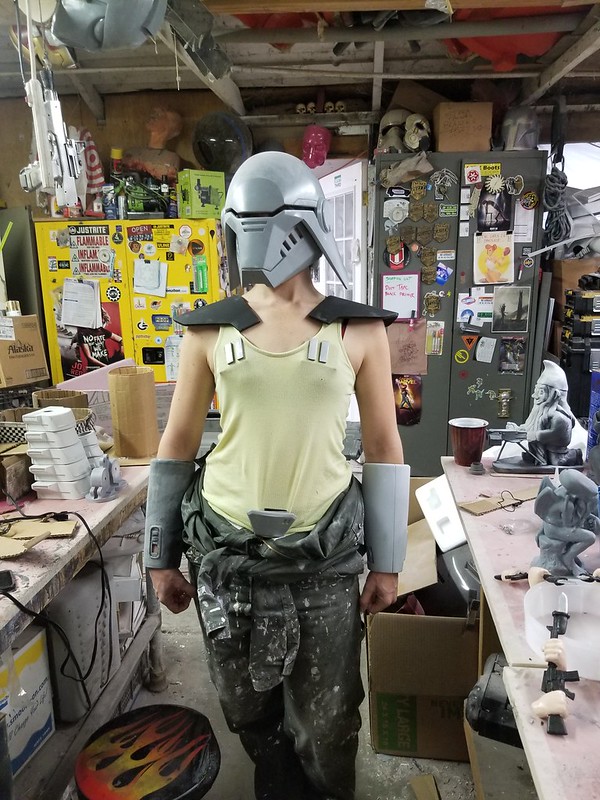
After placing the second half and sealing up the edges with hot glue, the void was filled with silicone and left overnight to cure. The next morning I removed the hot glue and gently pried the two halves of the mothermold apart:
Here's the rubber jacket after removing one of the mothermold halves:
After a little love with a knife, the thin flashing edges were removed:
Next, I dug up one of these nasty, hook-shaped knives to split the mold jacket:
In order to ensure that the cut will close securely during casting, I used a "jeweler's cut." This method is designed to make the seam line as straight as possible along the part while making the cut itself as uneven and wavy as possible like so:
As the cut progresses along the length of the prototype, I use a surgical retractor to keep the rubber pulled to the sides and hold some tension while I'm cutting:
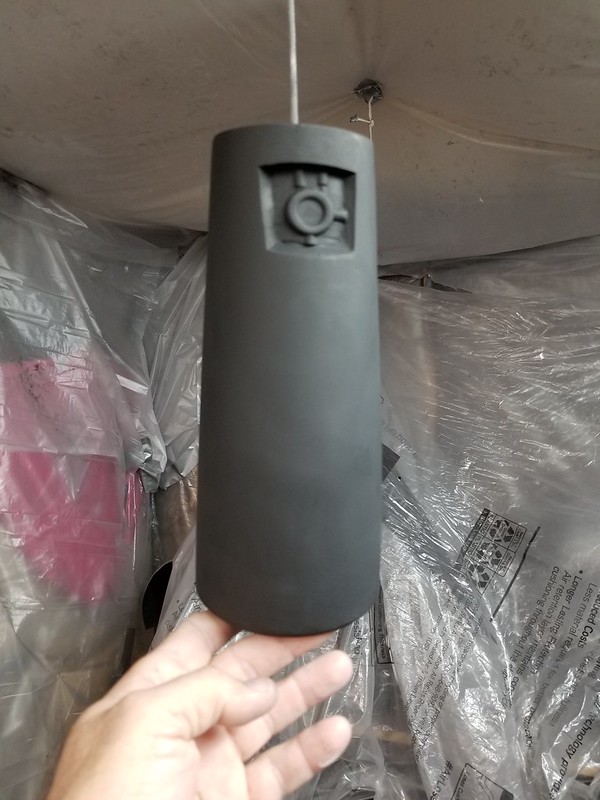
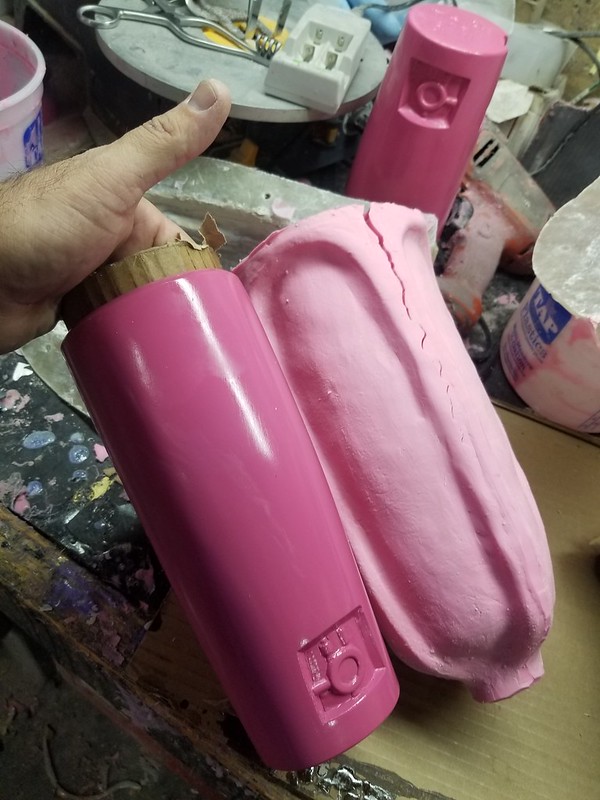
Here you can see the demolded prototype after it was removed from the neatly cut rubber jacket:
This was done for the left and right bracer molds and then they were reassembled in the mothermolds, bolted together, and ready for casting:
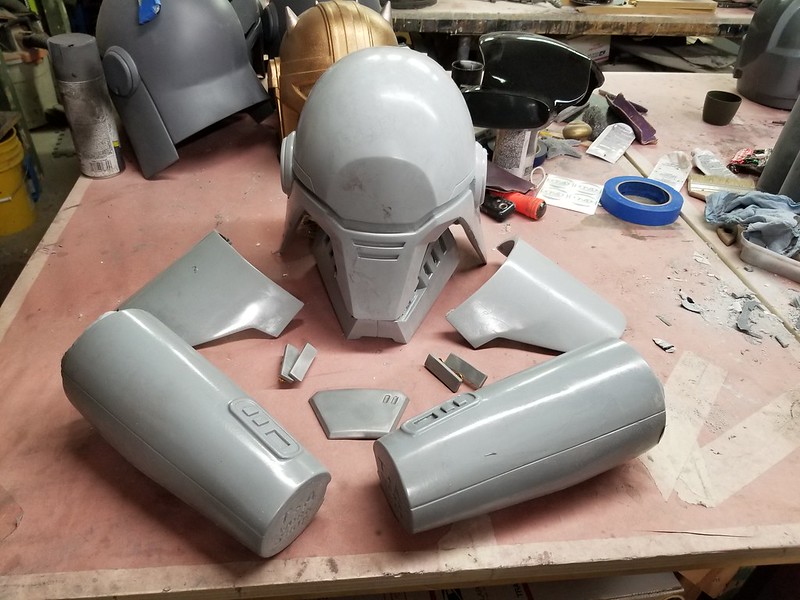
With that done, the shoulders were solid cast in greay tinted urethane resin and the bracers were rotocast in two layers of Smooth-cast 300 backed with a layer of Smooth-cast Onyx for rigidity. With that done, all of the hard parts of the costume were maked:
Tune in next time when I'll detail the trimming, prepping, painting, assembly, and wiring up lights for the finished parts.
It turns out they need finishing. So far they don't quite look the part yet:
Progress continues...
No comments:
Post a Comment