
Given that I didn't have anything particular driving me toward a deadline this year, I decided to pull out something from my bucket list for this year's Maker Faire debut. It's a really long list, so this is usually a pretty tough decision. This year's winner: the Sisters of Battle, also known as the Adepta Sororitas.
Here's a recently-released image from Games Workshop for reference:
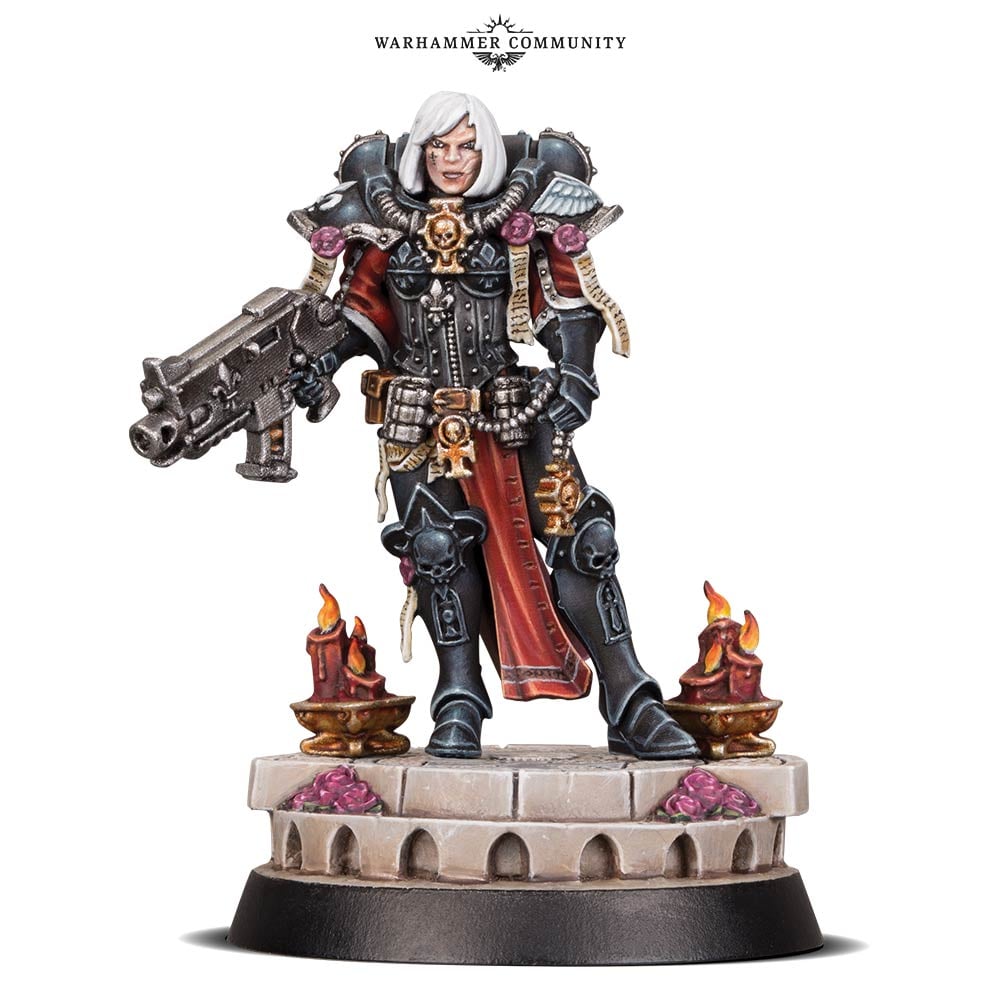
That's a painted gaming miniature that's probably just over an inch tall. For the past few years, I've had this on my bucket list for Warhammer cosplay projects. With all of the updates regarding the impending release of new plastic Adepta Sororitas models, I've finally gotten to the point where it's made it to the top of the to-do list. Translating it into a lifesize, wearable costume in just under six weeks would be a bit of a challenge. Of course, being me, there's no way I'd make just one.
Here's a snapshot of how the first batch came out:

For details on how the armor parts were made, read on...
The goal: a full squad. The method: brute force.
The main problem with this plan was that I would only have six weeks to go from zero to wearable costume(s) if I wanted them walking around at the Bay Area Maker Faire. That, and I also had to prep the rest of my usual display items for the Faire.
Okay then.
My last few big costume projects have been predominantly fiberglass parts with resin cast smaller pieces. This makes for very durable, lightweight parts with great details, but they're also very expensive in terms of labor and materials. In order to meet the timeline I needed or the Sororitas, I needed a faster, less expensive option. I opted instead to make the armor largely vacformed with a few resin cast detail bits.
Vacforming is good because it allows me to make many pieces rather rapidly without breaking the bank on materials. In this case, I'm using High Impact Polystyrene (HIPS). This was selected mostly because it's readily available at my local TAP Plastics store.
Since I was going to be short on time, I decided that I'd use all of my skills and all of my robots simultaneously. This way parts could be 3D printed while other pieces were being CNC carved from wood, and other pieces were sculpted by hand or modified from parts of other costume projects. For no particular reason, I began with the...
Shoulder Armor:
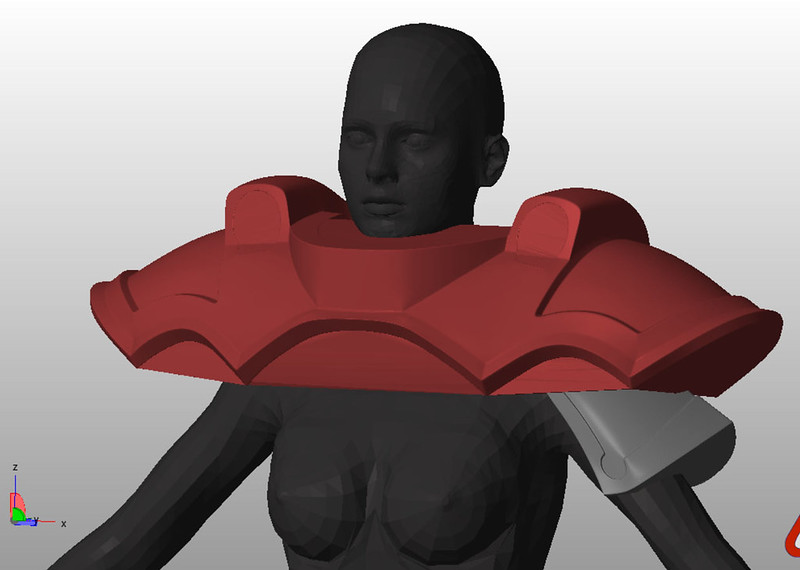
The first thing that went to work on this project was Maria the Robot Whittler, one of my Carvewright CNC machines. I tasked her with making the shoulder armor. These parts were originally modeled for me by the good people at Do3D.com and sent along as print-ready STL files. After a bit of tweaking to make the thin walls into solid blocks, I had them looking like so:
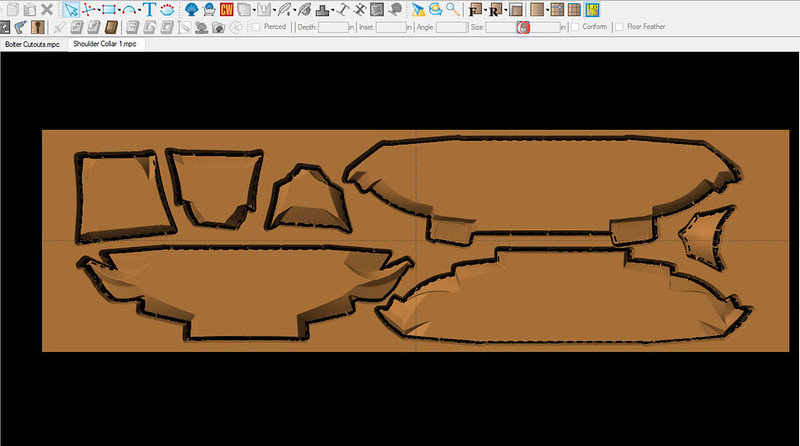
Importing them into the Carvewright Designer software, I sliced them into sections that my Carvewright CNC machines could whittle out for me:
Here's the first slice off of the machine:

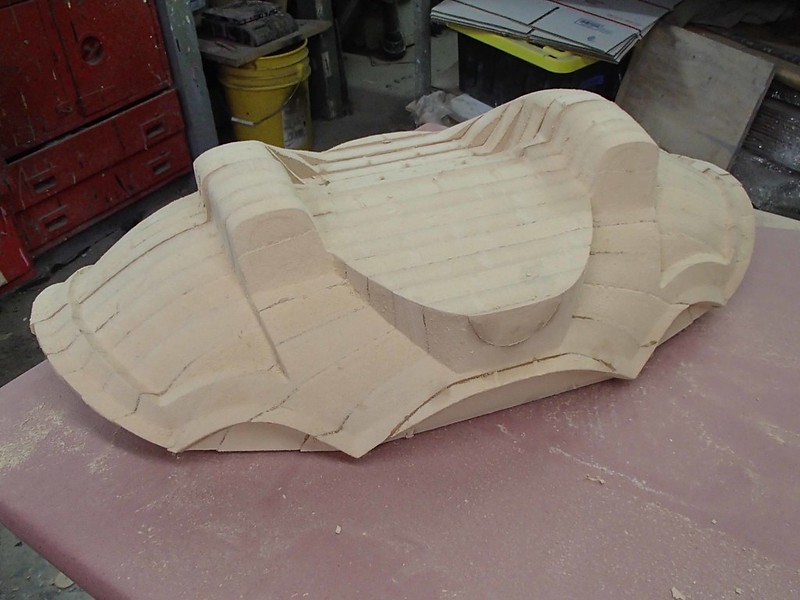
After gluing up all of the slices and a bit of sanding, they looked like so:
So we had to stage a quick test fit:
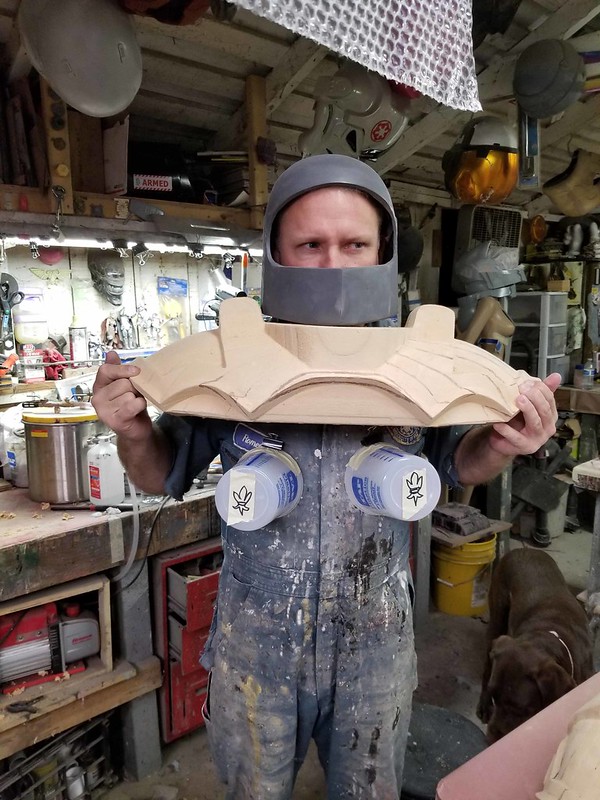
Nailed it.
Once we had a few more forming bucks carved out and smoothed, it was time to lay them out on the big vacforming table and start cooking plastic:

Here's the first copy of the collar being formed in sheet styrene:

After trimming the two halves and taping them together, I tried them on:

Maybe I don't have quite the right look for this outfit.
Madison does:

Here's the backside after we had her change into the right base garments and wig:

Satisfied that we had the right shape, I went ahead and solvent-welded the two halves together:


Then put a bit of work into filling and smoothing the seam:
Ta-da:

The shoulder/collar assemblies, the lower shoulder armor plates, and the ankle parts were the only forming bucks that were CNC carved for this build. I used a completely different approach for...
The Leg Armor:
I started out with an imperfect pair of fiberglass thighs from my Captain Phasma armor project and some Bondo. The thighs were trimmed down a bit, seam lines were rearranged, and ridges were added like so:

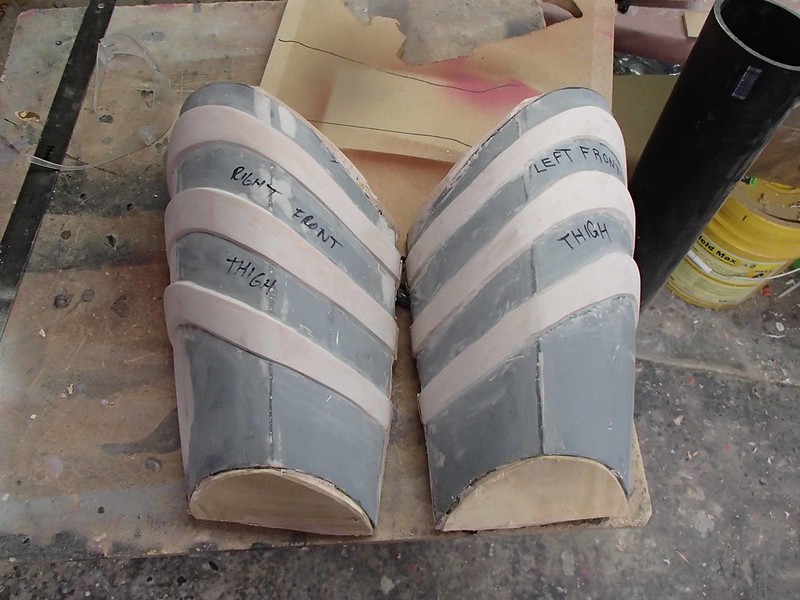
Then the thighs were cut apart to make front and back halves:
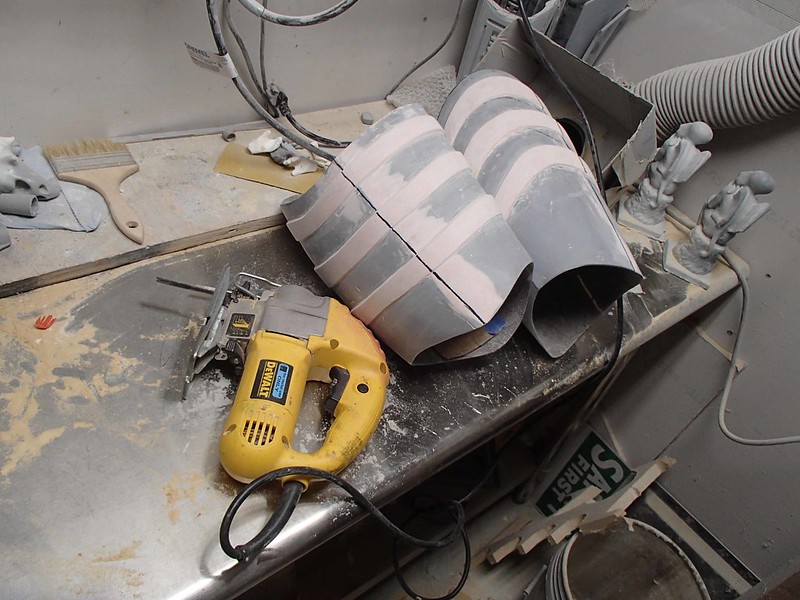
Each half was mounted to a piece of plywood and scraps of wood were used to close up the open ends, making serviceable vacforming bucks:
The lower legs were slightly modified Phasma parts with some 3D printed trim added to the ankles:
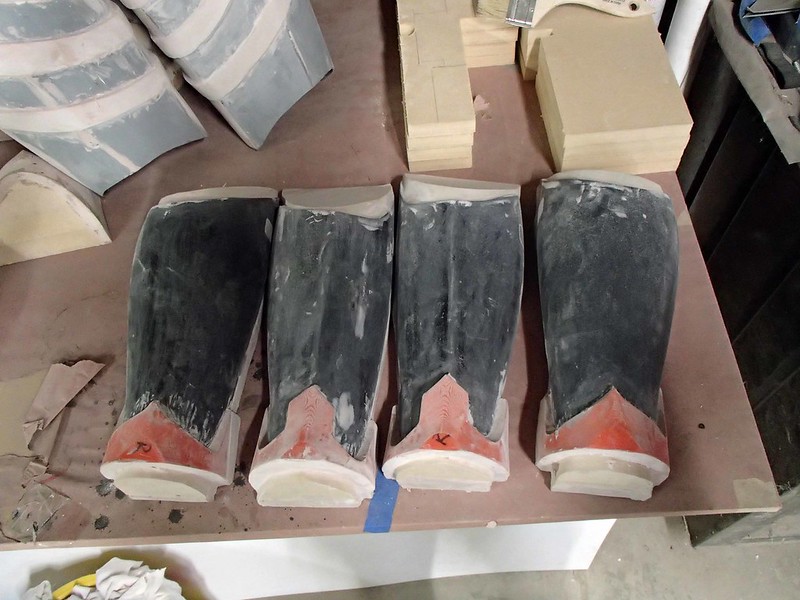
The first pull of the leg parts seemed to work out just fine on Rachel:

The Lady Shawnon stopped by the shop for a bit, so we had her try the parts on as well:

So far so good.
CHEST ARMOR:
It's not exactly something I'm doing on purpose, but for some reason each time I make a female costume I end up making them with slightly bigger boobs than the previous one. It started with the Warhammer 40,000 Commissar that I made a few years ago. I modified the chest plate from that build to make the Goddess Thor and ended up adding a bit of mass to the boobs in the process. Then I used a copy of the Thor chestplate to make the Cobra Baroness chest armor, adding even more boob along the way.
In keeping with that pattern, I decided to test fit a copy of the Baroness chest armor to see if it would work:
Nope.
While the proportions were essentially right, the Baroness chest would need an awful lot of modification to turn it into the Sororitas armor and wouldn't really work out well as a vacforming buck because the side-boob would cause the vacformed plastic to lock onto the form.
Instead, I dusted off an old vacform pull from a mannequin that's been stapled to the ceiling in the shop for the past few years:

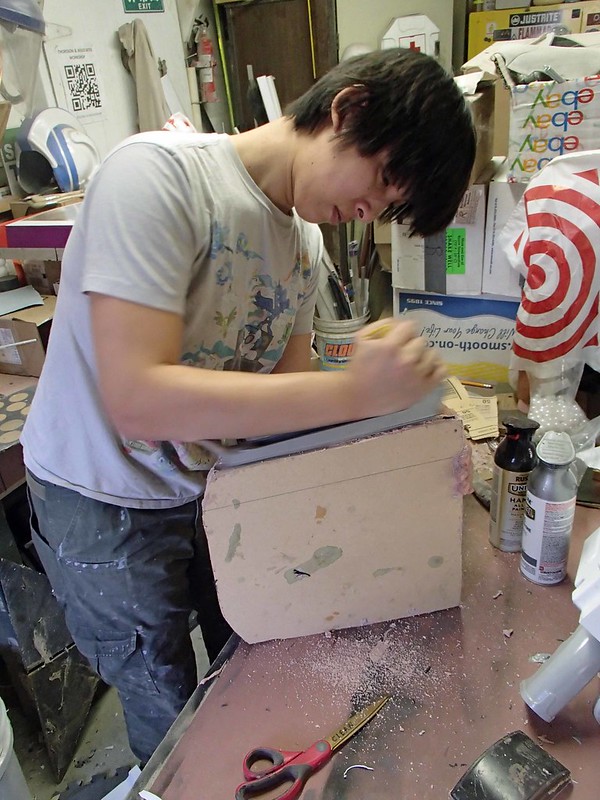
The hollow plastic shell was filled with X-30 expanding foam:

Then I removed the plastic shell:

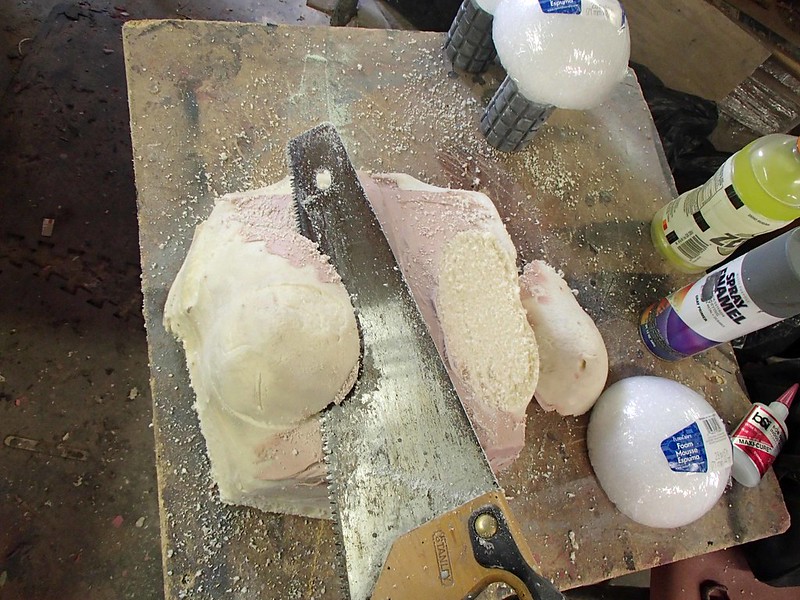
Since the mannequin was slightly smaller than any healthy adult woman is likely to be, I decided to split the chest down the middle:

An MDF slice was added in to reinforce the middle and add 3/4" to the width. Then I gooped the whole thing back together with some Bondo. Once it was all one piece, I sawed the mannequin boobs off:
These were replaced with some foam hemispheres from the local craft store, covered over with a layer of Bondo to add a bit of egg-shape to the top edge and make the surface smooth and strong:
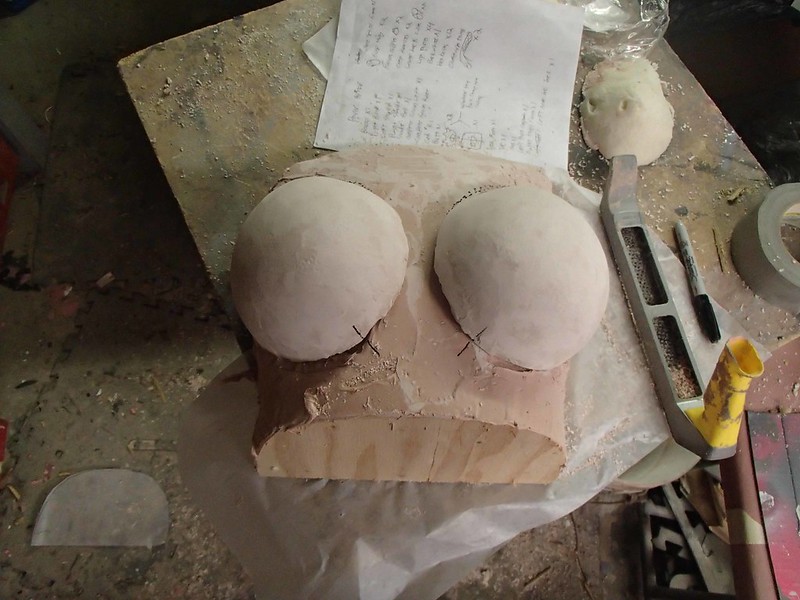
Once I was happy with the overall shape, I made MDF cutouts of a slightly larger shape than the footprint of the boob form and mounted them to the chest form:

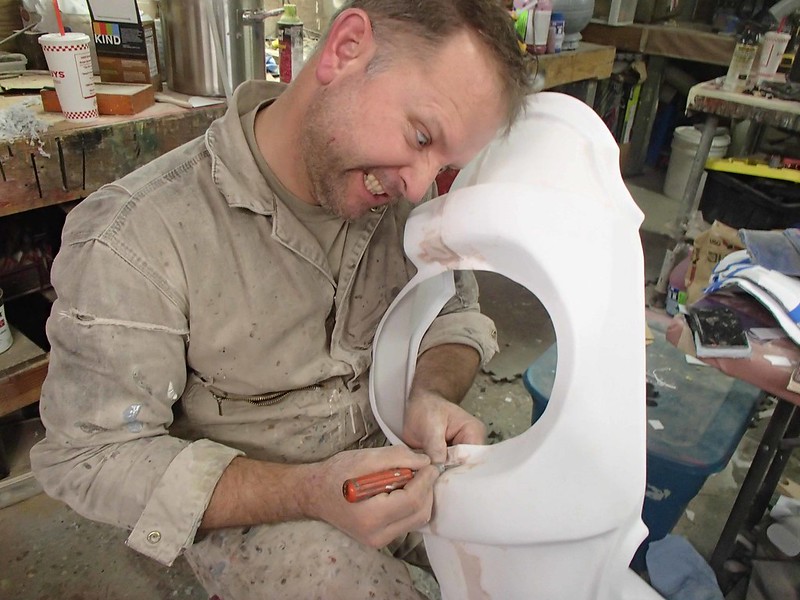
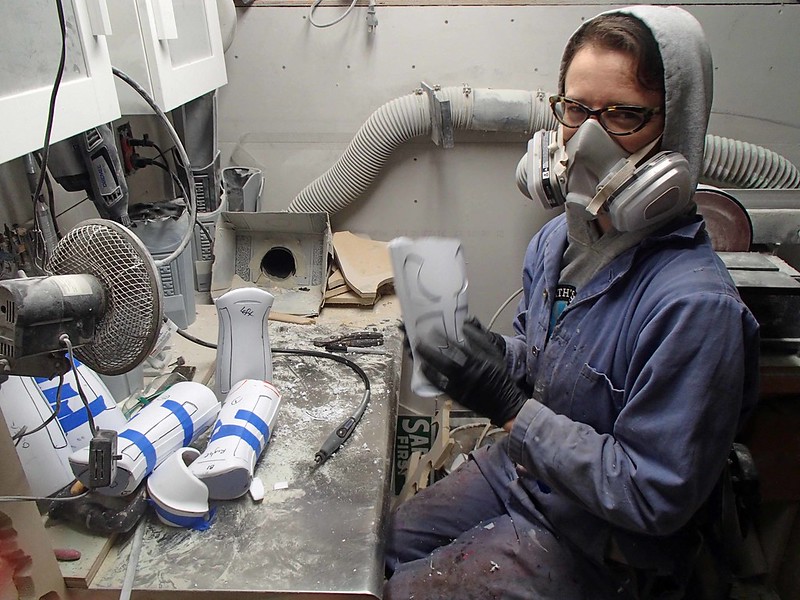
Since the position of the plastic sideboob would cause the plastic to lock onto the mold, I decided it would be easier to form the chest plate and the cups as separate parts. Here's the first set on the vacforming table:

Once we had formed a few sets, Rachel set to work cutting out the boob holes in the chest plates and trimming the cups to fit:

Once everything was trimmed, the cups were glued into the chest plates from behind. Here's a closeup shot of one of the chest assemblies:
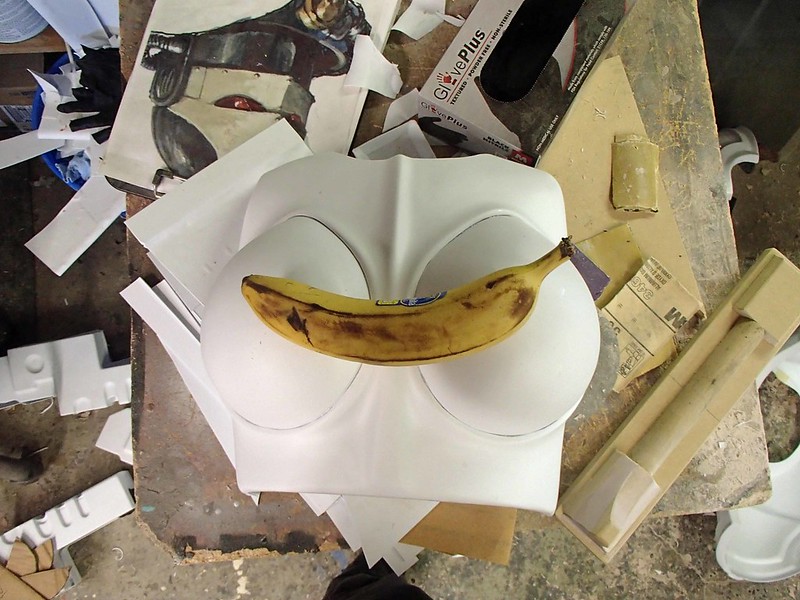
Banana for scale.
In order to differentiate each suit that we made, each chest was given additional trim pieces. This one has vertical strips of styrene being solvent-welded into place:

The silver discs are rare-earth magnets used to clamp the plastic together while the bond sets up. I don't have any regular clamps that will reach this deep across the plastic parts, so the magnets are a great solution.
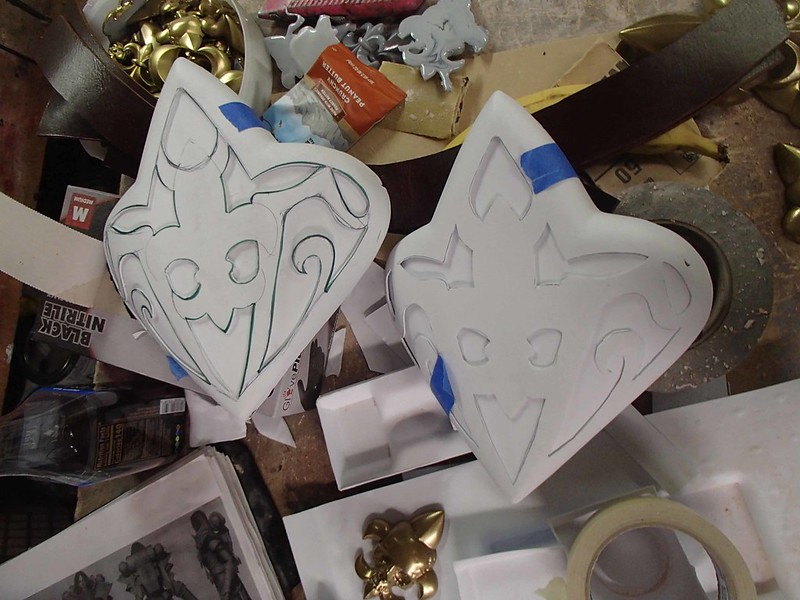
The Knees and Forearms:
The forming bucks for the knees and forearms started out as a block of Renshape, a type of tooling foam, which I carved by hand with a saw, some rasps, and the belt sander. Sadly, in the mad rush to make all of the parts, I neglected to snap any pics of the forms. Not that it matters though, because the idea was to make each suit just a bit different. This meant that once the parts were formed, we layered over them with a second formed part and Rachel sat down and doodled out some interesting designs onto the outer surface:

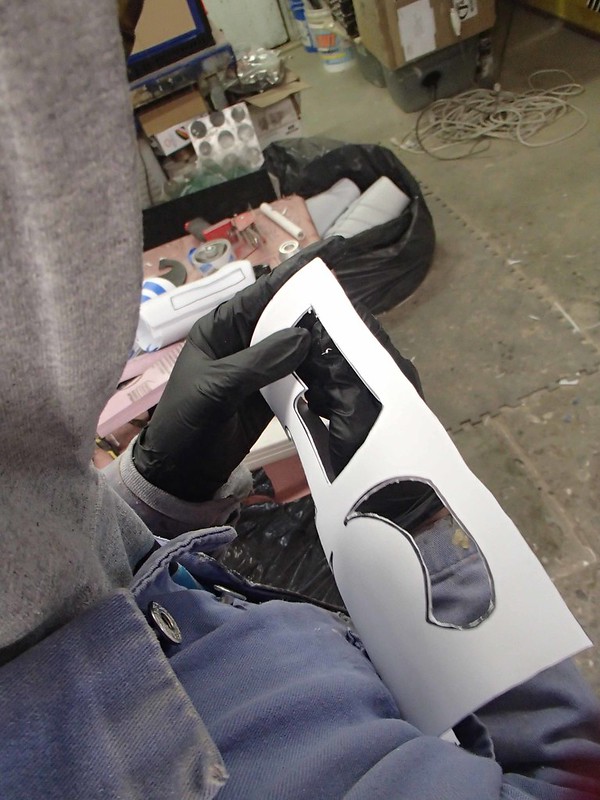
Then sections of the outer layer were cut out:

And the pieces were laminated back together. Here's a fully-assembled knee plate with a resin cast fleur-de-lys added on:

It was a somewhat labor-intensive process, but the end results were great:
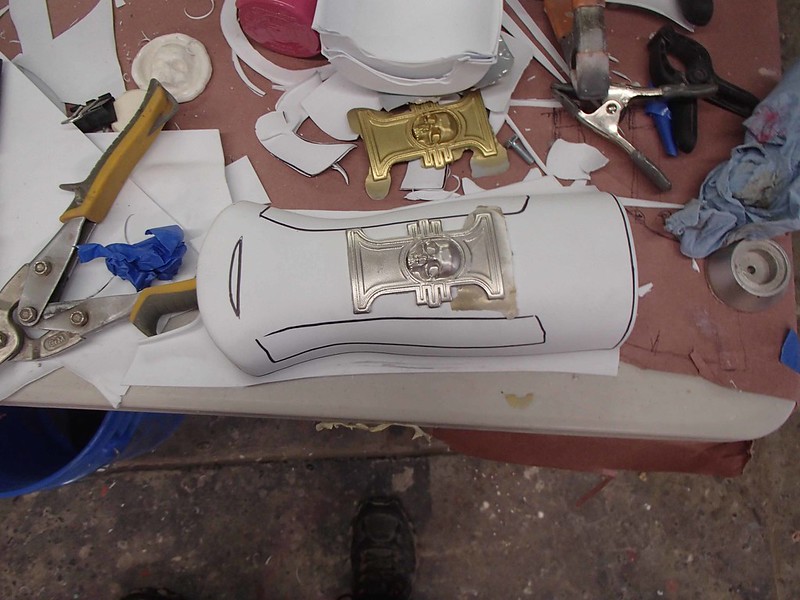
The forearms were made in much the same way:
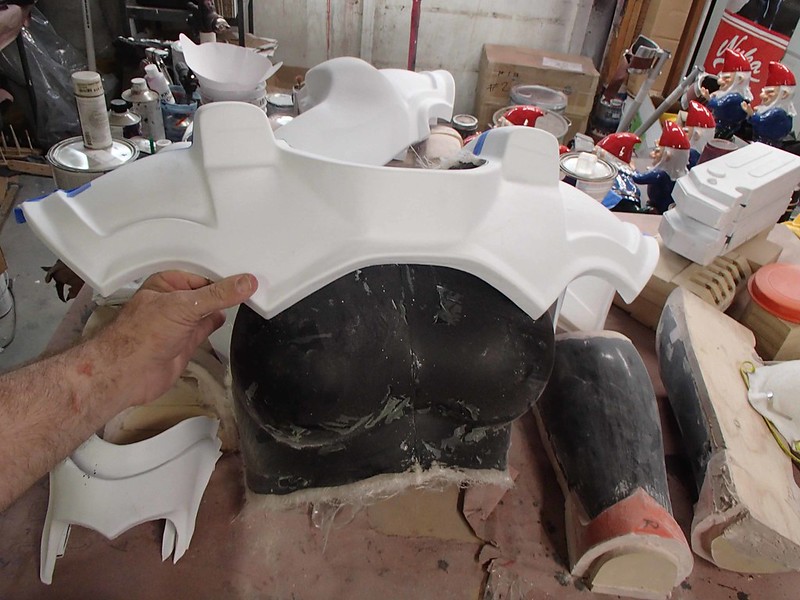
The Backplate:
This started with a fiberglass pull from the same mold I used to make the Lady Thor and Baroness backplates. We started with an extra-thick copy of the fiberglass backplate, trimmed it a bit, and then mounted it to a wooden base. Then I had my friend Danielle fill in the openings with scraps of wood and smooth everything out with more Bondo:
In order for the backpack to have a solid mounting platform, a small rectangle of MDF was added to the upper back, then faired in and reinforced with even more Bondo.

With all of the forming bucks made, it was only a matter of time before we had a complete set of parts all formed and laid out on the table. Then we got to work making more of them:

And more of them:
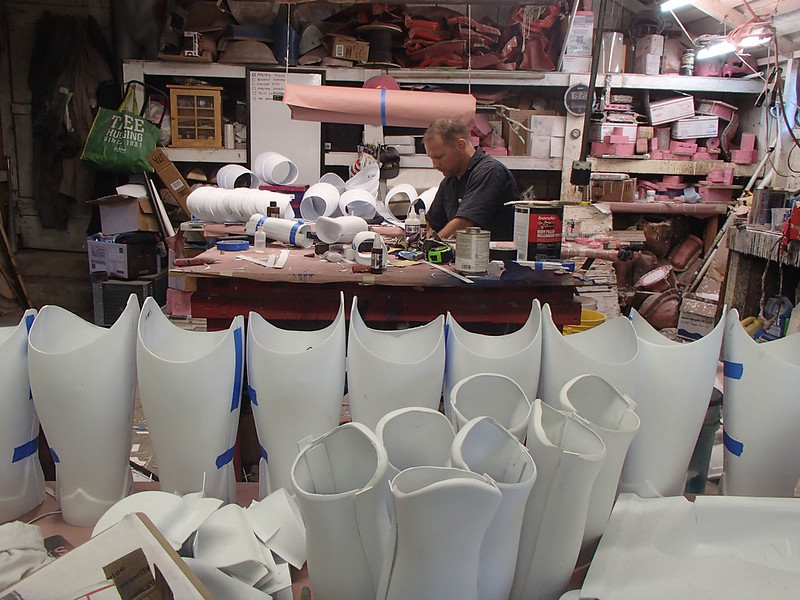
And there were parts and scraps of leftover plastic everywhere:

I'll go into greater detail on that later.
Stay tuned for Part 2: Weapons and Backpacks and such. I promise, it'll be worth the read.

photo by @fobeboy on Instagram
Model: @slothwaifu on Instagram
Incredible work mate. Such amazing detail.
ReplyDeleteYour work is inspiring. Can't wait for part 2.
ReplyDeleteAnother great post Shawn. Amazing work, thank you.
ReplyDelete