
Along the way, the owners asked me to build a smallish statue of their mascot character, the Funbot, that could be given out to folks who stood out while helping with the move. The end result: I made them five of these little guys:
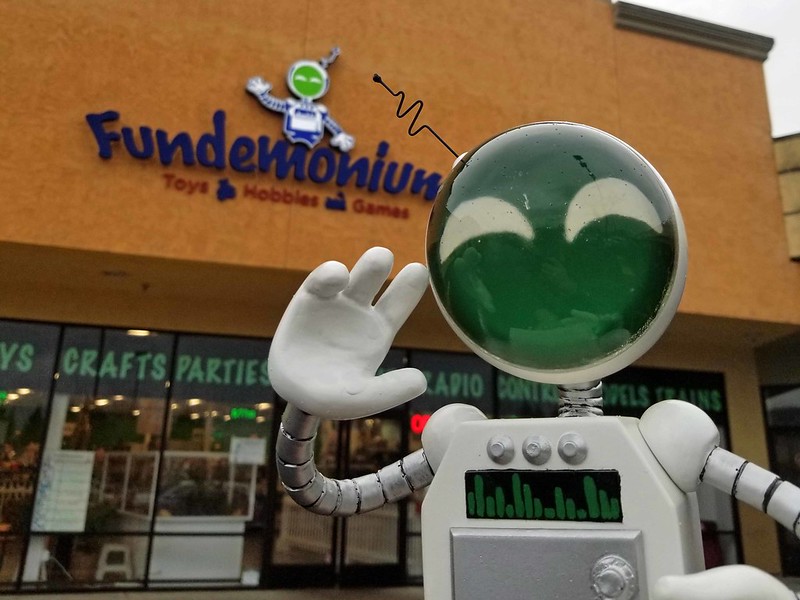
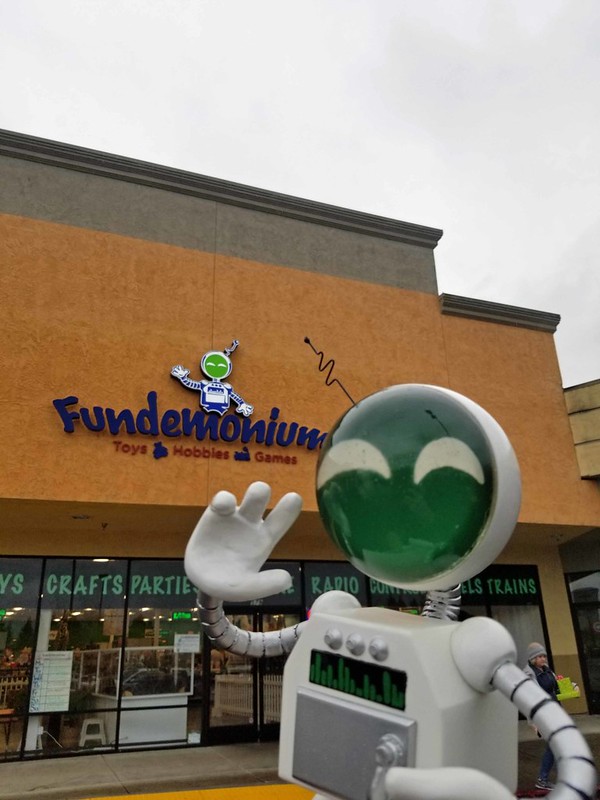
Here's one outside the store itself:
To see how they were made, read on...
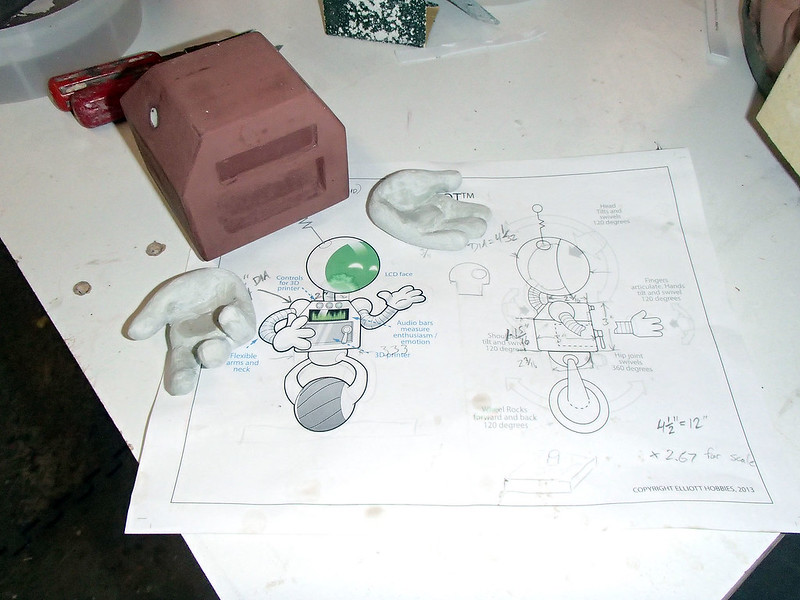
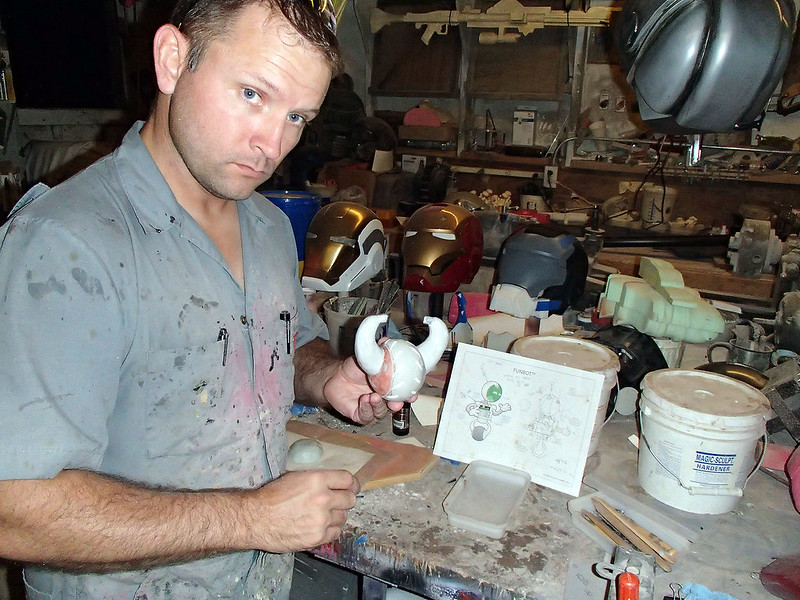
When I started, all I had to work with was this schematic:

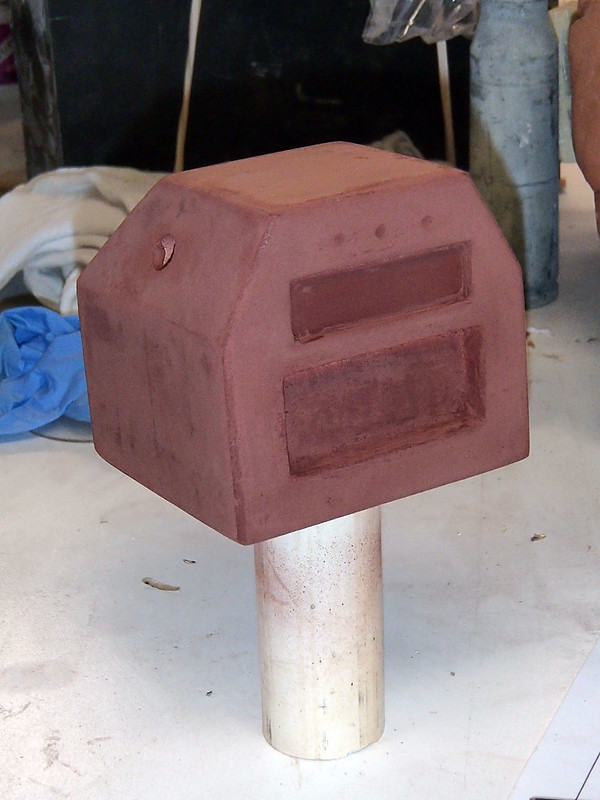
Once I'd worked out a scale factor that I was happy with, I laminated some scraps of Medium Density Fiberboard into a block and started building the main body. I also added a short stub of PVC pipe to the bottom:
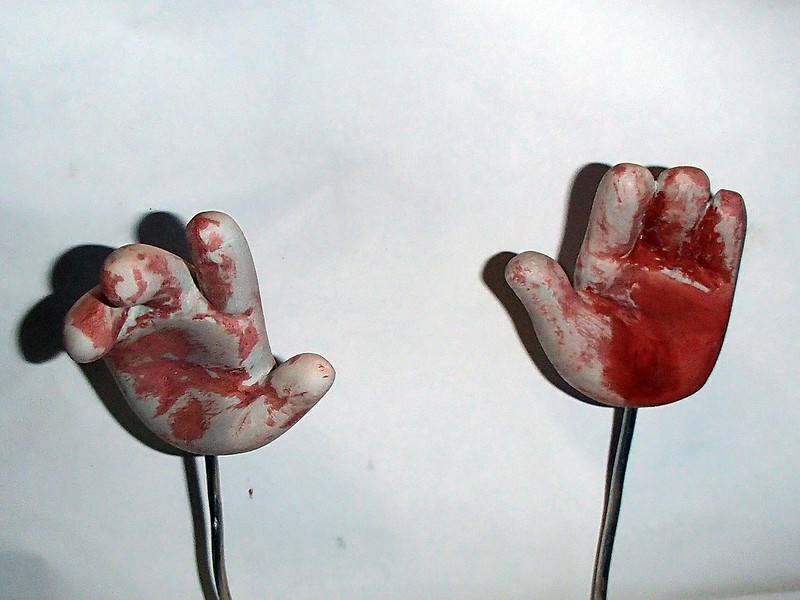
Once that piece had started shaping up, I made up a pair of hands from Magic Sculpt, a 2-part epoxy putty:
Magic Sculpt is some pretty amazing stuff. If you sculpt something in clay, you have to spend all sorts of time smoothing out the surface to get a decent finish before you can mold it. With this stuff, you mix the two parts together and when you're done sculpting it will cure rock hard. So instead of trying to sculpt a perfectly smooth surface, you can get away with just making the rough shape and then sanding, grinding, filing, drilling, and cutting until the surface finish is just the way you like it. Here's a shot of the hands with a bit of spot putty on the surface during the smoothing stage:
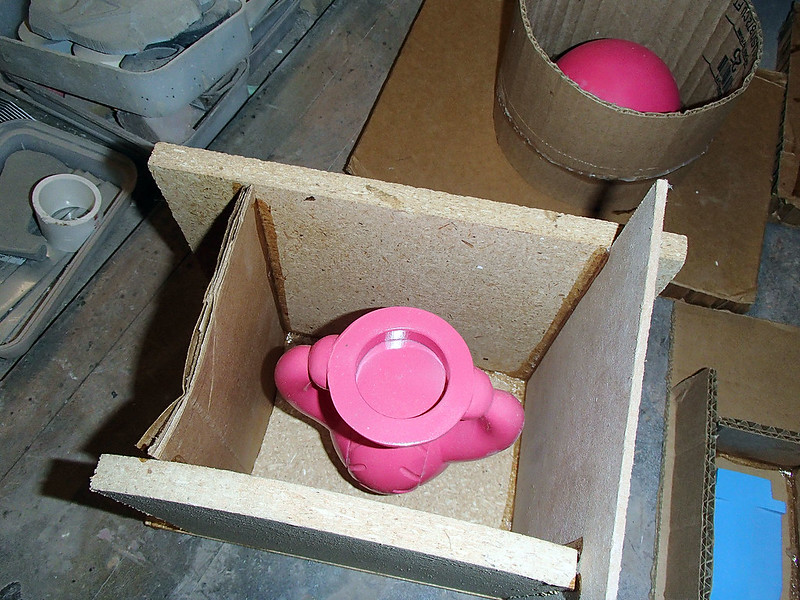
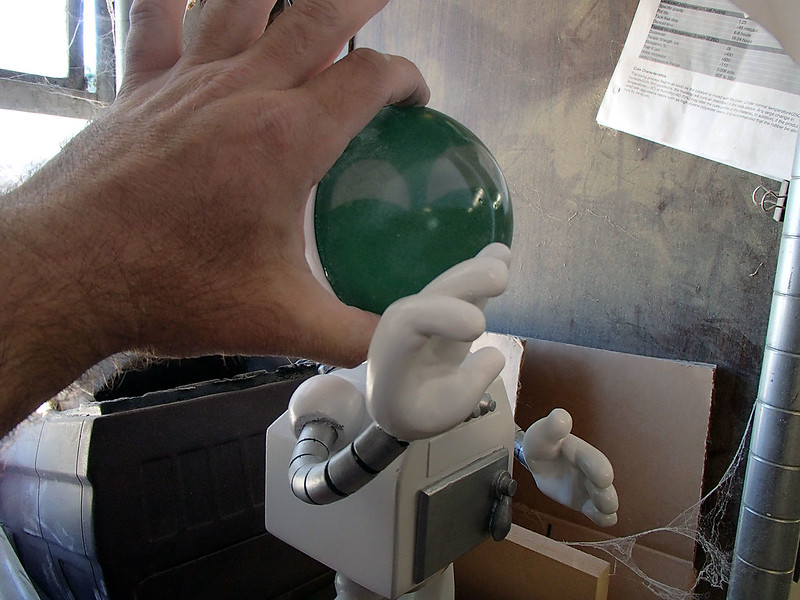
Along the way I decided I was never going to be lucky enough to find a sphere that was the exact right size to make the Funbot's head. Instead, I opted to spend a bit of time honing my limited 3D modelling skills. After more time than I'd care to admit, I managed to come up with a printable model that I could feed to Jarvis (my Objet30 3D printer) and here's what came out:
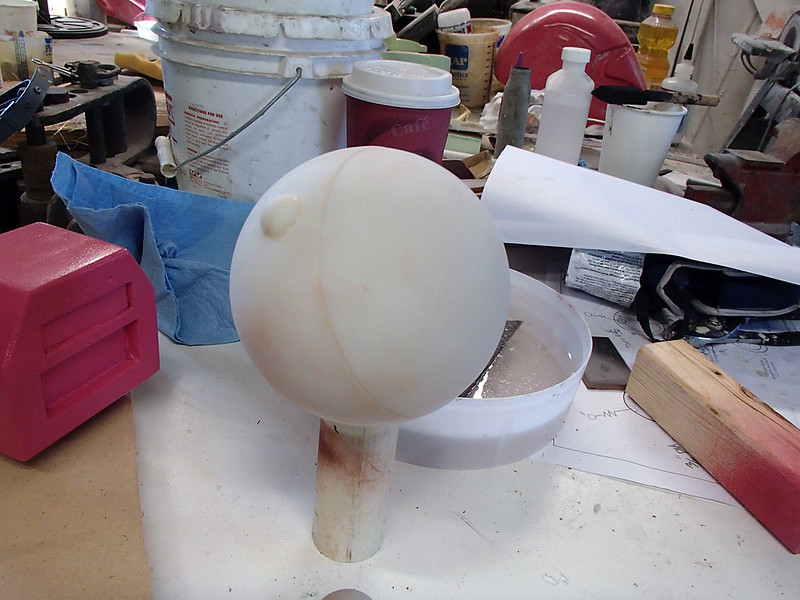
That seam you see is where the two parts can be separated.
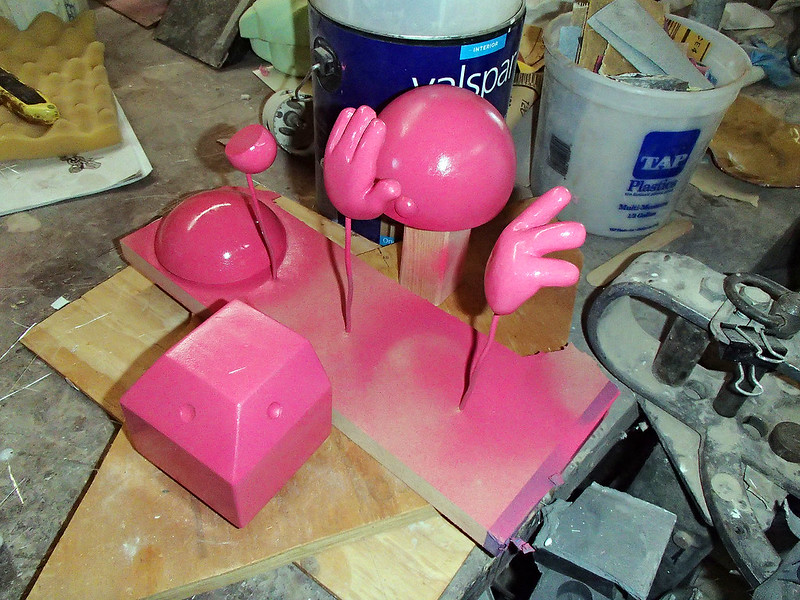
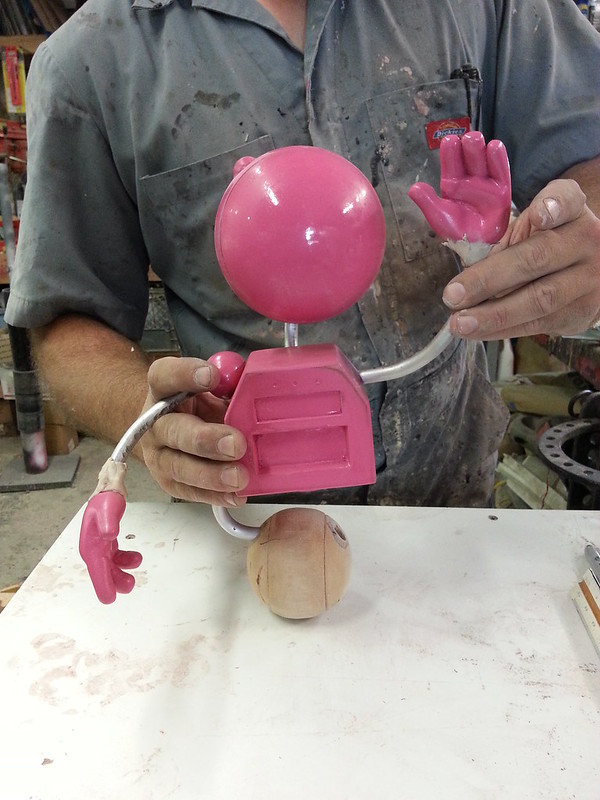
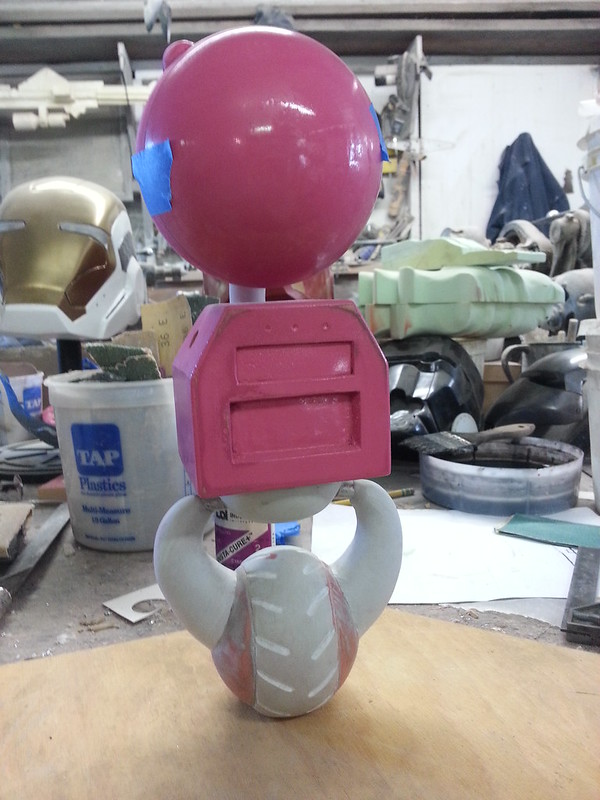
After a bit more sanding and polishing, everything was coated with my trademark lightish red prototype color:
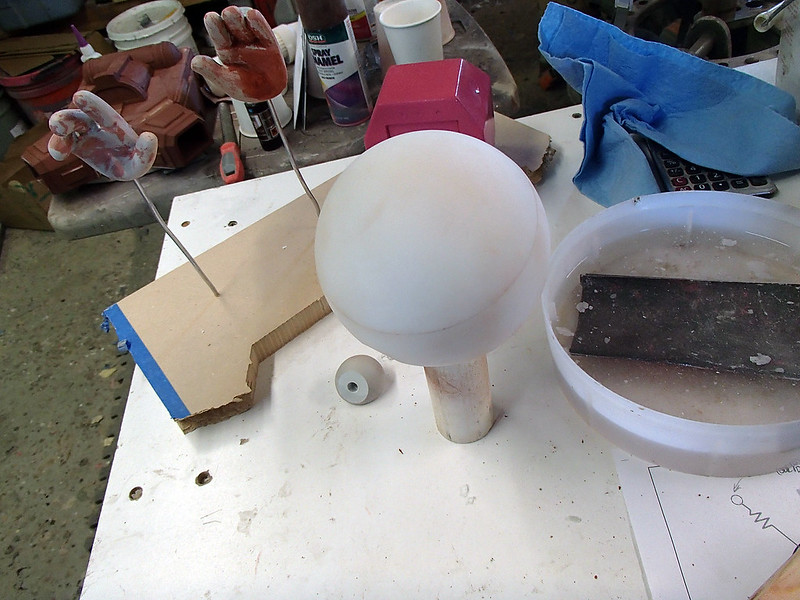
With the difficult parts of the top half made up, it was time to focus on the "leg" parts:
I started by having Lopez the Robot Whittler (my Carvewright CNC System) carve out a sphere in four slices:
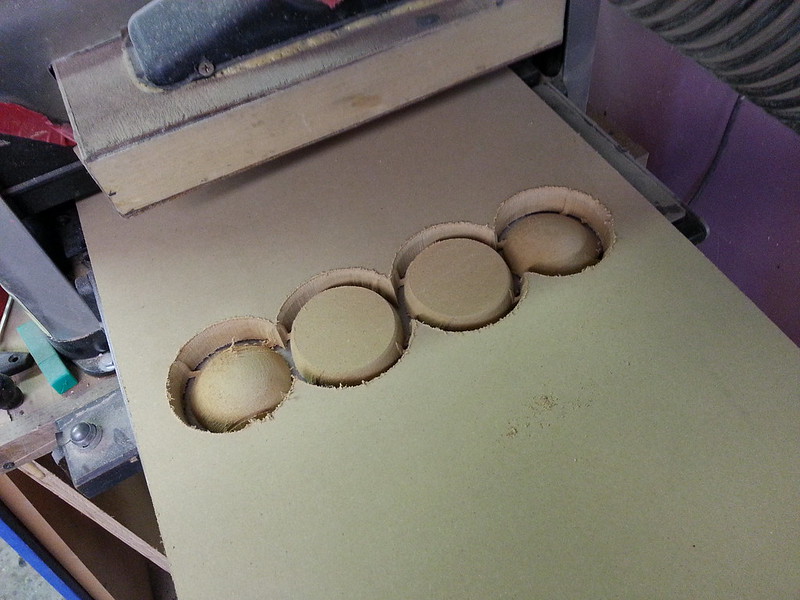
Then I added a couple of pieces of aluminum armature wire so I could sculpt on a bunch more Magic Sculpt:
The pelvis section was made by building up a rough hemisphere of Magic Sculpt over a cutoff from a PVC pipe coupler. Here it is in between the leg piece and the beginning of the neck sculpt:

So far so good:
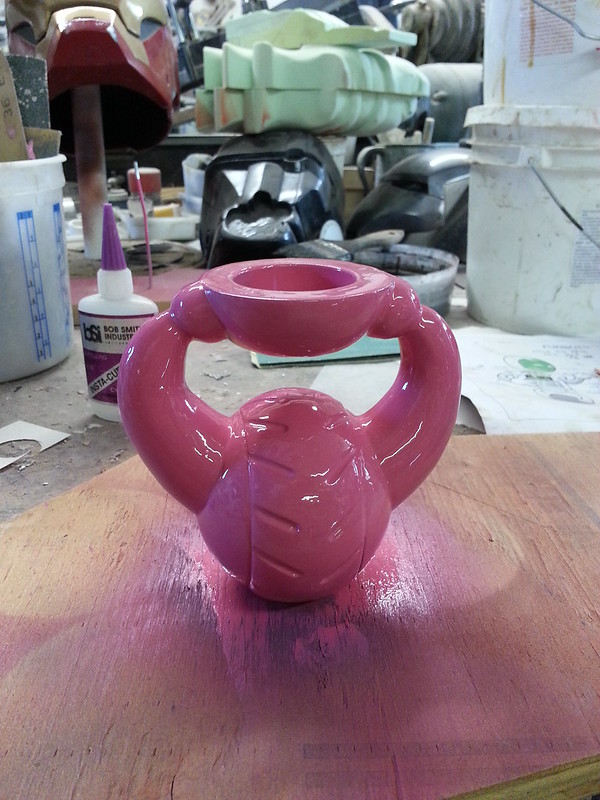
After a bit more sanding and shaping, the legs and pelvis were nearly ready:
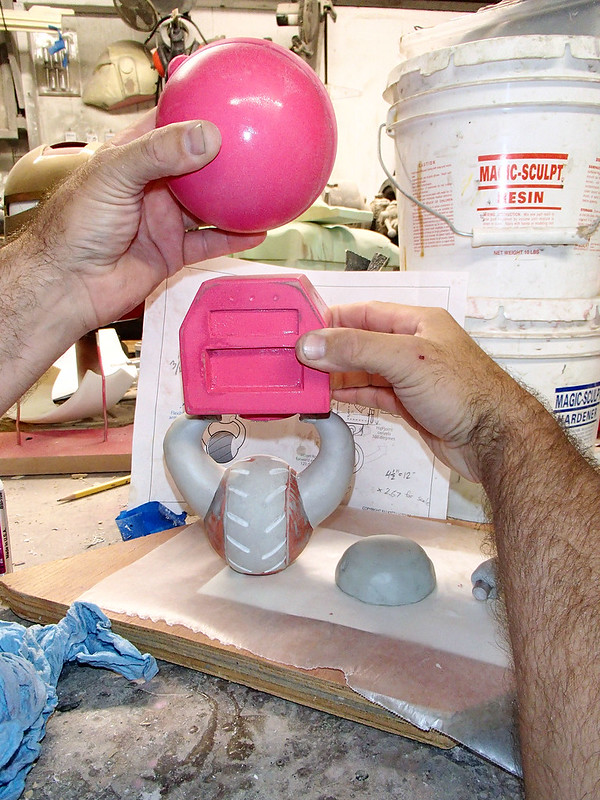
The last thing was to add a bit more bulk to the hip joints and make the whole thing shiny and light red:
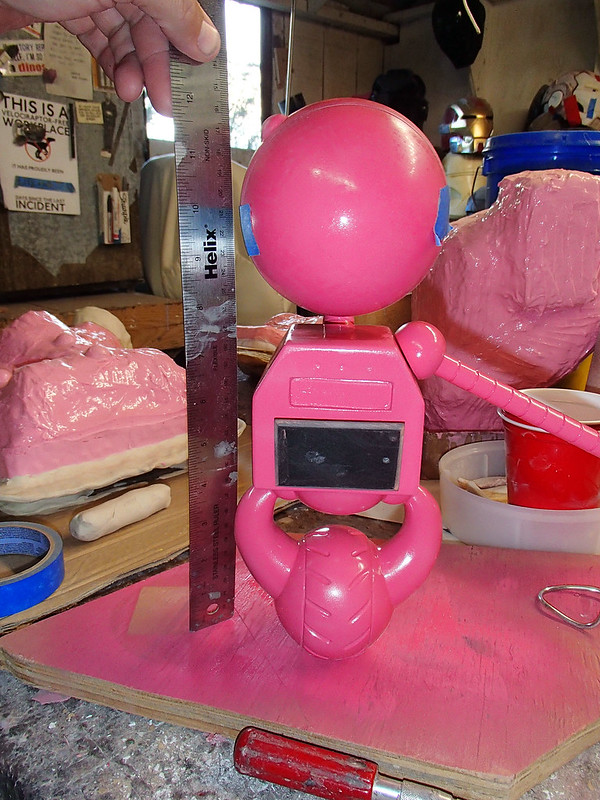
The arm was made from pieces of styrene tubing and another ball of Magic Sculpt. At this stage it was straight and way too long, but that would all be sorted out after molding:
When the time came to make molds, I handed off most of the labor to my shop assistant Kate (who will probably hate this picture):
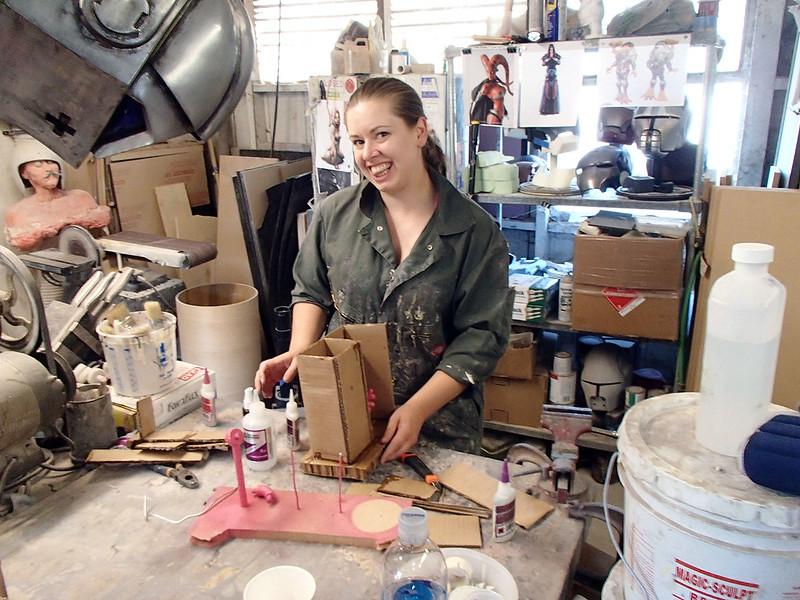
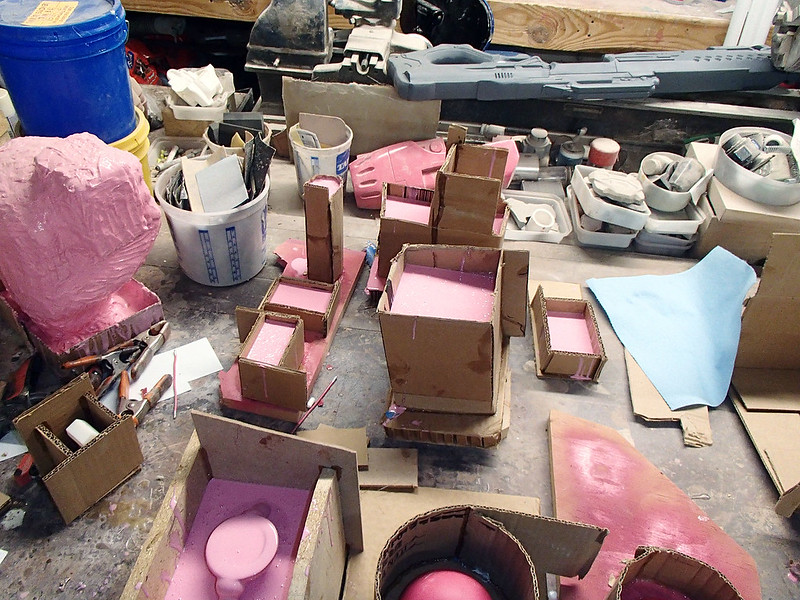
Kate built up a simple mold box for each of the pieces like so:
Then each of the boxes was filled with silicone moldmaking rubber:
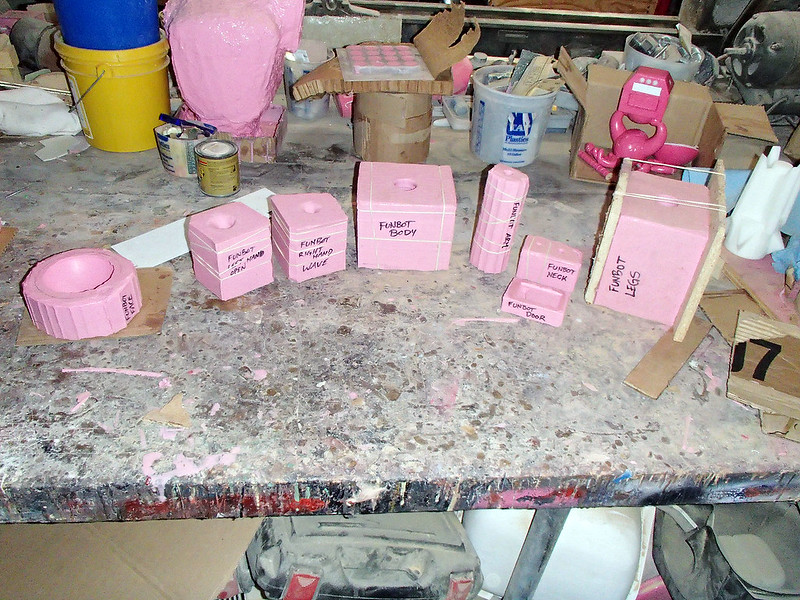
The next day, each of the boxes was dismantled, the prototype parts were removed from the rubber, and everything was ready for casting:
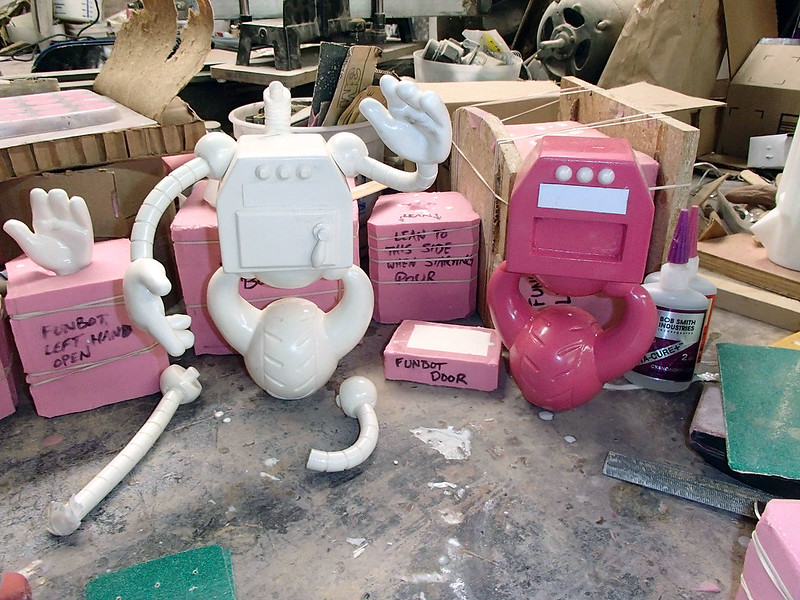
The casting was mostly pretty straightforward. The biggest challenge was the arms. In order to get them to curve, urethane resin was poured into the mold and allowed to cure almost completely. Just before it was completely cured and rigid, the part was pulled out of the mold, bent to whatever pose the arm needed, and held in place until it had cured with the bend in place. This meant that every copy of the statue would have a somewhat unique pair of arms:
The other big challenge was the clear dome for the face. Casting in clear resin means being absolutely paranoid about introducing any air bubbles into the resin. I ended up casting at least two bad copies of these domes for every reasonably good one I got out of the molds. I really need to hurry up and get that vacuum chamber I've been talking about.
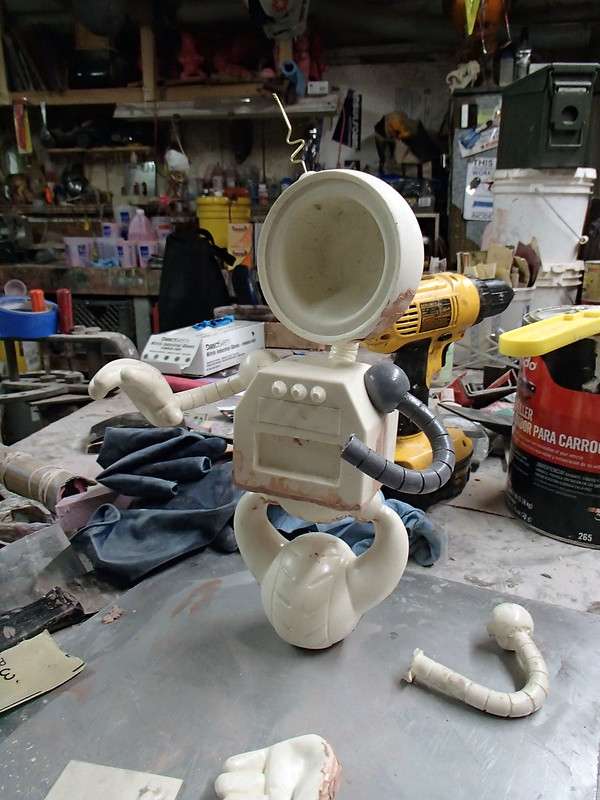
Still, I'm pretty happy with the final castings:
To give the little guy a bit more personality and expression, his eyes would be painted on the inside of the dome. I did a test paintjob on the inside of one of the reject domes as a proof of concept:
Seemed legit.
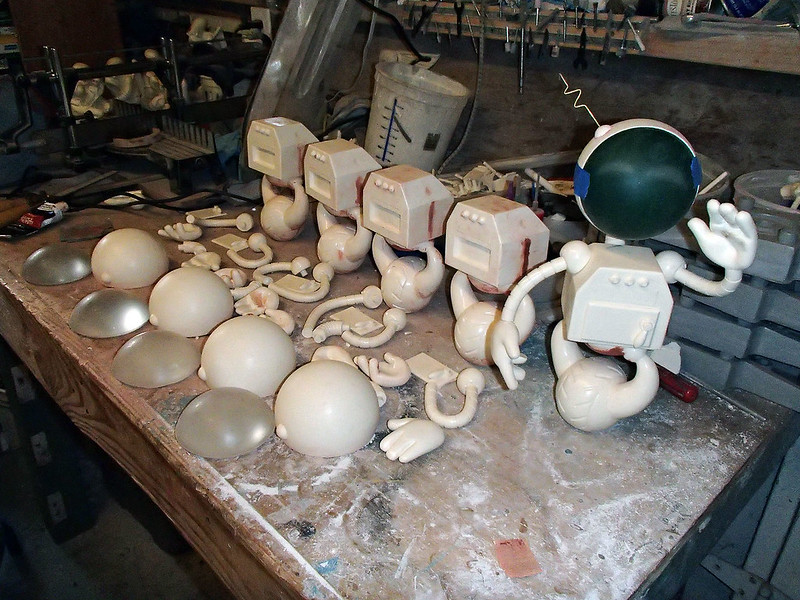
I made five sets of parts. Here they are all lined up on the bench before they were primed:
These were delivered to the folks at Fundemonium so they could have someone else paint them. That's when I lost track of those five.
Some time later I went ahead and pulled another set of parts so I could add one of these guys to my own collection:
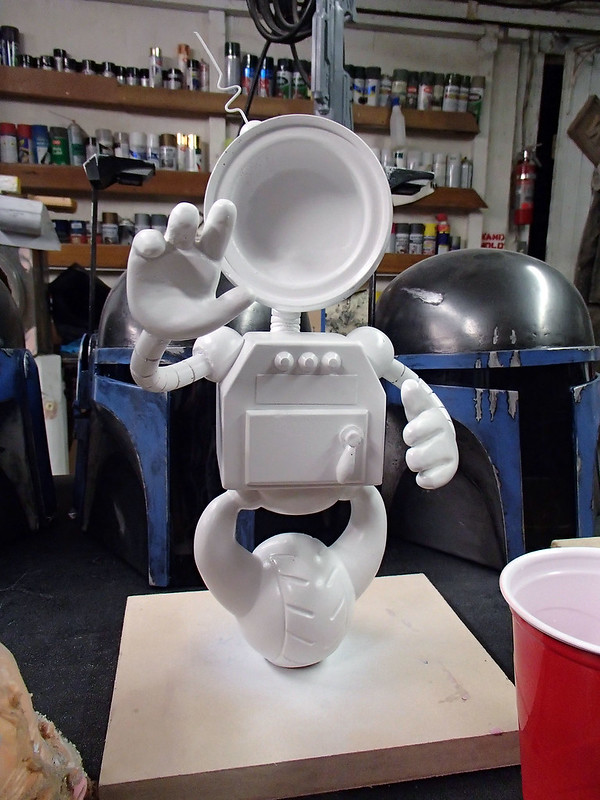
When there was a bit of a lull in the workshop, I gave him a quick and dirty paint job. Here he is in primer:
Later, I found a few minutes to paint up the contrasting arms and door panel:
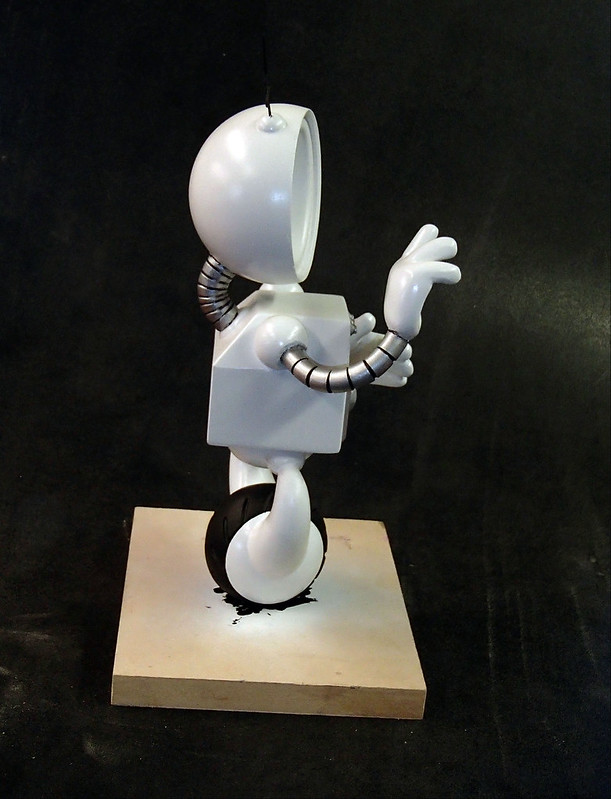
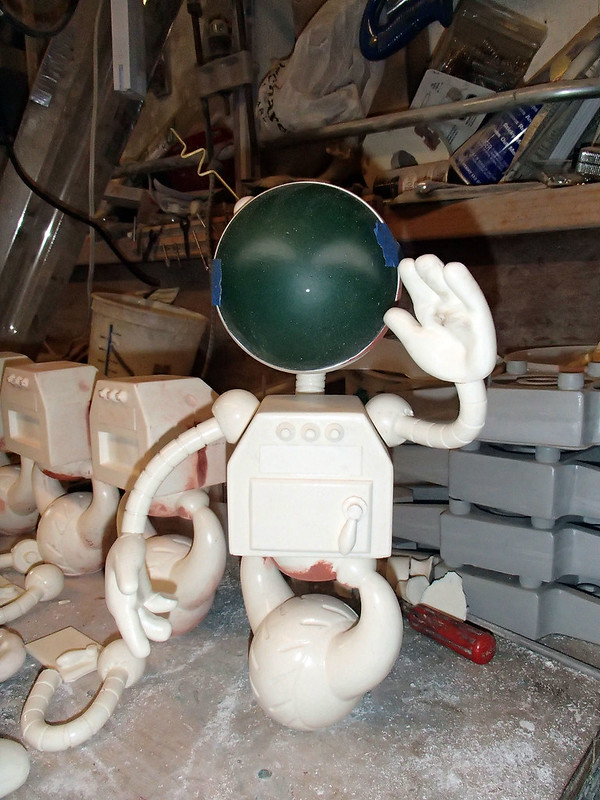
Then the face dome was painted and glued in place:
And just like that, it was done.
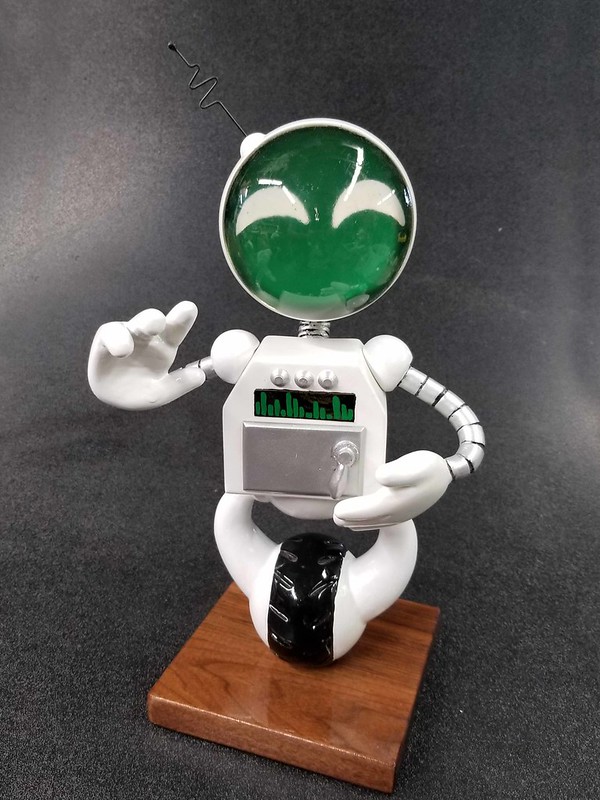
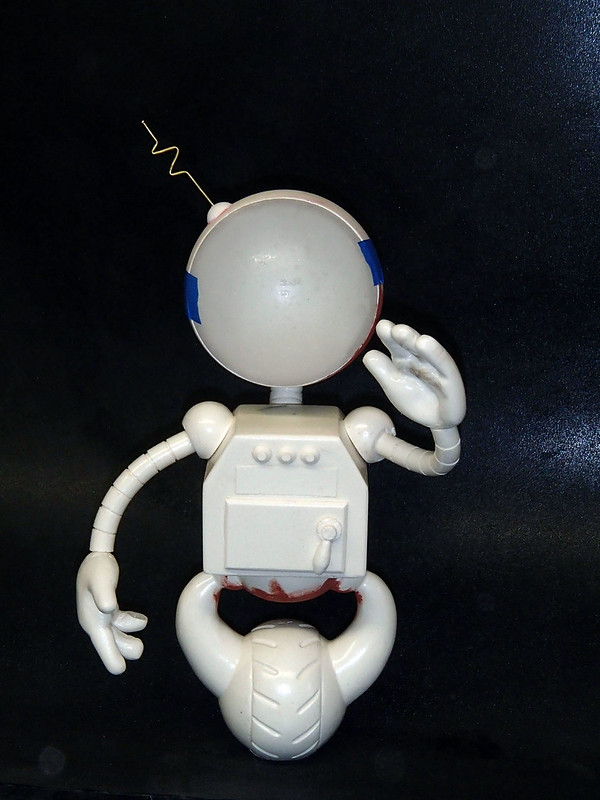
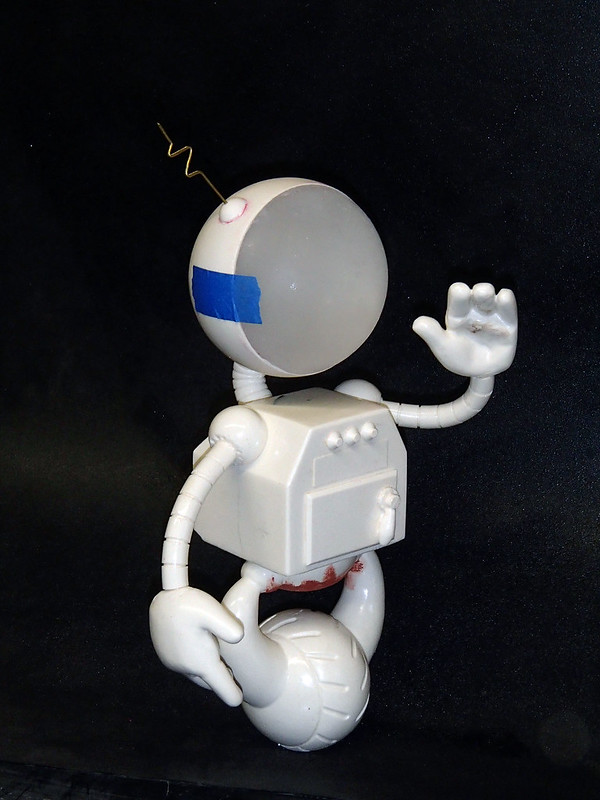
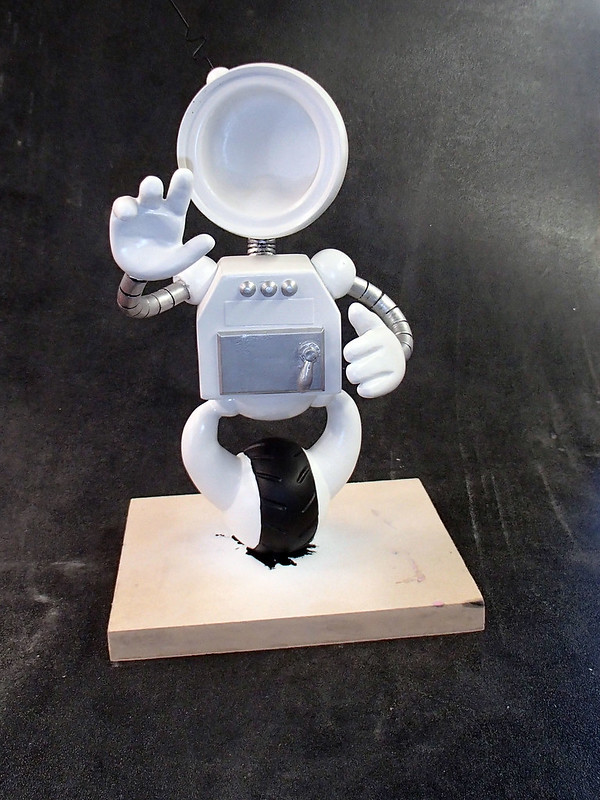
Here's my finished Funbot in all his glory:

And another shot in front of the store:
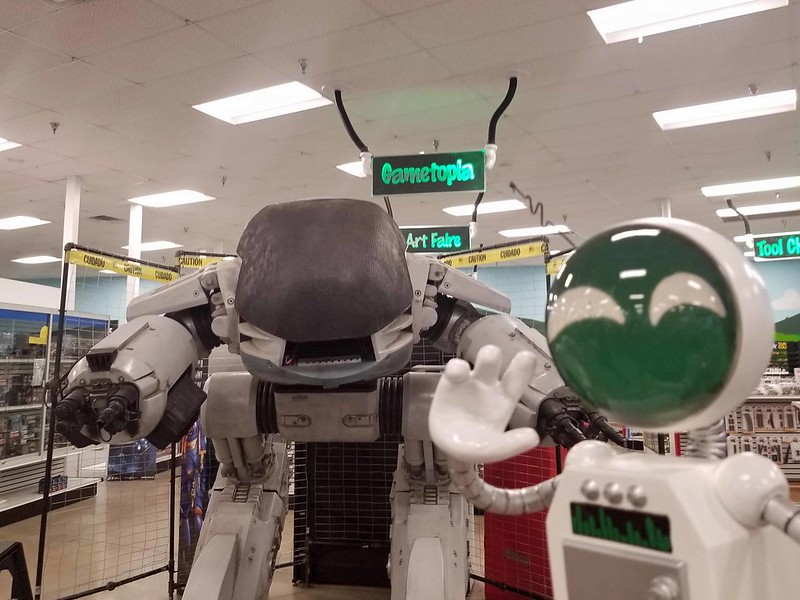
And finally, here's a shot of him inside next to ED-209:
Thanks for reading and be sure to subscribe so you don't miss any updates.
This looks like a fun little project. I have a friend with a store who needs this kind of stuff to decorate it. Thanks for sharing.
ReplyDeleteSo I am curious about how many man-hours did this take (No offense intended to Kate for such a sexist term), not including initial design time. Initial design and thought can take forever, but how long to actual do it? Also, how much was all the casting rubber? It's hard to get a sense of the volume used.
And you don't have a vacuum chamber?! My image of you is destroyed! How can you call yourself a maker? ;)