
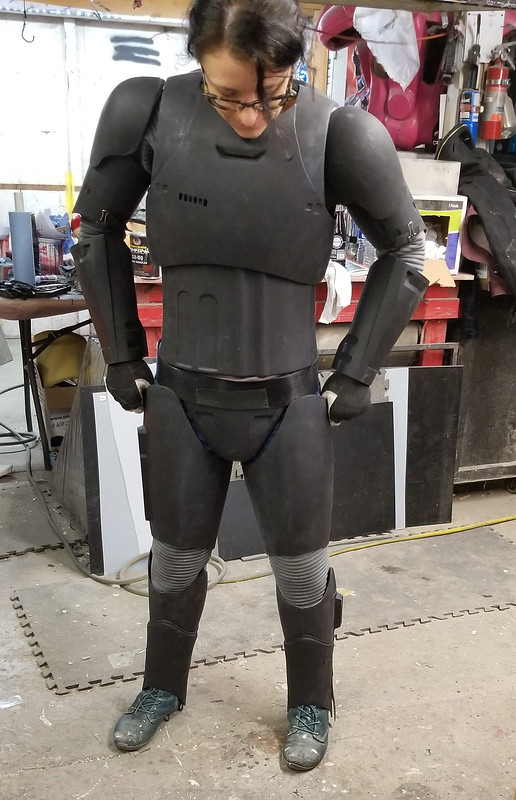
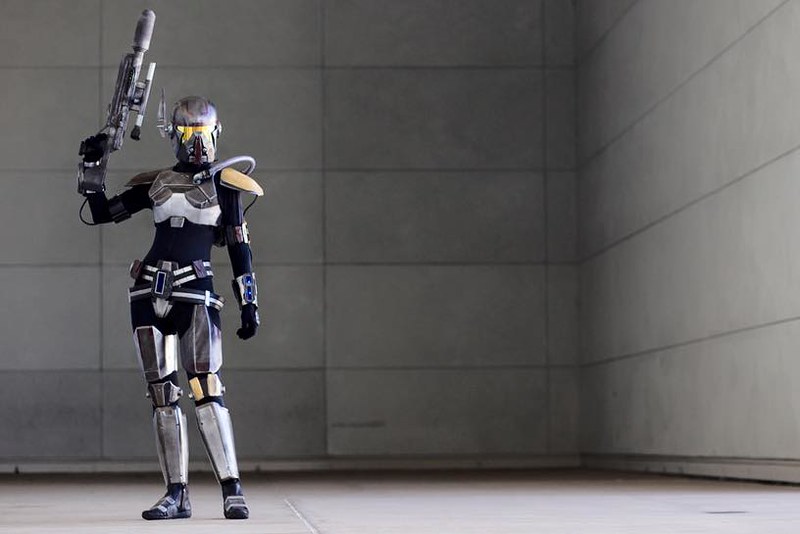
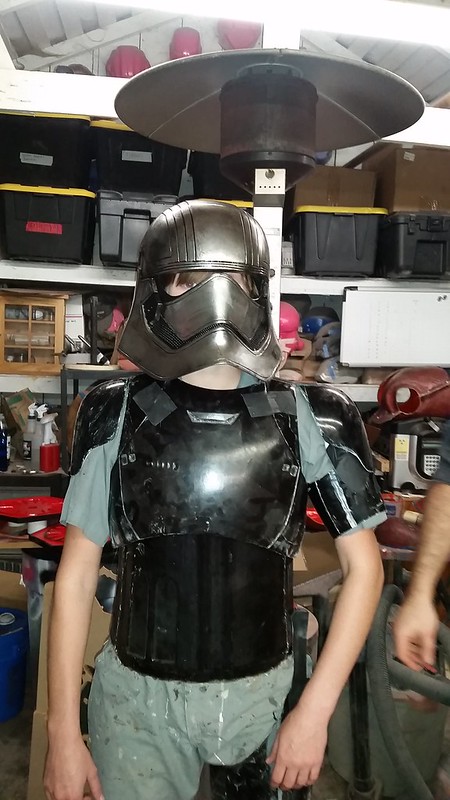
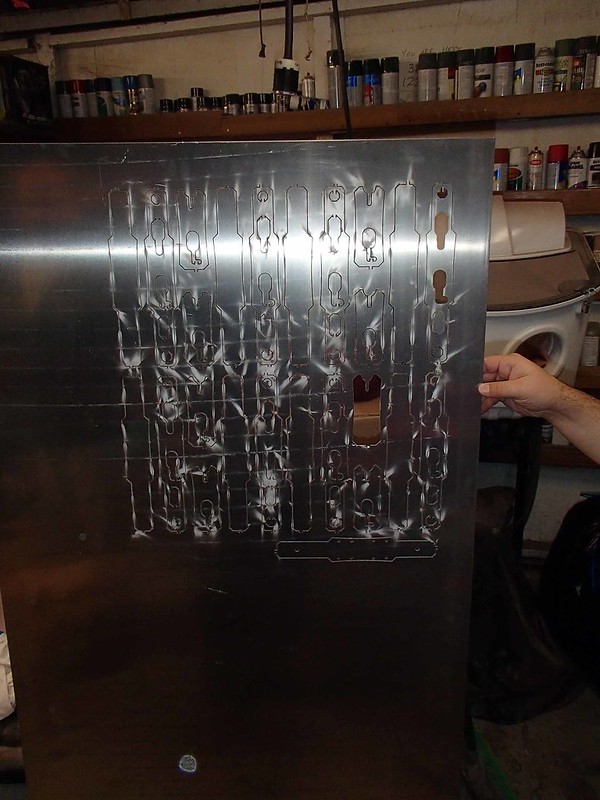
Now I'm almost done with the rest of the armor. At this point I've completed everything but the painting and rigging. It looks like so:
To see how it was made, read on...
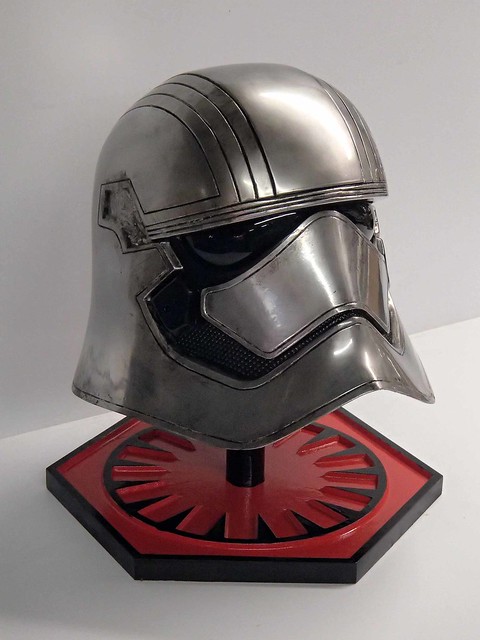
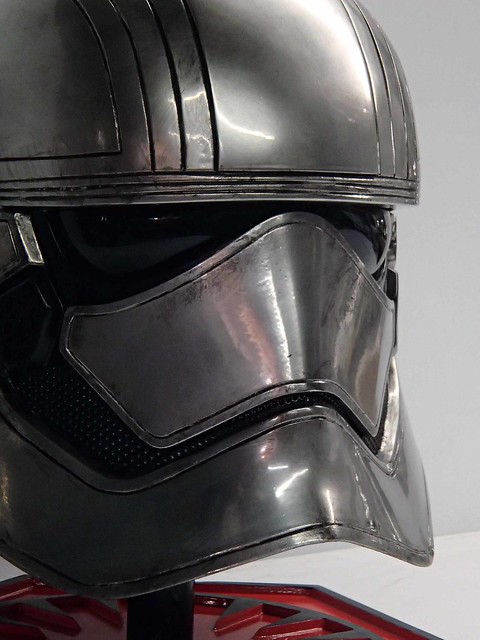
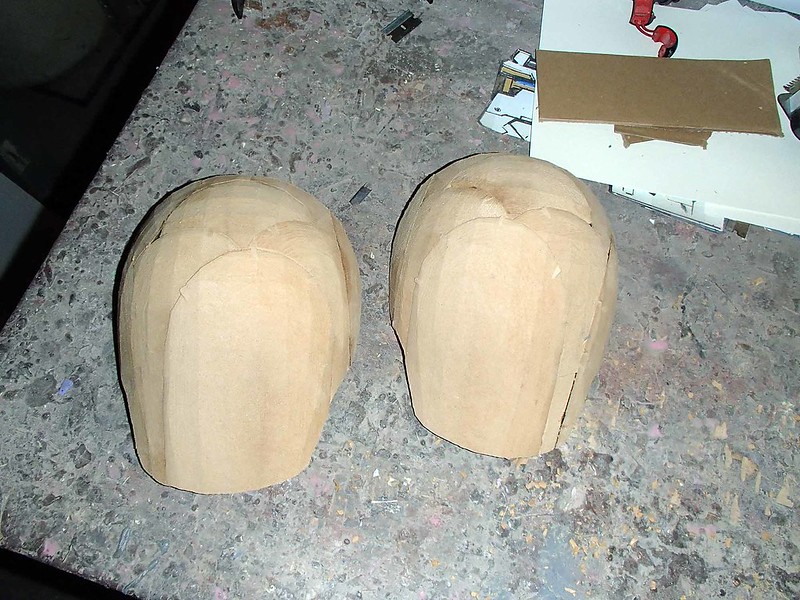
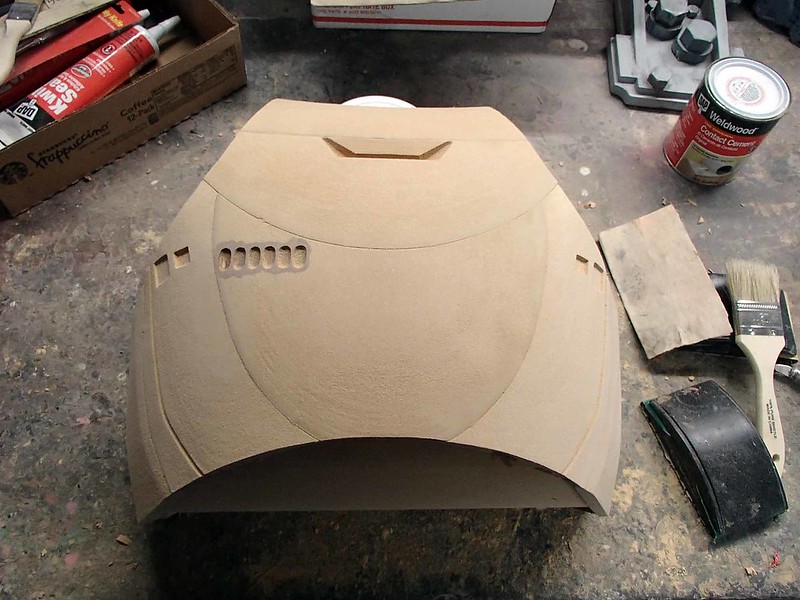
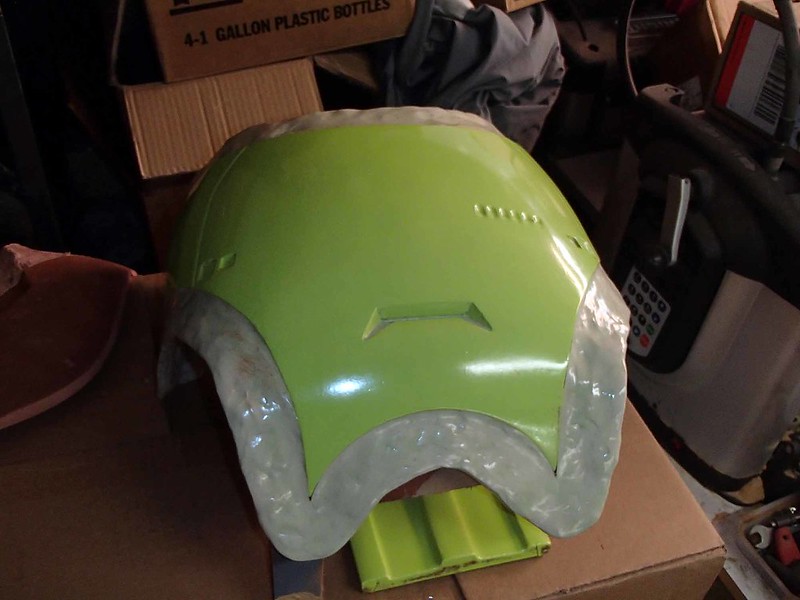
I was pretty happy with the way the helmet turned out.
But somewhere along the way, Doctor Girlfriend mentioned that she thought the Phasma was pretty cool looking and that she'd love to wear the armor if I made it. Since I had most of the digital models I needed for the rest of the armor, I started feeding them to Lopez Dos Point Oh (my second Carvewright CNC machine) whenever time permitted. I started with the shoulders:
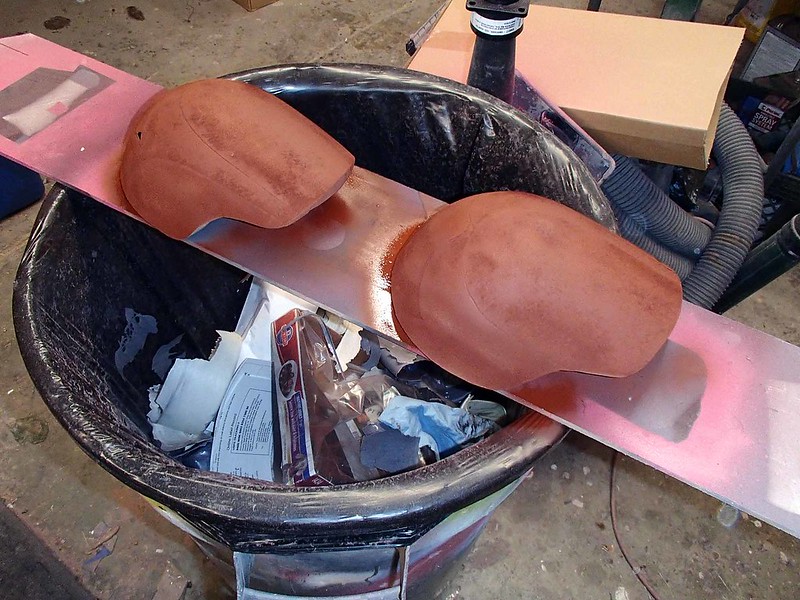
Here's the shoulder parts with the waste removed:
And fully assembled:
A quick test fit and I felt they were about the right size:
Then it was just a matter of smoothing them out:
And soaking a bunch of primer into the surface:
It was slow going while I was working on other projects, but at least it was a start.
Then I get a call from my friend Ian...
"Are you making the rest of the Phasma armor for Shawnon?" he asked.
"Sure," says I, "why do you ask?"
"How tall is she?" says he.
"She's five foot eight and a half inches tall," I says.
"Anna (Ian's wife) is five eight and a half," says he.
"Yeah..."
"I've got an idea."
"I think I like your idea."
Anna is pretty much the exact same size as the Lady Shawnon. Case in point, a couple years back, I made Shawnon a Shae Vizla costume:
You can read about that project here: LINK
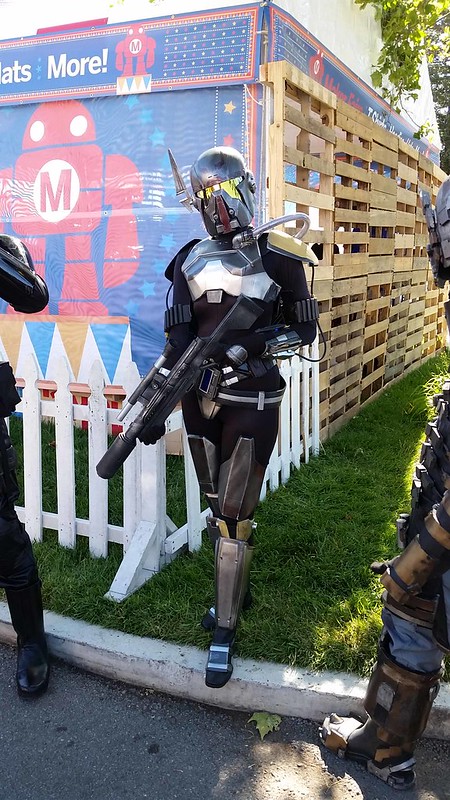
A few months later I was showing off my projects at the Bay Area Maker Faire and we put Anna in the Shae Vizla armor:
The best part, not only are Ian's wife and my girlfriend the exact same size, Ian has a Carvewright CNC machine just like mine. So I could lay out the parts for carving, email him the files all ready to go, and he could double my efforts. Clearly the universe had decided we should join forces and make not one but two full costumes.
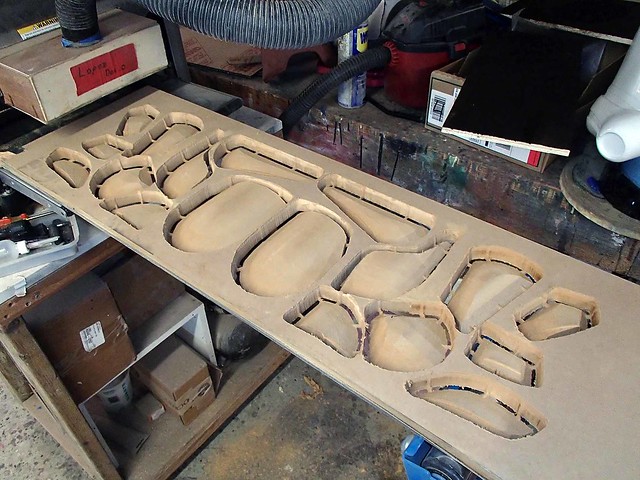
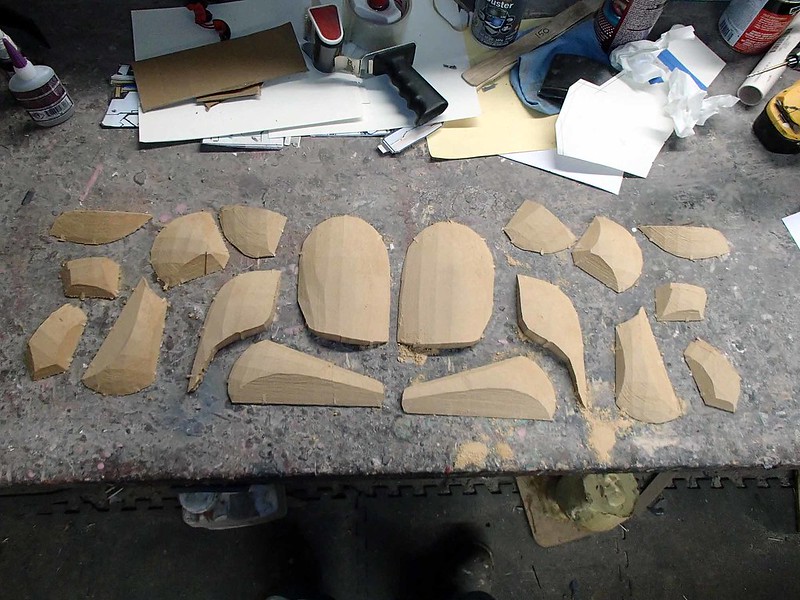
So while I got started carving out the chest armor:
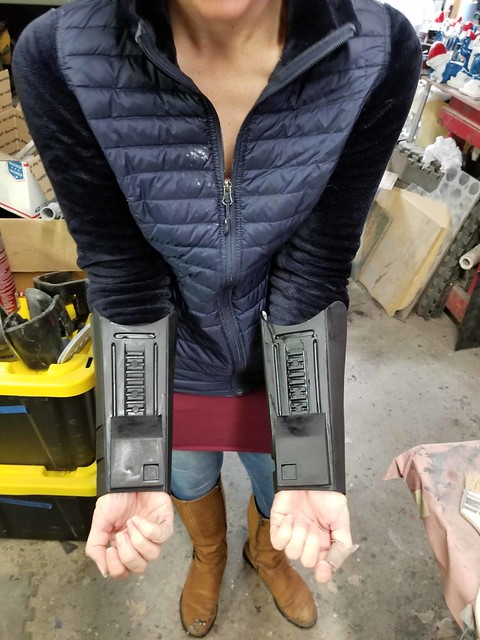
Ian started on the arm parts:
We ended up splitting up the armor prototyping between us. I'd make the torso parts and he'd make the arm and leg parts. Then, when everything was all smooth and shiny, we'd get together in my shop and make the molds.
Early test fitting with the Anna and the prototypes was promising:
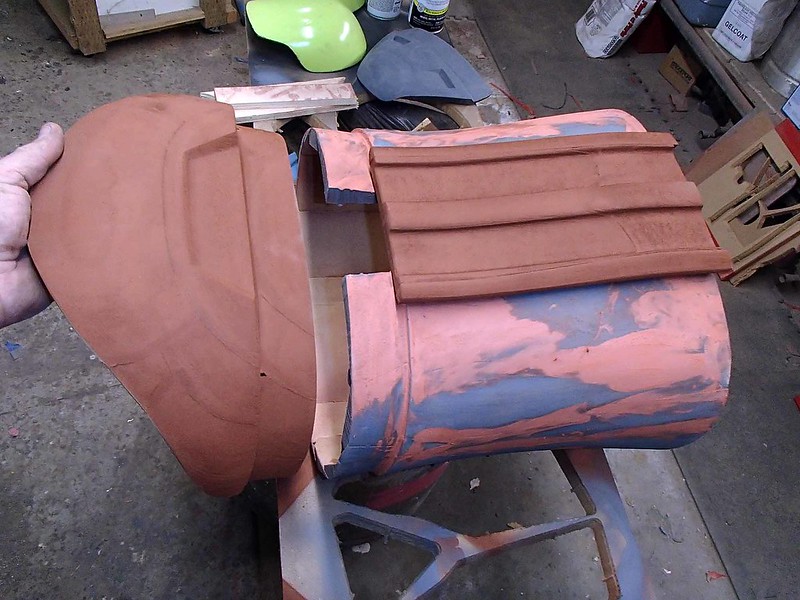
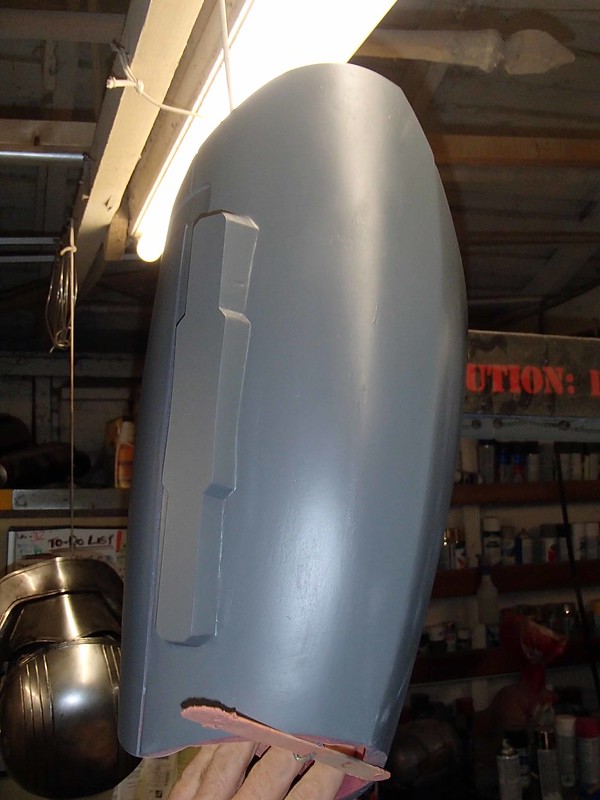
Here's my prototype for the back all smoothed out and ready for a gloss coat:
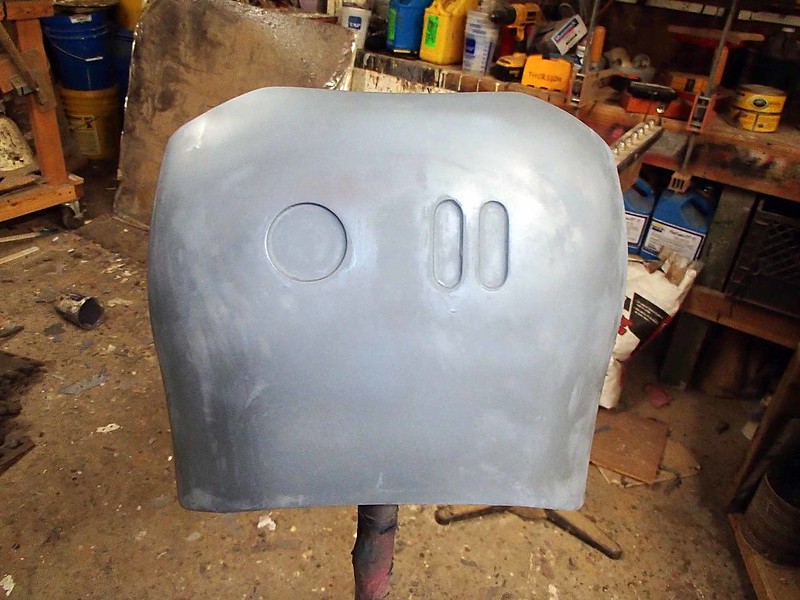
Here's the butt plate after assembly and initial smoothing:
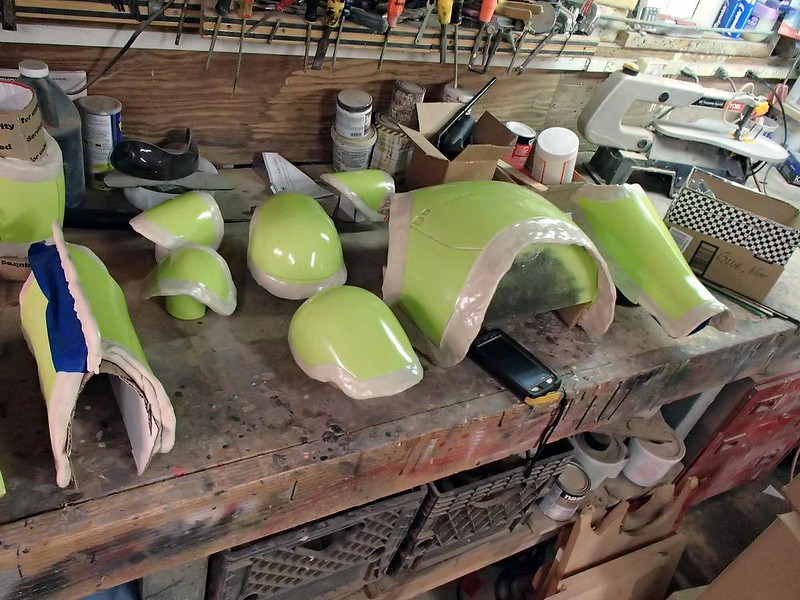
Here it is with primer next to the waist prototype:
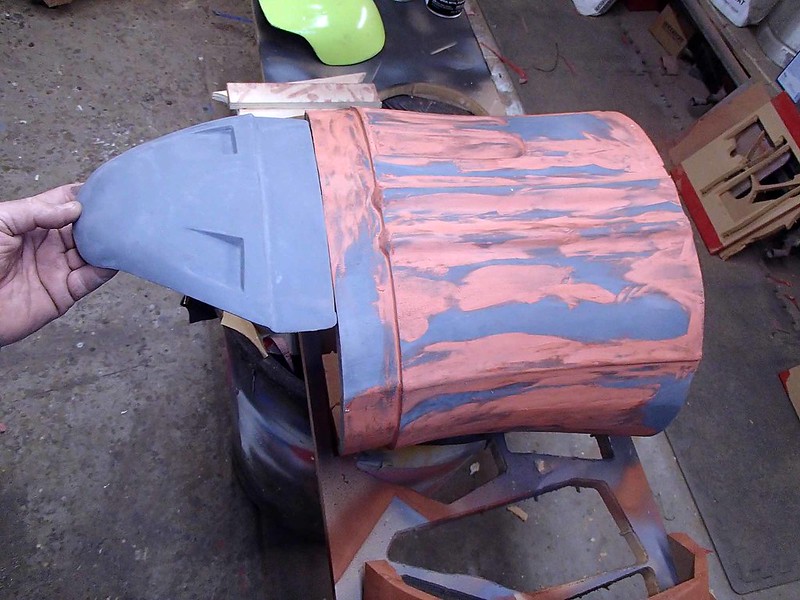
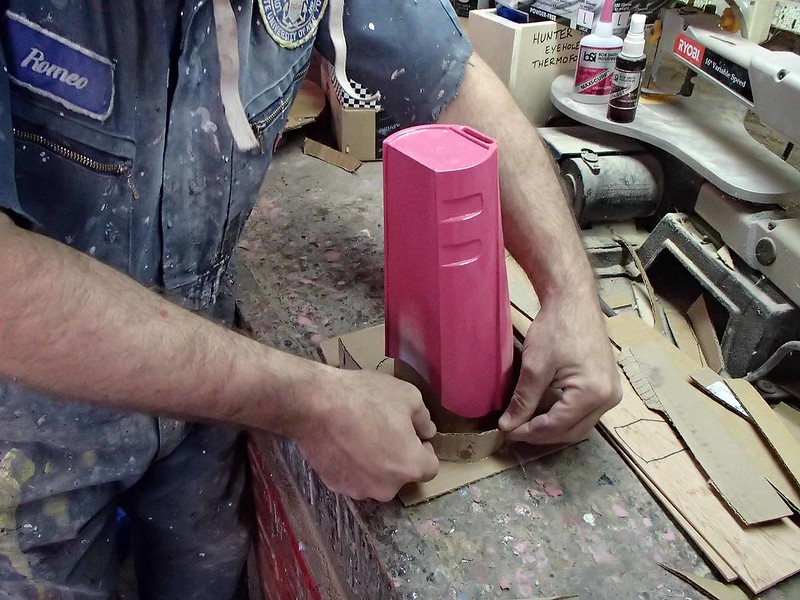
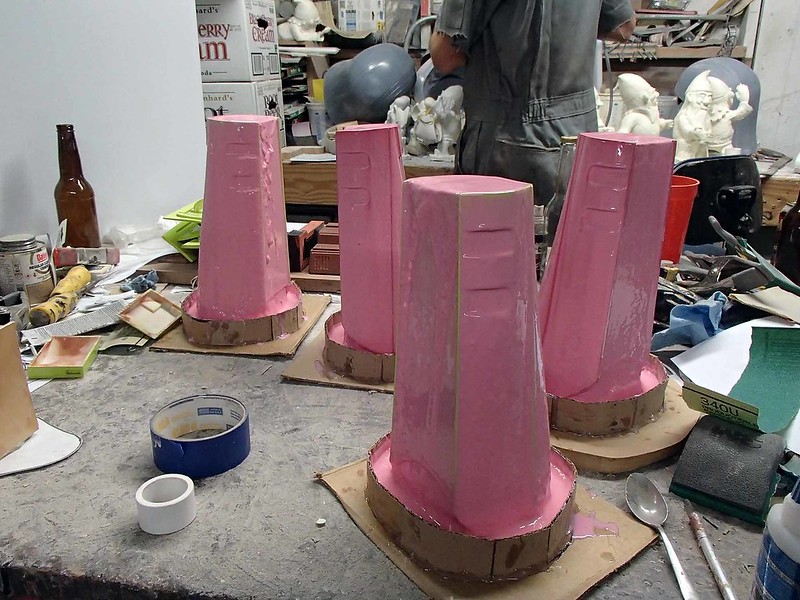
Ian drew up the digital models for the codpiece and the ankle armor plates. Here's the codpiece after I'd carved, assembled, and smoothed it:
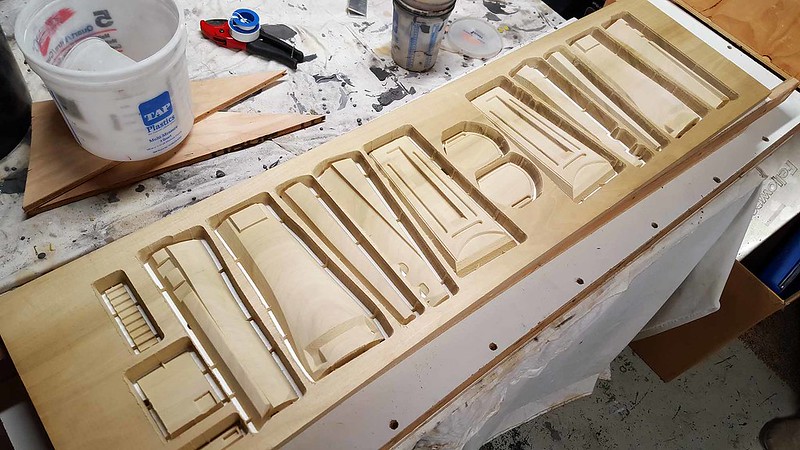
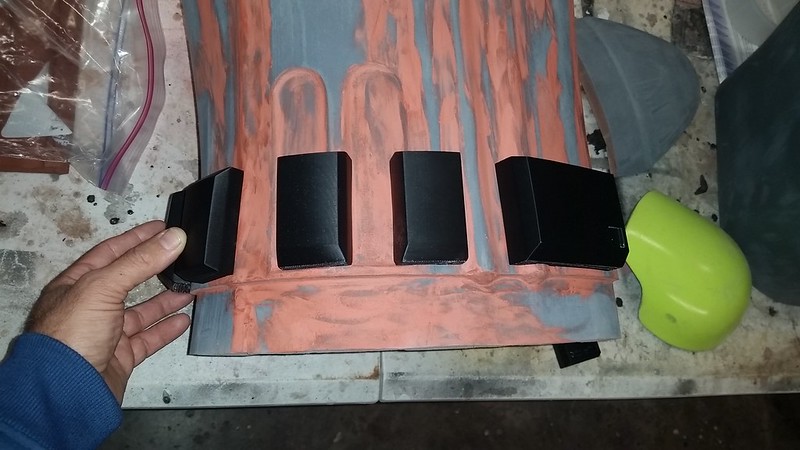
The Carvewright is a good way to make big pieces relatively quickly, but for the small parts, I tend to prefer my Zortrax 3D printer. The raised abdomen box details were all printed in ABS plastic:
Meanwhile, Ian was making good progress on the arm and leg parts in his shop:
He also printed two different sizes of hand and wrist plates on his 3D printer:
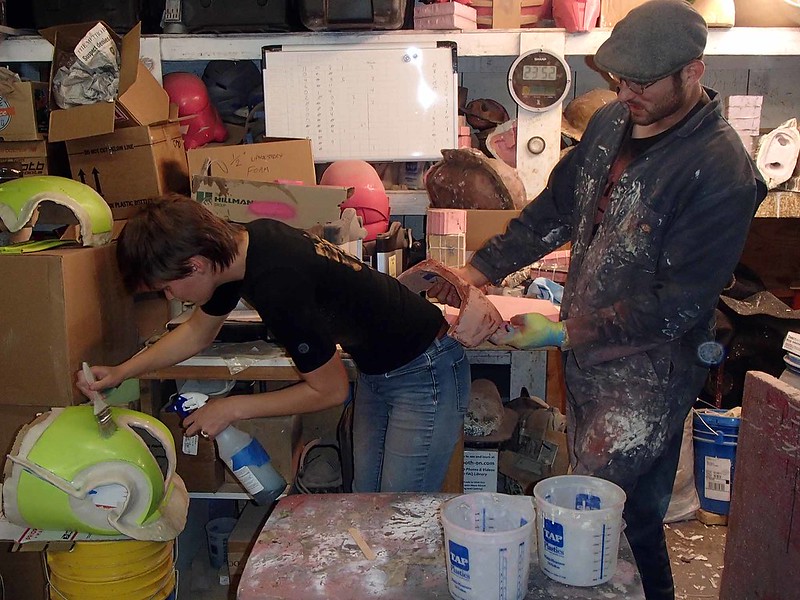
When we finally had most of the parts shined up and ready to mold, we got together in my shop again:

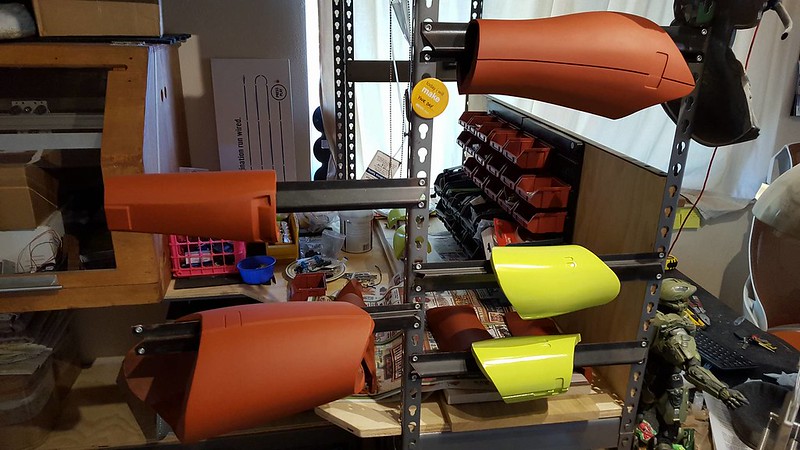
Funny story: I'd run out of my standard lightish red prototype spraypaint. Rather than run out and grab more, I just reached for the next most obnoxious color I had on hand. Without any coordination or discussion, Ian just happened to be using the exact same "Key Lime" Rustoleum spraypaint on the prototypes in his shop. They say great minds think alike, but apparently so do Ian and I.
Fiberglass Mold Making
Since most of the parts were smooth and had very few small details, we were able to get away with building rigid fiberglass molds. This is great because they tend to be much less expensive and time-intensive than silicone rubber molds. And if properly cared for a fiberglass mold can theoretically generate a lot more copies.
It all starts with adding margins around the edge of the parts to be molded. This way you can lay up fiberglass past the edges of the parts which will give you a nice, strong edge when the excess is trimmed off. Here's the chest plate with clay borders added around the edges and coated with release agent:
This is Anna coating the back/inner chest with release agent while Ian check the sizing of the butt plate:
Prepping the parts for molding went fairly quickly:
In short order, we had a pretty significant stack of parts ready to go:
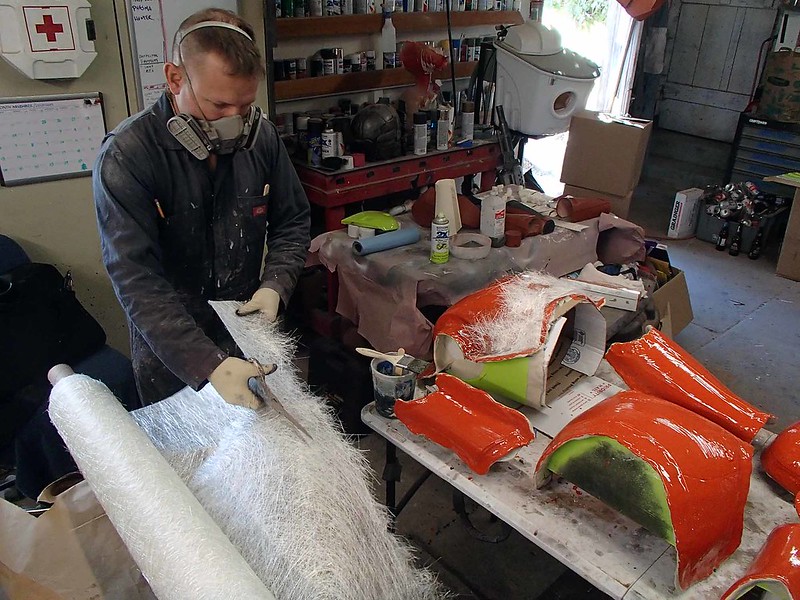
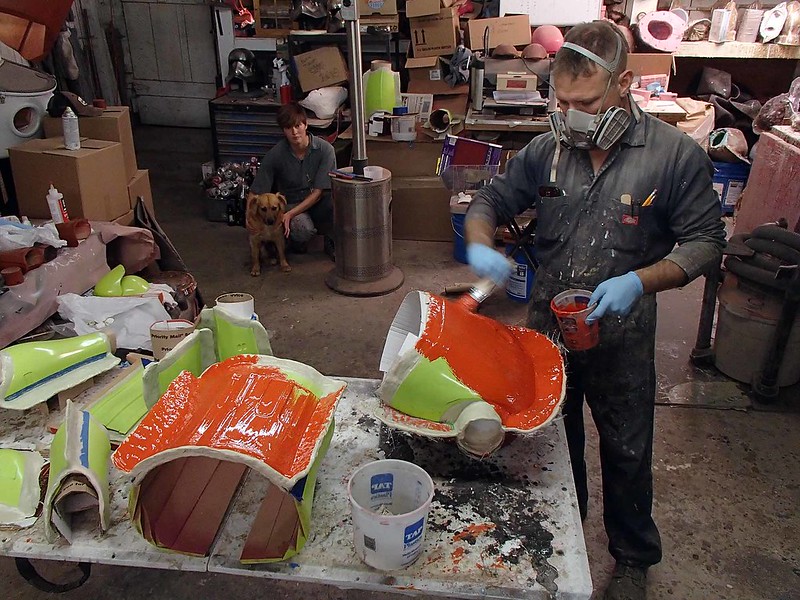
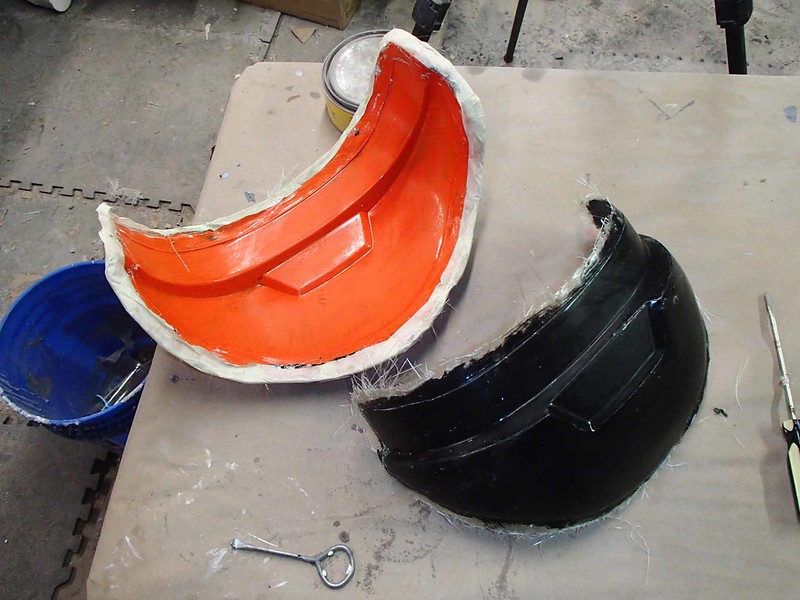
Molding began with a liberal slathering of orange tooling gelcoat:

Done:

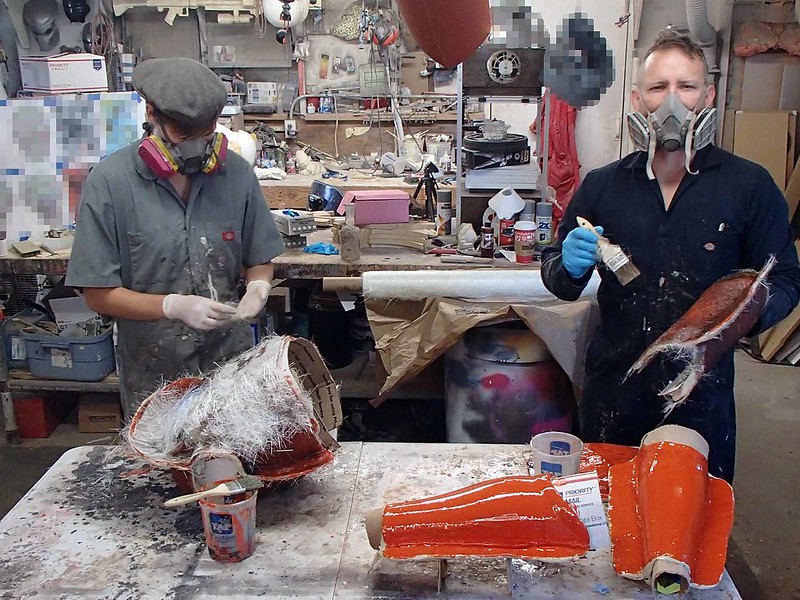
Once that had set up, I got started laying up the fiberglass reinforcement:
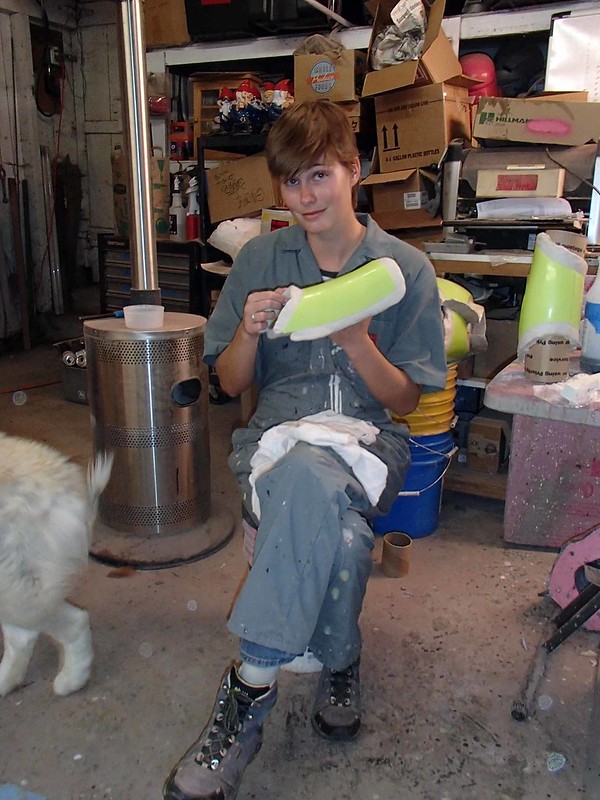
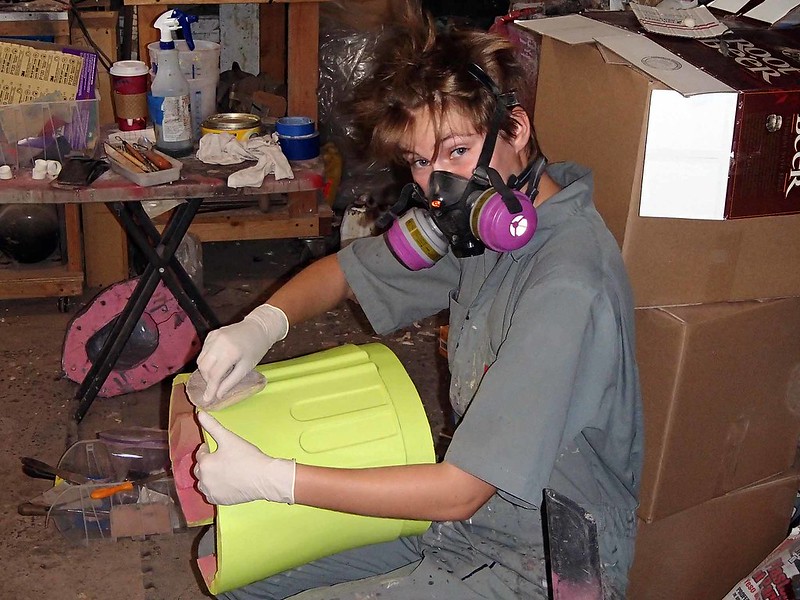
While I did that, Anna polished some of the other parts that were almost ready to mold:
Ian continued to put the finishing touches on some of the other parts that needed more attention:

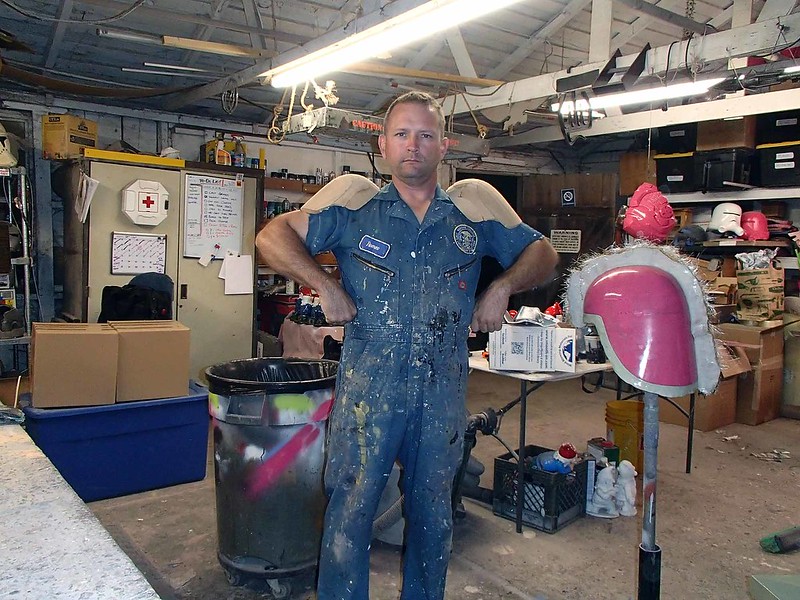
Dynamic action poses help in these situations.
Things continued this way for quite some time:
We all ended up rotating through the various stages of the project:
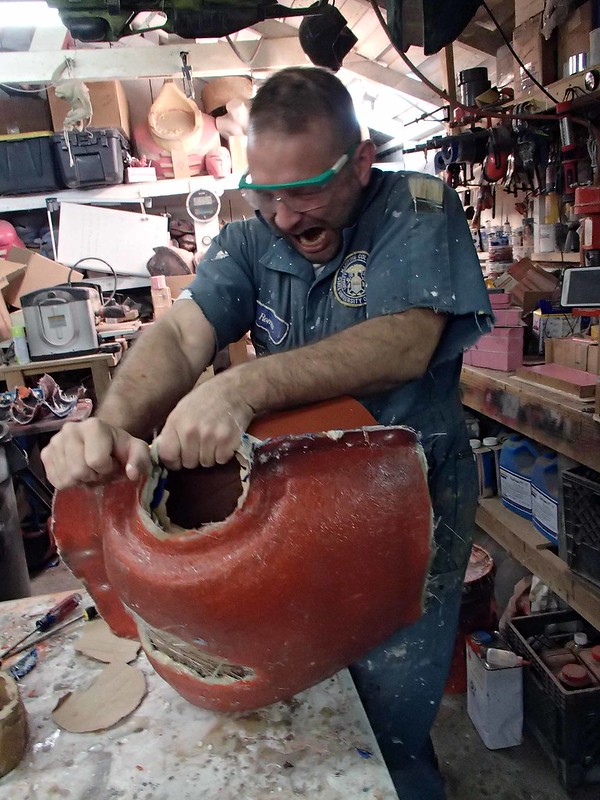
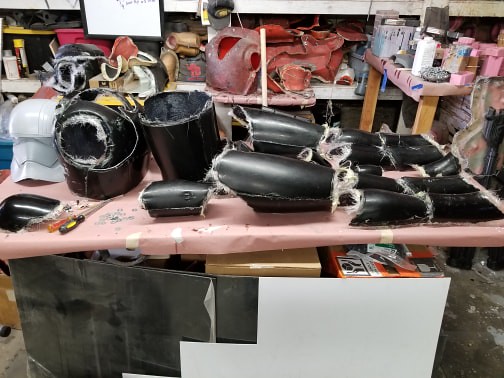
Once the glass was all cured, it was just a matter of demolding the protoypes:
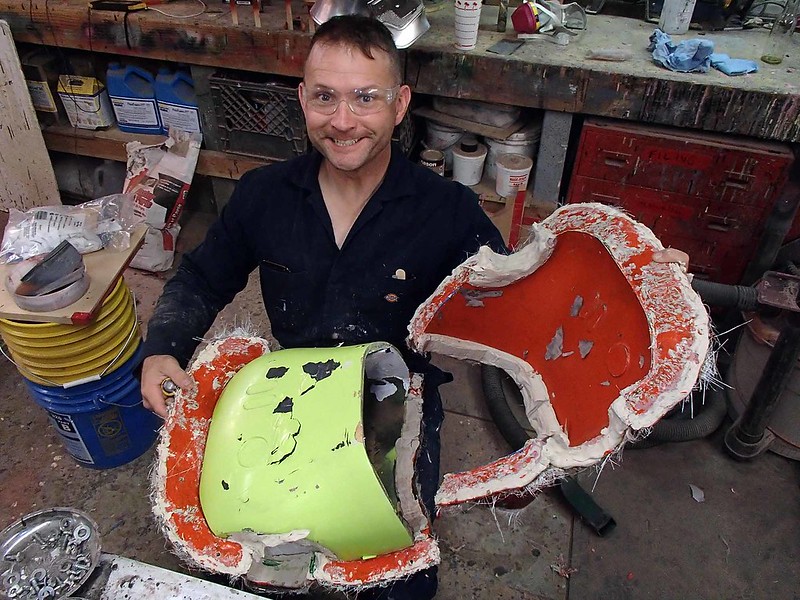
Which wasn't always easy:
The molds were then wet-sanded to 1500-grit smoothness before waxing and coating with PVA release agent:
Once the release coat was dry, each part was given a generous layer of black gelcoat:

After the fiberglass was laid up and given time to cure, it was just a matter of demolding the parts:
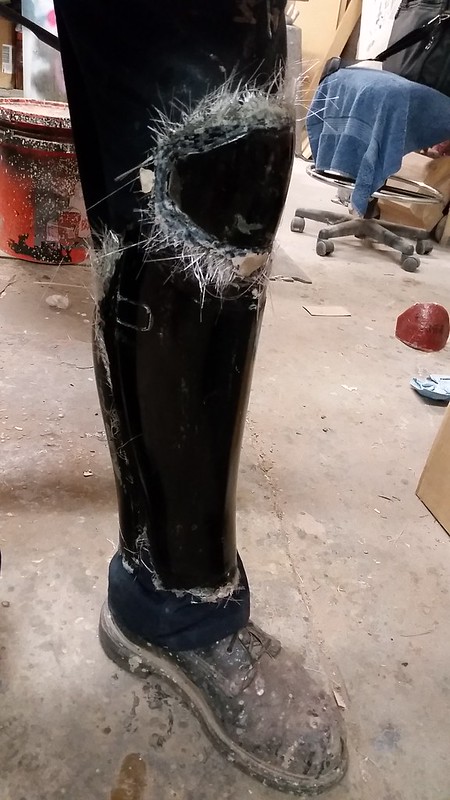
Here's a kneecap in place prior to trimming the fuzz off of the edges:
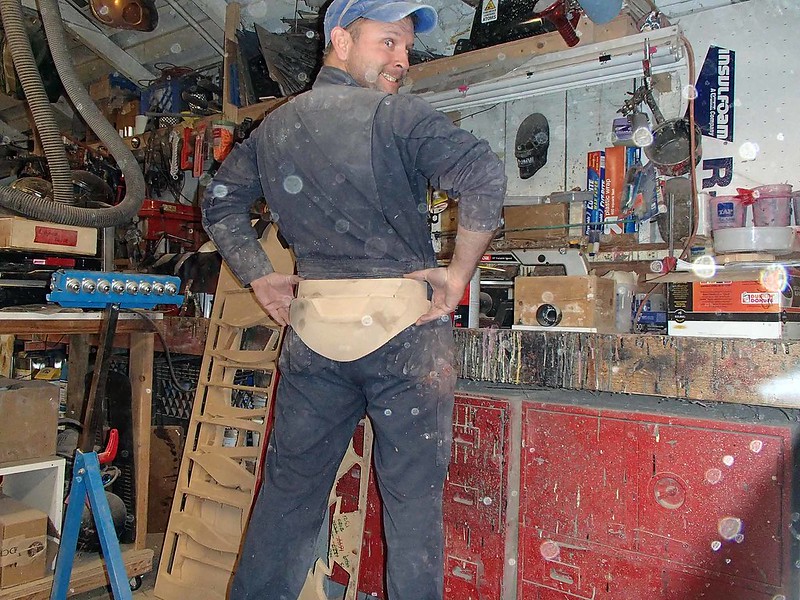
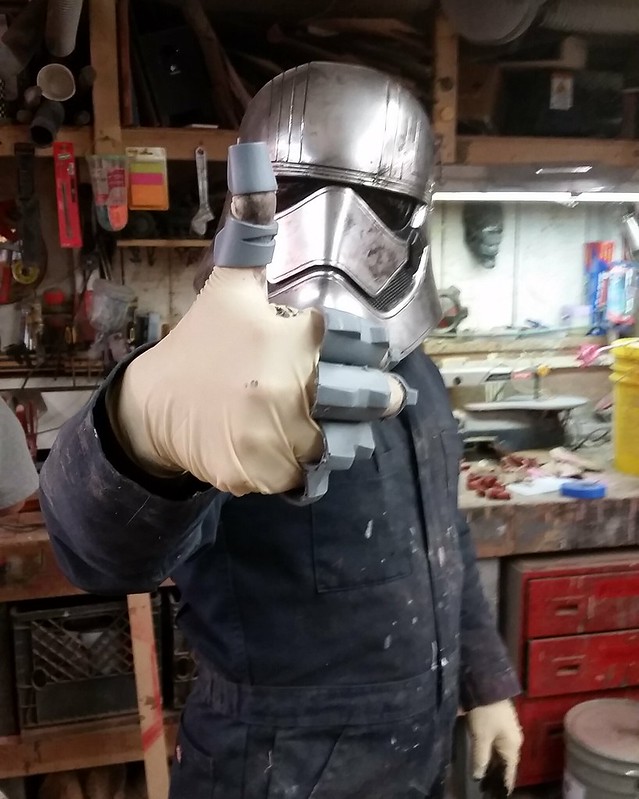
Here's me test-fitting some of the early parts:
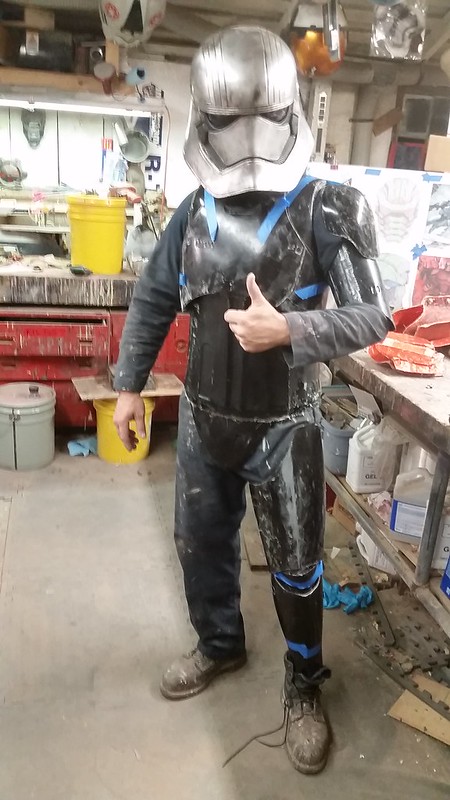
Of course, I'm not quite as tall as Anna or Shawnon, so the finished parts will look better on them:
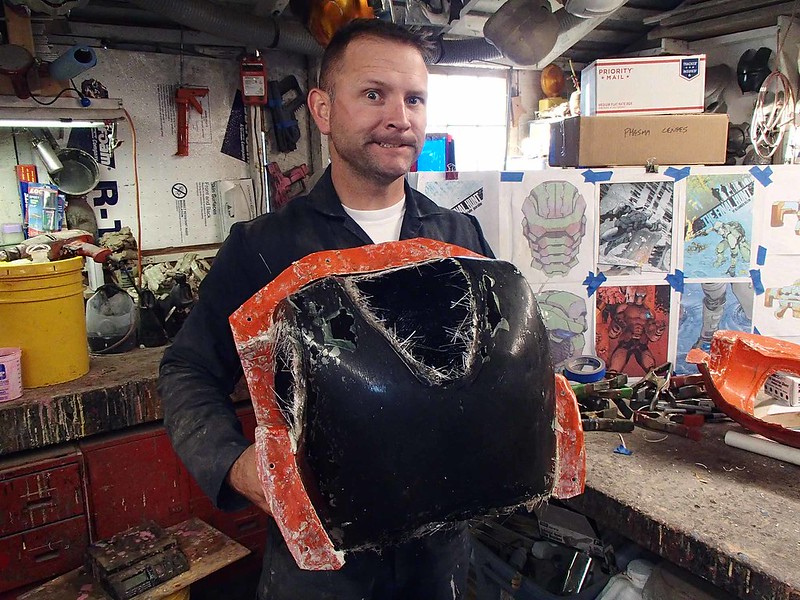
The very last part of armor to be molded in fiberglass was the buttplate. I decided that the first version wasn't quite right, so I had to go back and re-do it from the prototype stage:
Most of the parts were all pretty straightforward fiberglass moldmaking and layup. The first technical oddity to figure out was the right thigh:
That raised block is there for a holster bracket with keyhole slots to hold a trooper's blaster or pistol. In order to make the holster bracket functional, I sent my friend Mark the 3D model of the thigh as well as a whole bunch of photos of the screen-used armor that had been on display at the D23 Expo. A few days later, he turned up with this piece of aluminum sheet:
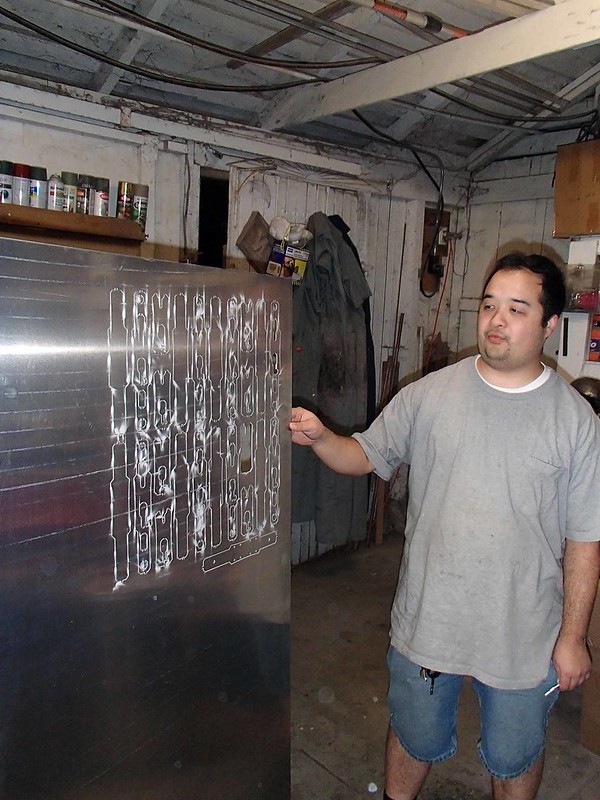
With the waste material trimmed off and the edges filed smooth, these were the parts stacked up to make the holster bracket:

Not too shabby.
Of course, the real trick was then sourcing all of the oddball metric fasteners that they used to attach this assembly to the armor:

The fasteners in question turned out to be two different sizes of Torx tamper-proof screws as well as one button cap Torx screw. They're all available from McMaster.com, but I'm pretty sure the guys who make these things for the movie use oddball fasteners just to mess with me.
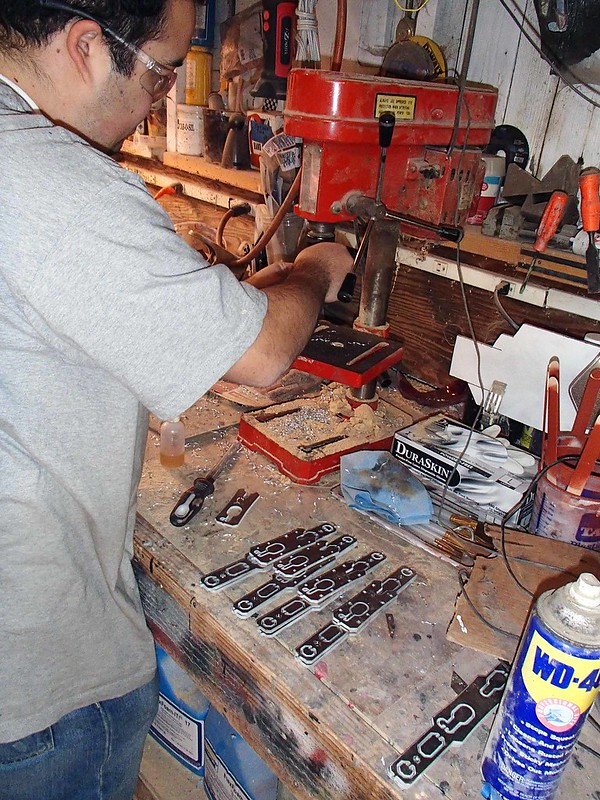
As long as he was hanging out, Mark spent some quality time with the drill press drilling and countersinking all of the screw holes:
Rotocast Parts
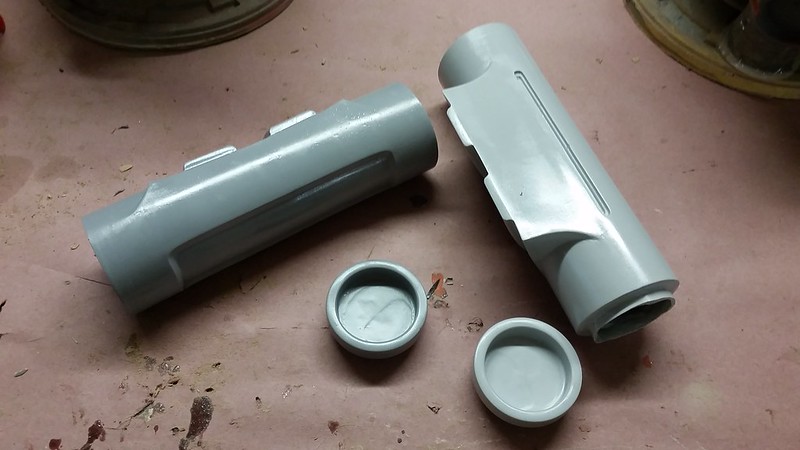
Some parts were too small to lay up in fiberglass. In those cases, I settled on making silicone molds and rotocasting the parts. Here's one of the forearms mounted and prepped for molding while I was building a cardboard drip wall:
At this point, we'd decided to make a second, slightly larger version of the chest, shoulder, and arm parts in case Ian or I ever wanted to wear one of these outfits. So here's all four forearm bodies with their silicone rubber print coats:
Once that had set up, Anna went to work thickening up the rubber jackets:
Then they each got a clay parting wall:
My friend Cary laid up the fiberglass mothermolds:
Which worked out pretty well:
The forearms were then rotocast in urethane resin to make wearable copies:
The thermal detonator on the lower backplate was made in pretty much the same way:
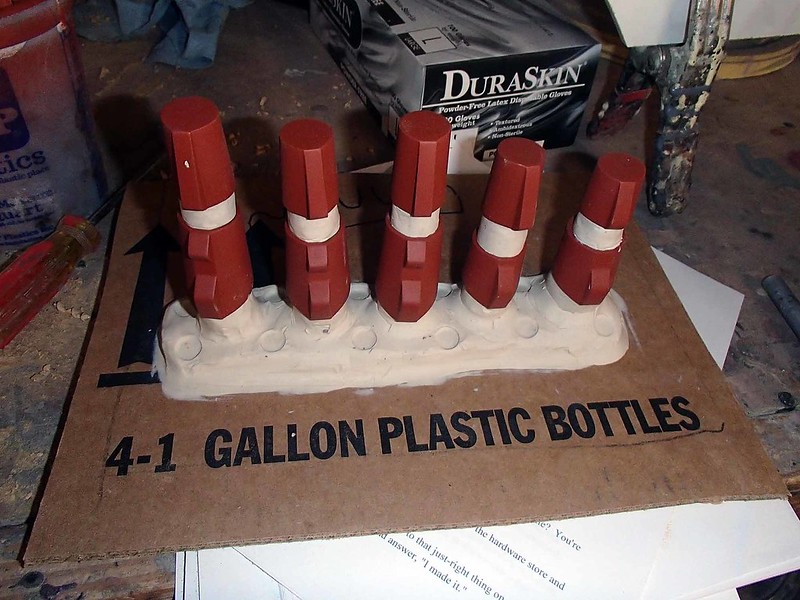
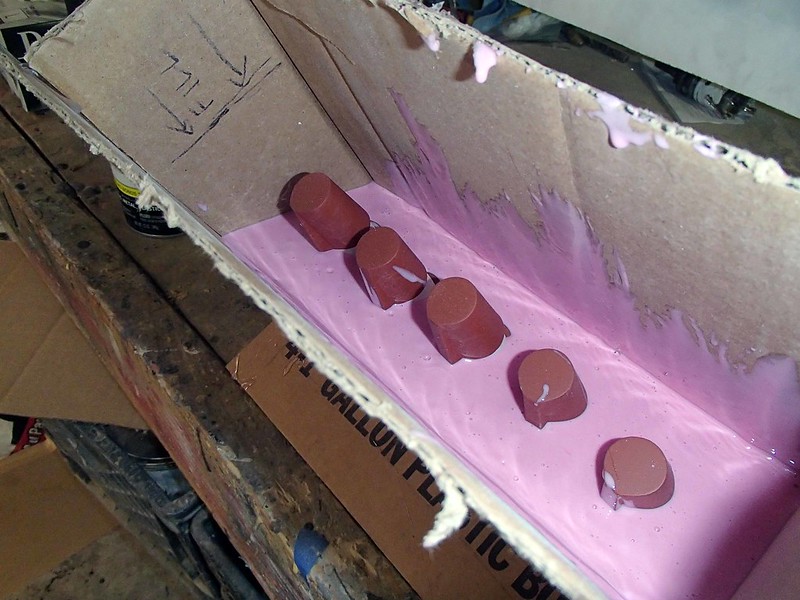
Other than that, the handplates, waist boxes, belt boxes, and a handful of little detail widgets and greebles were cast in resin using simple silicone block molds. The only parts that were interesting from a technical standpoint were the fingers.
Fingers
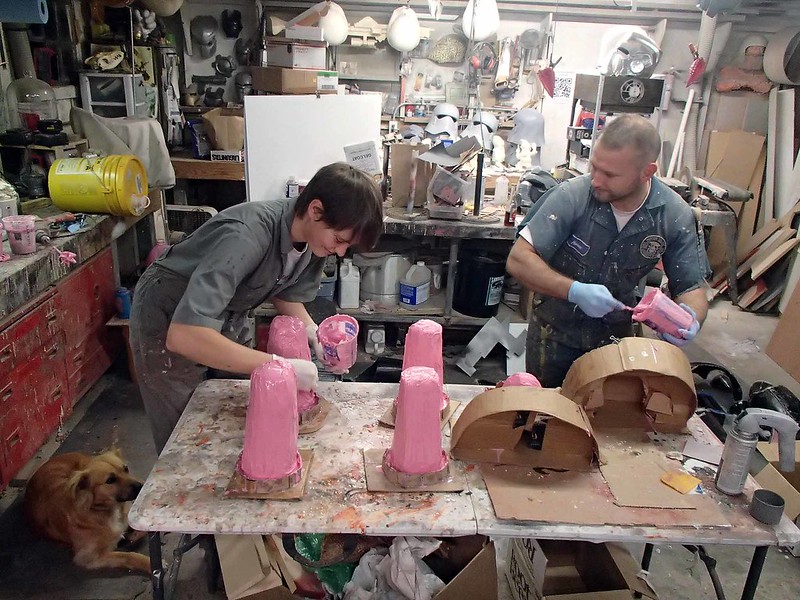
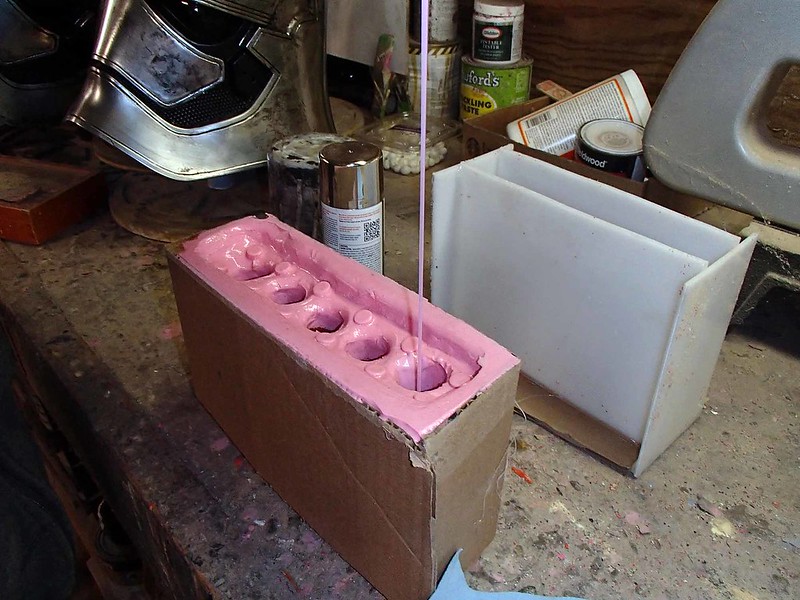
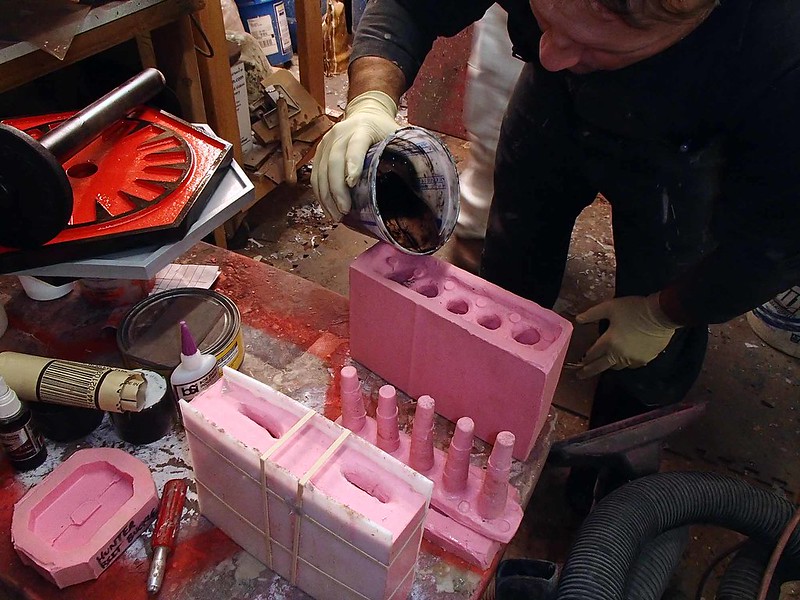
Since someone would have to fit gloved fingers inside and they were likely to get knocked around a bit, the finger armor parts needed to be cast in such a way as to make sure they were hollow and sturdy. I started by mounting the 3D printed prototypes to a base with rods of clay inside of them:
Then I build up a mold box and filled it with silicone:

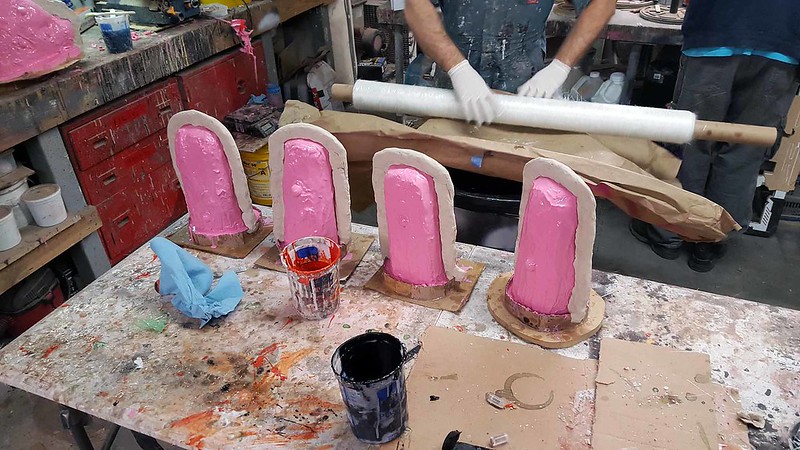
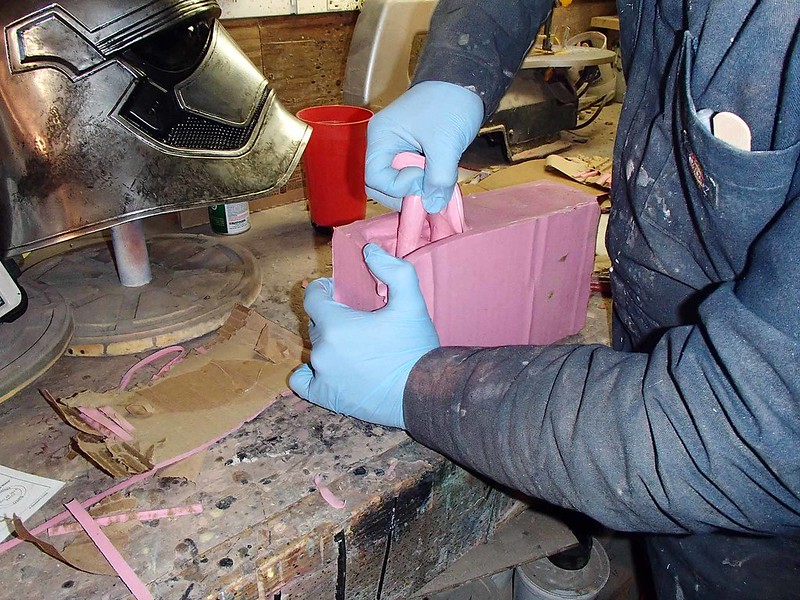
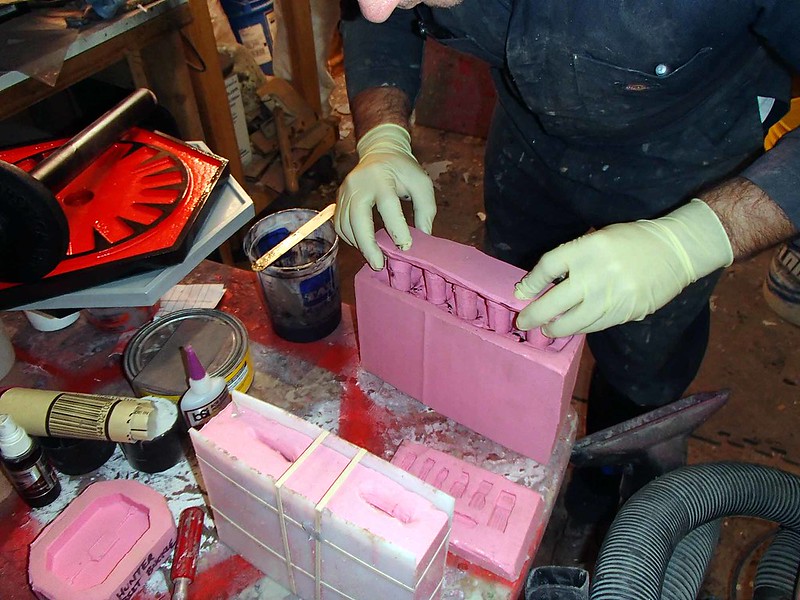
Once that had cured, I flipped the box over, removed the bottom, and cleaned out all of the clay that was inside the printed finger parts. After spraying on a generous coat of release agent, The inside was filled with silicone as well:
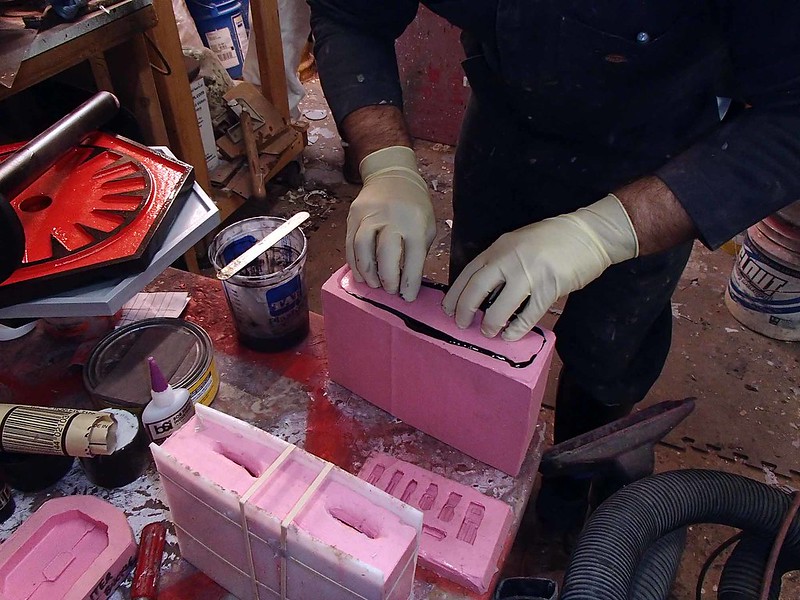
Once it had cured, this formed a "plug" that would form the inside contours of the hollow fingers:
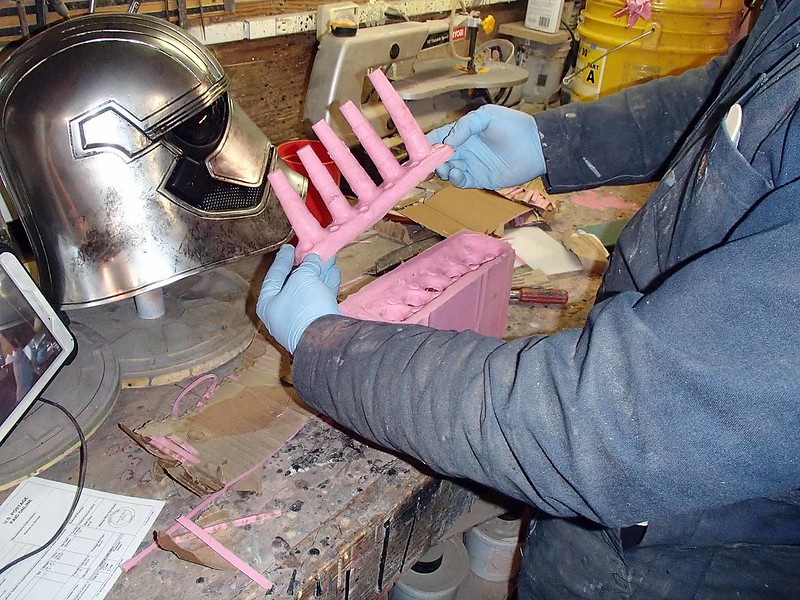
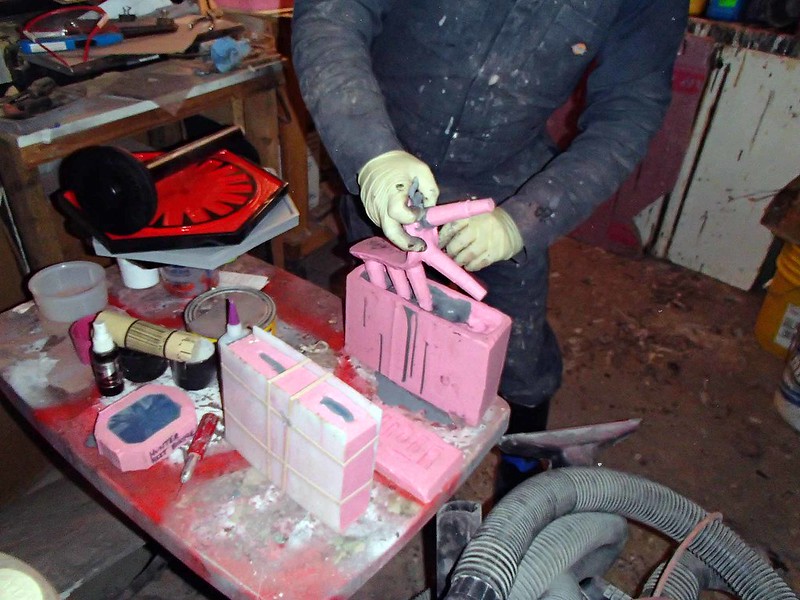
After removing the printed parts, the molds were ready for use:
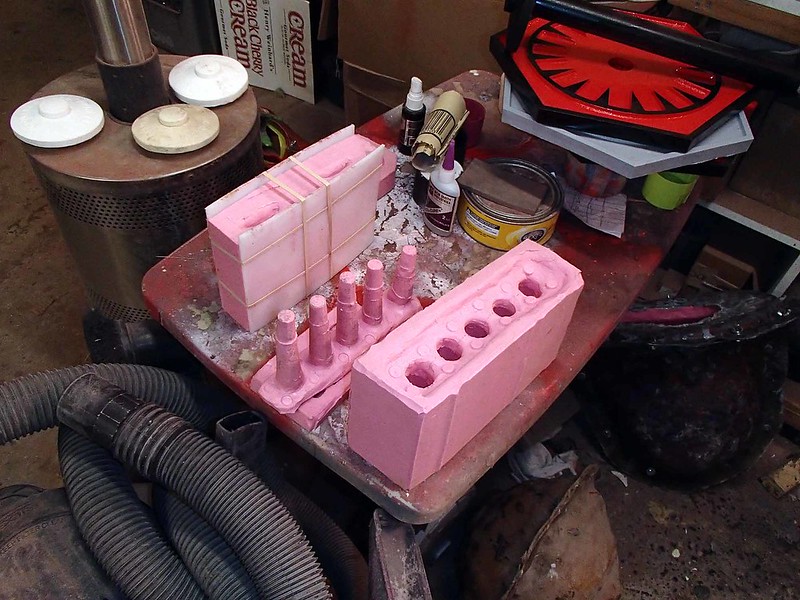
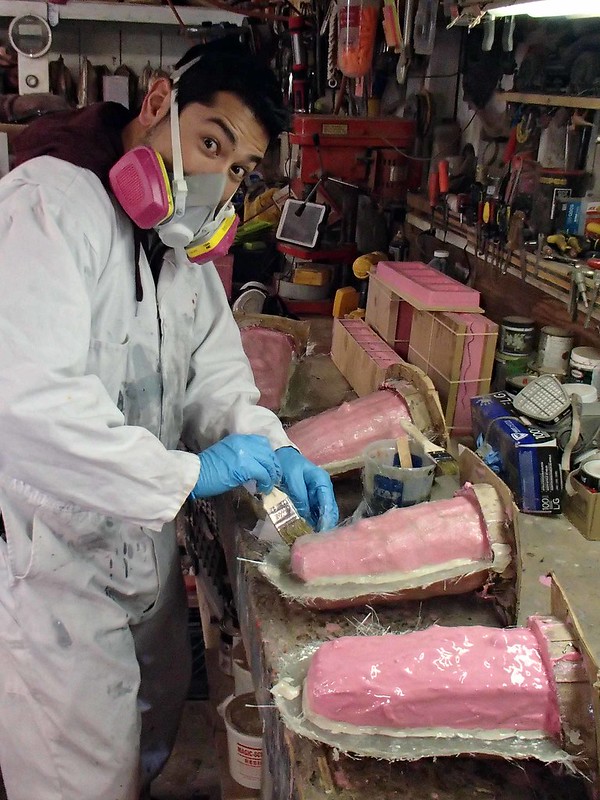
Casting the hollow parts meant filling the molds halfway with resin:
Then inserting the plug to displace the still-liquid resin:
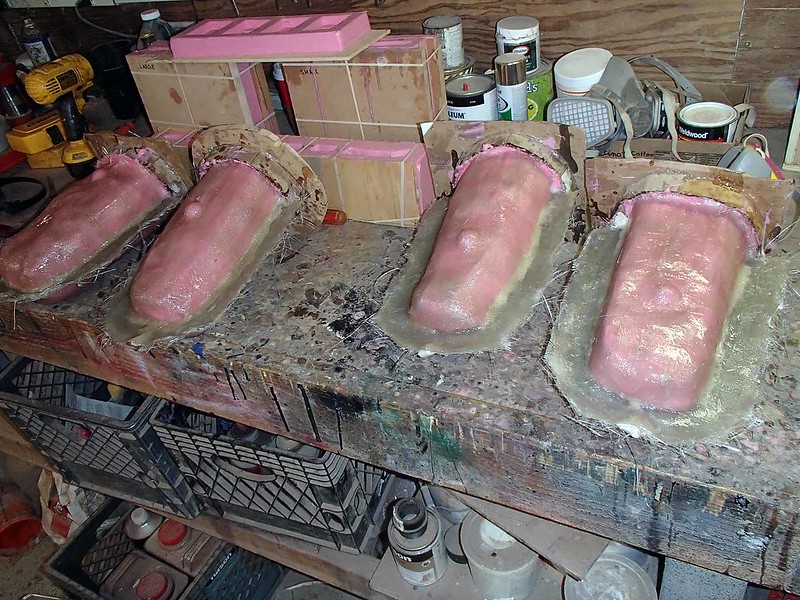
The plug was jiggled a bit as it was pushed into the resin to encourage any trapped bubbles to rise to the top:
Once the resin had cured, the plug was removed:
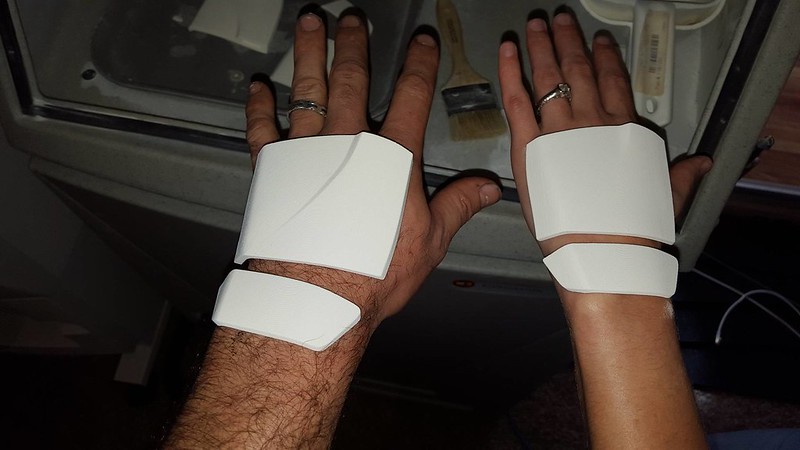
When the parts were demolded, there was a bit of flashing to clean up, but they were otherwise ready for primer and paint:
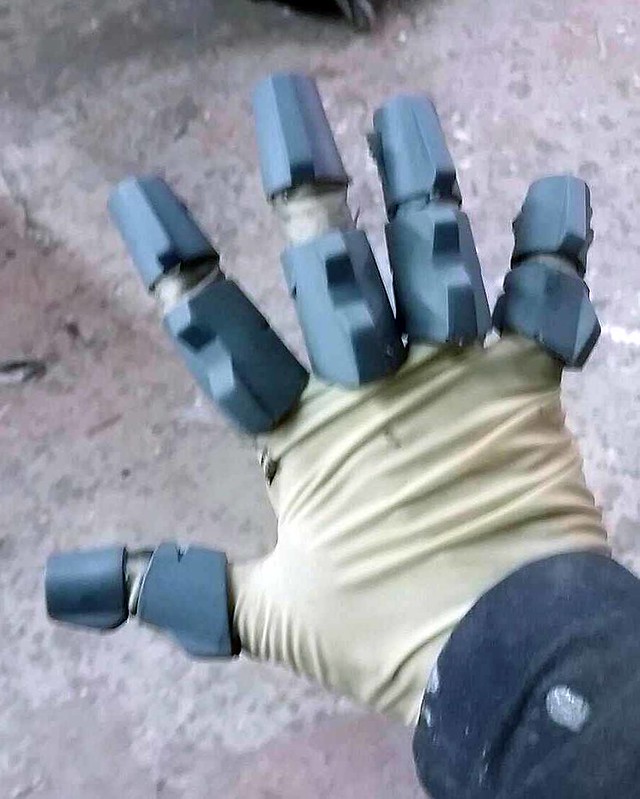
All too easy:
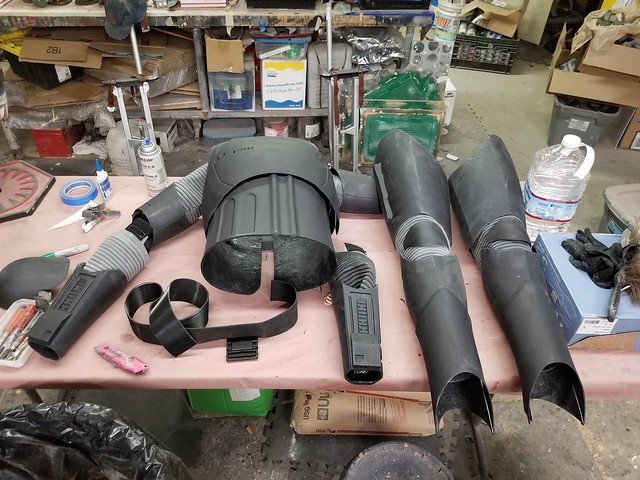
So just like that, I had a complete set of armor parts:
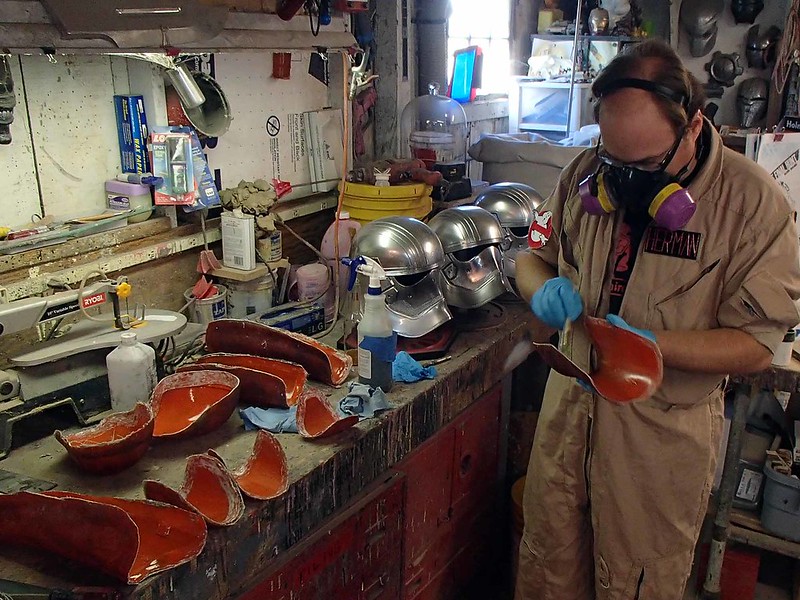
Which looked a lot more pleasant after they'd been trimmed and prepped for paint:
Make sure to tune in next time when I'll describe the process of making the rubber gasket parts and rigging the whole thing to make it wearable:
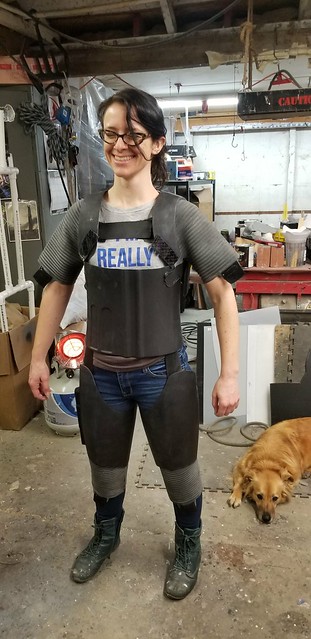
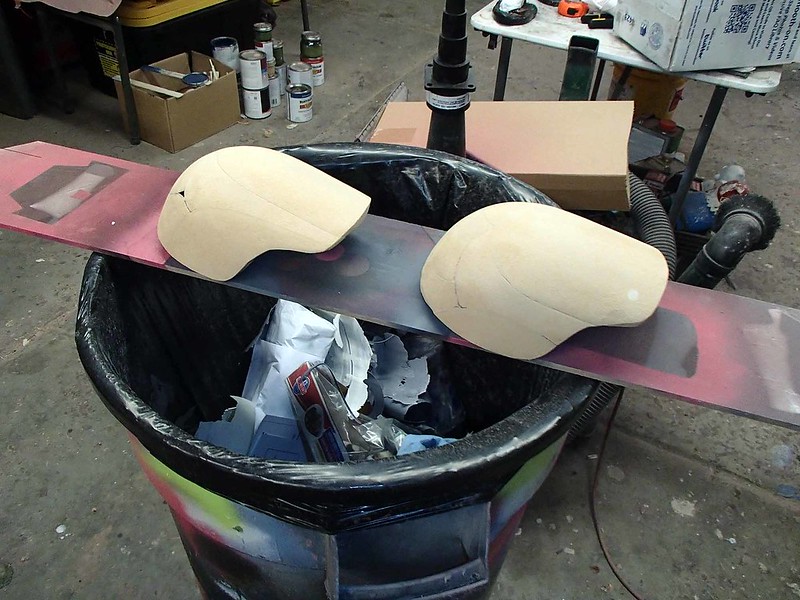
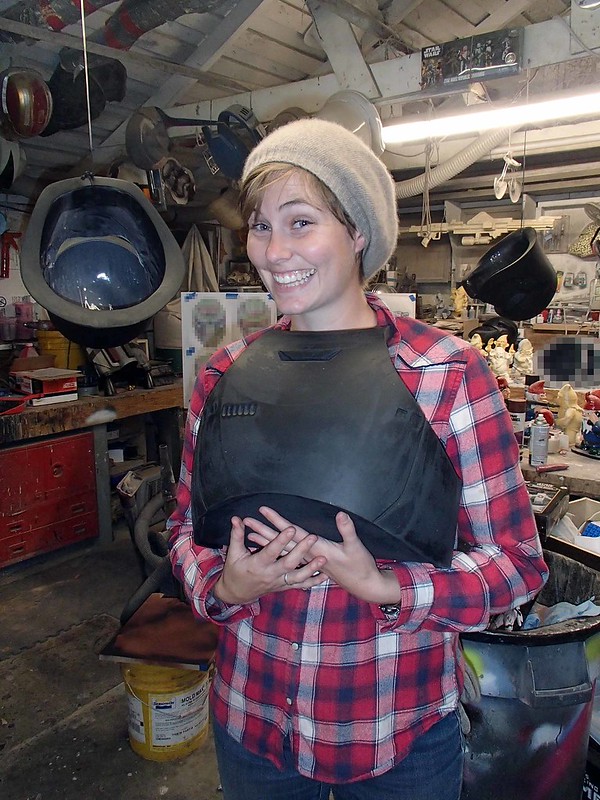
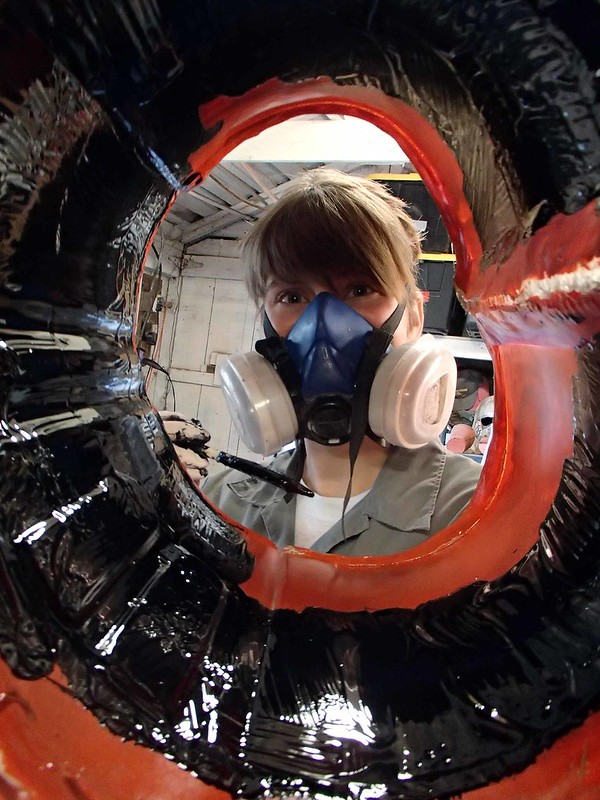
It's not as uncomfortable as Rachel makes it looks here.
No comments:
Post a Comment