
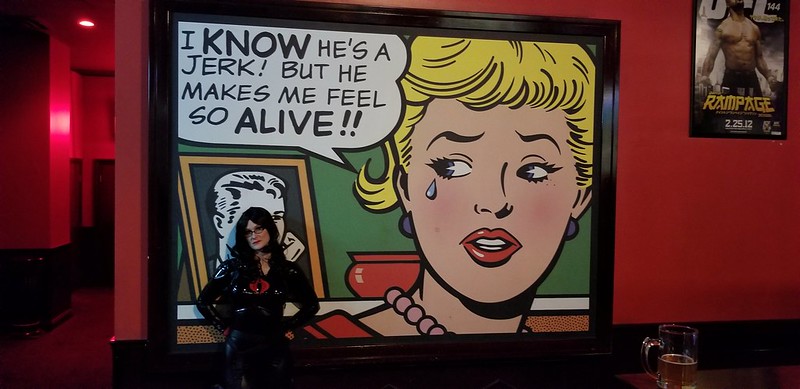
In hindsight, grown-up me has no trouble thinking of each episode as a 30-minute toy commercial. But that didn't stop 9-year-old me from having one heck of a crush on this lady:

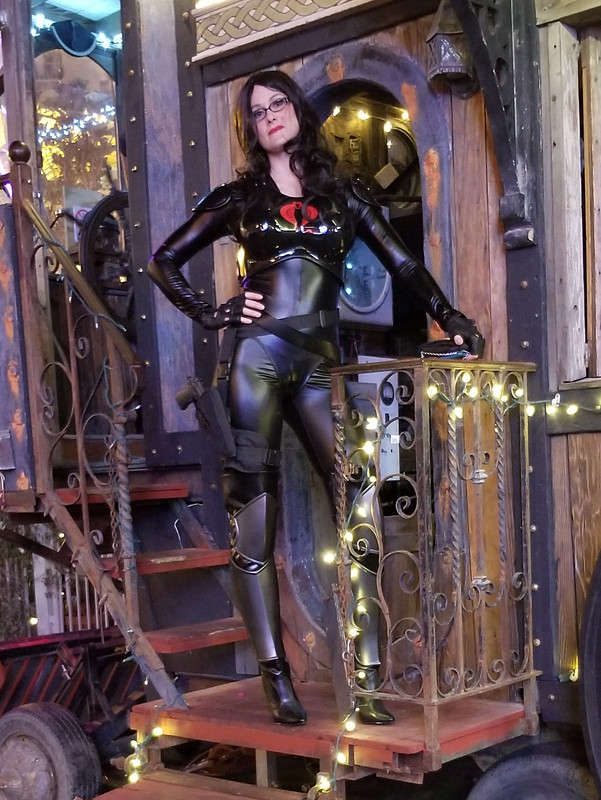
This is the Baroness, aka Anastasia Cisarovna, the intelligence officer for Cobra, an evil terrorist organization, determined to rule the world. She was one of Cobra Commander's top lieutenants, responsible for all kinds of espionage operations. But more importantly, her long black hair, black-rimmed glasses, skin-tight black leather outfit, and over-the-top Eastern European accent meant that this ruthless femme fatale was largely responsible for a whole generation of fetishes and fantasies.
Fast forward a couple or three decades and my friend Rachel mentions that she's thinking of dressing up as this character for Halloween. Since I'd been meaning to make this outfit for the Lady Shawnon for quite some time, this was all it took for me to embark on a rushed build of all of the armor parts, pick up some airsoft weapons and skin-tight catsuits, and churn out two copies of this costume in a hurry.
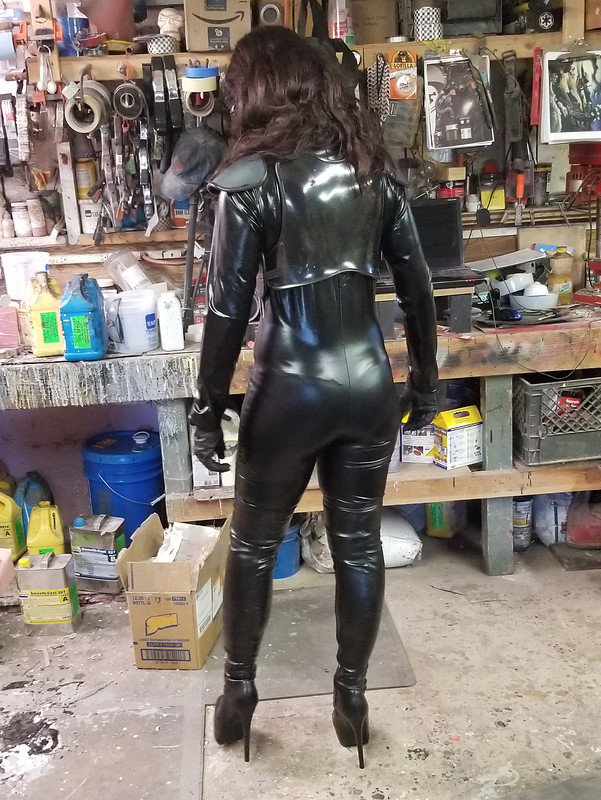
Here's the nearly finished result:
To see how the parts were made, read on...
Step one was to source the base garment, boots, and belts.
I started with a "wet look" zip up bodysuit like this one: LINK
To keep everything snug and make it look more custom fitted, I also added a thong bodysuit over it like this one: LINK
The boots were a pair of thigh-high faux leather boots that can be found here: LINK
Those were the easy parts. The rest took some making.
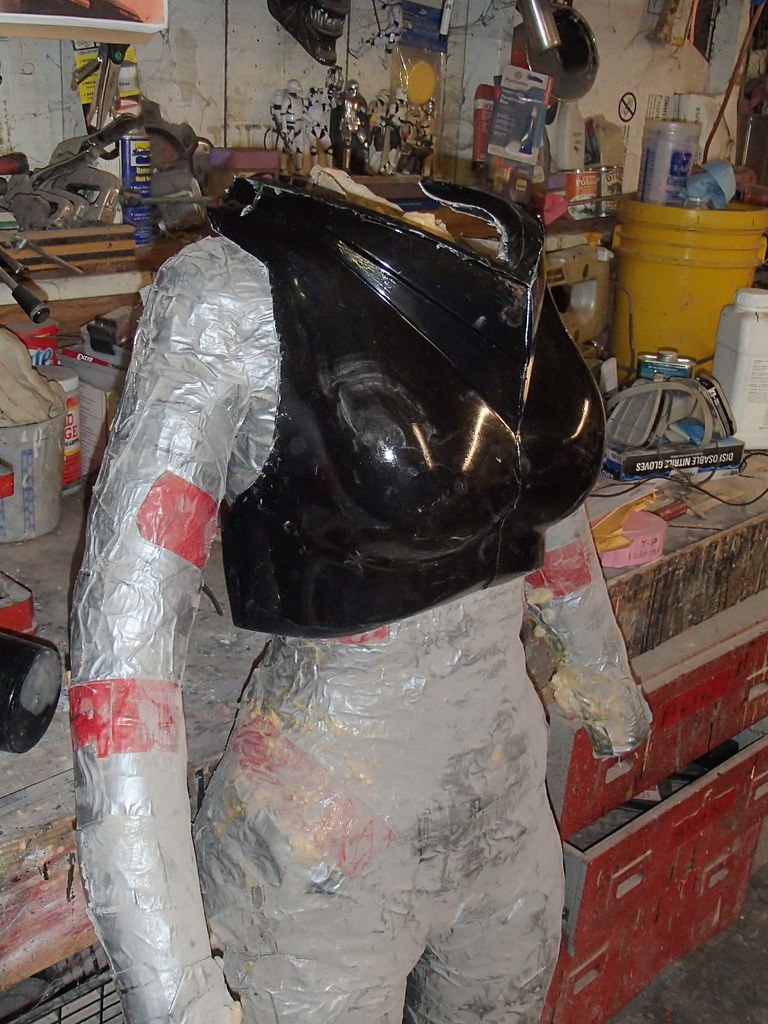
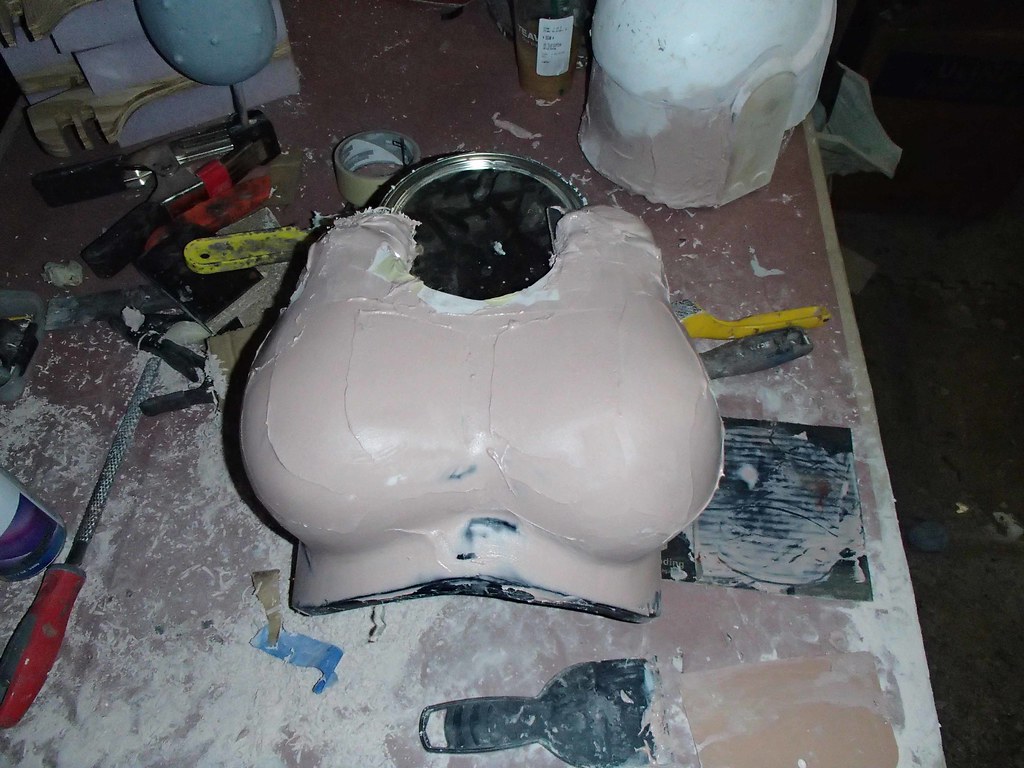
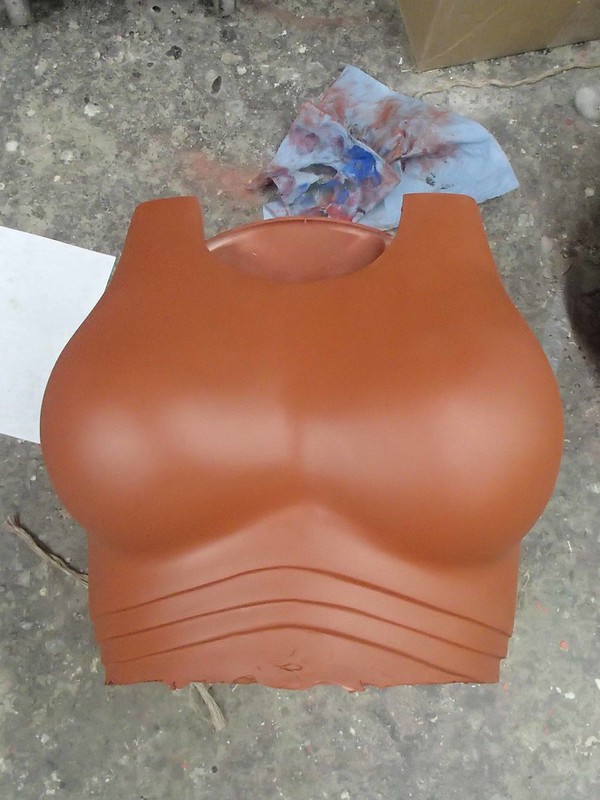
I started with the chest. I began by pulling a copy of the chestplate from the Thor costume I made:
If you want to read more about the Thor project, you can check it out here: LINK
Of course, the Goddess Thor and the Baroness don't have quite the same bust dimensions, so some changes had to be made. First, I removed the collar area and trimmed the neckline to match the look of the Baroness. Then I started adding filler blocks to change up the shape of the breasts:
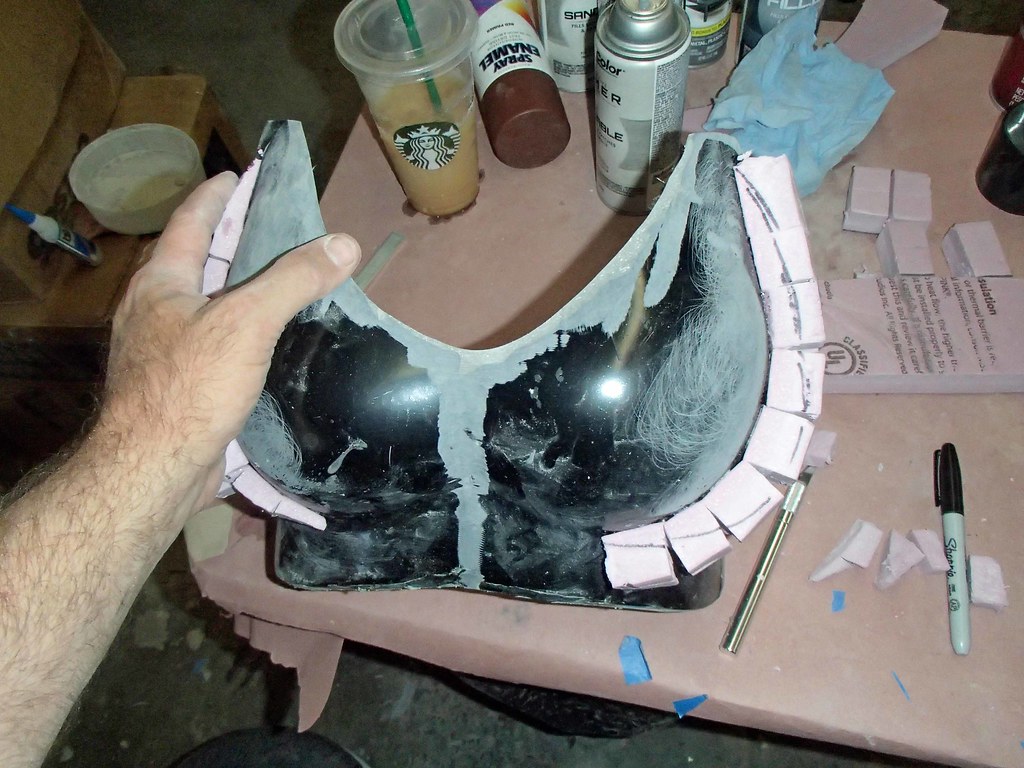
The foam was there to add a bunch of bulk. This way I didn't have to use up gallons of Bondo to make these cartoonishly large breasts. Still, once I had roughed in the shape of the foam, it was time to start in with the body filler:
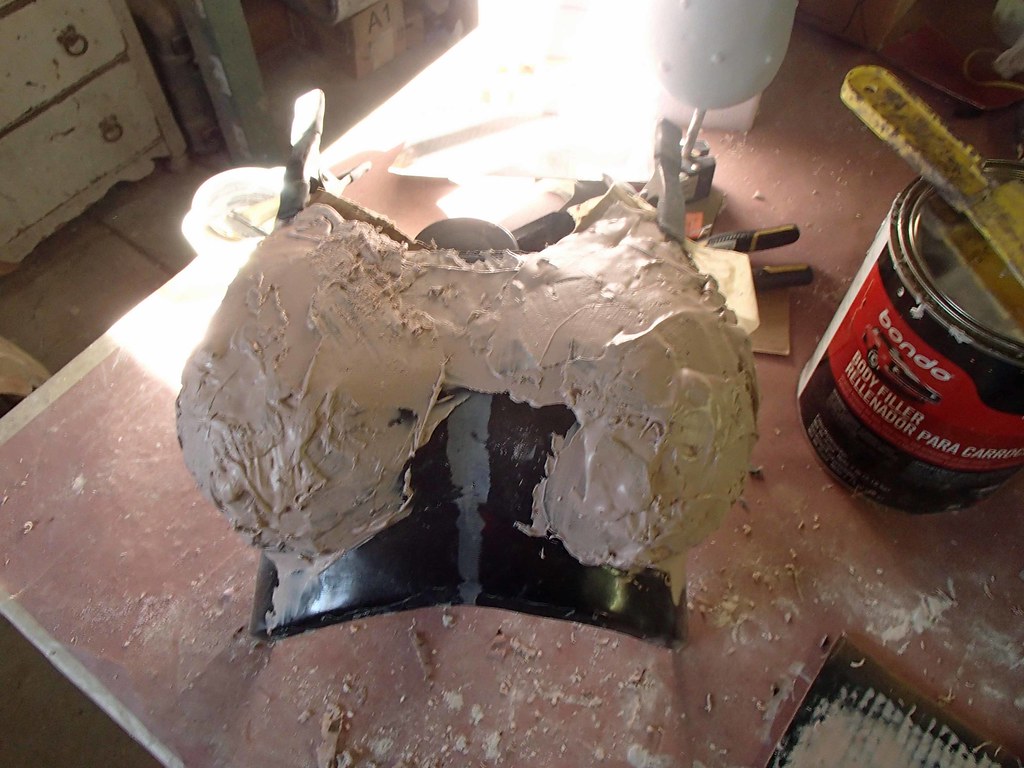
After the initial rough shaping, here's how they looked with the second Bondo pass applied:
After three or four rounds, they were really looking the part:
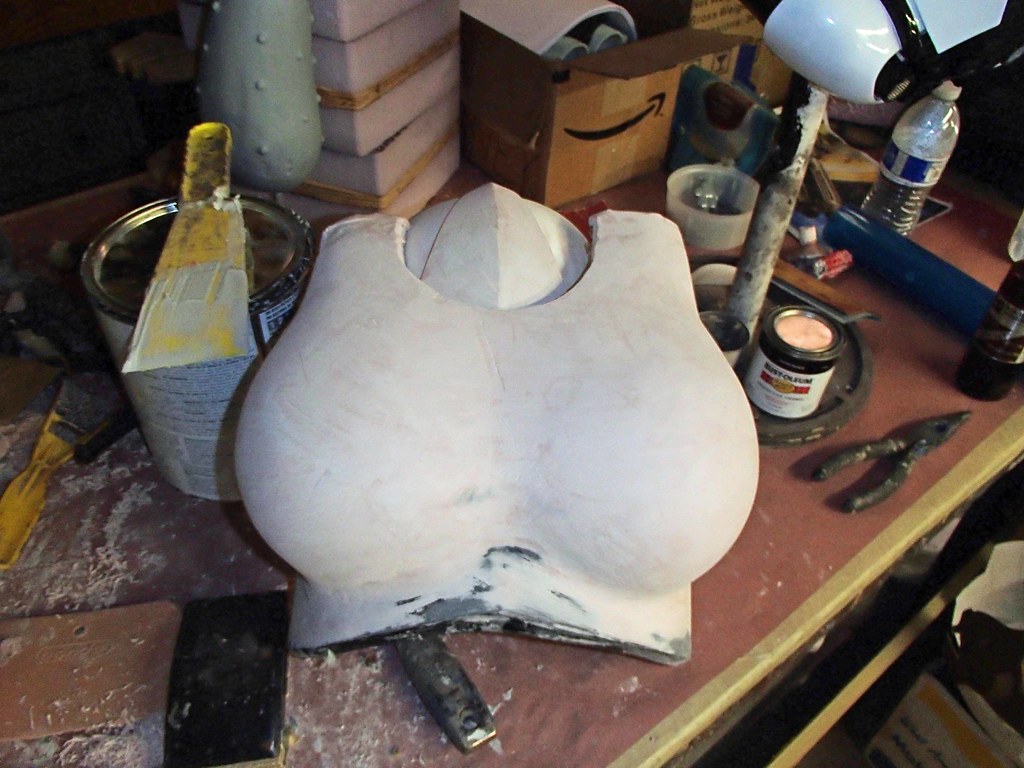
With that shape mostly smoothed out, it was time to add the ribbed ridges along the lower edge:
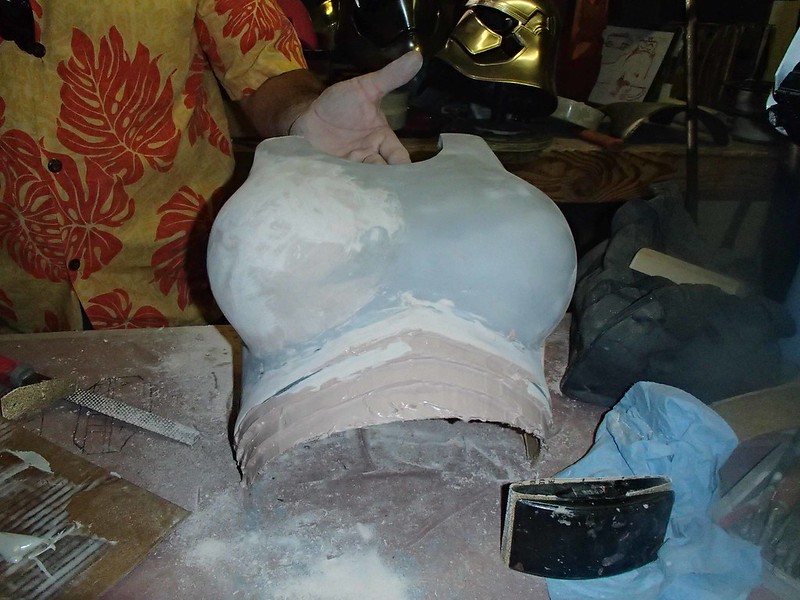
Those took a bit more work:
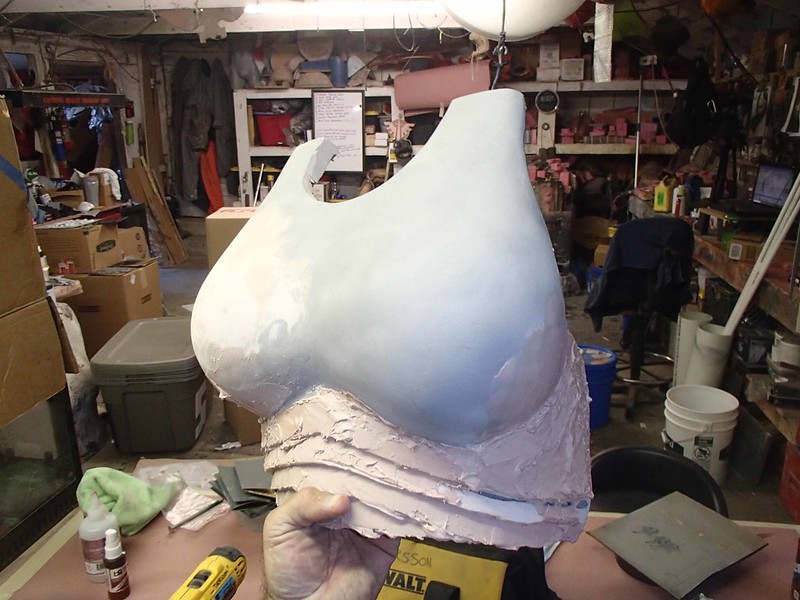
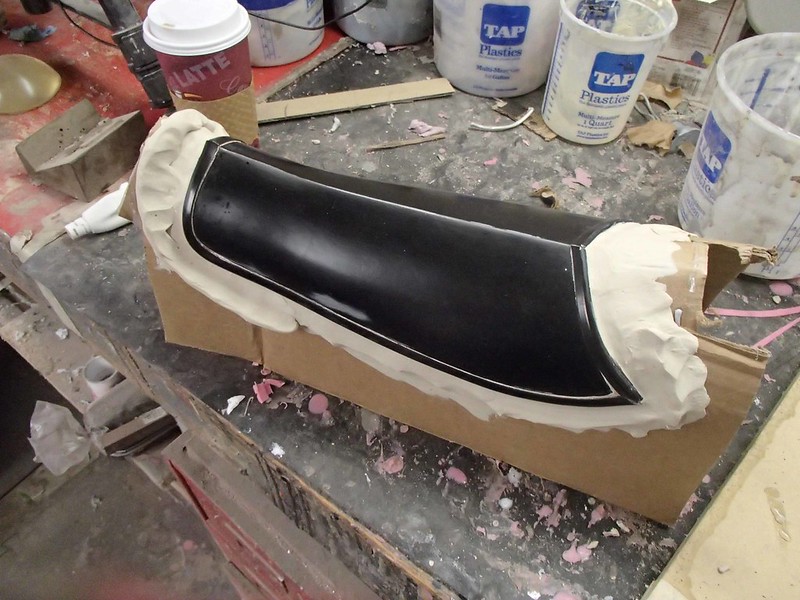
Then all I had to do was smooth everything out and make it shiny in preparation for molding:
Here's the shiny:
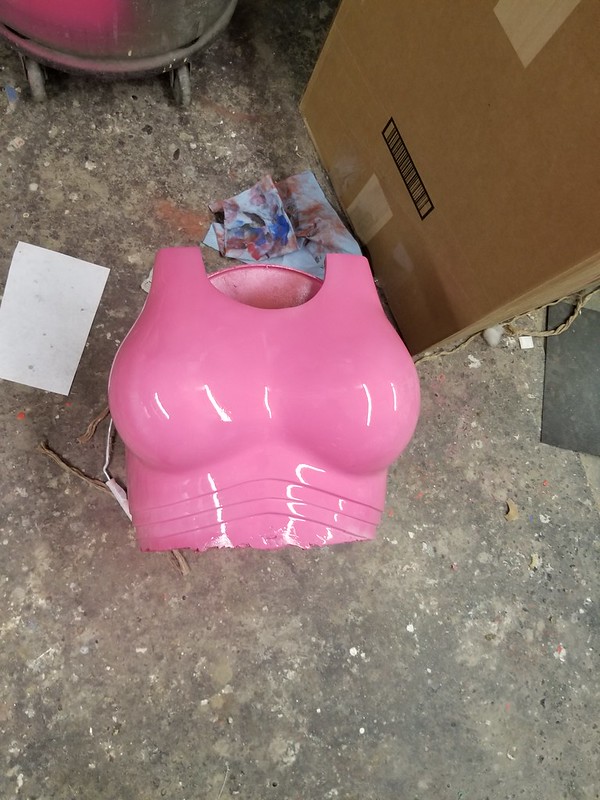
I still had to wet sand and wax everything before molding though:
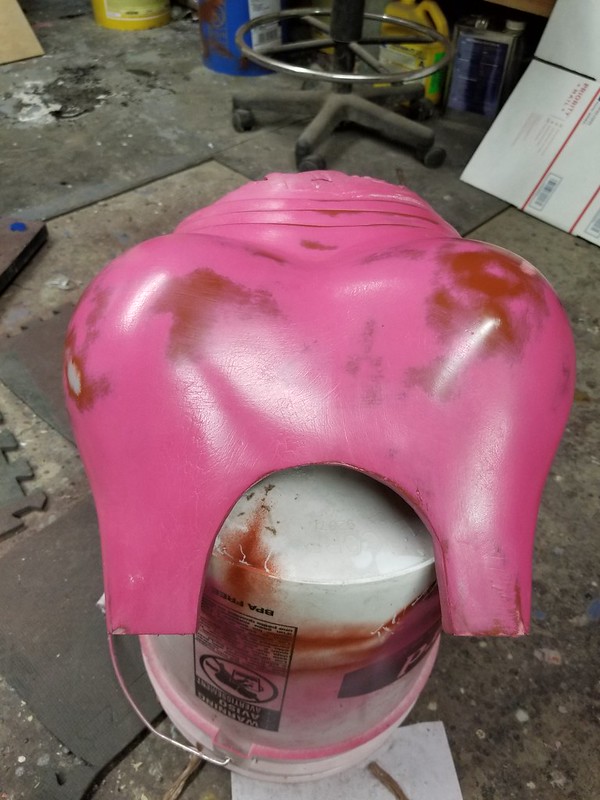
After careful consideration, I decided that the lower rib portions of the armor would be better if they were actually separate pieces. This way they could be adjusted to fit a wider variety of body types and articulated to make the costume more comfortable for the wearer.
With that in mind, I mounted the chest to some scraps of cardboard and built up the clay margins around the edges:
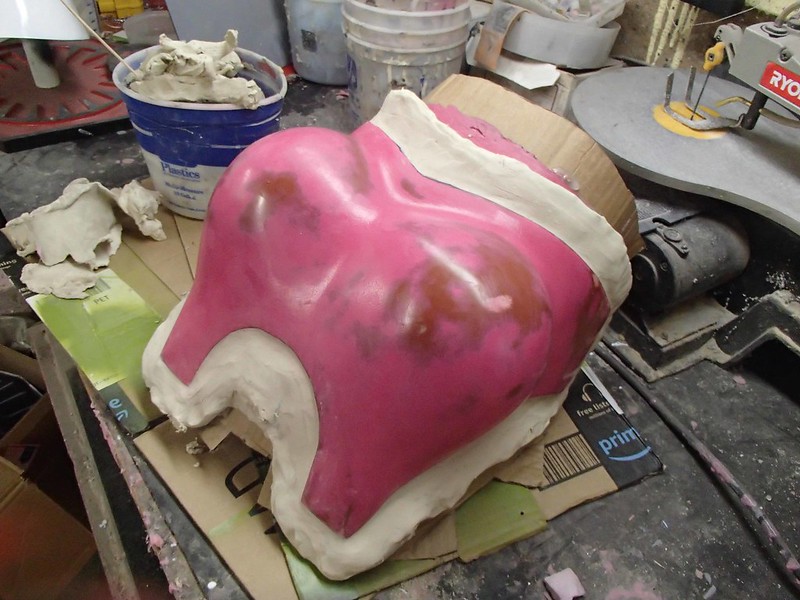
Then added a parting wall down the center of the chest:
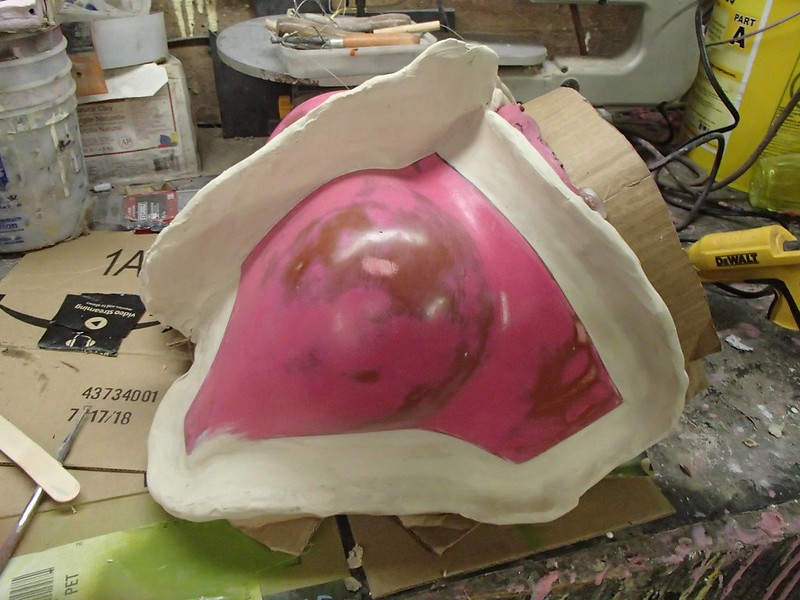
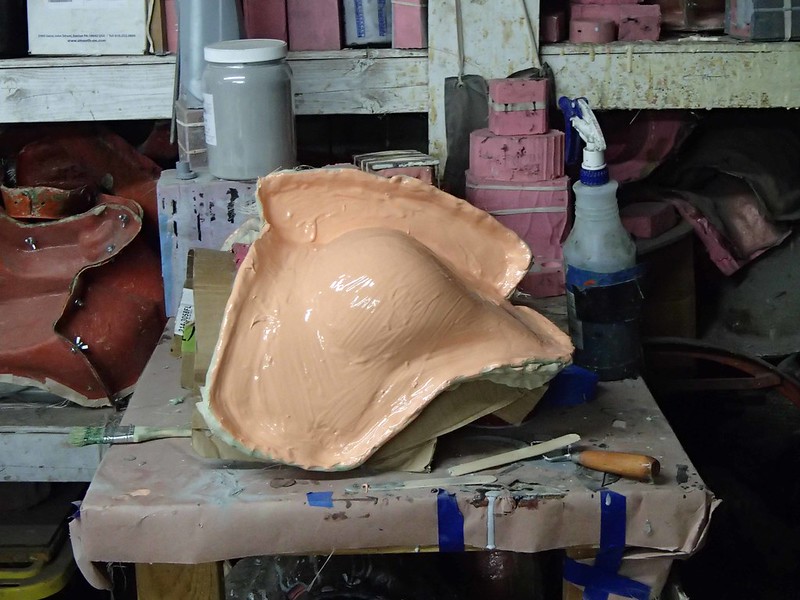
After a judicious coating of PVA mold release, I went ahead and slathered on a layer of gelcoat:
NOTE: Normally I'd use orange tooling gelcoat for my fiberglass molds, but the jug I had had gone bad. So I ended up mixing what little I could salvage with some normal, boring, everyday white gelcoat. Thaty's why it has that unusual peach color. In the end, it's all just gelcoat though.
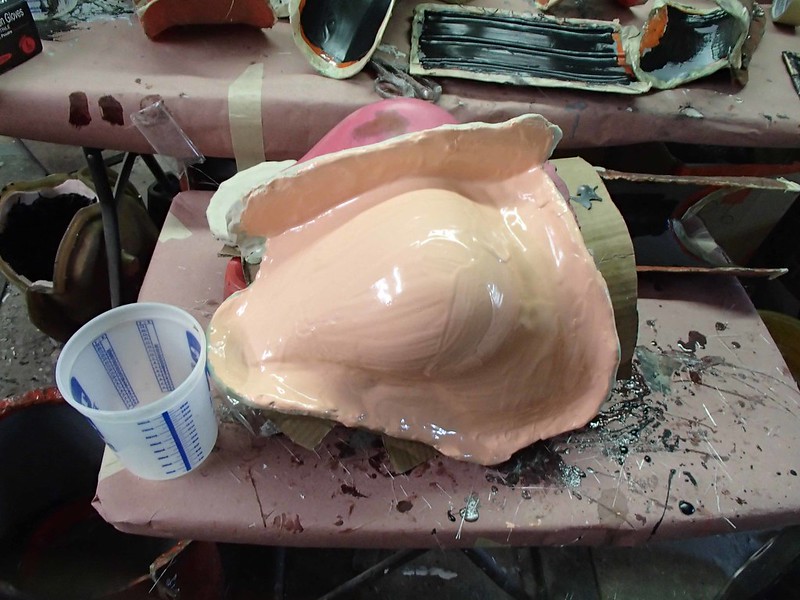
Once the gelcoat had cured, I laid up several layers of fiberglass mat on top of it:
Once that had cured, I removed the clay parting wall and coated the other side with PVA release:
Then repeated the process for the second half:
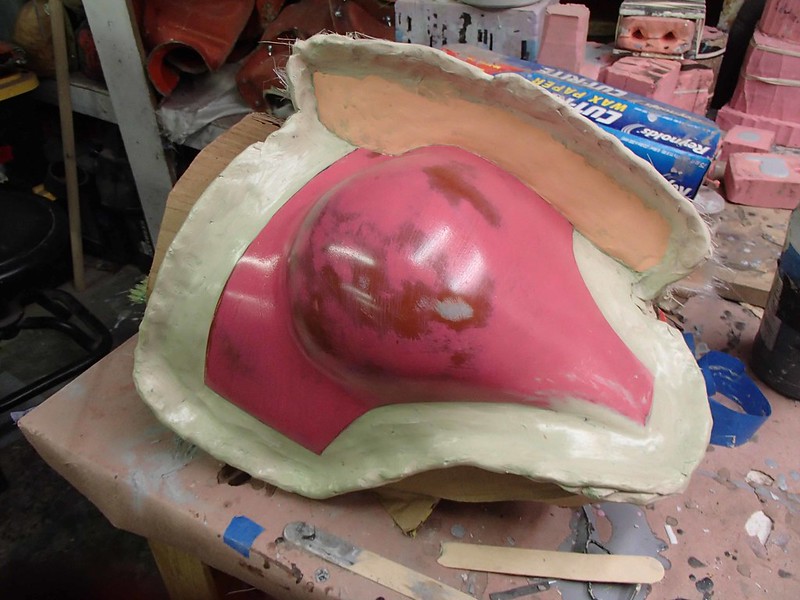
Once the fiberglass had cured on the second half, I drilled a series of holes along the flange created by the parting wall and pried the two halves apart:
Then it was time to get to work polishing the insides of the molds:
Once they were wet sanded, waxed, and polished to a glassy sheen, they were also coated with release agent:

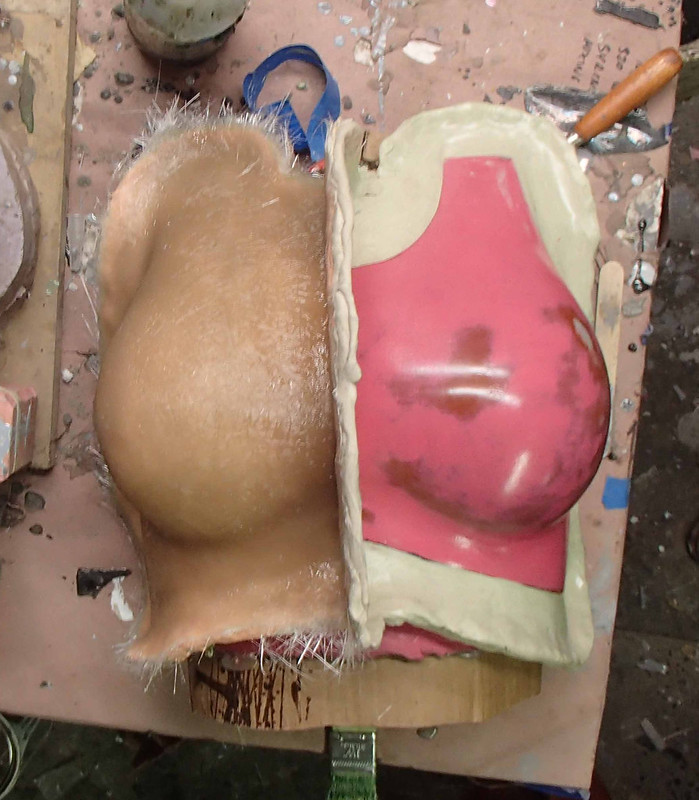
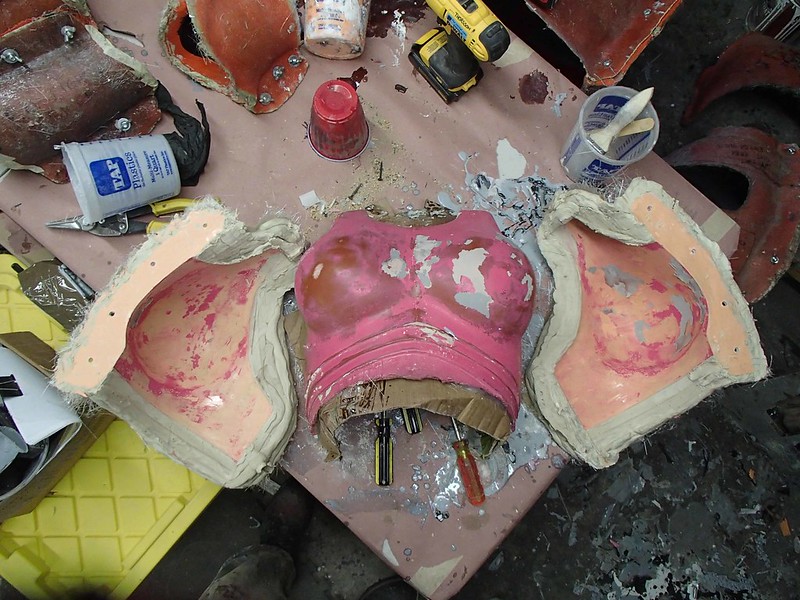
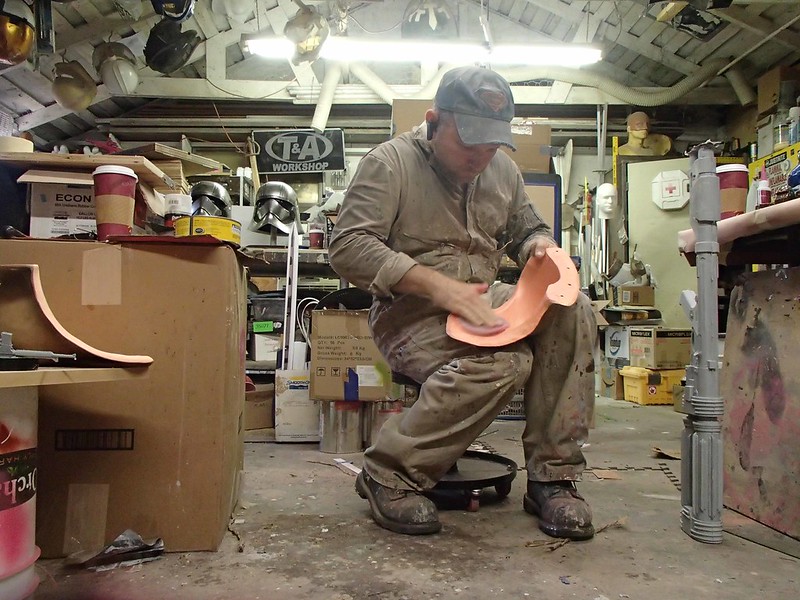
The part was laid up in black gelcoat, then three layers of lightweight fiberglass mat. Here's my friend Rachel prying the halves of the mold off of the final part:
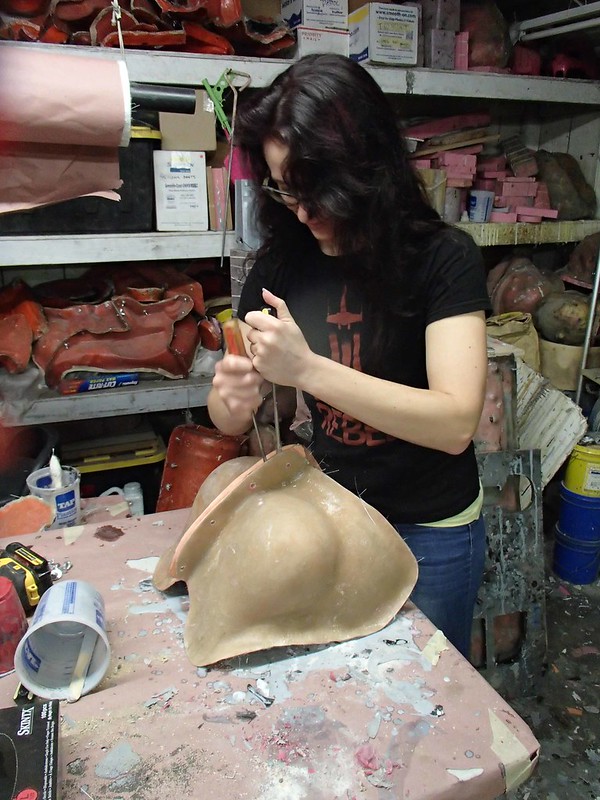
After a quick trim with a pair of shears, the edges were taped of to cover the itchy sharp bits and she tried it on:

SUCCESS!
The backplate was just a copy from the Thor armor that was trimmed a bit to better fit the sexier look of the Baroness. Here's Rachel trying it on after it was trimmed down and the edges were covered with rubber trim:
From there, it was just a matter of sanding everything smooth, adding the edge trim, and giving it a coat of primer:

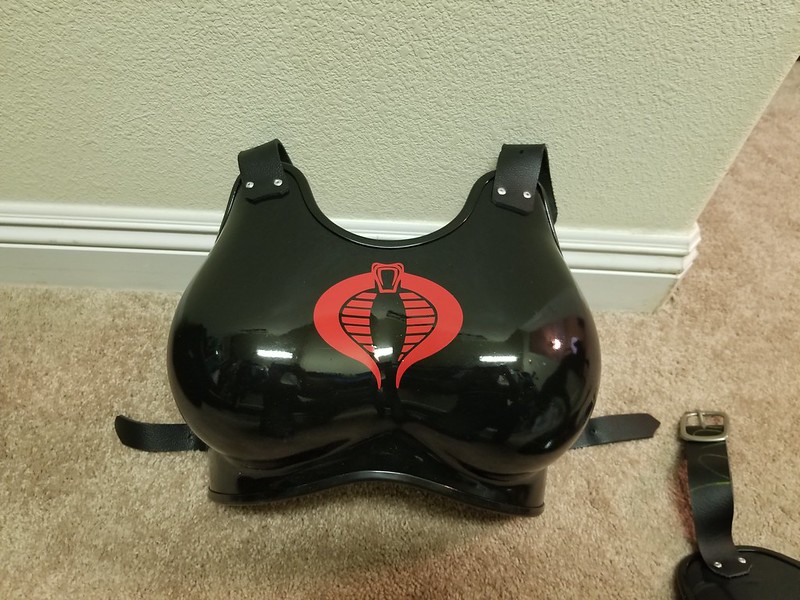
With a quick coat of gloss black, they were ready for straps:
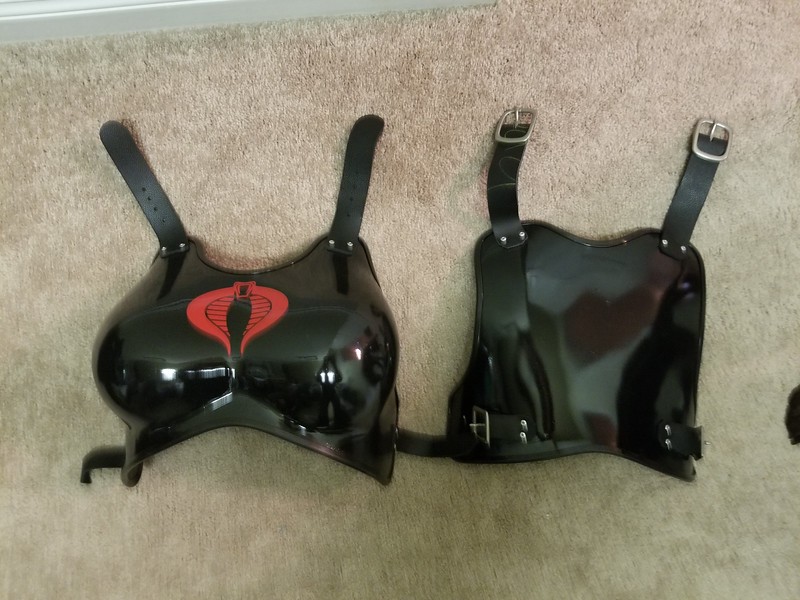
The straps were some heavy leather cut into strips and riveted onto the armor, then fitted with some matte nickel center bar buckles. The final touch was a bright red vinyl cut Cobra logo in the middle of the chest:
The shoulders started out as a pull from my Death Watch Mandalorian shoulder molds. Then I trimmed them down with the Dremel and the belt sander before applying a vinyl decal of the Cobra logo and adding rubber trim around the edges:
That was relatively easy. The next thing to work on was the shin and knee armor.
Since the design of these parts varies from one rendition of the character to the next, I had a bit of license to make them however I wanted.
In this case, I started with a pair of shins from my Captain Phasma molds:
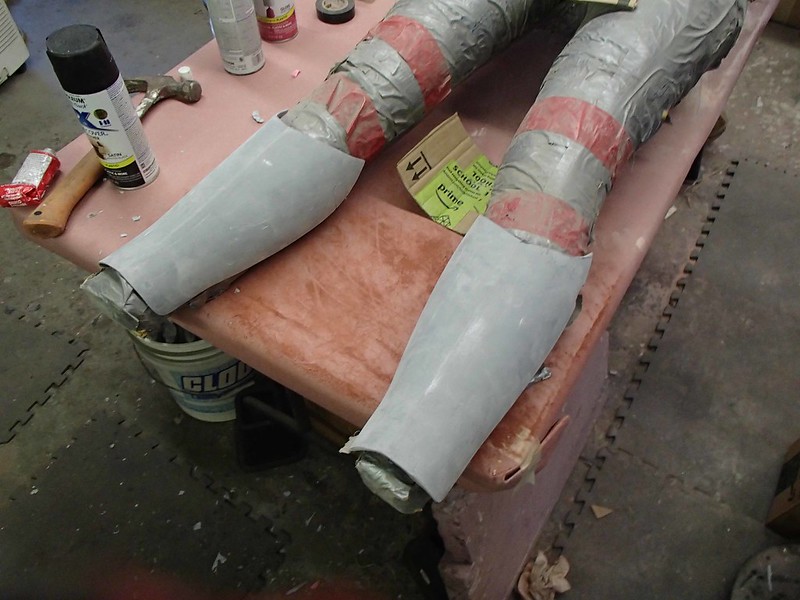
Knees were a bit trickier since I didn't have anything handy to use as a starting point. Instead, I had to make the basic shape in oil-based clay. Here they are just before I started making a mold off of them:
Since the clay sculpts were very rushed and a bit lumpy, I decided to pull a mold off of them and make a fiberglass copy that I could then smooth out and polish up before making a final mold. Here's a shot of the molds that I made for the rough-sculpted knees:
And here's the first copy of the rough knees out of those molds:
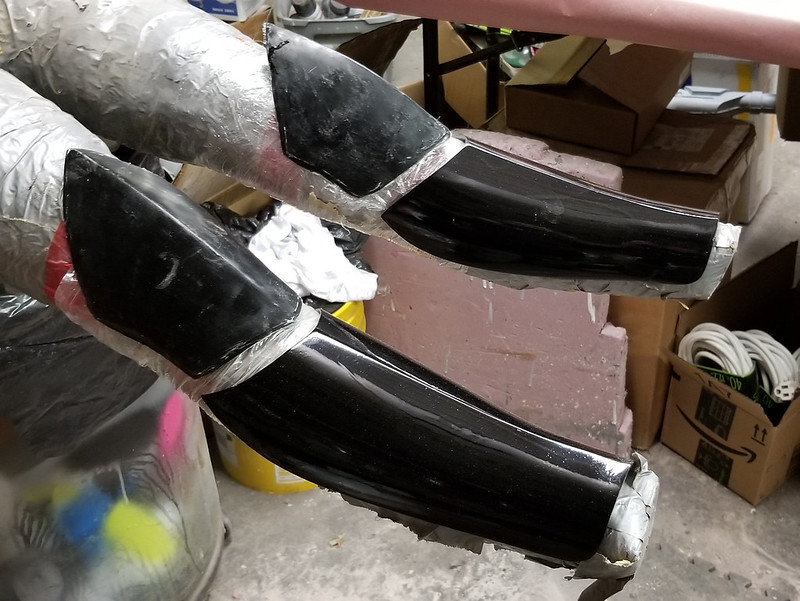
After trimming, sanding, filling, smoothing, adding edge trim, and polishing, the new knees and trimmed shins were ready to go:
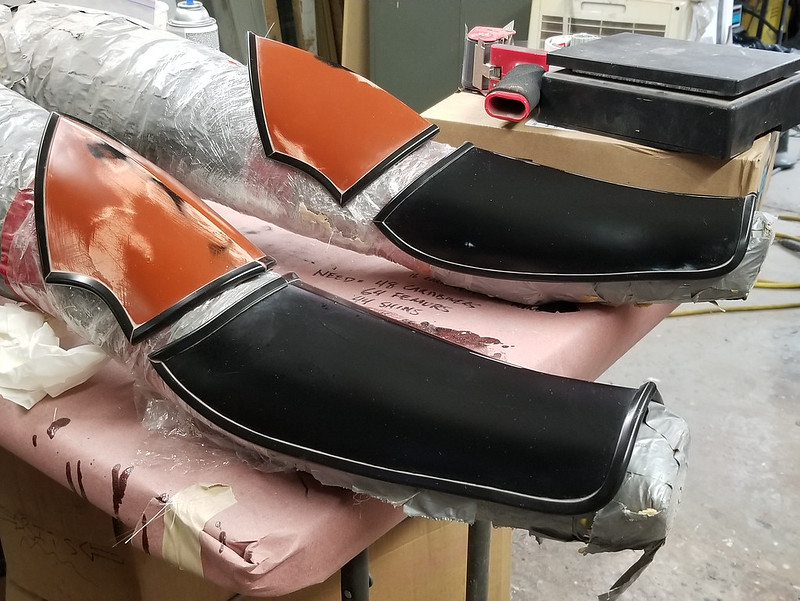
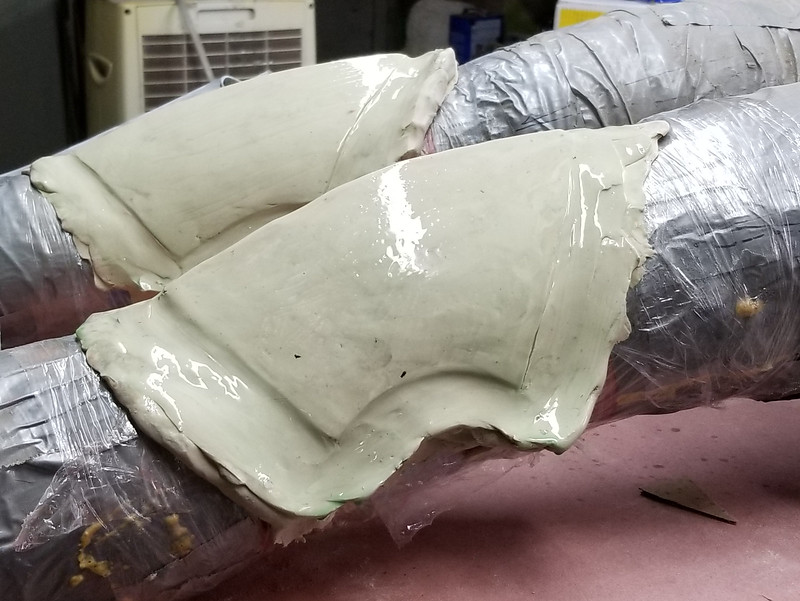
Once I was happy the the shape of the knees and shins, they were mounted to cardboard and clay margins were added all the way around the edges:
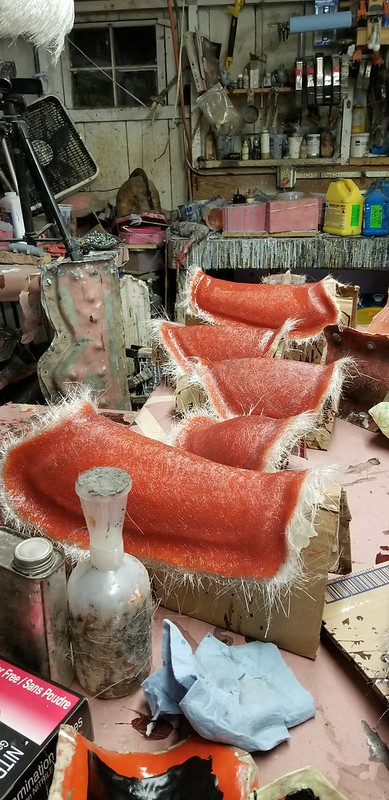
Then they were given a coat of PVA release agent which was allowed to dry before I slathered on a heavy coating of orange tooling gelcoat:

That other bit is the mold for the shoulder:
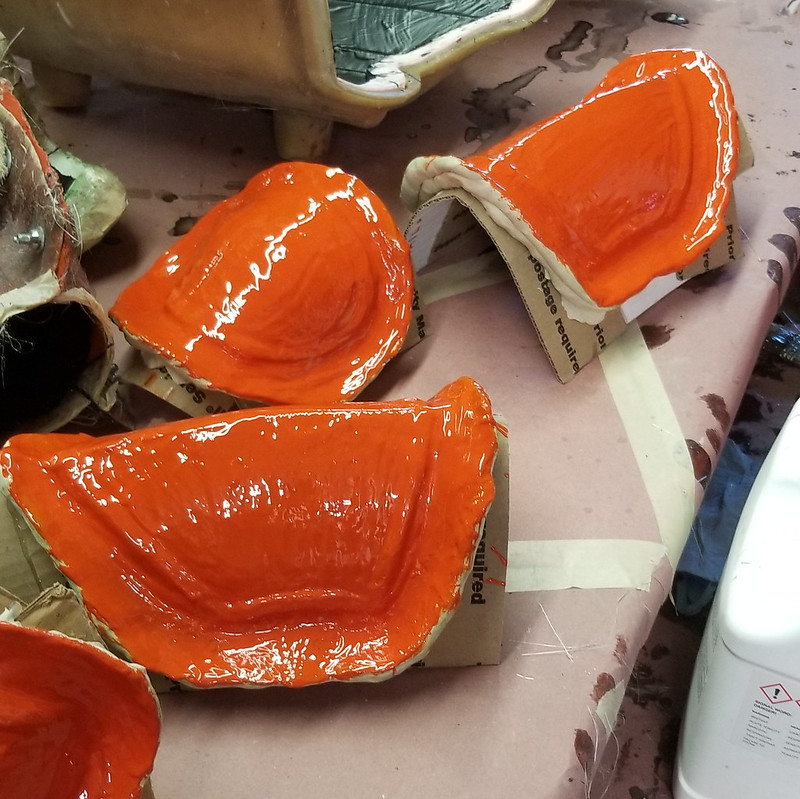
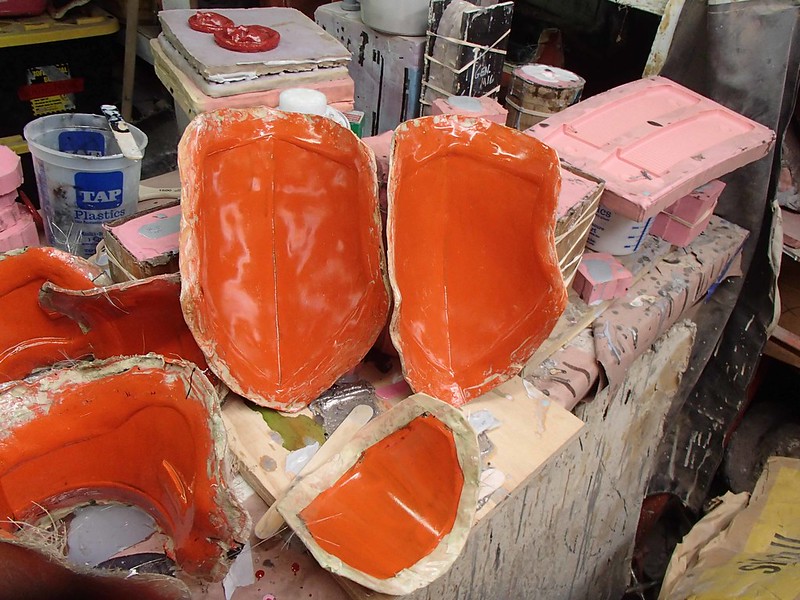
After the gelcoat had set up, all five molds were given three layers of fiberglass mat:
Once that had cured, each of the molds was trimmed, wet-sanded to 600 grit, then waxed, and coated with PVA release agent before laying up parts. Here's the shoulder mold after it had been waxed:

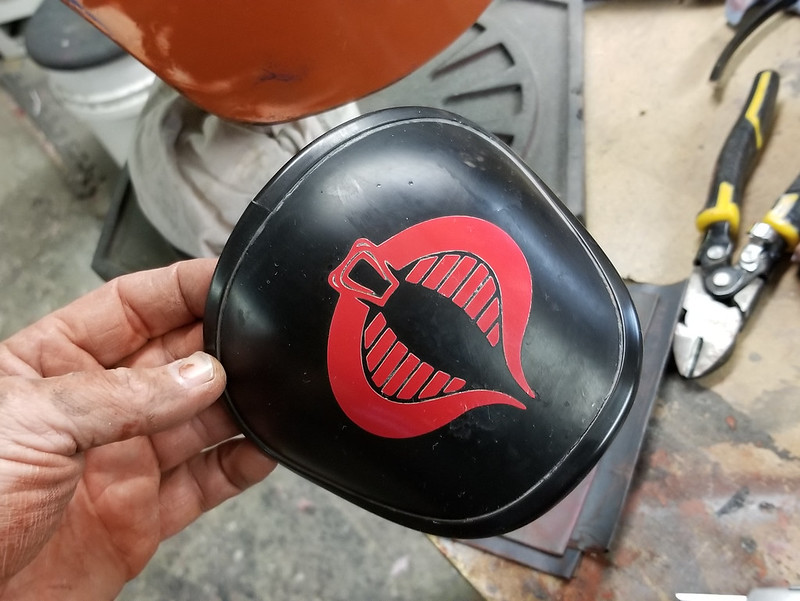
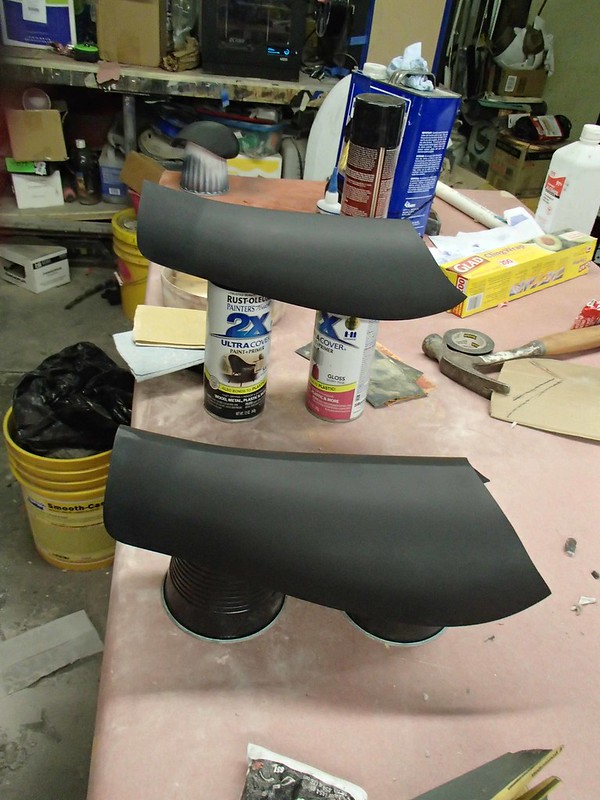
The first trimmed and primed copy of the shoulder came out pretty well:
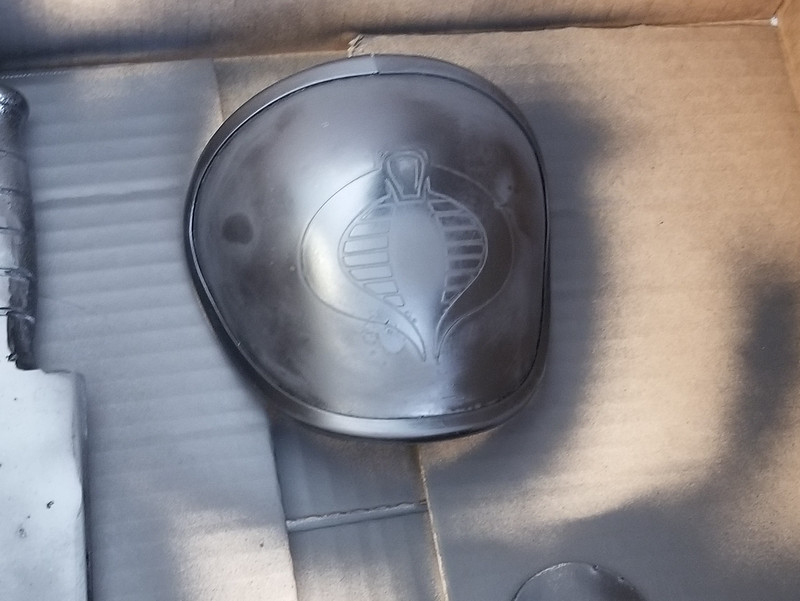
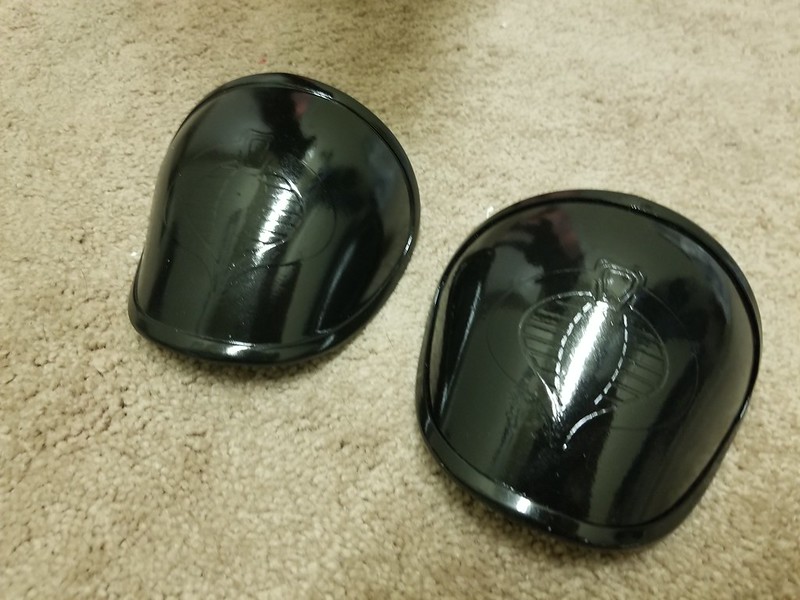
With the second copy out of them mold and prepped, I went ahead and painted them with a quick coat of gloss black:
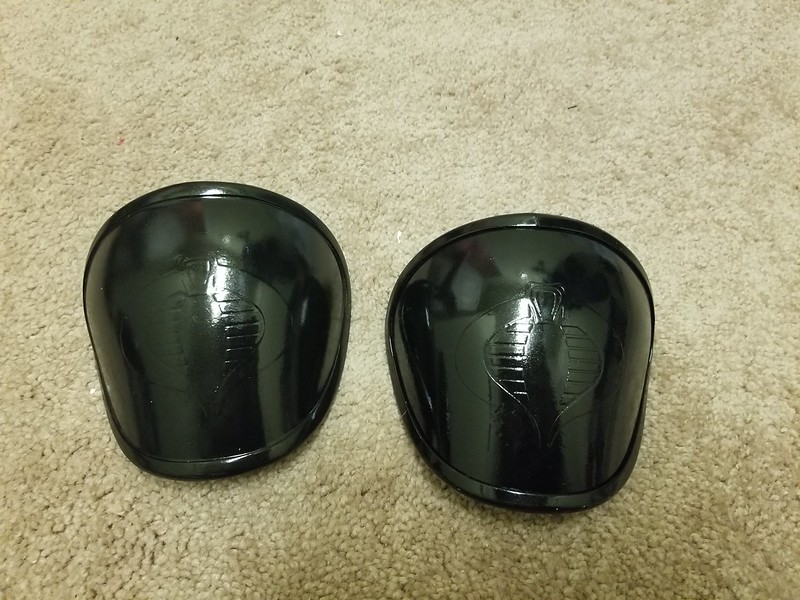
I opted to leave the raised Cobra logo black as well. I figured the bright red logo on the chest was clear enough.
Here's the first set of shins and knees once they were demolded, trimmed, primed, and painted:
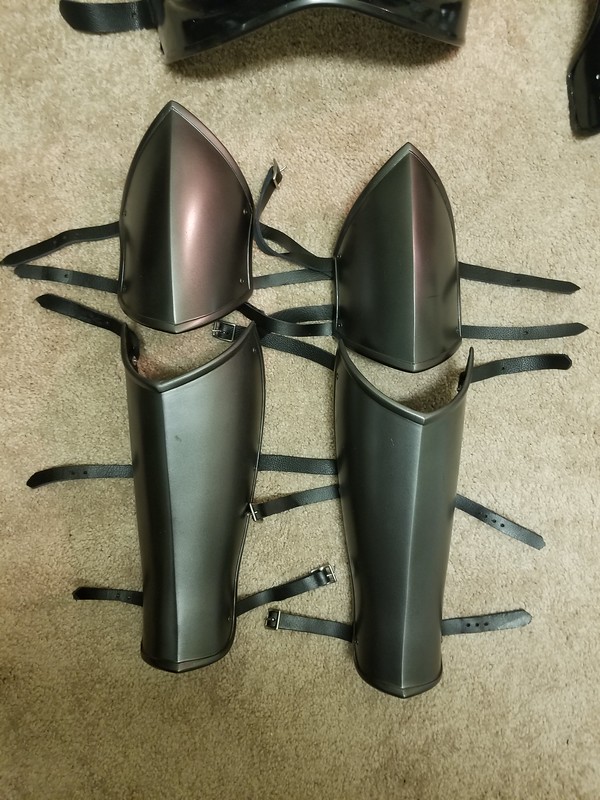
The straps are just some strips of leather that were cut to size and riveted onto the edges of the shins, then fitted with 1/2" nickle center bar buckles.
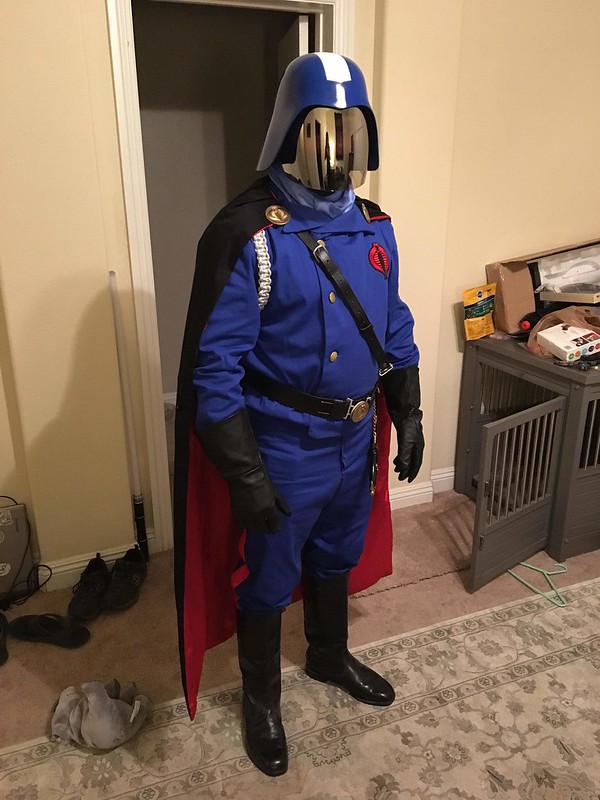
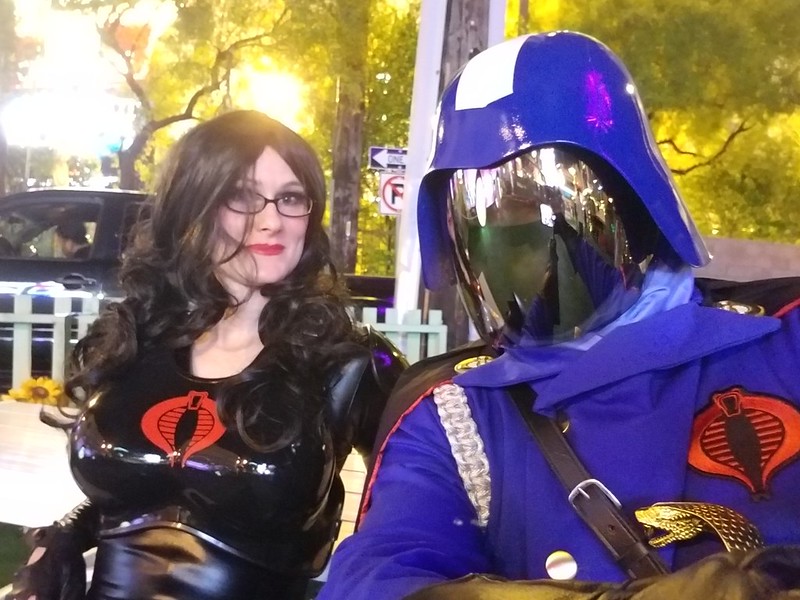
I didn't have time to make the exact belt arrangement I wanted to, but the parts I had were enough for me to feel like the costume was good enough to take it out in public for Halloween. So I donned my Cobra Commander costume:
Then the Lady Shawnon poured herself into the Baroness costume:
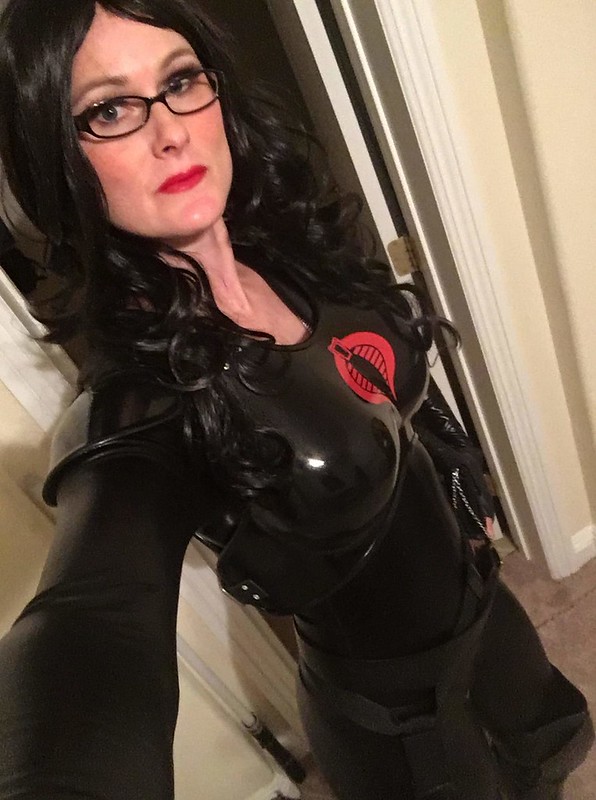
She looked pretty good to me:
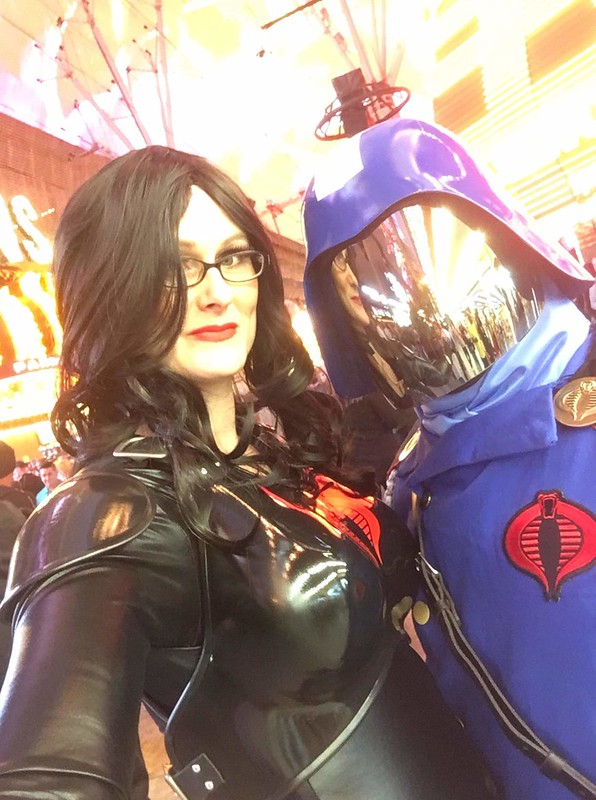
Here we are wandering around Las Vegas:

The Lady Shawnon makes me look very short in my Cobra Commander costume.
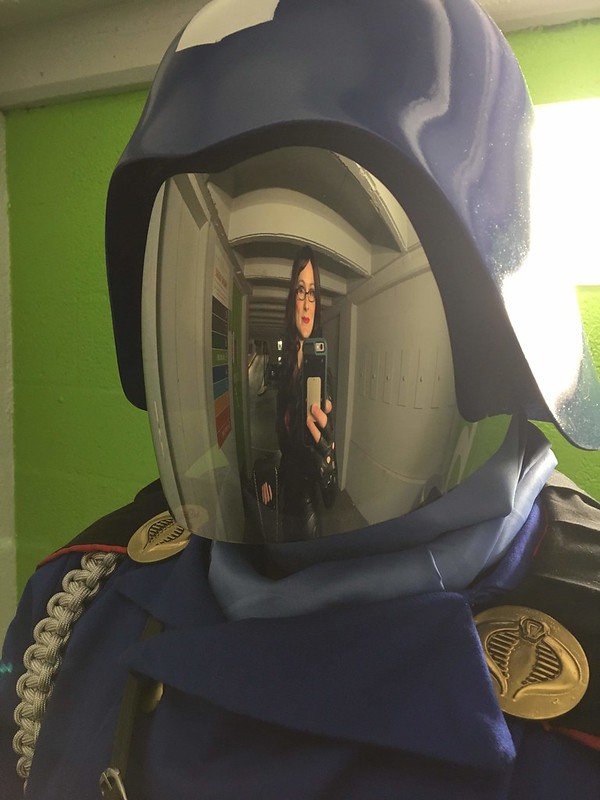
It turned out to be a pretty good time, but with my gloves on I didn't manage to get very many photos. Here's a good one:
And here's a rare shot of both of us:
Her outfit was pretty popular with the crowd:
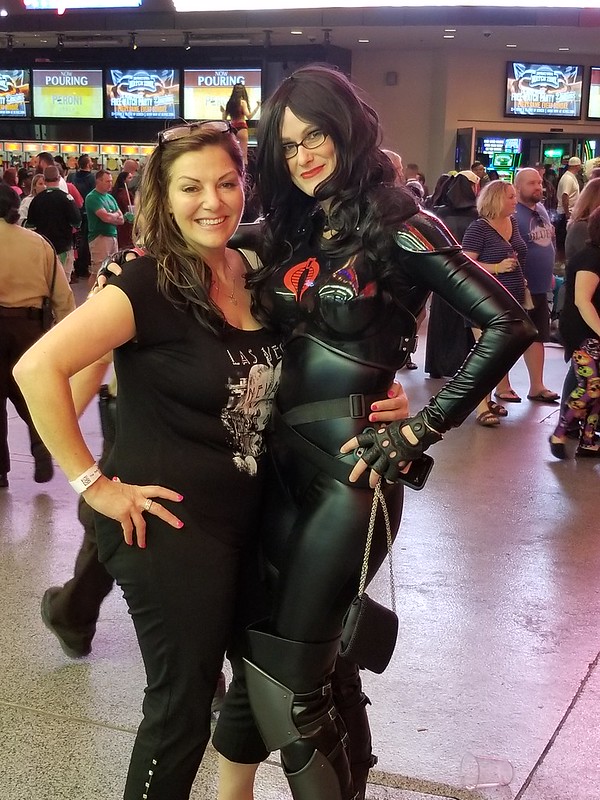
How could it not be.
I've still got a few more pieces to make. Most notably the bracers for the forearms and a new, improved belt setup. I also want to add a couple more strips of armor to the bottom of the chest and back.
Once I've got those pieces made, it'll be time to do a proper photoshoot to better show off the finished article. Fortunately, Rachel's copy came together pretty well too. So one way or another, we'll get this done.
Stay tuned for more.
Shawn, absolutely brilliant and entertaining to read, thank you. I'm a little curious, what does the orange tooling gel-coat bring to the party?
ReplyDeleteGelcoat is just another polyester product, same as the resin that gets used to make the fiberglass composite. The main difference is that it is UV-stabilized and has fillers mixed in to make it easier to sand and polish.
DeleteTooling gelcoat is specially formulated to minimized the shrinkage that's a common issue with polyester resins. I use orange because it gives me good contrast when I am laying up a part inside the mold and want to start with black or white gelcoat.
Cracking!- I'll have to lay my hands on this stuff and give it a go.
DeleteGreat post as always! It is amazing what you can rush together.
ReplyDeleteIt must be a challenge to get good pictures of the cobra commander with that mirror visor covering your face. I'm sure a better photographer than me would be able to get good poses or photoshop their reflections away, but I can't imagine how to go about hiding my reflection from a convex mirror. I had enough issues hiding from flat mirrors when I was doing before and after pictures of my bathroom remodelling.
Amazing work. Thanks for sharing the build. Do you plan on selling casts?
ReplyDelete