I've often stated that I almost never make just one of anything I make. Since I'd hate to have this project make me a liar, my crew and I have been slowly cranking out a new and improved version. We've been calling him "2nd ED." Here he is in all his glory:
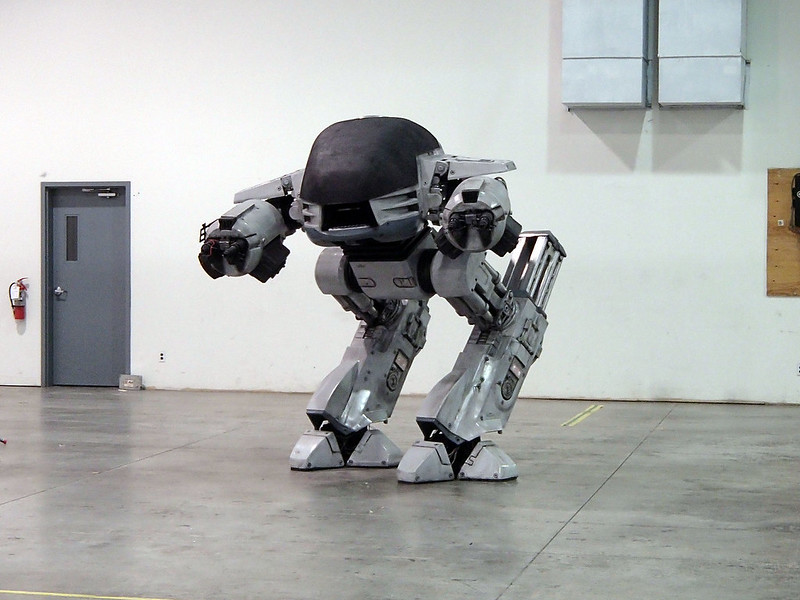
Since I parked First ED at the Make Magazine headquarters, it only seemed appropriate to pack up 2nd ED and haul him down for a few quick photos at Make:
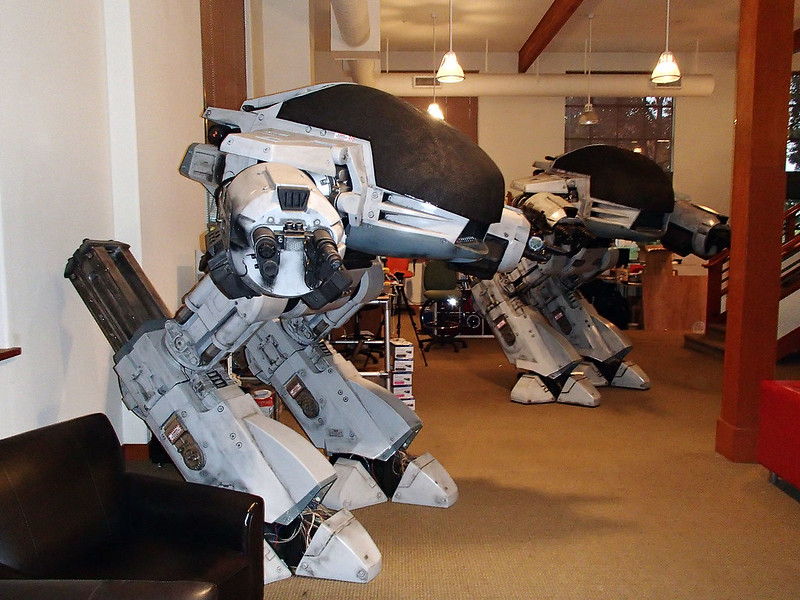
The new one is the one in the background.
While I was there, they asked me to shoot a quick video explaining why there were suddenly two:
For more photos and some additional details about the improvements built into 2nd ED, read on...
The original build for First ED will always be something I'm extremely proud of. Still, the more time I've spent looking at it, the more I've found little things that really bother me.
The biggest one had to do with the way the frame was put together. The steel frame was very well made, but in the mad rush to get it all together, I didn't really have time to put in all of the engineering time I would've liked. The end result was a bit wobbly, so I decided that I'd make a much stiffer frame.
I didn't have any competent welders hanging around the workshop this time around (and my welds usually end up looking like a collection of moon rocks), I made the new frame out of wood. I also conducted a series of highly scientific stress tests along the way:
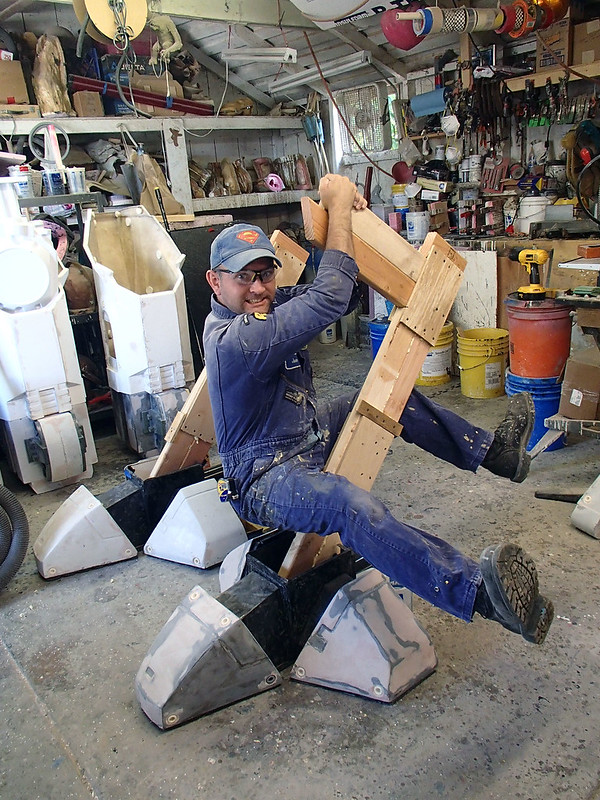
It's plenty strong:
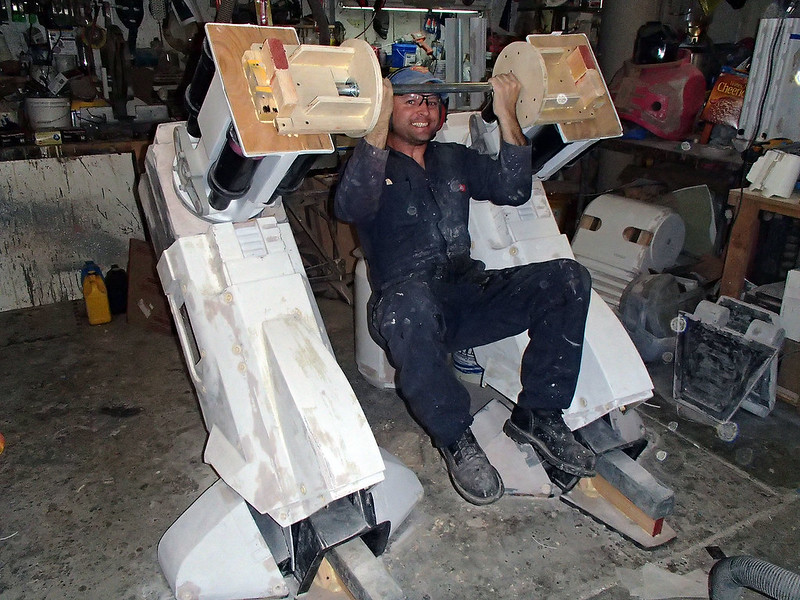
The original was a bit wobbly for two reasons. The first was that the frame was made of moderately thin-walled steel tubing. The second reason was because the load bearing portion of the main body was just whatever fiberglass skin was laid up on the bottom and that was it.
For Second ED, I decided that the bottom of the main body needed much more heft. I started by sanding down any of the bumps or spikes that were built up when the glass was laid up:
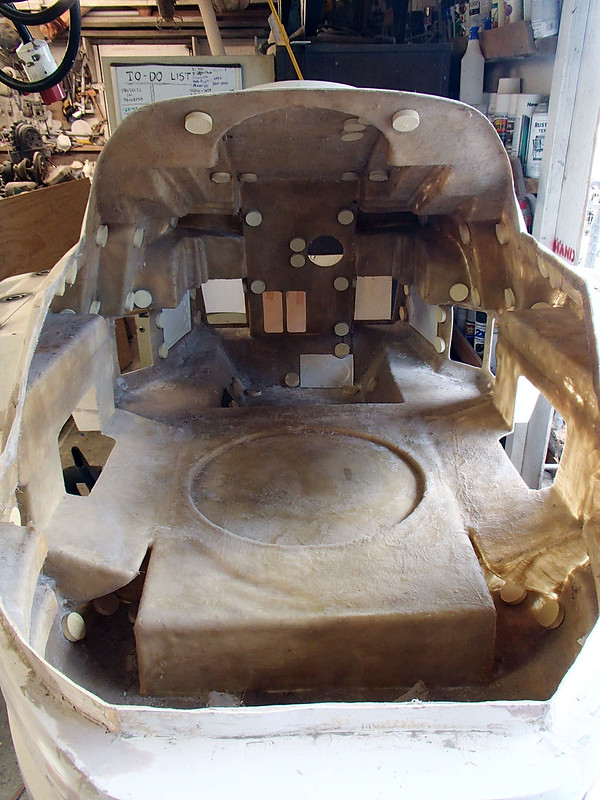
Then, just like First ED, I poured some resin into the circular recess in the bottom of the body and pushed a 1/2" thick plywood circle into it for reinforcement:
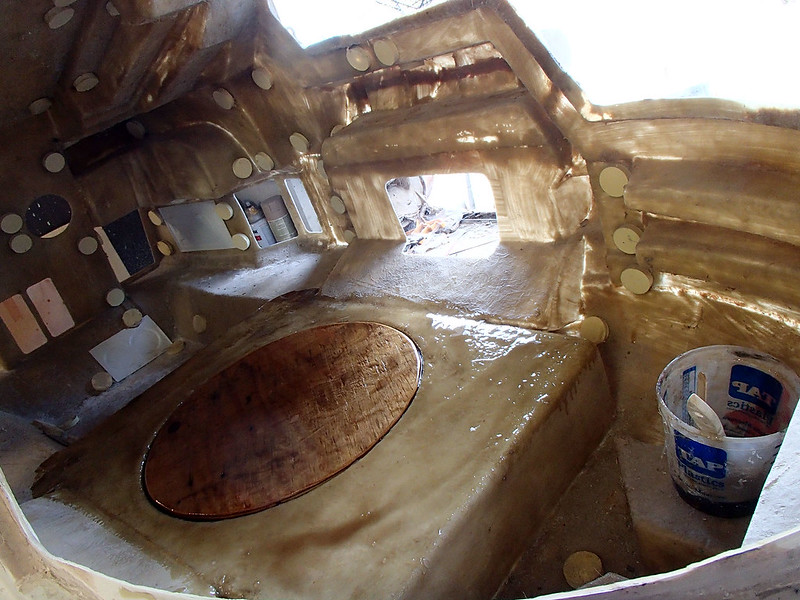
Just like First ED, this disk was layered over with more fiberglass mat:
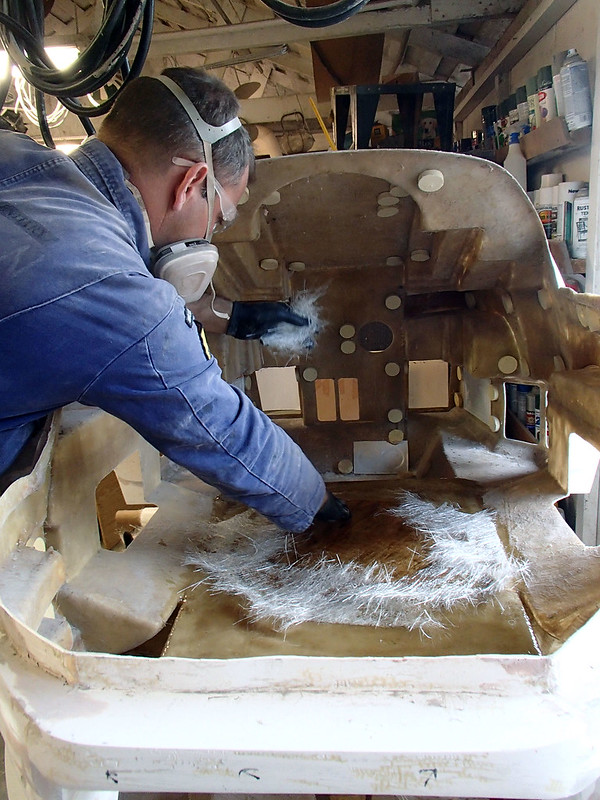
But in order to add even more strength, the entire flat on the bottom of the body was reinforced with an additional 1/2" thick rectangle of plywood as well:
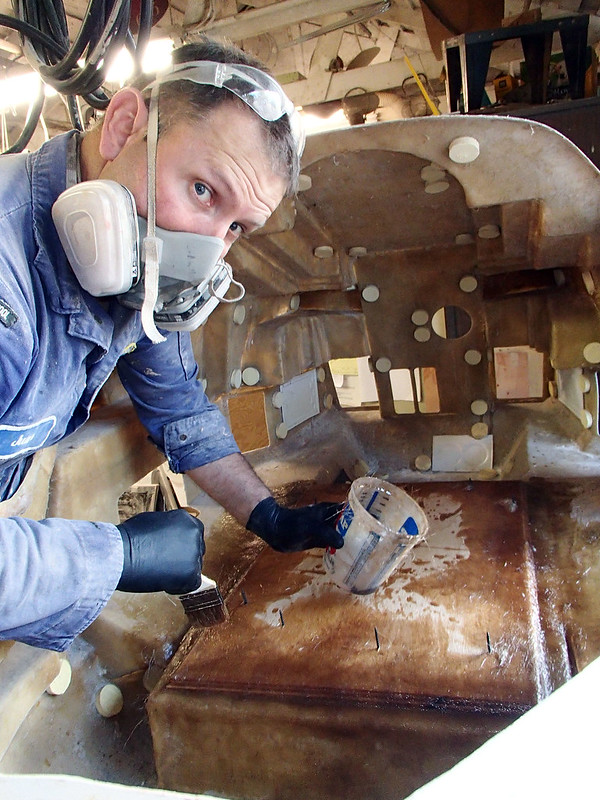
This piece was also glassed in place and drywall screws were used to temporarily hold everything steady while the resin cured:
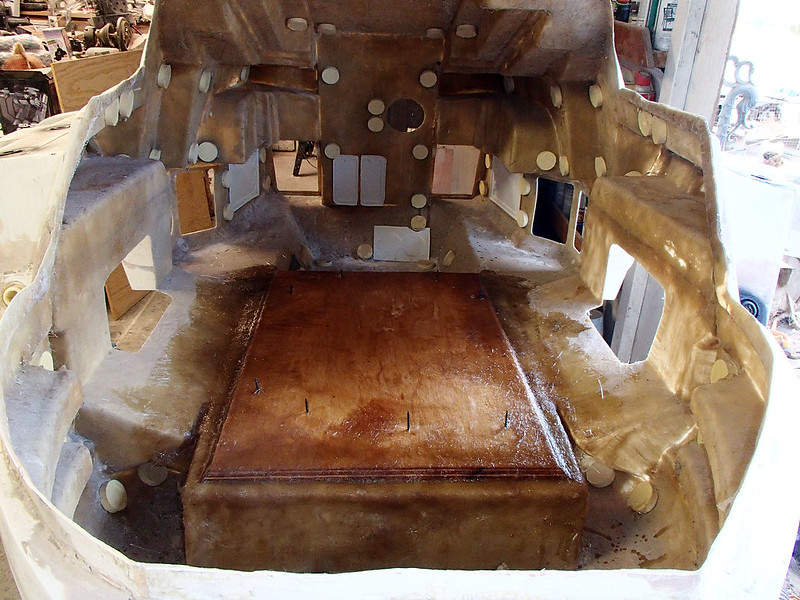
This extra layer of plywood stiffened all the way across the bottom of the body instead of flexing and wobbling that the fiberglass skin would've done without additional reinforcement.
While we were beefing things up, the pelvis section also got a bunch more reinforcement:
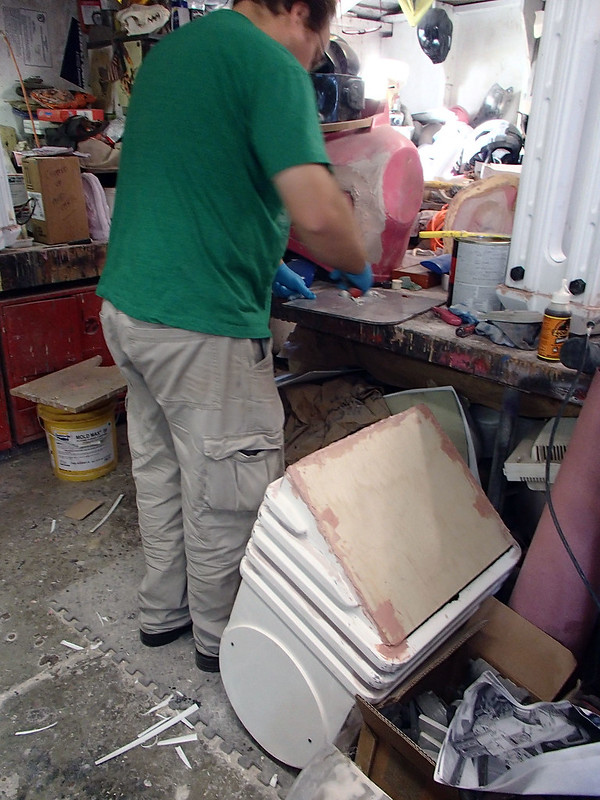
Then I came up with a bracket system to make it easier to slot the whole thing together:
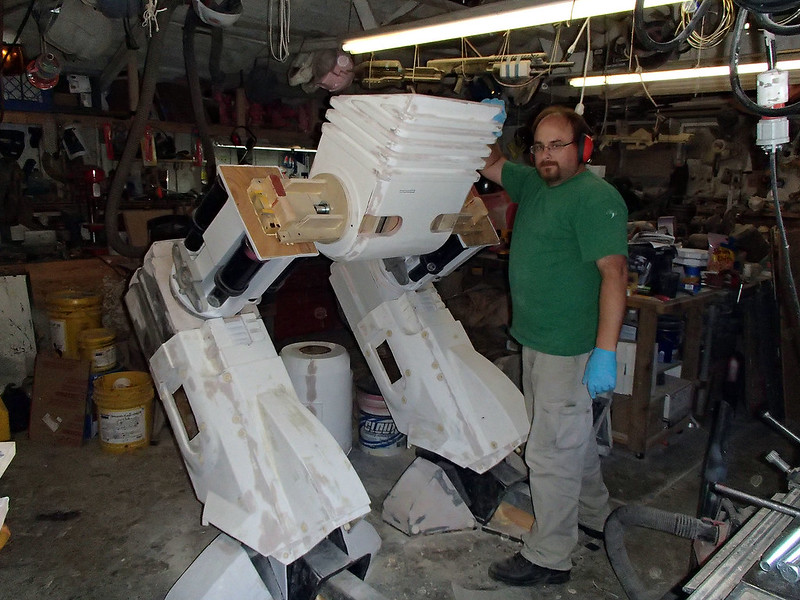
The other main improvement was notching out the underside of the shoulder flaps to allow for a wider range of poses without interfering with the elbow pieces:
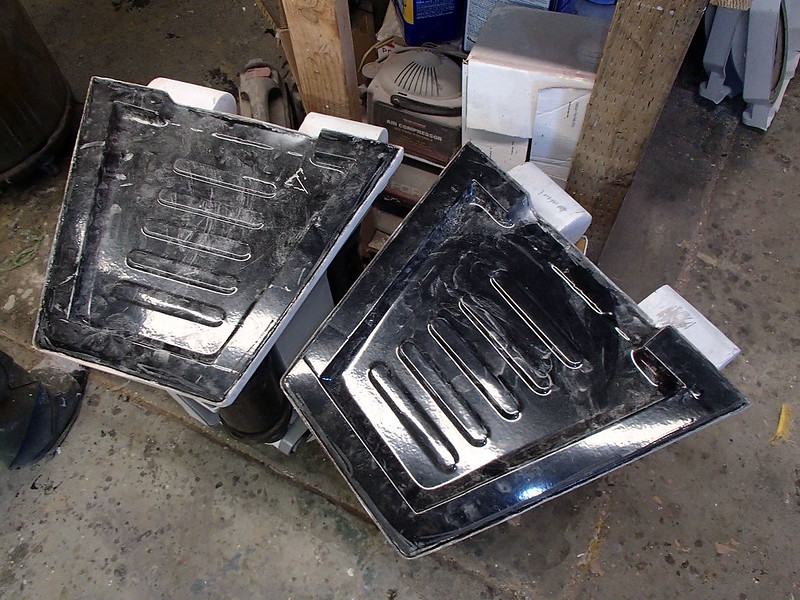
Once all of the parts were tuned up and reinforced as needed, the next step was to lay it all out and give it a couple coats of the same grey industrial-grade urethane paint that I used on First ED:
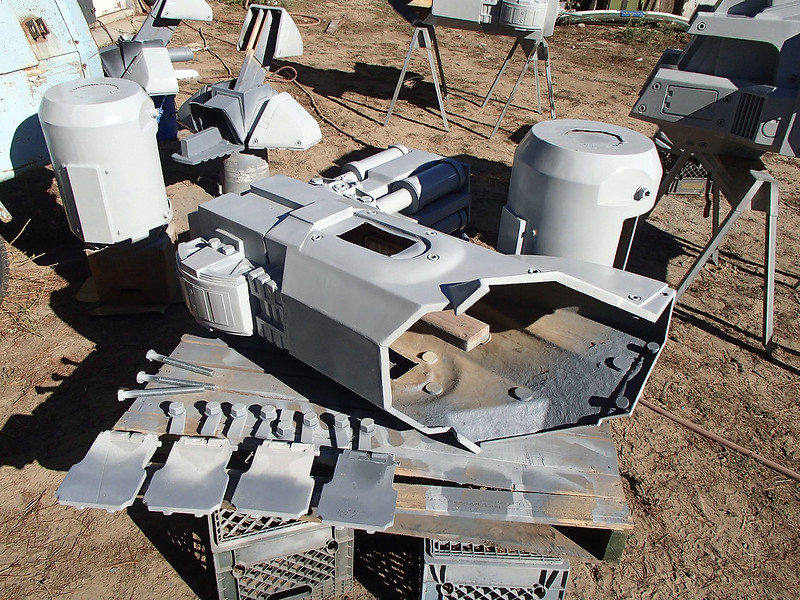
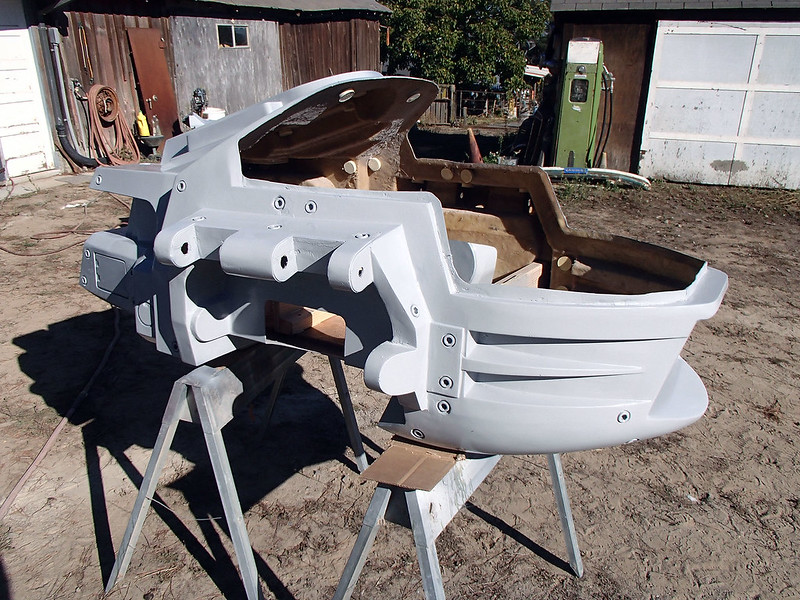
Then the various sub-assemblies were put together:
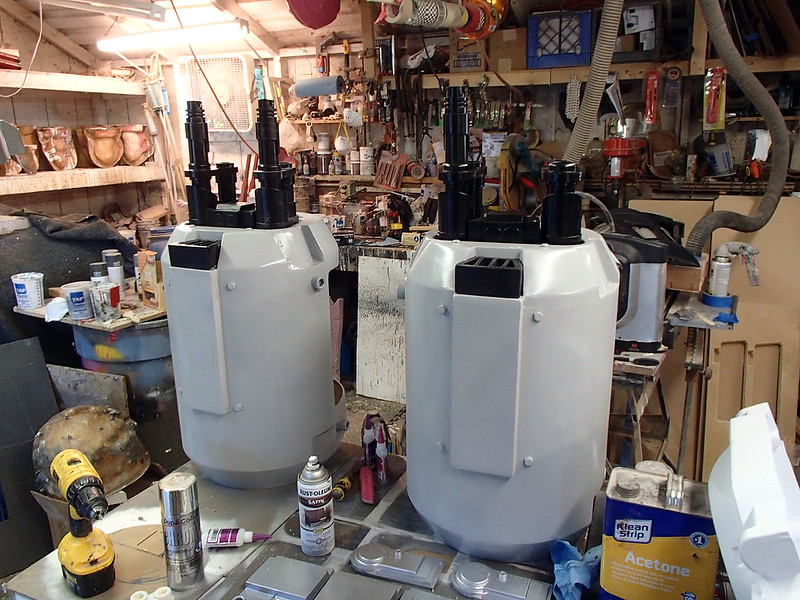
And the small details were added:
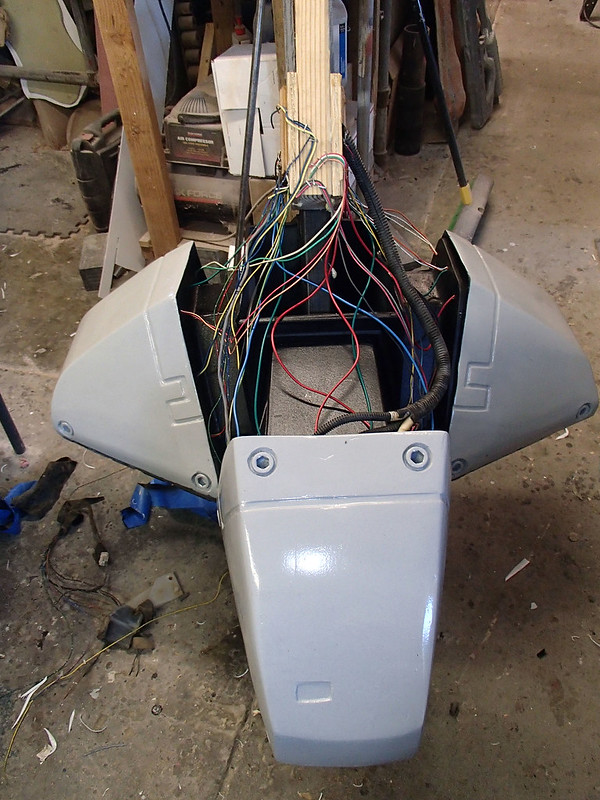
And the weathering was done:
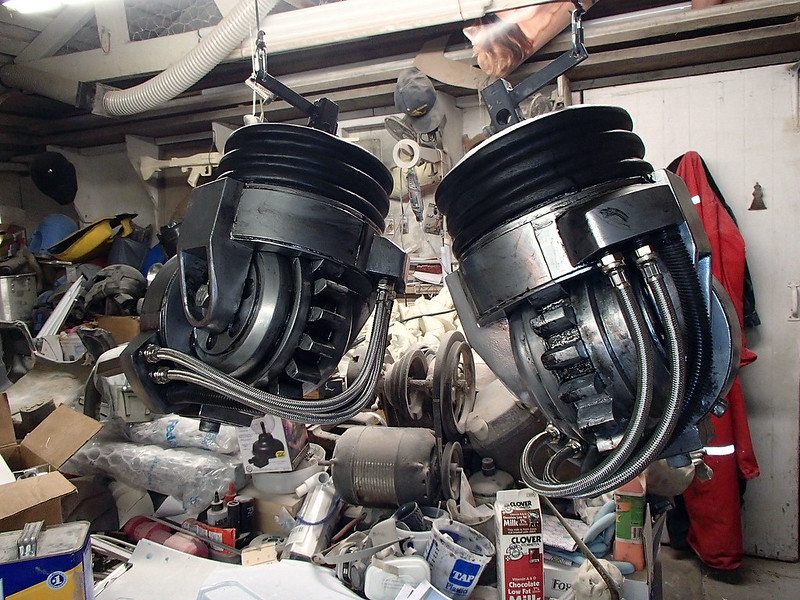
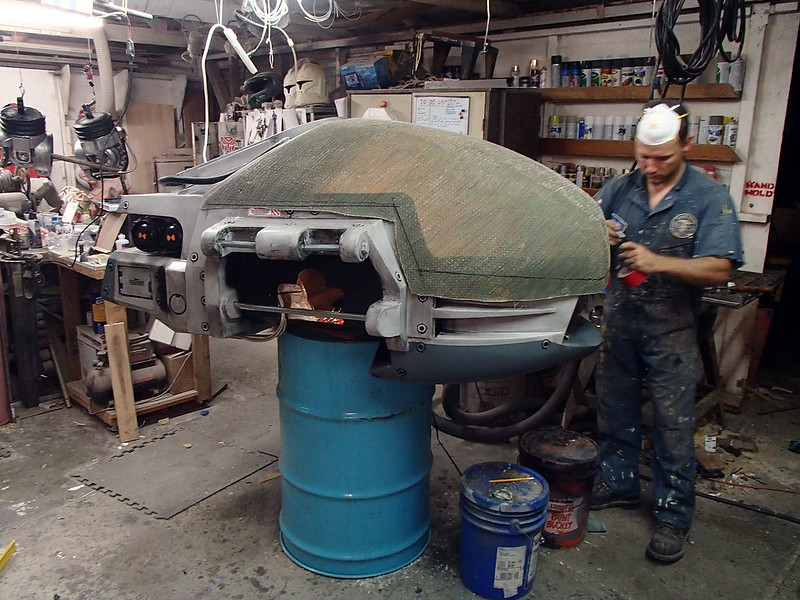
The final step was to determine exactly where to trim the dome. In order to get it right, I put a worklight inside the body so I knew the limit to how much I could take off:
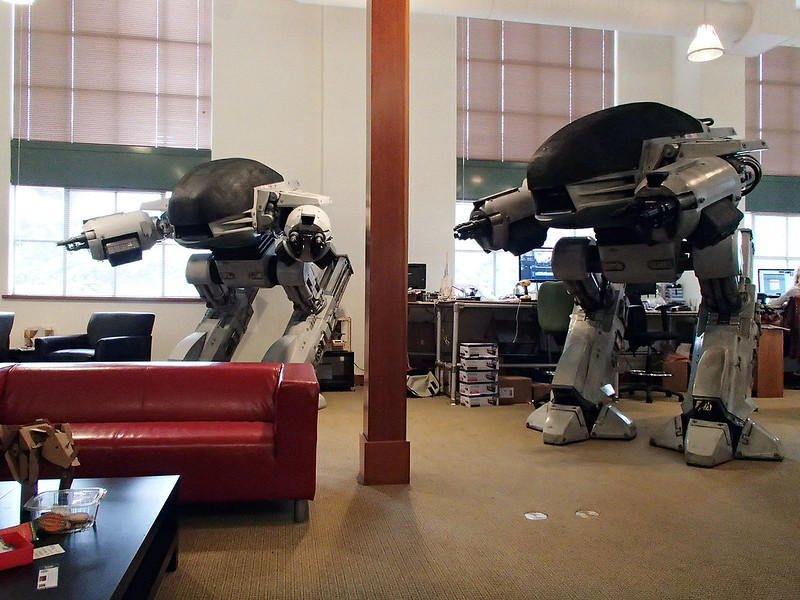
Everything was finished and the paint had dried on Halloween morning. So my friend Matt and I packed all the parts into a truck, hauled it down to the Make magazine headquarters, and set him up just before people started showing up to work:
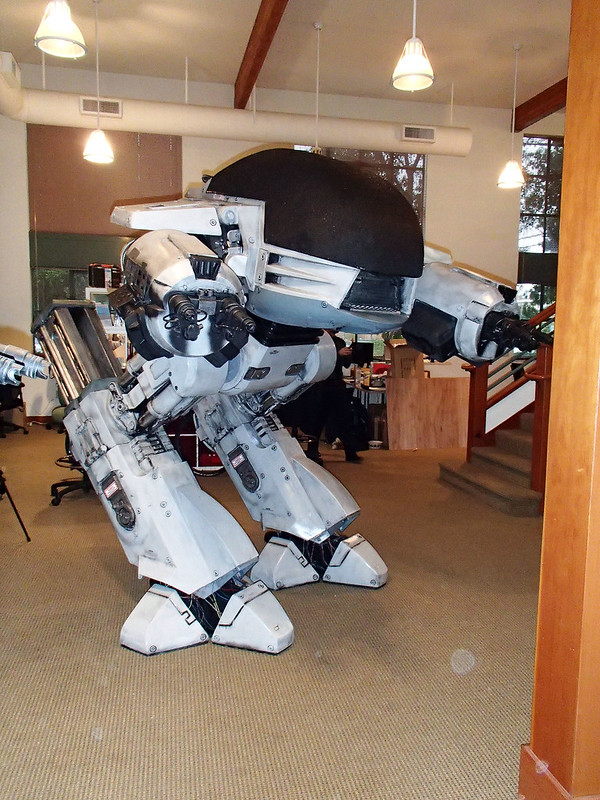
Here he is on the right with his older brother on the left:
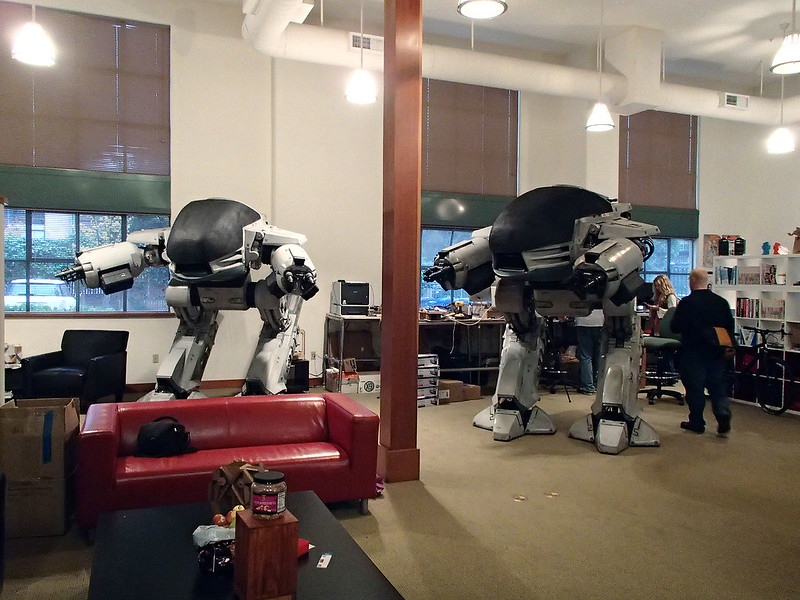
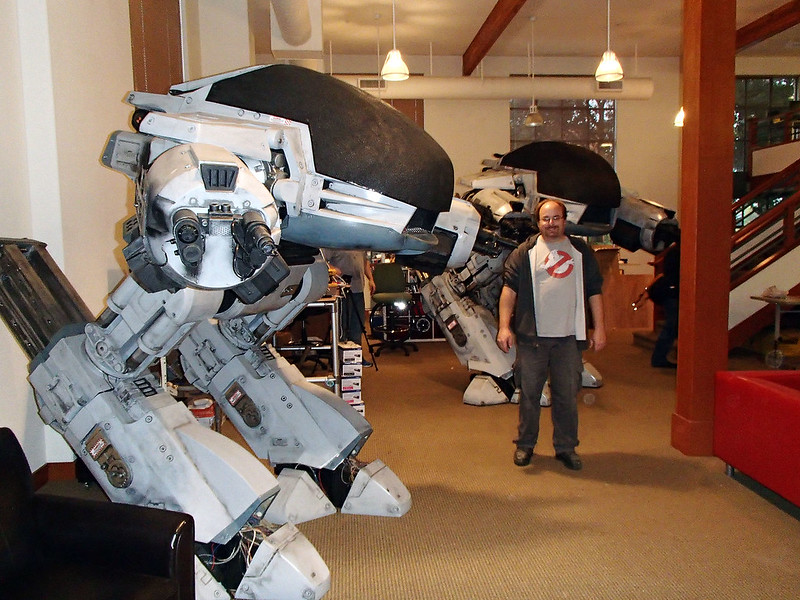
Second ED looks taller, but that's really just a function of perspective combined with better posture:
Here's Matt standing between them:
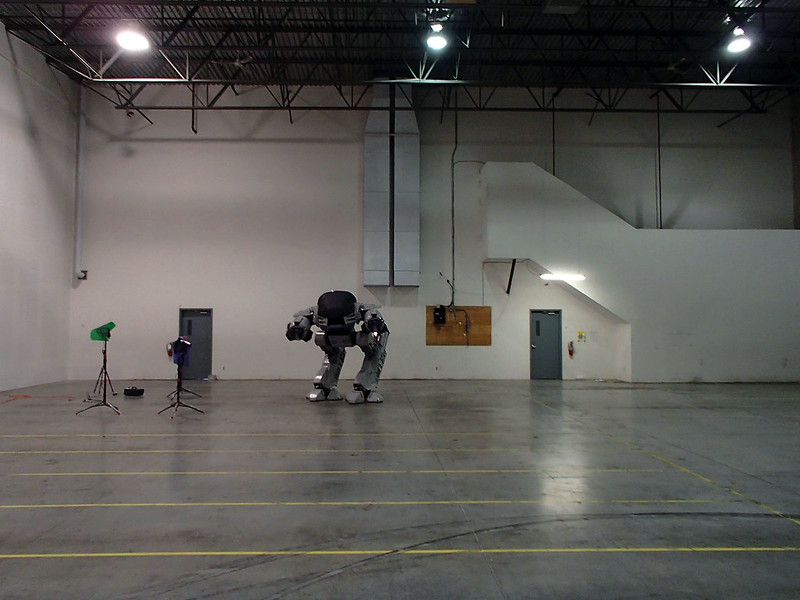
A few days later, Matt and I set him up in a warehouse in an undisclosed location:
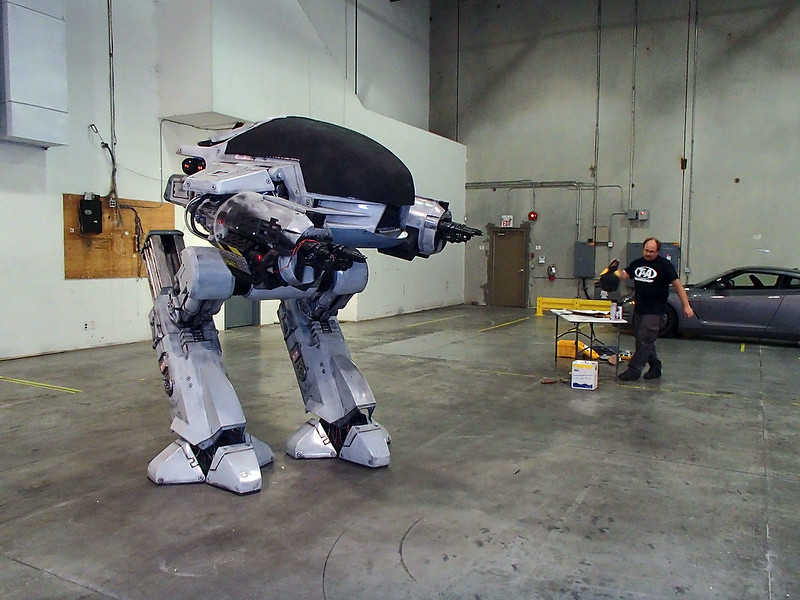
He looks pretty good in his new home:
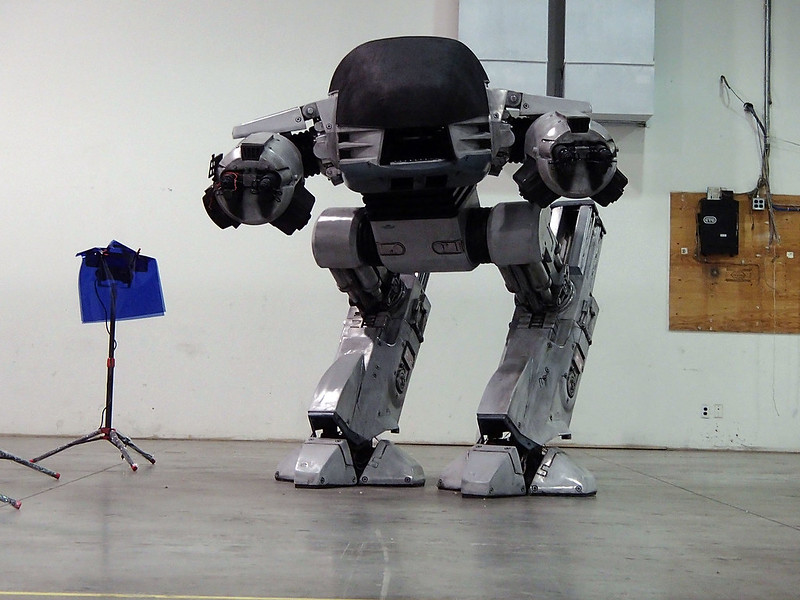
From certain angles, all that space makes the giant killer robot look a bit small:
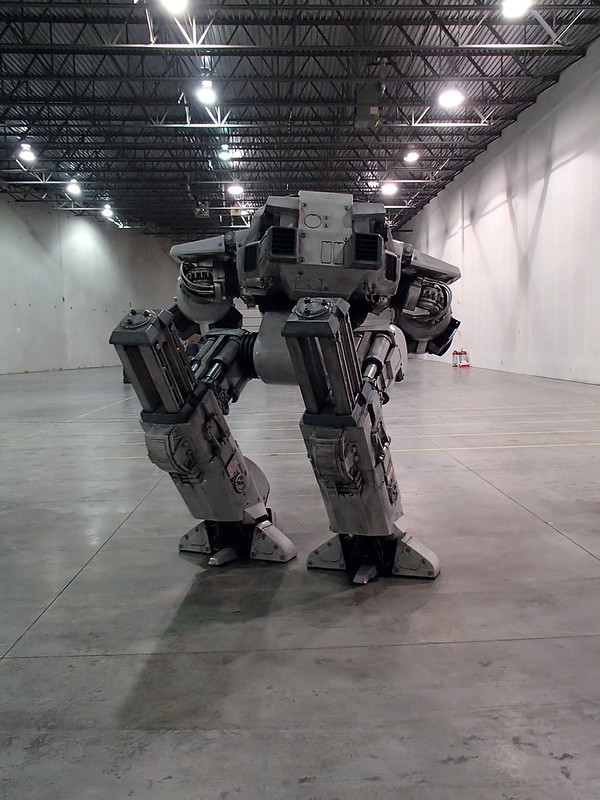
But other angles are awesome:
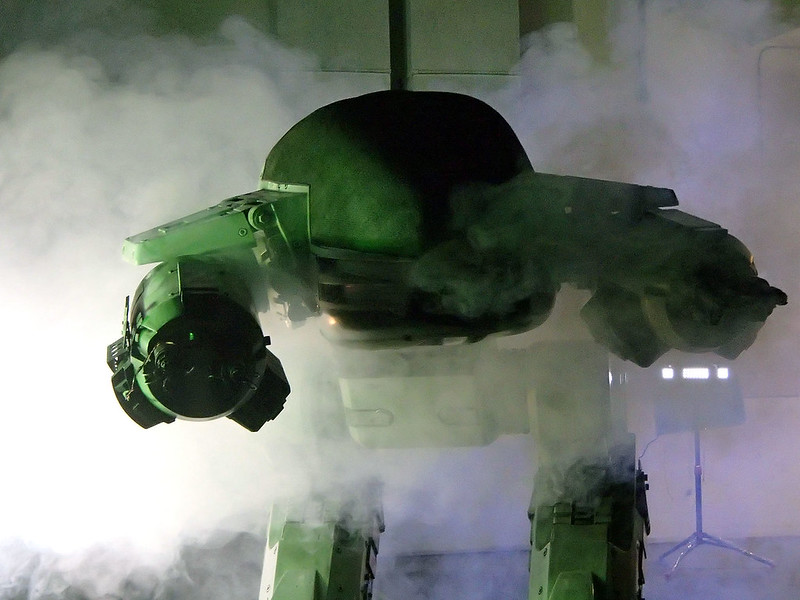
Smoke and lighting effects help too:
I'd like to say that this is the end of my ED-209 project, but I have this odd feeling that I'll revisit this beast at some point.
Stay tuned...

AWESOME!!!!!
ReplyDeleteNow you just need to make one into a wearable costume.
ReplyDelete