
In the game mythology, plasma pistols fire energy 'bolts' of bright glowing plasma. Each one is like a miniature little sun launched out of the barrel. Among the forces of the Imperium, these weapons are highly coveted and usually end up in the hands of very high ranking officers and heroes of the Imperial Guard.
That sounds cool and all, but I was really just excited to make a pistol filled with blinky lights that chase around inside of it when I pull the trigger and say "pew pew pew."
To see how I went about making it, read on...
Back when I made my Imperial Guard costumes, I needed weapons to arm them. I turned to my good friend Matsuo to get a handful of his absolutely gorgeous lasgun props:

I love the aesthetic of the final pieces, so when it came time to make the plasma pistol, I wanted to make sure that it had many of the same design elements. That way, the finished piece might look like it was made by the same manufacturer. At the very least, it would look like it was developed by the same engineers.
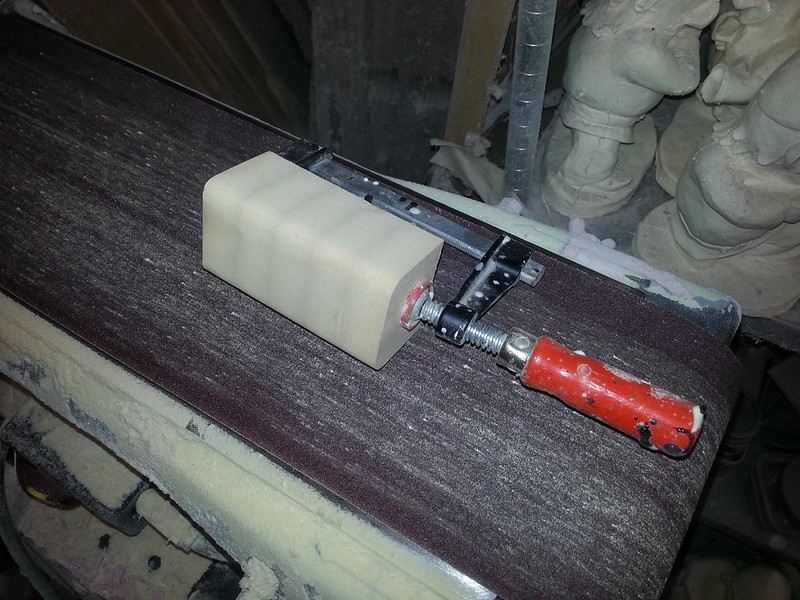
For the main body, I started with a scrap of tooling foam and basically carved out the rough shape using a hacksaw and the belt sander. Finer details such as the vents and seams were cut out with a Dremel and a jigsaw blade:

Since I'm scaling up from a ridiculously small miniature piece, I took a little bit of license with the exact proportions and contours. I still believe I managed to capture the appropriate bulk and heft of the design:

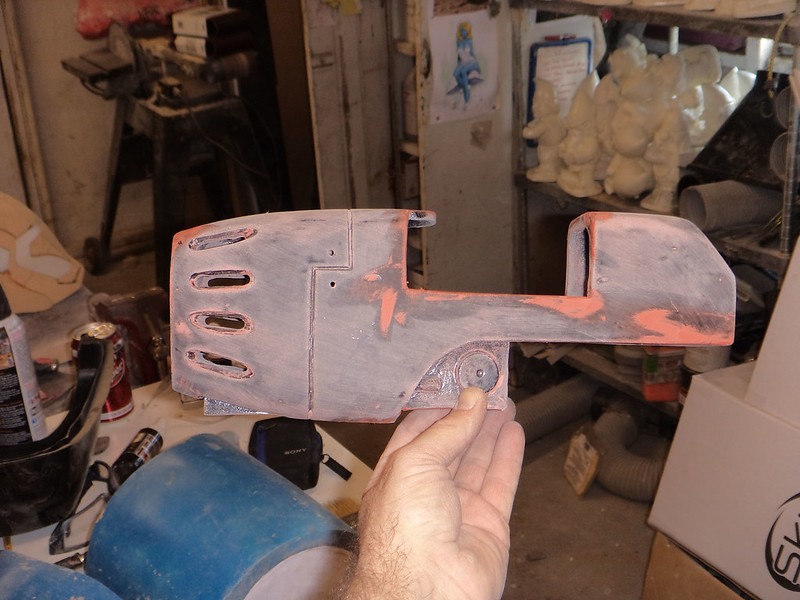
Before filling in the seams and sharpening up the edges of the vents, I gave it a quick coat of paint to fill in the porous surface of the foam:

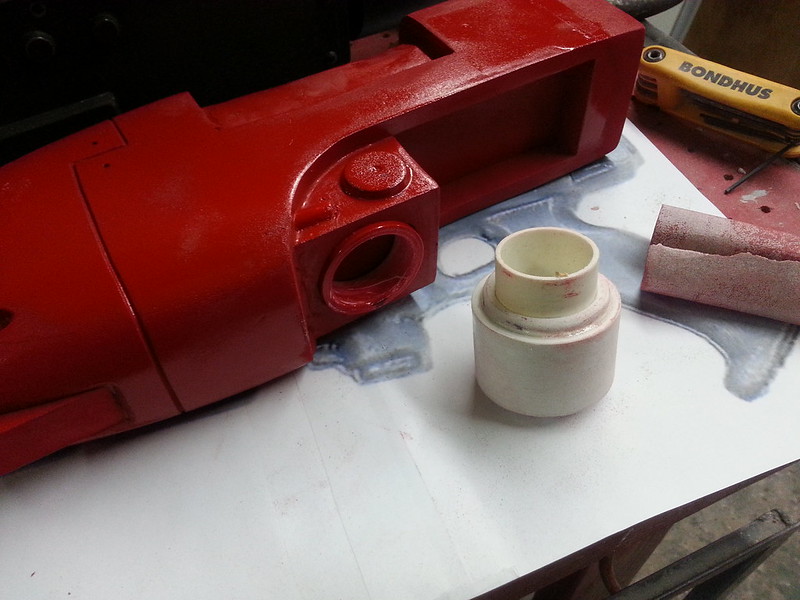
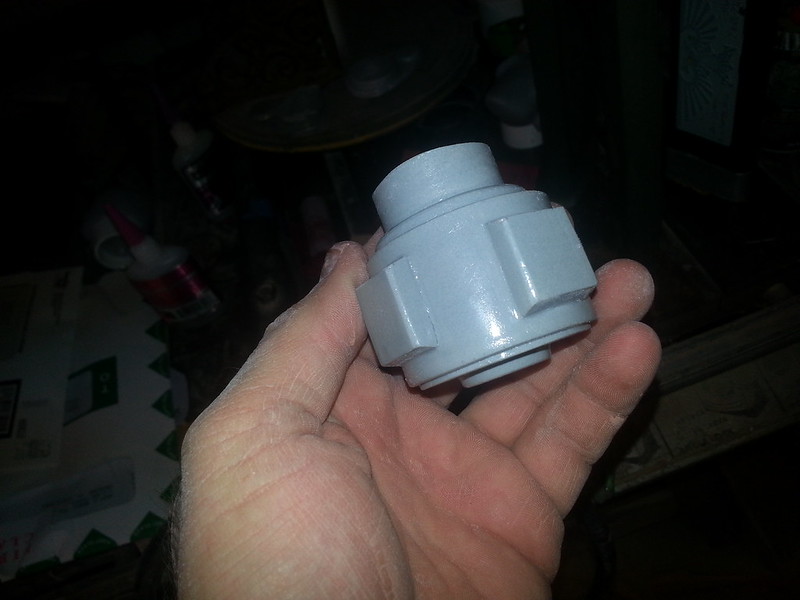
I made the power cell that fits into the bottom out of a few pieces of PVC pipe:
The details were added bits of scrap and a plastic Warhammer miniature base I had sitting in the shop:
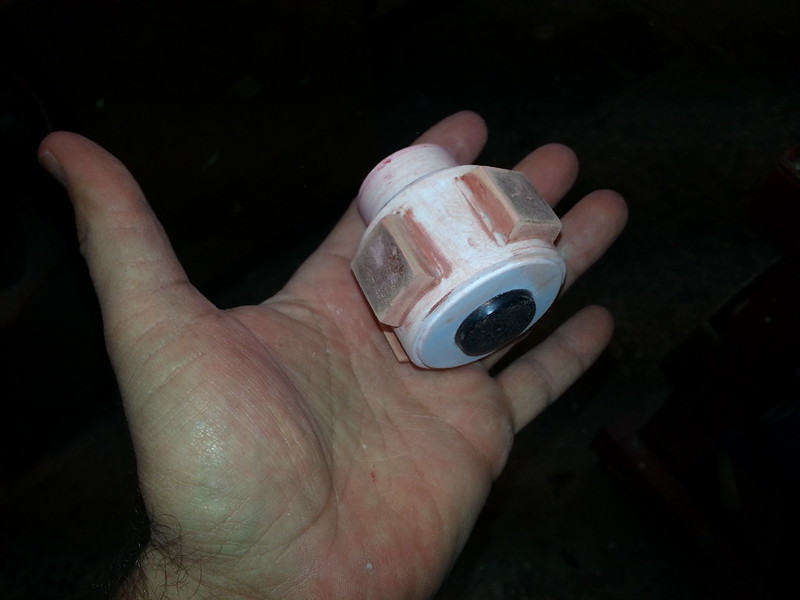
Here it is with a coat of paint:

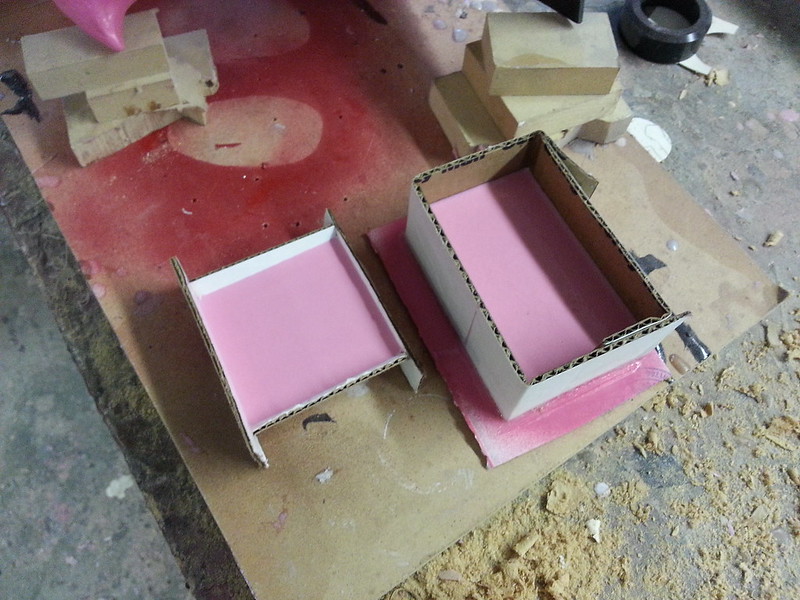
After a bit of sanding and repainting, it was time to box it up for molding:
The mold was a simple block mold and the part came out nice and clean:
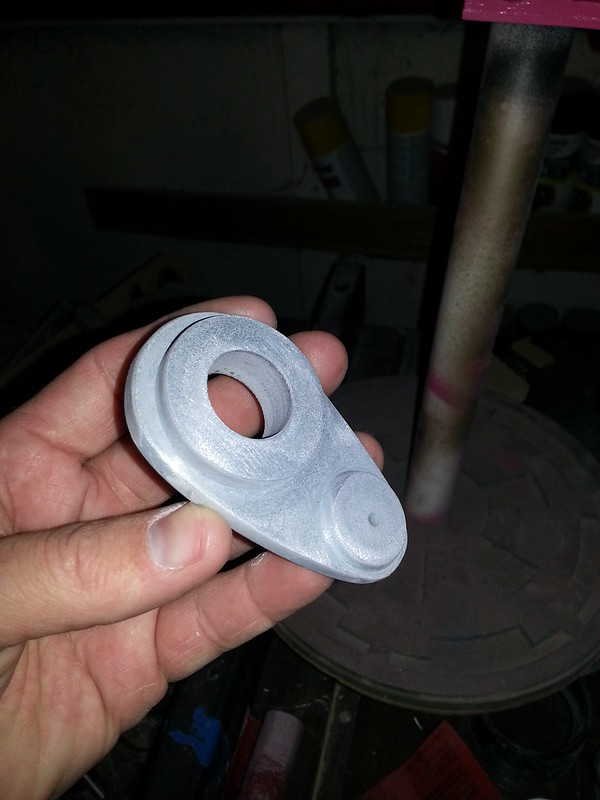
The muzzle detail was thrown together from a few scraps of foamed PVC sheet, bits of pipe, and another Warhammer miniature base:
I made a block mold for it too:
Then cast a copy:
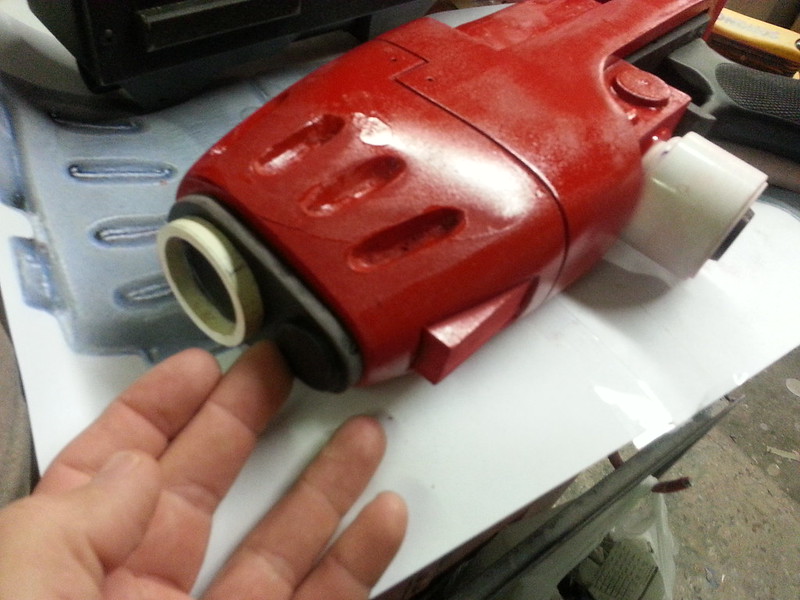
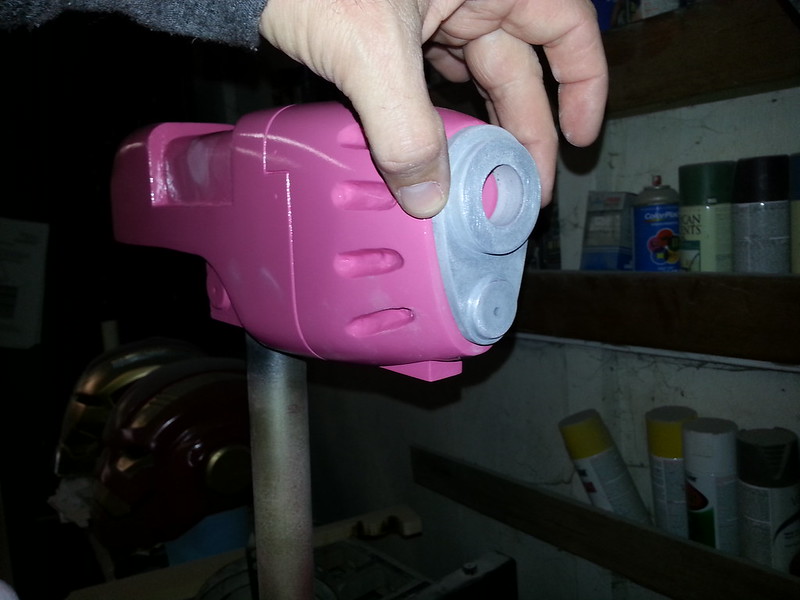
Here I am test-fitting it against the finalized prototype for the main body:
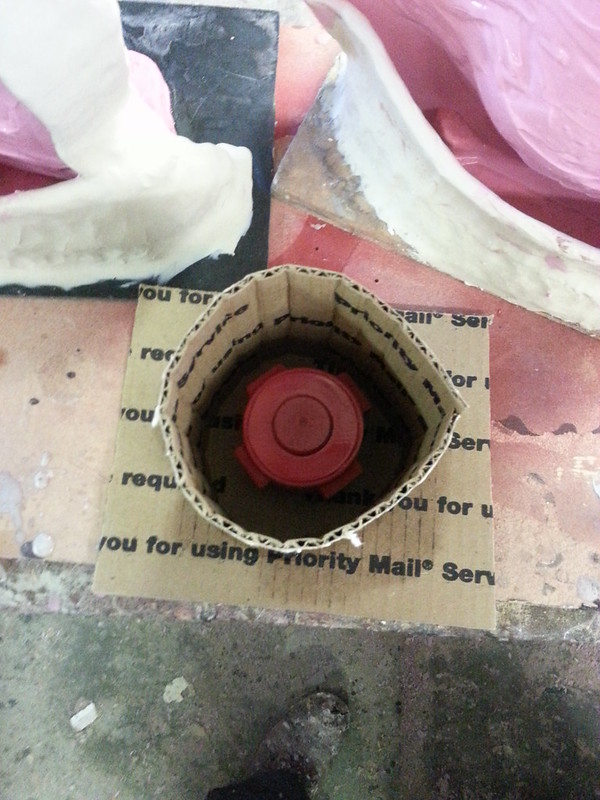
The mold for the main body was made in two parts. First, I built a clay barrier around the bottom where the pistol grip and the power cell would be inserted. Then I mounted it to a piece of cardboard and built a drip tray around the muzzle end:
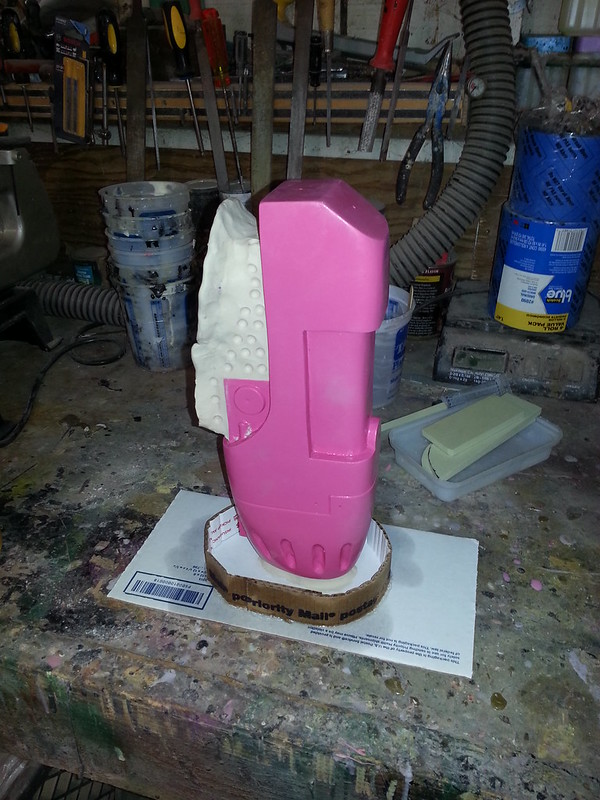
Then the whole thing got coated with some slightly thickened silicone:
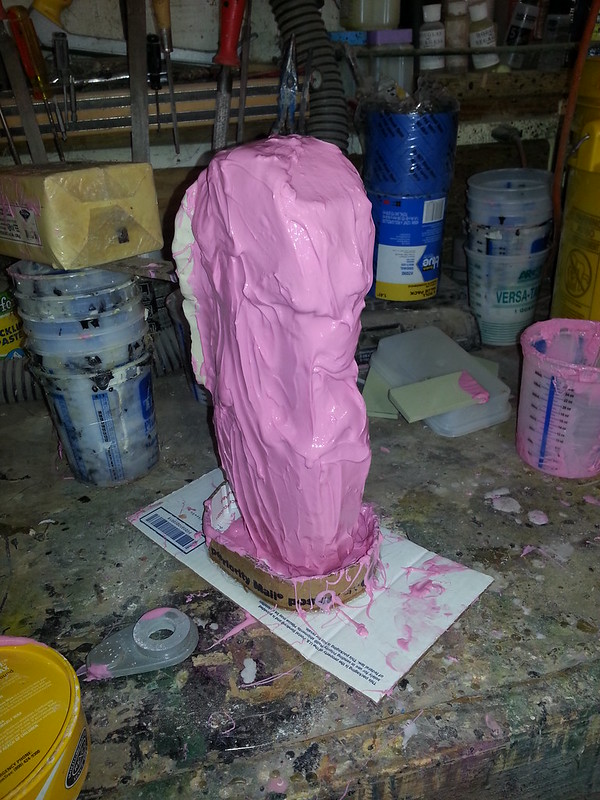
Once the rubber was built up and cured, I built a fiberglass mothermold:

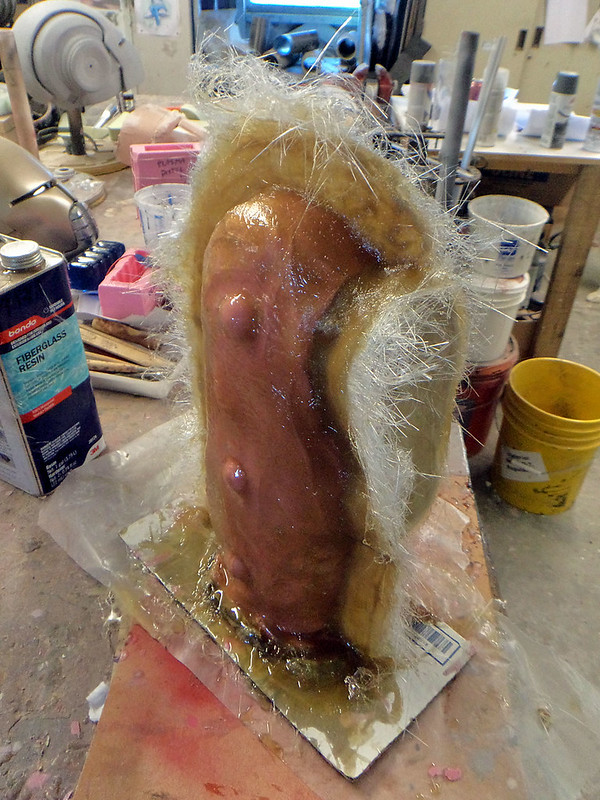
After a bit of cleanup, the clay plug was removed, a release agent was sprayed in, and I filled the hole with more silicone. Once it cured, I laid up fiberglass to hold it in place. When that had set up, I pulled the whole thing apart, removed the prototype, reassembled the mold, and rotocast the first copy:
Not bad.
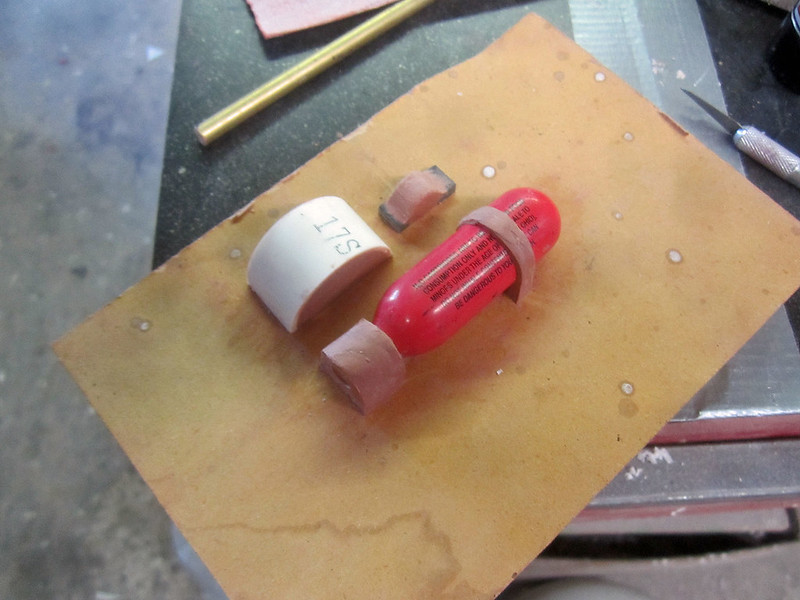
For the plasma coil on top of the pistol, I started by shaping some blocks of 3/4" MDF on the belt sander:
Then routered a radius into three sides of each piece:

Then I glued a piece of 1/4" MDF between the pieces and started filling and sanding to smooth them into one part:
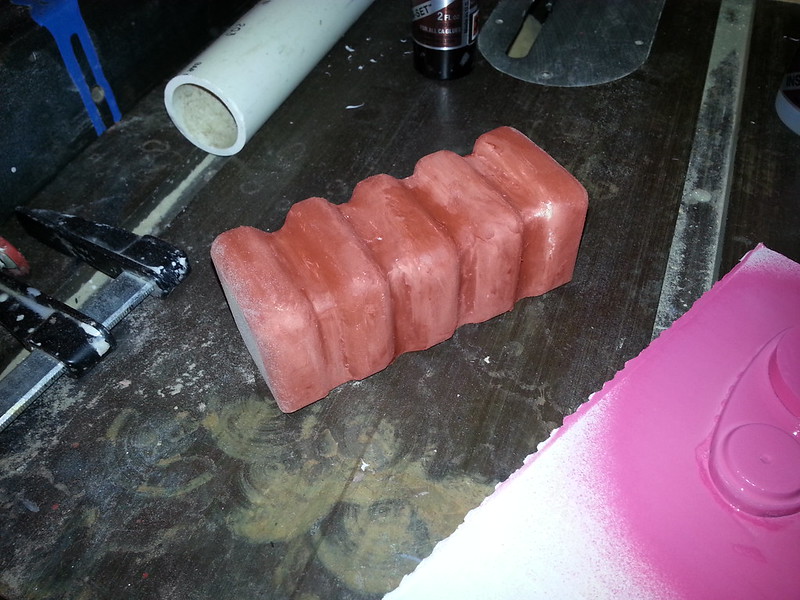
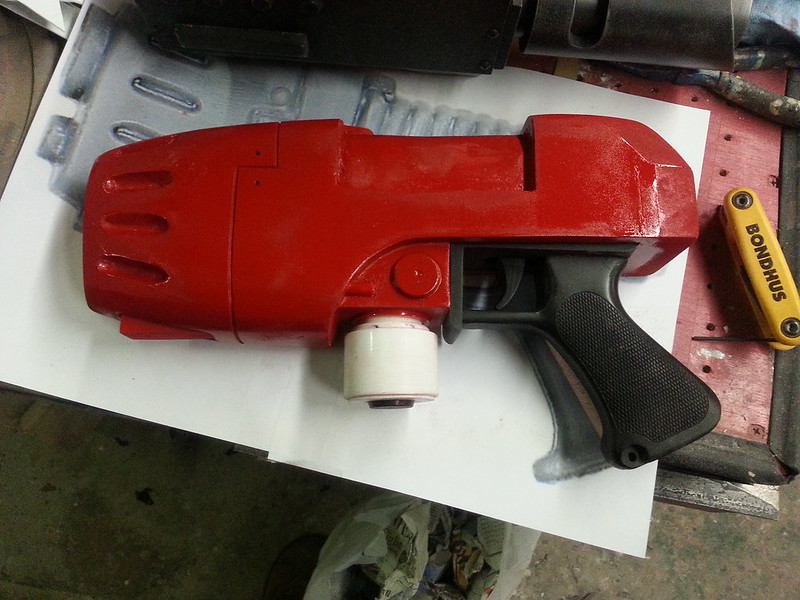
Here it is after a few coats of my standard lightish red prototype color:
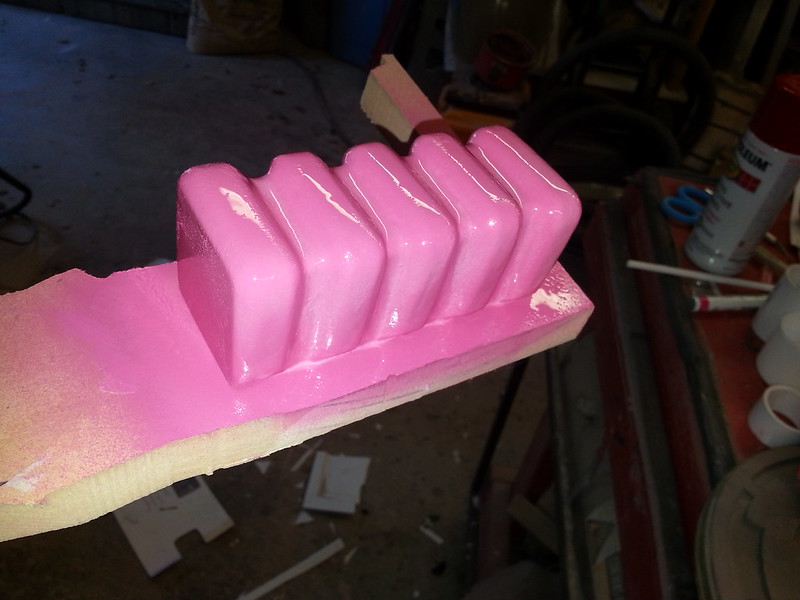
Here's the prototype boxed up for molding:

I cast the parts in clear polyester resin with transparent blue pigment:
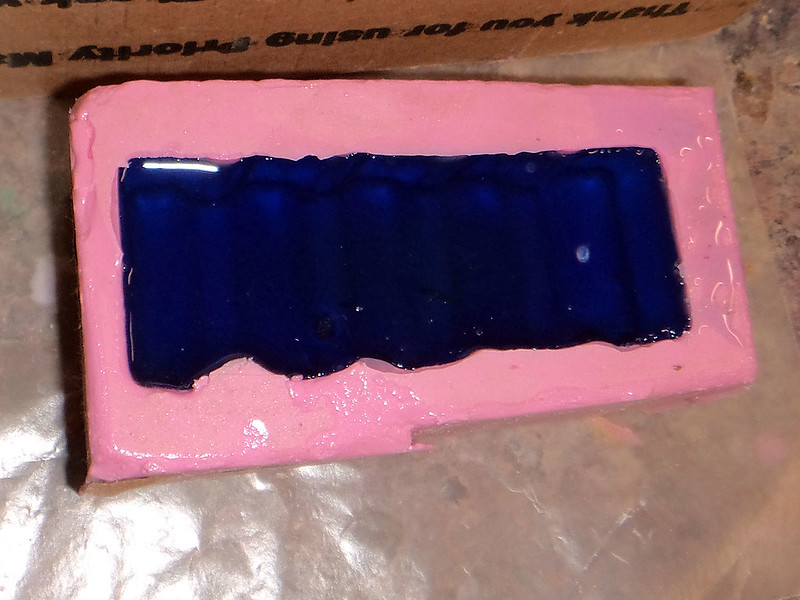
Here's the first casting out of the mold:
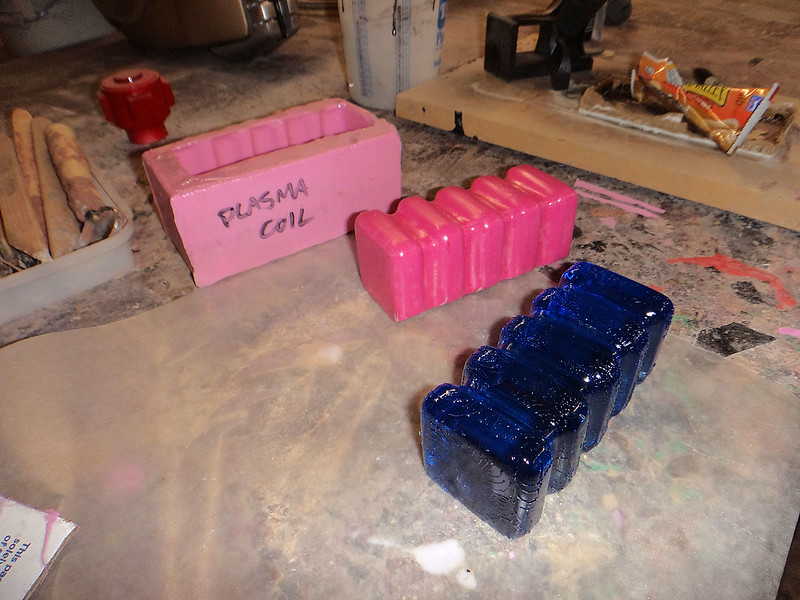
Shiny!
I decided I needed a few more details to add to the back end, so I took a piece of my (as yet unassembled) Baneblade kit and pressed it into a lump of clay:
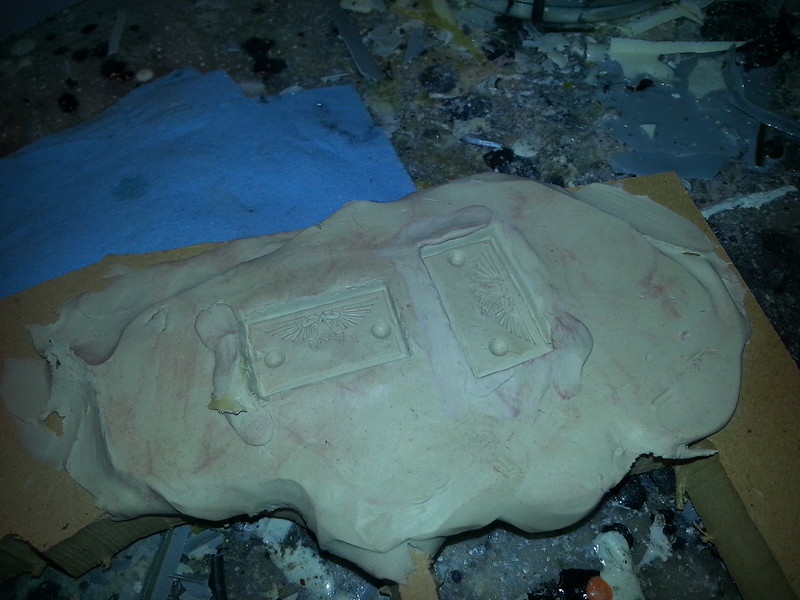
Then I sprayed it with some mold release and poured in some resin:
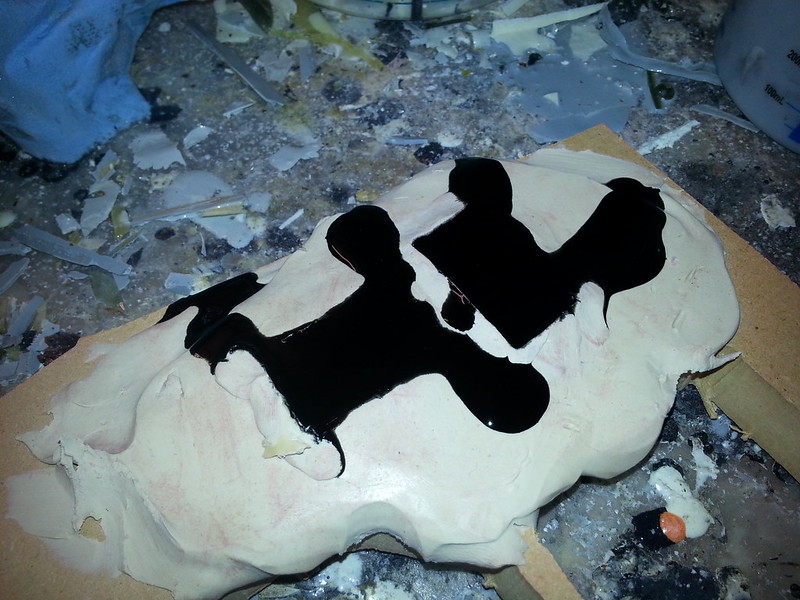
The result: a decent pair of double-headed eagle placards:
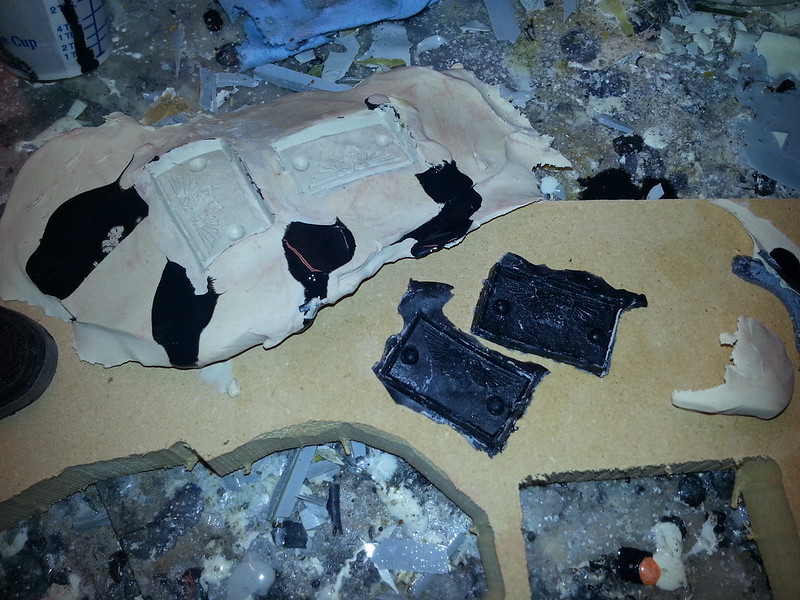
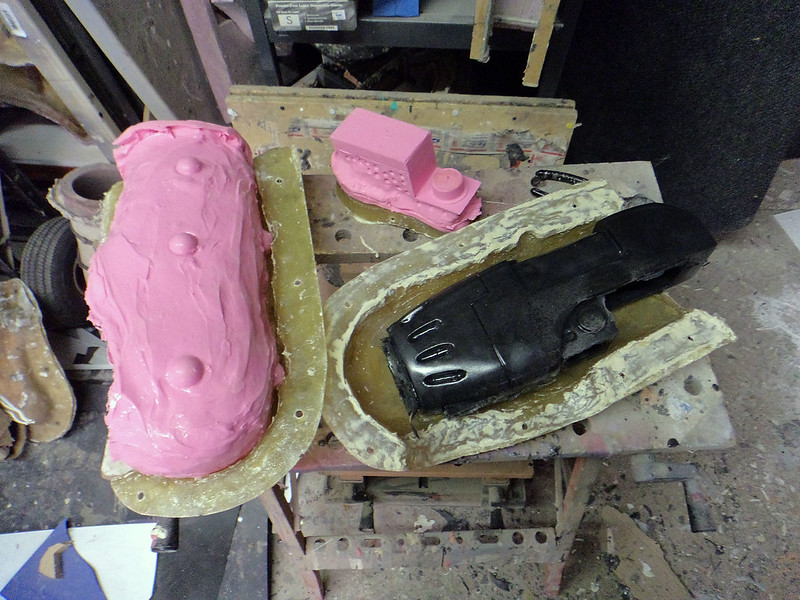
After a bit of trimming and cleanup, I boxed them up for molding:
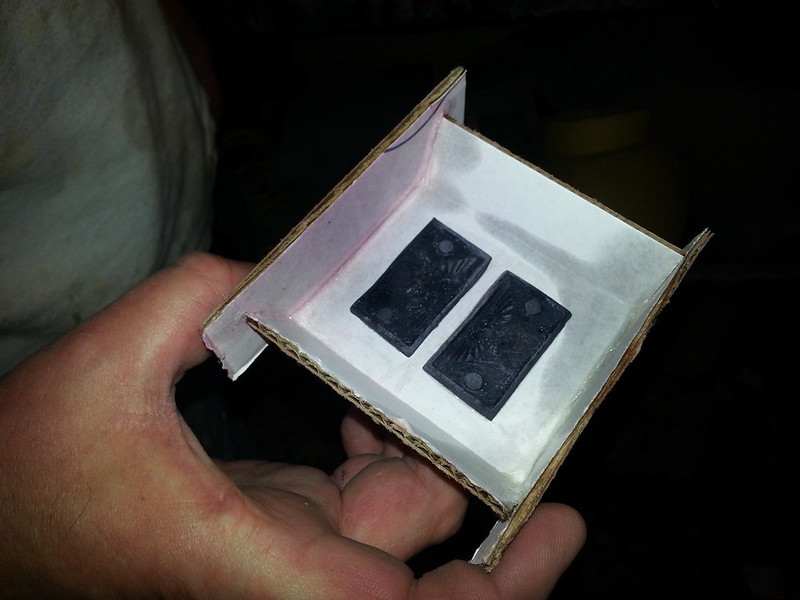
They're in the little mold on the left:
At the rear end of the pistol body, just above the grip, there are a few more details. The first one looks like a small fuel tank of some sort. Here's my rendition:

Here it is with the rest of the detail bits for the area:
I made a quick mold box for them as well as a control knob to add to the back of the pistol:

Once I'd cast two sets of those parts, I had all the bits I needed to assemble the complete pistol:
Here it is after some quick trimming and cleanup:
I think it fits:
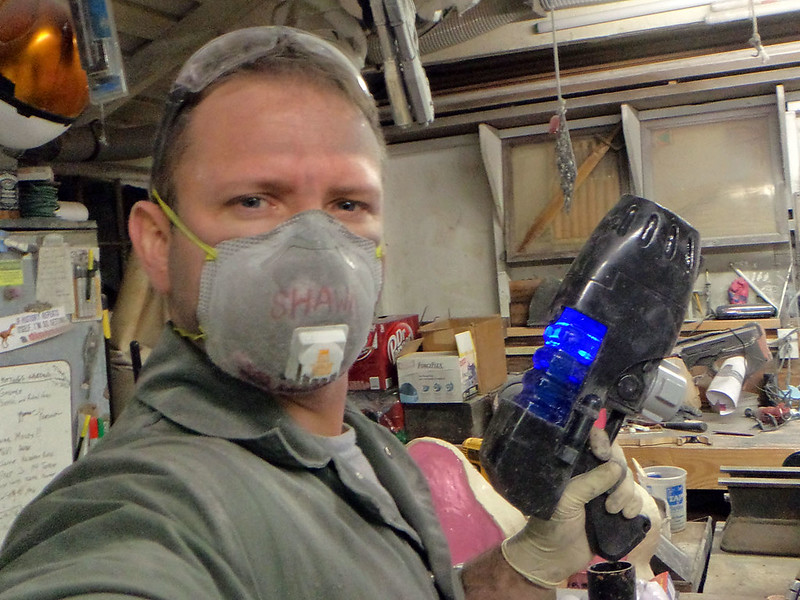
I also think I needed a new dust mask.
Once I'd sanded the shine off of the whole thing, I added a bit of spot putty to some minor flaws:
Then I primed it and coated it with satin aluminum metallic paint:
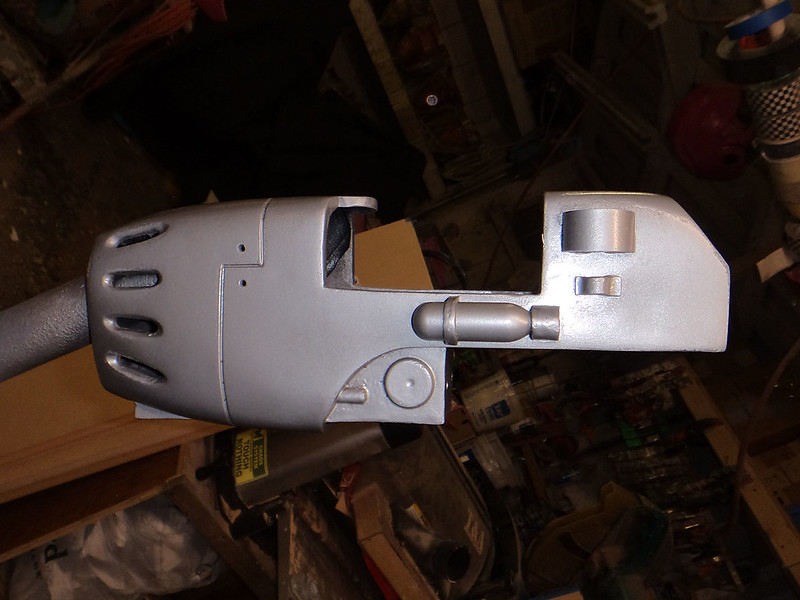
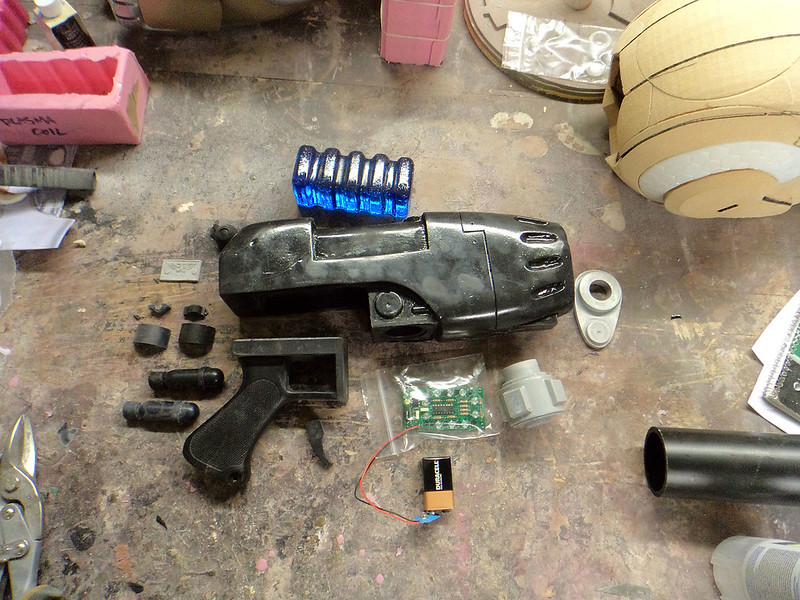
Here's everything fitted together:
The muzzle would be added on last to make it easier to install the lights:
To make the plasma coil blink as if there's bolts of energy moving from one end to the other, I installed a blue LED Sequencer Kit from Nightfire Electronics. Of course, I had to make a few special modifications:
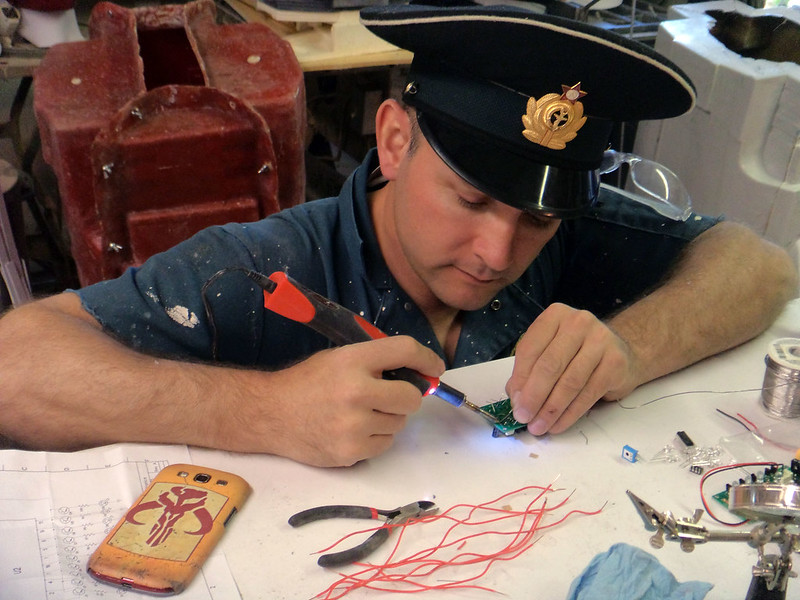
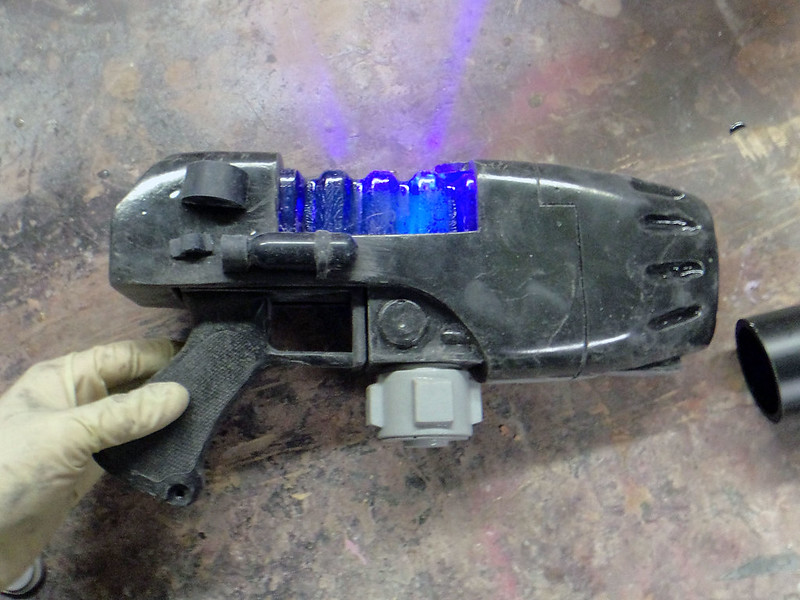
Since there wasn't enough clearance under the coil to fit in the sequencer, I ended up drilling holes into the bottom of the casting to fit the LEDs, then adding long leads so I could attach them to the board separately. Once it was all soldered together I got this blurry video of the plasma coil in action:
And here's the whole assembly being shoehorned into the pistol:

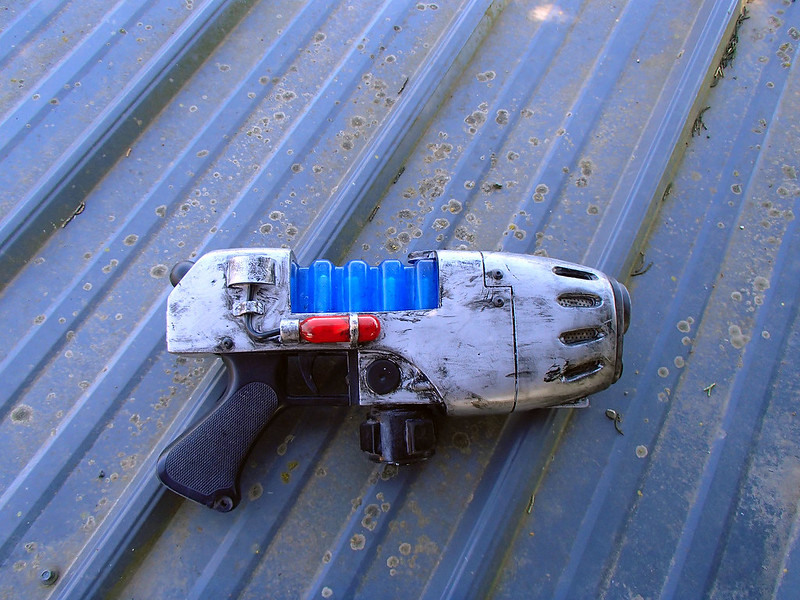
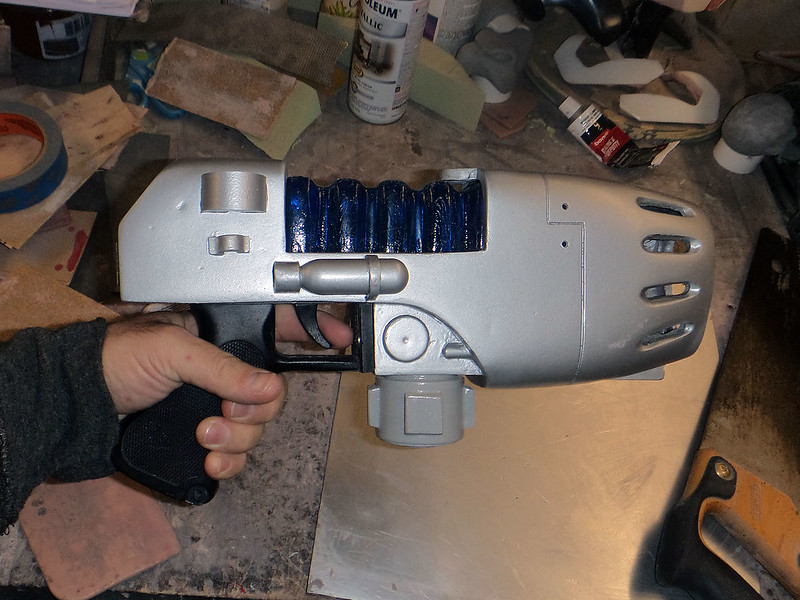
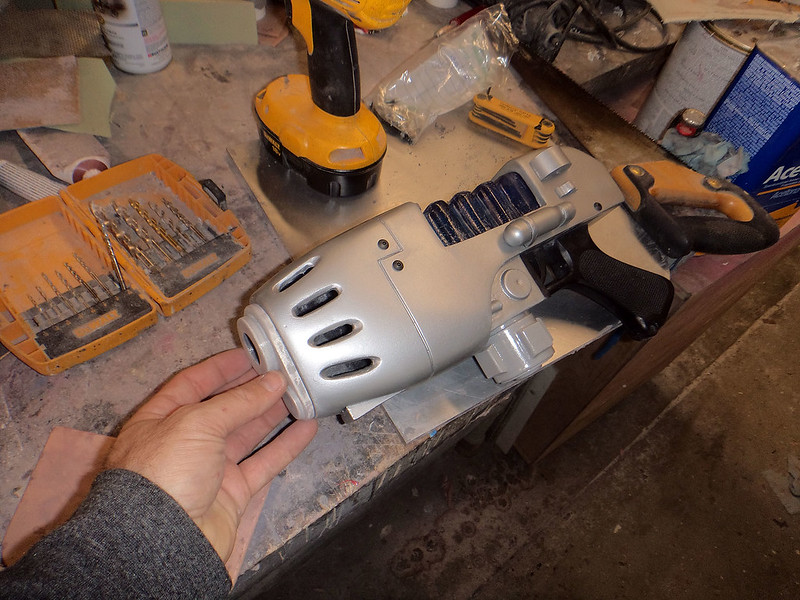
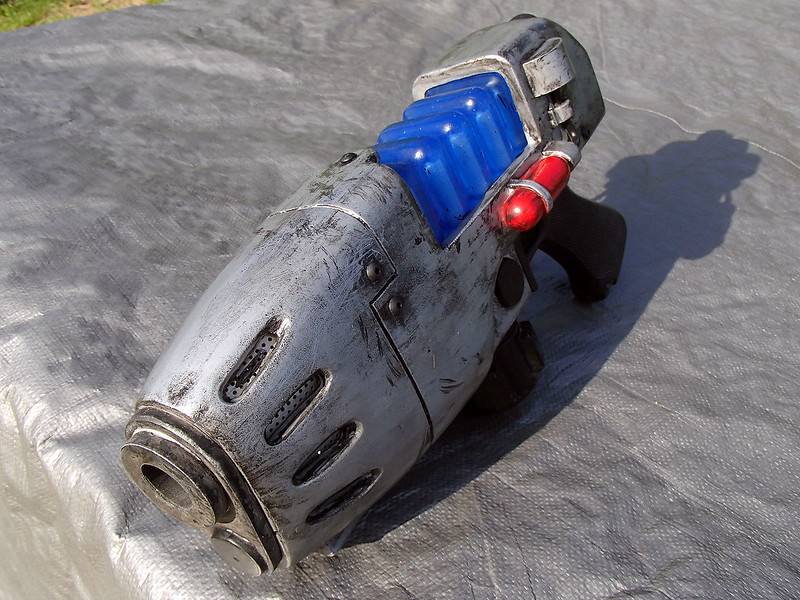
After installing some perforated aluminum into the vent details and giving the whole thing a blackwash, it turned out like so:
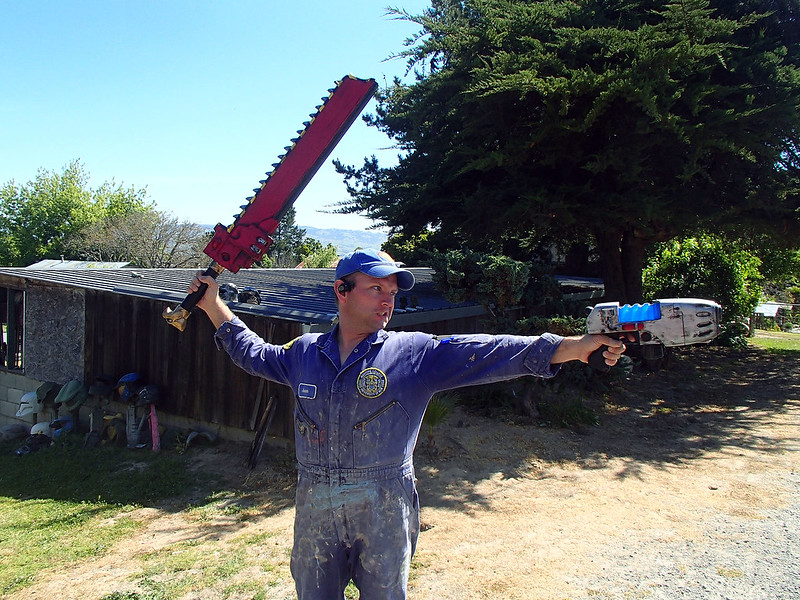
Here it is paired with a re-sized chainsword prop:
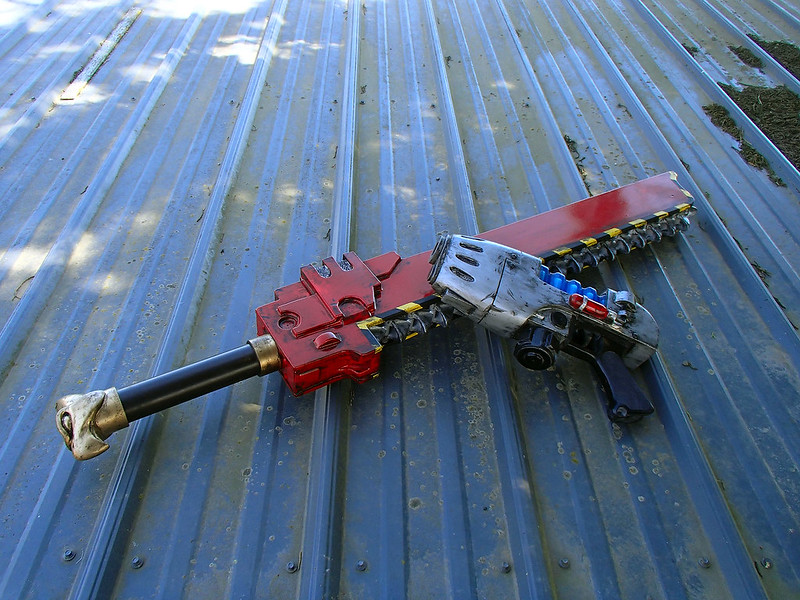
Pew pew pew:
This particular piece is only one small part of my upcoming female Commissar build:
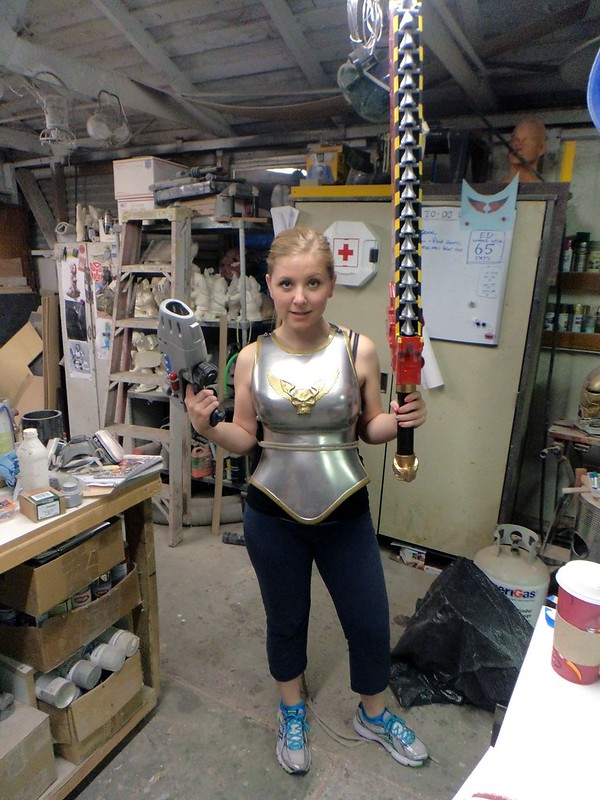
So stay tuned...
This web site is completely unofficial and in no way endorsed by Games Workshop Limited.
Adeptus Astartes, Blood Angels, Bloodquest, Cadian, Catachan, the Chaos devices, Cityfight, the Chaos logo, Citadel, Citadel Device, Codex, Daemonhunters, Dark Angels, Dark Eldar, 'Eavy Metal, Eldar, Eldar symbol devices, Eye of Terror, Fire Warrior, Forge World, Games Workshop, Games Workshop logo, Genestealer, Golden Demon, Gorkamorka, Great Unclean One, Inquisitor, the Inquisitor logo, the Inquisitor device, Inquisitor:Conspiracies, Keeper of Secrets, Khorne, Kroot, Lord of Change, Necron, Nurgle, Ork, Ork skull devices, Sisters of Battle, Slaanesh, Space Hulk, Space Marine, Space Marine chapters, Space Marine chapter logos, Tau, the Tau caste designations, Tyranid, Tyrannid, Tzeentch, Ultramarines, Warhammer, Warhammer 40k Device, White Dwarf, the White Dwarf logo, and all associated marks, names, races, race insignia, characters, vehicles, locations, units, illustrations and images from the Warhammer 40,000 universe are either ®, TM and/or © Copyright Games Workshop Ltd 2000-2011, variably registered in the UK and other countries around the world. Used without permission. No challenge to their status intended. All Rights Reserved to their respective owners.
Love the variable speed LEDs....very cool
ReplyDeleteWhen will we get to see a motorized chain sword? If Im pure of heart and wish really hard I think it could happen. Super nice plasma pistol!!!!!
ReplyDeleteDoes this Matsuo chap sell those replica lasrifles? Have you a link?
ReplyDeletehttp://lmgtfy.com/?q=matsuo+lasgun
Delete