
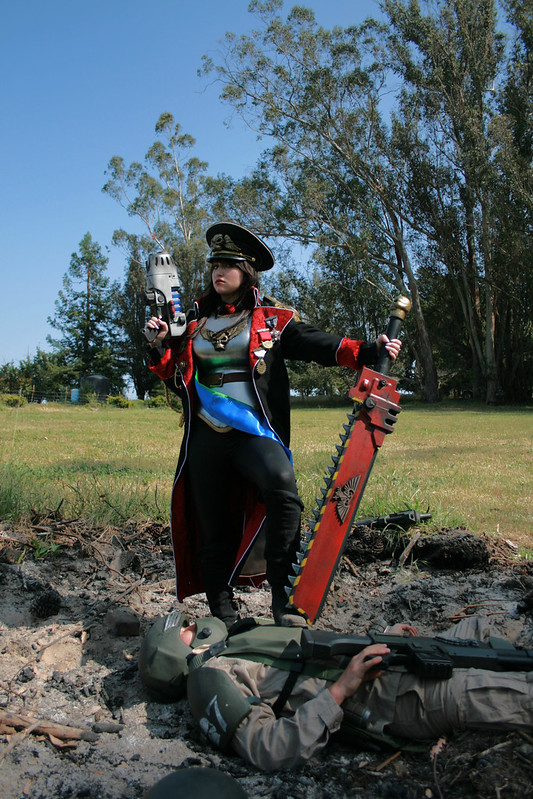
Here's a shot of the finished result:
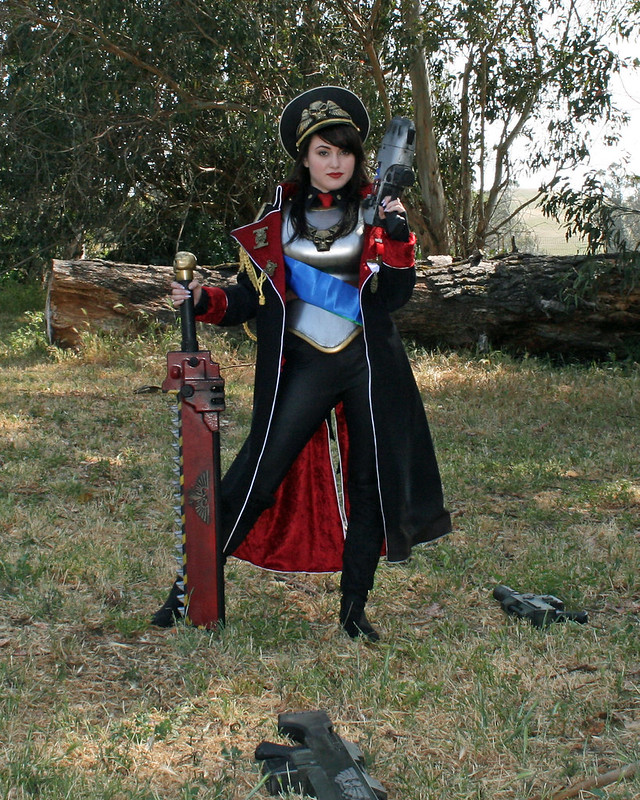
For more photos and how it was made, read on...
In order to keep costs and weight low, I decided that the best option was to vacform this piece in sheet styrene.
I started by taking measurements from the girl this is being built for and transferring them to a piece of tooling foam:
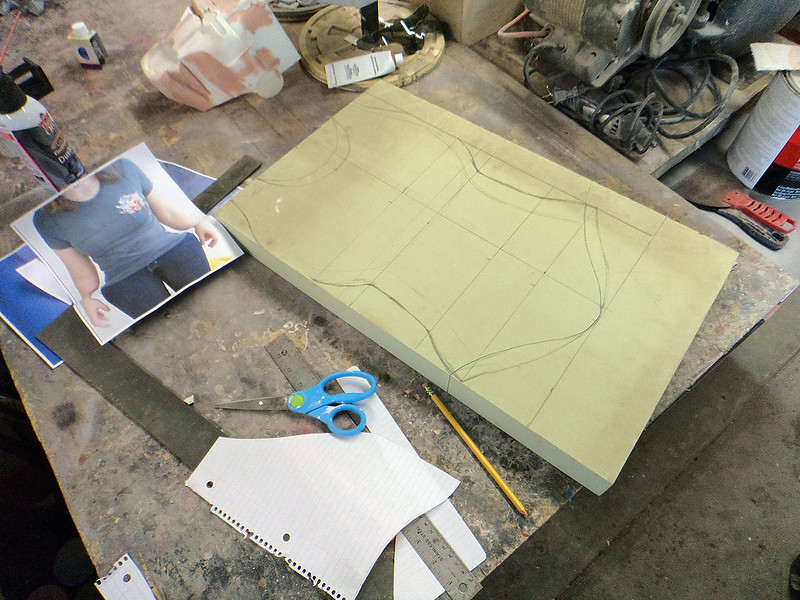
Since the foam board I had was only 2" thick, I had to add a couple or three layers:

Yes, the boobs are purposefully huge. The plan is to give her comic book proportions to make up for the fact that she'll be wearing a big, masculine coat with huge epaulettes.
After a few minutes with a hand saw, the very rough shape was carved out.
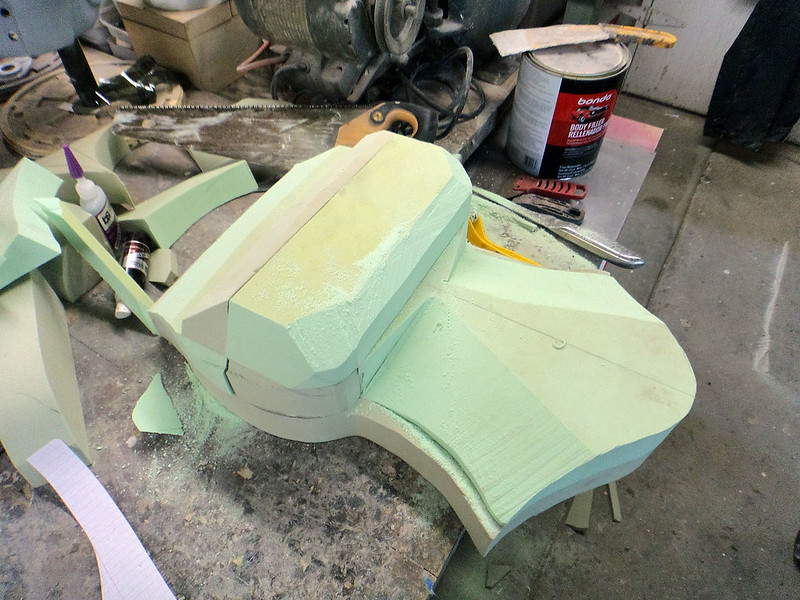
Smoothing was done with a Shurform rasp, a belt sander, and some 80-grit sandpaper:

Since I'd cobbled the form together mostly from scraps (tooling foam is expensive) I had a few seams to fill in with Bondo:
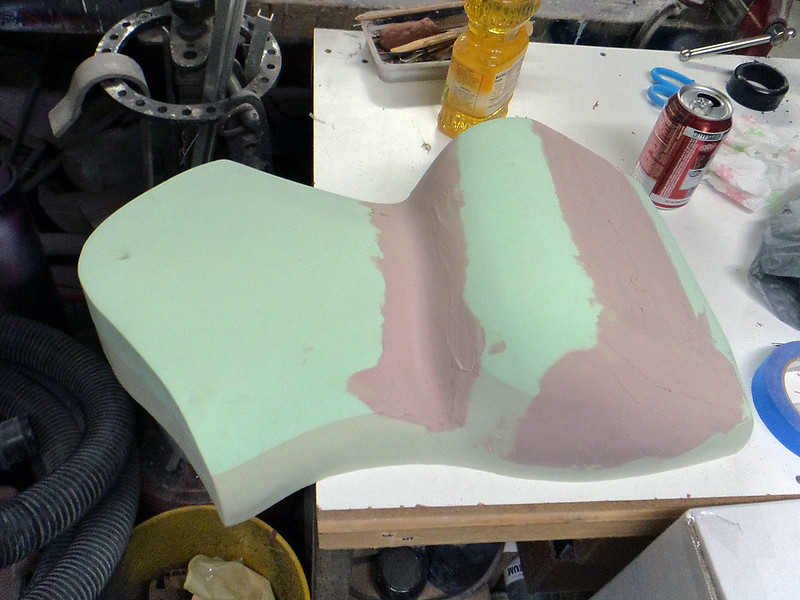
At this point, I was thoroughly happy with my forming buck.
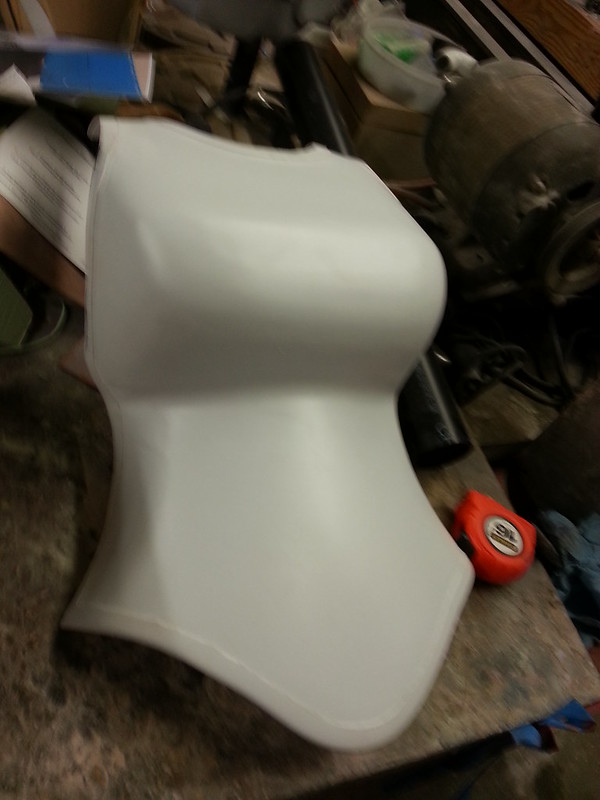
Once that had set up, I cooked up a sheet of styrene and pulled a copy on the vacforming machine. Then I did a quick rough trim around the edges, left the pull on the forming buck, and formed a second sheet right on top of it. Here's a shot of the double-layer formed piece:

The reason for the second layer is to give me shaped pieces to use as trim and detail elements. The first one I made was the border trim around the edges. Here it is held in place by a series of rare earth magnets:

To bond the layers together, I used a syringe bottle filled with a solvent cement. Running the tip along the seam line caused the solvent to wick between the layers by way of capillary action:

Once it's poured on, the solvent will chemically dissolve a bit of the styrene. As it dries the plastic will solidify and the two parts will become one, never to be torn asunder.
So the real challenge is to resist the urge to mess with the part while the solvent dries out. In order to be sure I'm not handling it prematurely, I glue together a couple of pieces of scrap and use them as a test to see if the glue has set. You can see the test piece in the bottom left corner of this shot:

Once the glue is set, it's time to trim the excess off around the edges. Here's a blurry pic of the trimmed chestplate:
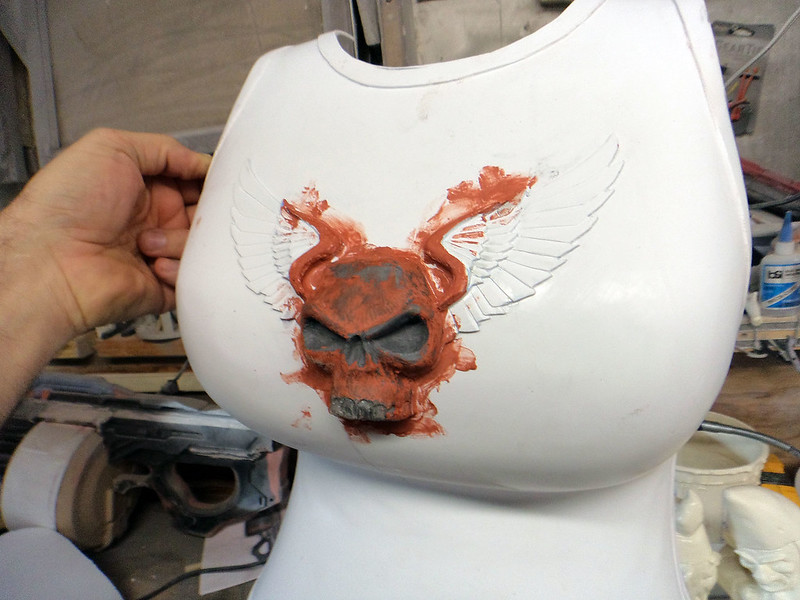
Since I don't want our brave and stalwart lady commissar to just have a plain and boring pair of giant steel boobs, I decided it would be a good idea to add a bit more adornment to the bust. So I went back to the leftovers of the second layer of styrene, drew out a winged skull, and cut it out. Then I used the solvent cement to weld it to the middle of the chest and carved some edges with a triangle file to denote feathers:

After a few more layers, the wings really started to gain some depth:

Then I cast a skull detail and glued it in the middle between the wings:

The red around it is some spot putty I used to fill in the visible seams around the edges of the skull:
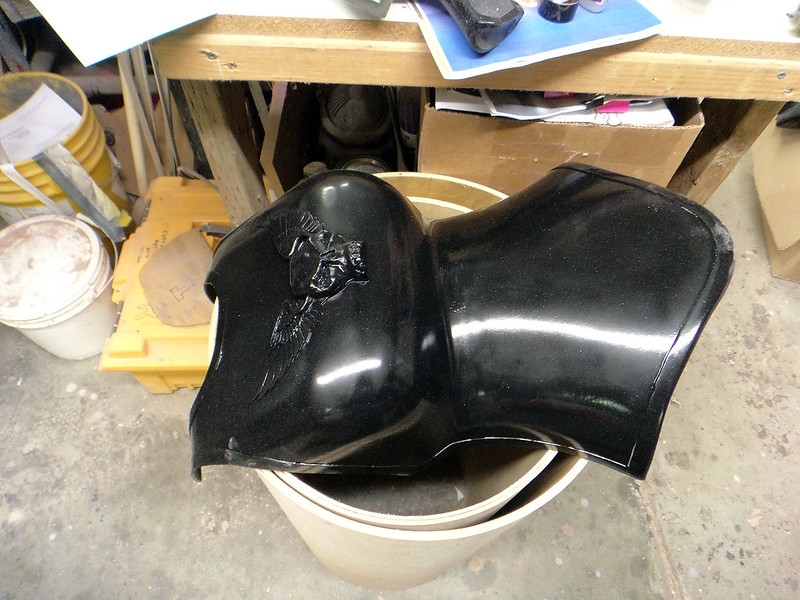
After a bit of sanding and riveting some straps to hold the thing on, it was time to spray on a coat of primer and get to painting.
In order to get a shiny, metallic finish, I start with the shiniest shiny black basecoat I could manage:
Once that has dried I follow up with a coat of Mirrorchrome:
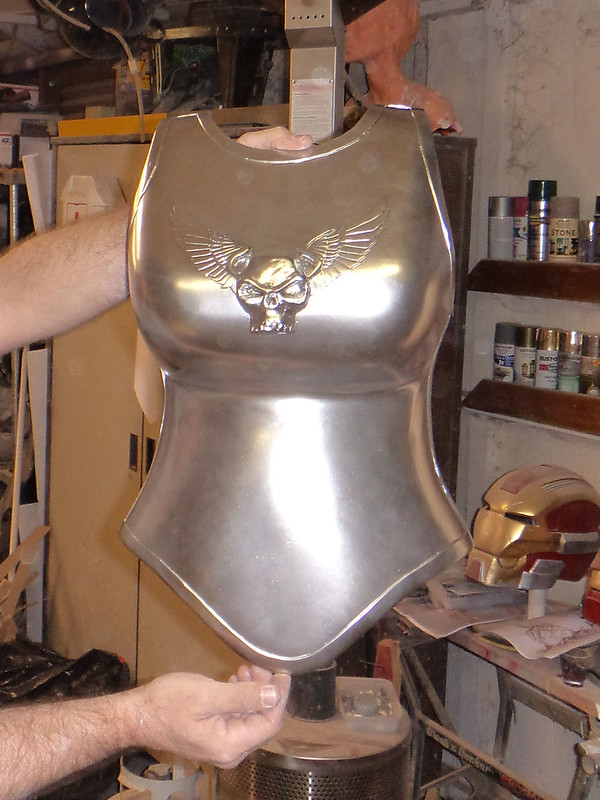
The picture really doesn't do it justice. This stuff is simply the best chrome spraypaint I've ever found. The only drawback is that it's not very durable, so it requires a clearcoat in order to protect it from rubbing off.
Once the clearcoat has dried, it's time to pick out the details in gold and set it out in the sun to dry:
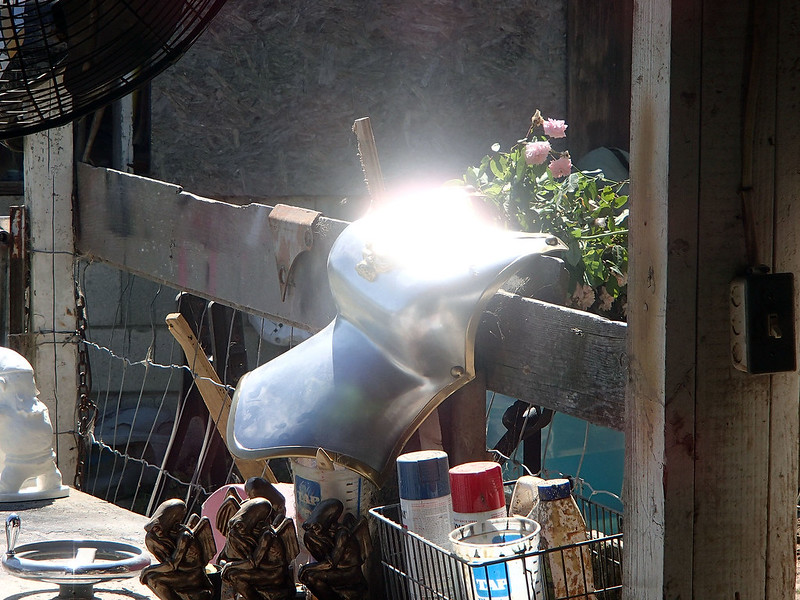
See. It's shiny!
After it had dried, I made it a point to convince friends and family to pose for mildly embarrassing photos whenever they stopped by:
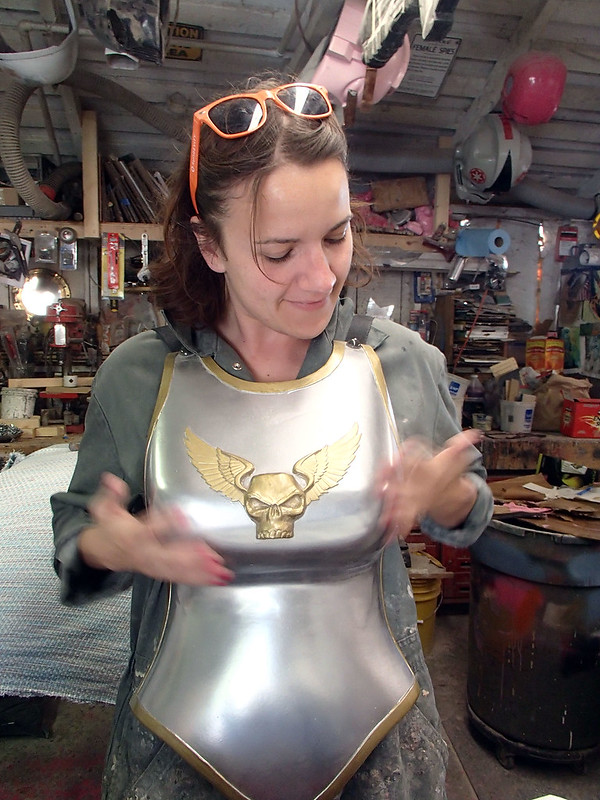
At some point I even talked the girlfriend into trying it on:

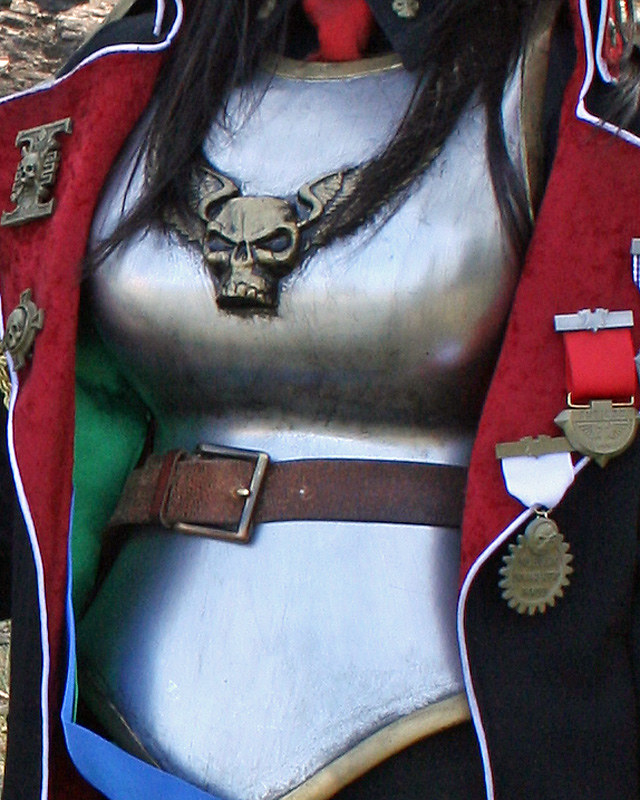
Once the gold had dried, it still looked a bit like a piece of plastic painted to look like metal. It was time to make it a bit more believable by adding a tiny bit of weathering. In this case, I applied a "blackwash" using watered-down acrylic paint and a bit of Windex to break the surface tension and keep it from beading up.
Here's the finished piece:
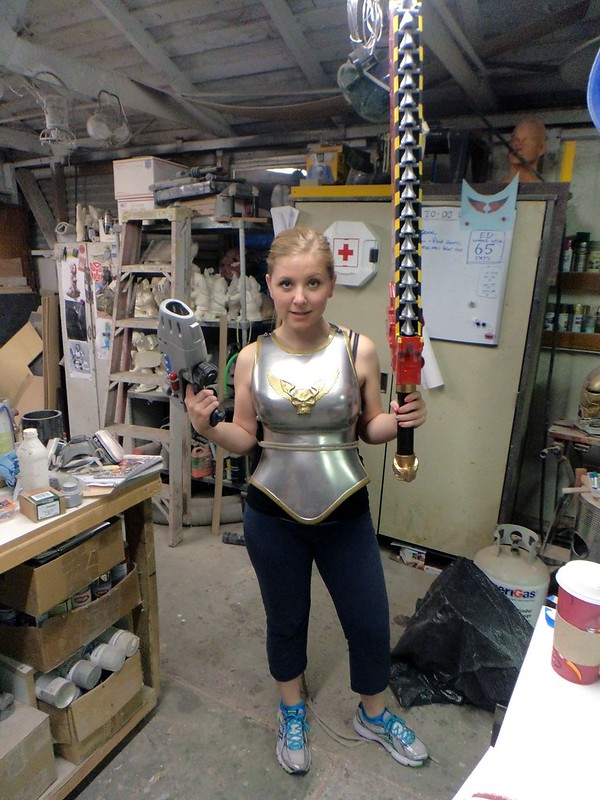
Still, it takes the rest of the parts to really bring the whole outfit together:
Stay tuned for more photos of the completed costume. In fact, be sure to subscribe so you don't miss any updates.
No comments:
Post a Comment