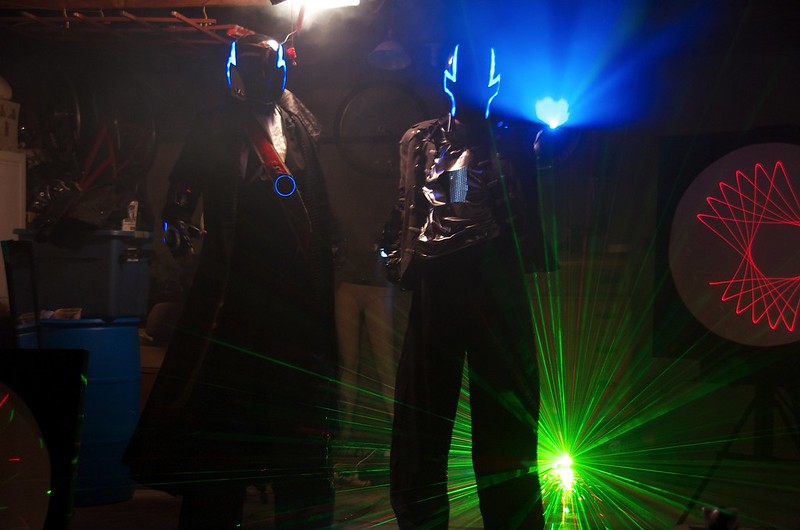
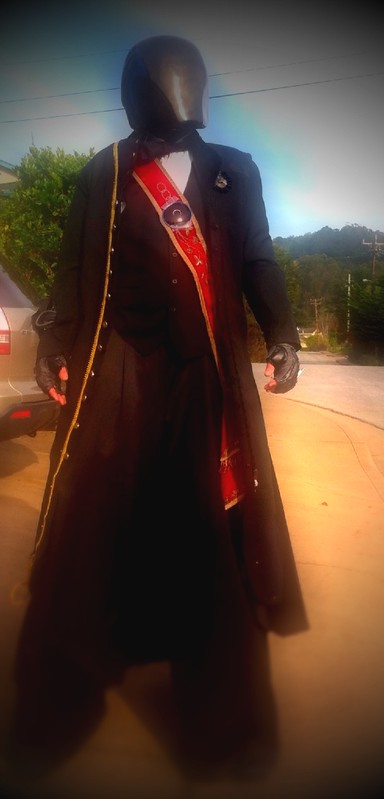
Central to the production were the Magnetic Poets themselves, a pair of 7-foot tall characters named "IO" and "Projektor." Built into their respective costumes were all manner of audio and visual electronic wizardry. IO had a variety of electronic musical instruments and speakers integrated into his outfit and Projektor was rigged with a variety of display screens, lasers, and video projectors.
While the bulk of the costumes and integrated electronics had already been sourced, they were having trouble finding anyone who could make a pair of helmets to their specifications. That's where I came in.
Before I get into the details of the fabrication, here's a video showing finished pieces in action:
Here's a close-up shot of the Projektor helmet:

If you want to see how the helmets were made, read on...
The part that really sold me on this project was the concept art. As soon as I saw the first couple of renderings, I thought, "now that's something I want to see walking around in the real world. Here's one of the pics that I really fell in love with:
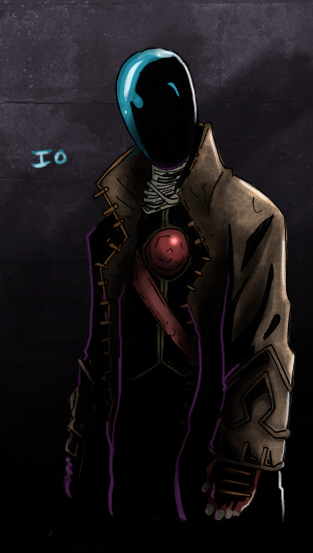
There were two stipulations that made fabricating the helmets a challenge. First, many of the technical aspects of the rest of the suit were designed to be mated to a "Gath" brand windsurfing helmet, so I'd need to figure out how to incorporate this as a foundation.
Second, the exterior surface of the helmets had to be completely seamless. While I'd decided on a mostly vacuformed construction, this was a problem when you consider the undercuts built into the shapes they were after. Since the edges of the helmet wrapped under the chin and the back of the head, there would be no way to get the forms out of the formed shells in one piece.
So the first step was to disassemble the base helmet:
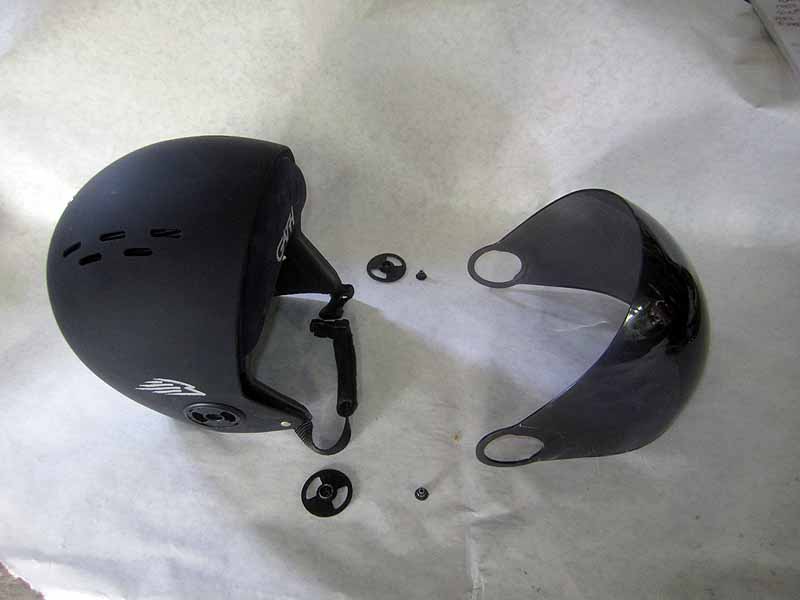
The faceshield was designed to pivot up and slide into the helmet. Once the pivots were broken down and the faceshield was removed, it left behind some handy mounting points for the shells I would fabricate to cover the whole thing.
Now that I knew just how much room I had to work with, I set about sculpting the form for the outer shell. The first thing was to come up with a profile:
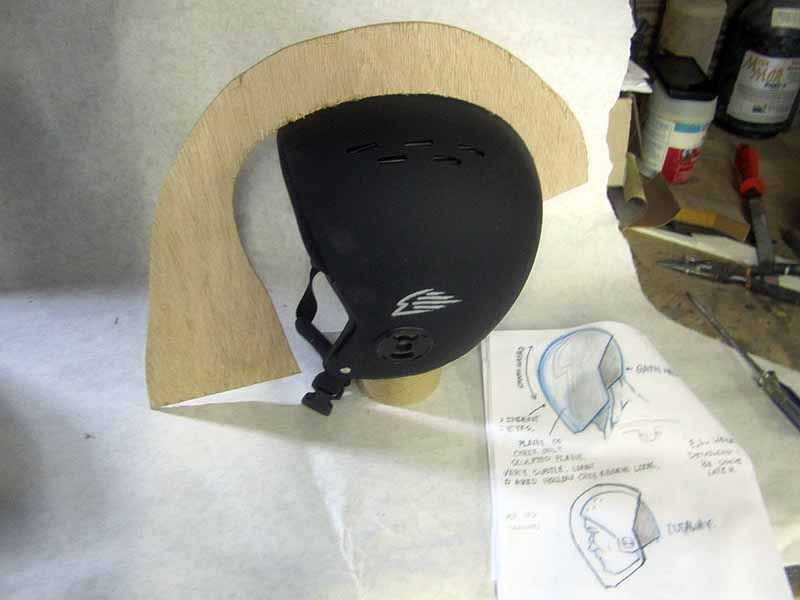
Using this as my guidline for the silhouette, I cut out slices in 1/2" foam sheets. Here's the first slice:
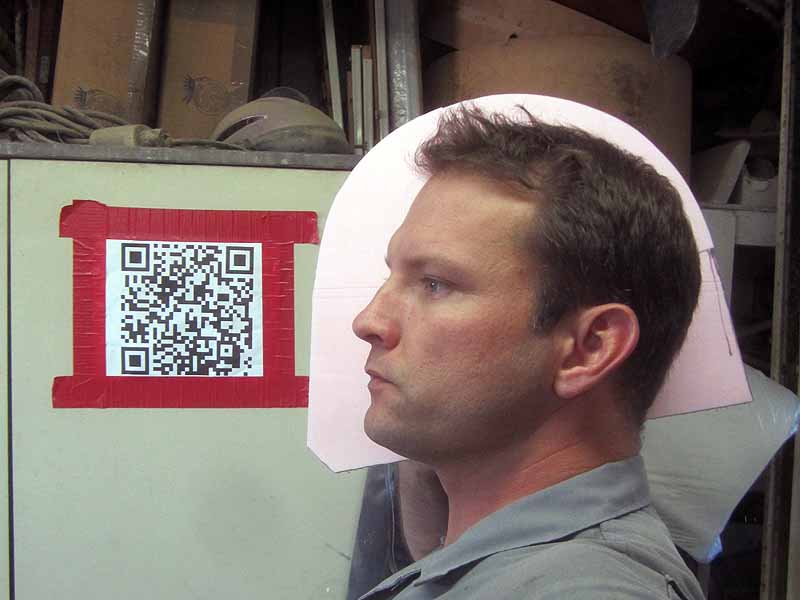
Once I'd cut out the whole stack of slices, I started carving and sanding and shaping the first half. Here it is all faired:
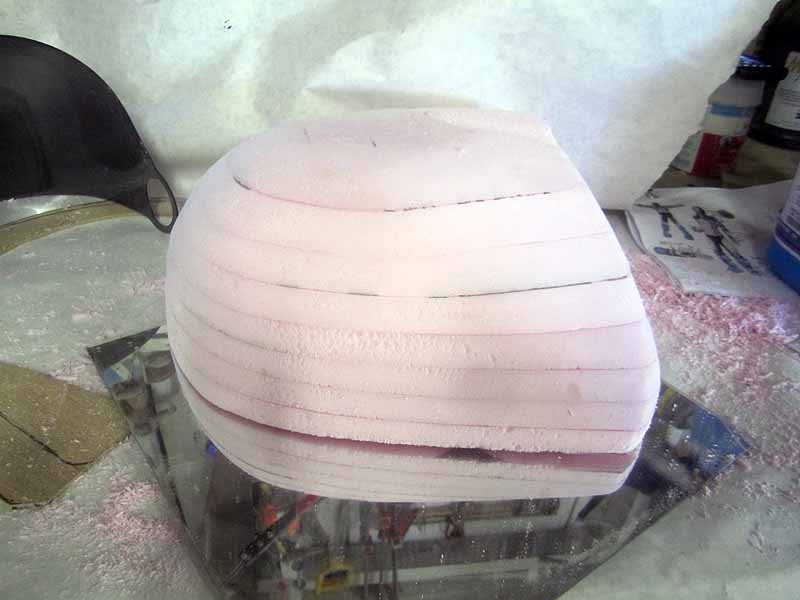
To build the mirror image on the other side, I disassembled the stack of slices, cut out matching slices out of another sheet of foam, and stacked them up to make the other side. Once it was faired and smoothed to match the left half, I coated the whole thing with resin so I could start making it smoother:
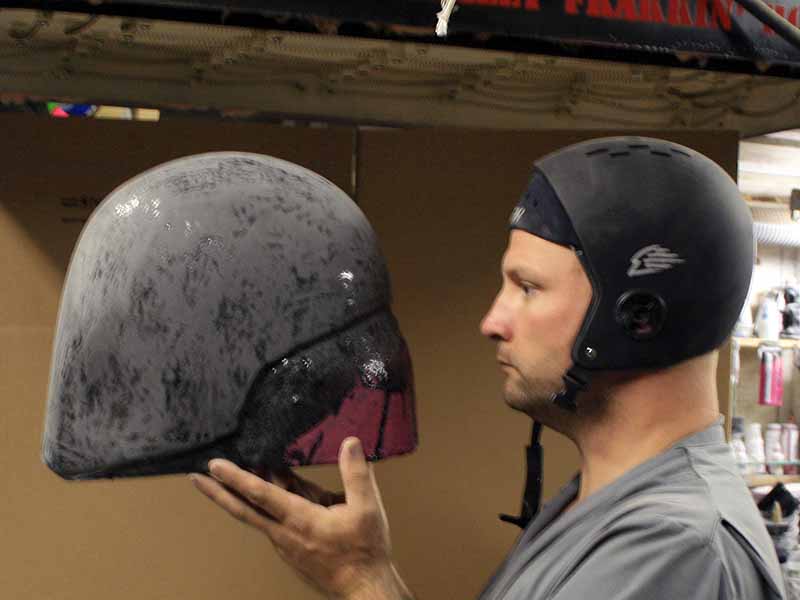
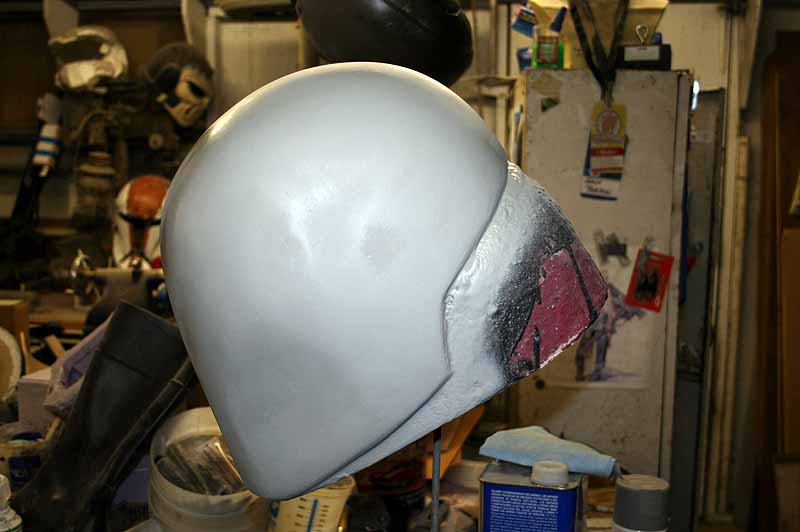
After a few rounds of sanding and filling and sanding, here's the final shape in primer:
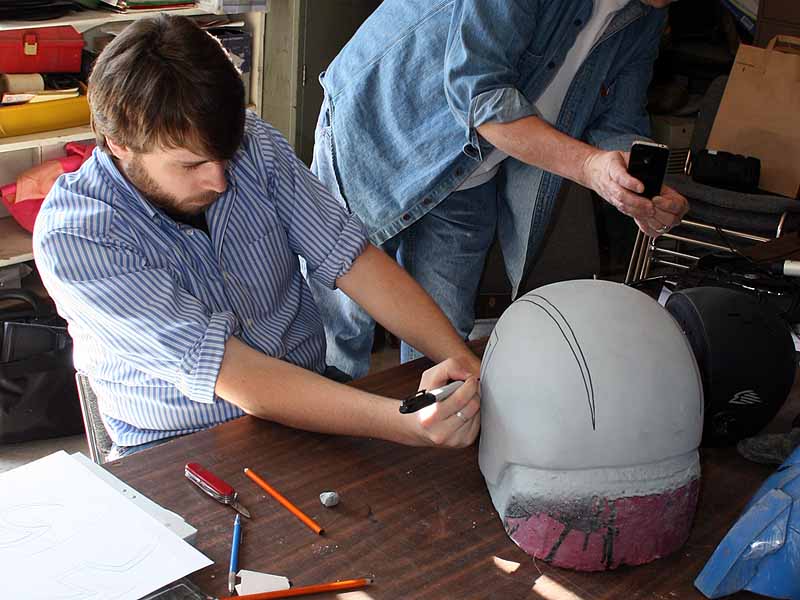
Once I was happy with the overall shape, I invited Joey Rintoul, the concept artist, to lay out the marks for the characters on the form itself:
The two characters helmets are the exact same shape. What distinguishes them from one another are the glowing icons on the sides of the helmets. This is the icon for "Projektor" the video guy:

And here is the icon for "IO," the musician:
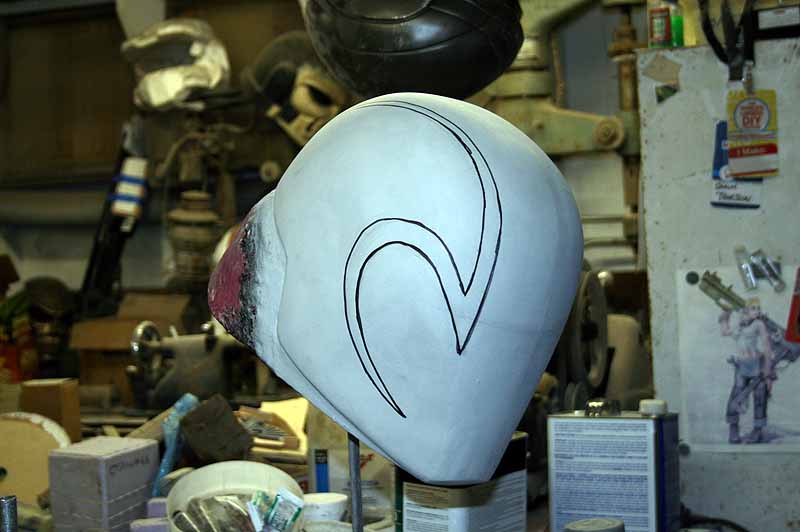
Once I'd taken patterns for the icons, I went ahead and got the form polished up and ready for molding:
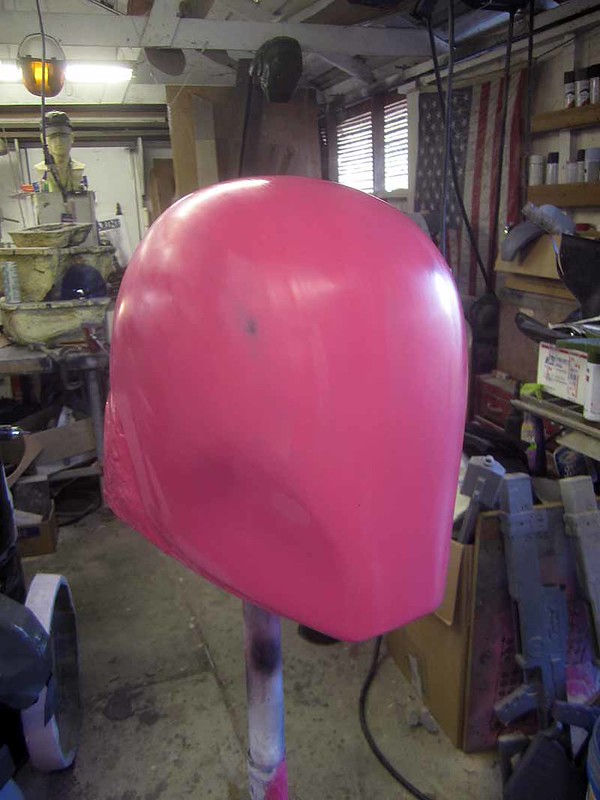
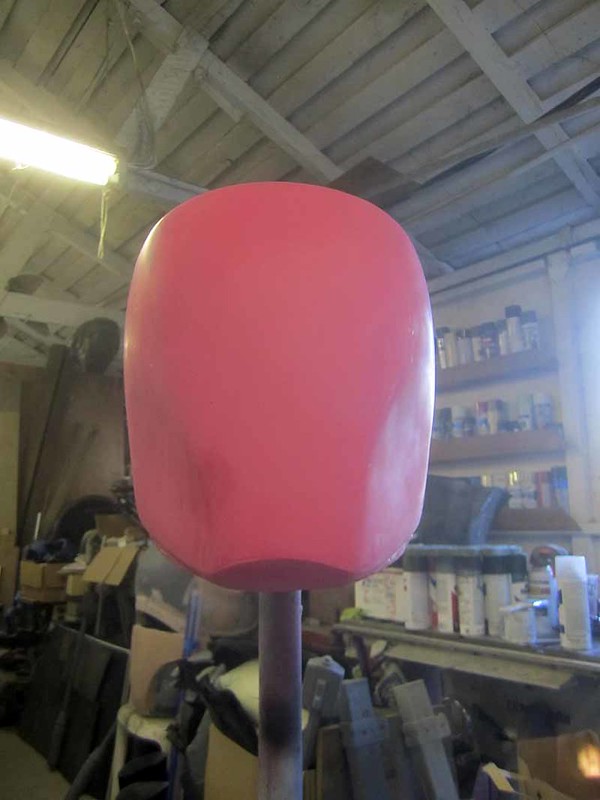
Here it is from the front, showing one of the problematic undercuts at the chin:
With the fom perfected, I went ahead and laid up a silicone rubber jacket mold. Here's the print coat poured on:
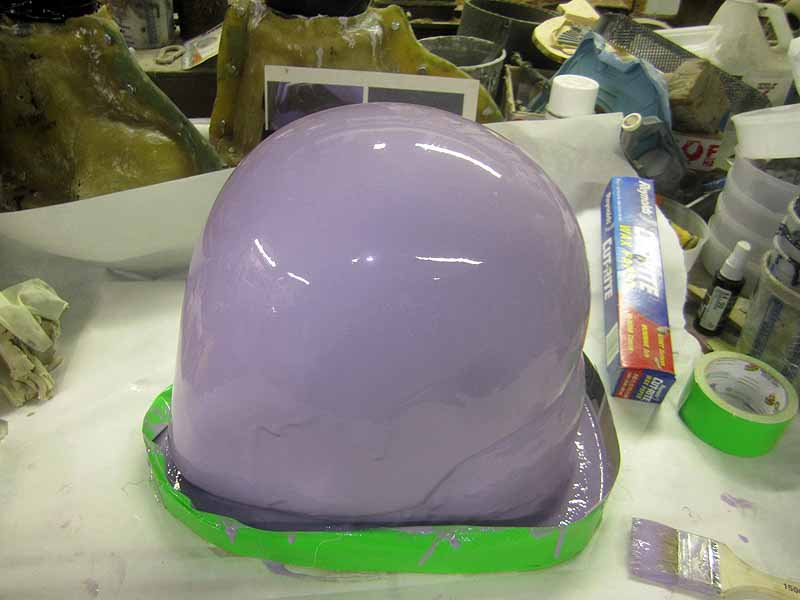
Once the print coat had solidified a bit, I layered on some more thixotropic silicone. With the addition of a few registration keys (silicone cured in an ice-cube tray) the jacket mold was done:
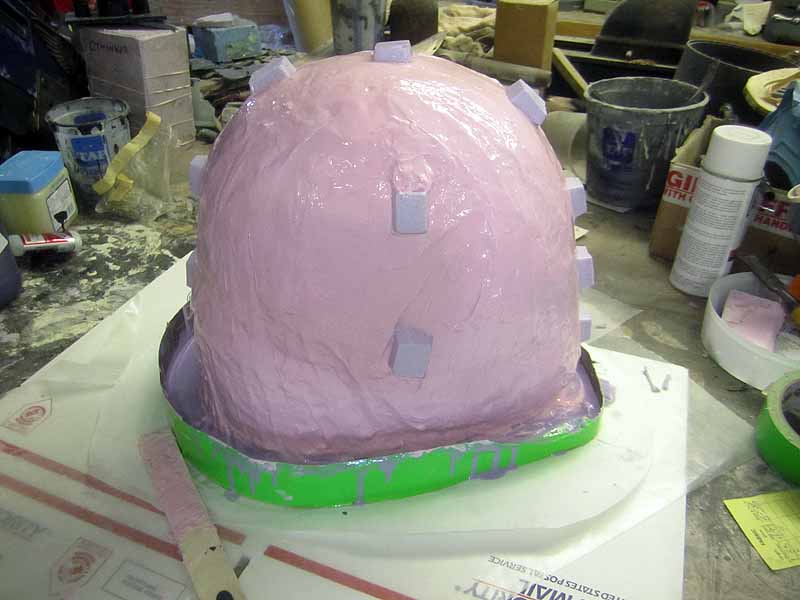
To keep the rubber jacket straight during the casting process, I laid up a fiberglass mothermold:
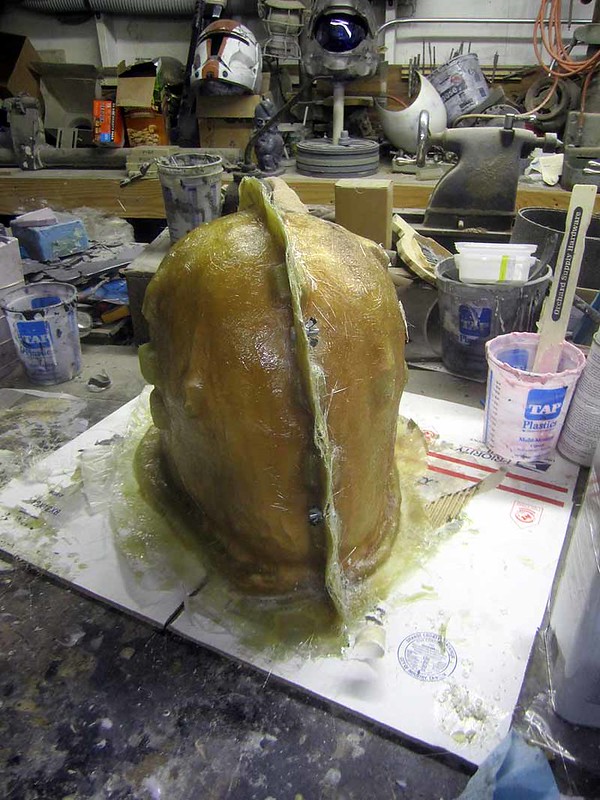
Here's the prototype coming out of the mold:
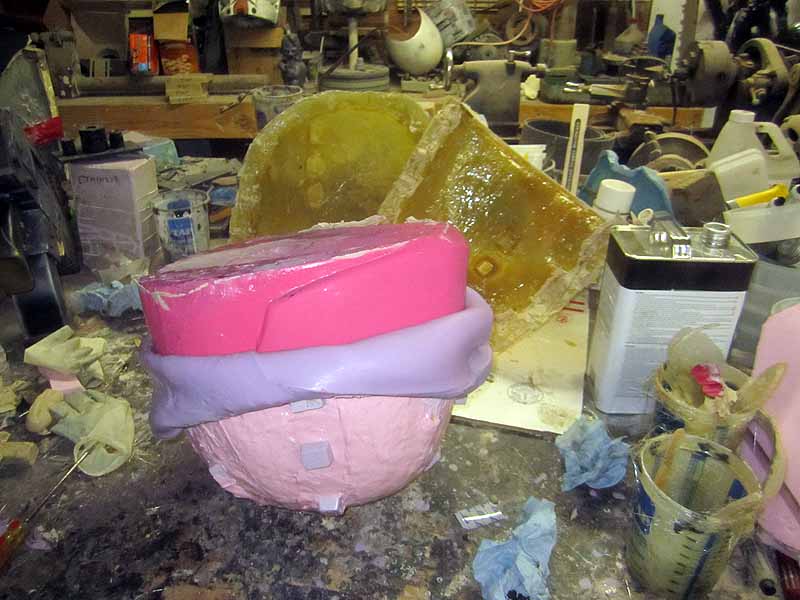
Here you can see the prototype removed and the mold reassembled in the background:
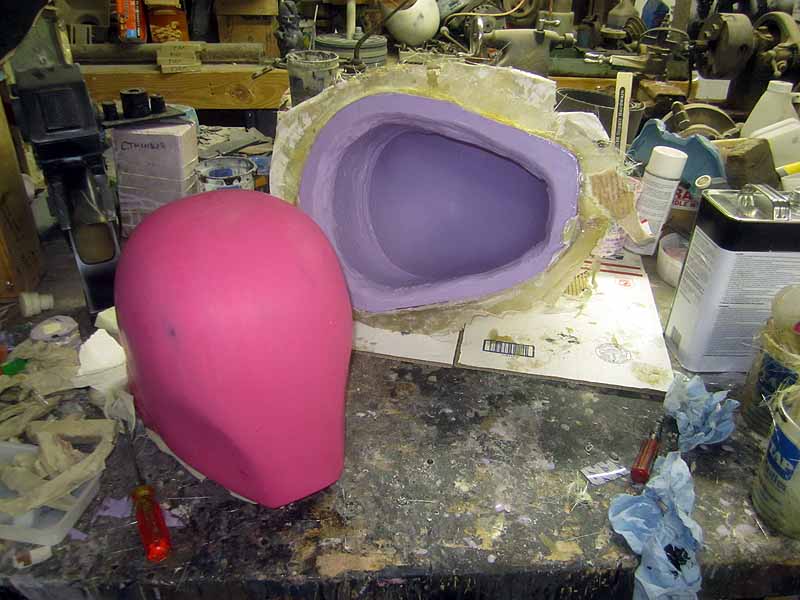
Before I spent too much time going crazy on the final forming and fabrication, I went ahead and rotocast a quick copy of the shell to use for test fitting:

Success!
Usually, when vacforming a piece that has undercuts, the best method is to make the form so it can be disassembled after forming and then removed from inside the formed pieces. Because of the smooth, seamless nature of these pieces, this wasn't really an option. Instead, I decided that the best option was to make the forming bucks disposable. The plan was to form the shell over them, then break the forms apart and remove the pieces from inside. To make the smooth surface on the outside, the copies were rotocast. To keep them from collapsing under the pressure from the forming table, the insides were filled with expanding foam.
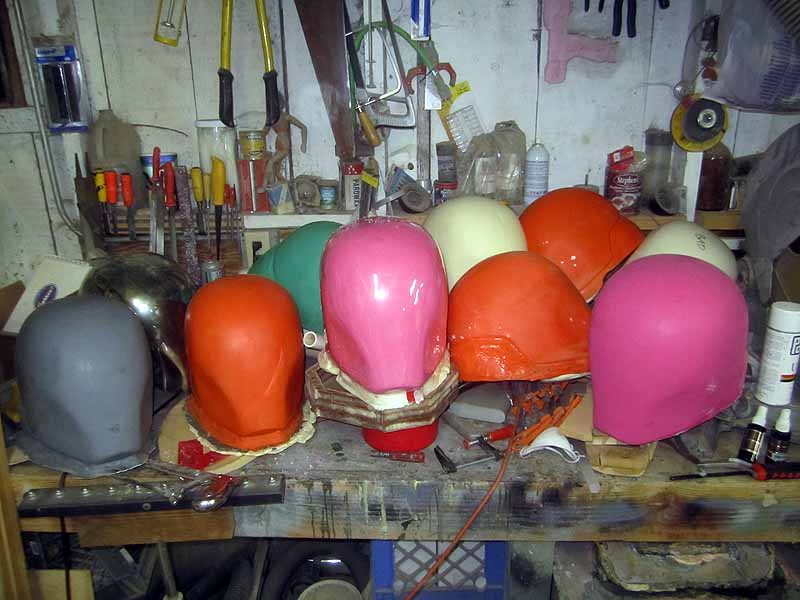
Since I was experimenting, I figured I'd need a lot of copies of the form:
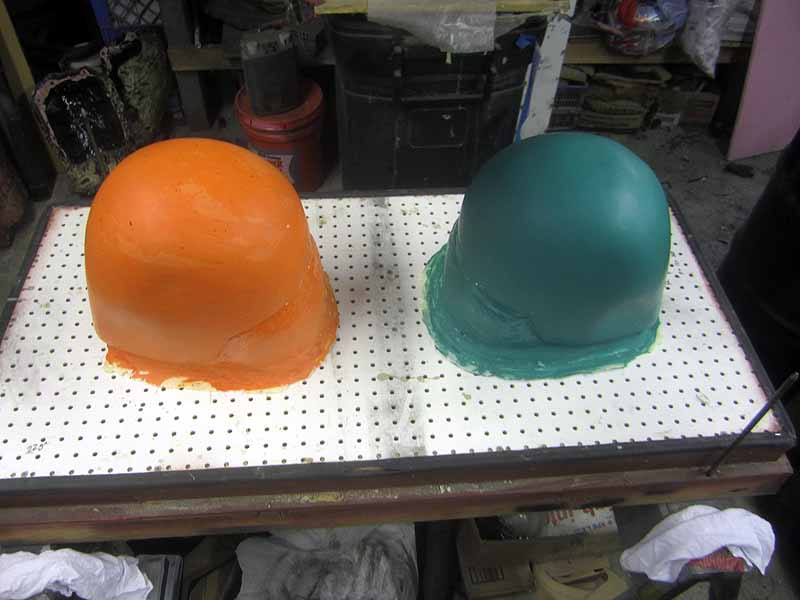
For the first attempt at forming we tried to make two pulls simultaneously:
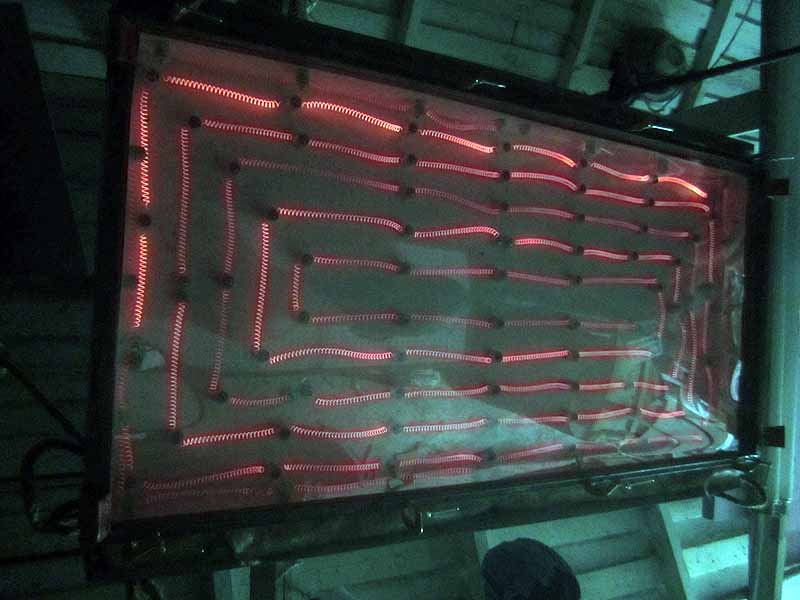
Here's a sheet of transparent PETG plastic being cooked under the oven:
The first attempt resulted in a significant amount of webbing that made the shell unusable, but I still went ahead and broke the form out of the inside just for a proof of concept:
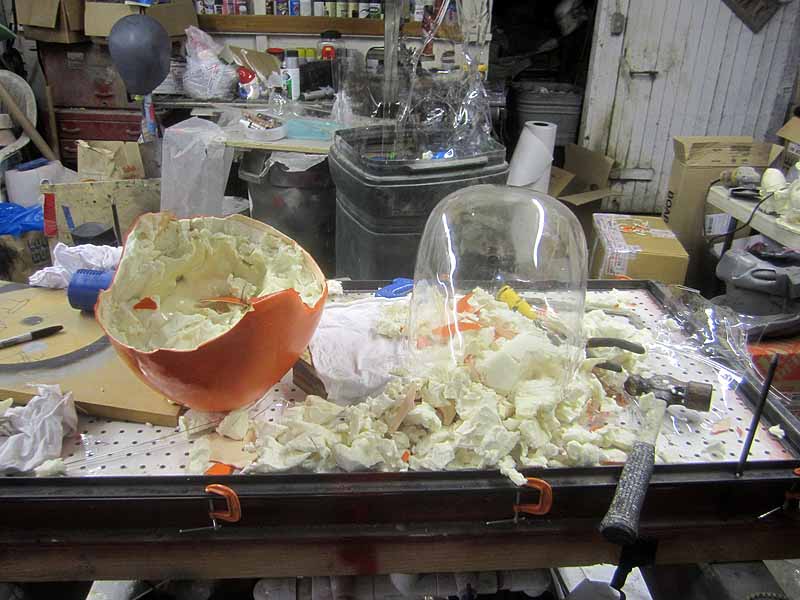
Clearly the concept had merit:
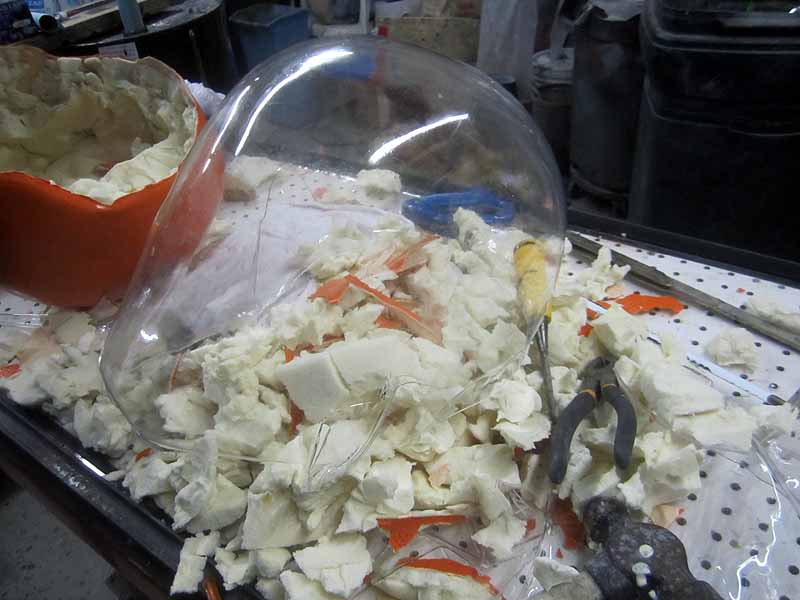
Unfortunately, the other form did not do so well:
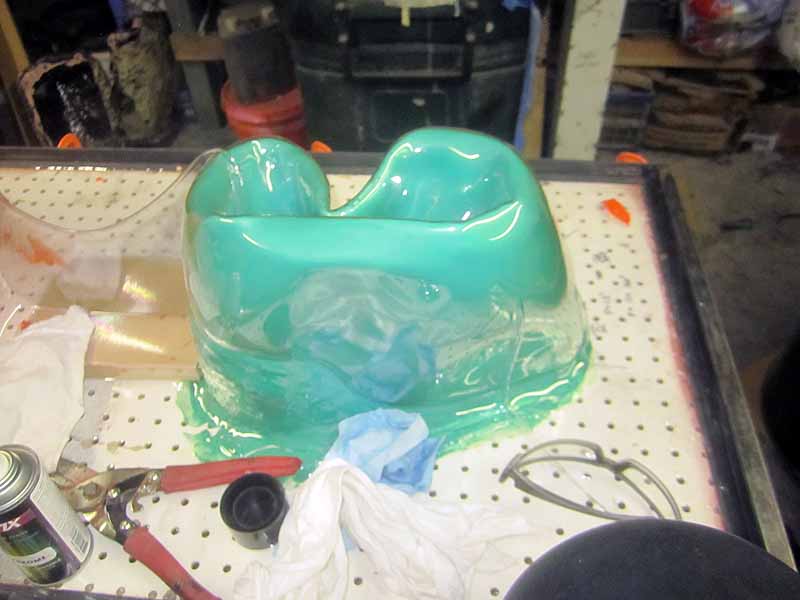
In order to eliminate the webbing problem, we decided to form one shell at a time as well as elevate the form to get a bit more stretch out of the material. This made much better copies:
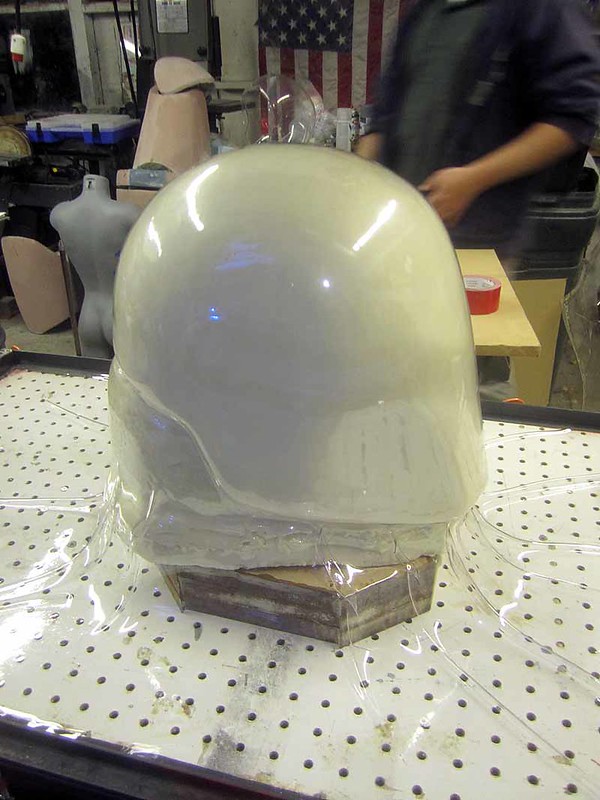
Still, there were odd little flaws in every pull. So we got into the habit of stopping everything for an hour or two each day so we could form another handful of copies. Sooner or later, I'd have two perfect shells.
Meanwhile, I got to work on the structure that the lighted icons would mount to. First, I made a set of forms to make inner shells out of black ABS sheet:
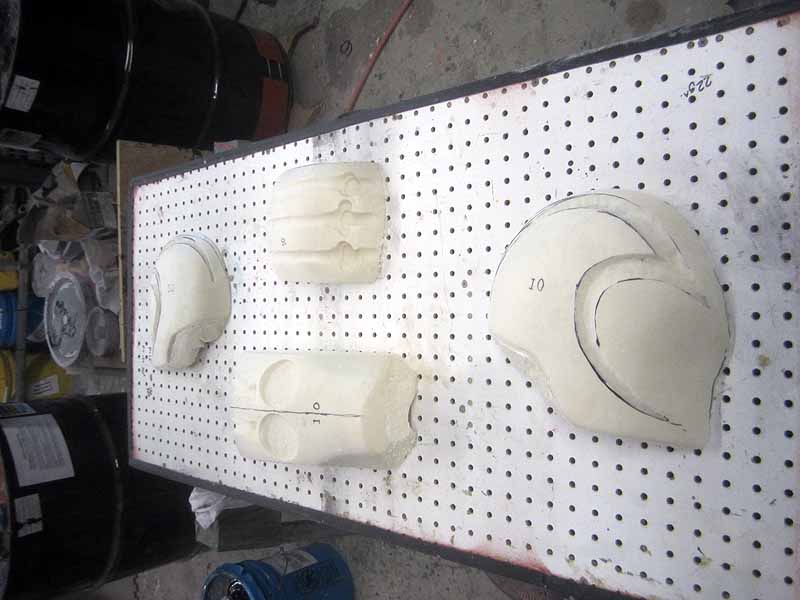
After pulling a set of the parts, I went ahead and fitted them inside one of the clear shells:
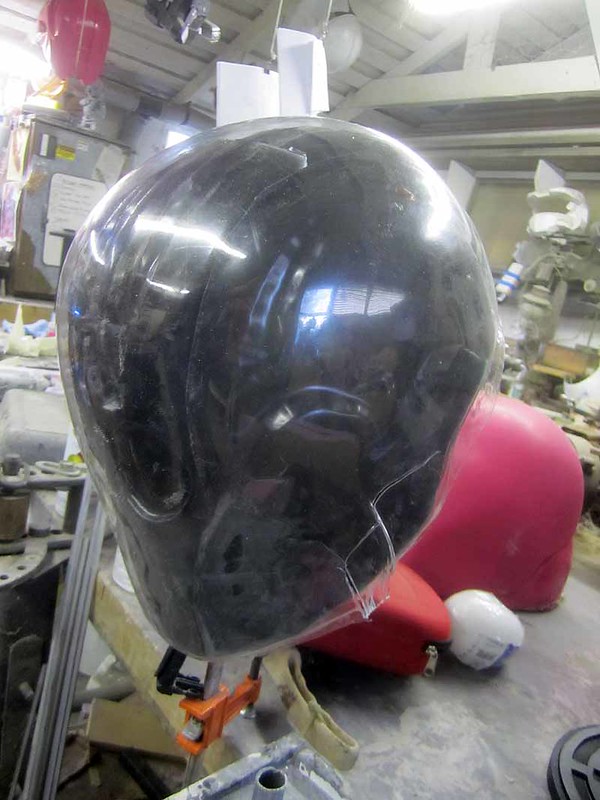
To maximize the amount of light that came out, I went ahead and sprayed the inner shell a chrome color:
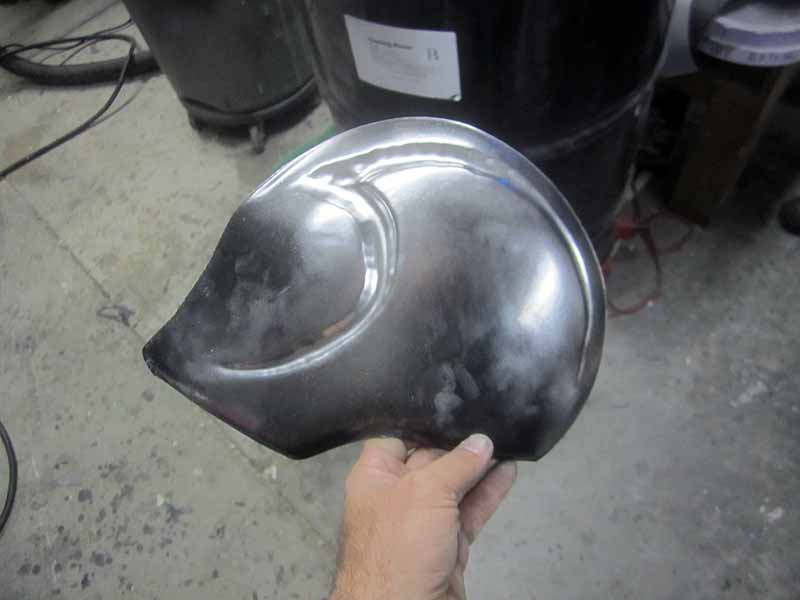
Since I couldn't glue anything onto the inside of the clear shell, I also made an intermediate shell that I could mount things to:

Somewhere along the way, I decided that the solution to all of the flaws I was getting in the vacformed outer shells was a stronger vacuum source. I bought a vacuum pump designed for servicing automotive air conditioning systems, plumbed in a 15-gallon vacuum chamber, and made the table suck like it's never sucked before. Then we set up another form, used the shop vac for high volume, low pressure evacuation of the air under the sheet, flipped the valve over to high pressure, low volume and BANG!
It turns out that the higher pressure was a bit too much for the forming surface:
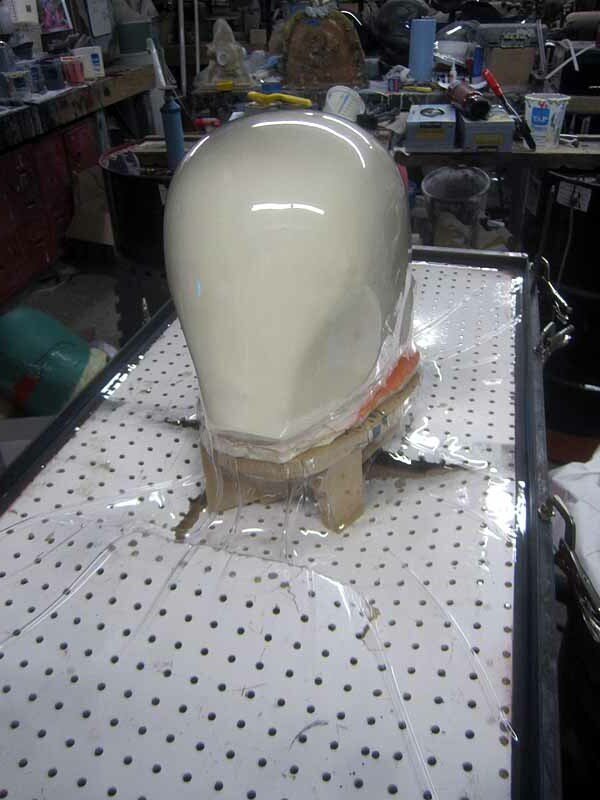
When the tabletop failed, it let go with a sound like a gunshot. I'm not ashamed to admit that I jumped a bit.
The result was still the most perfect copy of the outer shell so far:
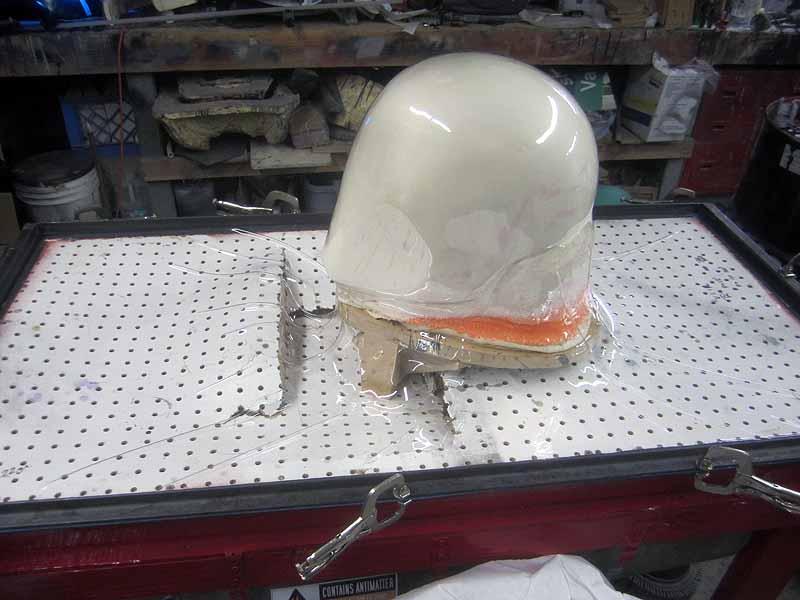
Having mastered the making of the shape, it was time to move on to the lighting. I've done a few projects with electroluminescent materials (aka "EL tape" and "EL wire") in the past. While they are fun to play with, they're not quite bright enough for my taste. Since these helmets were going to have to be able to perform in all sorts of different lighting conditions, I needed to be sure that their identifying marks were bright enough to do the trick.
The solution: LEDs. Loads of 'em.
Using one of the flawed copies of the shell, I did a quick lighting test:
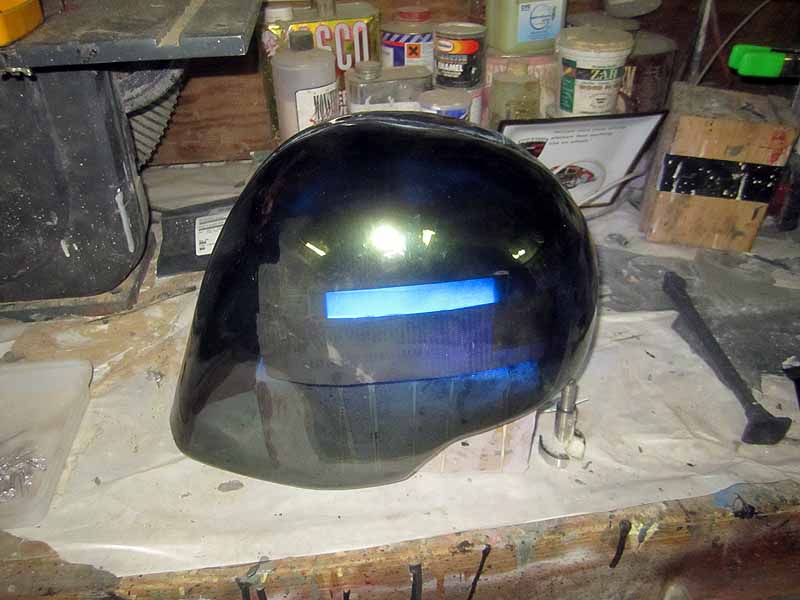
This was just a dozen or so high-intensity blue LEDs fitted into a piece of frosted acrylic rod that was then taped to the inside of the shell. So far it looked like it would work.
So the next step was to cut and bend pieces of frosted acrylic rod into the shapes needed for the icons:
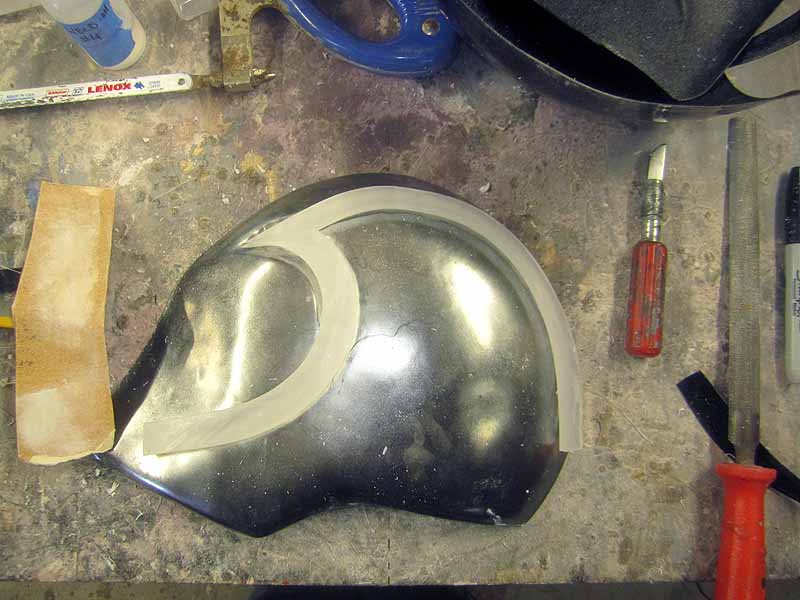
Then I cut the shape of the icon into the side of the intermediate shell and glued it into place:
Here's the inside view:
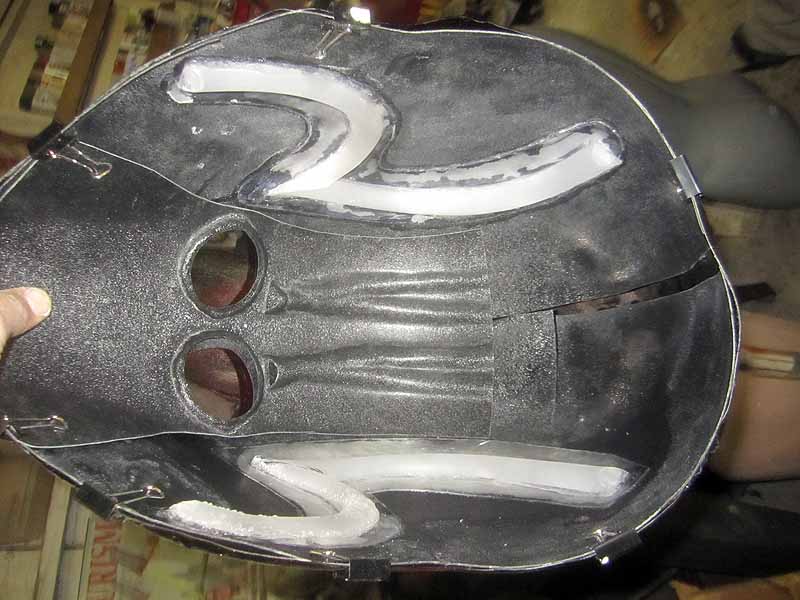
The eye holes were fitted with tinted acrylic so that even if someone were to take a close-up photo with a bright flash, you still wouldn't be able to see the wearer's eyes.
The small channels above the eyes are actually vents which funnel cool air from a pair fo small fans mounted at the back of the helmet. The air is ducted into the eye holes to prevent them from fogging up during performance.
With the diffusor installed, I decided to test it again with a single LED:

Liking the results so far, I rigged up the Projektor icon with 20 or so LEDs (the finished version would have closer to 40):
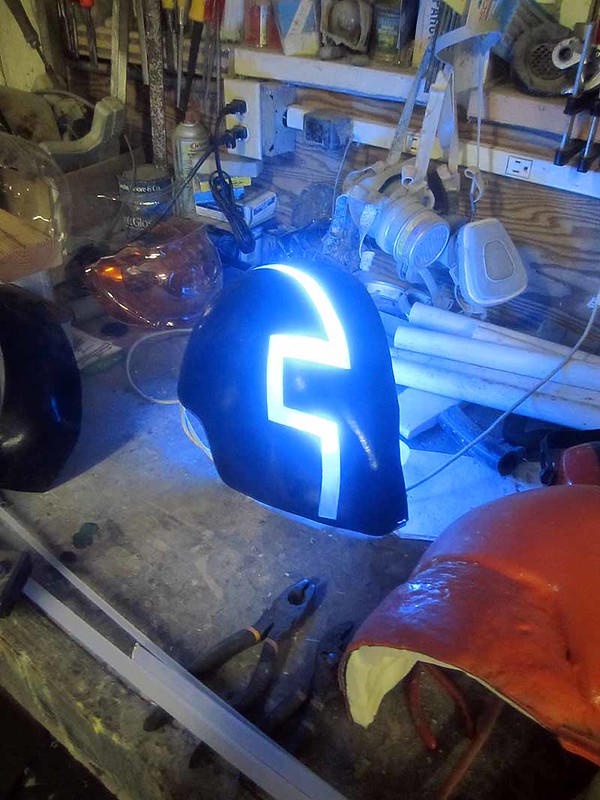
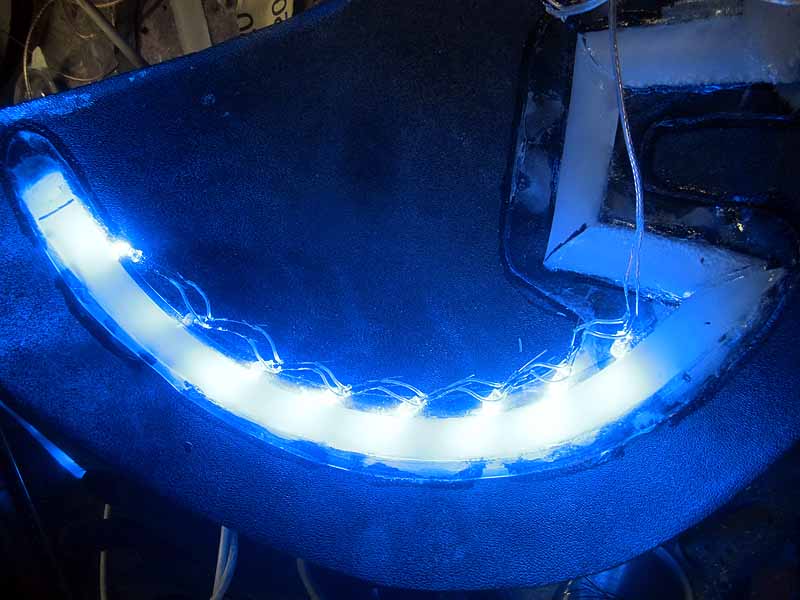
Happy with the results, I had Matt wire up the whole array of LEDs in parallel. Here's an early shot of the work in progress:
The last real challenge in this project was dying the outer shells to give them an appropriately dark tint. PETG can be dyed with fabric dye as long as you use a product that will work on synthetic fabrics.
You also need a container of simmering hot water that's big enough to allow the formed piece to move around a bit:
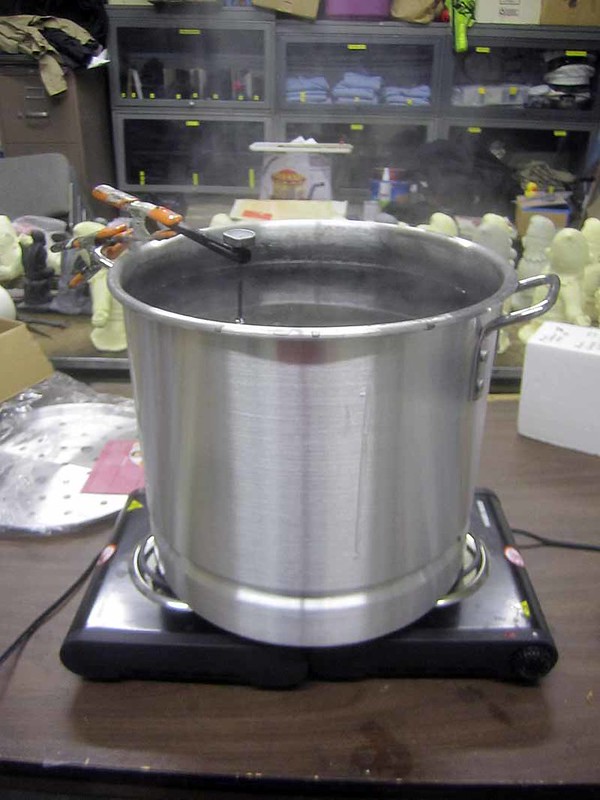
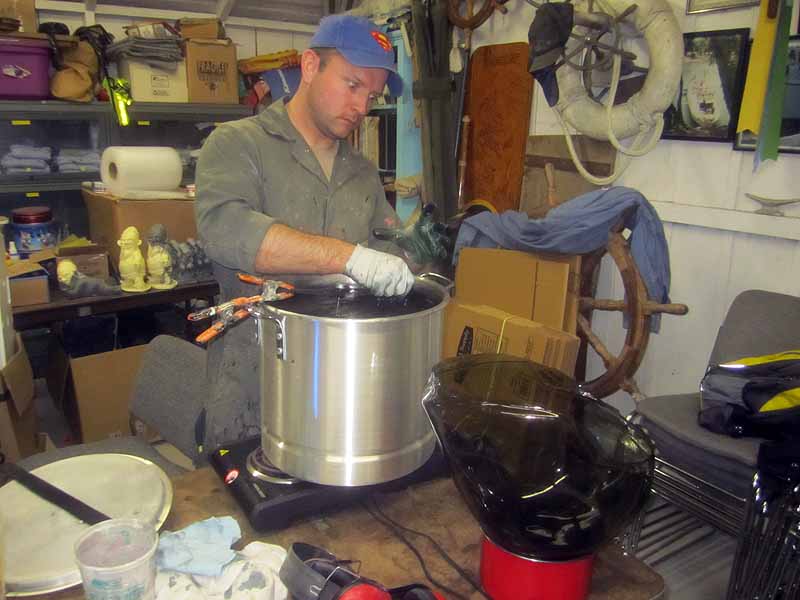
I had five good copies of the form to work with. The trick is to immerse the pieces long enough to set the dye, but not long enough to make them hot enough to cause warping. Getting them just right made for a fairly late night:
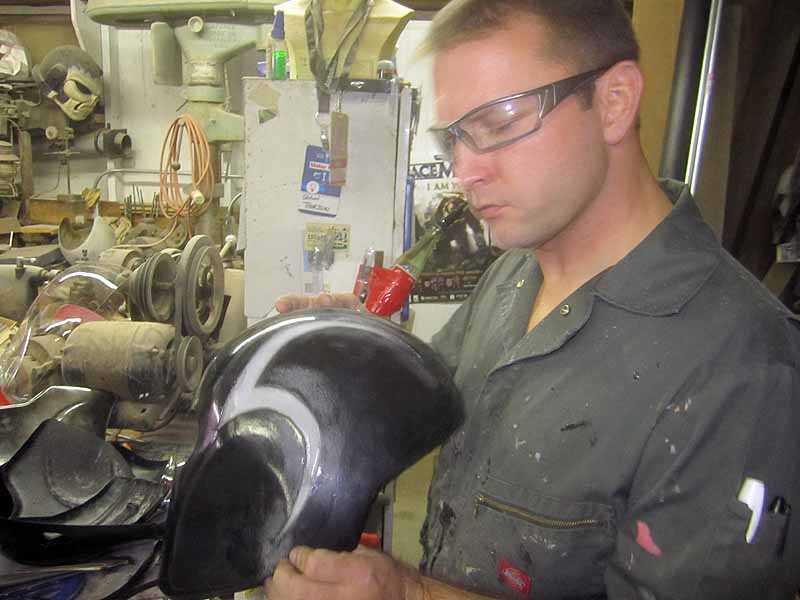
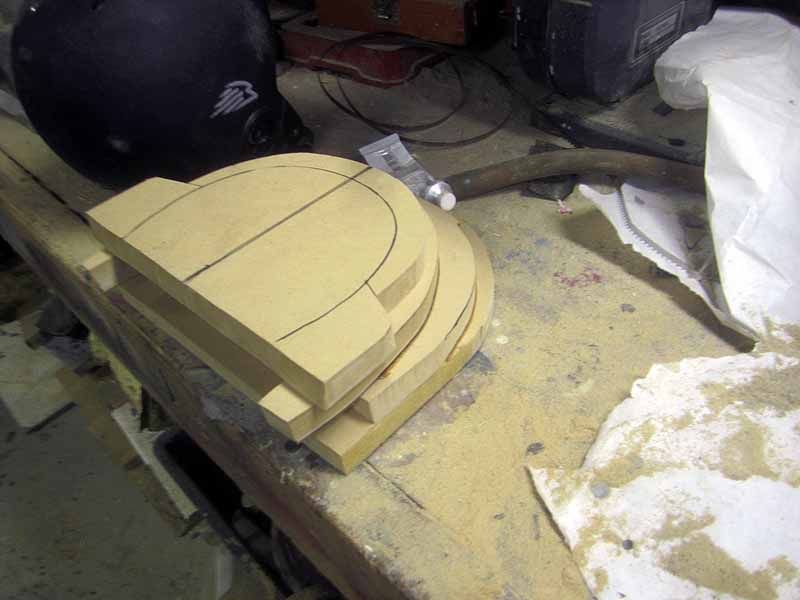
Looking back over the concept art, I was surprised to find that there was no real consideration given to the gap between the outer shell and the Gath donor helmet underneath. While a lesser artist probably would've been satisfied to just spraypaint over the logo on the back of the helmet and tell the performers to wear high collars, I decided to build a fairing to close the gap. Heres the beginning of the form coming together:
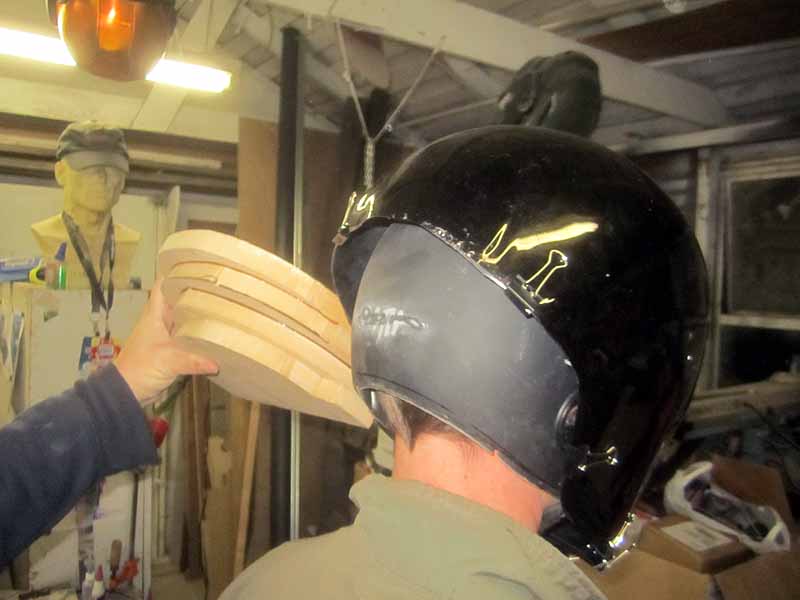
Here I am eyeballing it for proper fit:
Once the MDF stack was ground down and smoothed out, I used it as a forming buck and made ABS plastic shells.
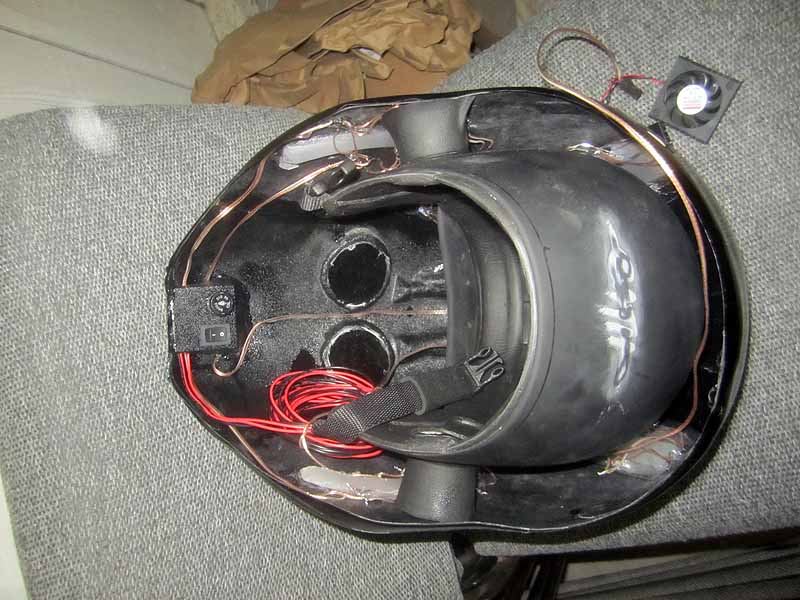
Since all of the parts were formed, it was time for final assembly. Here's the inside view with Gath helmet installed:
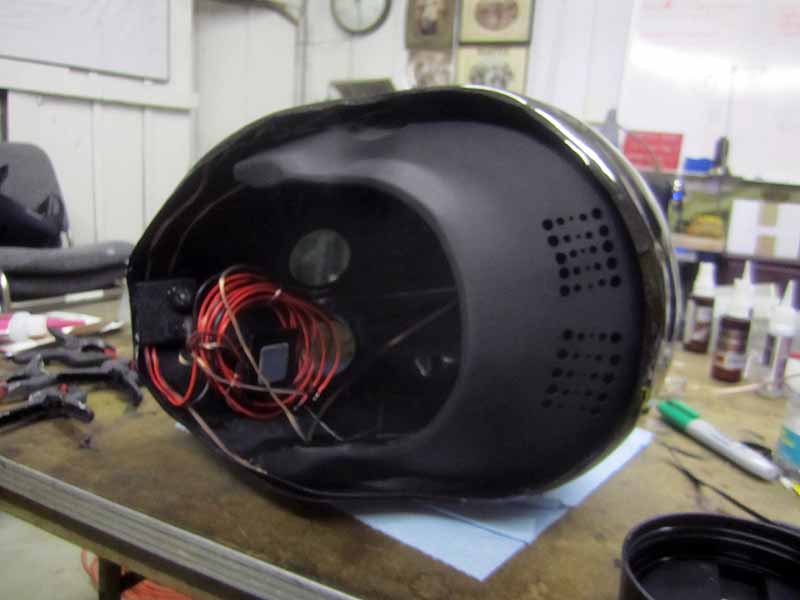
Here's the vacformed fairing installed to cover the gap:
This is the IO helmet illuminated:
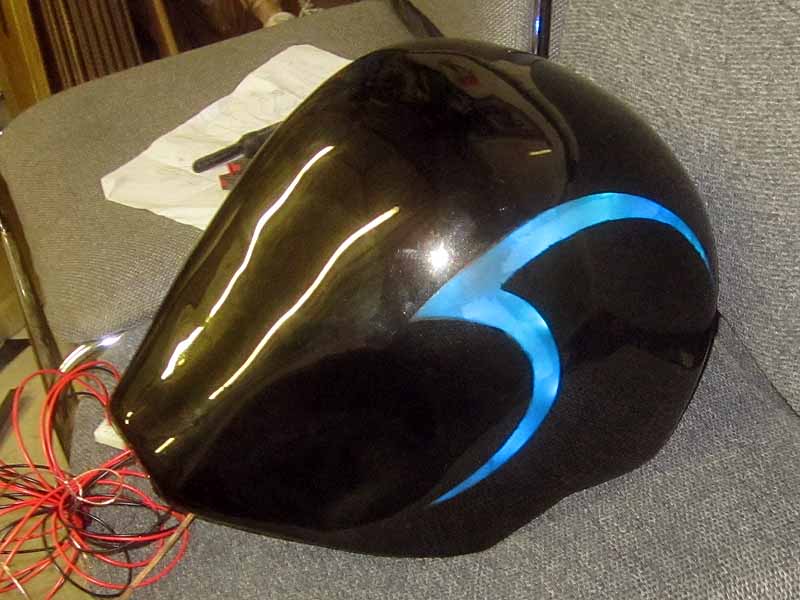
Projektor with the lights off:
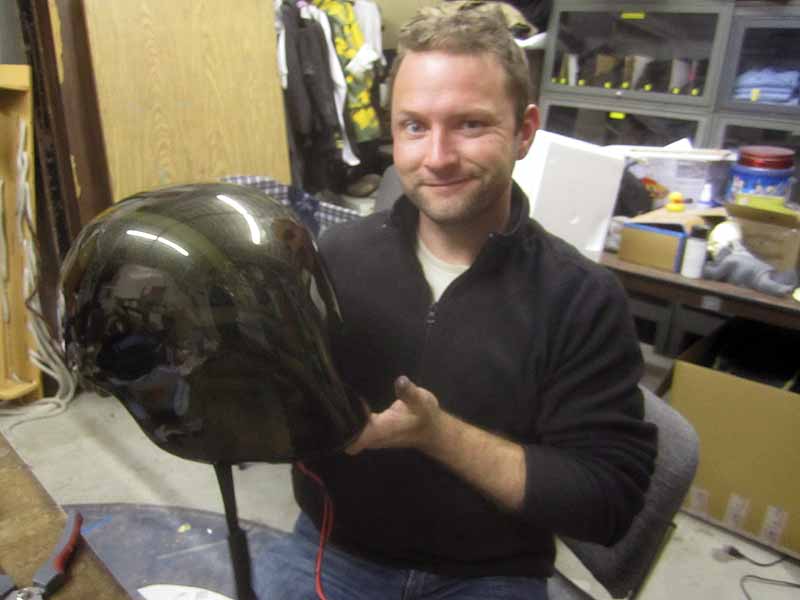
Projektor test fit:
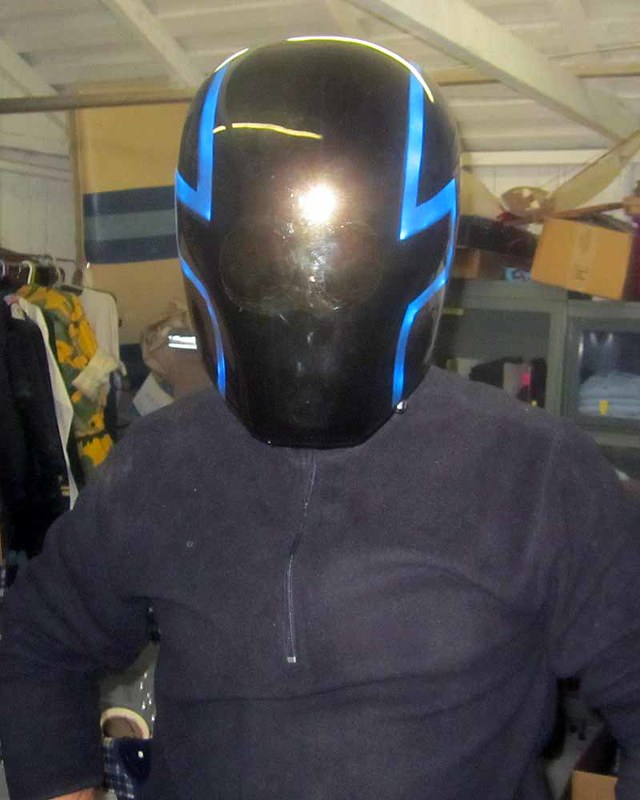
That's a wrap:
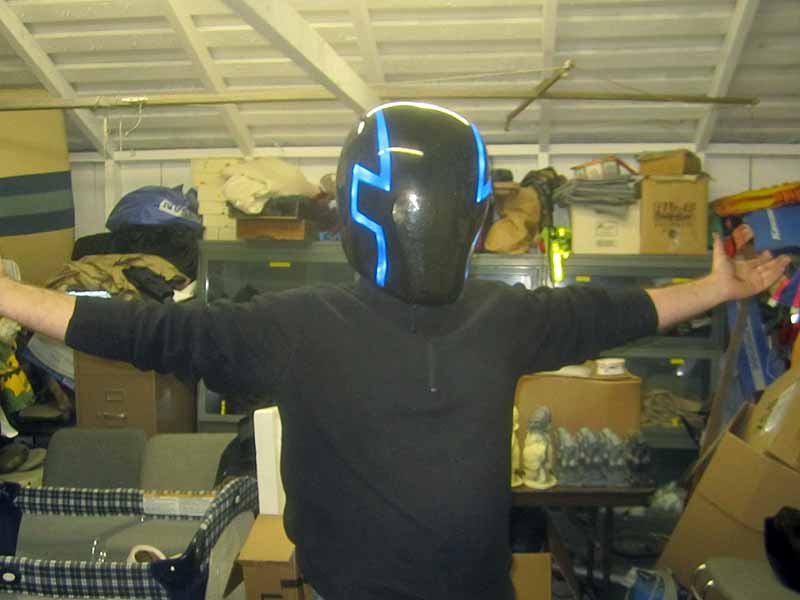
With the whole project finished (it took just over a month from "yes I'll do it" to "here it is") all that was left was to hand over the finished pieces. Here's a shot of the Magnetic Poets in full regalia:
Here's IO by daylight:
For more info, here's their website: http://magneticpoets.com/

do u sell me one of them?
ReplyDeletewant so much