You saw the finished outfit at the end of my last post:

For details on how it was made, read on...
As with the Spinfusor, I began with the in-game 3D models. The first piece I concentrated any effort on was the helmet. Since the head is likely to be the focal point of a character, it gets a lot more attention than many of the other parts. Before having the CNC machine carve out the helmet, I decided to do a rough-draft in Pepakura just to get a feel for the in-game model as it translated into real space. Here's the result:
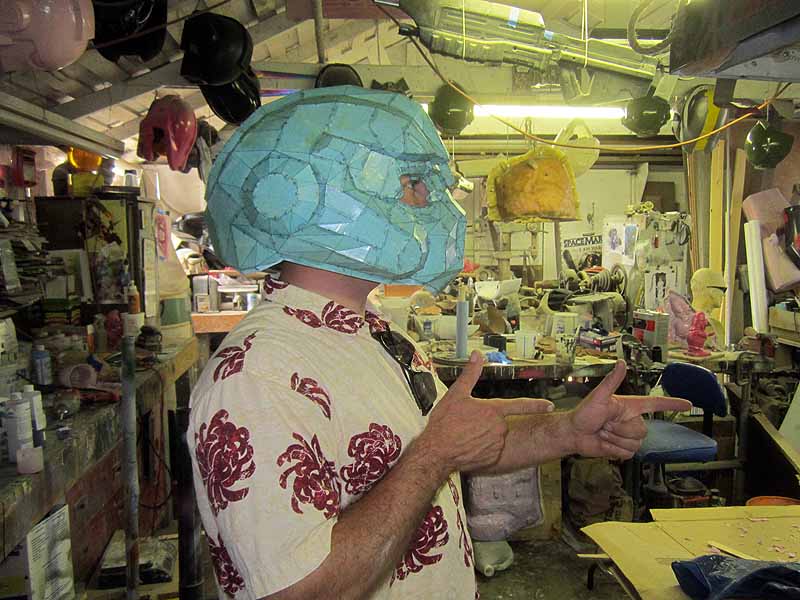
While the model looks great when rendered in the game and the promotional images, it's clearly about twice as long as it should be in order to fit on a human head. This would need some tweaking.
Since I have very little in the way of 3D modelling skills, I did what little editing was needed in Google Sketchup:
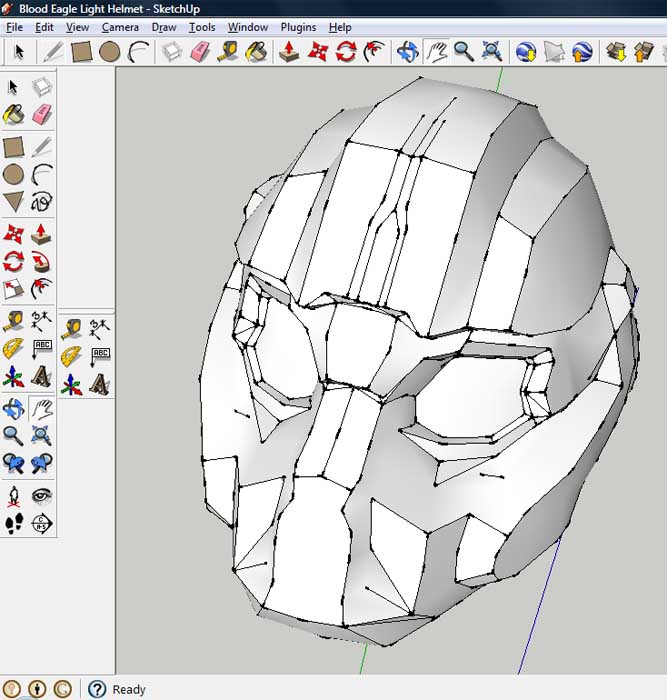
After adjusting the proportions to a more practical shape, the model was then imported into the software for my Craftsman Carvewright CNC machine (nicknamed "Lopez") and sectioned into slices the machine could carve out. Lopez is a 3-axis machine with only a 3/4" cutting depth, so I carved all of the parts out of 3/4" Medium Density Fiberboard (MDF). Here's the first set of helmet slices that came out of the machine:
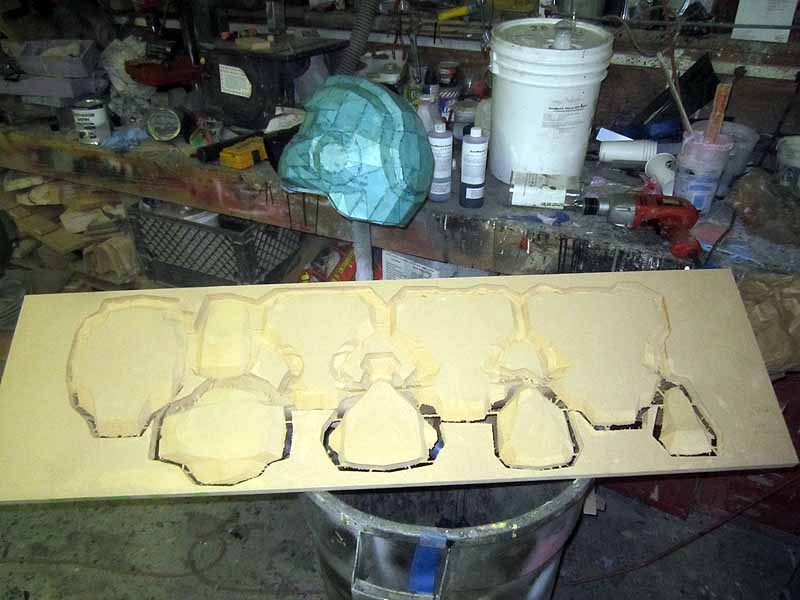
After cutting them free of the board, I stacked up the face pieces first:
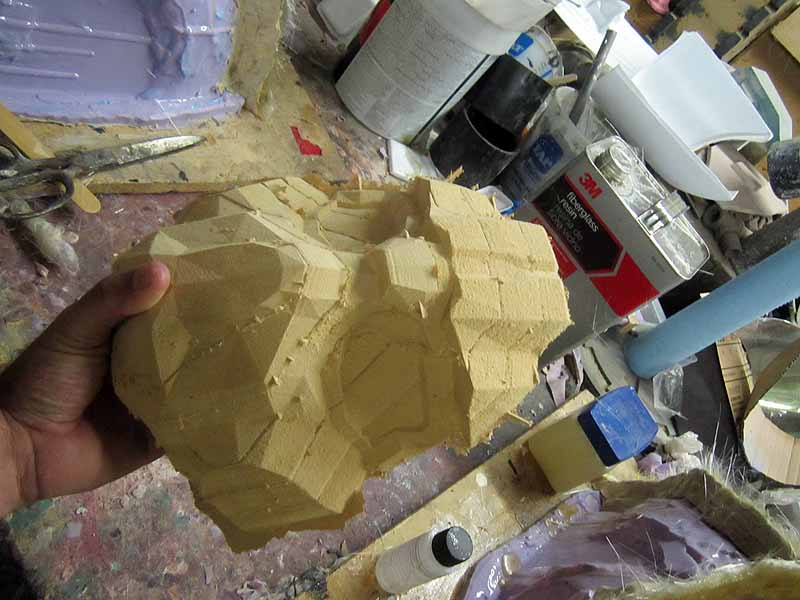
I stacked all of the parts into sub-assemblies. Here's all of the helmet parts piled up on the bench:

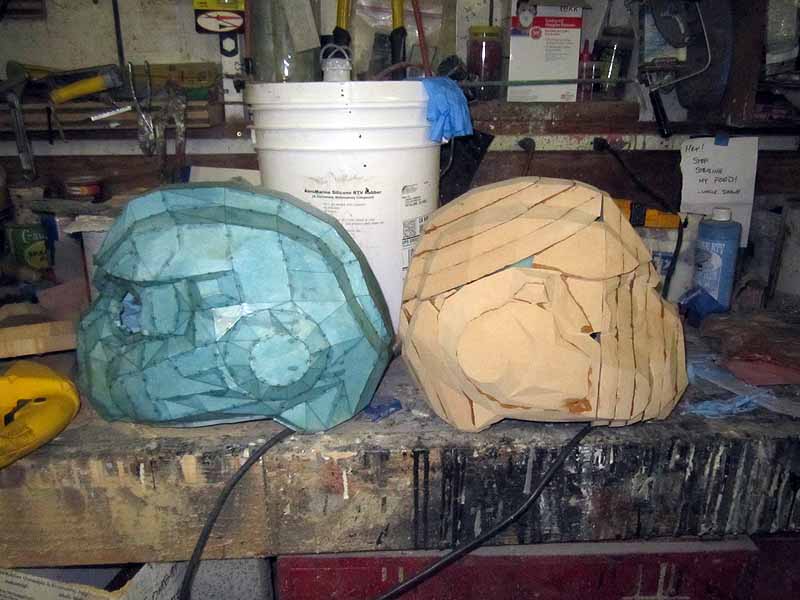
Once they'd been glued together, they finally started to look like something useful. Here's a side-by-side comparison with the Pepakura test helmet:
Glued together, the surface of the helmet was coated with an epoxy resin to strengthen the notoriously brittle MDF so it would hold up to sanding and fairing without immediately losing any of the finer details and sharp edges:

After filling in the bigger holes and surface flaws with Bondo, I spent a great deal of time sanding and filing and smoothing the rough-cut surface. Then I sprayed on a coat of primer to get a better idea of how it was coming along:
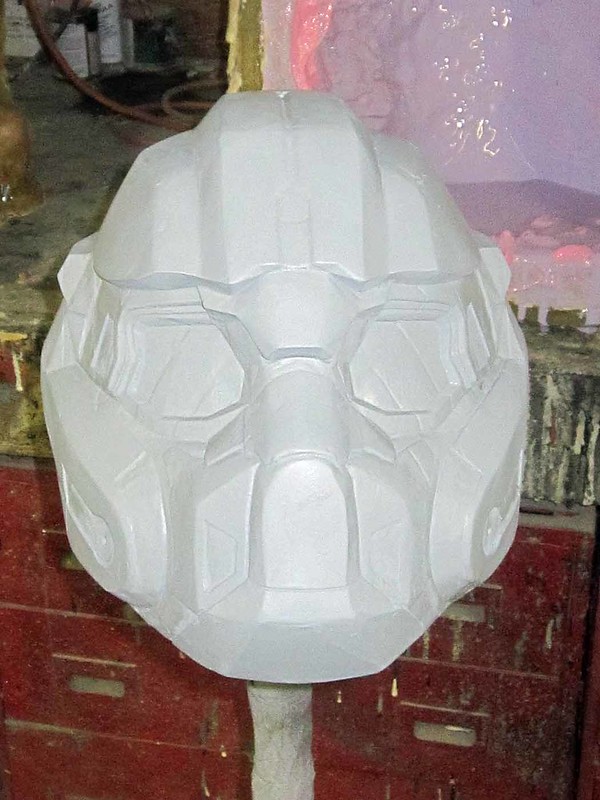
Clearly there was more work to do. Here's a shot in the middle of filling in some of the flaws with spot putty:
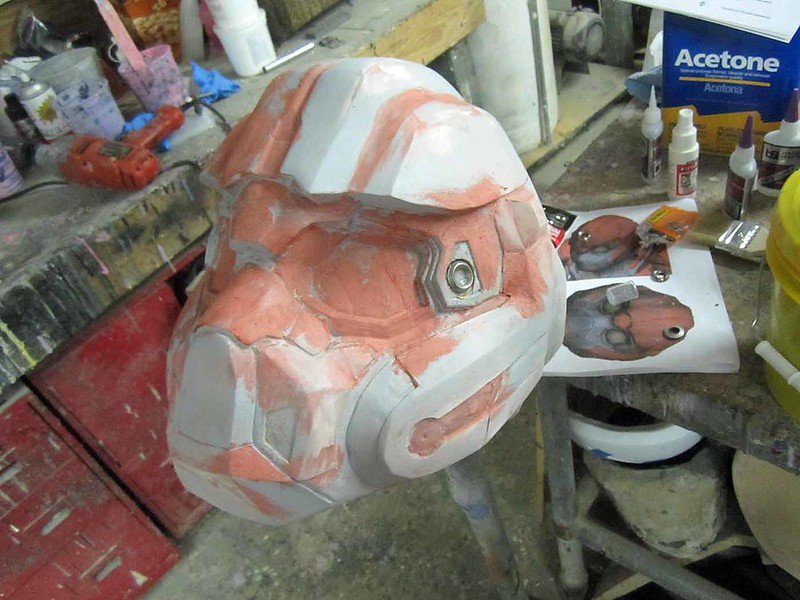
After scoring in some seam lines with a triangular file and a jigsaw blade, then adding a few found items for some of the smaller detials, I was finally happy with the overall shape:
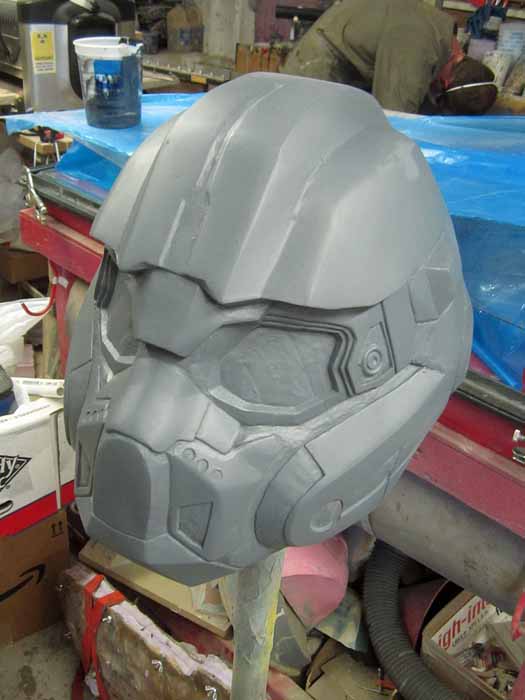
In order to achieve a nice, smooth surface for those areas that needed it, the whole thing got a coat of glossy lightish red, my traditional prototype color:
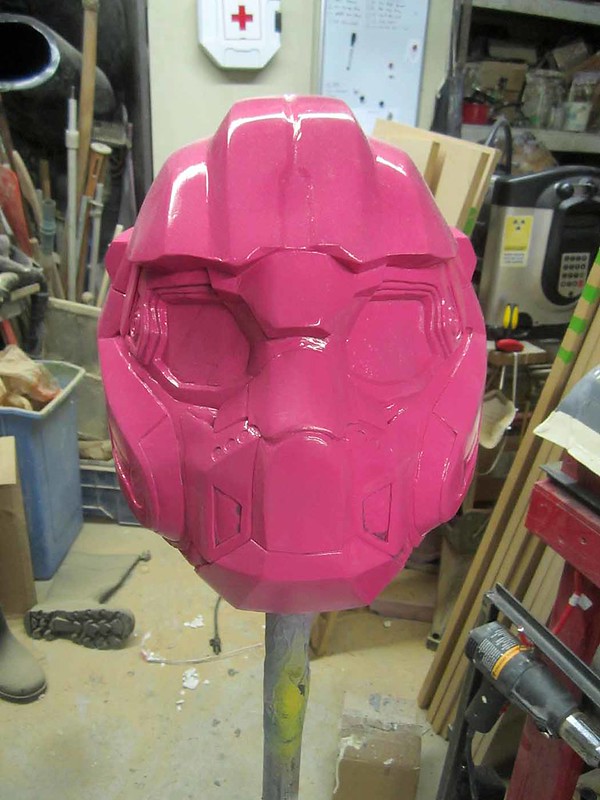
Then I used a combination of truck bed coating and Rustoleum Stone Textured paint to add the rough textures where they were needed:
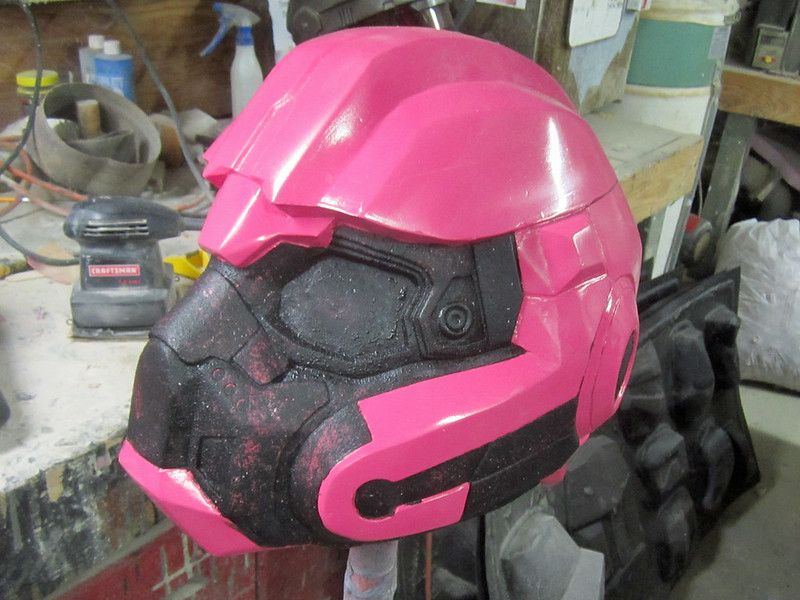
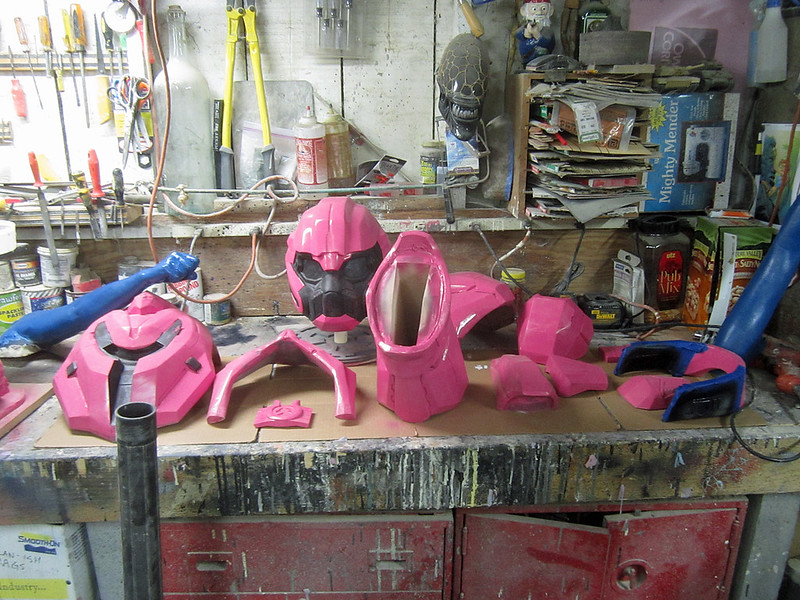
The other hard parts of the costume were made in much the same way:
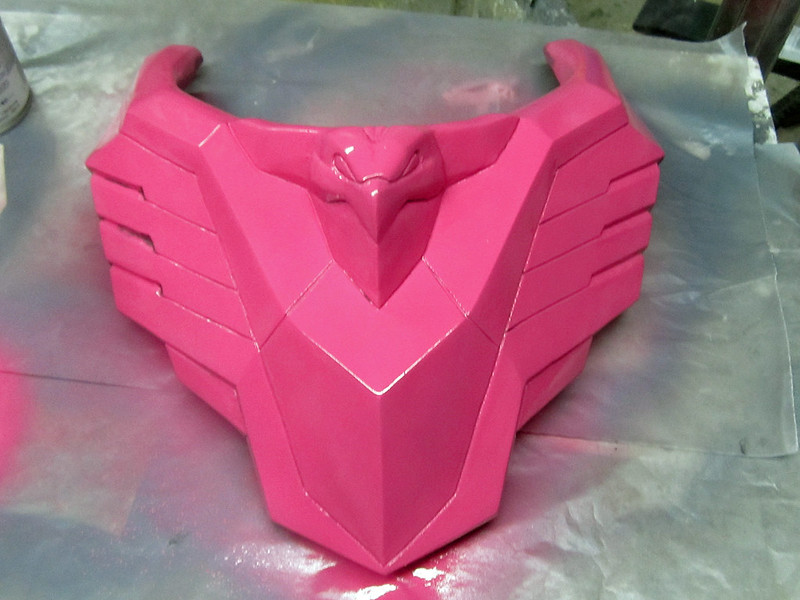
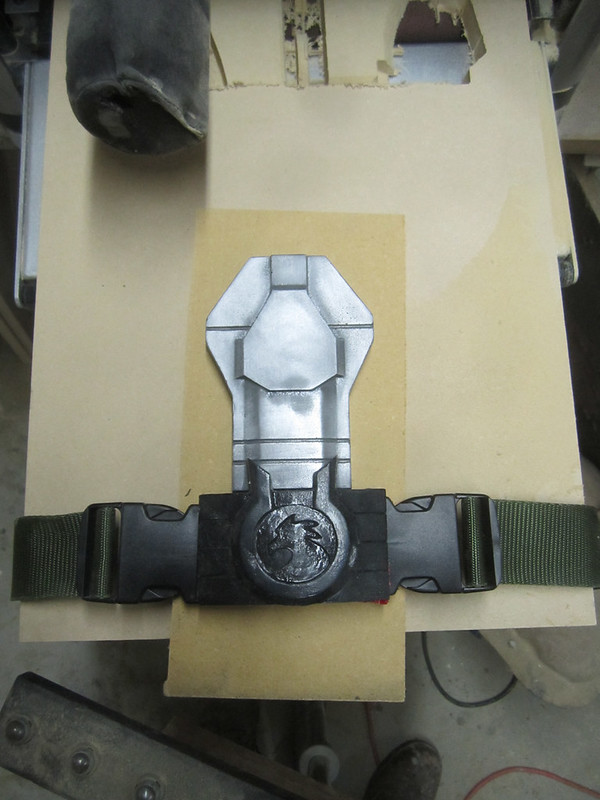
One piece I'm particularly proud of is the chestplate:
The jetpack was pretty cool too:
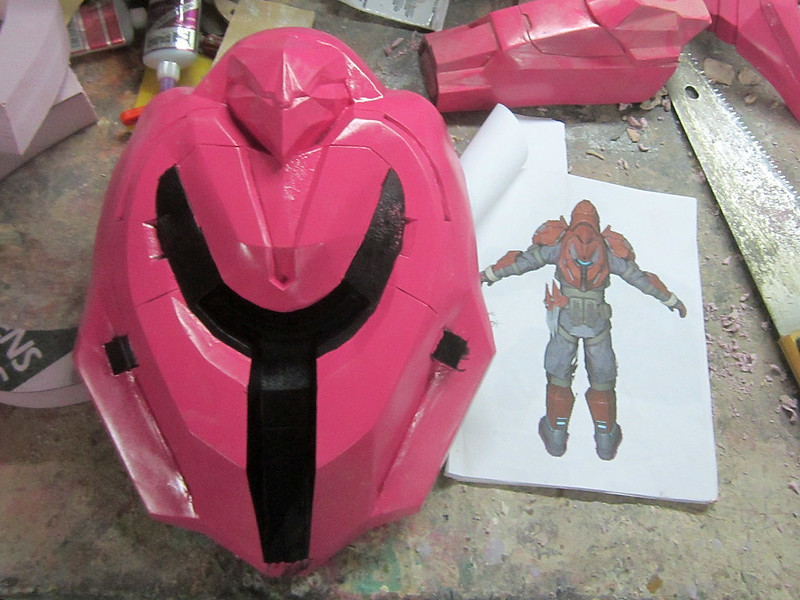
While most of the parts were well-suited to CNC carving, there were a few places where I decided a hand-sculpted piece would better expedite the build. Most notably, the collar. Since I'd made some changes to the proportions of the helmet, I didn't want to go through a series of trial-and-error experiments to find the just right collar dimensions. Hand sculpting made a lot more sense.
The prototype was blocked out with a couple of pieces of pink insulation foam laminated together and then rough shaped on the belt sander. Here I am testing the fit:

Despite tweaking the dimensions of the helmet, this guy still isn't going to have a lot of movement in the neck:
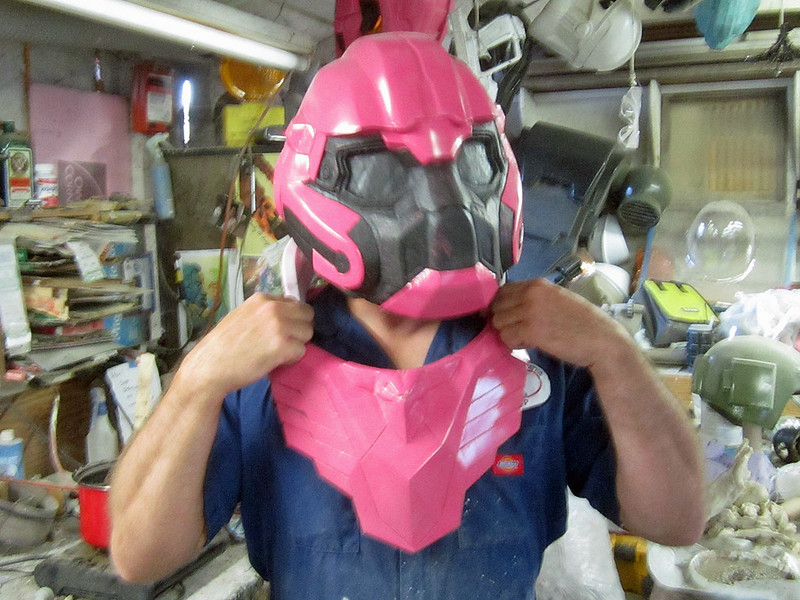
Once I'd smoothed it out and added the appropriate details and textures, I lined it up with all of the other pieces for molding:

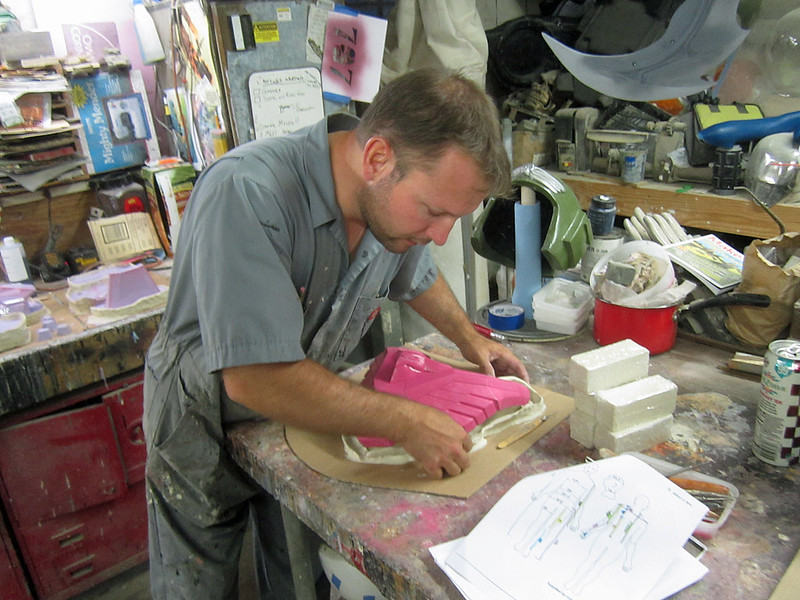
There were a lot of pieces. Here I am prepping the chestplate for molding:
With my usual workflow I'll have one or two pieces in some stage of molding while I'm working on a prototype for something else and finishing up a final piece for yet another item. Because of the rushed nature of this build, I did all of the molds simultaneously. Here's half of the pieces laid out on one of the benches with the print coats poured:
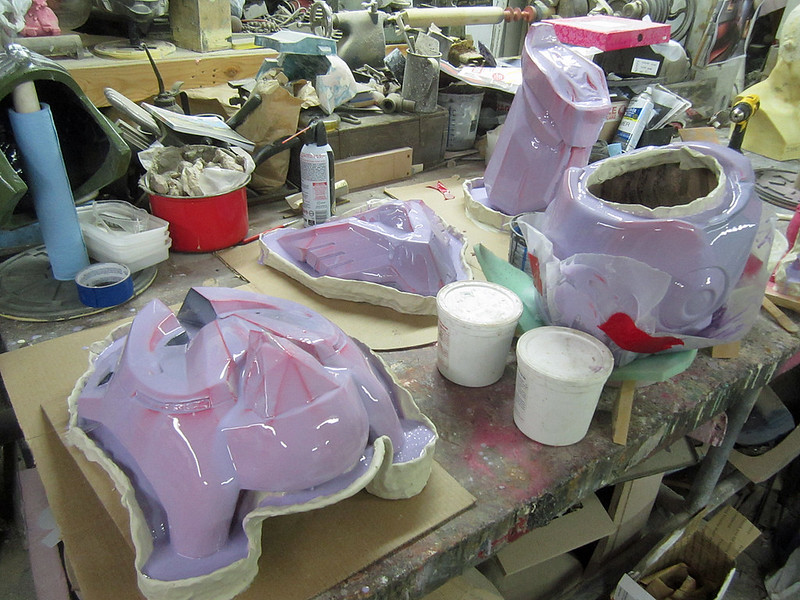
The "print coat" is the first layer of silicone that gets poured on. It's mixed to be as thin as possible in order to flow into all of the small details on the surface of the piece being molded.
The next day I built up several layers of thicker silicone to strengthen the silicone jacket molds:
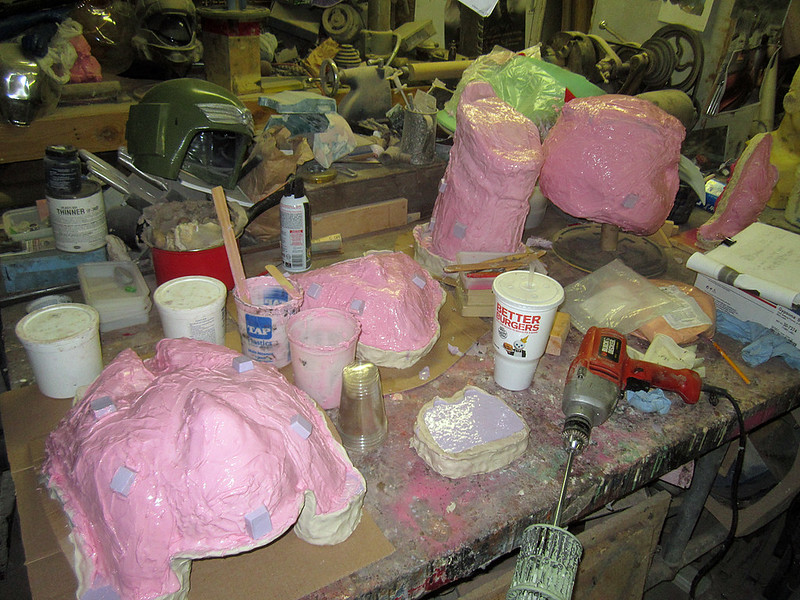
I've forgotten how many molds were built simultaneously, but I managed to go through no less than fifteen gallons of silicone in the space of three days at this stage. Once the silicone jackets were complete, I laid up fiberglass mothermolds for each one:
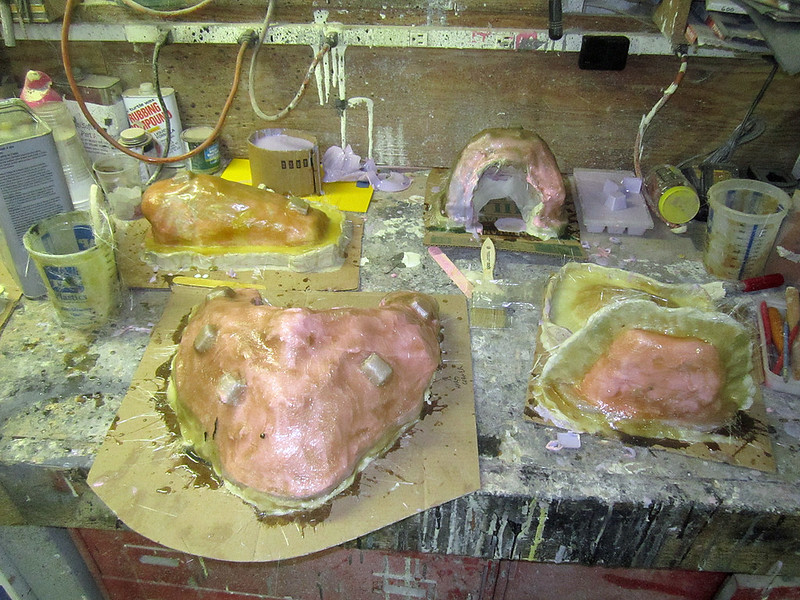
Because the rubber jacket mold will collapse under its own weight, the mothermold is needed to keep everything from flopping around and distorting your final castings. The raised rectangles on the jacket molds are registration keys that keep the rubber properly aligned inside of the fiberglass shell.
Once the mothermolds were cured, I wasted no time pulling the first set of castings:
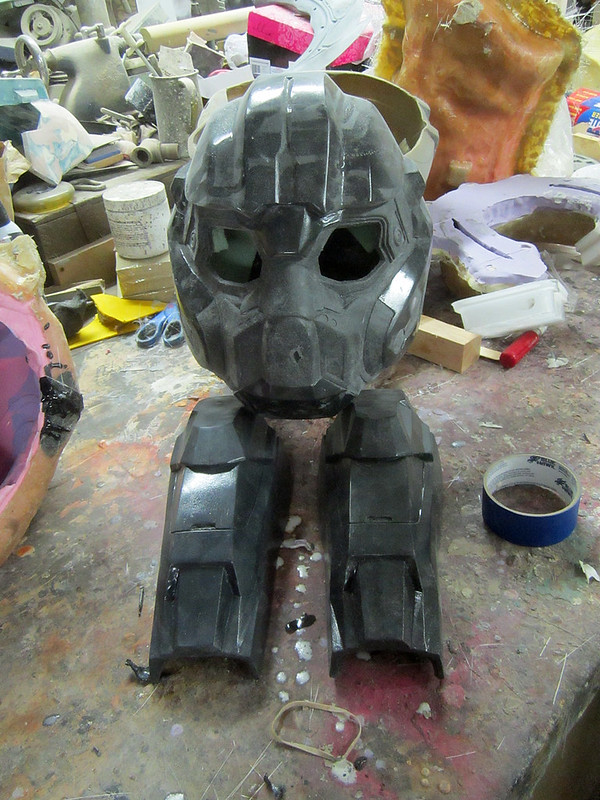
For the most part, the pieces were cast in black urethane resin with some fillers added in to reduce weight and increase strength. The main exception were the aluminum-looking buckles that were built into the harness. These were cold cast with aluminum powder to give them an appropriate metallic look:
The last little bits that needed to be fabricated were the toes of the boots and the lights for the ankles. In order to match the look of the character's shoes from the game, I went with a pair of Wolverine work boots.* Starting with these boots, a fiberglass armature was pulled of the toes:

Using this sculpting armature, my friend and frequent project enable Matt sat down and sculpted out the toe caps:

These were then molded in silicone so I could cast copies in a dense flexible foam covered in a metallic powder to give the appropriate finish:
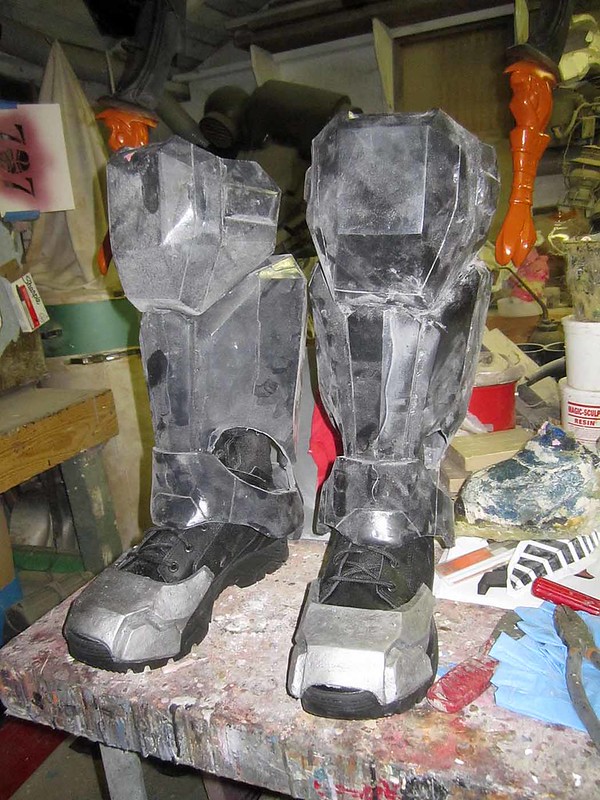
With the toes dressed to match the character, all I needed to do was add the red details on either side of the boots. For this I used red Plasti-Dip rubberizing spraypaint:

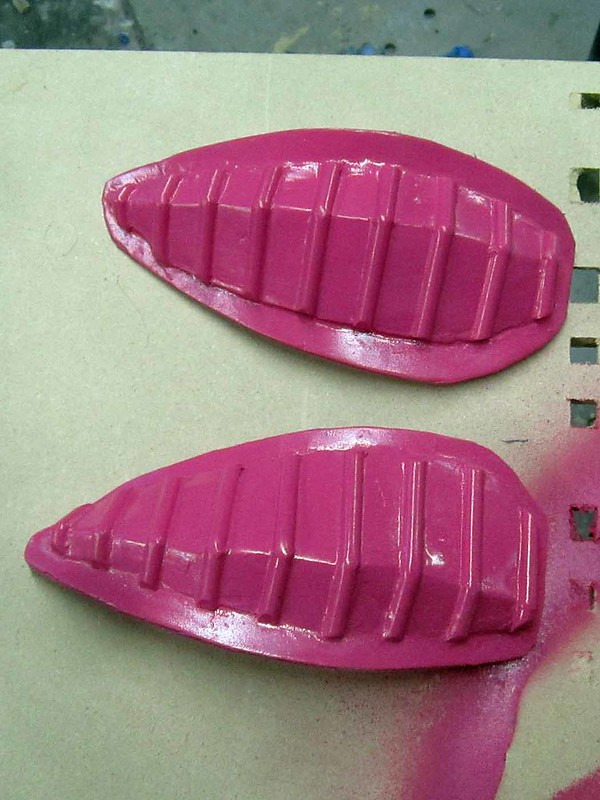
For the lighted thrusters that fit into the ankles, I decided on making clear castings that could be fitted with LEDs. Here's the early prototype for the ankles:

Here they are smoothed out:
Finally, here's the first pair of castings in clear resin:
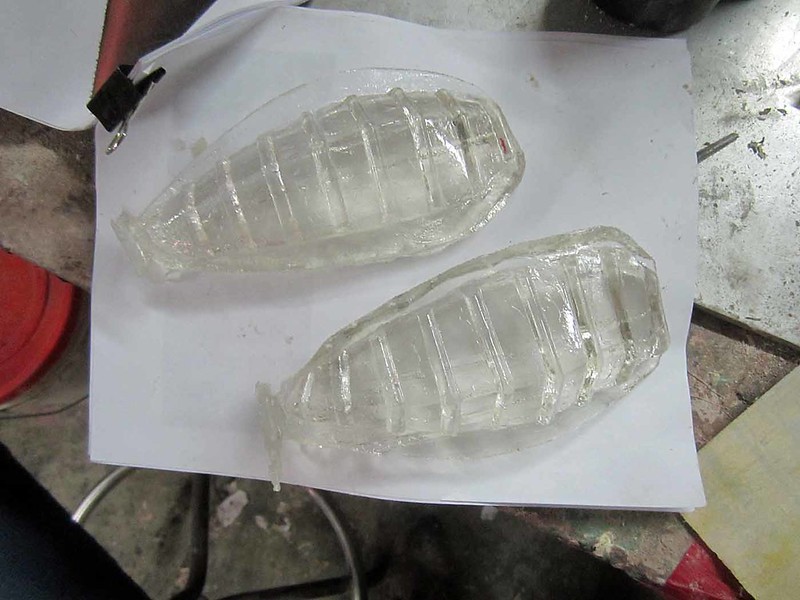
Lighting was an array of superbright blue LEDs wired in parallel. There was one LED for each recessed area in the casting:

Finally, here's the first pair installed in one of the lower leg castings:

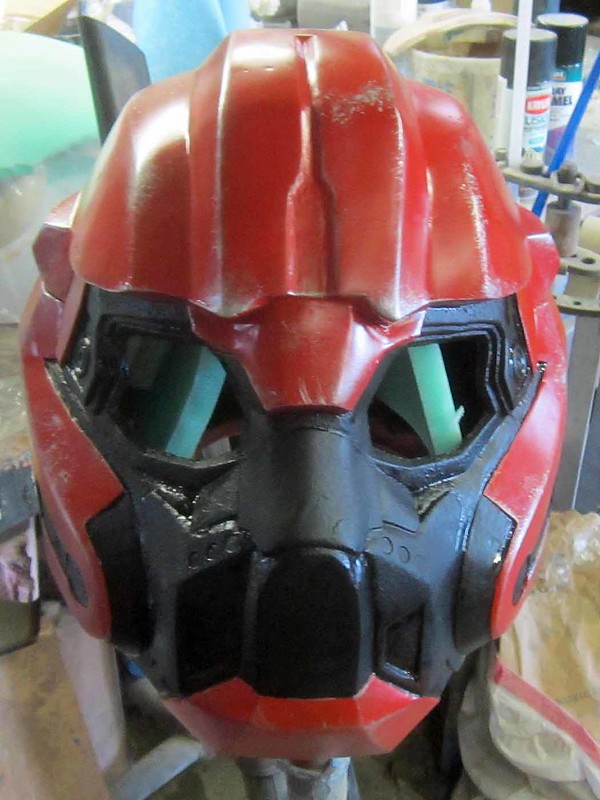
As you can see, while I was tinkering with the wiring I'd also started painting some of the parts. Here's an early shot of the helmet paintjob in progress:
This is the chest all wired and weathered:

And the jetpack:

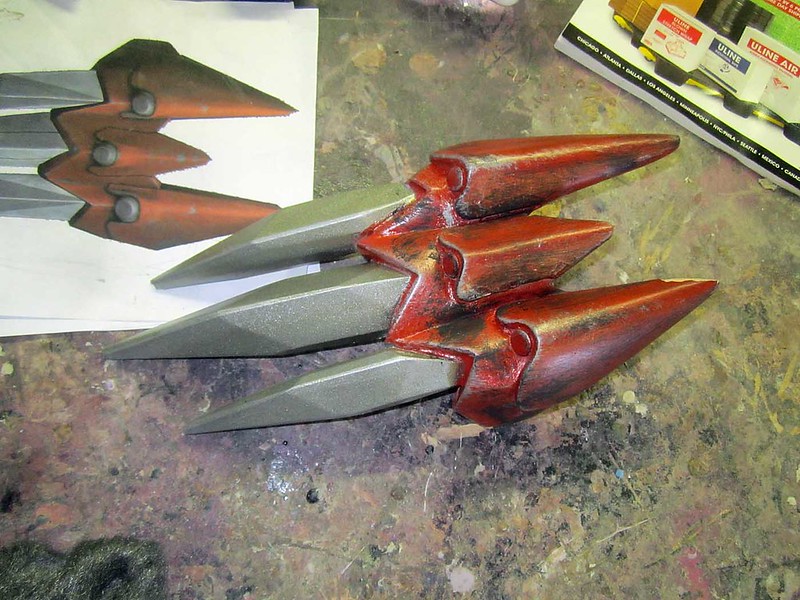
For no reason I can think of, I kept putting off the construction of a prototype for the three-bladed melee weapon that hangs from the Blood Eagle's left hip. Here's a shot of the first cast in the process of being painted:
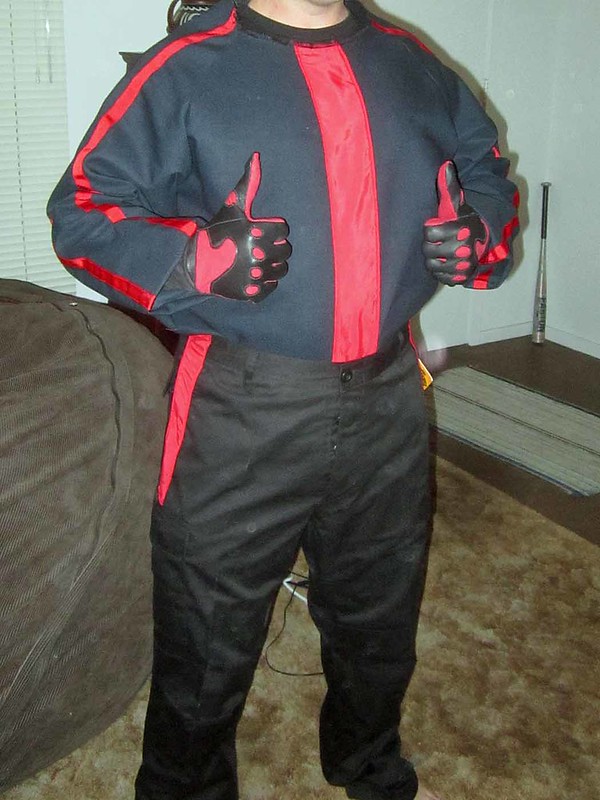
With the hard armor parts all but done, the last bit was the soft parts. I hate sewing, so I outsourced the undersuit and gloves to my friend Breana. She's much better equipped for this type of work and always comes up with great finished pieces. Here's the result:
I also tasked Matt with the final assembly of the harness that holds on all of the pouches and a small fortune in parachute buckles:
 The last step was to pile it all in my car and drive up to Seattle in time for PAX. The morning of the show I finally met the wearer for the first time and got him all prepped and dressed:

Once we'd made our way to the convention center, the Pathfinder took up station in the booth:
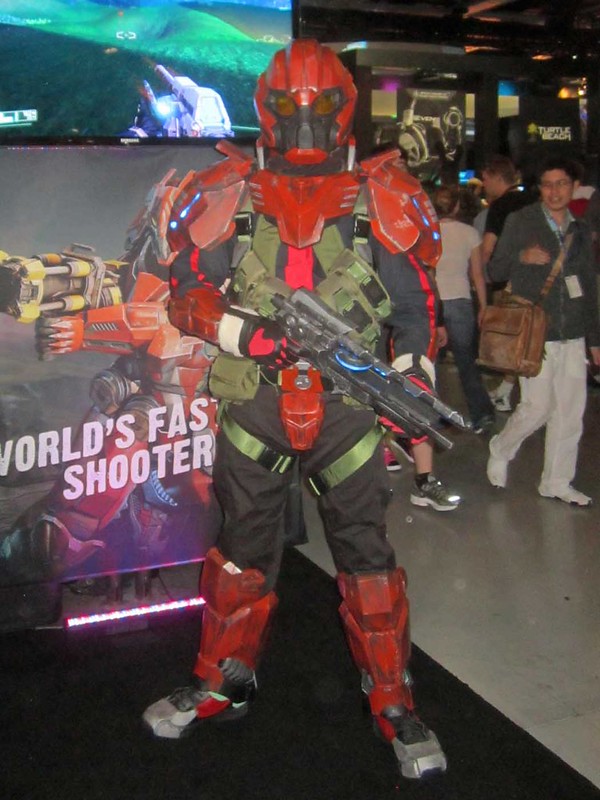
If you were at the event, you probably spotted him. Unless you were distracted by the rest of the staff at the booth:

If so, I understand.
If you'd like to see even more pictures of the build in progress, you check out the flickr photoset by clicking HERE.
More madness to follow. Be sure to subscribe so you don't miss any updates. Especially when I finally get around to writing up the build for the next costume:

Stay tuned...
*I actually found four other styles of boots that looked more like the in-game version, but the model that was slated to wear the outfit had size 14 shoes. This limited my options considerably.
.

I absolutely love the armor from Tribes, and you did a great job on this set. I'd probably kill a man for a set of this stuff.
ReplyDelete