
The only problem was that he didn't have any ancient Greek combat armor hanging in his closet. So he turned to the one person he thought might: me. I suppose he'd heard enough people talking about my last Ancient Greek costume project. I didn't have exactly what he was after, but once we'd discussed it for a few minutes, we had a plan.
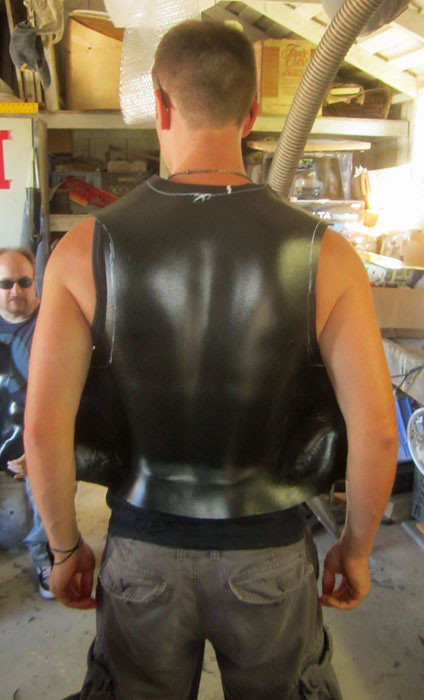
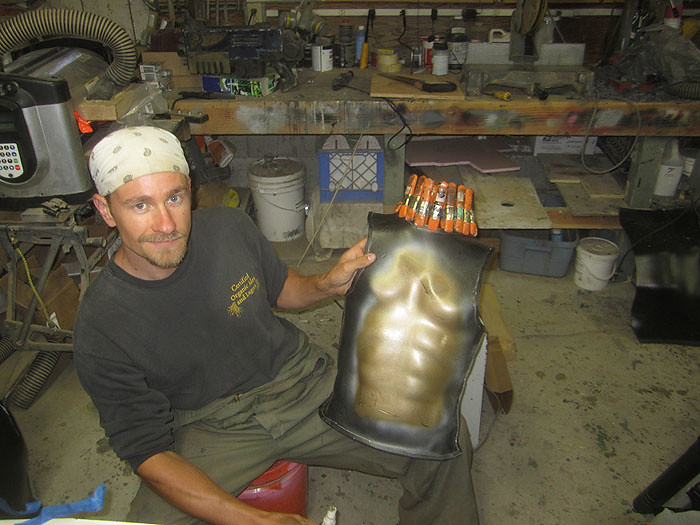
I had a torso mannequin on hand that happened to be just about the same size as Trevor. So the first thing we did was heat up a sheet of foamed PVC sheet on the vac forming oven and stretch it over the back of the mannequin. Using damp rags, we pressed the hot plastic down until it was roughly the same shape as the back of the mannequin. Once it cooled, we pulled it off and trimmed out a back plate:
Then we flipped over the mannequin and repeated the same process for the chest:
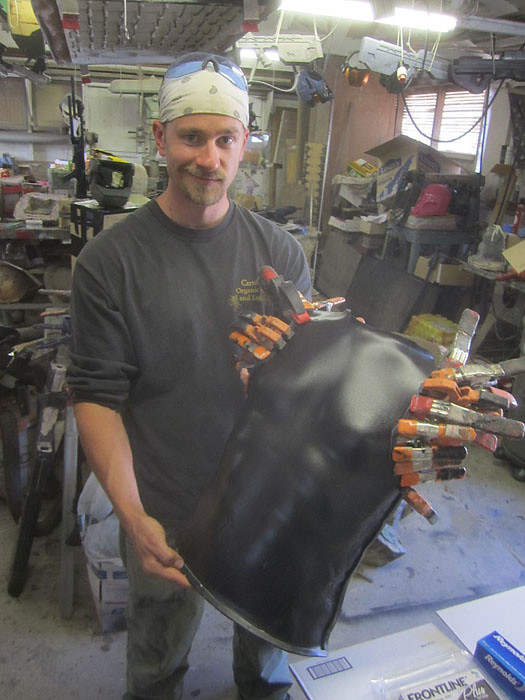
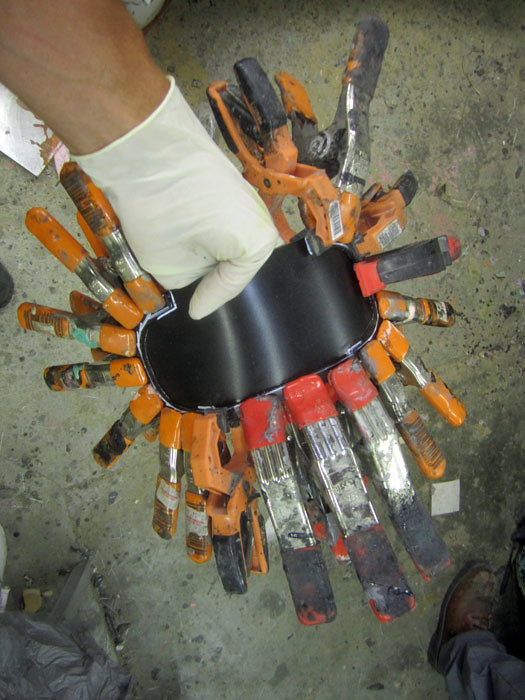
To add a bit more strength and finesse, Trevor cut 1/2" wide strips of the foamed PVC sheet and built a border all the way around the armor pieces. They were bonded to the rest of the armor with solvent cement (just like plumbers use on plastic pipe) and held in place with a few clamps while the adhesive set up:
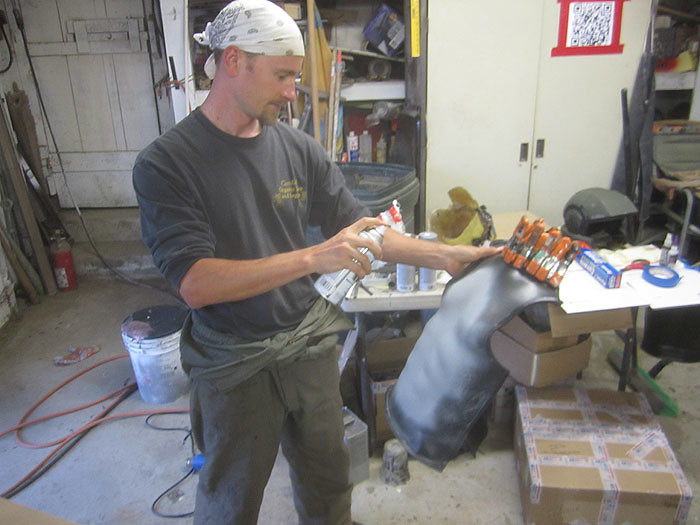
Since we were excited to see how it would look, we didn't wait for the last of the glue to set before priming a spot in the middle of the chest:
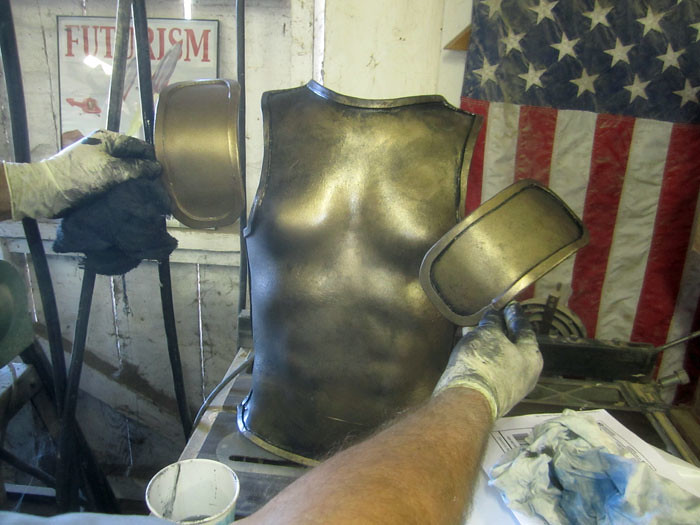
For the base color, we decided on "Classic Bronze" from Rustoleum:
Happy that we'd found the right base color, Trevor went ahead and sprayed all of the parts with primer:
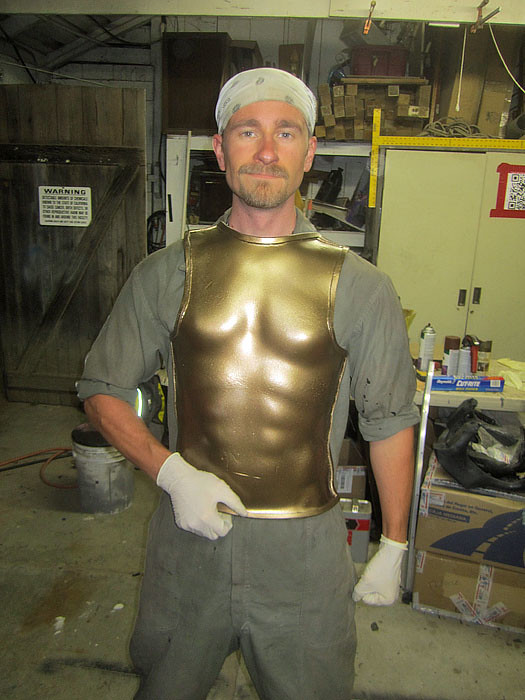
The next step was a base coat of classic bronze:
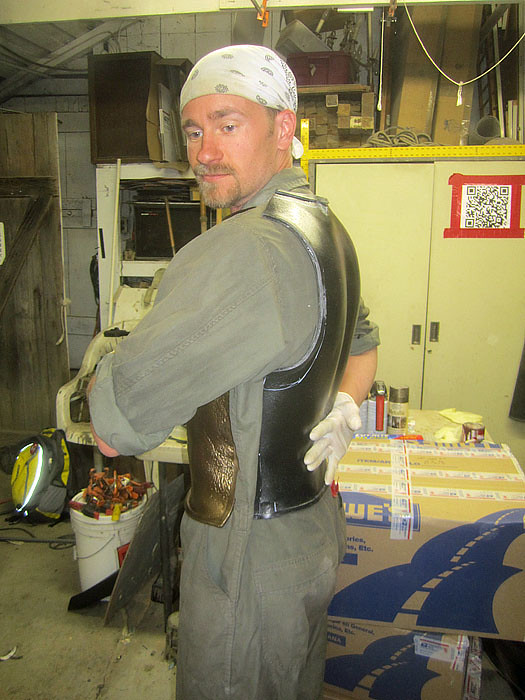
The same process was used to build the back plate:
And the shoulder plates:
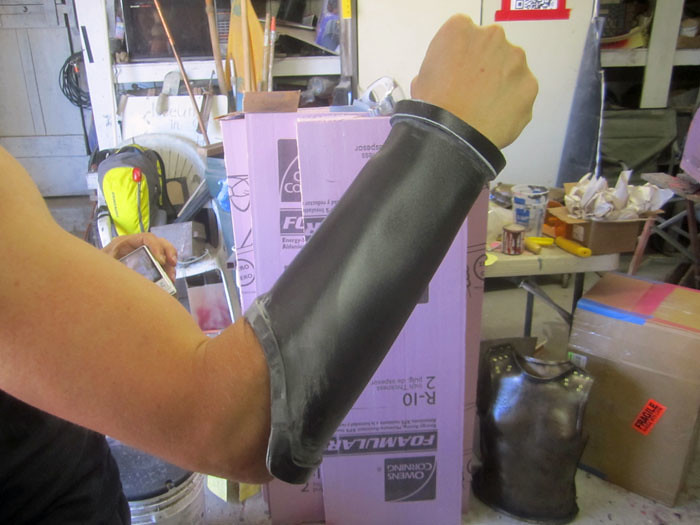
The greaves and bracers were done the same way too:
Once the parts were formed and glued together and the base coat had dried, the next step was a blackwash to make it all look a bit more used. The shoulder plate on the left in this picture had not yet been weathered:
I think the effect came out pretty good.
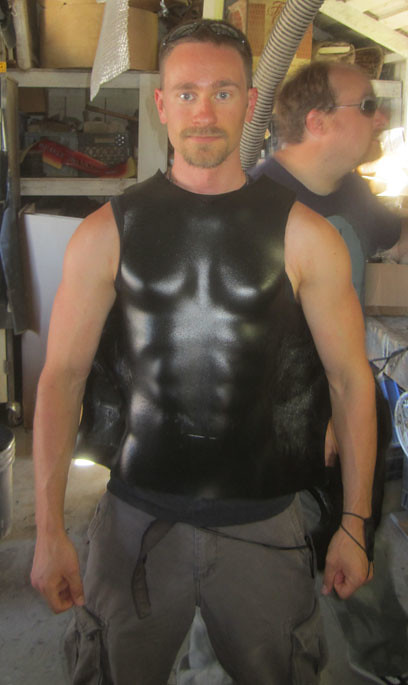
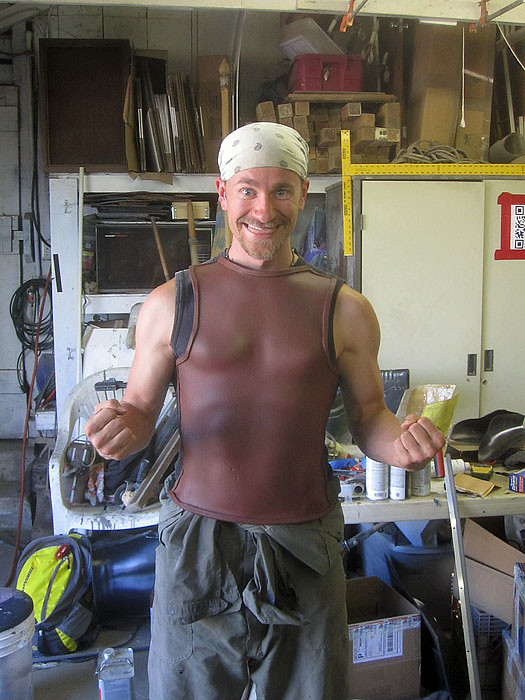
Here's Trevor test fitting the parts before he'd done any of the leather work or made the helmet:

To make the helmet, we started by making a fiberglass shell over the top of a child-sized motorcycle helmet:
So we cut some sections out of it to make it smaller, and cleaned up the edges. Then Trevor made a form for the face portion of the helmet out of some ABS scraps I had on hand:

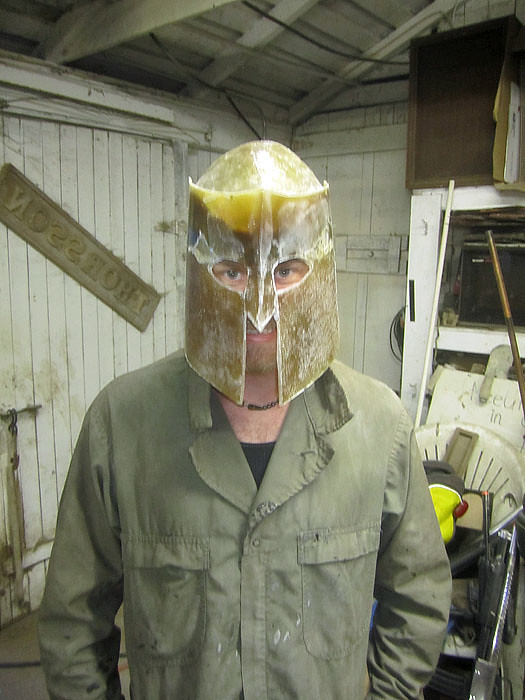
Then he laid up fiberglass inside of the helmet. After it had cured, the plastic form was peeled off and he tried it on:
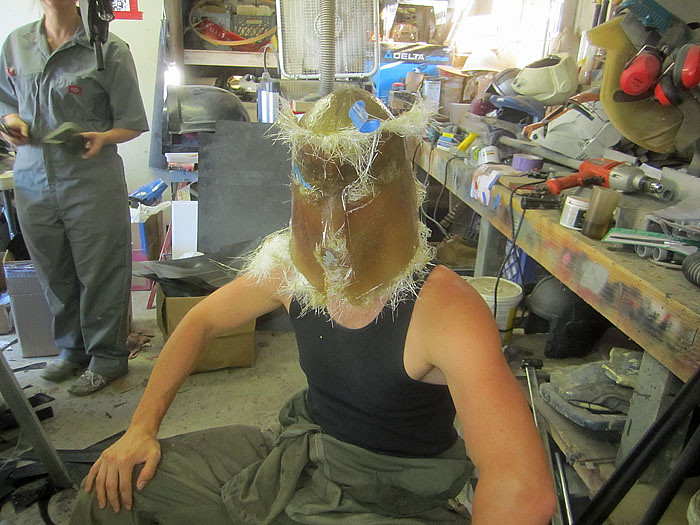
Fortunately, he can fit his breathing mask on underneath. Barely.
After trimming off all of the rough edges, he stopped looking like the king of the fuzz people:
After a bit more work, he'd added a skirt to the back of the helmet:

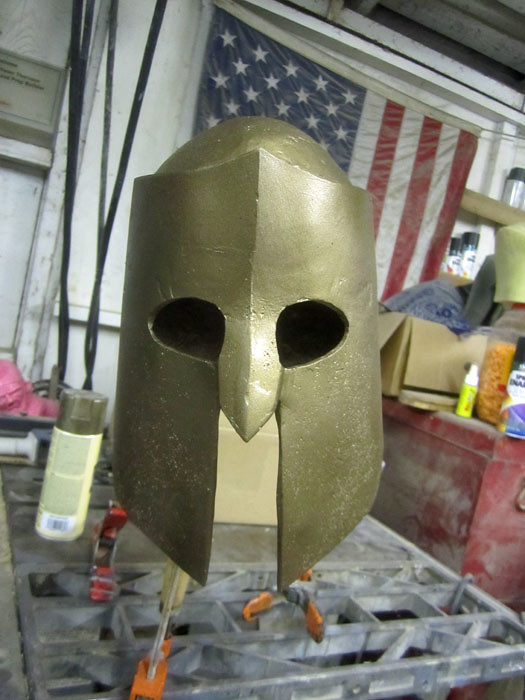
Here it is with the bronze base coat:
For the soft parts of the costume, we went over to Barta Hide on Lakeville Avenue in Petaluma and went through their scraps and offcuts for a while:
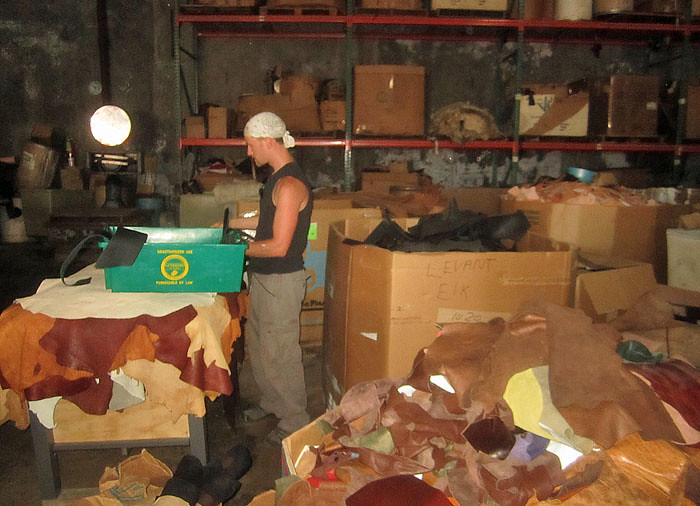
Barta has the best deals I've ever found for leather of all kinds. They primarily deal in green hides so the warehouse smells like rotting cow. If you can deal with that, it's a Godsend for costuming. After a few minutes of digging through the scrap boxes we'd come away with a trunkload of belt leather and goat skin, all dyed black.
I hate sewing. So aside from offering a few suggestions, I left all of the leather work up to Trev. In the end, he developed a strap and lace system to hold the armor on as well as a "battle kilt." I think he called it "battle kilt" because all of the other options were less manly. I preferred "fighting dress," "war skirt," and "conflict frock," but none of them caught on. Oh well.
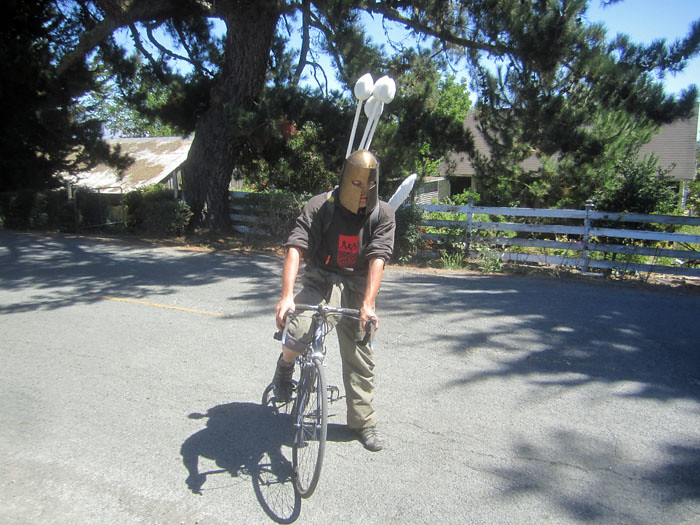
Once he was done with all that, he stopped by one more time so we could make some boffer weapons and pick up all of his gear. Here's Trevor as he was riding away on his way to the desert:
Trevor's apparently terrible about remembering to take pictures when he does cool stuff. Fortunately, he went with friends who managed to snap a few.
Here's a shot of him in the desert with all of his kit on:

Most of the pictures he got looked like this:

But he did get a few action shots:

As the battle raged in Nevada's Black Rock Desert, you'll be pleased to know that Troy did indeed fall, Trevor died a heroically tragic death, and a good time was had by all.
There was also something about a horse:

No comments:
Post a Comment