
Since we will be doing a proper photoshoot soon, I figured I ought to get to work on building some armaments. Since Lopez did such a good job building my Sniper Rifle, I figured I'd have him crank out the battle rifle as well.
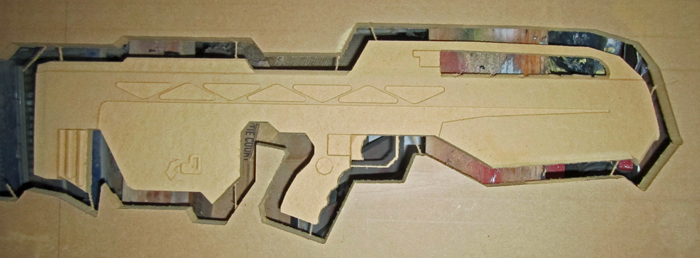
Here's the first half cut out:
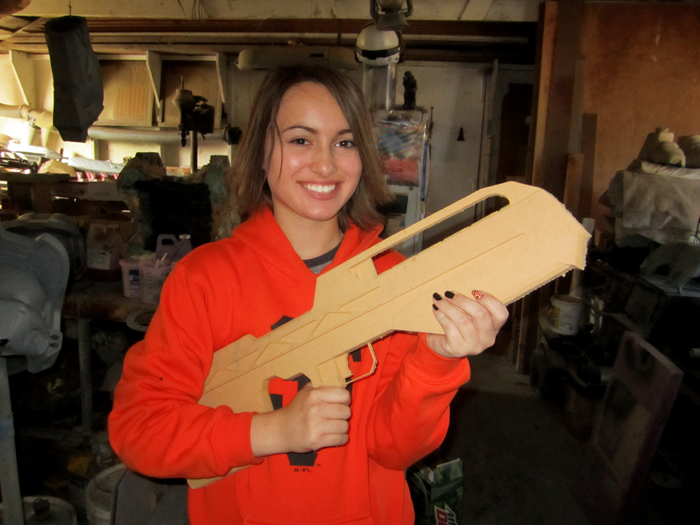
This is Mallory, my occasional shop assistant, modelling it for scale reference:
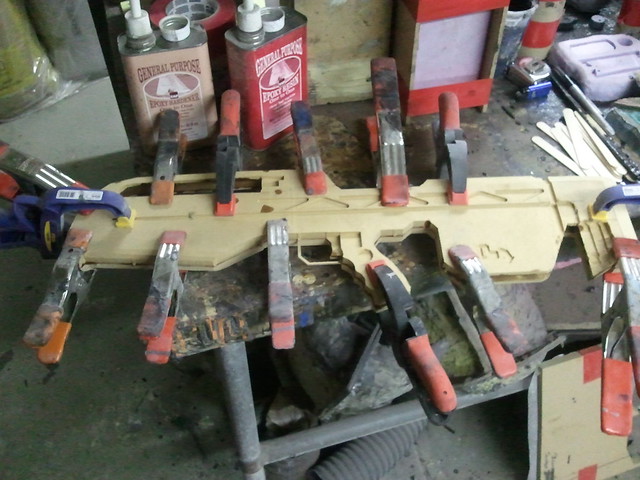
Here's both halves glued together with epoxy:
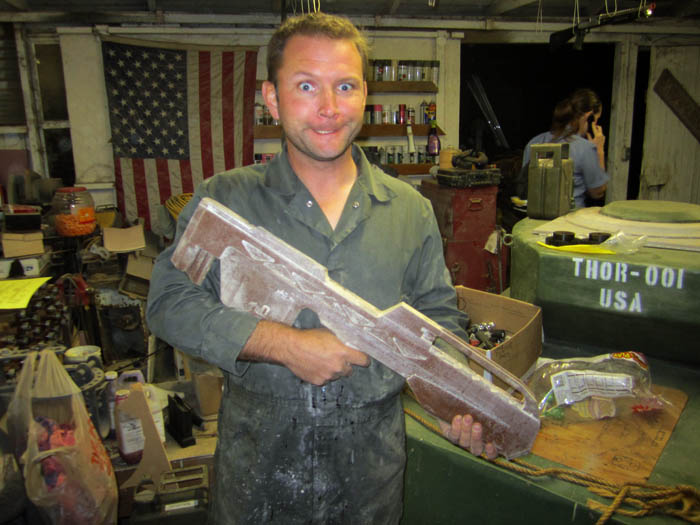
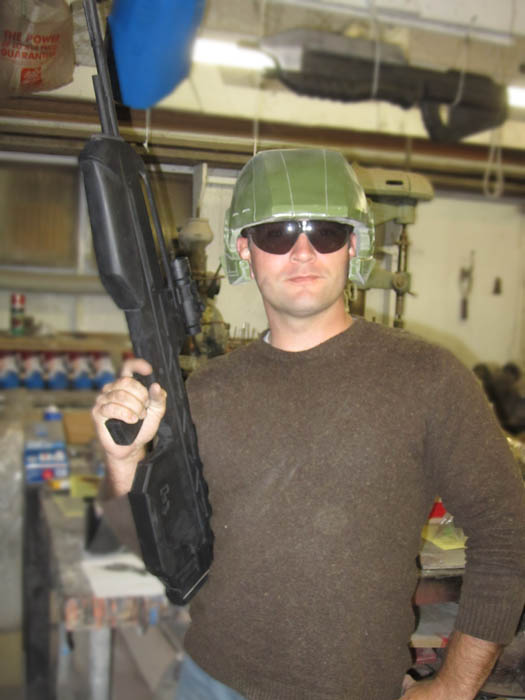
This is what the unpainted, partly-sanded, epoxy-coated prototype looked like when held by a crazy person:
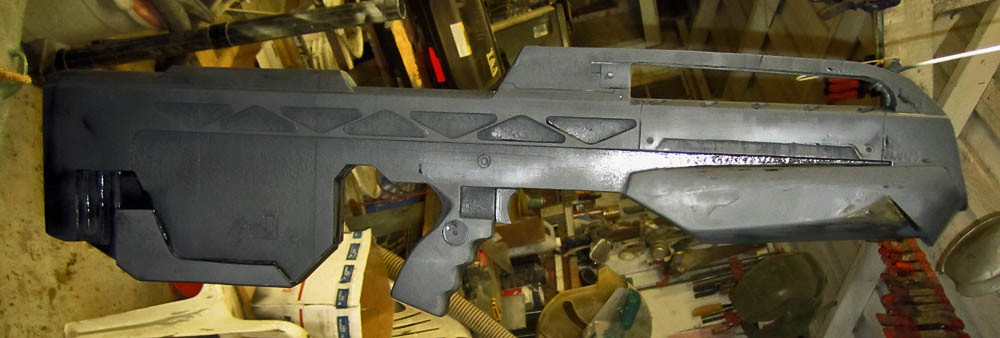
With a bit of touch-up and detail work, here's the prototype with the first coat of black primer:
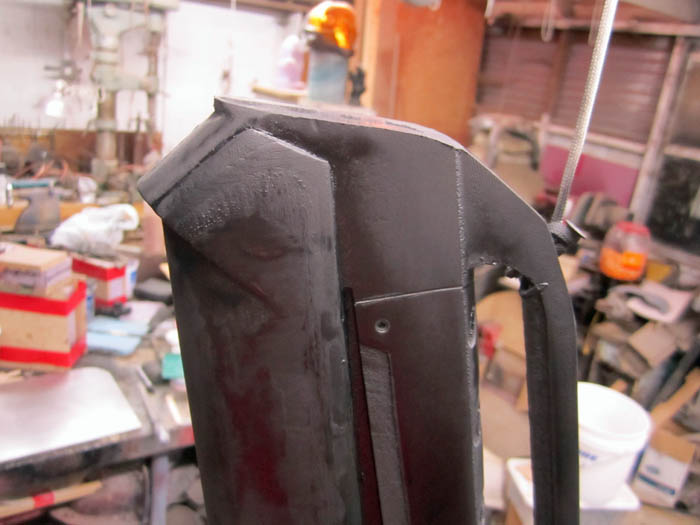
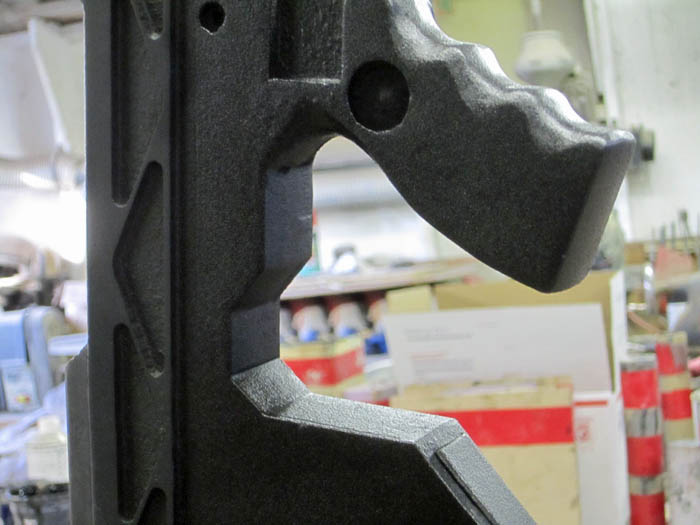
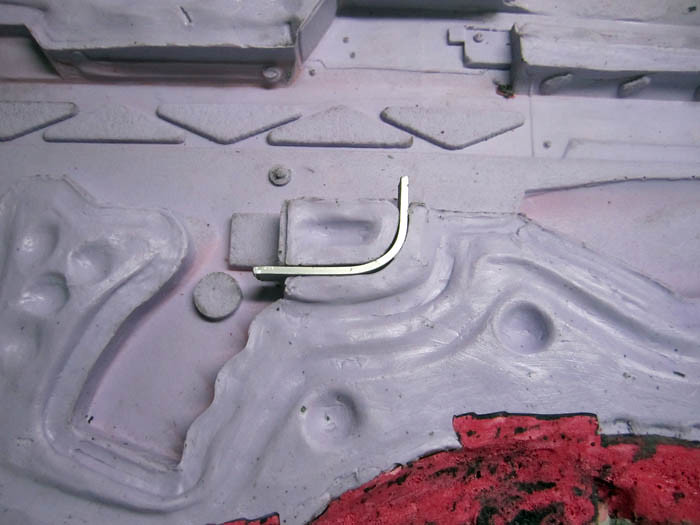
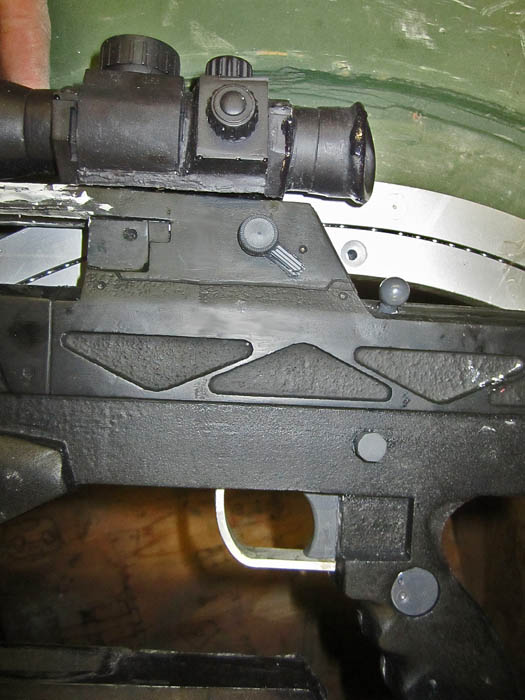
While Lopez did a great job for the most part, I did have to add some material to widen the foregrip, score a few line details, and drill some fastener holes here and there. Here's a closeup shot:
Separately, I built the barrel out of a few pieces of rod and tube stock and a small chunk of MDF:

I didn't glue the forward end on, but I did tack it in place with some two-sided tape for a few pictures:

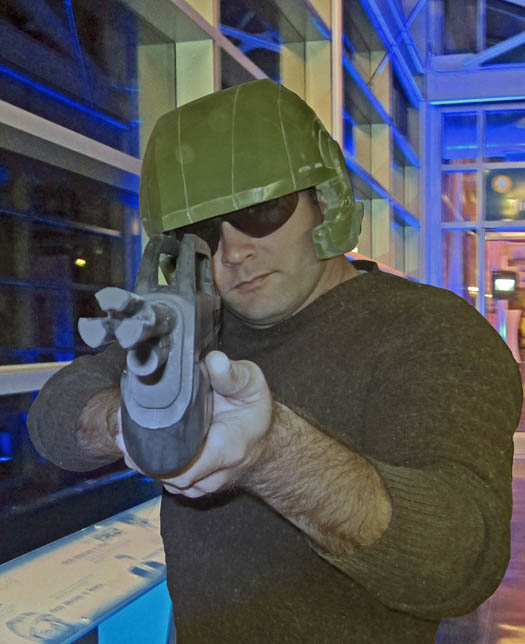
One pic got some photoshop magic (that totally didn't make up for my lacking full costume):
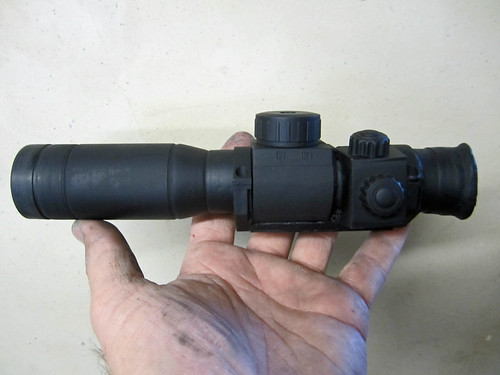
In the above pics, I'd just tacked on a red dot scope that came with a cheap airsoft gun to serve as a placeholder. Here's what the final scope prototype looked like once I'd built it:
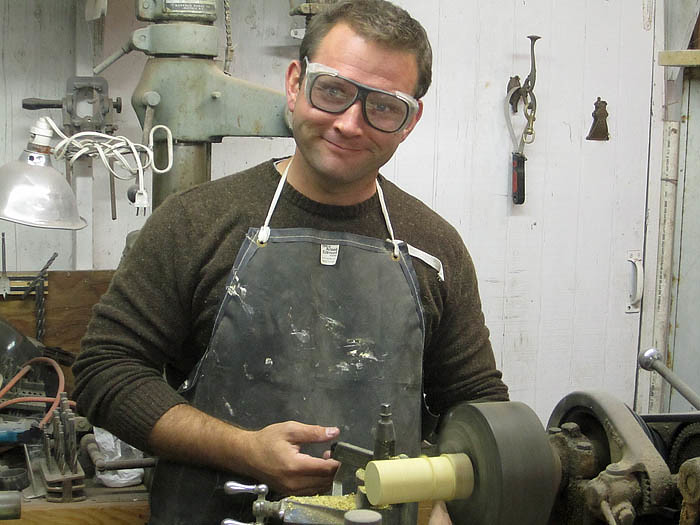
Of course, that's not nearly as cool as the winning shop teacher style I adopted while building it:
With the scope built, the last step was to spray on some truck bed liner to add texture to the parts of the main body that needed to not be smooth:
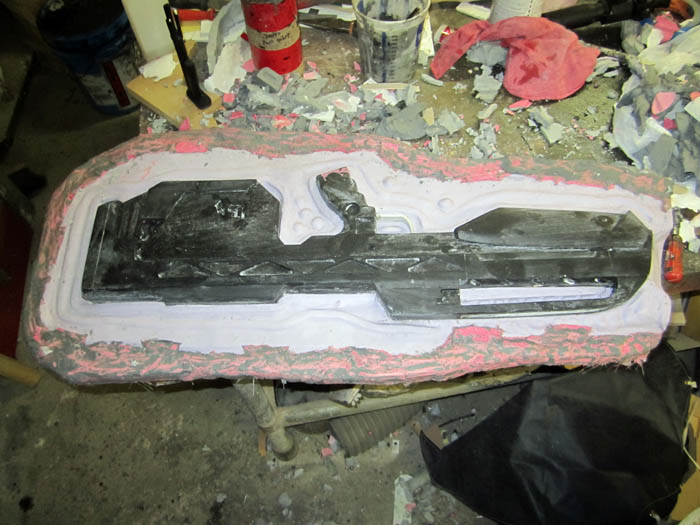
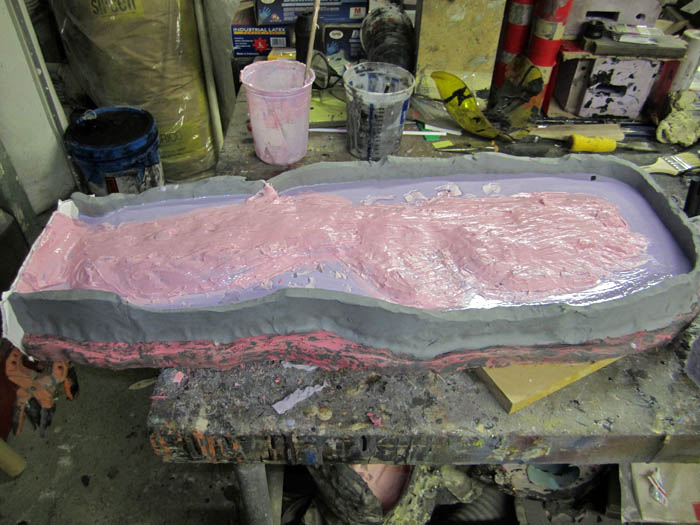
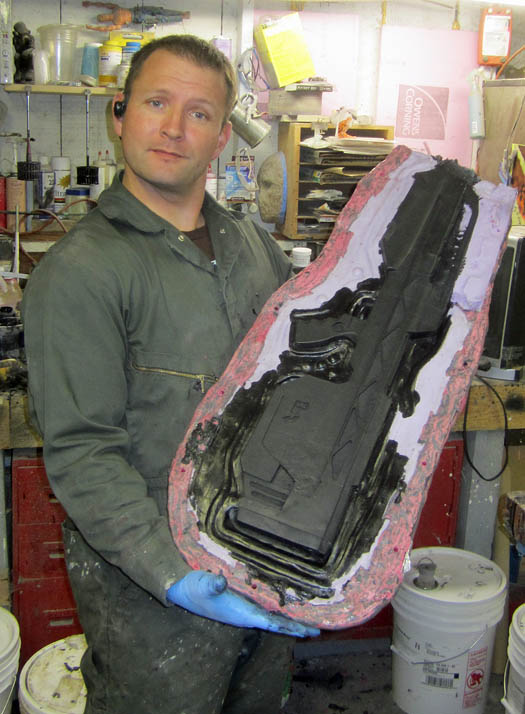
Here's the first half of the mold with the mothermold built up and the clay cleaned off of everything:
After smearing vaseline over the exposed rubber, I built up the second side with its own silicone jacket:
Meanwhile, I'd made block molds for the scope and barrel assemblies and cranked out a few casts:

Once the silicone had cured for the second half of the mold, I made the second half of the mothermold:

The mothermold was made using urethane casting resin and reinforcing it with fiberglass mat. I've spent enough time cutting my hands on the countless little spikes that always seem to pop out when I do this that I've finally learned to smooth the surface using some wax paper.
I dyed the resin red because I just happened to have some red pigment handy and I couldn't resist. Besides, everyone knows that red cars go faster, so maybe red molds will make resin cure faster...
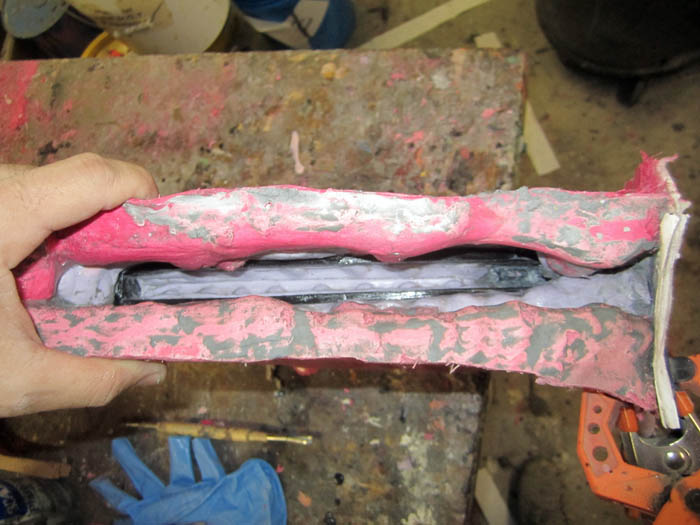
One of the minor challenges for molding this piece was the pair of rails at the forward end of the rifle. Since there's a gap between them, I had to make the mold with a plug to keep them separate. Here's the gap left behind when I'd cleaned the clay out:
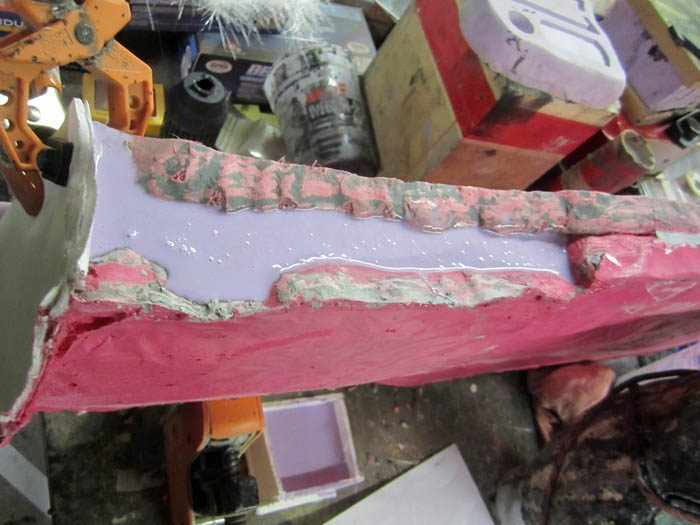
It's not too pretty, but there was a reason for making the edges so bumpy and uneven. I poured more silicone into the gap and all of those bumps will serve to make sure the parts fit together correctly when it's time to pour castings:
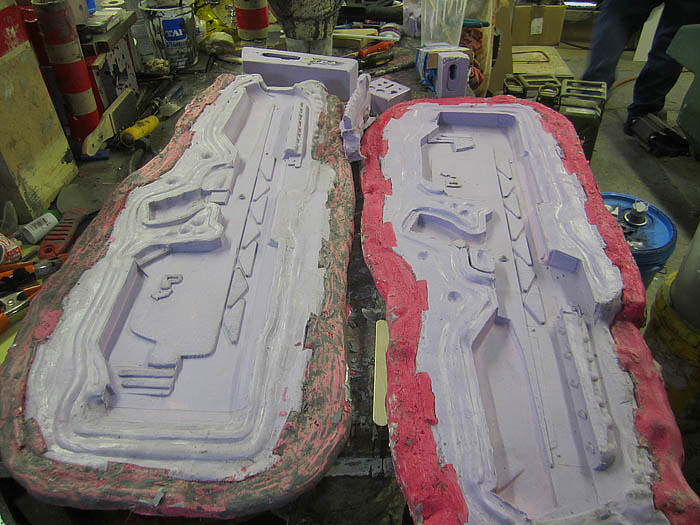
Here's all of the various parts of the molds that I've made to build copies of the rifle:
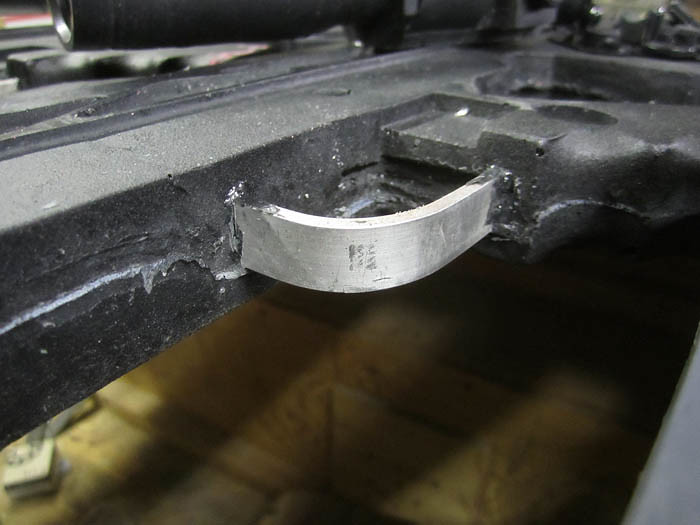
Here you can see the trigger guard in place. I decided to use an aluminum insert since this thin part would be too easy to break if it were cast in resin:
At long last, I'm pleased to present a casting of the BR55HB Battle Rifle, hot outta the mold:
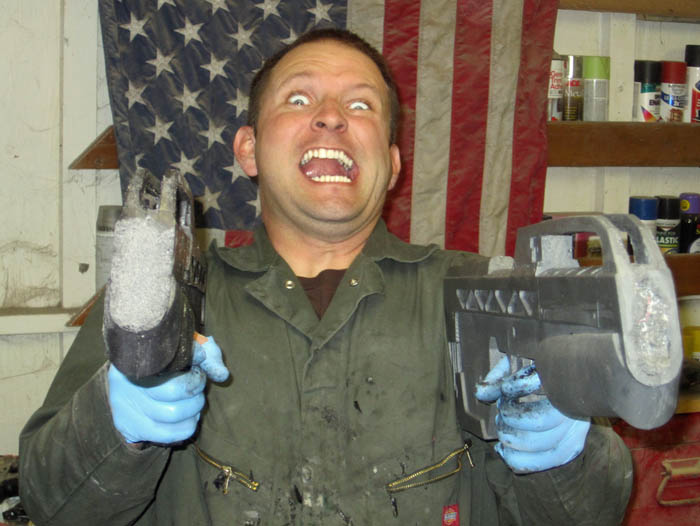
Here's some sort of maniac holding my first two casts:
Detail shot of the trigger guard cast in place:
Here's some of the detail bits added in:
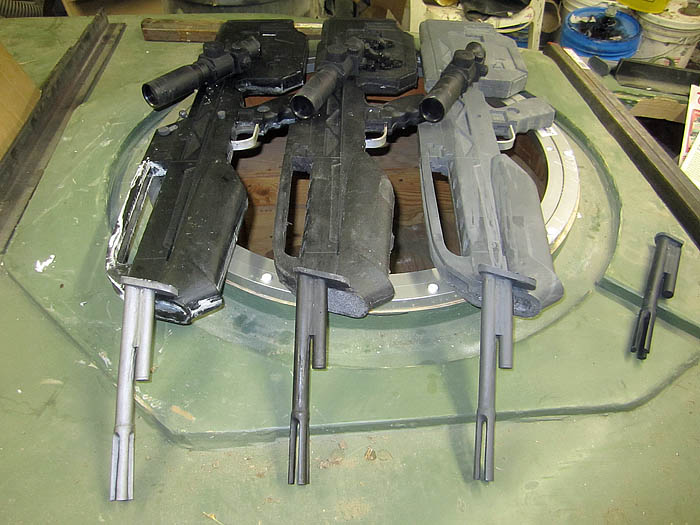
Comparison shot of the prototype and the first two casts:
I rushed through assembling the first cast so I could see what it would look like in black primer. It did not disappoint:

Here's a shot of me holding it for scale:

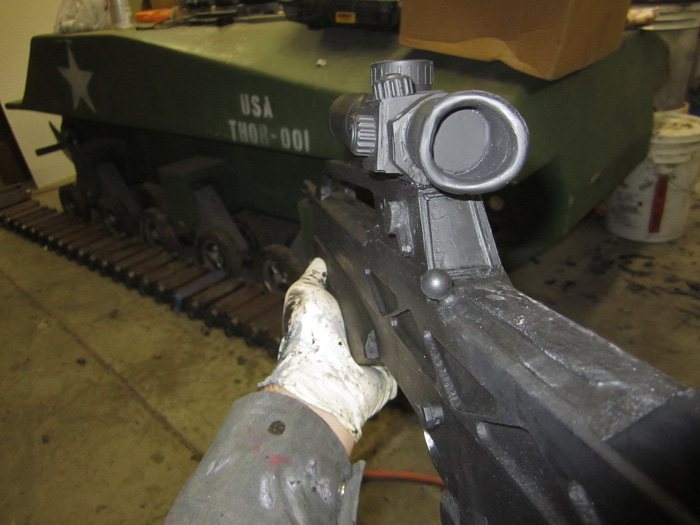
And here's a shot of the "first person shooter" view:
Now it's time to paint this baby up to pop out all of the details so I can take some sexier pictures of it. Stay tuned...
Any chance you will be selling this? Because I’m willing to help you offset your cost on this.
ReplyDeleteIf you're interested in helping me pay for my projects, shoot me an email at sthorsson99@yahoo.com
ReplyDelete