About Me

My photo
I make toys for kids who don't want to grow up. I'm on the lookout for new projects. If you're interested in commissioning me to build something ridiculous, shoot me an email.

Wednesday, December 19, 2018

DEATH SNAILS!

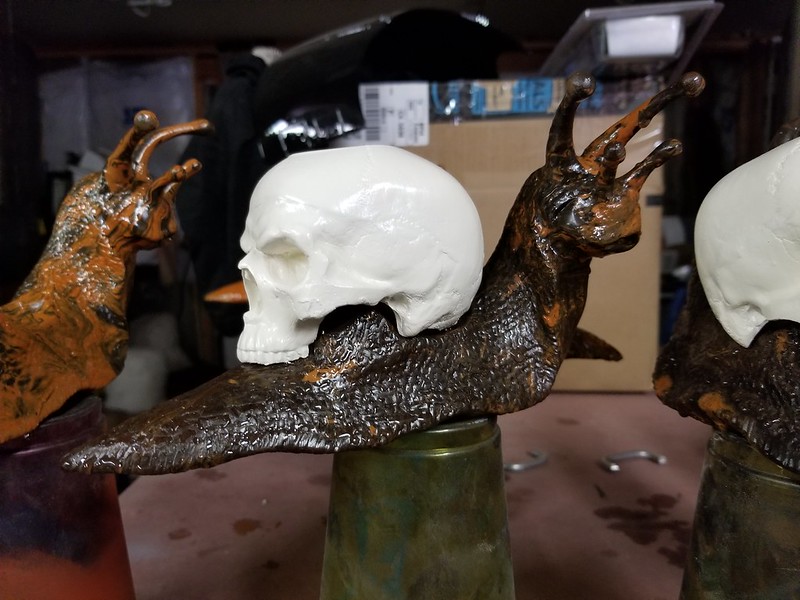
Some time ago I got a wild hair and decided to sculpt a snail with a miniature human skull for a shell.  Why?  Who knows.  That's never been a question I've been good at answering.

Anyhow, here's an early shot of the sculpt in progress:
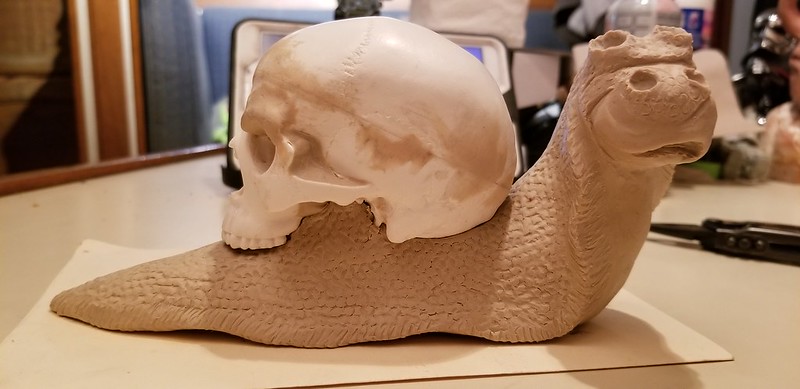
Death Snail in Progress

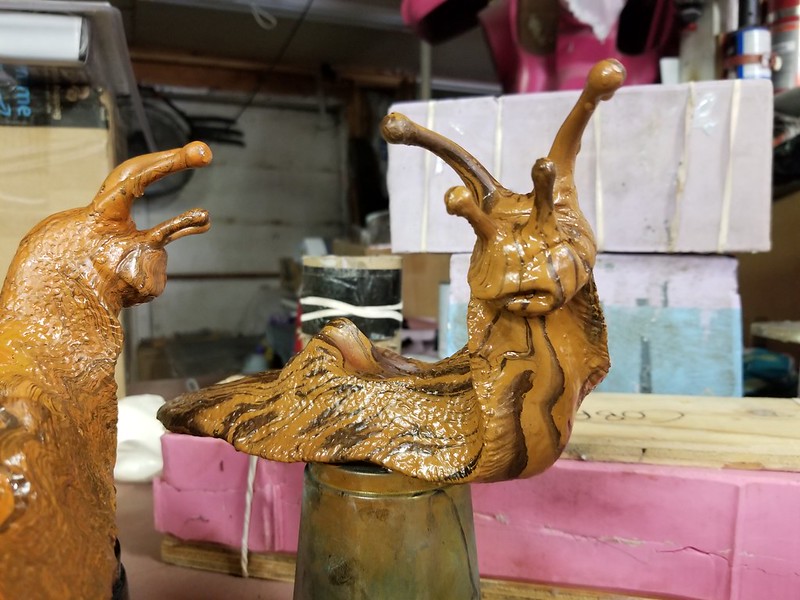
I decided it would be easiest to split these guys into multiple parts to mold.  This gives me a chance to mix and match different shell skulls.  Here's the body without the shell before it was molded:
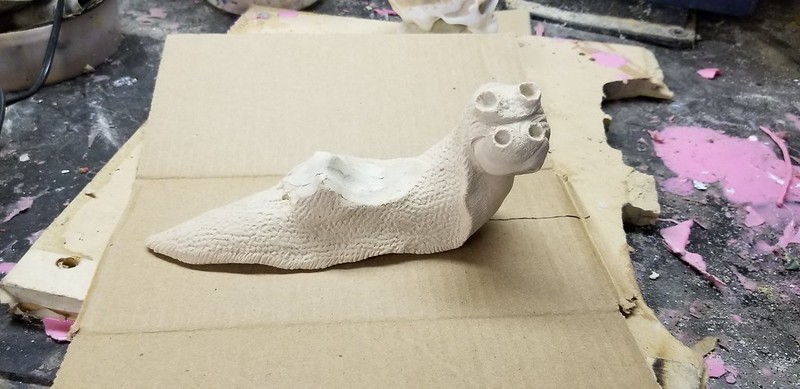
Finished Death Snail Sculpt

The molds for the body and shell were simple box molds:
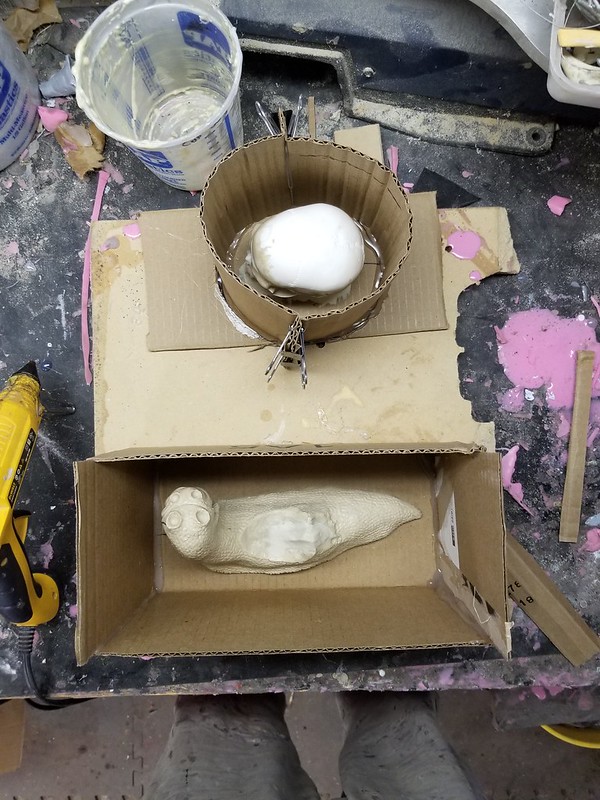
Death Snail Parts Ready to Mold


Once the rubber was cast and working, it was time to start making copies:
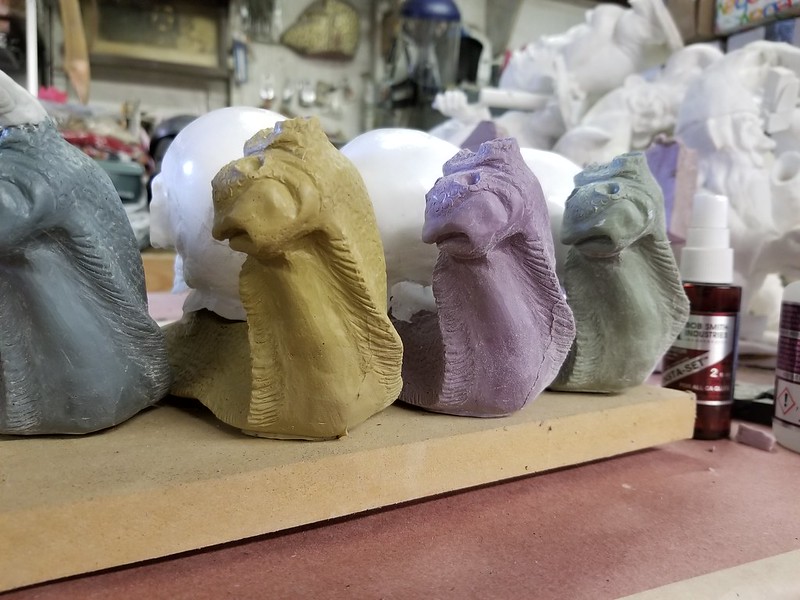
Angry Death Snails

The eye stalks were sculpted separately:
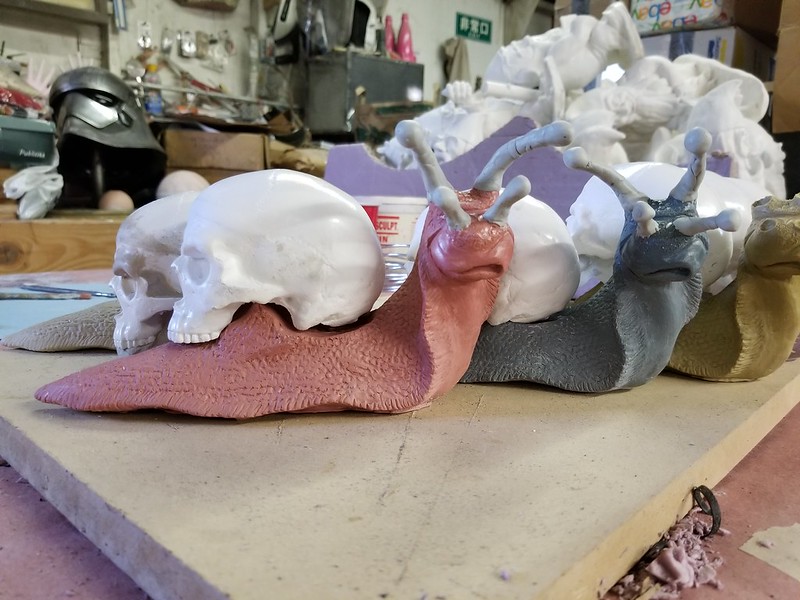
Death Snails

Then I set those up for molding as well:
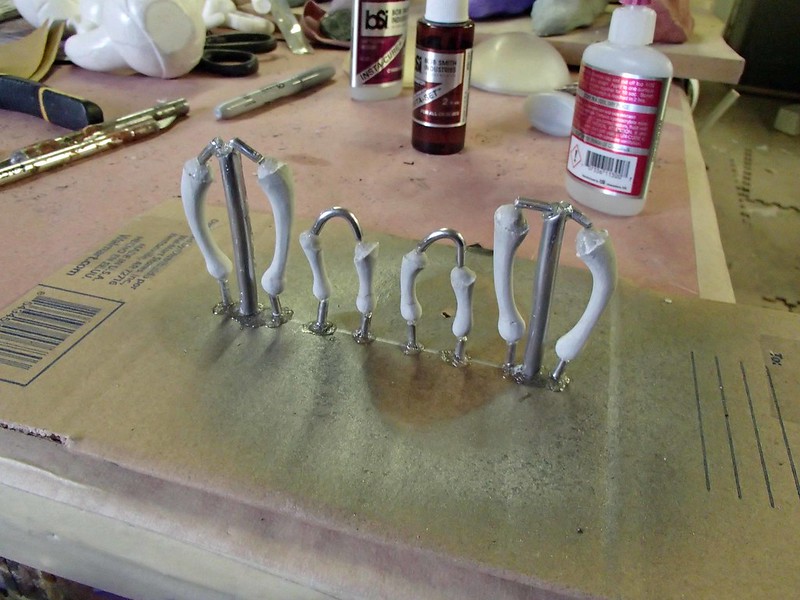
Antenna Stalks with Vents and Sprues

I pull them before the resin is fully cured, so each pair of antennae have a different pose:
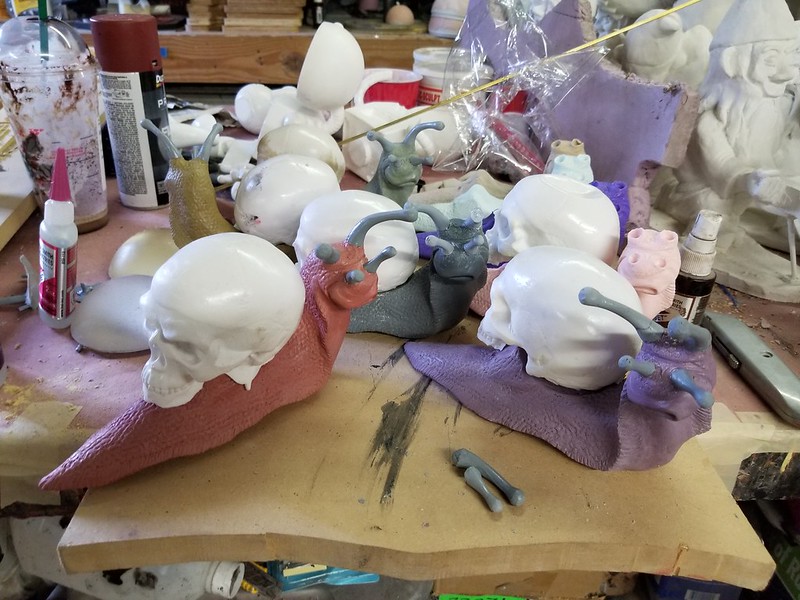
Death Snails Cast

Originally I made one sculpt for the skull/shell:
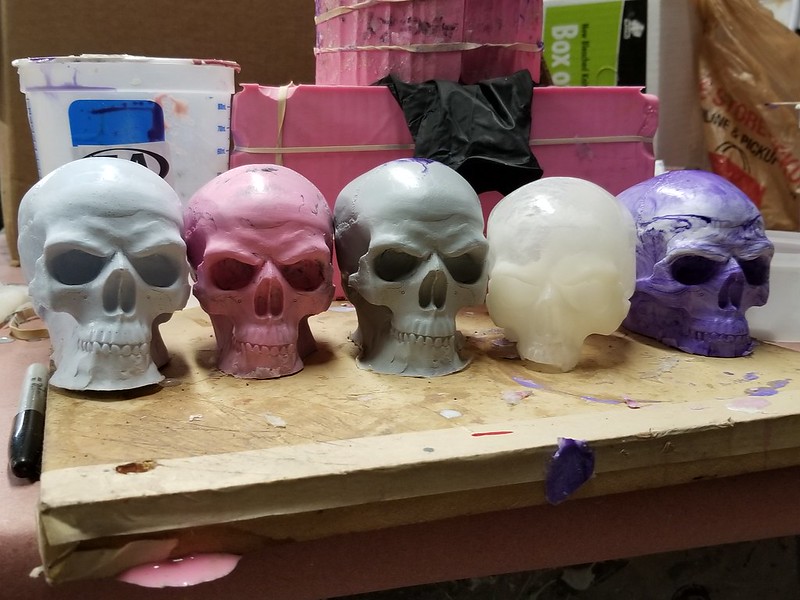
Raw Cast Skulls

The first handful of skulls had to be trimmed by hand to fit onto the snail bodies.  Here they are in primer:
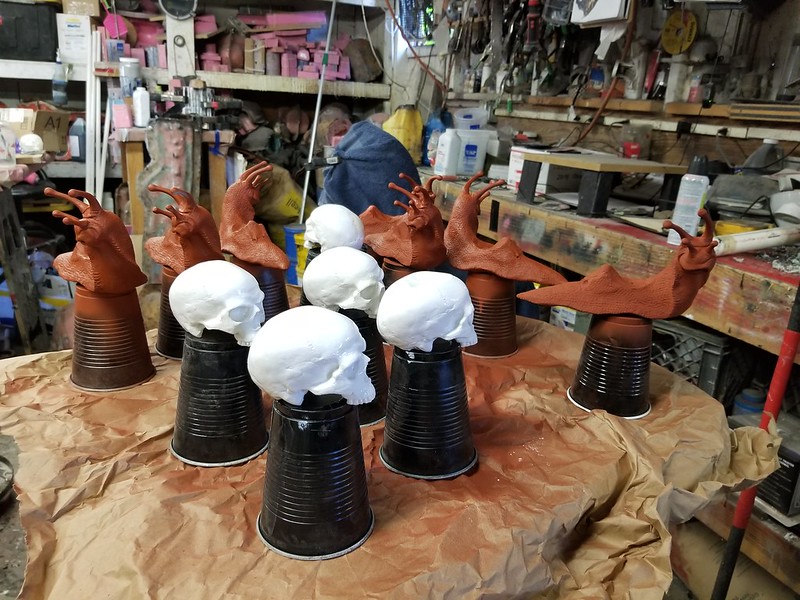
Skulls and Snails

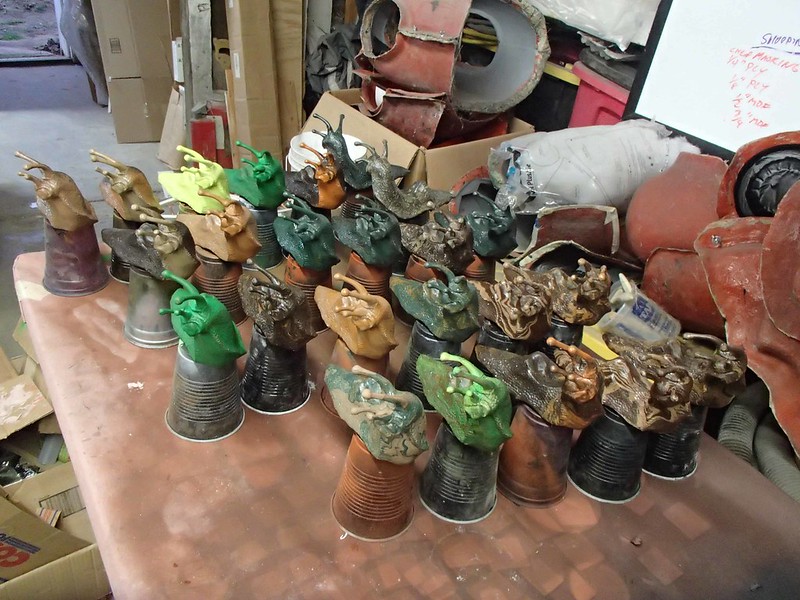
The snail bodies were hydrodipped using a variety of different shades of brown, tan, black, and green in order to give them really great finishes, many of them turned out looking like burl woodgrain:
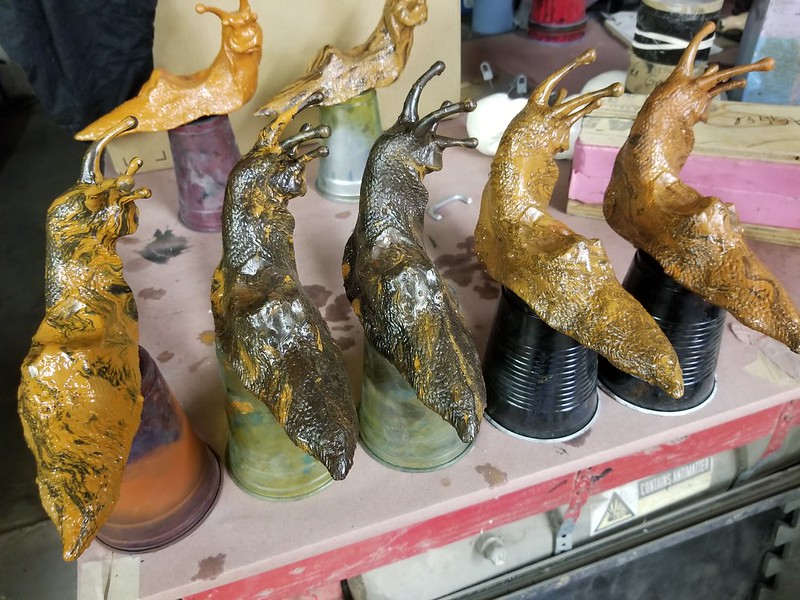
Dipped Snails


Light Dipped Snail

But the main goal was variety:
More Color Variants


20181208_002934

Eventually I got around to re-sculpting the skulls before re-molding them and casting them in a variety of different materials:
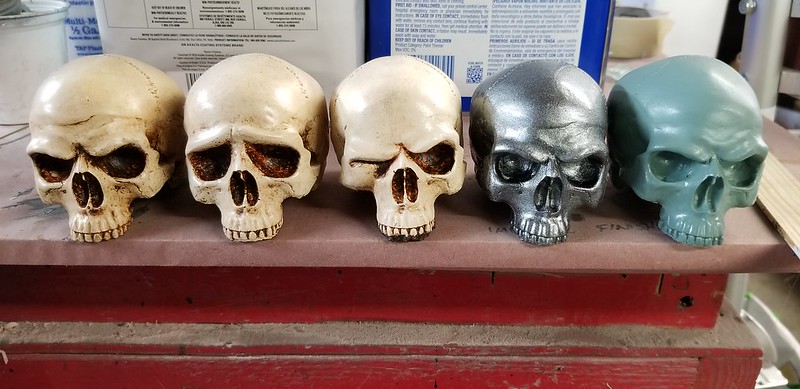
20181219_145727

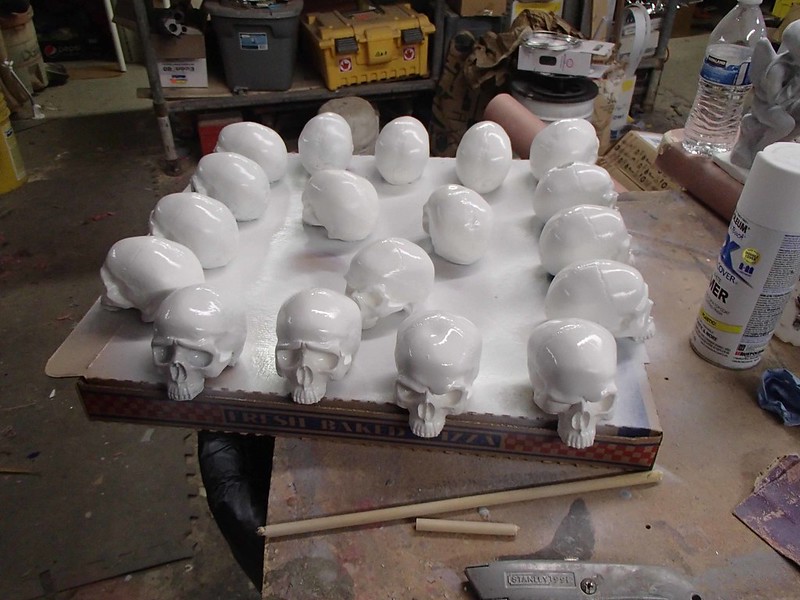
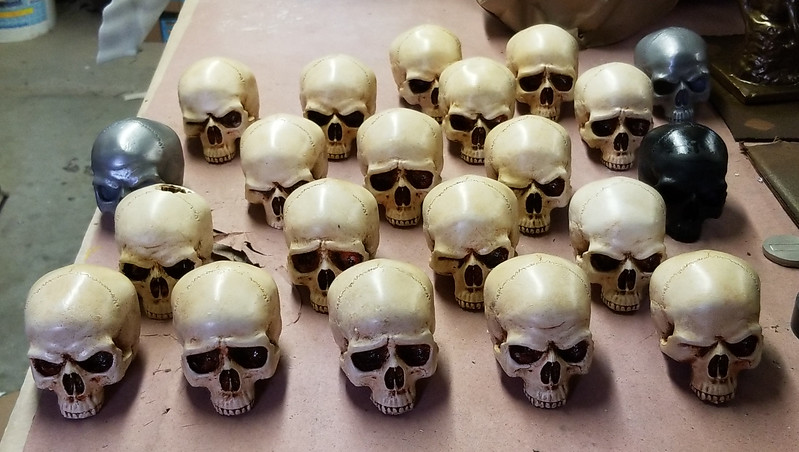
Mostly, they were painted white:
Skulls in Primer

Then weathered:
IMG_20181215_141734

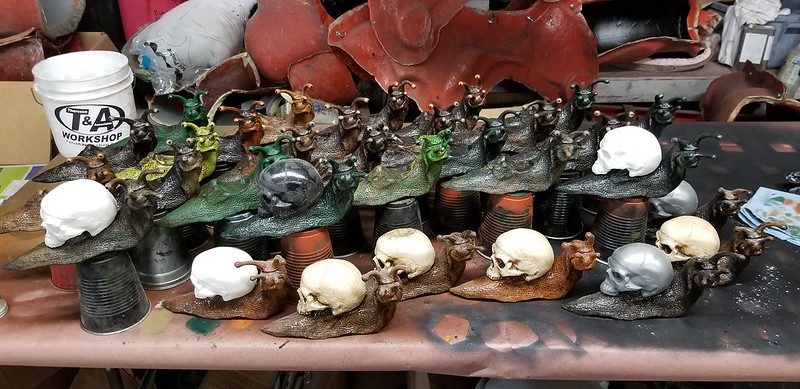
Finally, my Death Snail army was assembled:
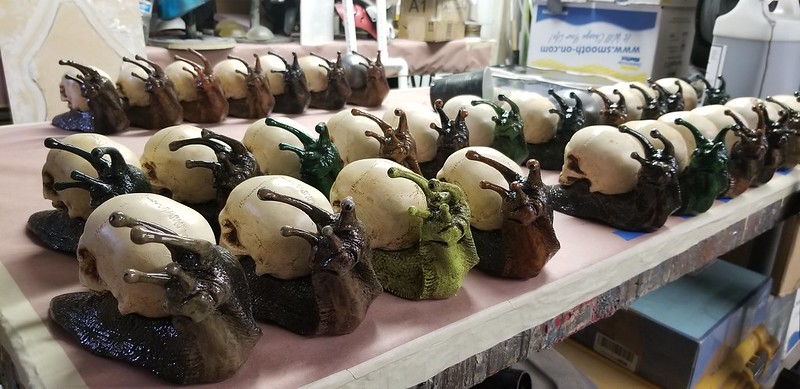
20181219_115840

If you'd like to get your own fleet of Death Snails, I'm listing these guys in my etsy shop at thorssoli.etsy.com.  They sell fairly quick though, so don't hesitate.

Stay tuned for additional updates on this particularly silly project.  One way or another, there will be more:

Death Snail German Helmet Closeup

EDIT: for a limited time, use the discount code "BLOGGER" at checkout for 10% off your entire order.  https://www.etsy.com/shop/thorssoli?coupon=BLOGGER

Monday, November 26, 2018

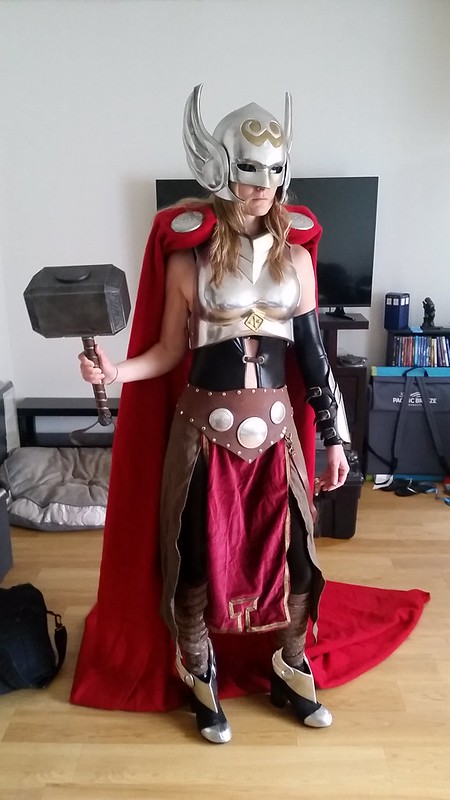
Thor, the Goddess of Thunder Part 6: The Leather Bits

I've previously written about making the Goddess Thor's helmet HERE and HERE, her armor HERE, her hammer HERE, and the fabric parts of her costume HERE.

Now it's time to talk about her belt.  Depending on which render of her you find, her belt changes quite a bit from one image to the next.  I suppose some folks might get frustrated by the lack of standardization, but for me this is just a bit of license to be creative and do what I want.

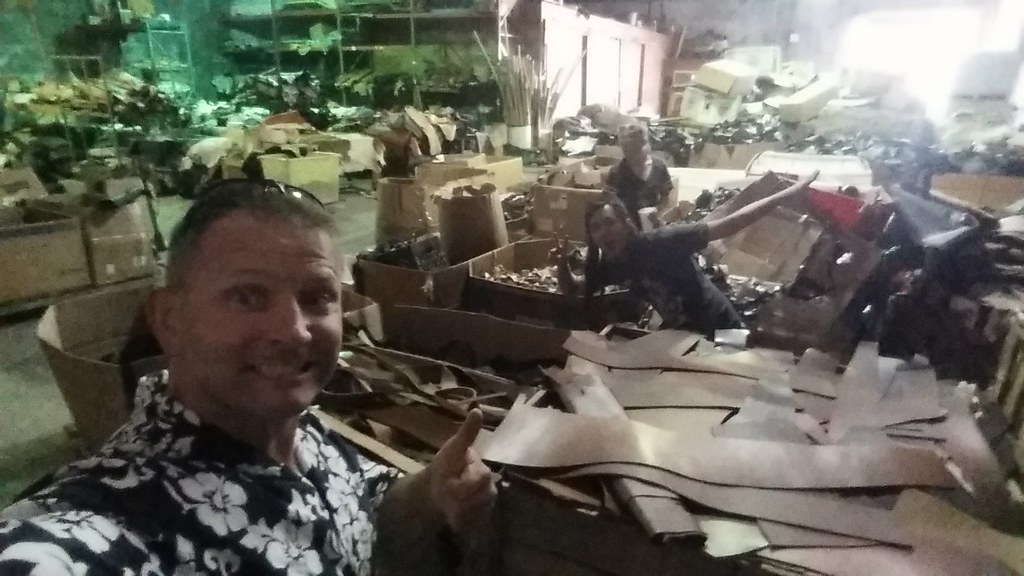
In any case, the first thing I'd have to do is head out to one of my favorite places to get leather: the Tannery:
Leather Shopping

This is the warehouse at Barta Hide in Petaluma where you can buy off-cuts and scrap leather by the pound or you can get full hides in a variety of colors and thicknesses.  If you can get over the smell, it's awesome.  Pro tip: go on a day when the temperature and humidity are a bit lower.  Your olfactory nerves will thank you.

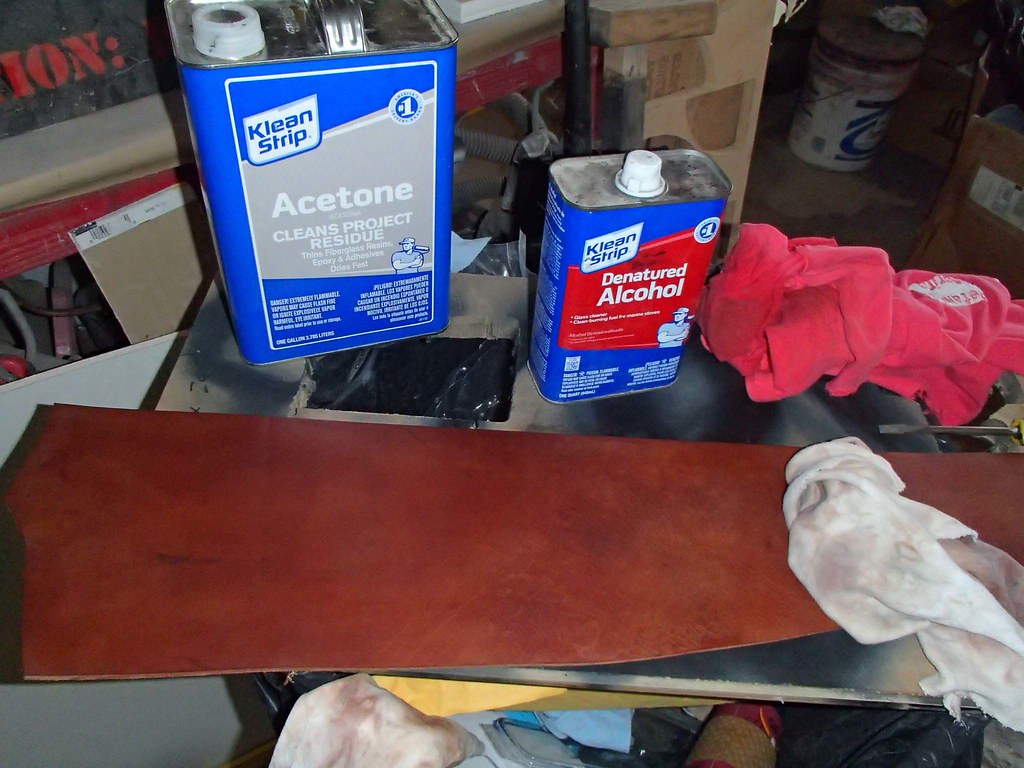
After picking up a few large, thick pieces of leather that I was happy with, the next step was to remove the existing finish.  For this, I soaked the surface with denatured alcohol, then scrubbed with a rag.  For some of the more tenacious spots, I used acetone:
Stripping Finish off of Leather

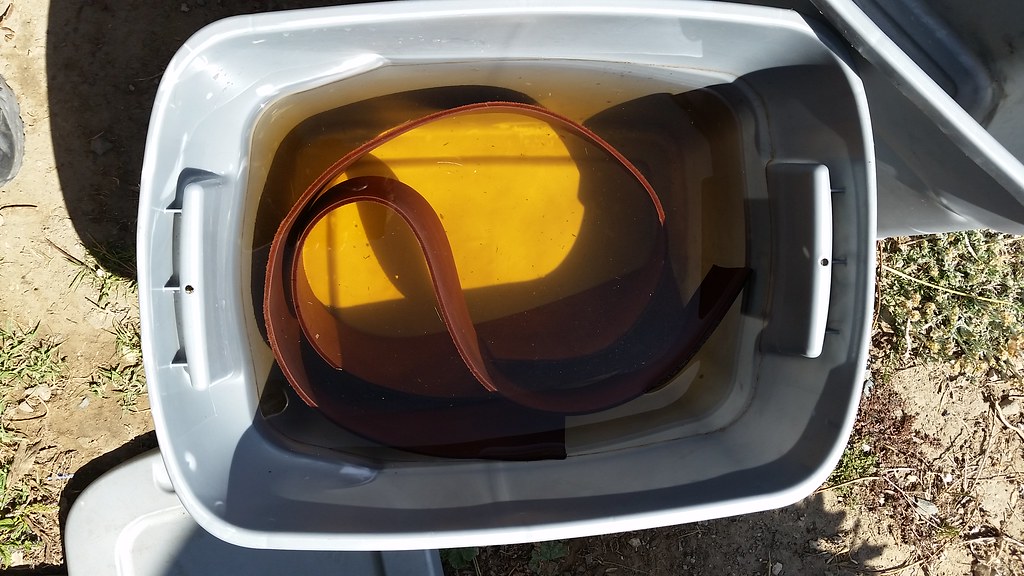
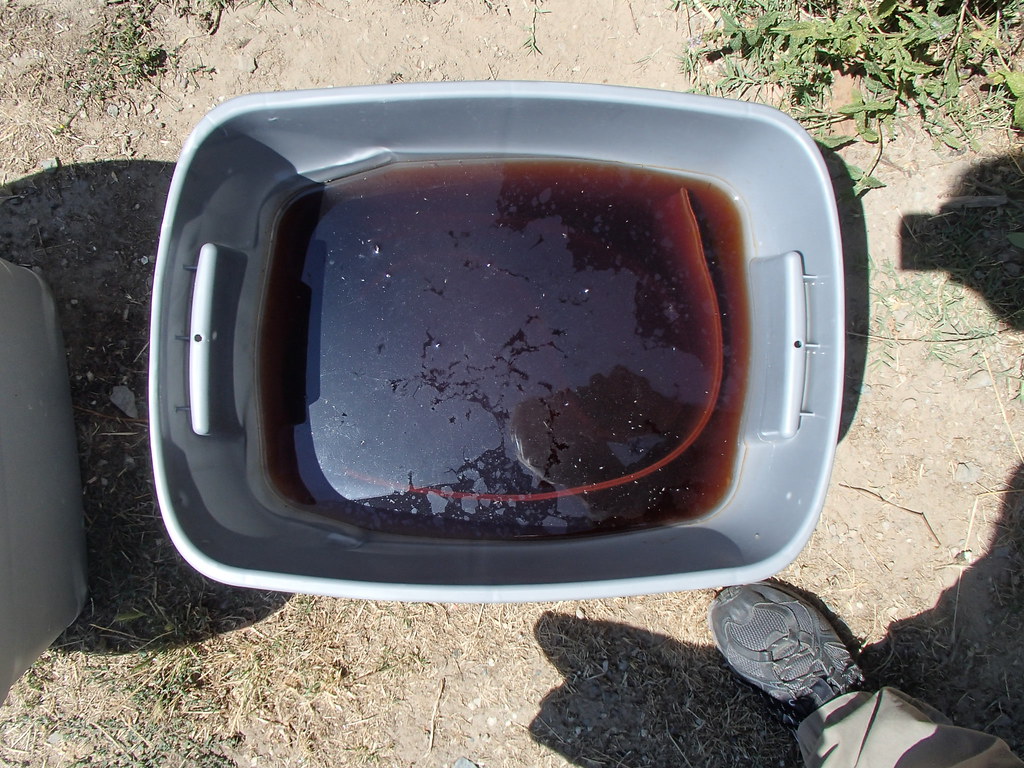
After the surface was stripped, the leather was "cased."  This basically means I soaked it in water for a couple of nights.  Here it is after just a couple of hours when the remaining dye started leeching out of the leather:
Soaked Leather Scraps

After leaving it overnight, it looked like so:
Soaked Leather

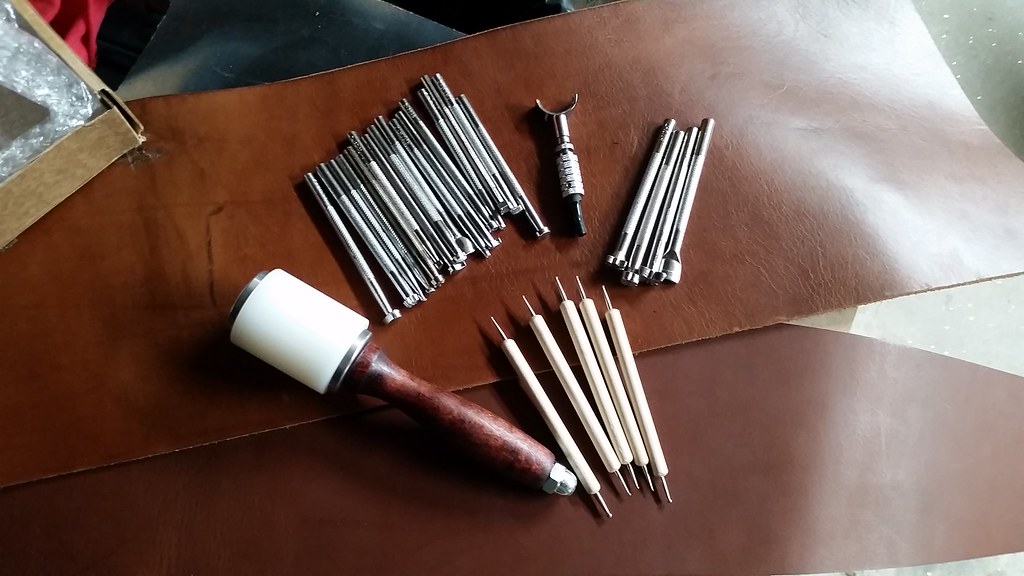
I also picked up a basic set of leather carving tools:
Leather Tooling...tools.
I got the whole set here: LINK.

The next step was to learn how to use them.

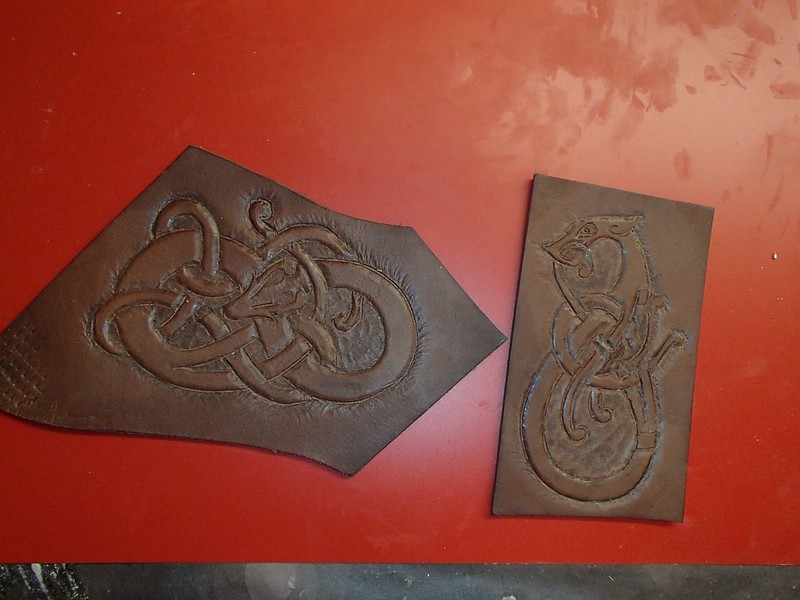
The process begins with a design copied onto tracing paper.  Then you use a stylus to transfer an impression of the design onto the leather.  With that done, you use a swivel knife to cut the lines of the design partway into the leather.

The next step is to use the tools and mallet to dent the surface of the leather wherever you want ot darken it by adding recesses.

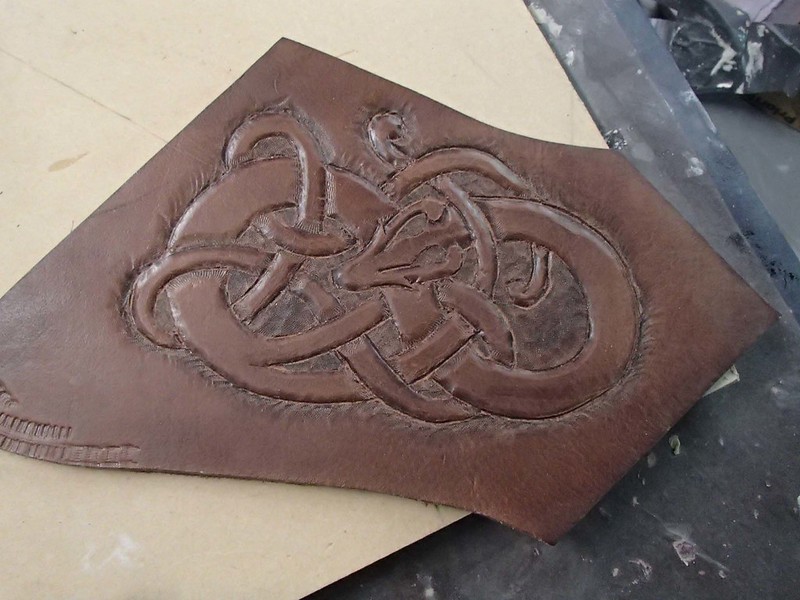
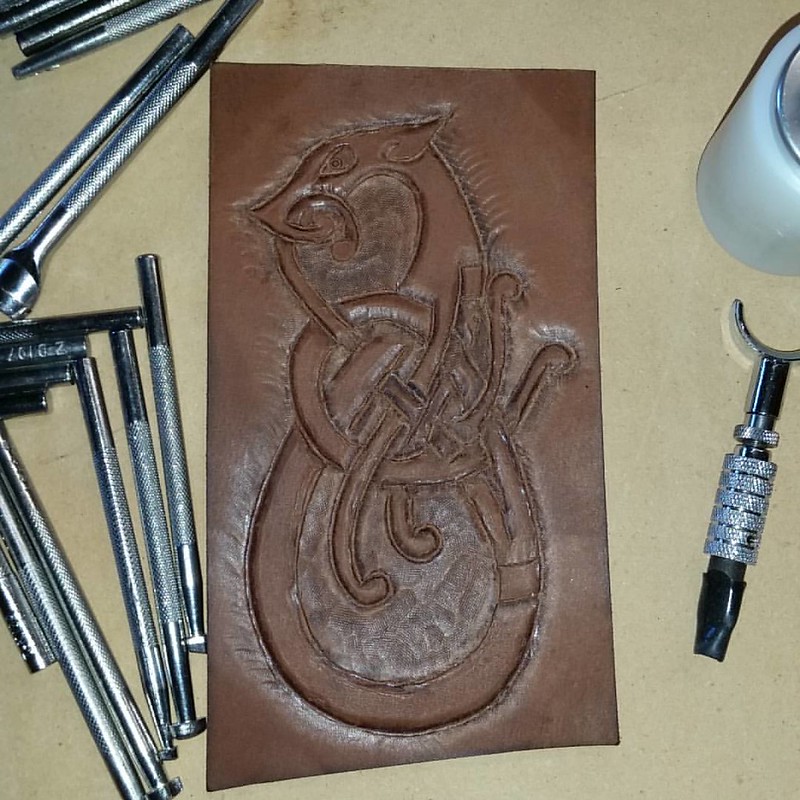
There's a lot more to this, but I'm only just learning at this point.  Here's how my first attempt came out on a scrap of leather:

First Attempt at Leather Carving

And here's my second attempt
My second attempt at tooling leather.

Not terrible for a beginner I suppose:
First Two Carved Leather Attempts

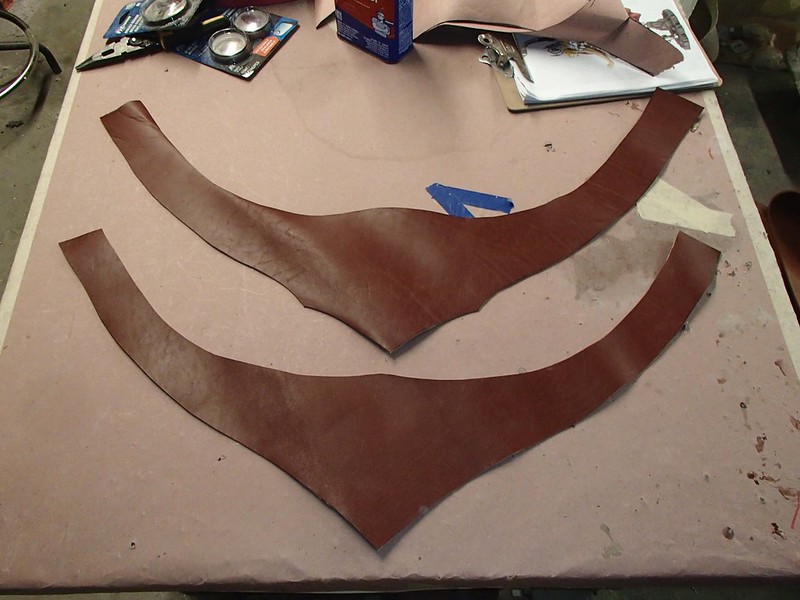
Having learned the very basics of leather tooling, I figured I could go ahead and make the Thor belt.  I started by cutting out two different versions:
Belt Blanks

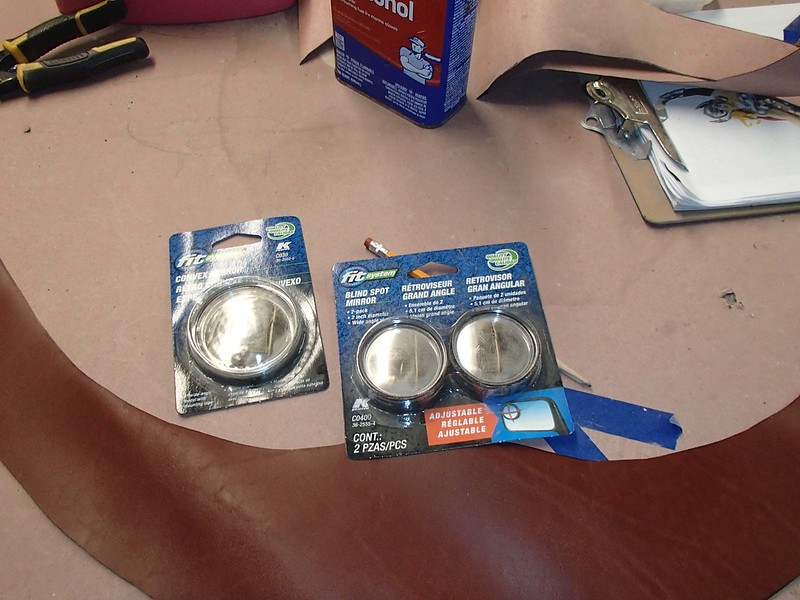
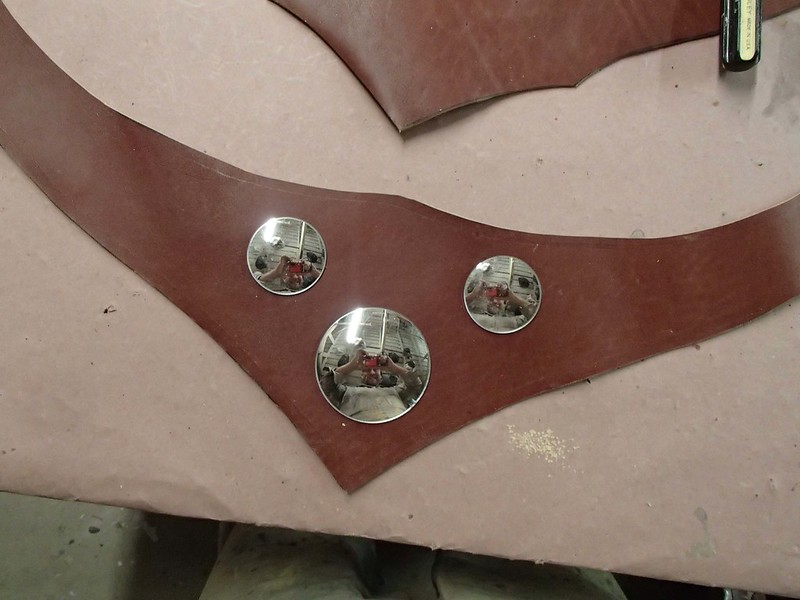
Then I got myself sidetracked thinking of the shiny metallic discs that are mounted on the belts.  I decided that I could get away with some of these little blind spot mirror domes from the local auto parts store:
Mirrors for Belt

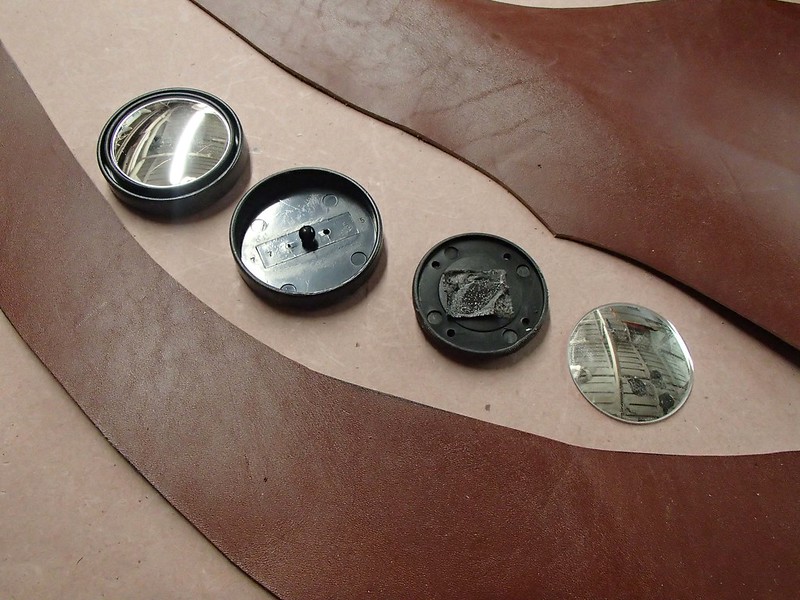
With the mount and frame removed, they're just about perfect:
Disassembled Mirror

They also come in different sizes:
Blank Belt with Mirrors

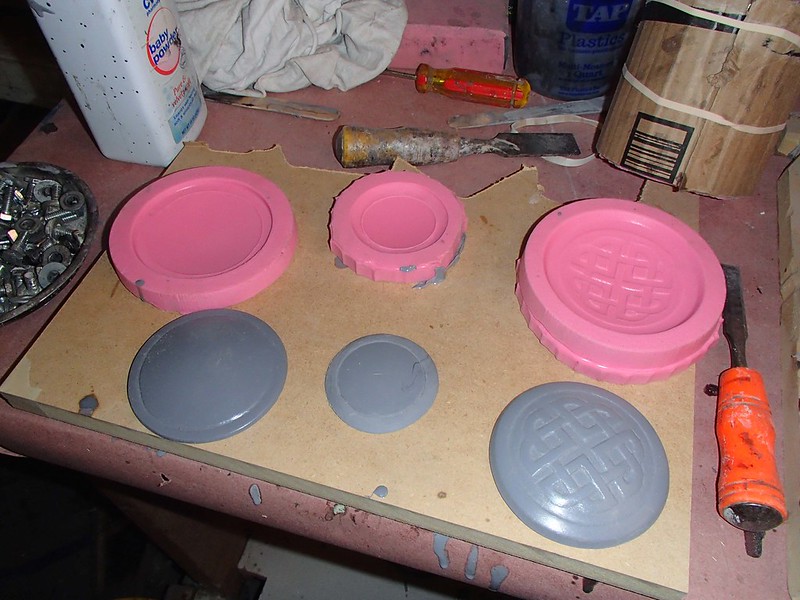
But since I wanted a lip around the edges, I went ahead and sculpted a clay surround, pulled a quick mold, and cast copies in resin:
First Round of Cast Discs

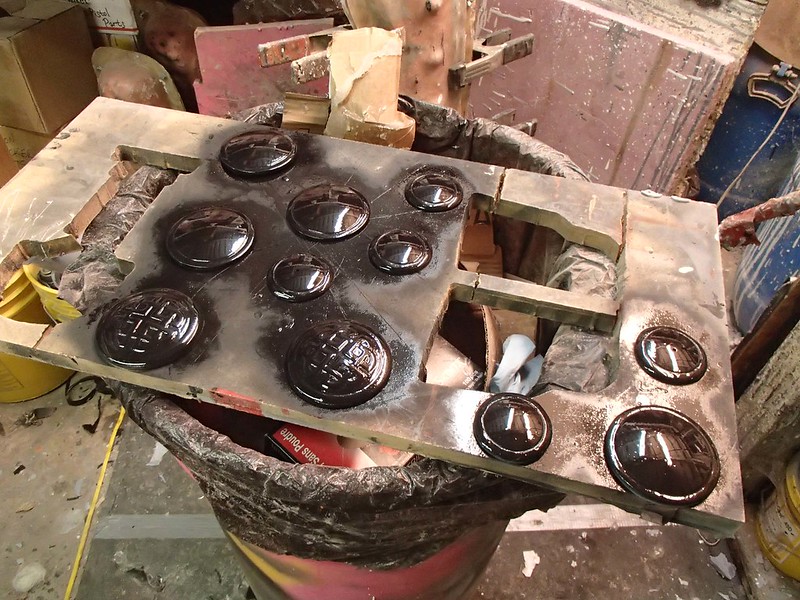
These were given a solid black basecoat before I chromed them:
Discs and Studs

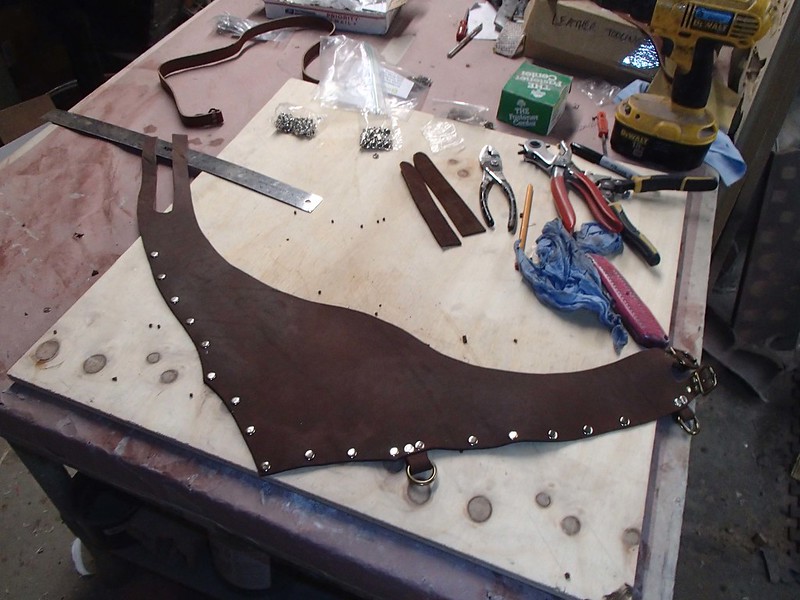
getting back to work on the belt, I stripped off the finish and added all of the rivet details around the edges:
Belt Rivets Begin

Then I riveted on the strap that hangs off of the hip:
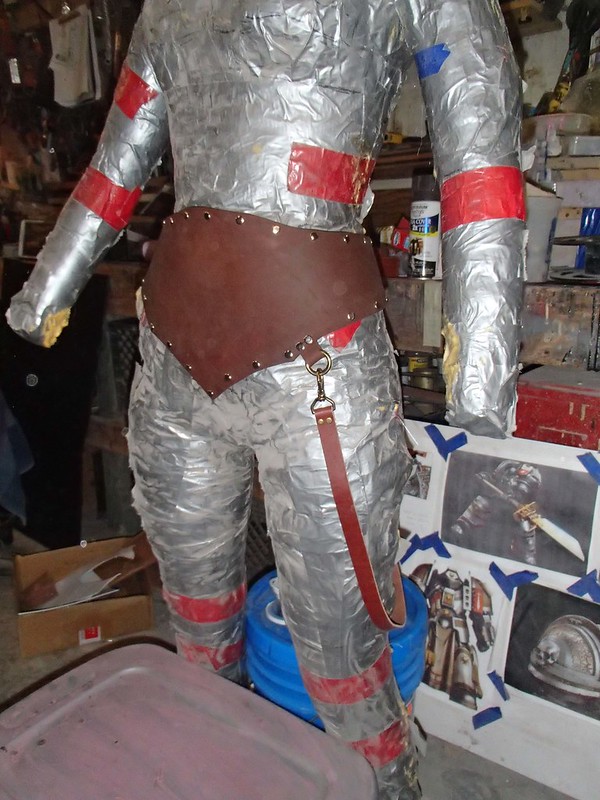
Belt Assembled

Since time was running out before her convention debut, I didn't get a chance t carve any detailed pattern into the belt itself.  That'll have to wait for some later luxury free time.  For now, she looks the part:
Test Fit 2

Stay tuned for the final product and better photos.

Friday, November 23, 2018

November 2018 UFO Sightings in the Workshop

I hate to say it, but it's becoming somewhat standard by now.  I've fallen behind on bloggage again and until I get a chance to do a few proper photo shoots to better showcase some of my finished projects, I'm hesitant to write the project blog entries about them.

So once again, the best I can manage is another series of photos of UnFinished Objects from around the workshop.  Here's just a few of the things we've been working on...


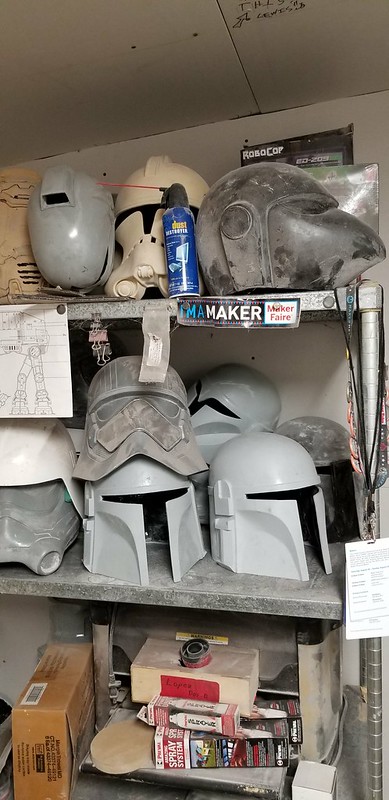
First up, there's this growing stack of helmets in progress in the noisy, dusty room where my belt sander and Carvewright CNC machines live:
Helmet Stack in Progress

Then there's a whole series of "Death Snails" I've been working on.  Some of them are almost done being painted, but here's how they look right now:

Dark Dipped Snail

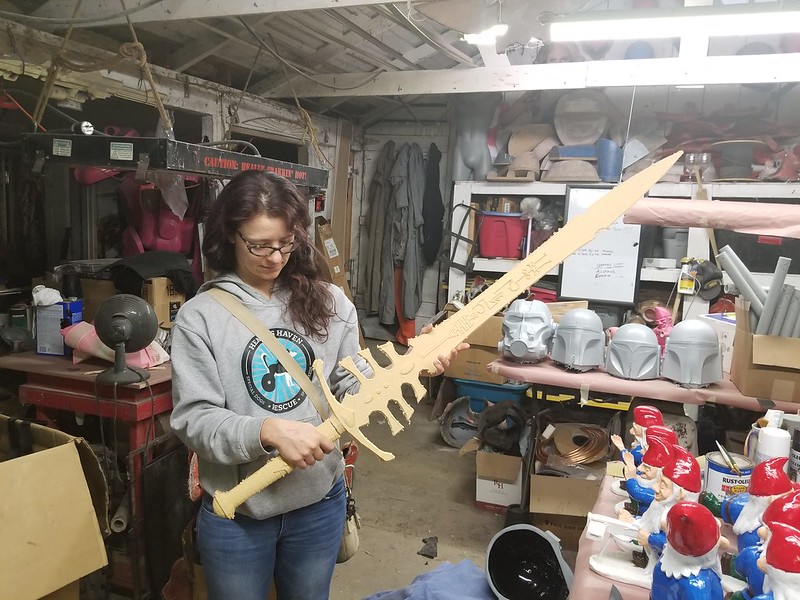
I've decided to start adding a few more simple Warhammer 40k builds to my to-do list, so here's the beginnings of an Eldar Warlock project:
Eldar Longsword

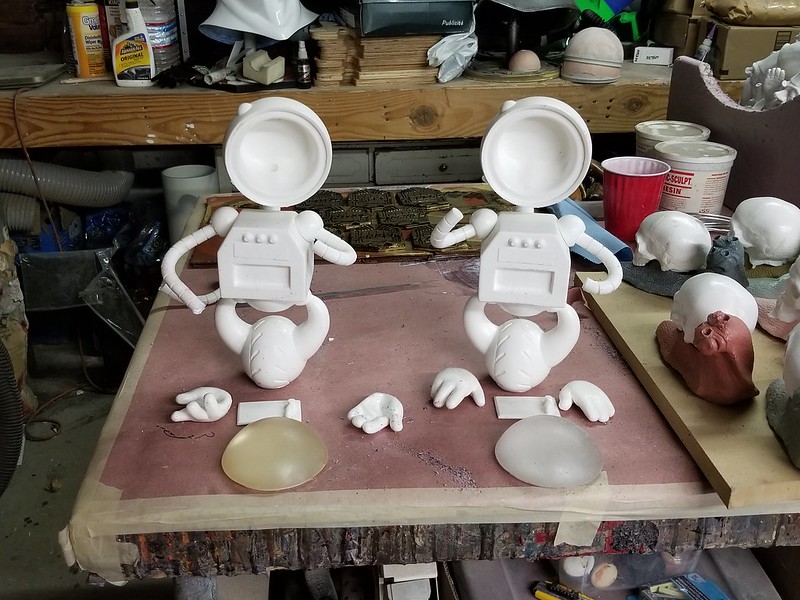
The folks at Fundemonium have asked me to make a few more copies of their "Funbot" maquette.  They're coming together:
Funbot Maquettes

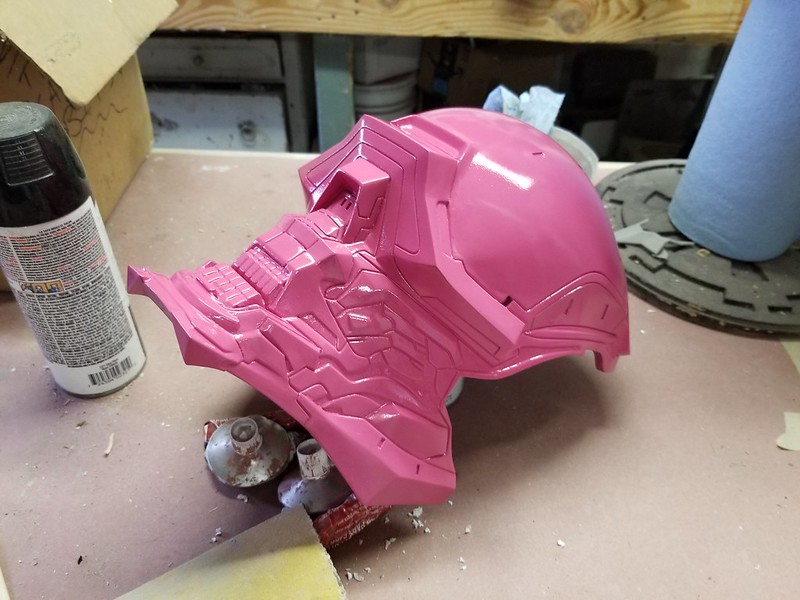
I've also got a few new helmets in the makings that just need to be molded.  Here's the Range Trooper from Solo:

Shiny and Ready to Mold

And once in a while I still find time to tinker with the War Machine Build.  Here's the chest and back piece as it stands right now:

Filing Chest Details

There's also the Locus build:

20180824_145107

That's going to be pretty cool.

Stay tuned for more updates.  I'm hoping to have quite a bit to brag about soon.


Wednesday, November 21, 2018

Cobra Baroness Costume Part 1: the Rushed Build

Growing up in rural Northern California, there were long portions of my childhood where we had either no television or just whatever local stations we could pick up with the rabbit ear antennae.  Fortunately, somewhere on one of those stations I was able to watch the old GI Joe cartoons.

In hindsight, grown-up me has no trouble thinking of each episode as a 30-minute toy commercial.  But that didn't stop 9-year-old me from having one heck of a crush on this lady:


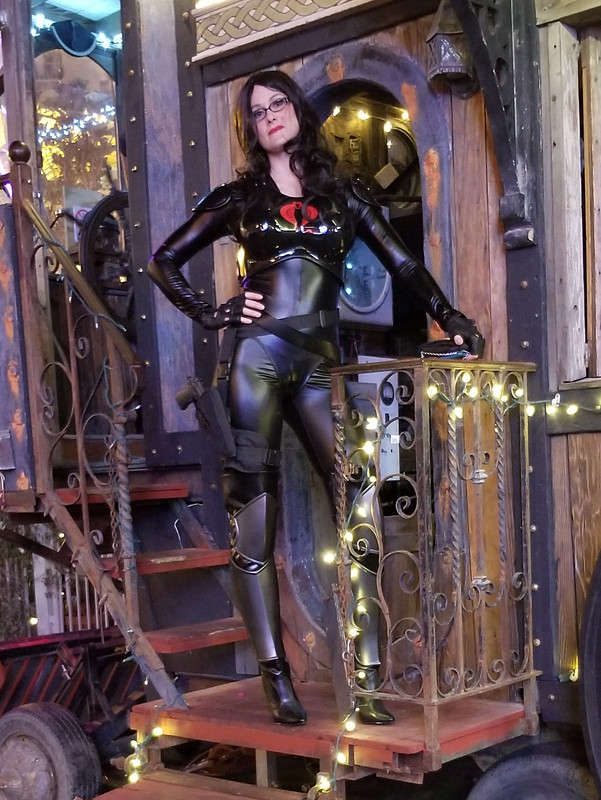
This is the Baroness, aka Anastasia Cisarovna, the intelligence officer for Cobra, an evil terrorist organization, determined to rule the world.  She was one of Cobra Commander's top lieutenants, responsible for all kinds of espionage operations.  But more importantly, her long black hair, black-rimmed glasses, skin-tight black leather outfit, and over-the-top Eastern European accent meant that this ruthless femme fatale was largely responsible for a whole generation of fetishes and fantasies.

Fast forward a couple or three decades and my friend Rachel mentions that she's thinking of dressing up as this character for Halloween.  Since I'd been meaning to make this outfit for the Lady Shawnon for quite some time, this was all it took for me to embark on a rushed build of all of the armor parts, pick up some airsoft weapons and skin-tight catsuits, and churn out two copies of this costume in a hurry.

Here's the nearly finished result:

20181027_230409

To see how the parts were made, read on...

Tuesday, September 4, 2018

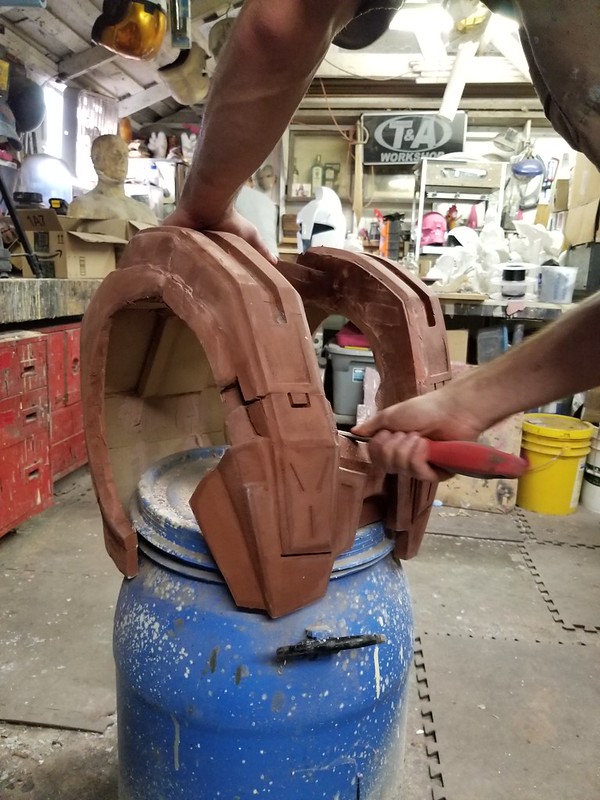
Ironman Costume Sidetrack: the Godkiller Helmet

A while back, I made a pretty decent MkIII Ironman costume.  In the midst of a series of distractions and various commissioned projects, it took just a shade over ten months to build the whole thing.

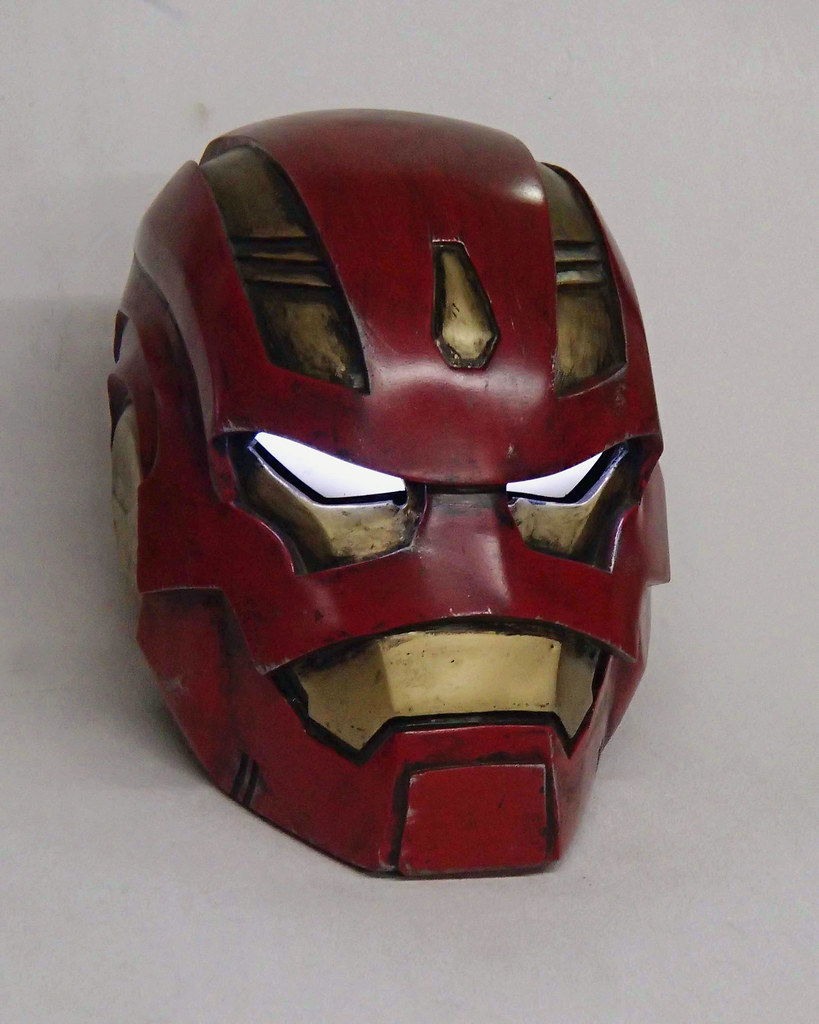
Among the many distractions was this particular helmet:

You'll see this photo again.

It's the helmet for the Space Armor MkIII which Tony Stark uses throughout the "Godkiller" story arc in the comics.  I'm not sure what prompted me to make this particular helmet, but once the idea was stuck in my head I couldn't shake it until the thing was made.  I'm sure it'll turn out to be some sort of brain tumor...

Anyhow, for more photos and some details about how it was made, read on.