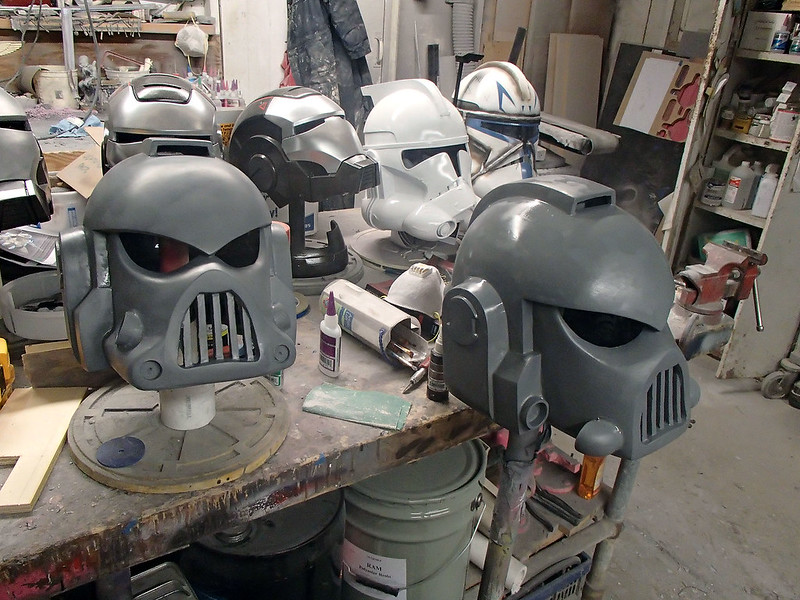
A while back I wrote a post detailing the construction of a handful of Death Watch helmets from the Clone Wars animated series. You can read it here:
Part1: the Death Watch Helmets
Part 2: the Night Owl Helmets
While the helmets might look kinda cool just sitting on a shelf somewhere, they're a far cry from being a complete costume. So it was time to make some armor.
Here's a blurry pic of one of the finished suits:
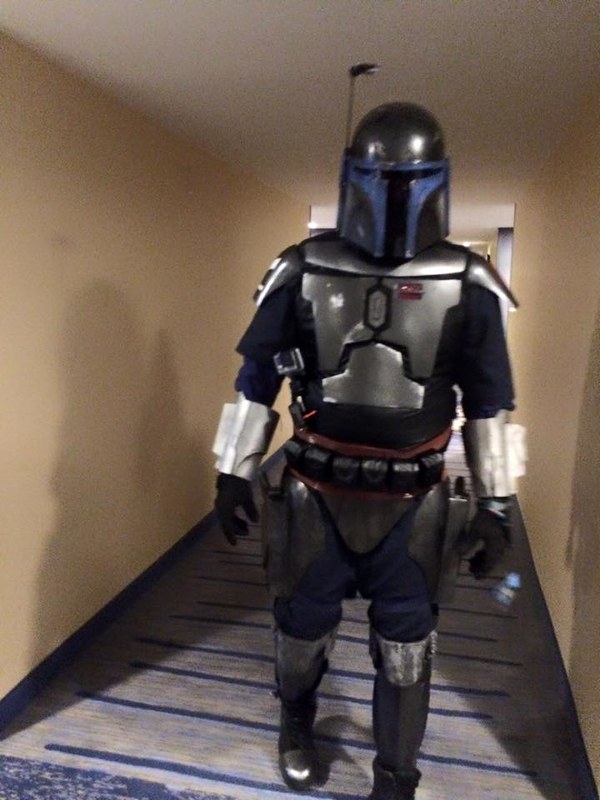
For more photos and details about how the armor plates were made, read on...
The tireless tinkerings, rampant ramblings and odd observations of Shawn Thorsson, eponymous founder of Thorsson & Associates Workshop.
About Me
- THORSSOLI
- I make toys for kids who don't want to grow up. I'm on the lookout for new projects. If you're interested in commissioning me to build something ridiculous, shoot me an email.
Sunday, May 31, 2015
Friday, May 29, 2015
Making a Phase II ARC Trooper from a Skygunbro Clone Trooper Kit
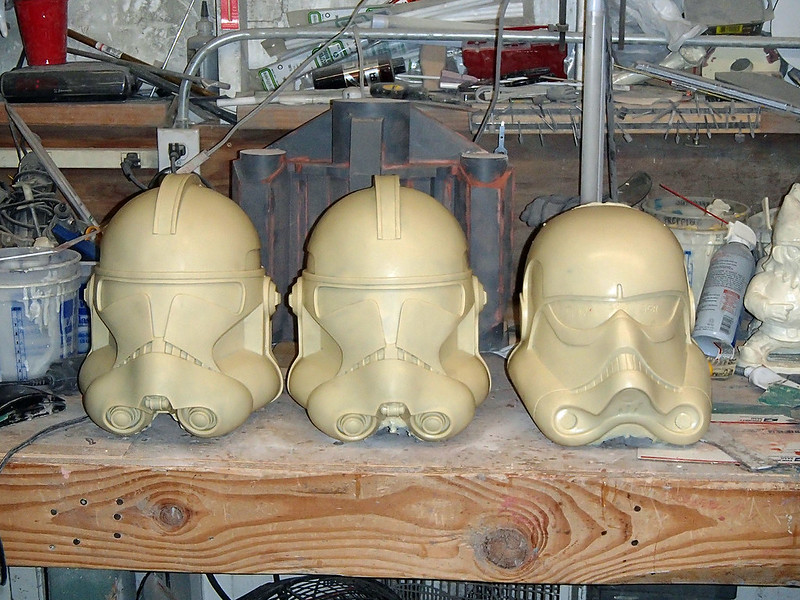
A while back I picked up a few kits from Skygunbro's Custom Creature Shop. Here's what they looked like when they showed up:
I've already explained how I converted one of them into a "realistic" movie-style version of Captain Rex's helmet from the Clone Wars animated series. You can read about that little project here: LINK
Since I was on a roll with Star Wars stuff and I needed something frivolous to distract me from my actual paid projects with fast-approaching deadlines, I went ahead and converted the next one into a Phase II ARC (Advanced Recon Commando) Trooper helmet.
Here's the finished result:
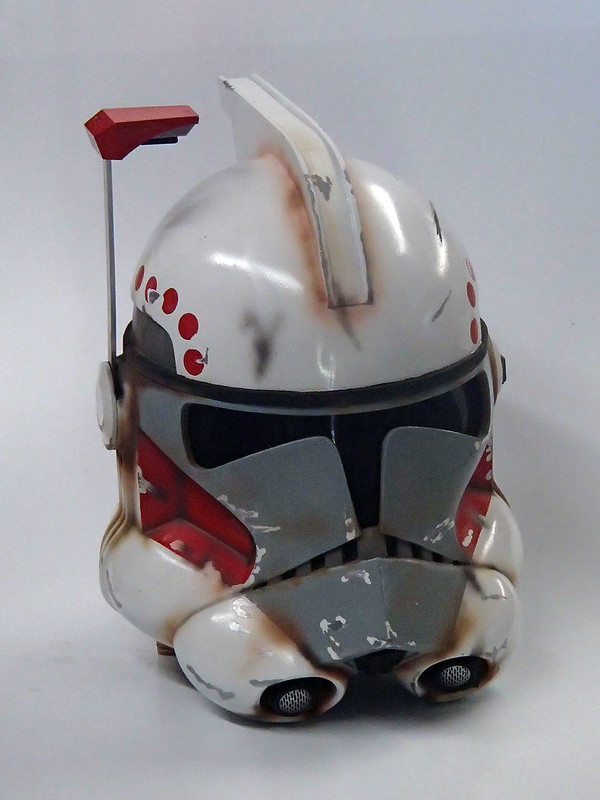
For step-by-step description of the conversion process, and a lot more photos, read on...
Labels:
ARC Trooper Hammer,
clone wars,
clonetrooper
Thursday, May 28, 2015
2015 Bay Area Maker Faire: an Exhibitor's Story
A couple of weekends ago I had the privilege of putting together an exhibit at the Bay Area Maker Faire. This was my fifth consecutive appearance at the Faire. If you were there, you more than likely will have seen my booth:
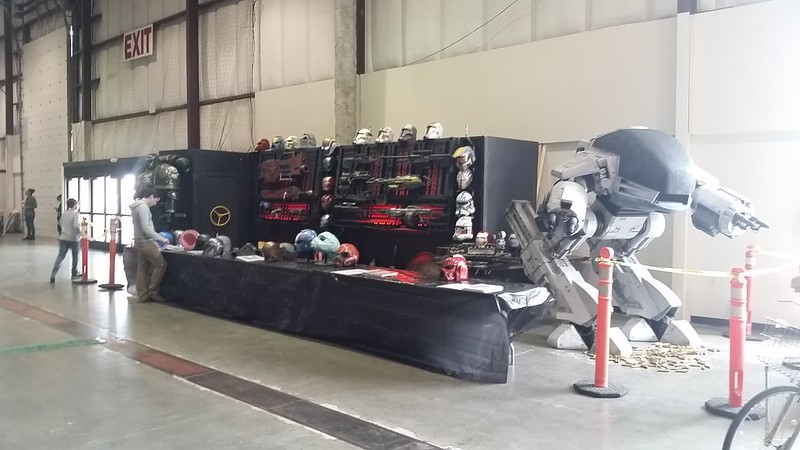
But you might not recognize it in the above photo. That's because most of the time it looked more like this;
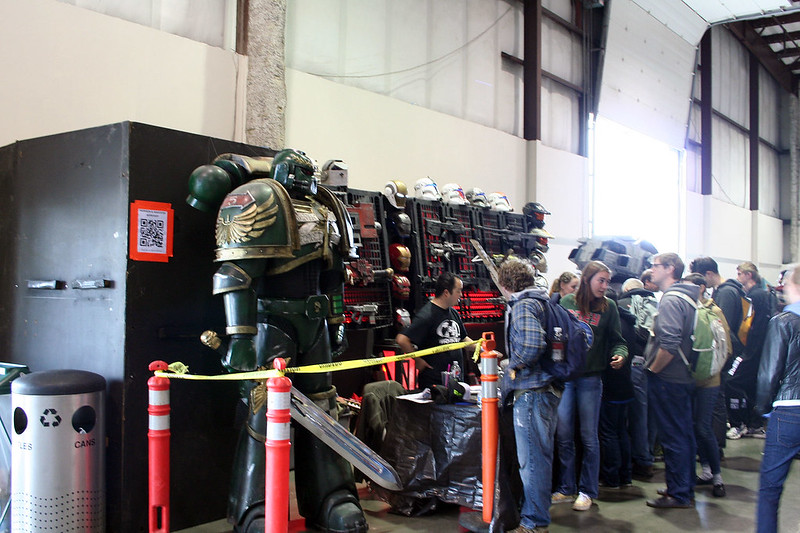
If you'd like to see more of the preparations and logistics that went into getting everything to the show, read on...
But you might not recognize it in the above photo. That's because most of the time it looked more like this;
If you'd like to see more of the preparations and logistics that went into getting everything to the show, read on...
Labels:
Maker Faire
Friday, May 22, 2015
Captain Rex from a Skygunbro Episode III Clone Kit
Sometimes I just need a quick and simple project.
Most of the things I make are at least a bit complex and take weeks worth of work in order to see any progress at all. So in the middle of one (or five) of those, it's nice to take a few minutes here and there to do something that shows quick results.
With that in mind, a while back I got a few helmet kits from Skygunbro's Custom Creature Shop. Here's what they looked like when they showed up:
While I've already got a few of the old Master Replicas lifesize clonetrooper helmets, I've always thought it'd be cool if they'd made more variants. One that I really liked the look of was Sideshow Toys' live-action style Captain Rex from the Clone Wars. But nobody really makes a good-looking version.
So after sitting them on my bench for a while (to distract me from real work) I'd modified one of those raw cast helmets to look like so:
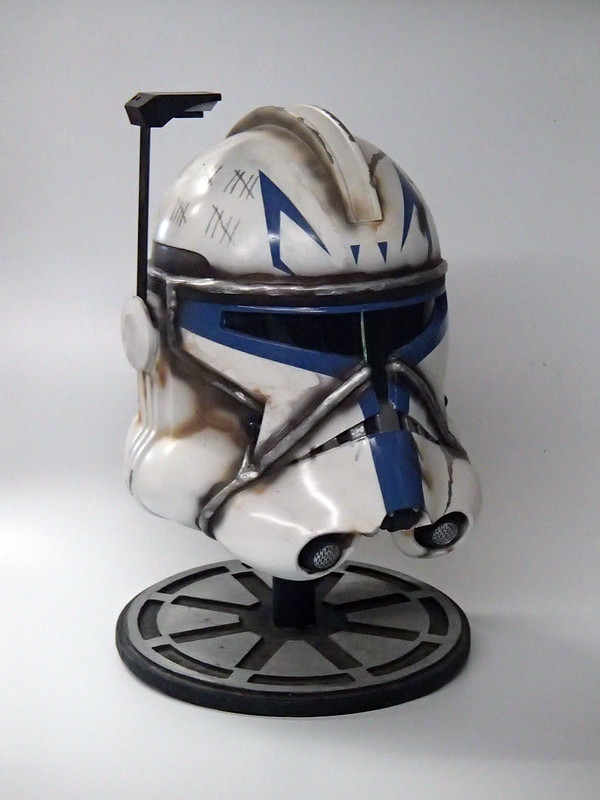
For a detailed description of the modification process, and a boatload of additional pictures, read on...
Labels:
captain rex,
clone wars,
clonetrooper,
Star Wars
Thursday, May 21, 2015
Time to Catch Up
It's been a while since I've had substantial time available for bloggage. For that, I apologize.
That said, I'm going to be doing a lot of writing in the coming months and I've decided to use the blog as a tool to help me shake out the cobwebs and overcome writer's block. So you can expect all sorts of articles in the coming weeks and months and I flesh out a few things and catch up on a variety of little things I've written over the past few seasons.
Specifically...
I just finished unpacking from my fifth consecutive appearance at the Bay Area Maker Faire. I pulled out all of the boxes and set up quite a display of finished works:
So I need to go over the story of the mad rush involved in getting all of that stuff spruced up, packed, loaded, transported, installed, and hauled home after the fact. It was a good time.
Going back a bit further, my crew and I went to Star Wars Celebration Anaheim last month, so in addition to writing about that experience, I've got to go over the details involved in making our platoon of Mandalorian costumes:
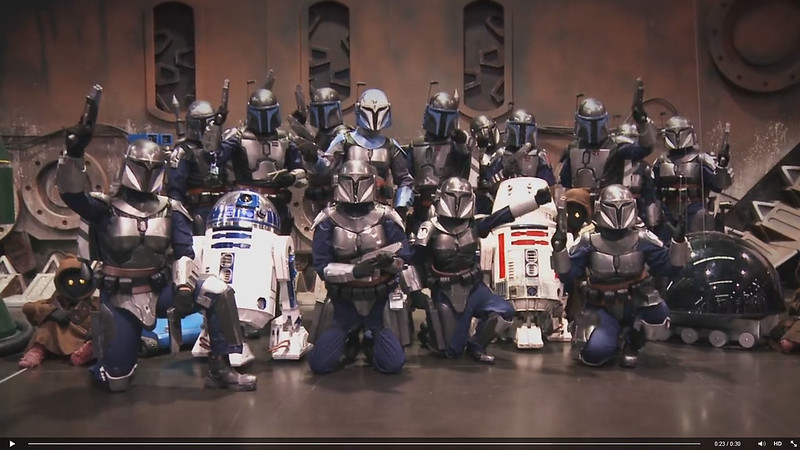
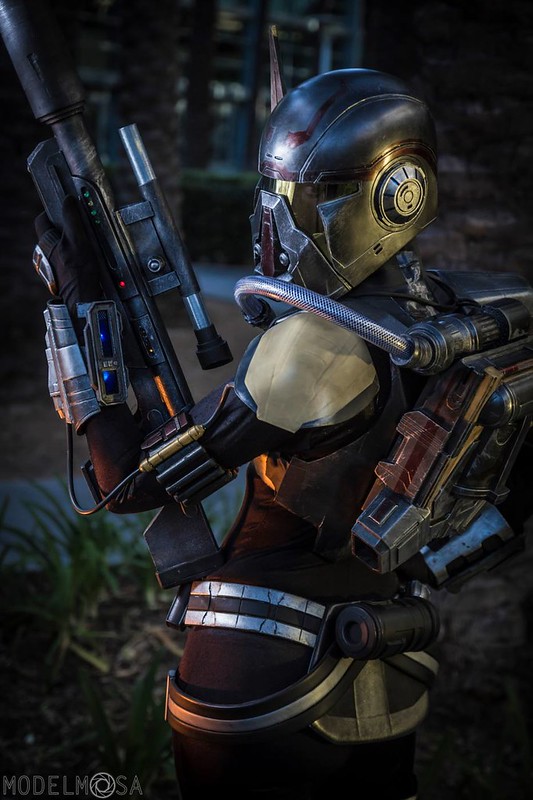
There's also the Shae Vizla costume I made in cooperation with DW Design Studios for the Lady Shawnon:
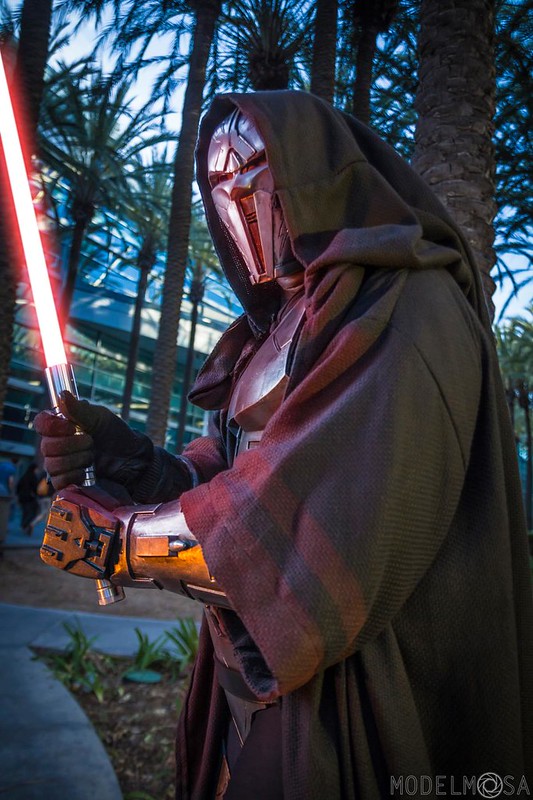
There was also a handful of Sith Acolyte outfits I made to accessorize her. Here's one:
Going back even further, I've still got to finish up a couple of articles about the building of my Mark III Ironman suit:
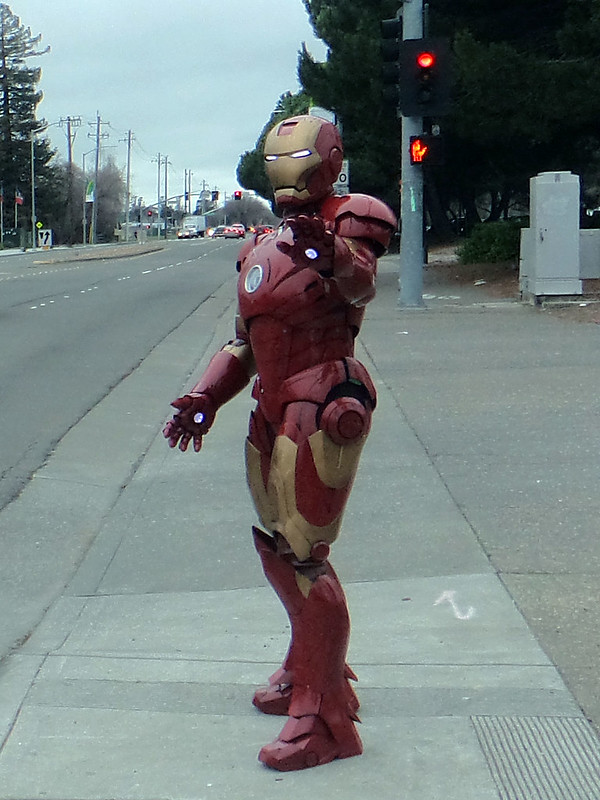
It's been finished for well over a year now, but I never finished writing up the steps involved in the paintjob as well as wiring up the lights.
On that subject, I've got a couple of other variants of the helmet that I need to write about:
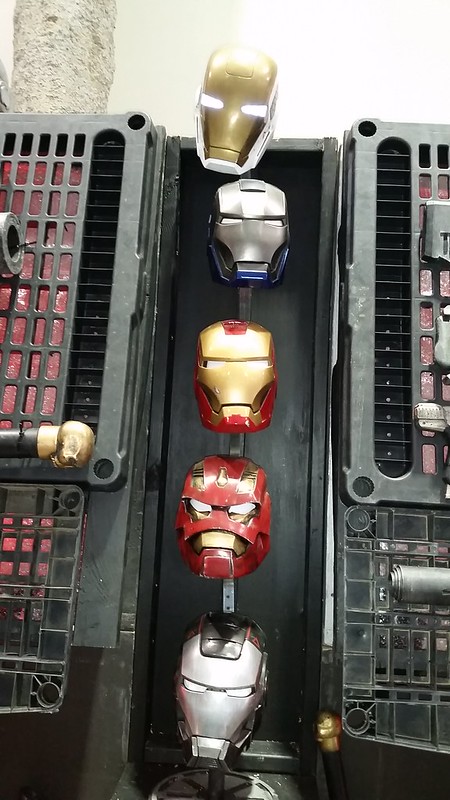
Hopefully I'm over my Ironman helmet building phase at this point.
There's a few other projects I'll be writing about as well, but these are the first that come to mind.
I should point out that these are all hobby projects. My professional projects are even cooler, but it'll take a bit longer to write about them while I await permission to release images.
So in other words, stand by for more. It's coming...
.
Labels:
blogging,
Goofy Projects,
Maker Faire
Monday, May 11, 2015
Dad Installed a Murphy Bed
Some number of years ago (who keeps track of these things?) my father came across a complete Murphy bed at a swap meet or yard sale or some other such event where folks offload oddball crap that nobody actually needs.
The various components of that Murphy bed have been collecting dust out in the barn ever since.
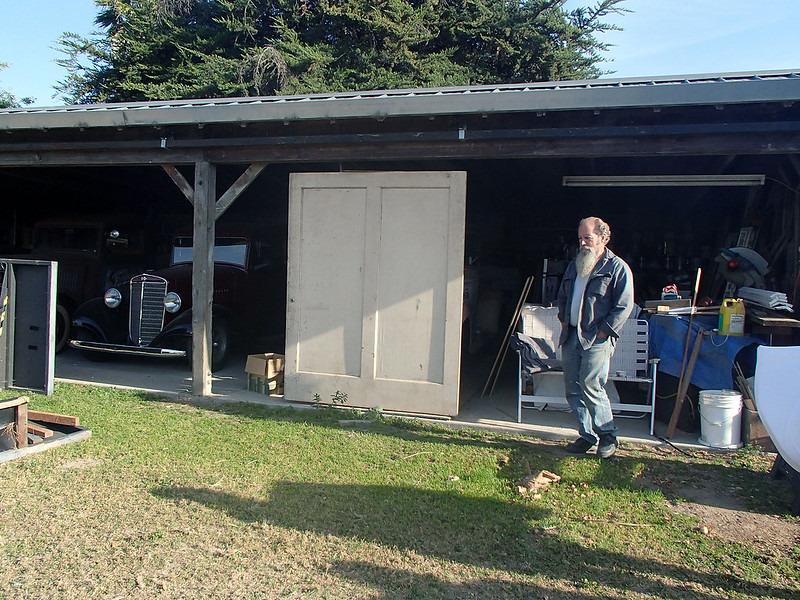
A few days back, he decided to pull out all of the pieces and see if there was any way he could get it assembled and functional. The only problem: just where could he find room to install it?
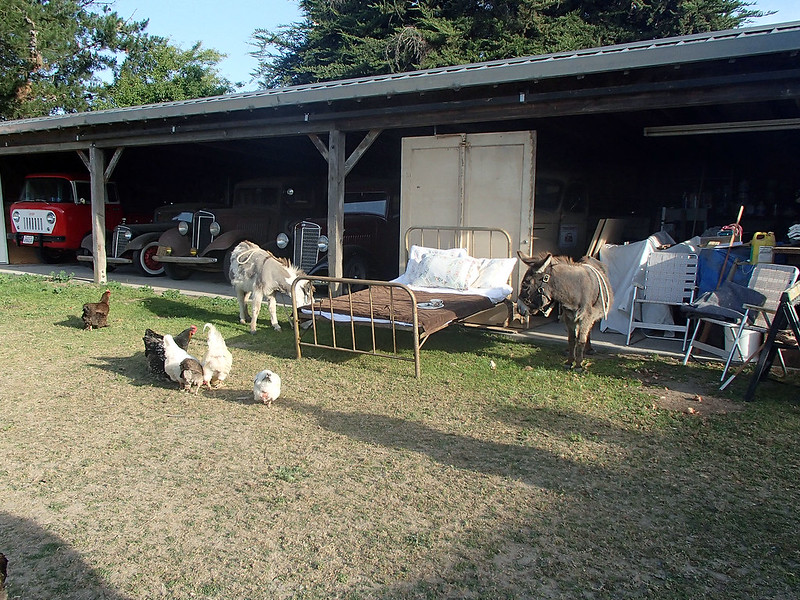
The answer was found on the open side of another barn:
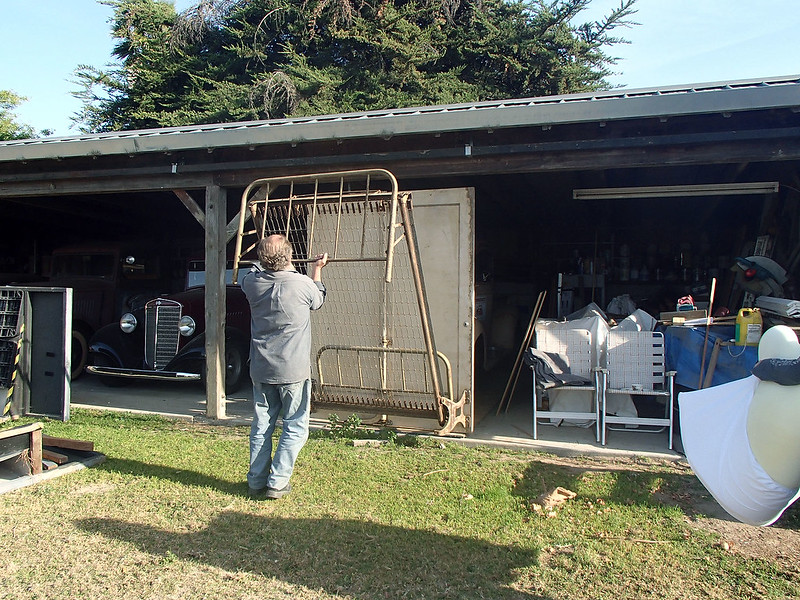
That panel is the visible side of the bed when it's properly installed and folded up out of the way. The whole thing is designed to pivot around and slide back into the same recess it came out of, so the bed can fold out like so:
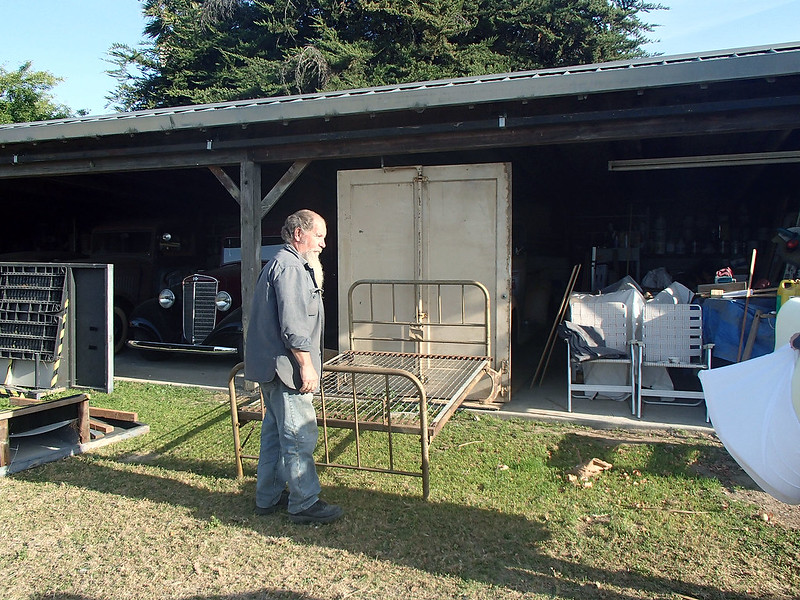
Everything is spring-assisted, so it doesn't take all that much effort to fold it up or down. Here it is folded all the way down:
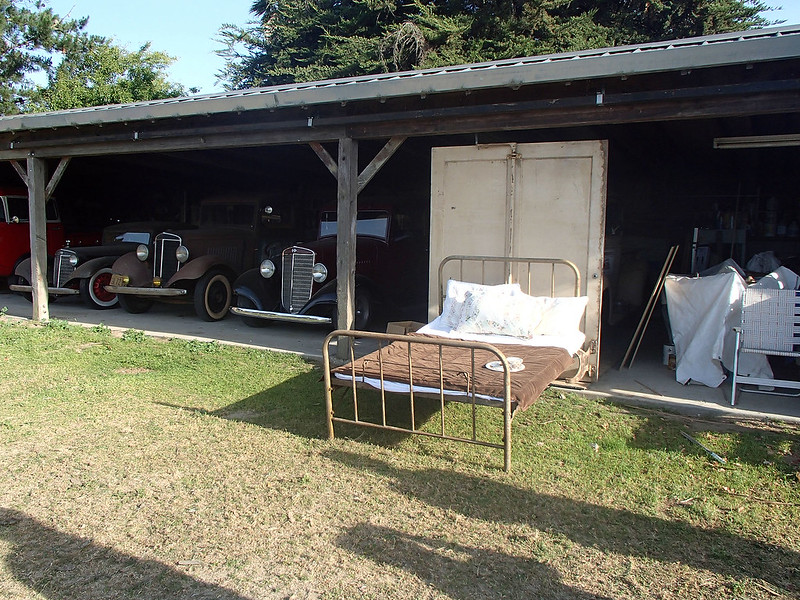
In actual use, it would be fitted with a thin mattress and made up with sheets and blankets. There's even a clamp arrangement at the foot of the bed to hold everything in place when the bed is folded back into the wall:
Sooner or later he'll figure out where he wants it permanently installed, but for now, its current location is rather quaint:
.
Labels:
Goofy Projects,
Murphy Bed
Sunday, May 10, 2015
Gearing Up for Bay Area Maker Faire
I apologize for my recent lack of posts. My latest handful of projects have all been things I'm not allowed to share with the public yet. It's amazing to have the opportunity to work on such cool stuff, but at the same time it's aggravating that I can't show any of it off. Yet.
But while I haven't been able to post much lately, I can tell you this: it's that time of year again.
I'll be making my fifth consecutive appearance at the Bay Area Maker Faire.
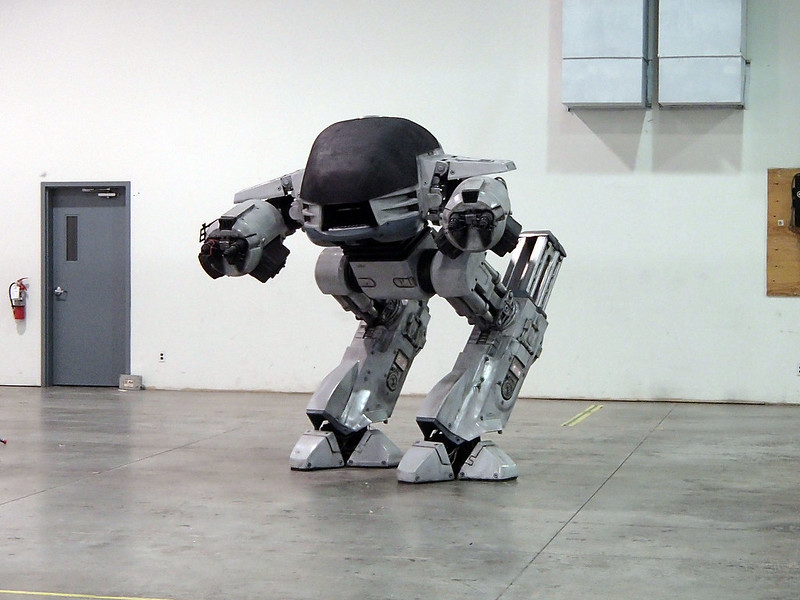
Since I don't have a big, new thing that I can show off (yet), I'll be sprucing up a few of the things I've already posted about. So expect to see a slightly improved ED-209:
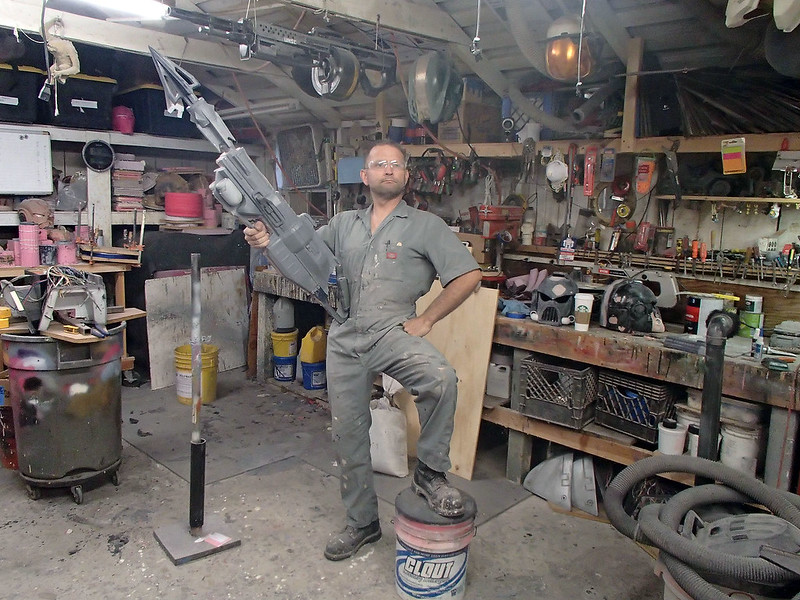
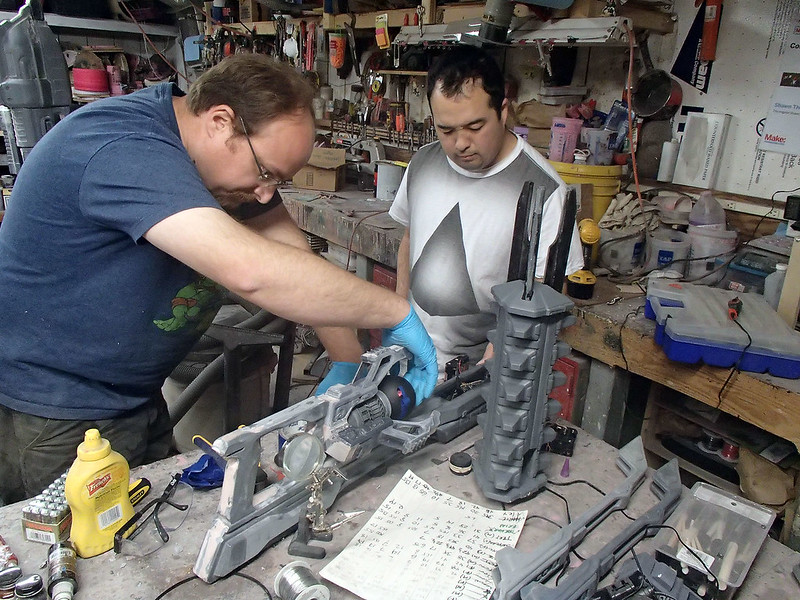
I'm also cleaning up new copies of a couple of the EVOLVE props:
And I've got a whole bunch of helmets and other small items I'm prepping to bring along:
Finally, I'll be reconfiguring the display booth itself to better showcase some of the new builds.
So if you're free next weekend and you can make it to San Mateo, California, come out and check out the show. There will be no shortage of fire-belching sculptures, people-powered vehicles, over-the-top backyard tech projects and countless sources of creative inspiration.
I'll be there too.
Subscribe to:
Posts (Atom)