
When I was in junior high school, I spent countless hours and almost all of my money collecting, building, and painting Space Marine miniatures from the tabletop wargame known as Warhammer 40,000. Years later, after finishing my stormtrooper armor and my Predator costume (and failing to finish my LEGO minifig costume) I finally had the skills and tools to build a costume that would really do justice to the characters of the WH40K universe. With the release of the new Warhammer 40k: Space Marine video game, I'm back to working on it.
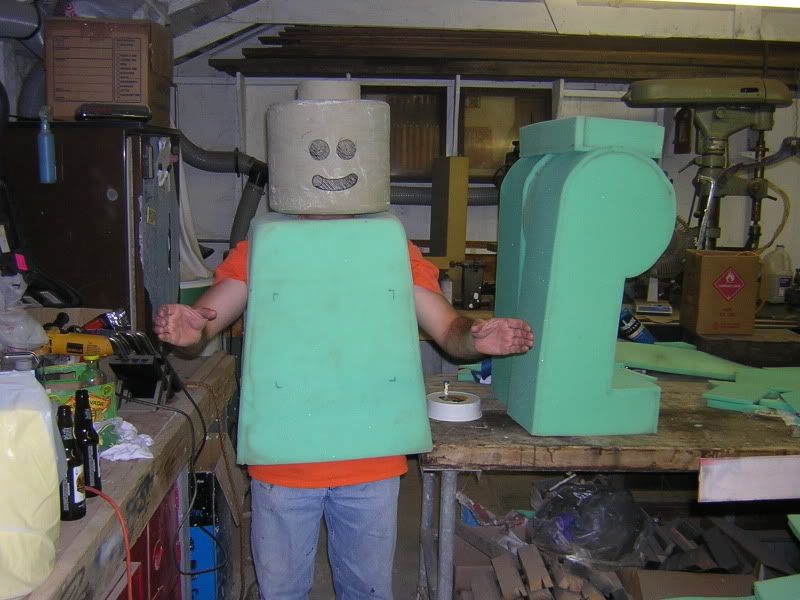
With that in mind, here's the parts I've made years ago...
With that in mind, here's the parts I've made years ago...
Over quite a long time, I manage to make a couple of helmets for the Mk6 version of the armor:

The next logical step (for someone like me) was making sure that these characters would be properly armed whenever I got around to building the rest of the costume. I took on this project back before I really knew anything about what I was doing, so I made a lot of mistakes learned a lot along the way.
I start with a 1/1 scale drawing of the bolter. I finished this late at night with the assistance of TurboCAD and most of a bottle of wine, but I think it looked okay:

Then I convinced an engineer friend of mine to print it out on his plotter and transferred the drawing to a piece of 3/4" MDF like so:

Then I screwed together four pieces of it (making the whole piece 3 inches thick) and cut it all out on the band saw. After that I cut the grip off of the two outside pieces and did some work with the router which got it here:

Digging through my pile of scraps in the workshop, I found some sheet styrene and fiberboard scraps that I added to the outside:

Here's the bottom:

With a bit more work things were really starting to shape up:

The magazine was made using more MDF and skinning the sides with foam PVC sheet. Then I turned down three faux bullets on the lathe to be visible at the top. Here's the magazine removed:

Once I was happy with the overall appearance of the piece, I went ahead and gave it a coat of satin black paint:


That done, it was time to block it up for molding. Let me say up front that this was one of my earliest experiences with moldmaking and that I've since learned many ways to make the same mold cheaper, lighter, stronger, and faster. Still, here's how I began:

The clay it's bedded in in the above picture is intended to establish a parting line for a two-piece mold. Here's the whole arrangement boxed up and ready to pour silicone in:

In order to prevent bubbles from being stuck in the silicone, I mixed each batch and then poured it into a bucket with a hole in the bottom. Then the bucket was suspended over the mold box so it was high enough that the silicone would stretch out into a thread, popping any bubbles along the way:

It worked, but only so well. Here's the mold box with the beginning of silicone poured in:

Here's the huge chunk of rubber that made up the most of the mold:

With the clay removed from the other end:

The next step was to apply a mold release to the cured silicone and then pour more silicone into the void left behind by the clay plug in order to make the second half of the mold. It turns out I used the wrong mold release. Either that or I didn't use enough. Or maybe I forgot altogether. In any case, the second pour bonded to the rest of the rubber and the only way to move forward to was to cut the silicone open instead. It worked well enough though. Here's a shot of the first casting coming out of the mold:

The end result was a block of silicone that weighs upwards of 40lbs and is an absolute bear to use for rotocasting. I can do it, it's just labor intensive. The better answer (I've since learned) would be to do a matrix mold like I did with my HALO Assault Rifle to minimize the amount of (very expensive) silicone needed and make the whole thing easier to handle. Such is life.
I made one for me and one for a friend who was also into Space Marines back in the day. Here they are after a bit of prep work and cleanup:

In the midst of the rest of this project, I also sculpted out some winged skull details for the sides of the body. Here they are with some of the other small details all ready for molding:

The mold was a simple block mold for one-sided castings:

The castings were made with cold cast bronze:

If they look to you like they're made of actual bronze, that's because they are. I'll write a how-to about cold casting later on.
I used the same process to make an imperial eagle logo as well as a plain skull. It's good to have options.
The muzzle details were also modeled and molded separately. Here's a shot showing all of the parts that I cast in order to build the whole rifle:

Here you can see the whole thing tacked together:

Here you can see the main portion with most of the paint job done:

I made quite a few of the magazines. The worn edges and visible rounds are painted with Model Masters metalizer paints and the airbrush:

Action shot:

Here's the end result:

It's rather large.
I'm especially proud of the job I did on the muzzle. I was trying to make it look like a nicely polished piece of metal that has seen some abusive heat (think motorcycle exhaust pipe):

I think it goes really well with the helmet:

I still need to make the rest of the outfit though...
EDIT: I have also been asked to add the following:
This web site is completely unofficial and in no way endorsed by Games Workshop Limited.Adeptus Astartes, Blood Angels, Bloodquest, Cadian, Catachan, the Chaos devices, Cityfight, the Chaos logo, Citadel, Citadel Device, Codex, Daemonhunters, Dark Angels, Dark Eldar, 'Eavy Metal, Eldar, Eldar symbol devices, Eye of Terror, Fire Warrior, Forge World, Games Workshop, Games Workshop logo, Genestealer, Golden Demon, Gorkamorka, Great Unclean One, Inquisitor, the Inquisitor logo, the Inquisitor device, Inquisitor:Conspiracies, Keeper of Secrets, Khorne, Kroot, Lord of Change, Necron, Nurgle, Ork, Ork skull devices, Sisters of Battle, Slaanesh, Space Hulk, Space Marine, Space Marine chapters, Space Marine chapter logos, Tau, the Tau caste designations, Tyranid, Tyrannid, Tzeentch, Ultramarines, Warhammer, Warhammer 40k Device, White Dwarf, the White Dwarf logo, and all associated marks, names, races, race insignia, characters, vehicles, locations, units, illustrations and images from the Warhammer 40,000 universe are either ®, TM and/or © Copyright Games Workshop Ltd 2000-2011, variably registered in the UK and other countries around the world. Used without permission. No challenge to their status intended. All Rights Reserved to their respective owners.
Everything you make is awesome!!! I've subbed to your blog posts.
ReplyDeleteAdam
I've been searching high and wide for inspiration on completing a Space Marine costume. You, my friend, are inspirational. Keep up the good work.
ReplyDeleteSean
P.S. Would you consider selling an unpainted casting of that bolter?
Awesome job as usual!
ReplyDeleteExcellent work as usual, good sir! One quick question for you, though. What type of clay do you use for all of your free sculpting work? I'd like to give it a try myself but I'm a bit lost as to what type of clay I should use.
ReplyDeleteThanks!
Absolutly Amazing! I wouldnt know where to start!
ReplyDeleteThat is so good 🙀
ReplyDeleteI need pdf
ReplyDeleteIf you had taken a minute to read this post, hell, even scroll through the pictures, you'd know that these were hand-sculpted, molded, then cast in resin.
DeleteThere is no PDF.