
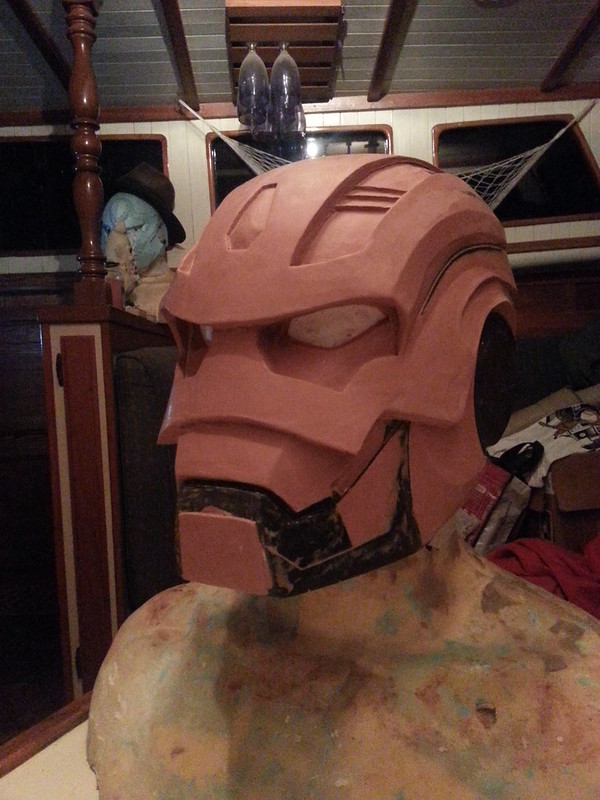
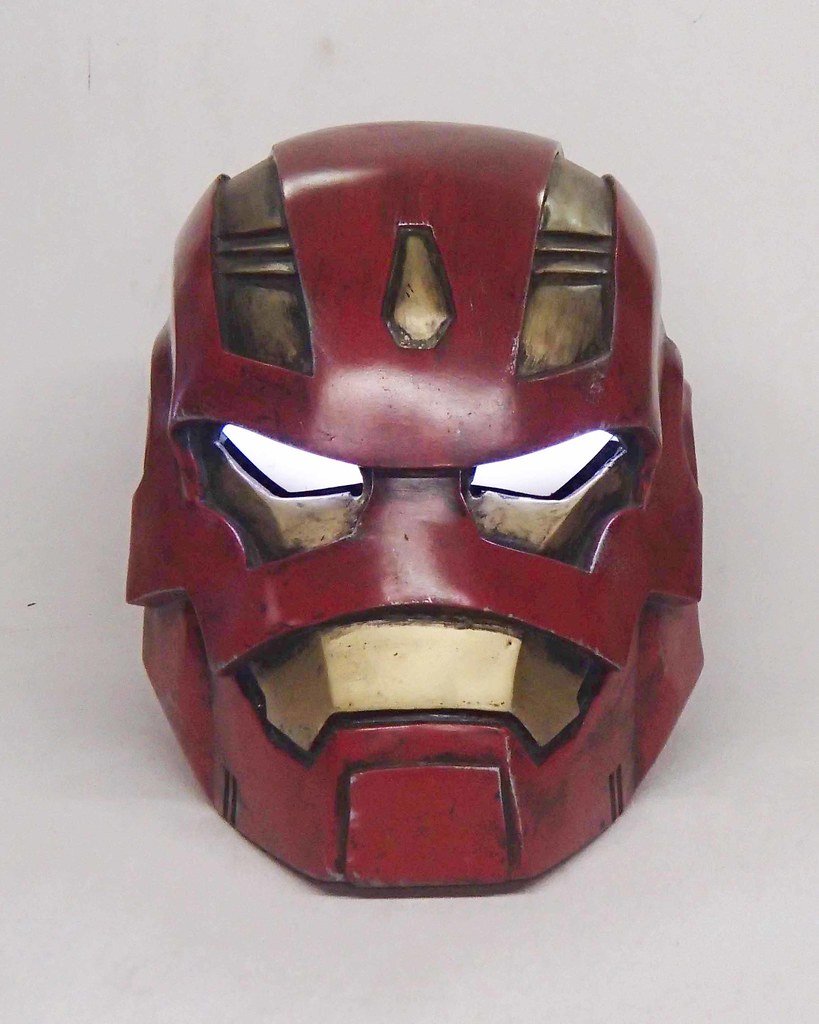
Among the many distractions was this particular helmet:
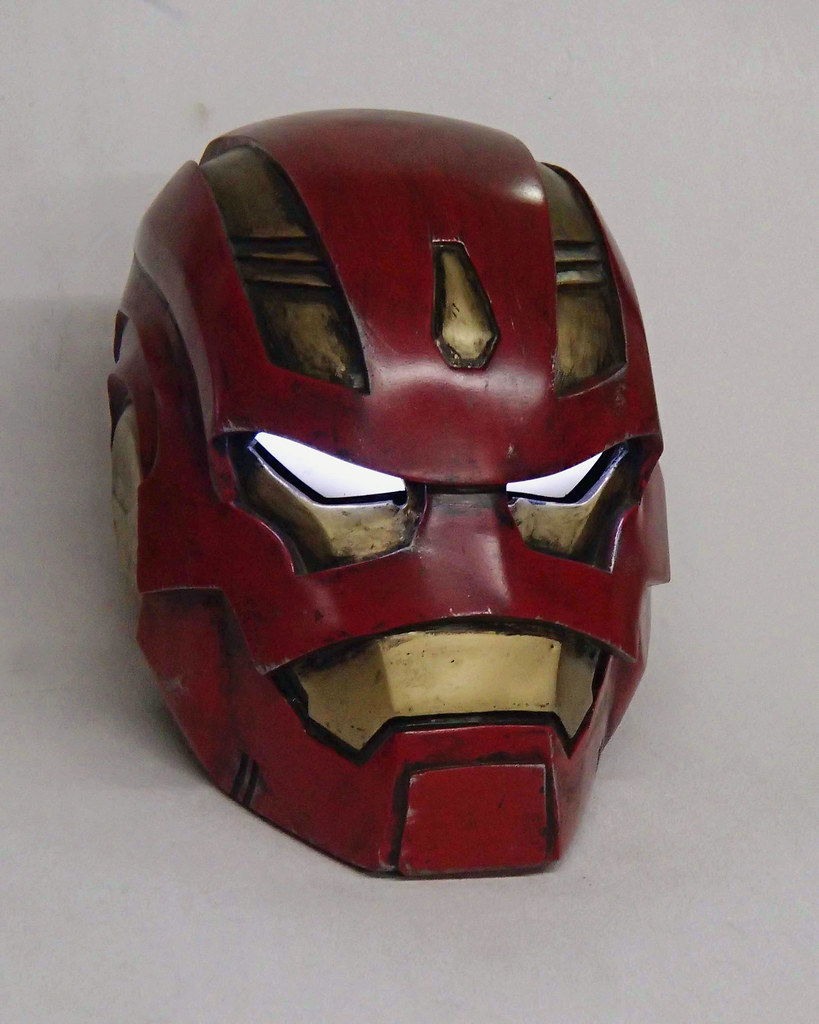
It's the helmet for the Space Armor MkIII which Tony Stark uses throughout the "Godkiller" story arc in the comics. I'm not sure what prompted me to make this particular helmet, but once the idea was stuck in my head I couldn't shake it until the thing was made. I'm sure it'll turn out to be some sort of brain tumor...
Anyhow, for more photos and some details about how it was made, read on.
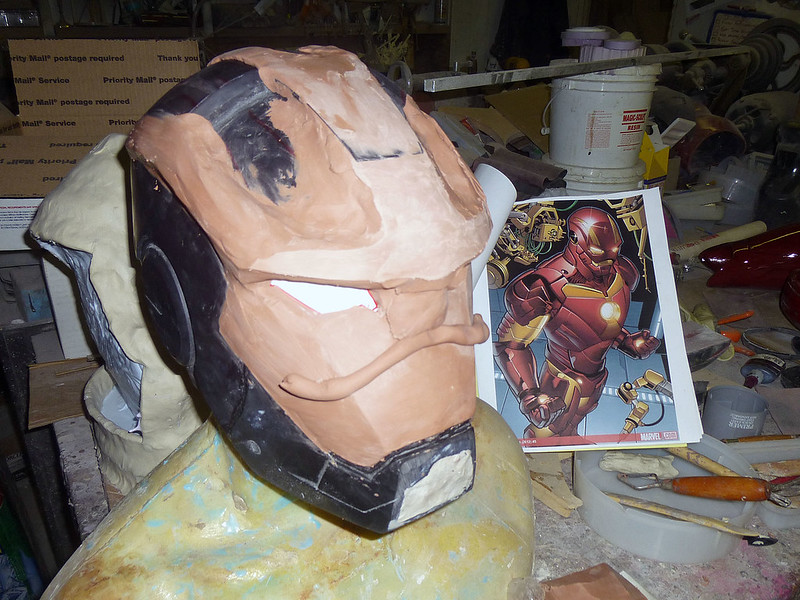
I started by collecting lots of reference pictures including this one. Then I got to work.
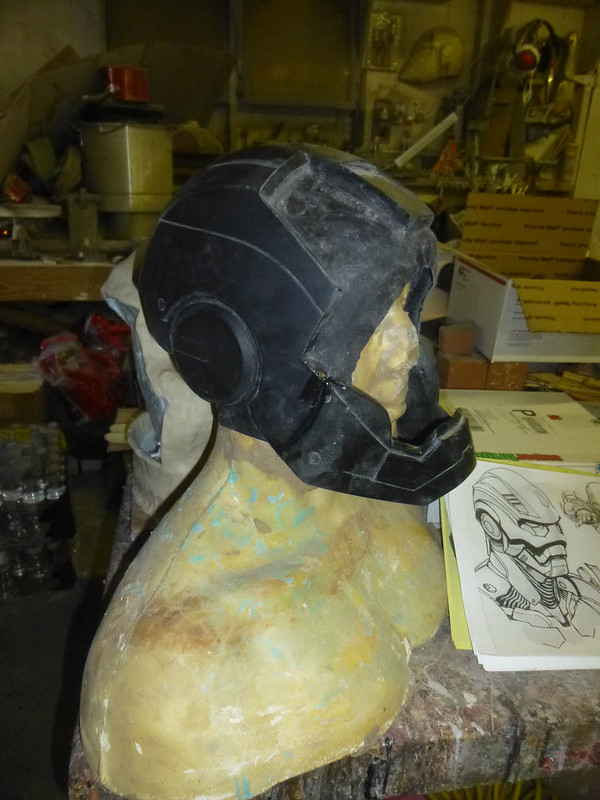
I wanted to do the sculpt predominately by hand, but I still wanted the finished helmet to retain some of the design features of my other 3D printed helmets. So I started out by cutting up a reject casting of my MkIII helmet and stuck the parts on a sculpting armature:
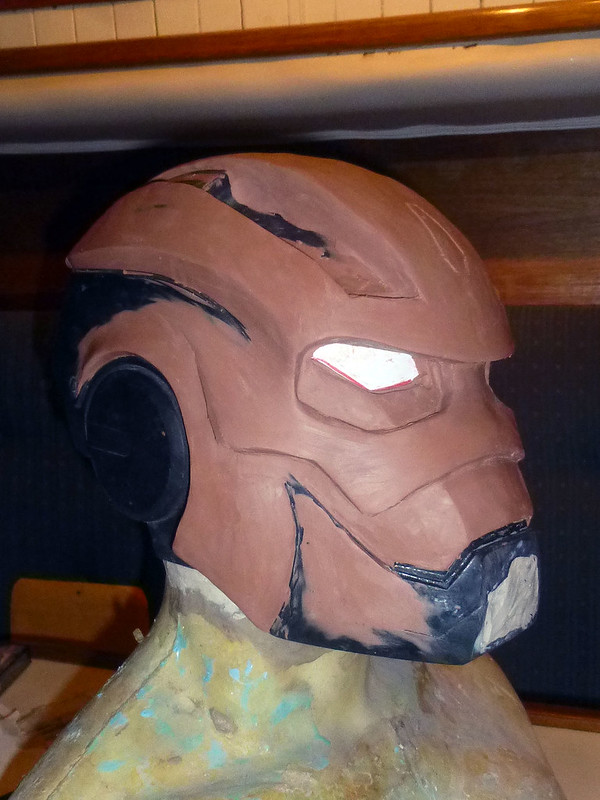
Then I started blocking out the new shapes with Chavant NSP medium firmness oil-based clay:
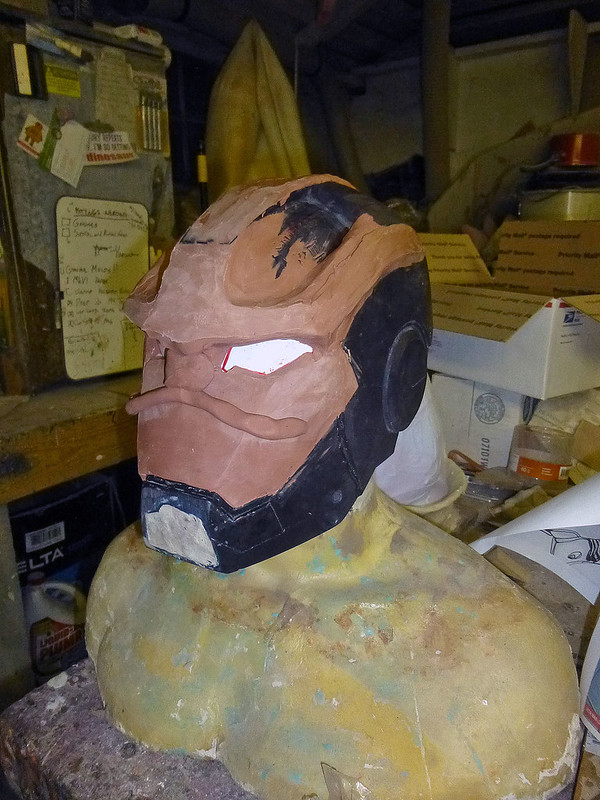
Referring back to the images from the comics throughout, the helmet shape started to coalesce:
After a few hours, I decided it'd be better to do the sculpting at home instead of in my dusty workshop. So here's what it looked like at the end of the first evening sculpting session:
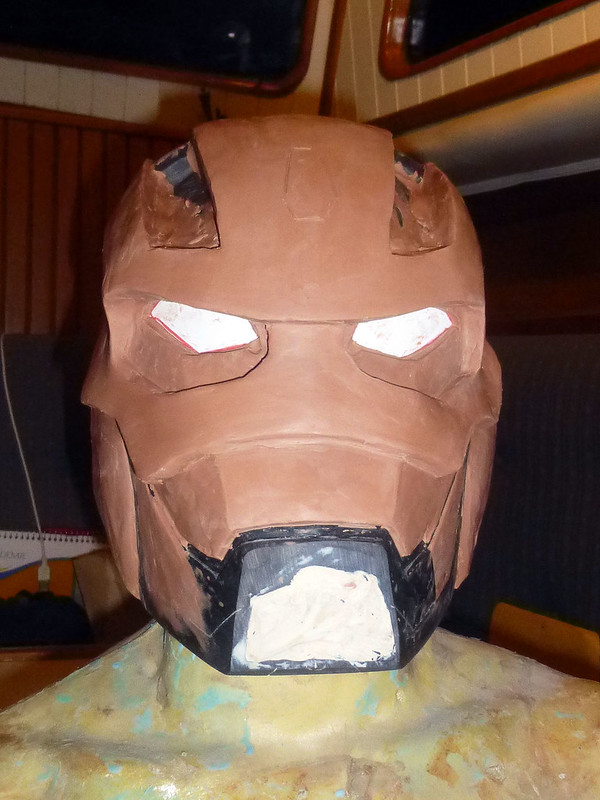
After a couple more evenings, I was pretty happy with the sculpt:
The sculpted helmet spent a week on the backburner before I hauled it back to the workshop to do some final smoothing using corn oil and some rags to polish the smooth surfaces:
Then it sat in the corner for a few weeks while I finished up the rest of the MkIII suit. But still I could feel it there, staring. Watching. Taunting me with its unfinishedness.
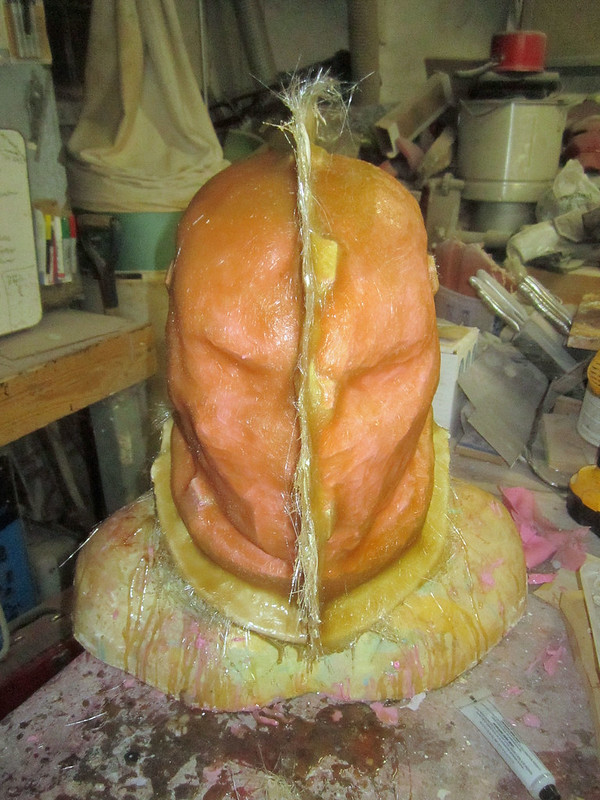
When I'd had too much of its mockery, I decided to teach the sculpt a lesson by pulling a mold. You dare to tell me you're not getting done fast enough? Here's some RTV Silicone rubber in your eye:
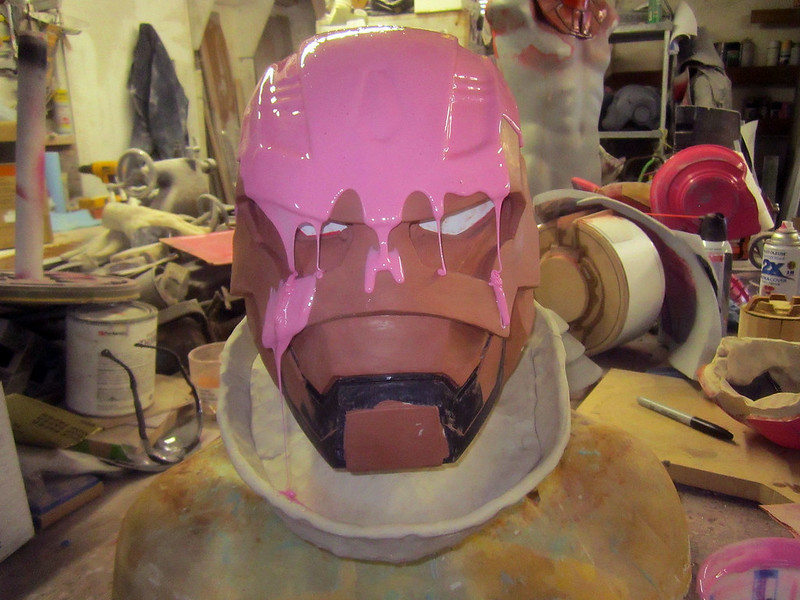
Since I wasn't planning on making dozens and dozens of these helmets, the mold was a simple one-piece glove mold. Here's the print coat once it had been applied:
The print coat is just the first layer of silicone which is applied without any kind of thickening agent added. It's purpose is to pick up all of the tiny details on the surface.
Note the clay "drip tray" that I'd set up around the neck:
Once the print coat had cured, the next step was to build up a few layers of thickened silicone:
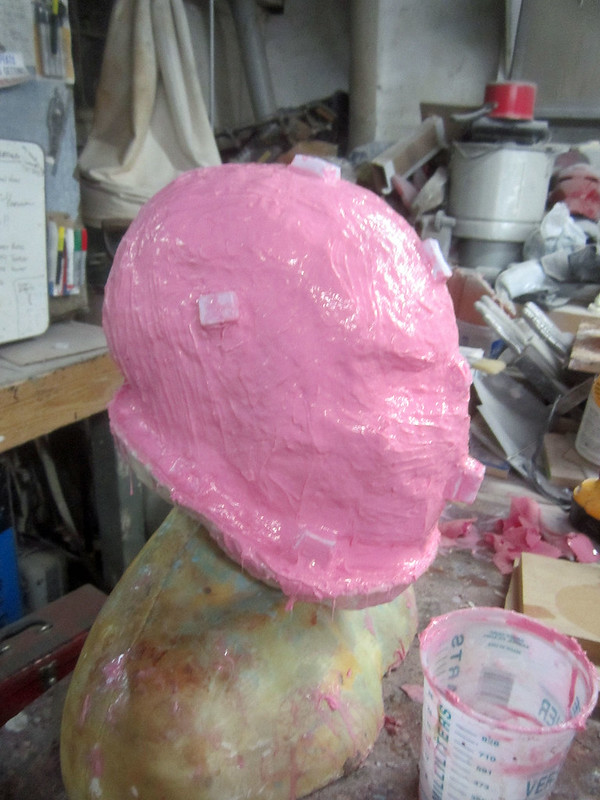
The ice cube-shaped blocks of silicone are registration keys that will make it easier to line up the rubber jacket mold in the fiberglass mothermold once the original sculpt is removed.
As soon as the silicone has cured, it's time to make the mothermold. Since the mothermold will need to split into two pieces, I start by building a clay parting wall along the top of the whole thing:

Then I lay up a fiberglass shell on one side:
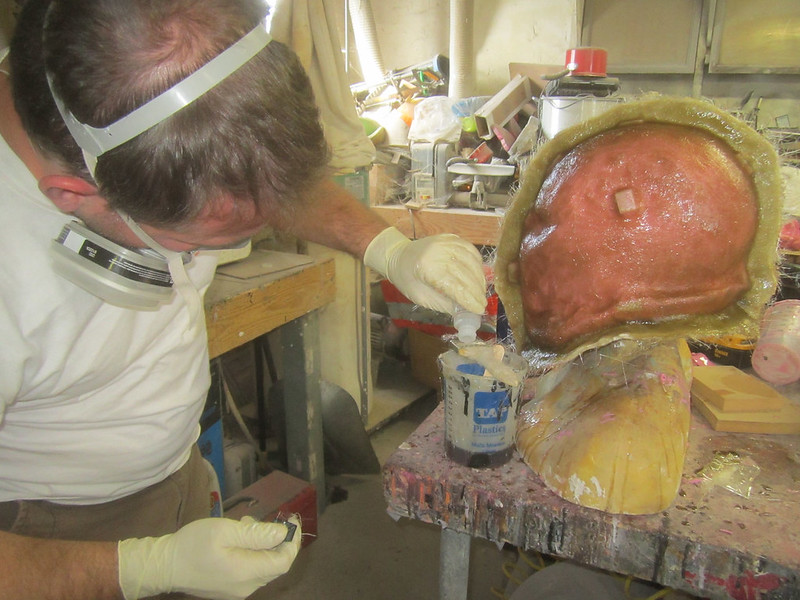
Once the first half of the shell had cured, the next step was to remove the clay, apply a mold release to the fiberglass flange, and build up the second half of the mothermold:
Once the mothermold was completely cured, I trimmed down the edges and pried the two halves apart. Then I put a relief cut in the back of the helmet (avoiding any detail areas) and peeled off the rubber jacket mold:
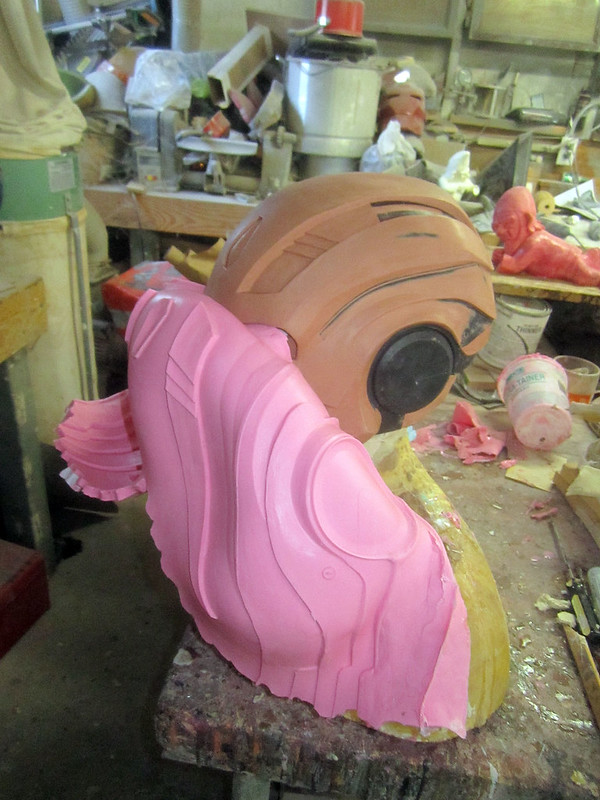
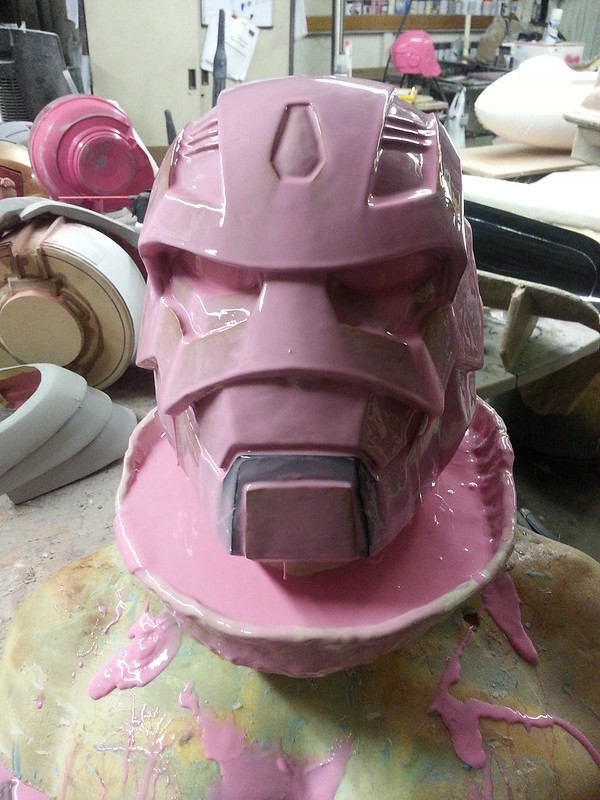
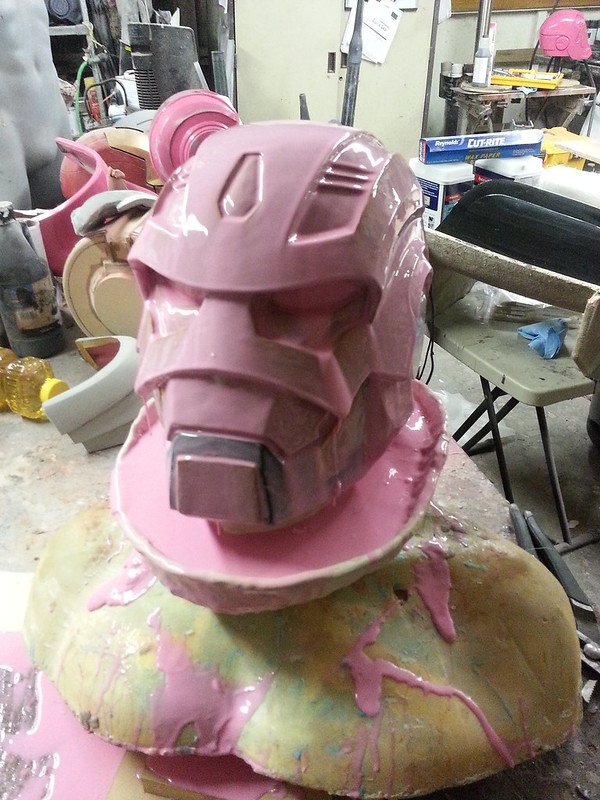
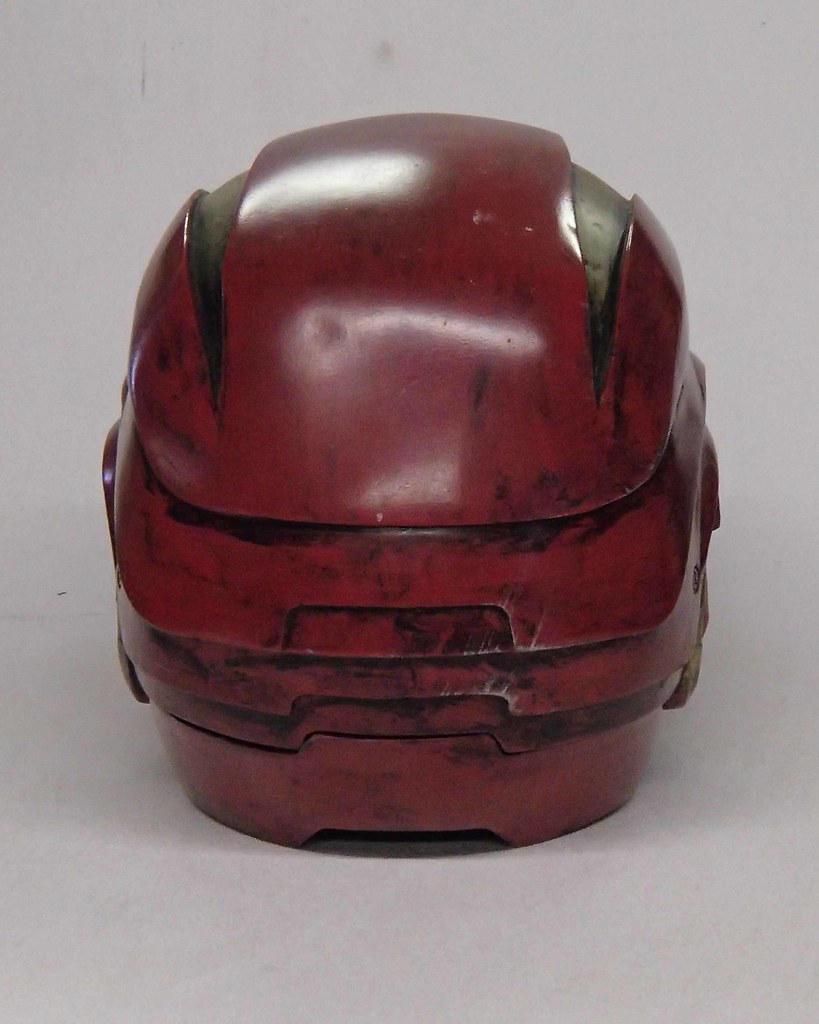
Once I'd put the whole mold back together, I went ahead and rotocast the first copy in black resin. I think it came out pretty good:
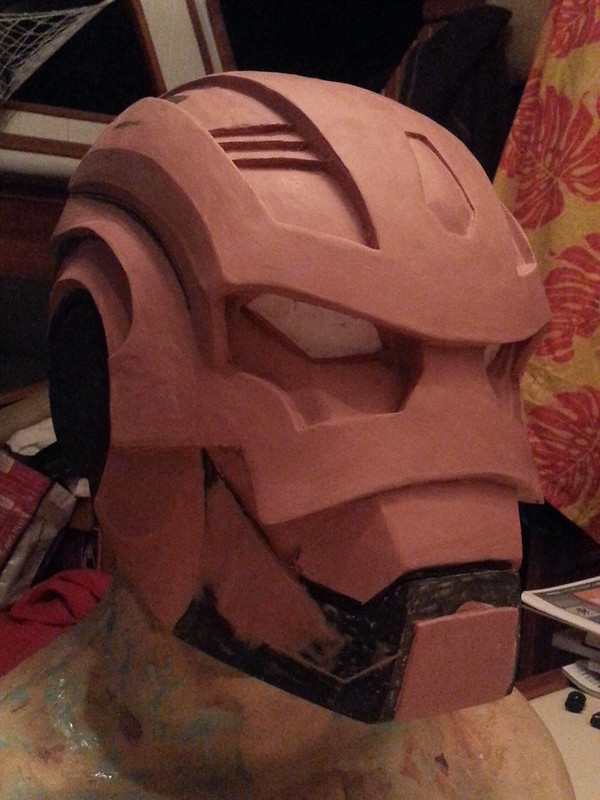
After a bit of trimming and sanding, it looked like so:
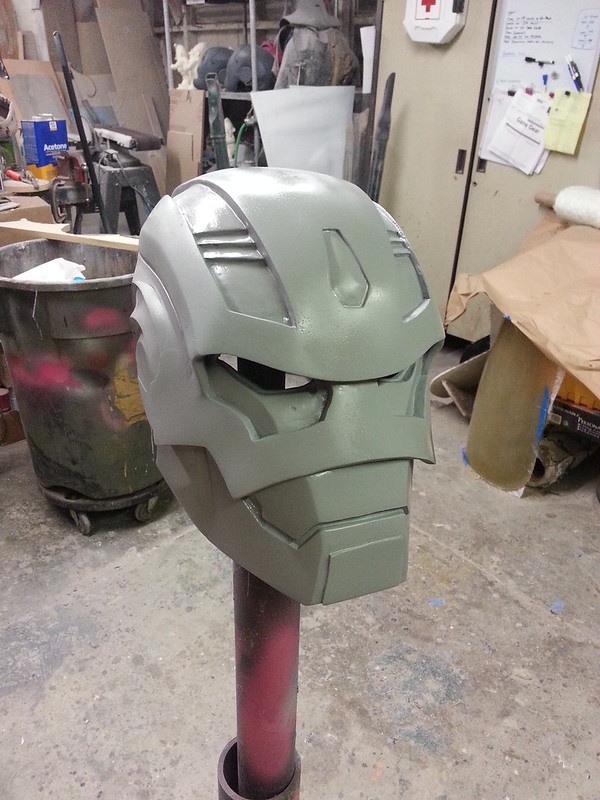
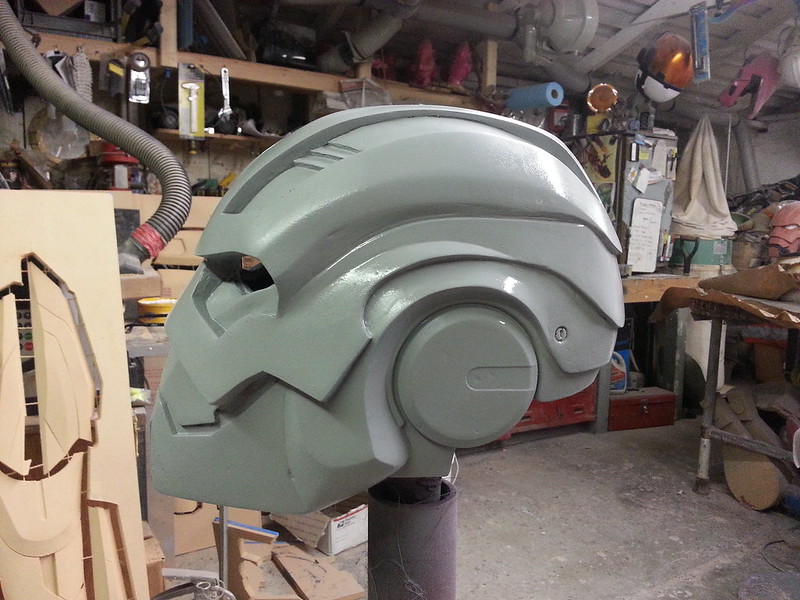
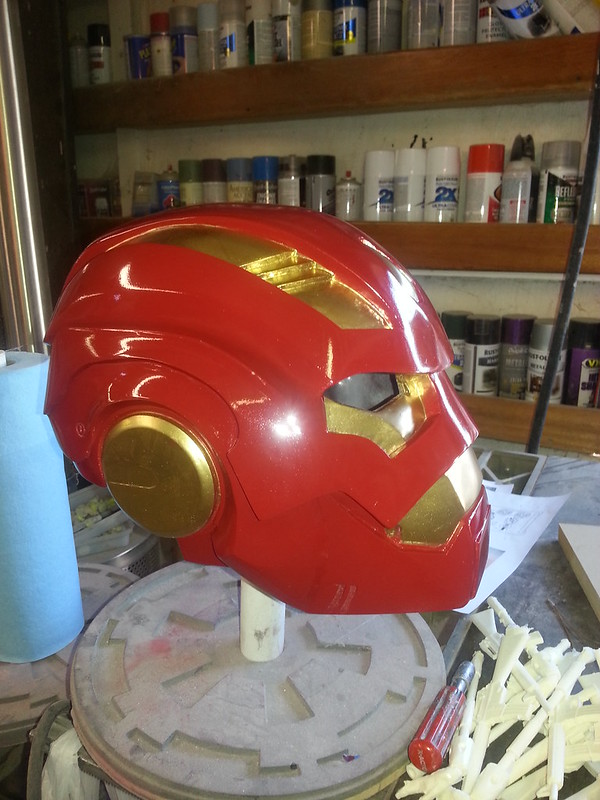
A quick coat of primer and it looked even better:
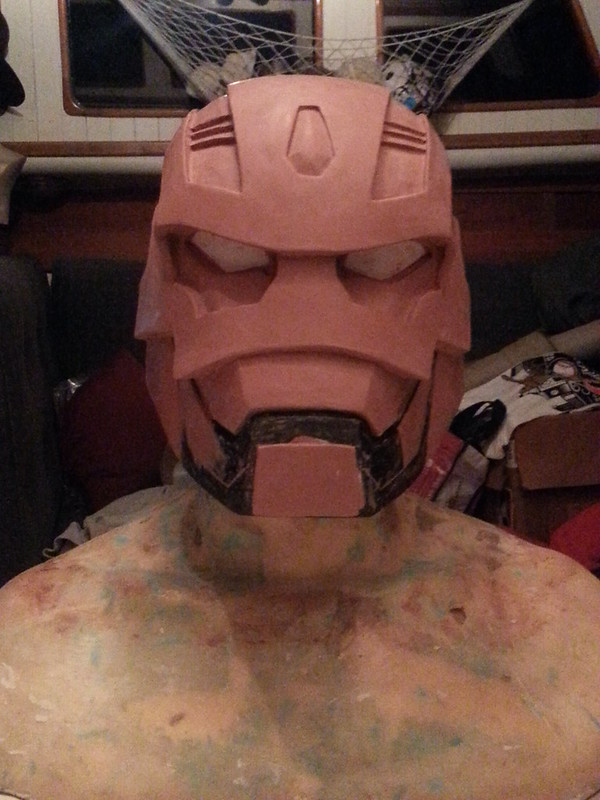
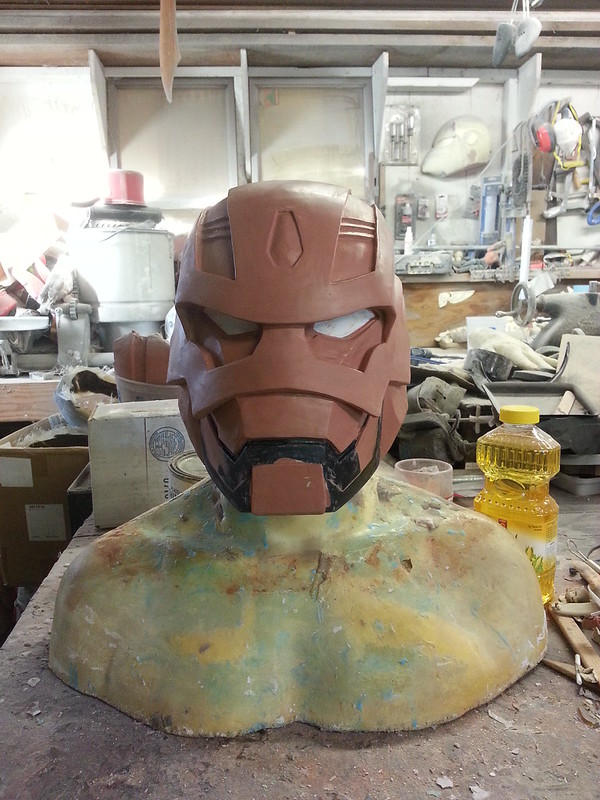
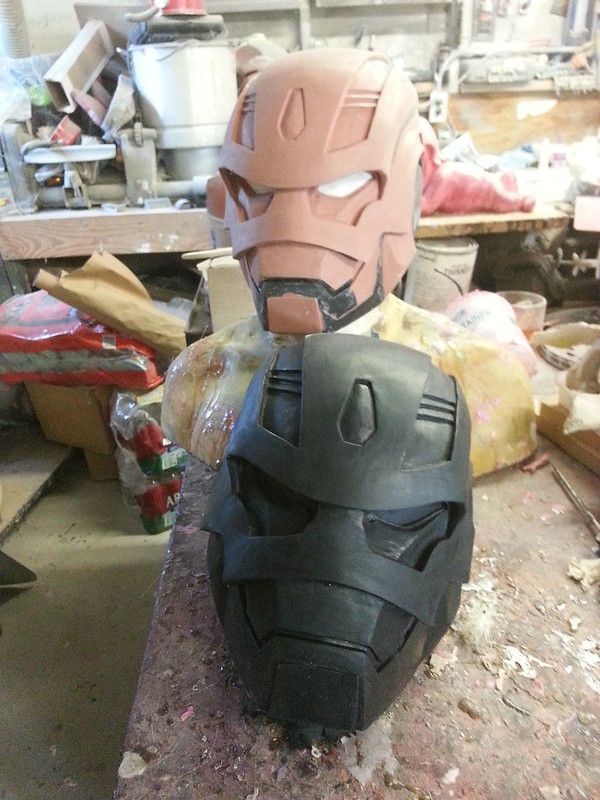
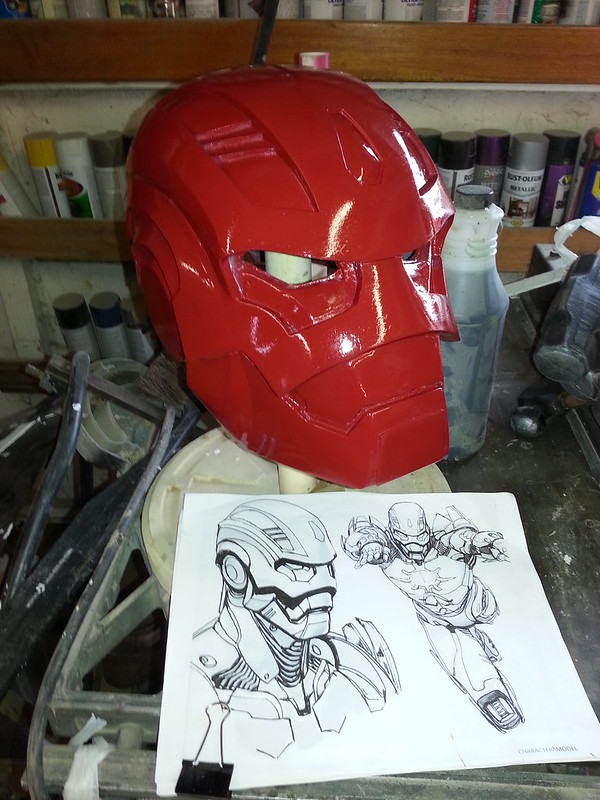
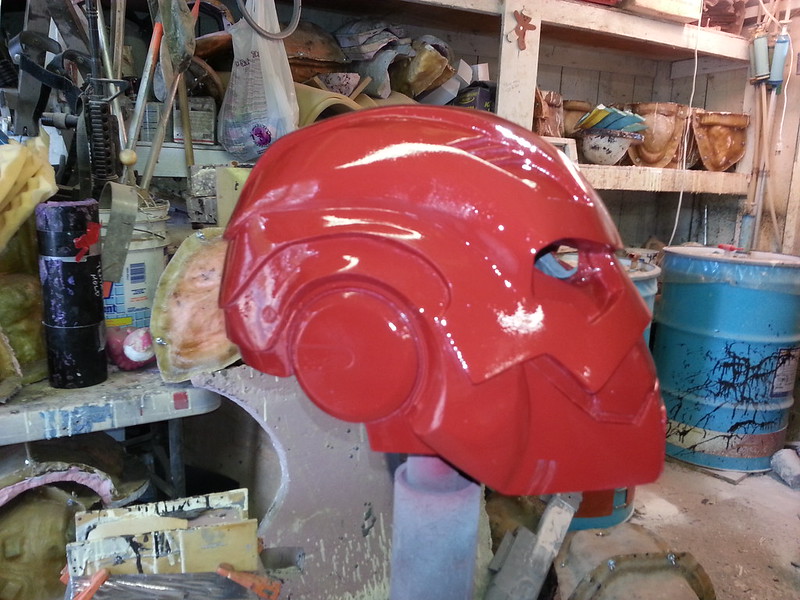
Since I was in a rush to make this thing done and get it off of my plate, I didn't end up using any exotic automotive finishes or metallic color for the basecoat. Instead I went with the same Colonial Red I'd been using for the rest of my rough draft MkIII suit:
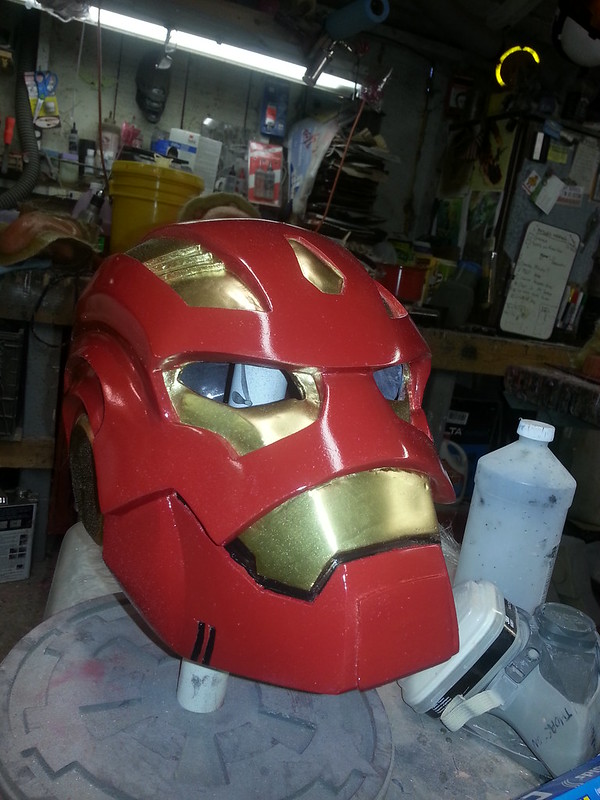
The gold was picked out with Krylon Gold Foil metallic paint:
Then I picked out the black details by hand with a brush:
Weathering was a quick and dirty blackwash followed by drybrushing a few silver scratches onto some of the edges:
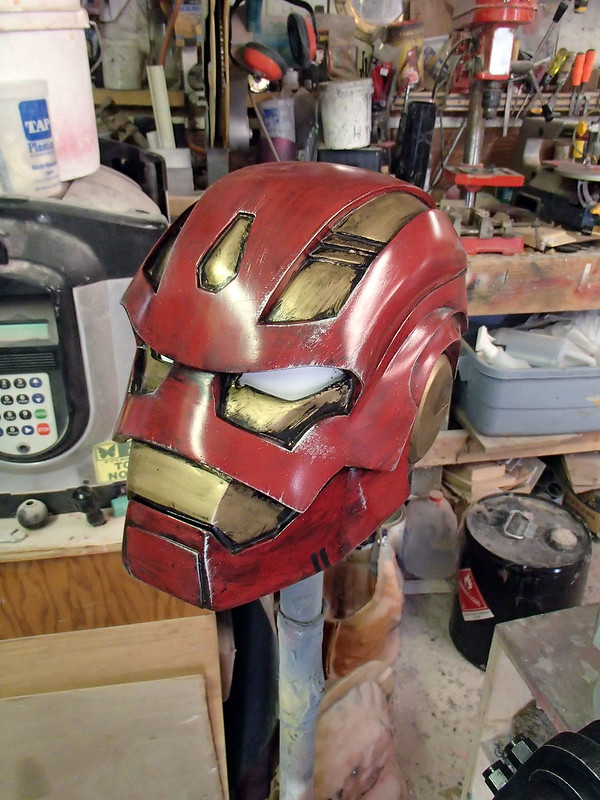
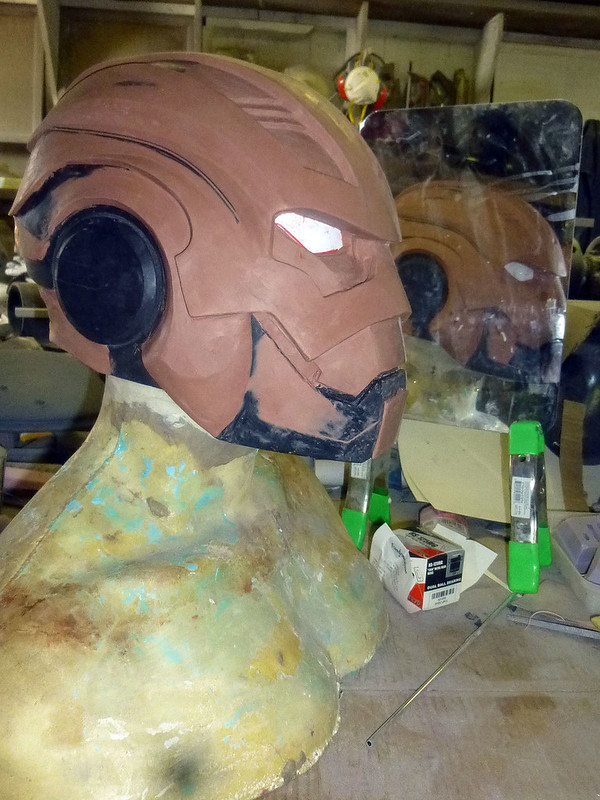
Of course, now that everything else was looking good, I had to do something about the bits of paper that were taped into the eye holes.
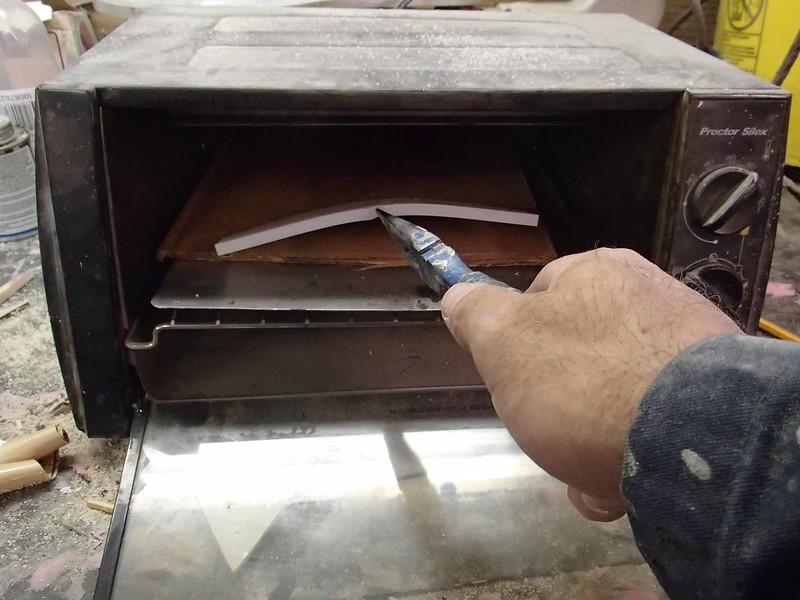
The glowing eye effect was achieved the same way that I did for the MkIII helmet. I started by cutting a piece of milky, semi-transparent acrylic big enough to cover the eye holes. Then I put it in the dedicated workshop toaster oven:
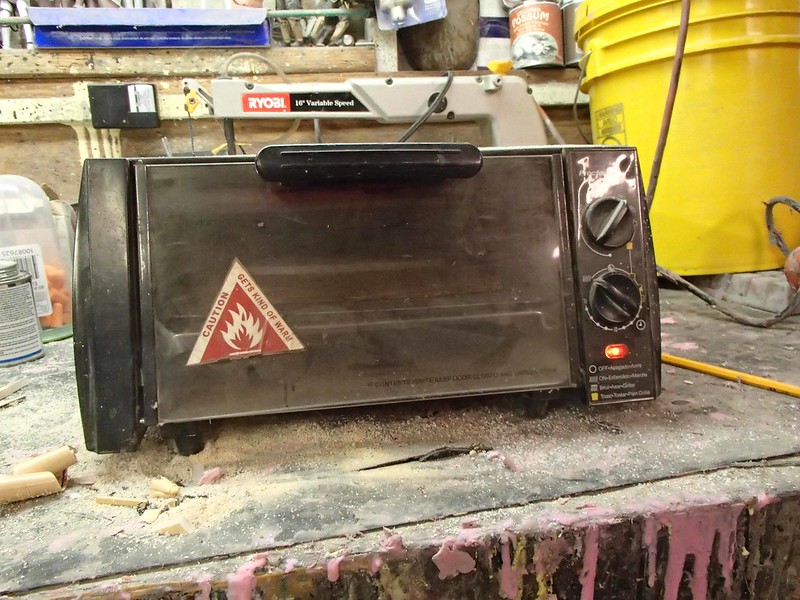
After waiting a few minutes, the acrylic warmed up enough to be flexible:
Then it was forced into place over the eye holes and allowed to cool:
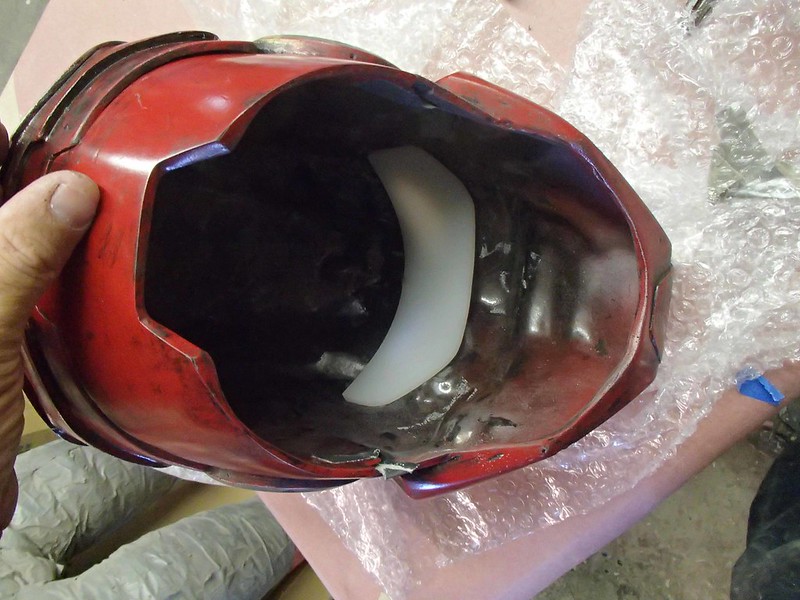
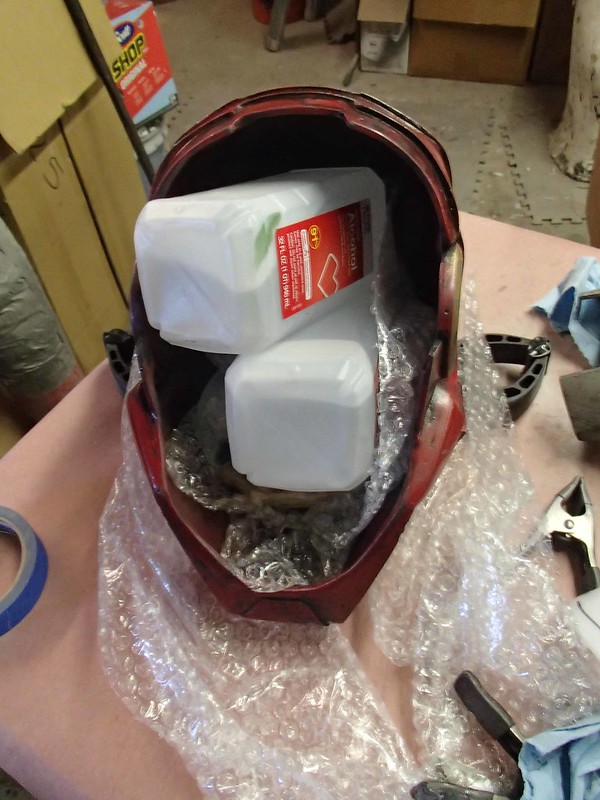
I piled a few soft things and whatever heavy-ish stuff I could find on top of the soft, heated plastic in order to hold it in place:
After cooling, the acrylic was a perfect fit, completely covering the eye holes:

Of course, this would also make it impossible to see out of, so I marked the lower edge of the eye holes on the acrylic with a permanent marker:
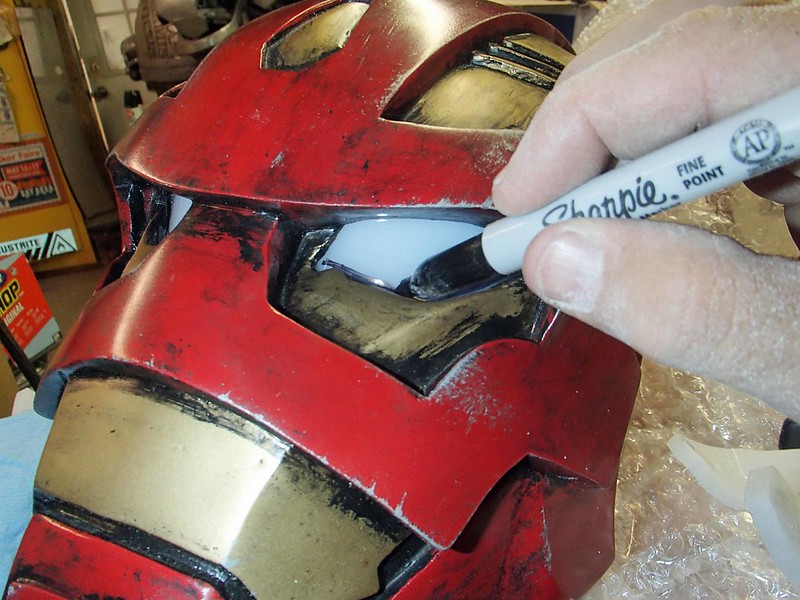
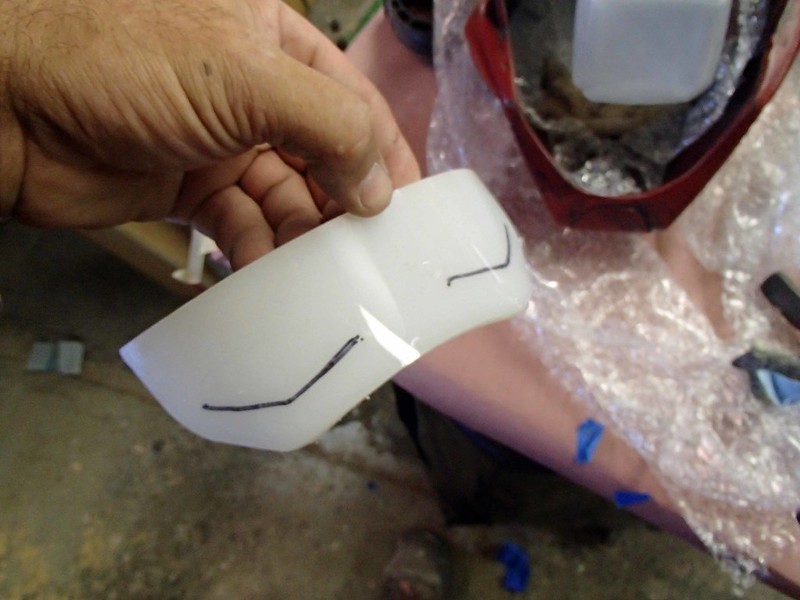
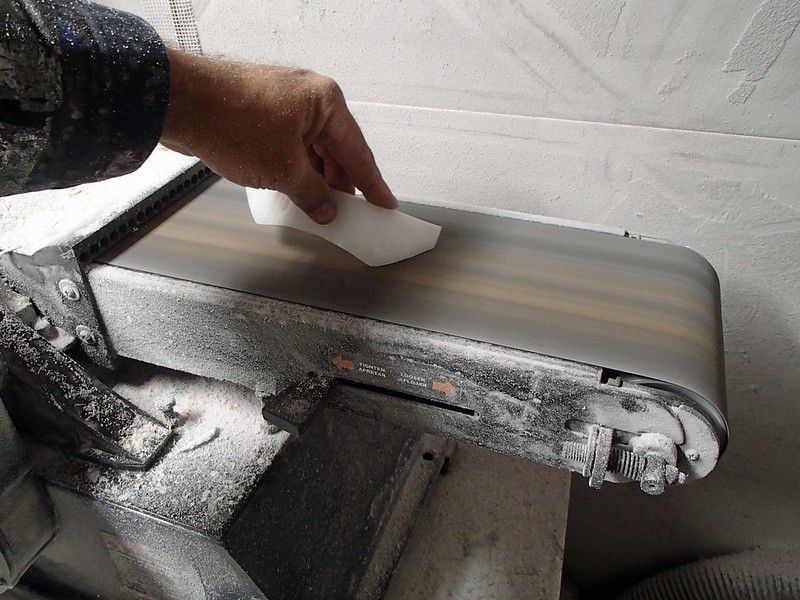
Removing everything below and including the marks would make it possible for someone wearing the helmet to see out from inside. This was an ideal job for the belt sander:
With the lenses made, the next order of business was to work out an LED circuit to illuminate them:
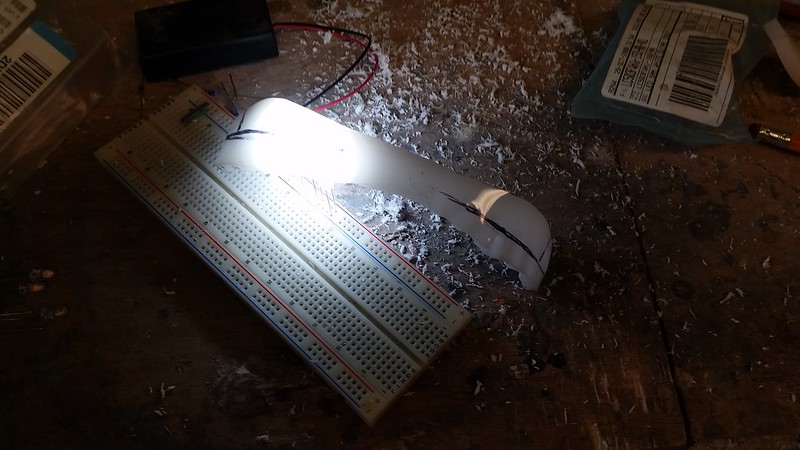
So far so good:
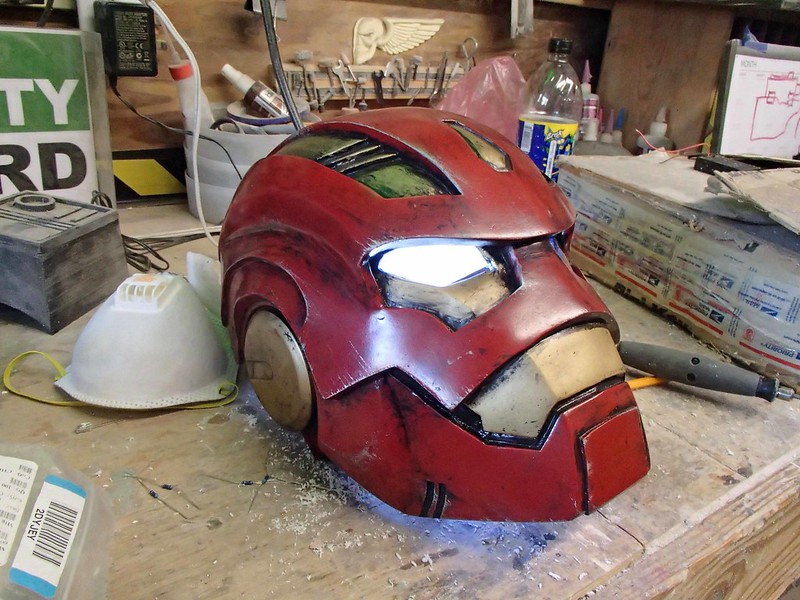
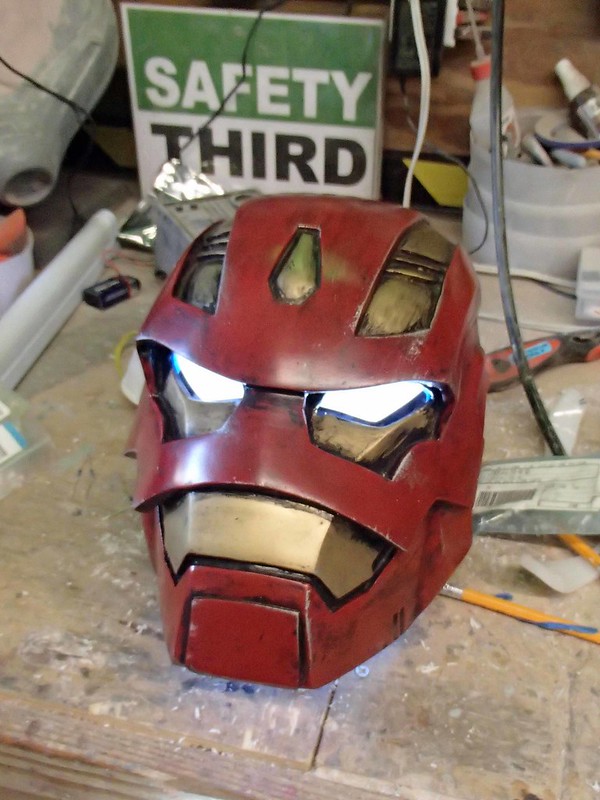
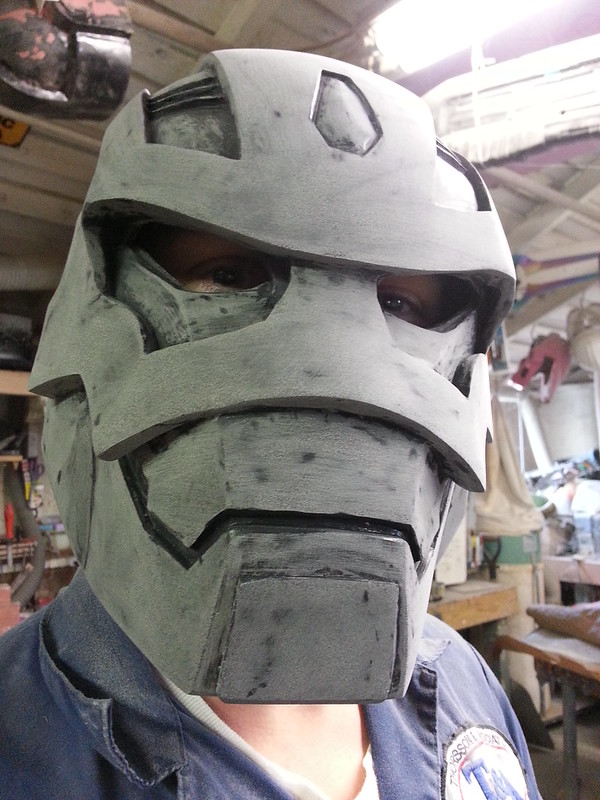
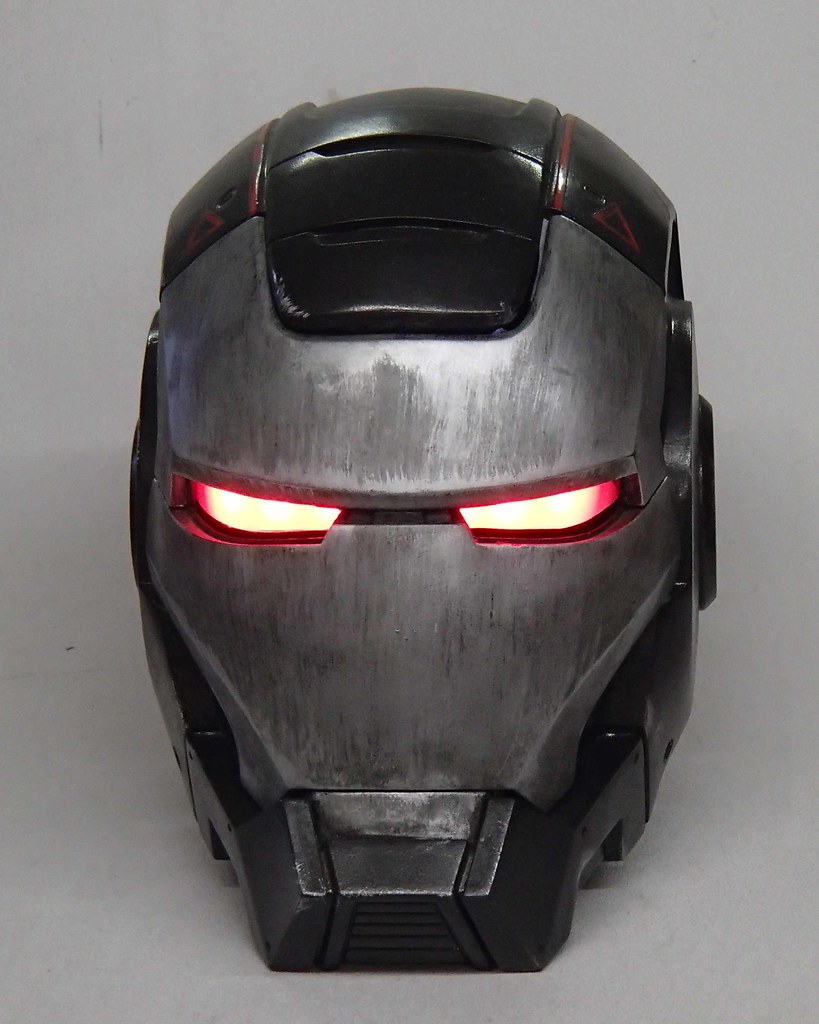
After mounting the battery pack inside the chin of the helmet and installing some foam padding to keep it all from rattling around, the end result definitely looks the part:
So that's a done thing:
Soon I'll be making real progress on another Ironman-ish project:
Stay tuned...
I'll take one, please.
ReplyDeleteNice! Good to see you're still up to your old tricks. :) I saw a good trick years ago about making glowing eyes in costumes that you could still see through. Have to see if I can find it again.
ReplyDeleteI shot you an email. I could use some advice regarding sailboats and I remembered you lived on one for a while.
Cheers,
Christian
Are you still using AM128 for silicone molds?
ReplyDeleteAt this point, almost all of my silicone is Mold Max 30 from Smooth-On.
Delete