He mentioned to me at one point that he'd like me to make some parts for a new version of the utility belt he wears with his costume. By the time we were done discussing it, the project had grown from "can you make me a smaller version of this little buckle?" to "How about three complete belts instead of two?"
I guess that's how these things happen.
Here's he is in character as Batman wearing one of the uitility belts I made for him:
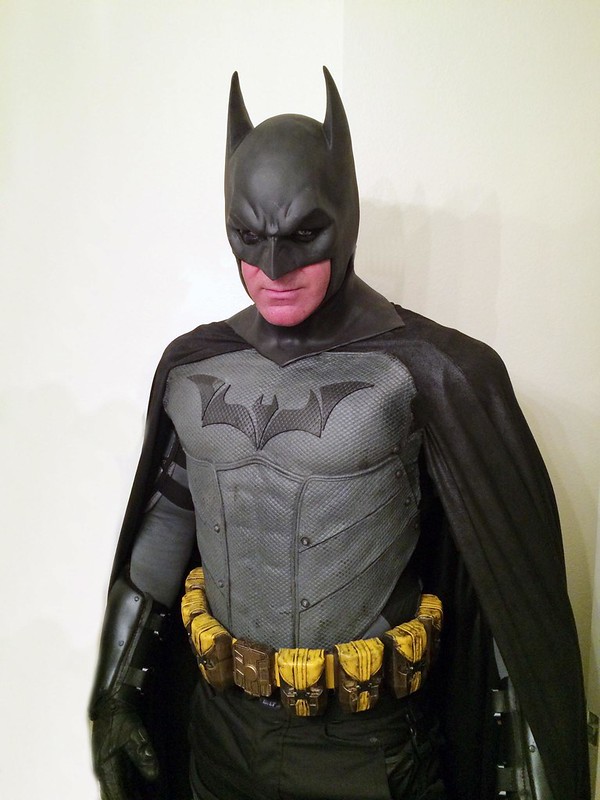
For more pictures and a detailed explanation of how it was made, read on...
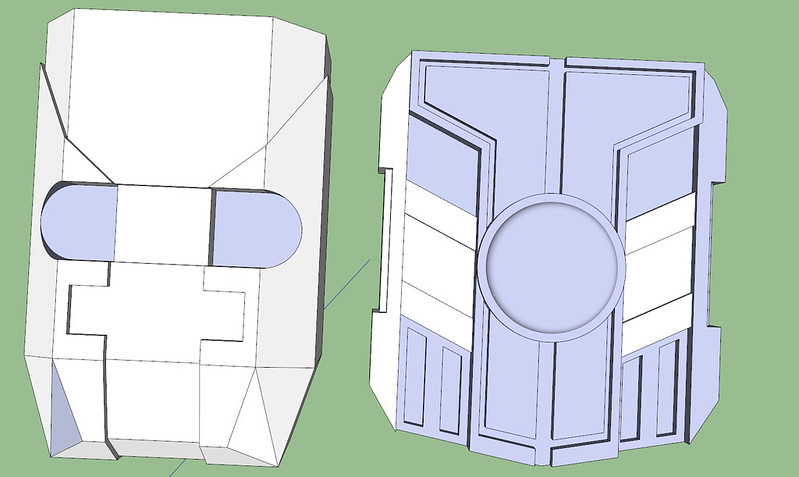
3D modelling isn't my strongest skill set, but I was able to crank out the two shapes I needed in pretty short order:
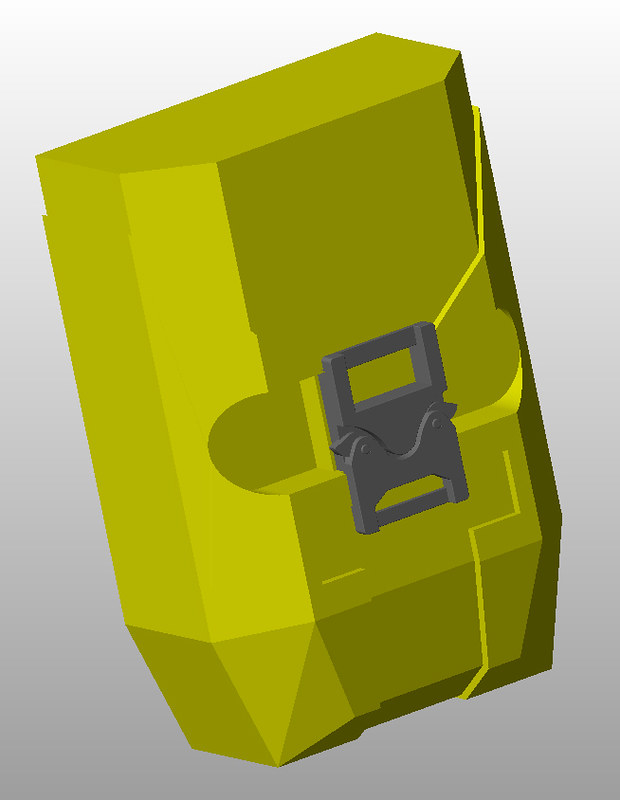
Originally, the only part Kevin wanted me to make was a miniaturized, non-functional cobra buckle (like you find in high-end tactical equipment like THIS):
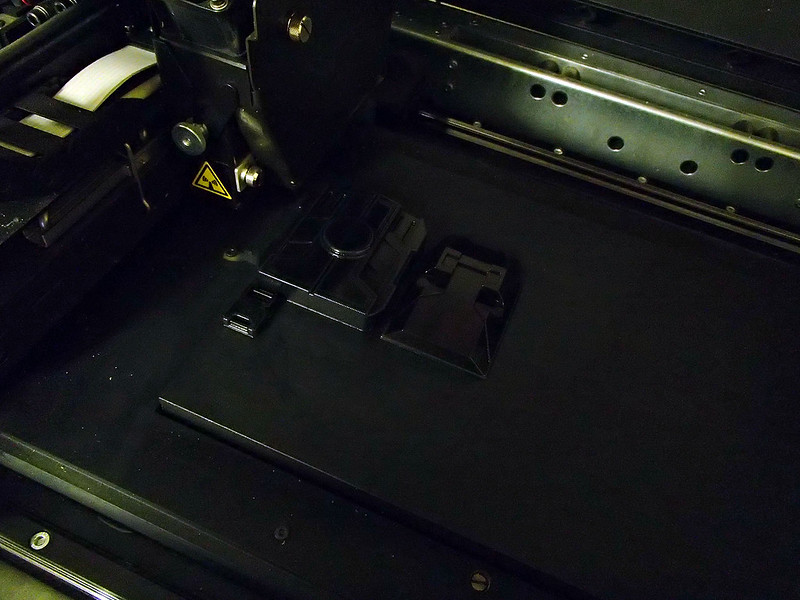
Once Kevin and I were happy with the design work, I went ahead and fed the models to Jarvis (my Objet30 rapid prototyping machine) and in a couple of hours he cranked out these pieces:
Here's the buckle after a bit of cleanup:
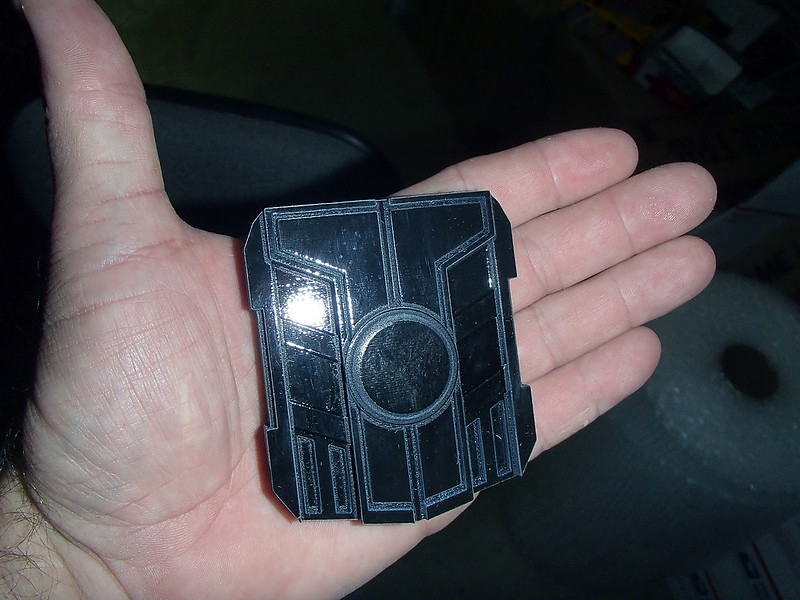
And here's the pouch with the cobra buckle in place:
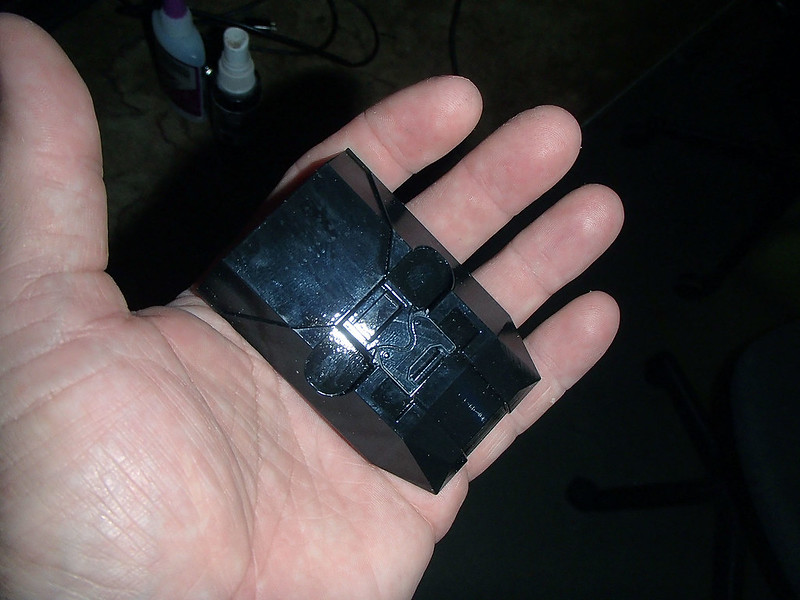
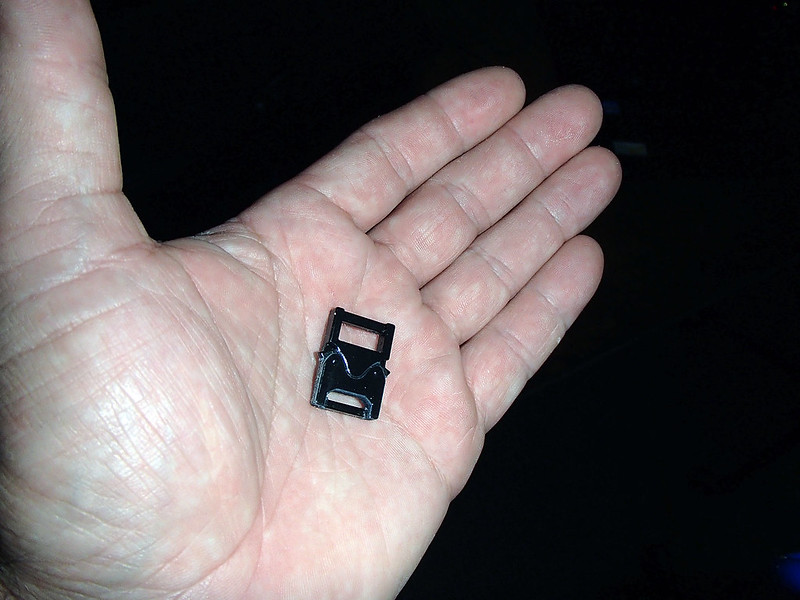
Here's the Cobra buckle all by its lonesome:
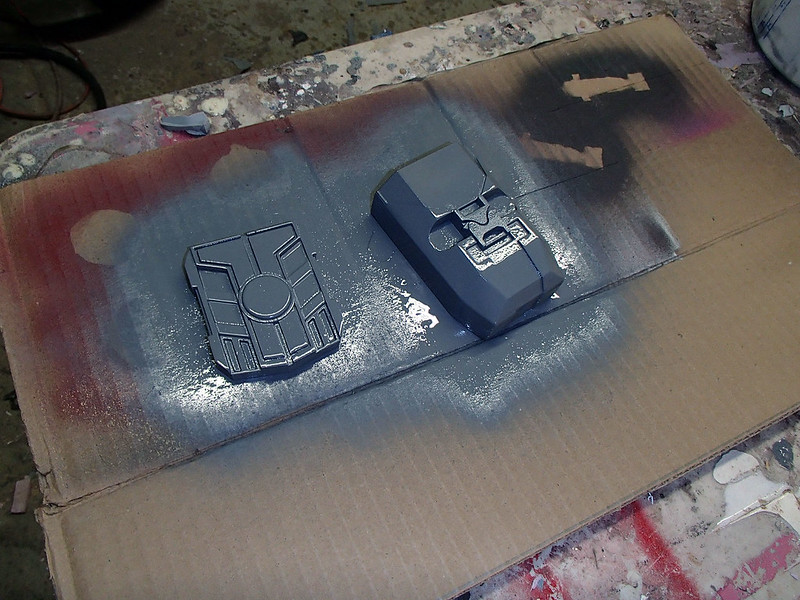
I added a piece of 3/4" MDF to the back of the pouch to make it thicker (no sense using the pricey 3D printing resin just to make a straight-sided box). Then I gave all of the pieces a liberal coat of primer:
Once the primer had cured, I sat down at the sewing machine and made a leather strap and flap to add to the pouch:
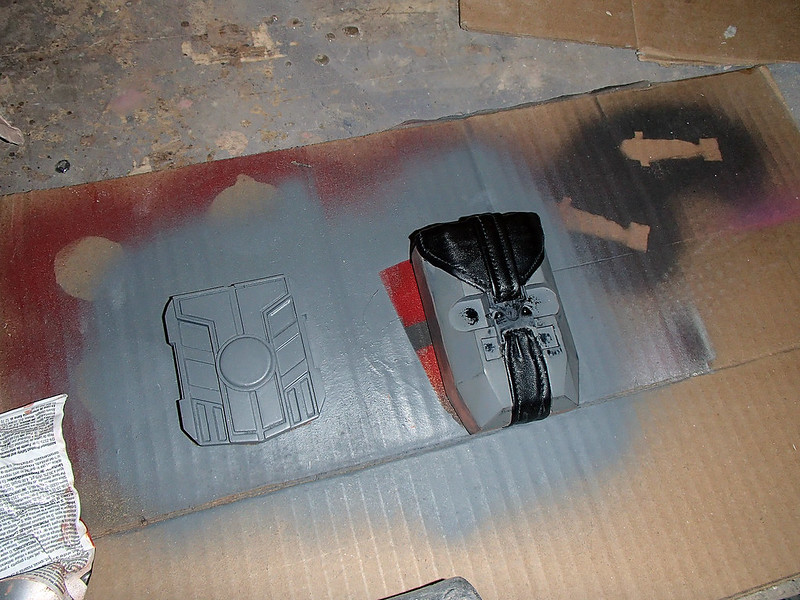
Here's a closeup:
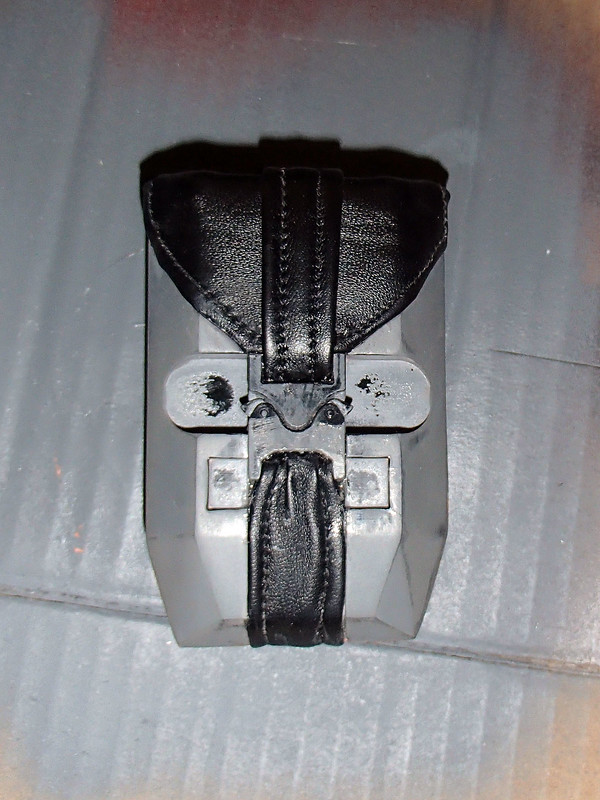
After a bit more cleanup, I gave both pieces a coat of my standard prototype color:
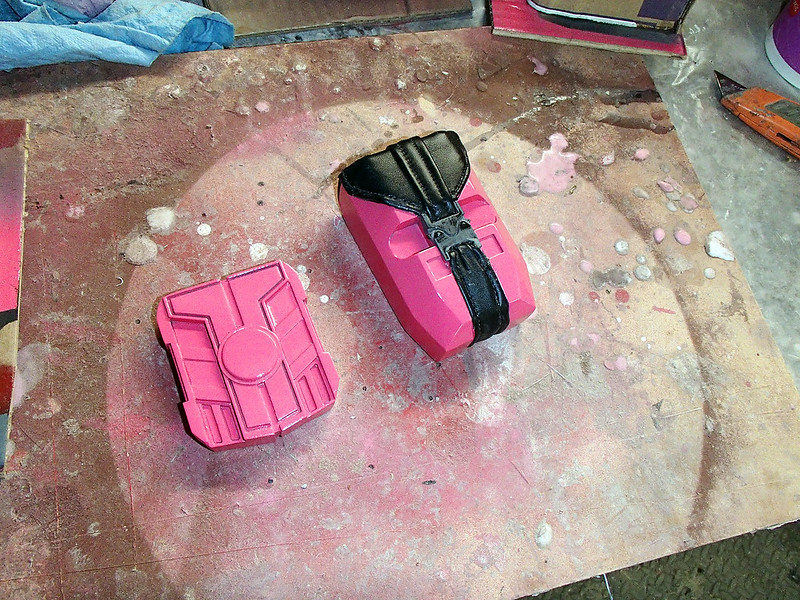
I didn't paint over the leather parts because I wanted to preserve the texture.
Once the paint had dried, I made a quick pair of mold boxes:
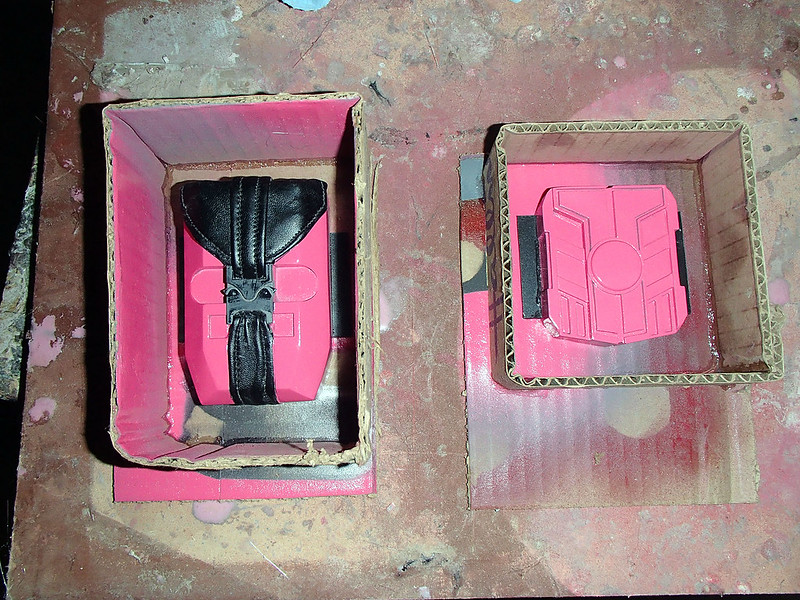
Then filled them with silicone rubber:
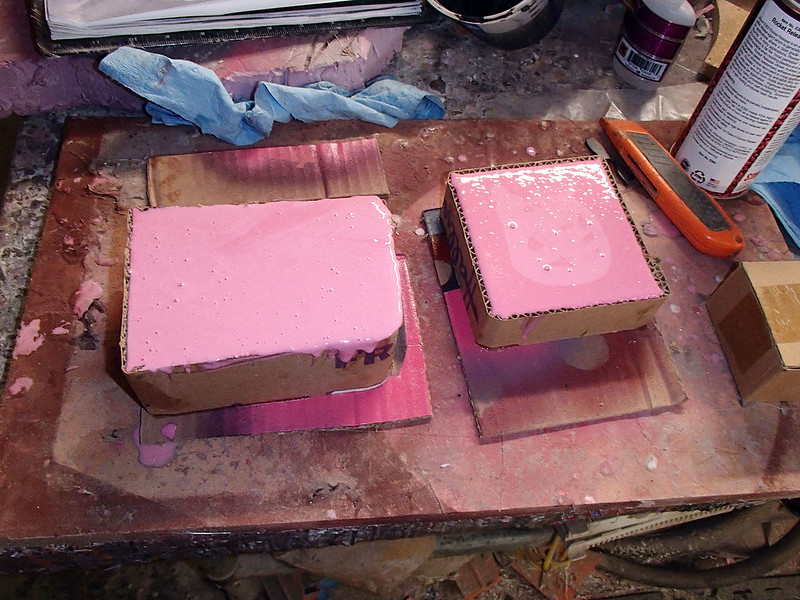
Once the molds had cured, I cast a couple of sets of parts in urethane resin with some black pigment added in:
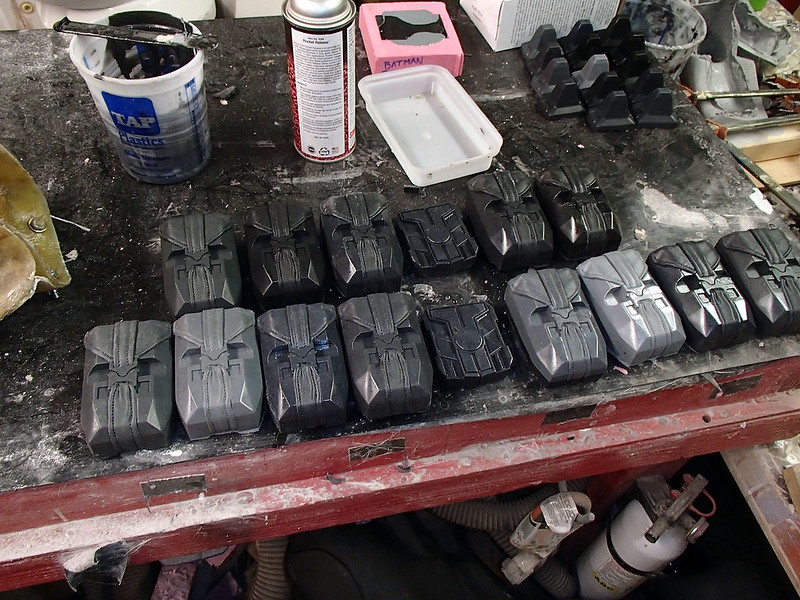
Each belt required eight of the pouch castings and one of the buckles:
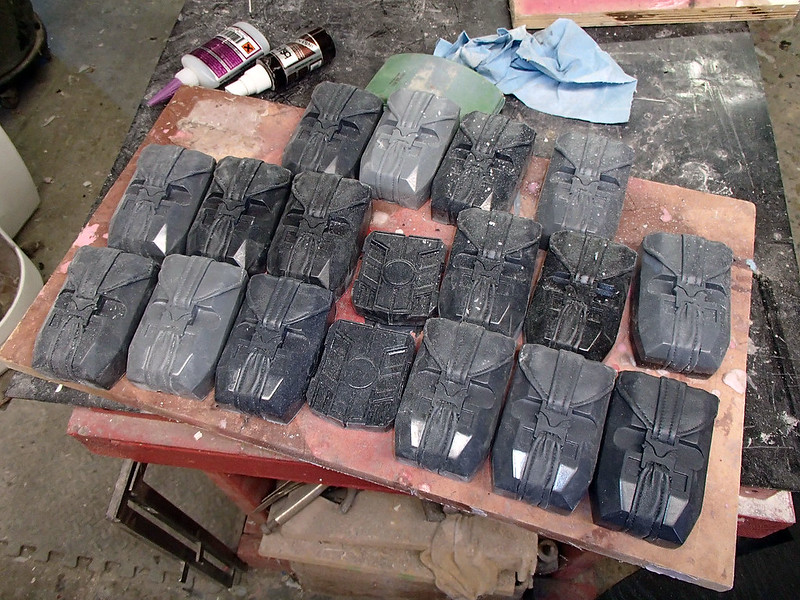
Once the mold flashing was trimmed off and the back sides were sanded smooth, all of the parts were sprayed with a coat of primer:
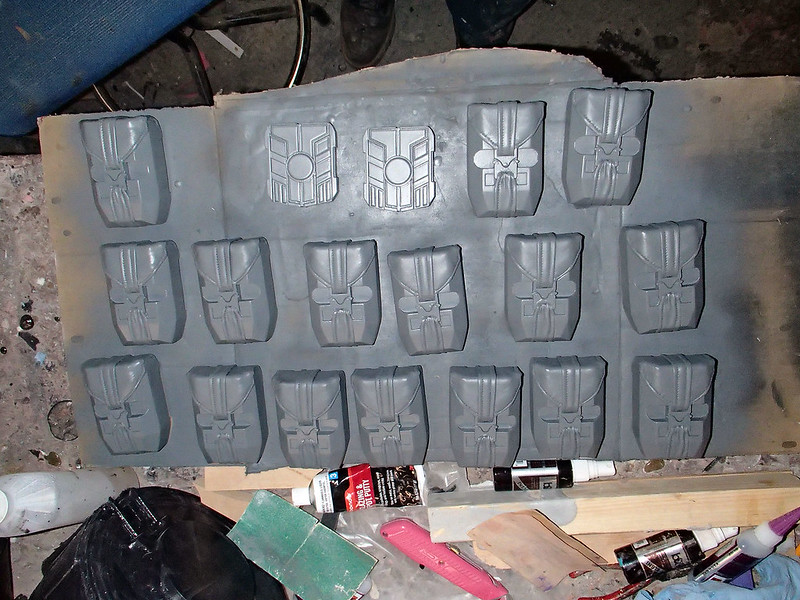
All of the parts were then painted with a yellow enamel intended for farm equipment:
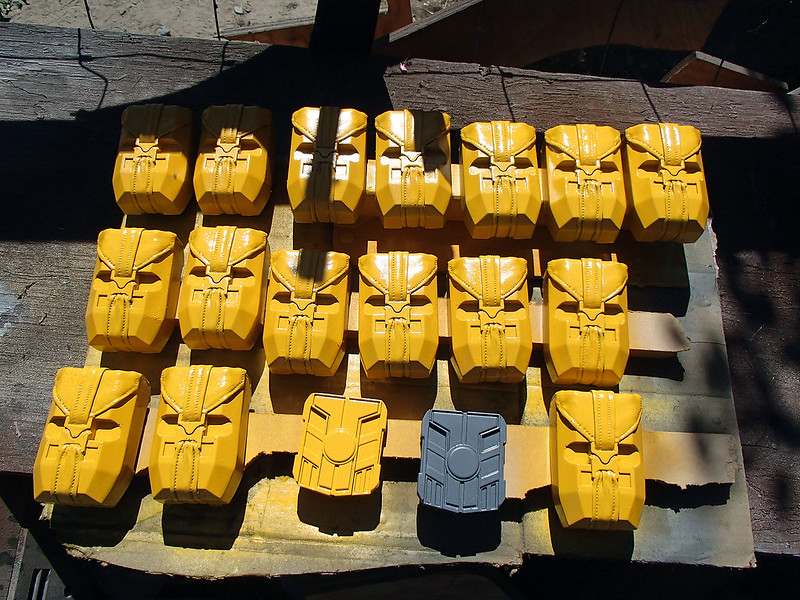
Then I picked out the black details by hand with a small detail brush:
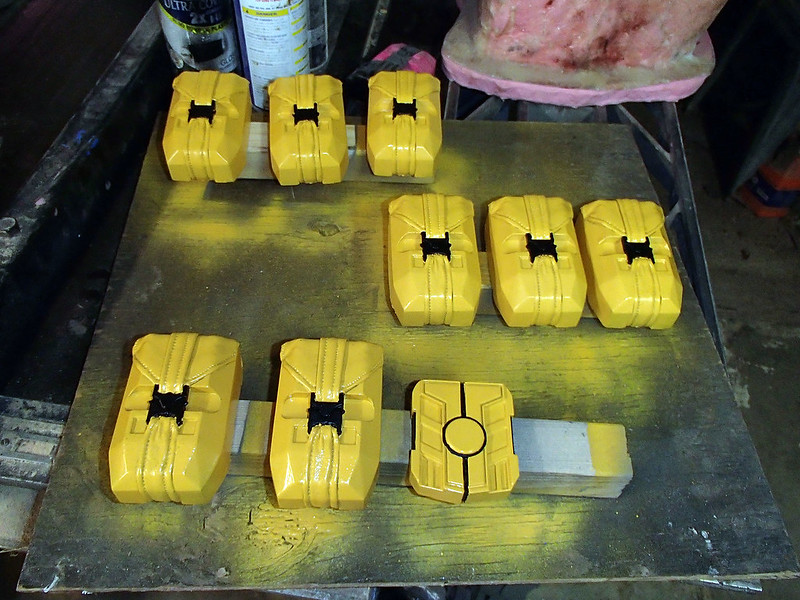
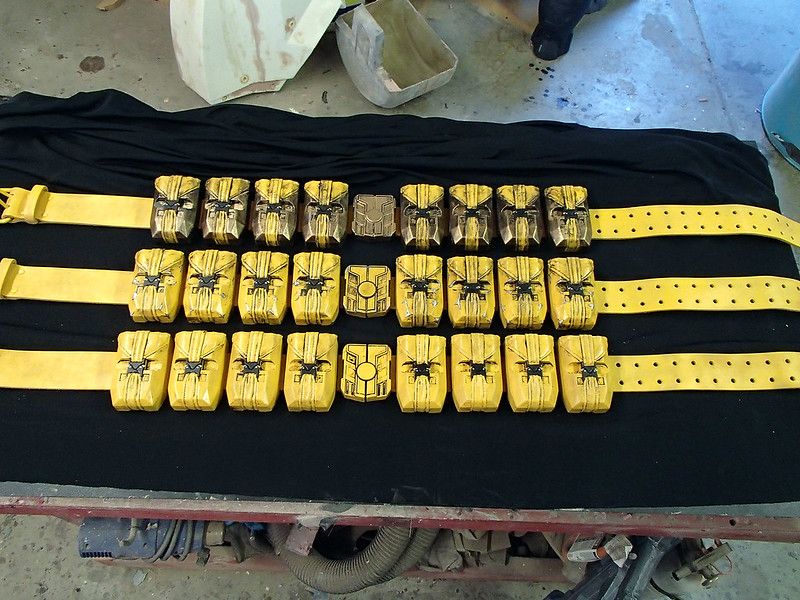
The original plan was two different version of the belt, one what was made up of yellow boxes with yellow flaps and black buckles, the other would have heavily tarnished brass boxes and yellow leather parts. Here's the pieces in the middle of the weathering process:
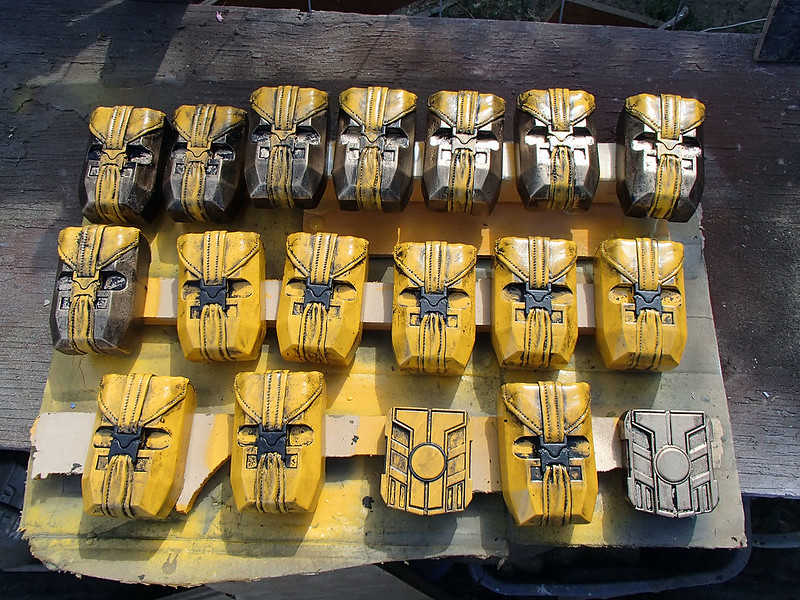
To add to the look of the all-yellow belt and make it a bit more interesting, I added a few scuff marks where the paint was chipped and the bare metal was showing through. I also picked out the small bare metal details on the cobra buckles themselves. Here's the first two sets of pieces all painted up:

All of these pieces need to be attached to something, so I picked up three of these 2-inch wide leather work belts and painted them yellow:
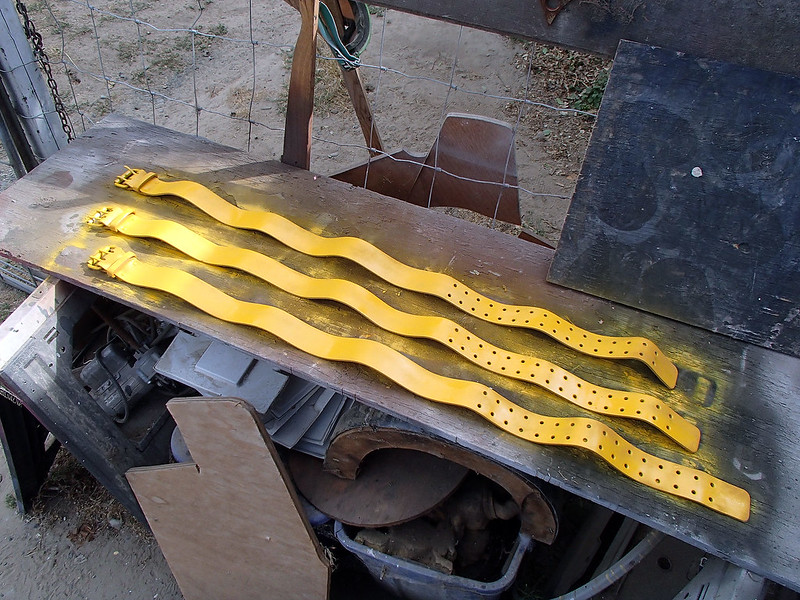
Why three? The idea came up to make another all yellow belt with less weathering and no scuff marks. Here's all three of them laid out on one of the benches in the workshop:
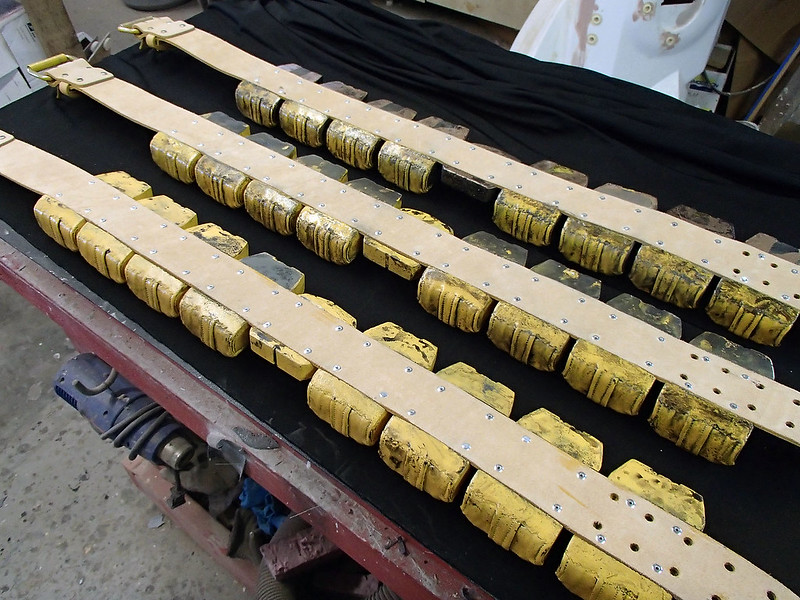
The resin cast parts were each drilled, glued, and riveted onto the belts:
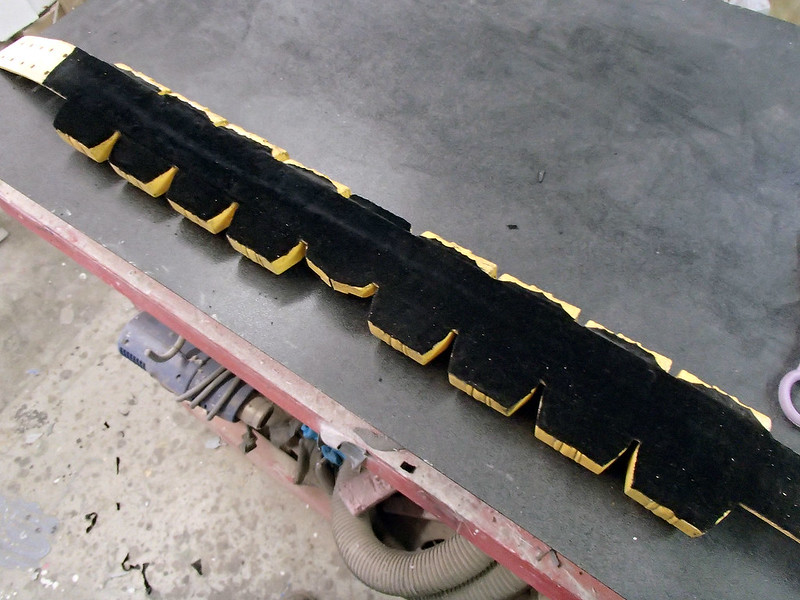
To prevent the rivets and hard edges from scratching or wearing against a rubber batsuit, each of the belts was also lined with velvet to make it nice and soft on the inside:
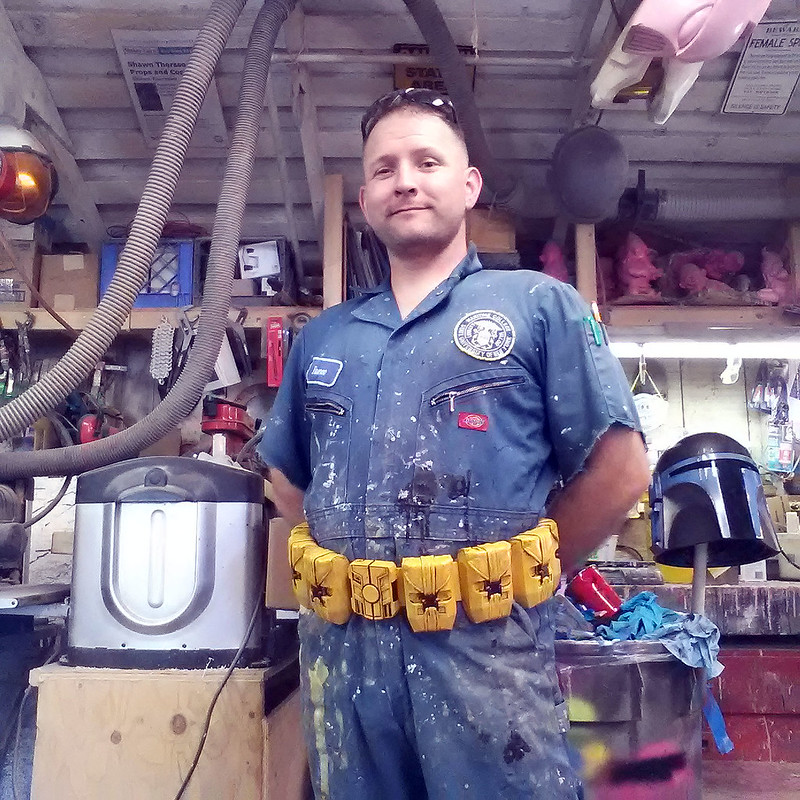
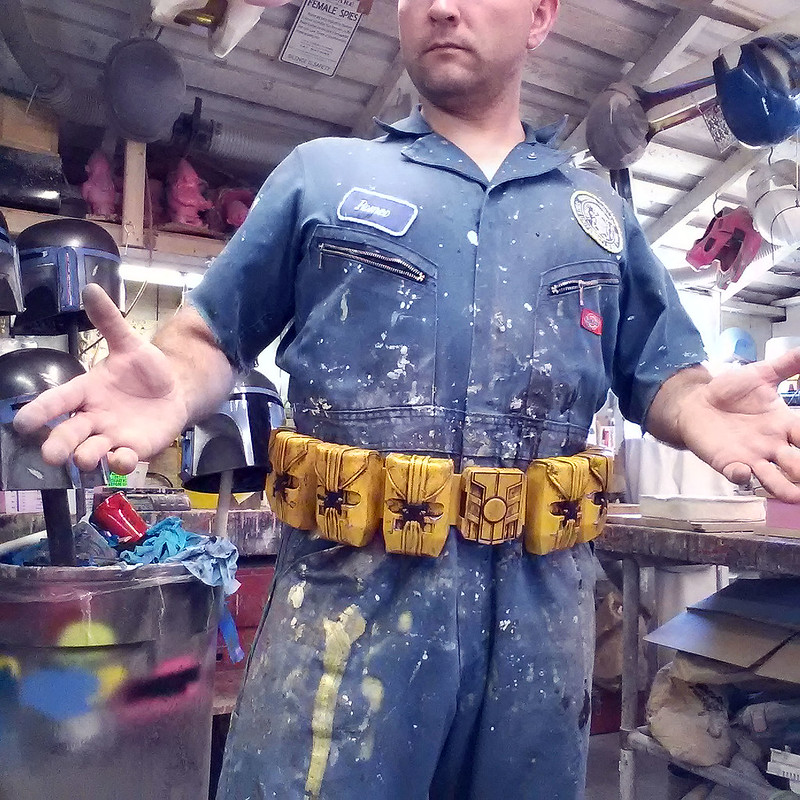
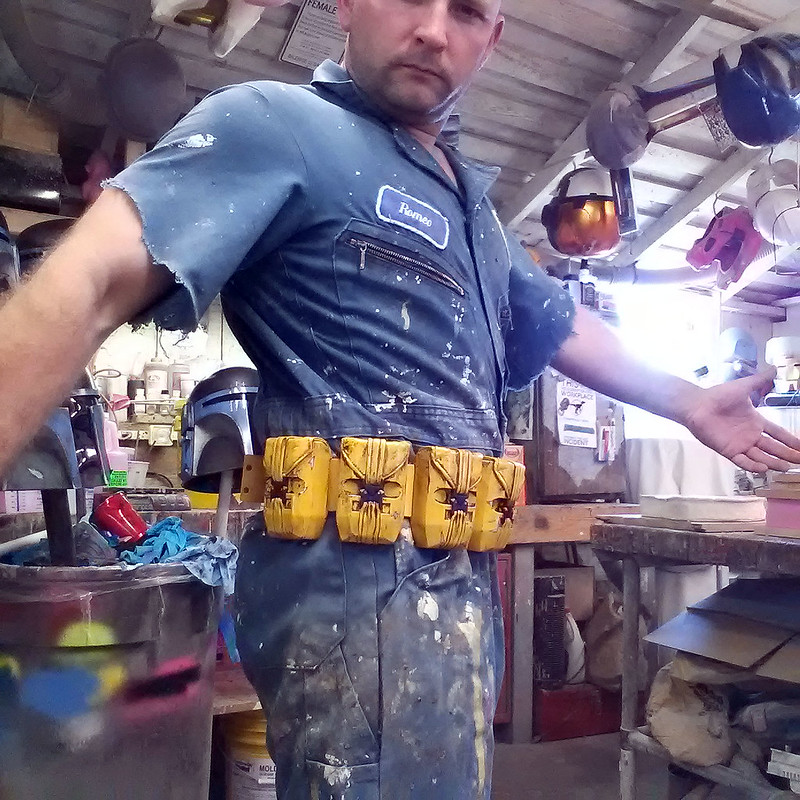
Here I am test-fitting the "clean" version of the yellow utility belt:
Here's the more weathered version:
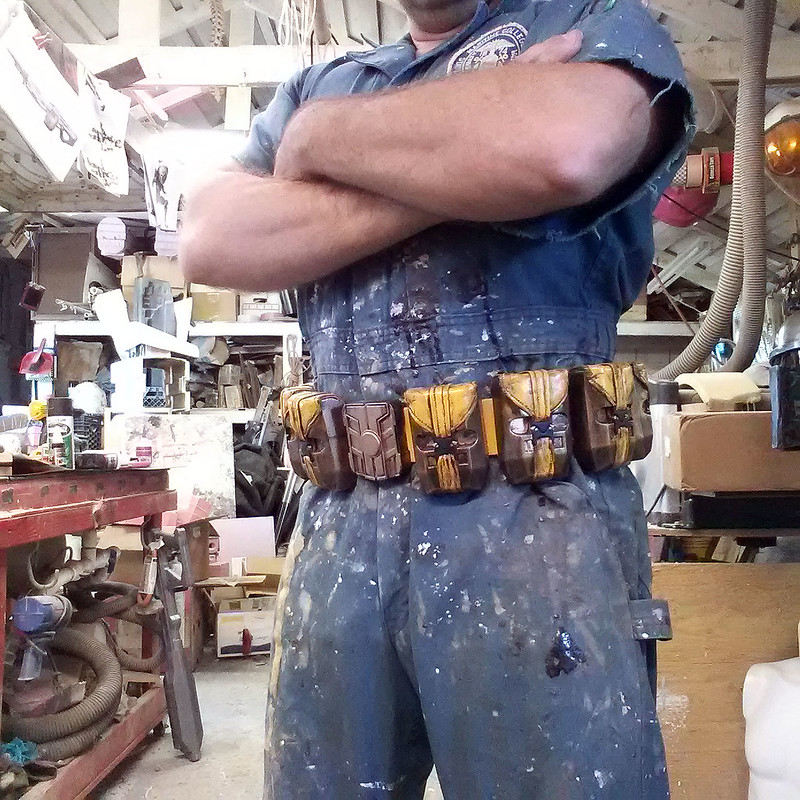
Finally, here's the brass and yellow version:
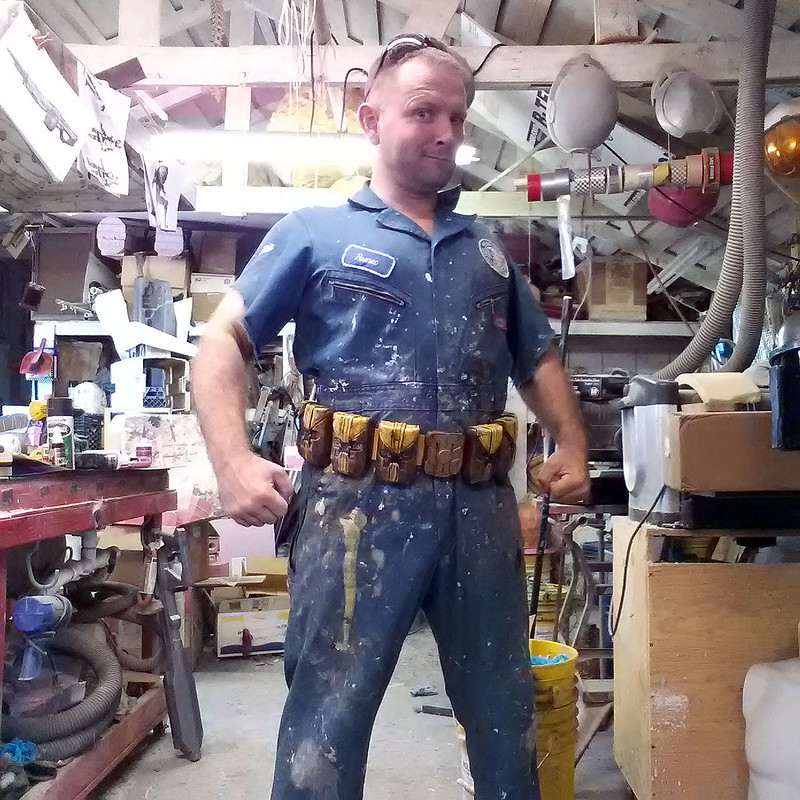
Sexy, right?
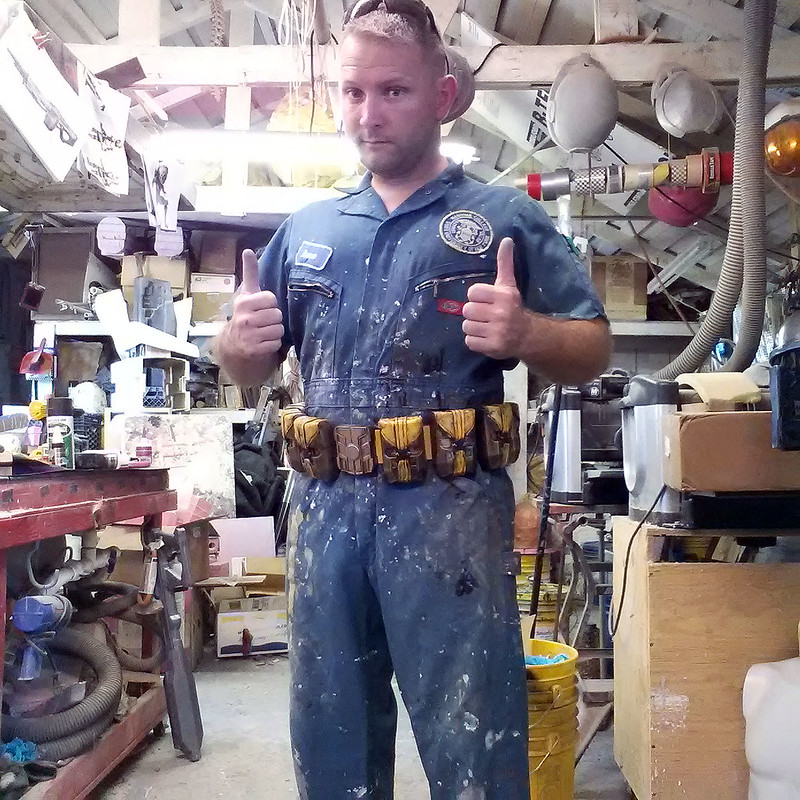
To be fair, it looks a lot better on Batman himself. I nabbed the following images from his Facebook page:

The belt even looks good when he's not wearing the complete costume:
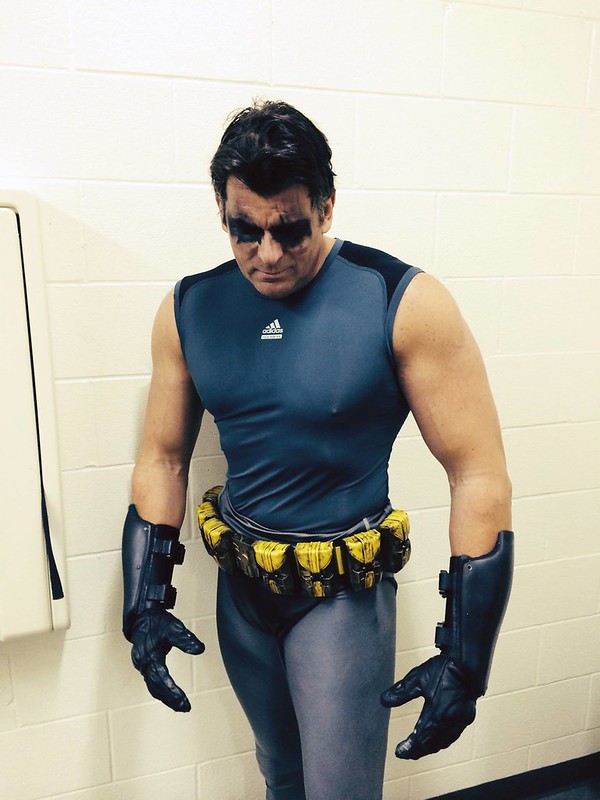
So keep an eye out on the Bat in the Sun Youtube channel, I have a notion that you'll probably see this belt again sooner or later:
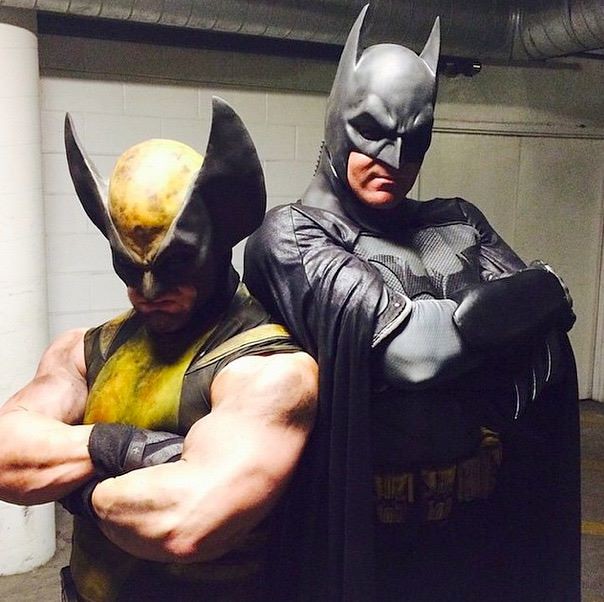
I'll admit I had my doubts about the bronze and yellow color scheme, but at this point I'm confident it'll look pretty good on film:

Still no word on Wolverine's opinion.
More to come. Stay tuned.

Damn, those look cool. I'm going to have to check out the youtube channel as well, now.
ReplyDeleteGreat work!!
ReplyDelete