
Somewhere along the way I end up with a sort of shopping list. There's always something that comes up along the way that makes me sit up and say "Oooh, I want one of those!"
Sadly, most of the things that catch my eye don't actually exist in real life. If only I knew someone who could make these sorts of things...
Oh, right.
When I came to the end of Star Wars: The Force Unleashed
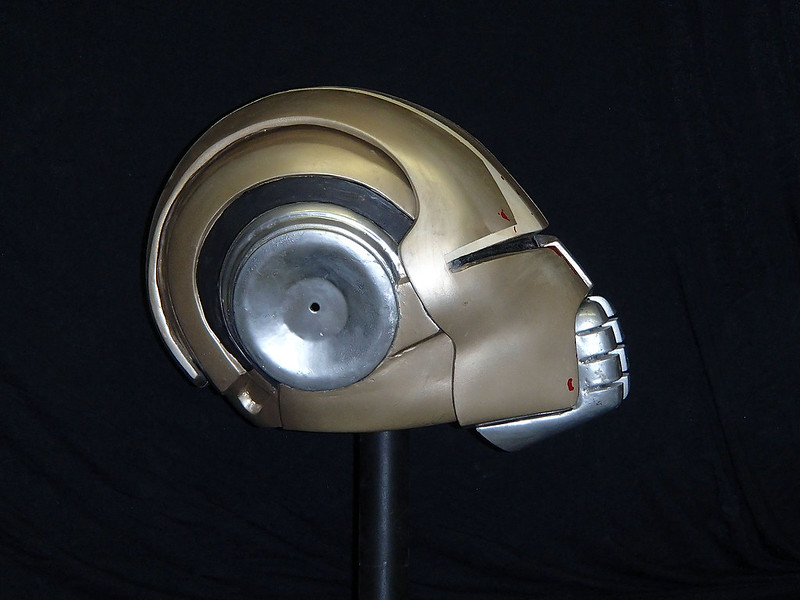
So I got to work and turned this:
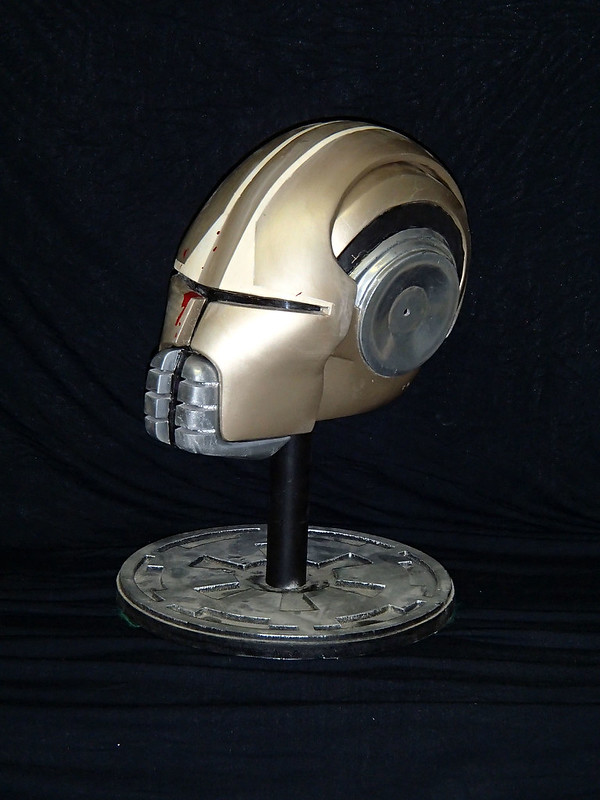
Into this:
For details about how it was done, read on...
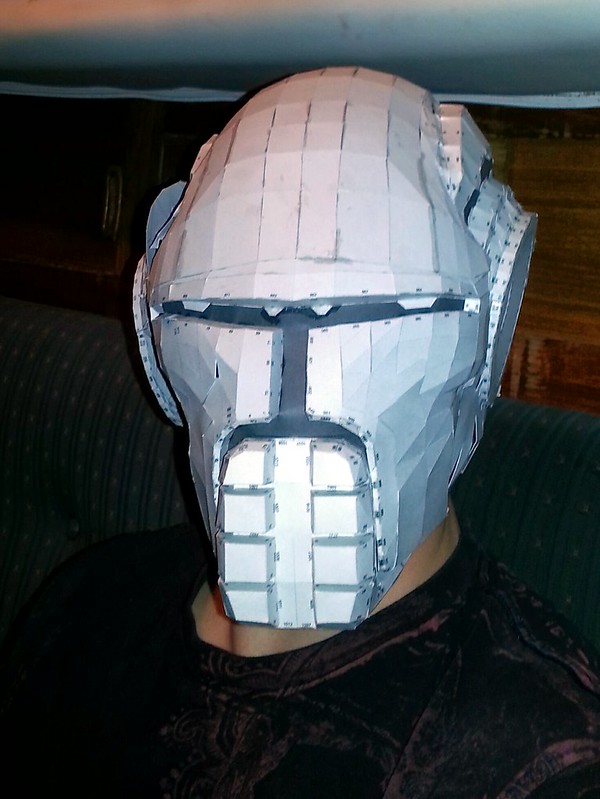
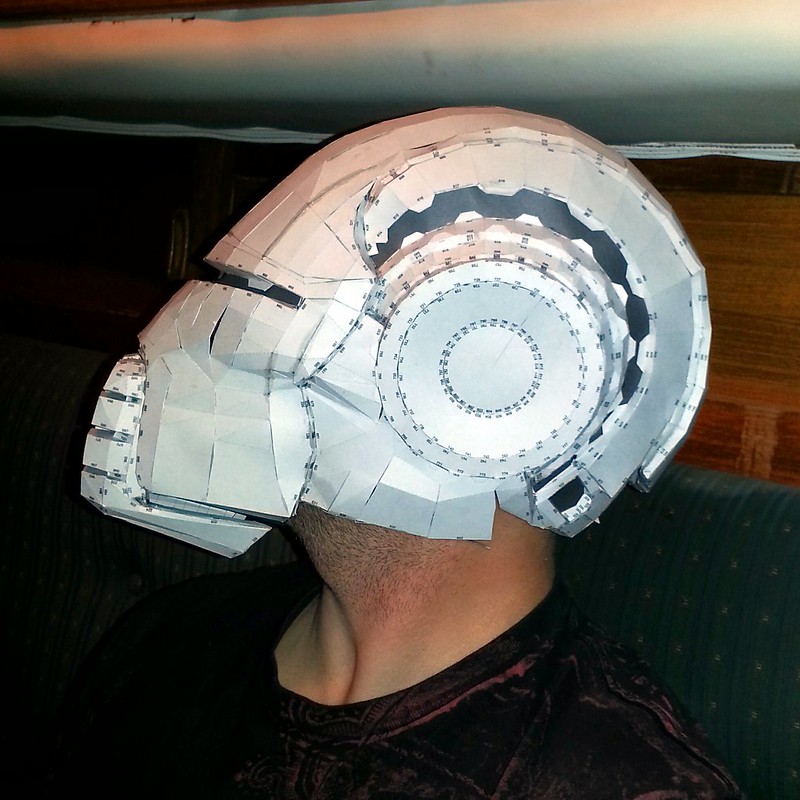
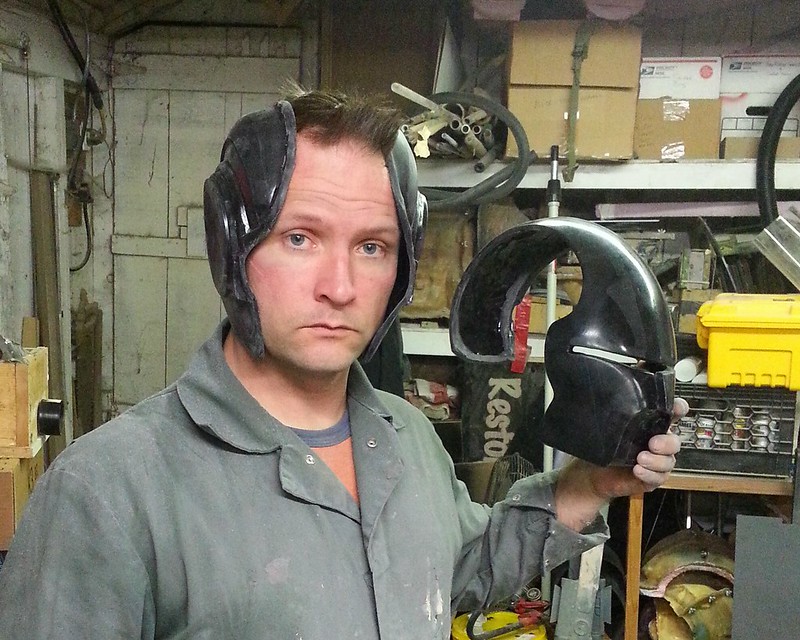
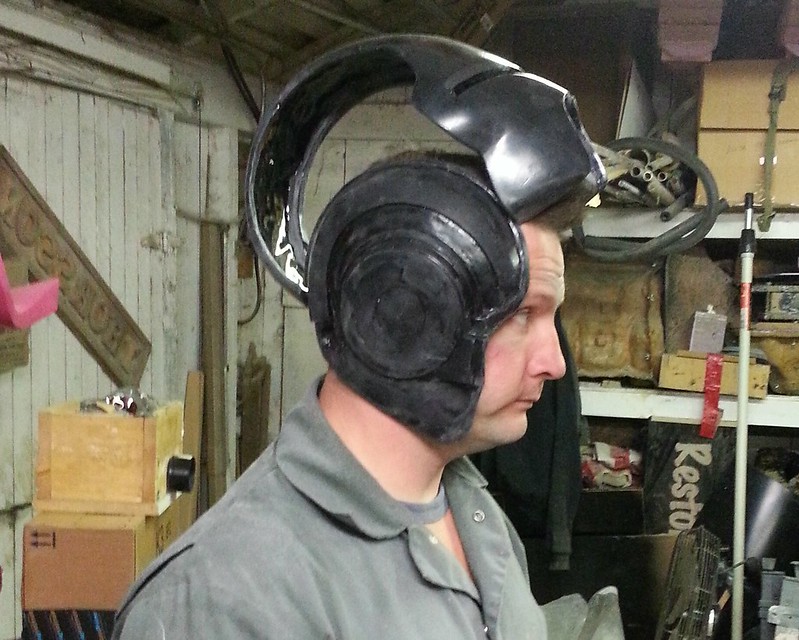
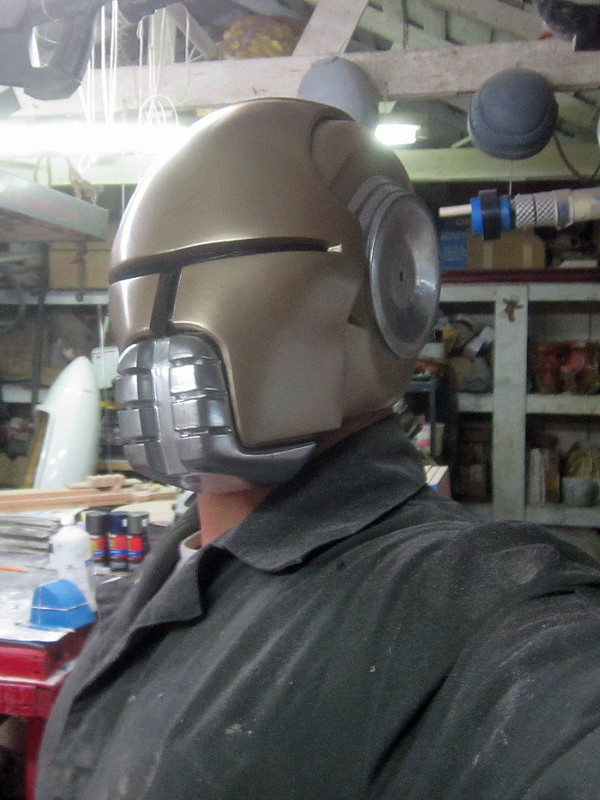
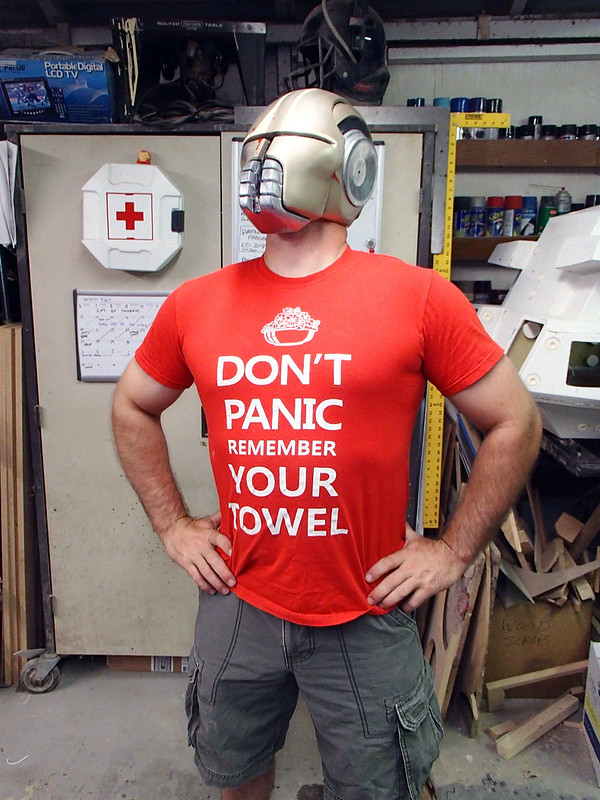
I've already covered the assembly of Pepakura models, so I'll skip that for now. Instead, I'll just post another picture of me wearing this very snug helmet:
It was so snug in fact, that you'll notice the tear in the back. Without that tear there would be no way I could get it on and off. It was a tight fit, but I was confident that I could make it work.
I had a plan...
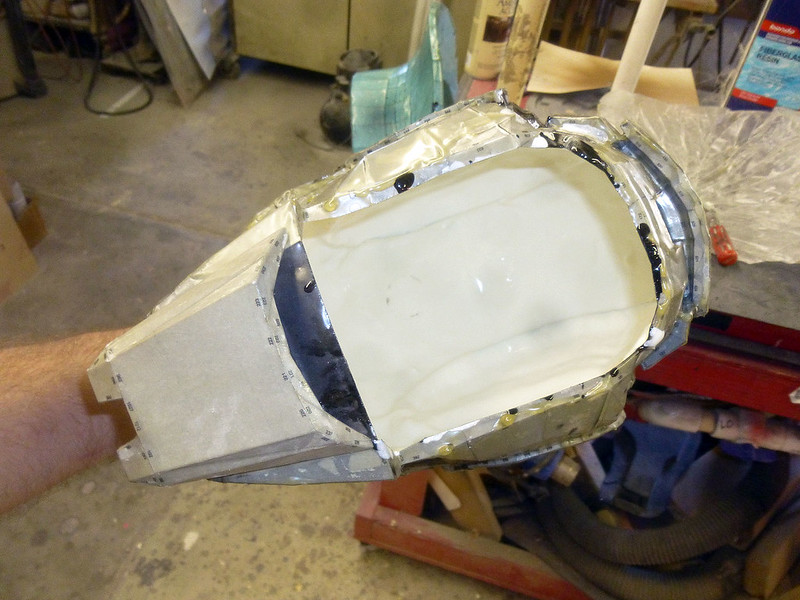
I started by soaking the paper with polyester resin just to stiffen it up:
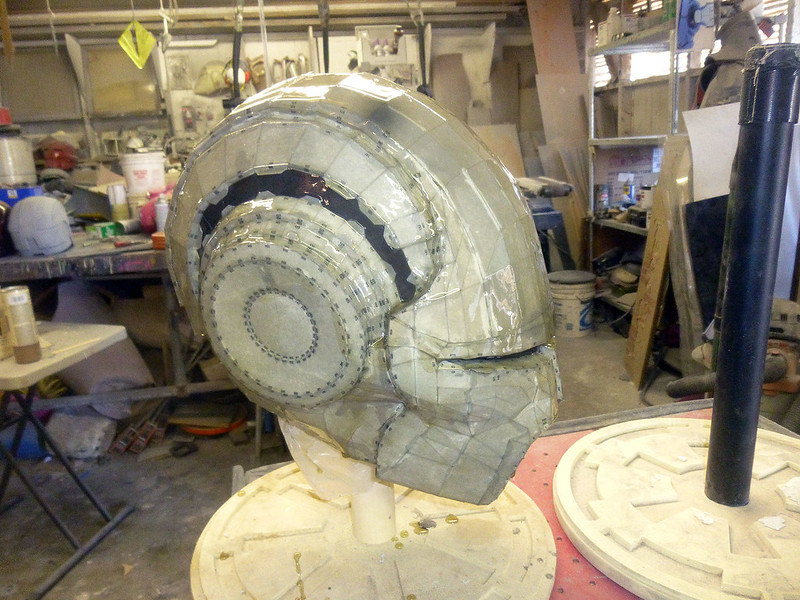
Once the polyester resin had cured, I went ahead and rotocast a few layers of urethane casting resin on the inside to stiffen up the whole thing:
As soon as the urethane resin had cured, it was time to get to work filling and smoothing the outside. Here it is with the first coat of Bondo:
Here's a shot somewhere in the middle of the filling and smoothing process:
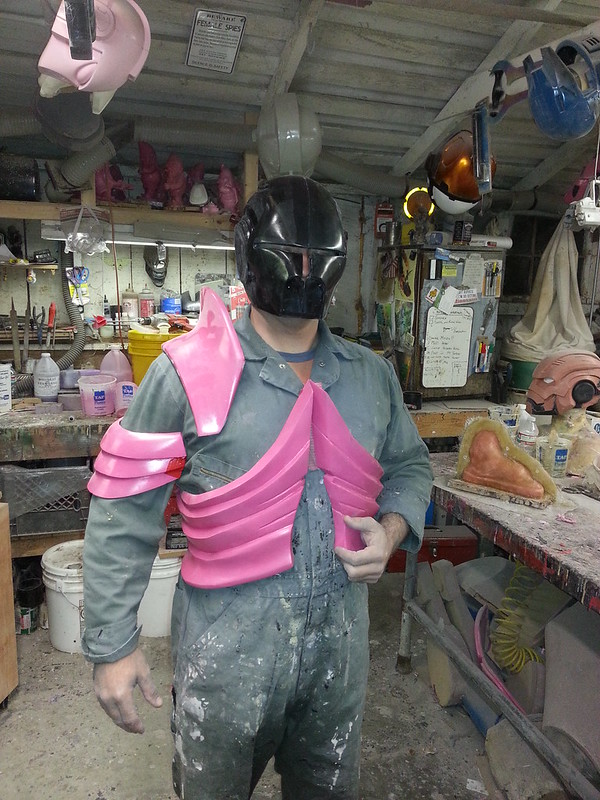
That other piece on the table is the collar armor. More on that in some future post.
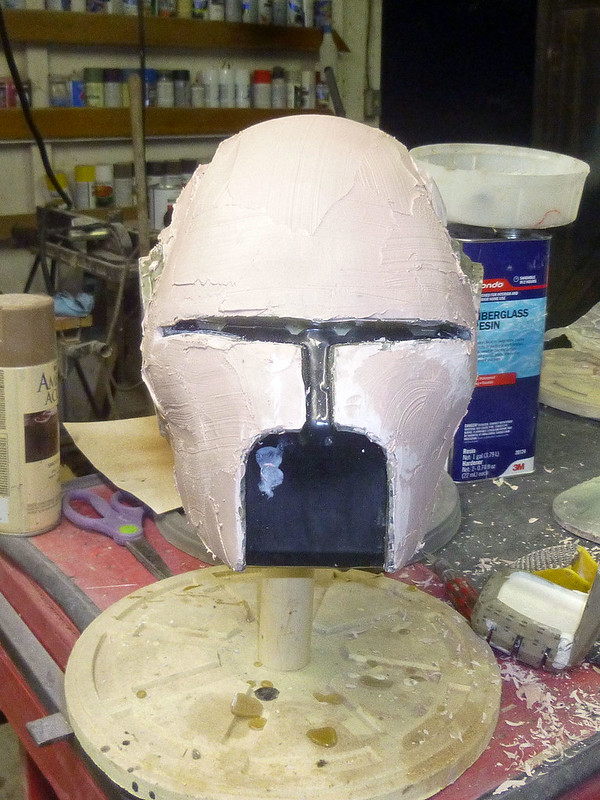
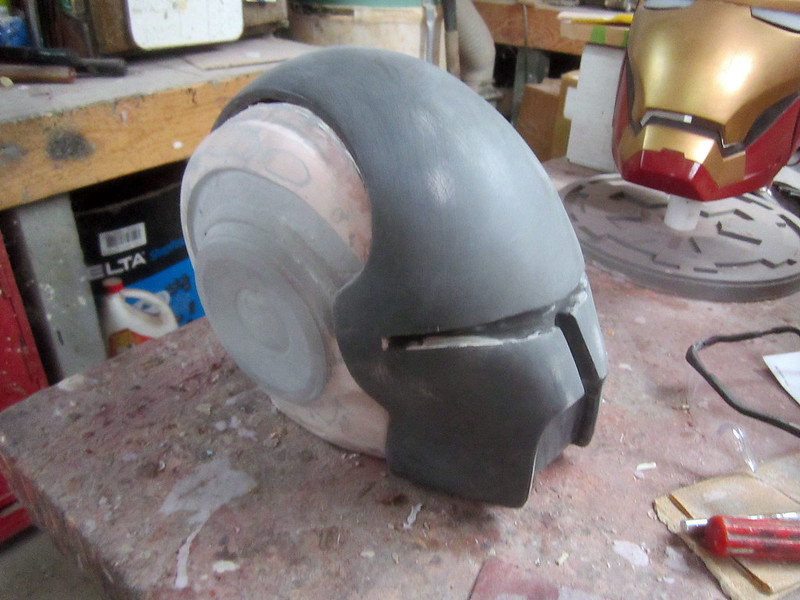
When I figured it was almost as smooth as I wanted it to be, I went ahead and sprayed on a coat of primer:
Now that everything was reinforced and smoothed out, there was absolutely no way my gargantuan cranium was going to squeeze through the neck hole. Since I've grown out of that phase of my life where I'd have considered bashing my skull until it fit, I needed to alter the helmet.
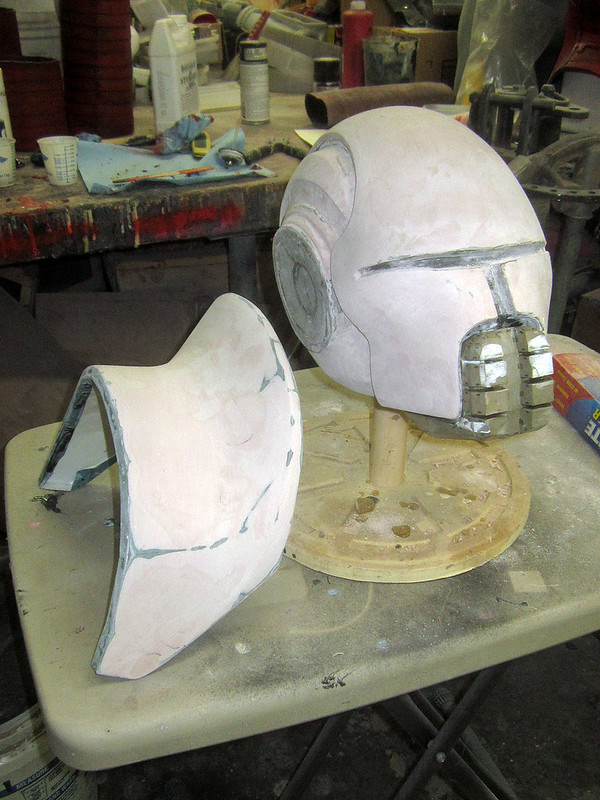
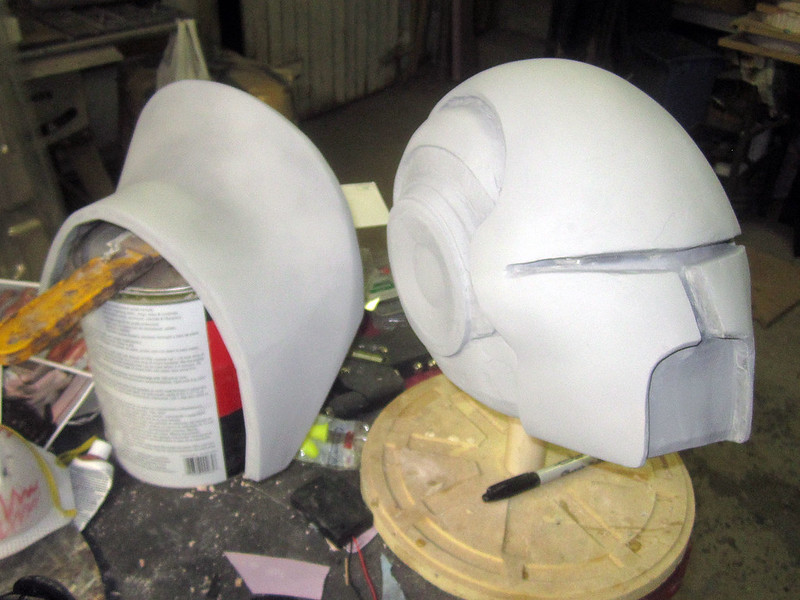
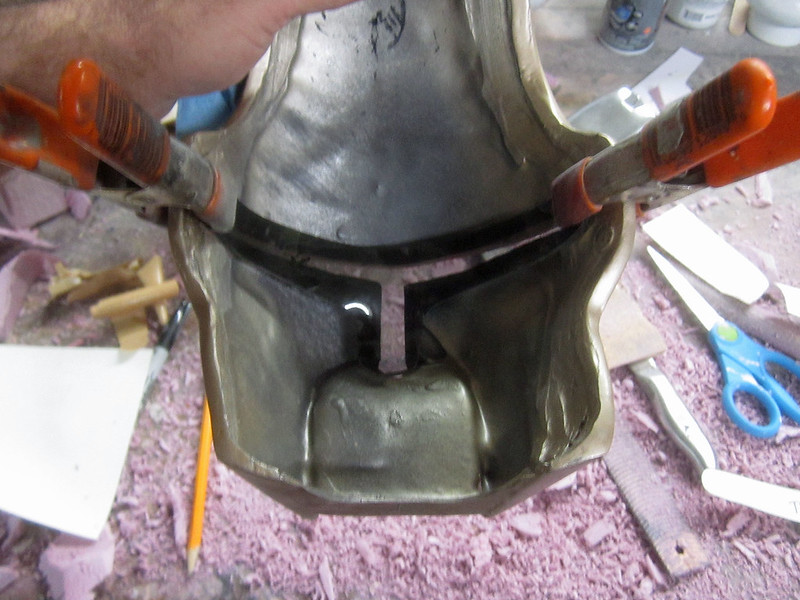
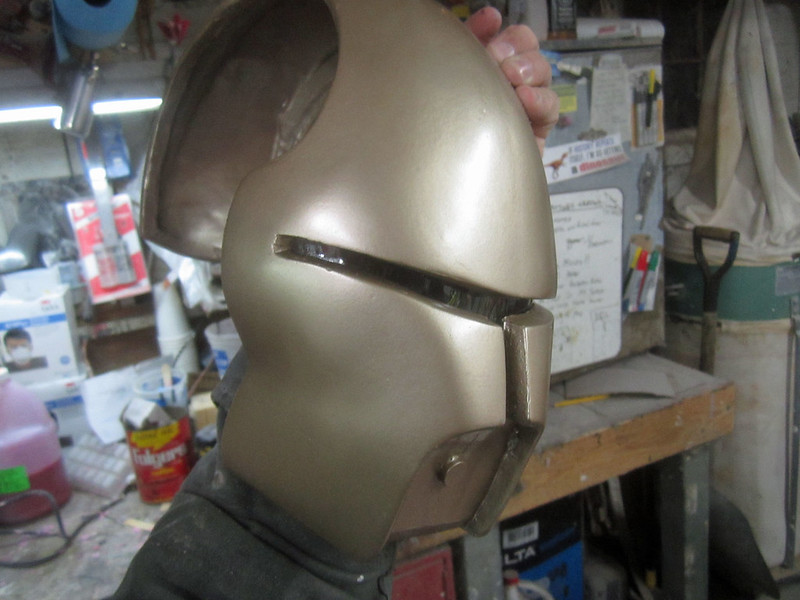
I decided the best course of action was to cut it into two pieces that would go on separately and fit together like the skin of a baseball. Here's the two pieces:

The back/side piece would slide on first and go around my ears and the back of my head, then the top/front piece would hook onto the back and swing down into place over my face. Here they are from the other side:
The tongue depressor glued into the back/side piece is to keep the width from changing while I continue to fill and smooth it.
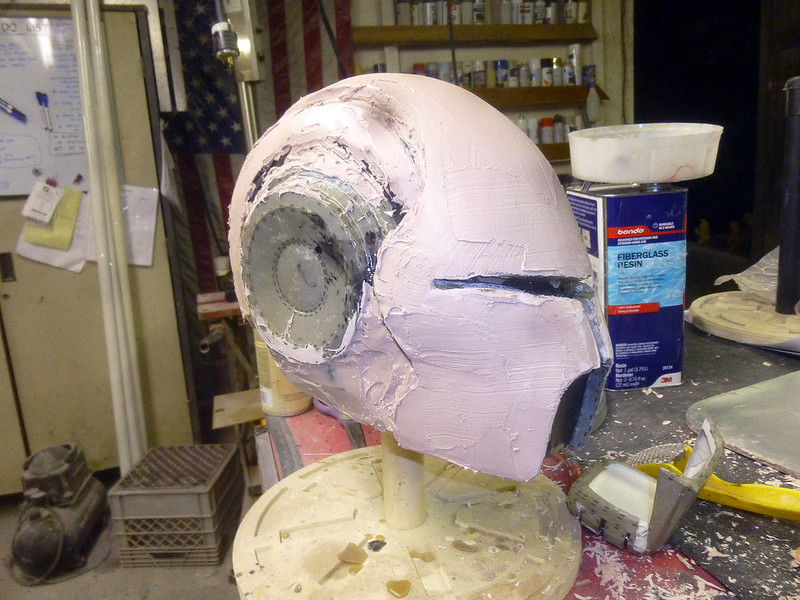
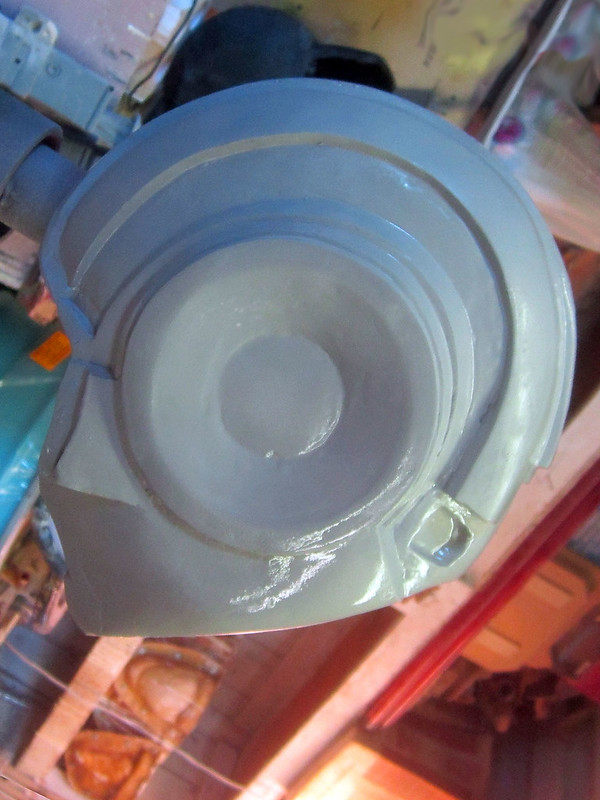
Here's the top/front piece in place without the side/back piece:
The top/front piece has just enough spring tension to hold itself in place on the side/back piece. This could work:
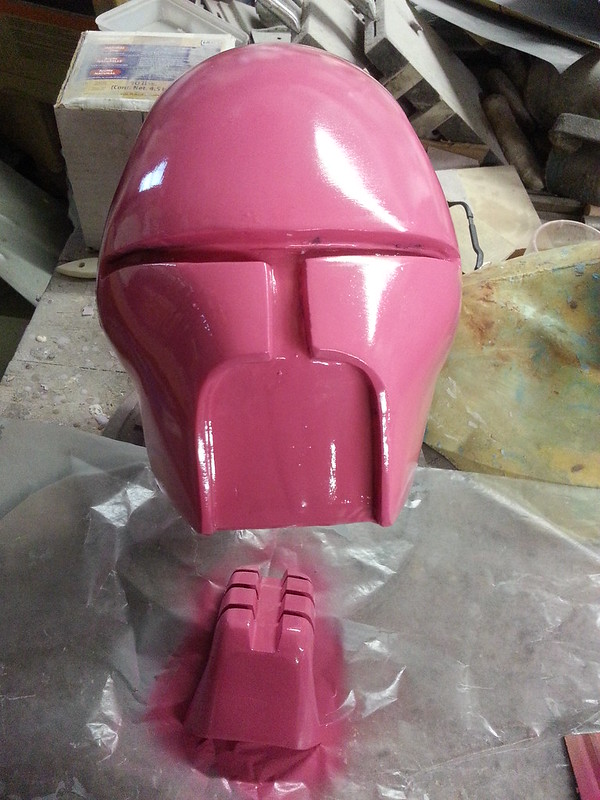
In order to make molding the parts easier, I decided to make the mouthpiece a separate part:
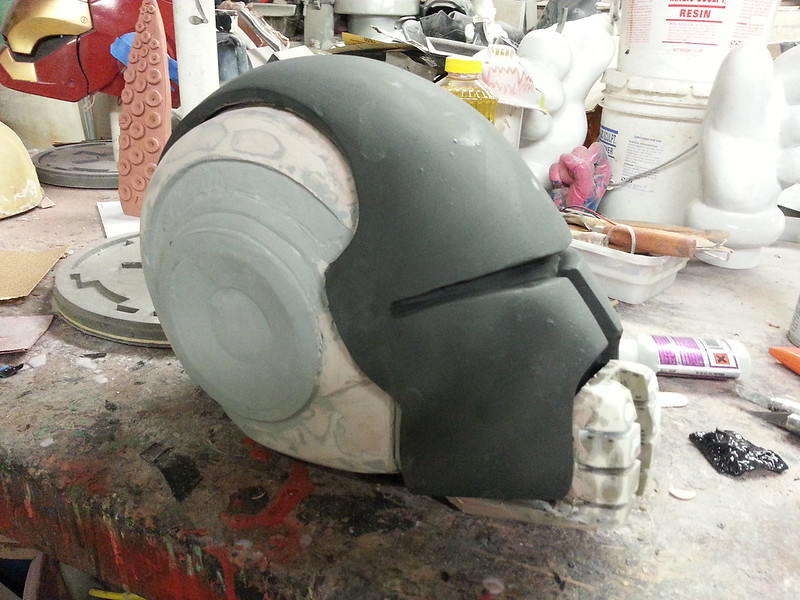
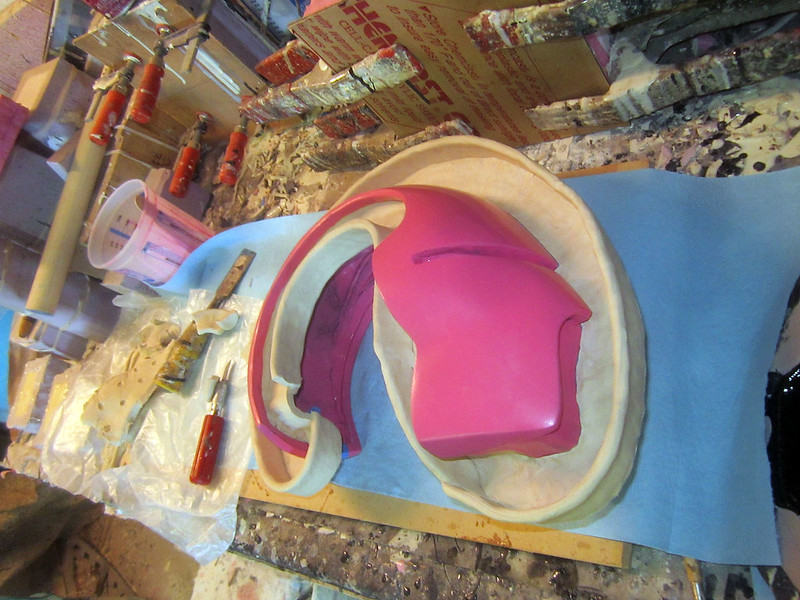
So I did a bit more smoothing and filling and ended up giving the first two pieces a shiny coat of my standard prototype color:
The back/side piece was modified to include a ridge along the mating edge in order to keep everything lined up when the parts were popped together:
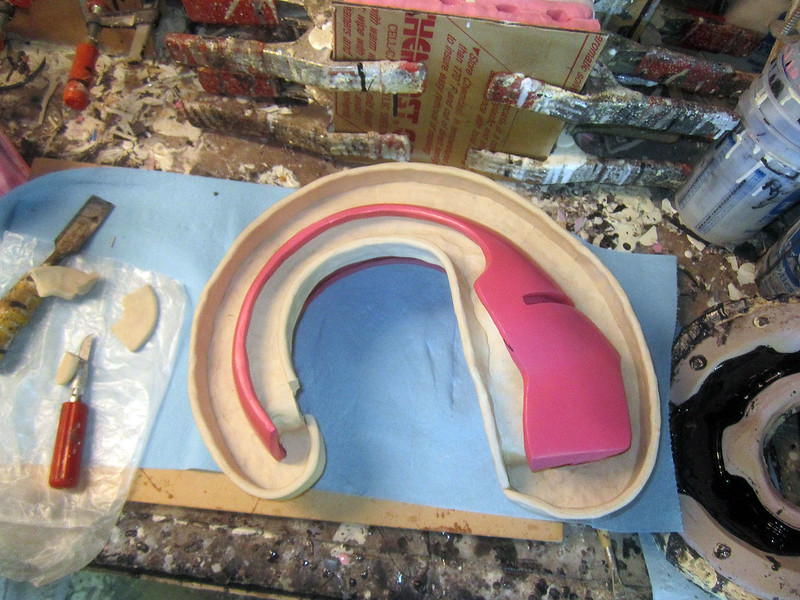
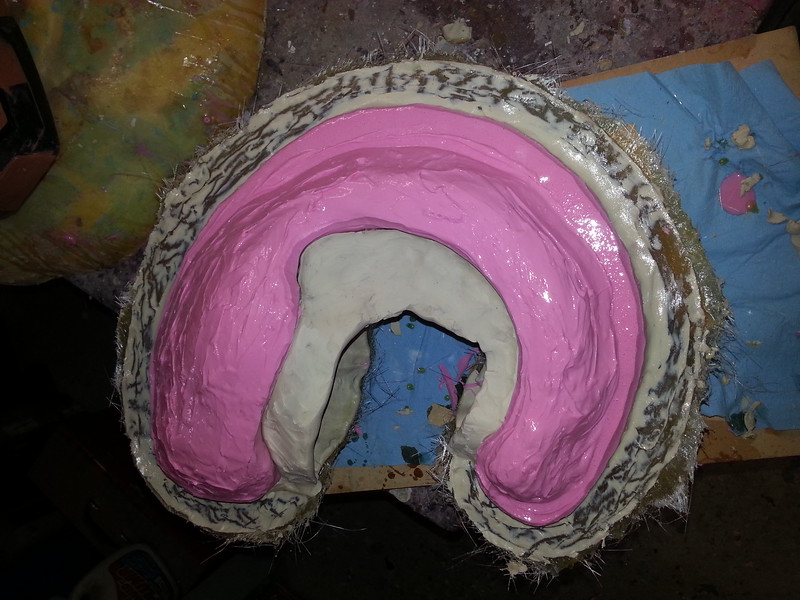
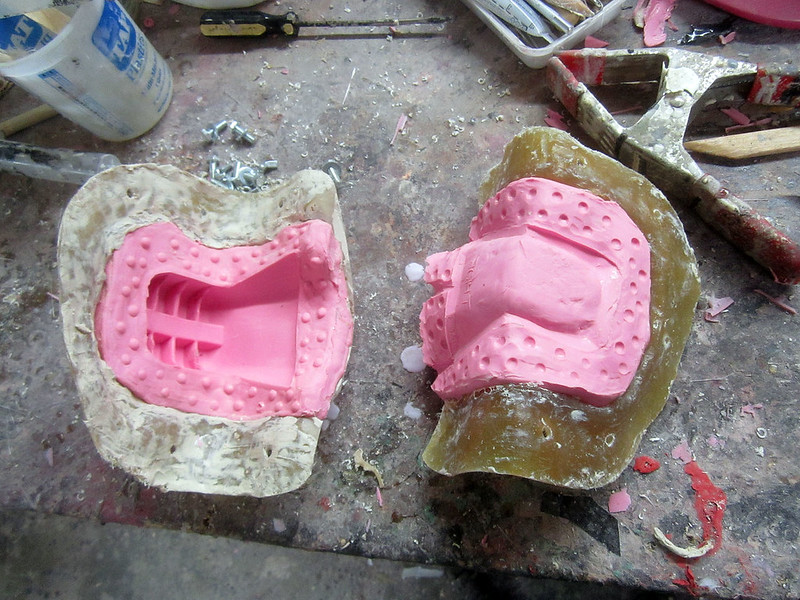
Moldmaking was done in much the same manner as many of my other helmet molds. The top/face piece was set up with a parting wall first:
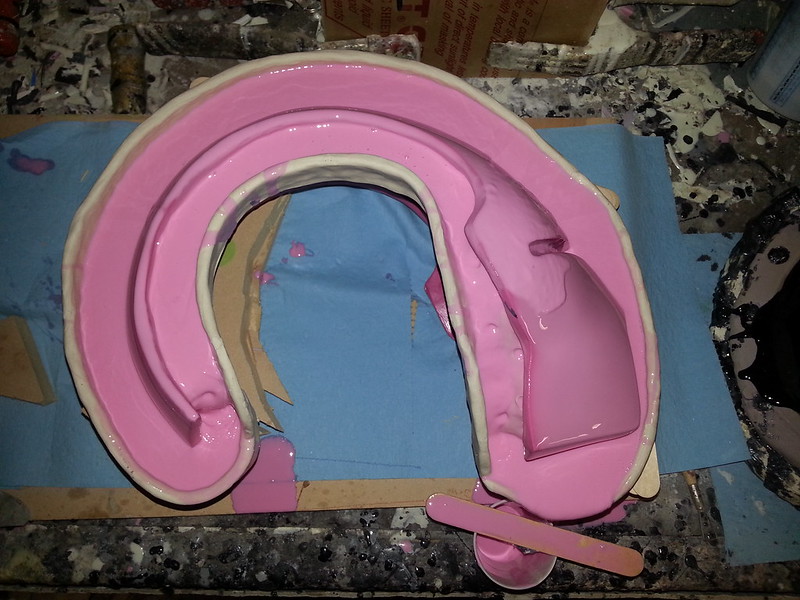
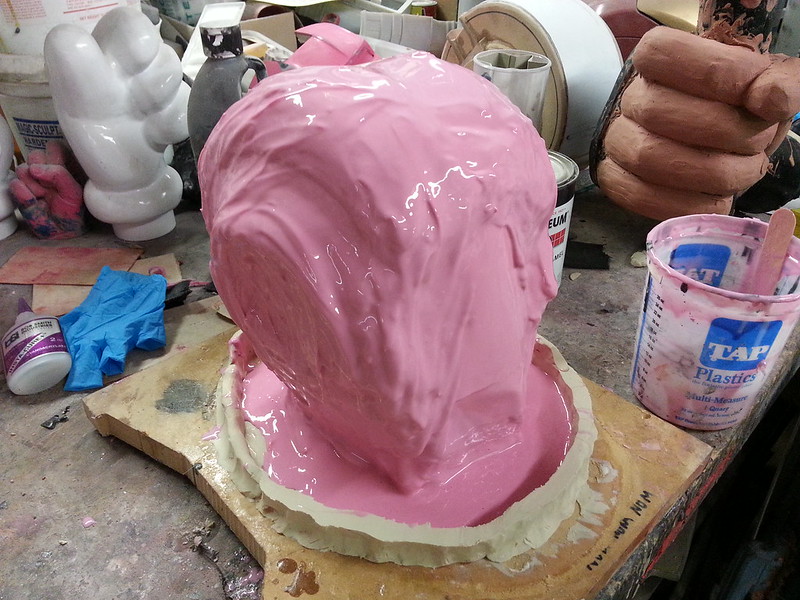
Then it was time to pour on the silicone, starting with a nice, thin print coat:
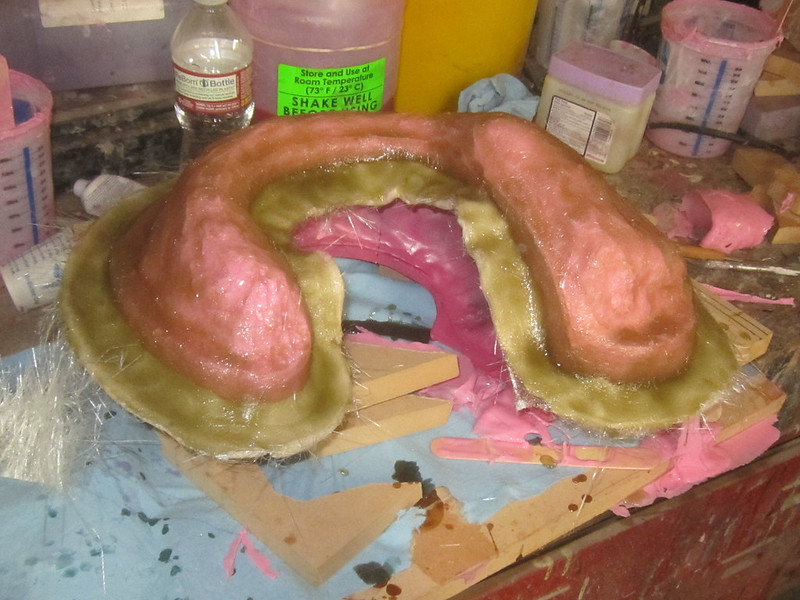
After building up a few layers of silicone, a fiberglass mothermold was laid up:
Then the whole arrangement was flipped over and the clay parting wall was removed:

...Then the process was repeated for the other side:
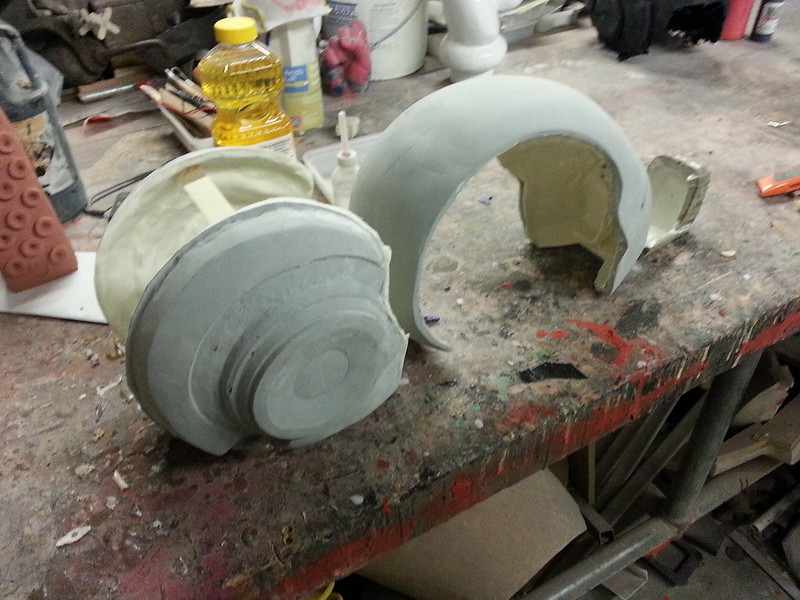
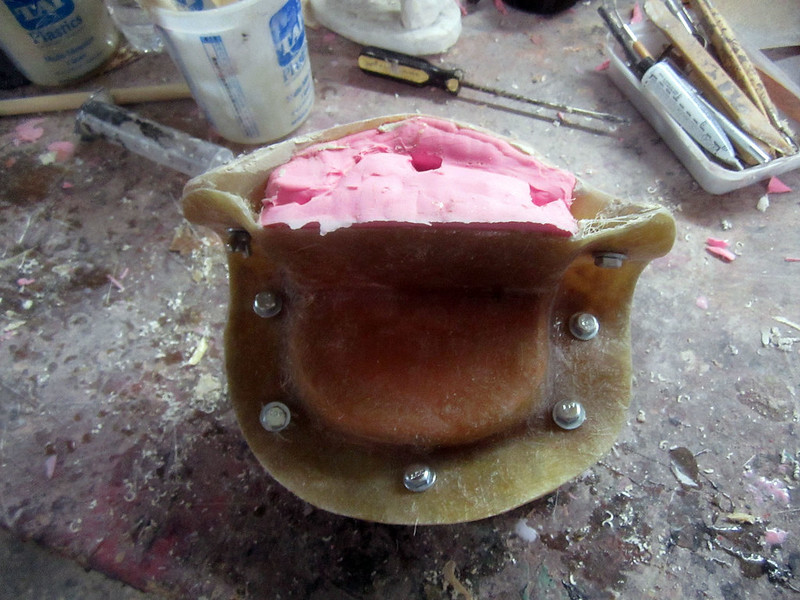
Molding the side/back piece was simpler since the silicone rubber jacket mold was all laid up in one piece:
After the rubber jacket had cured, a two-piece fiberglass mothermold was built:

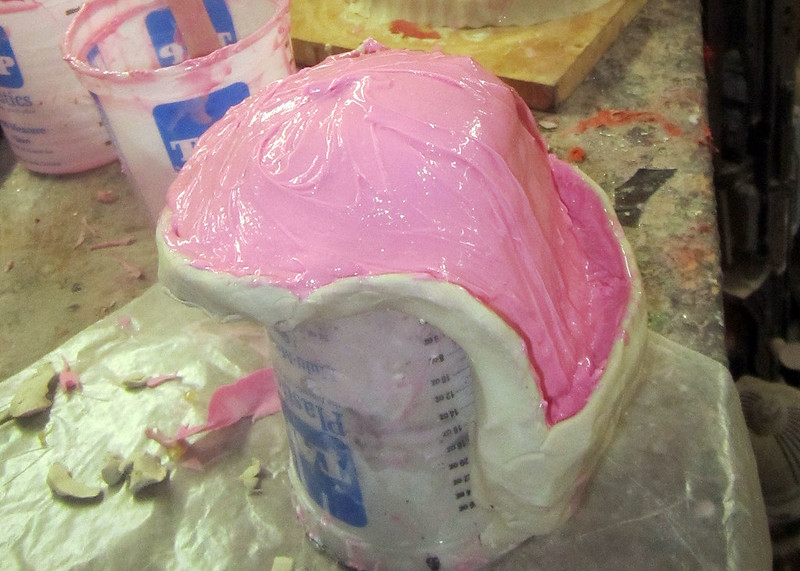
The mold for the mouth piece was a two-part mold. Here's the print coat for the first piece:

Here it is once the thickened silicone was built up:
Once that had cured, I built the first half of the fiberglass mothermold, then flipped the whole thing over and cleaned off the clay parting wall:
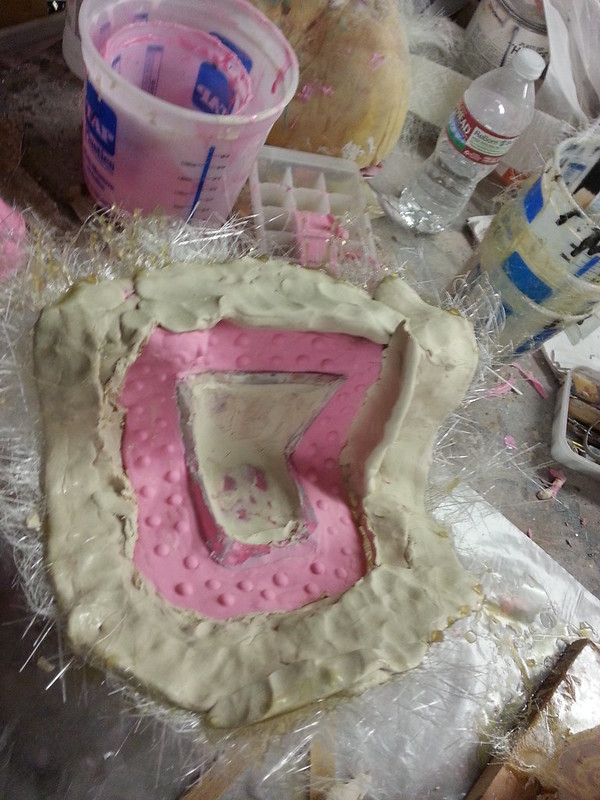
Then I built the second half of the mold in much the same manner as the first half:
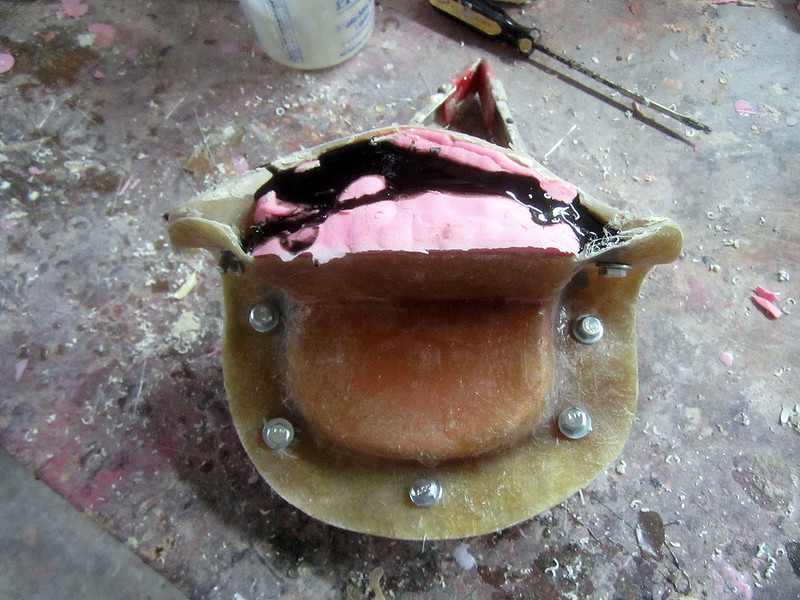
After removing the prototype and cutting some vents and pour spouts into the rubber, it was time to bolt the whole thing back together:
Using a syringe, I filled it with black casting resin
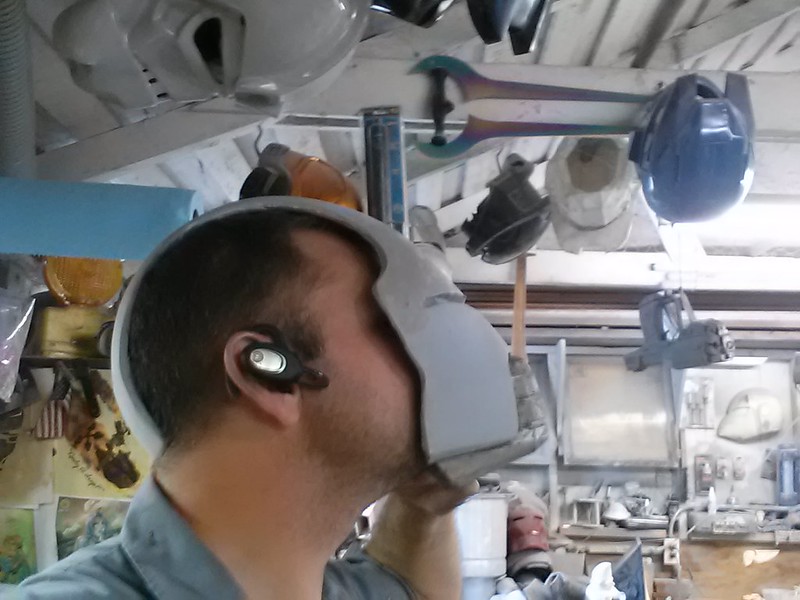
While I was waiting for that to cure, I went ahead and rotocast a copy of each part of the helmet. After trimming off the excess around the edges, it was time to try it on. The first step was putting on the back/side piece:
Then I hooked the top/face piece onto the lip at the back of the head:
Then pulled the face down until it popped into place:
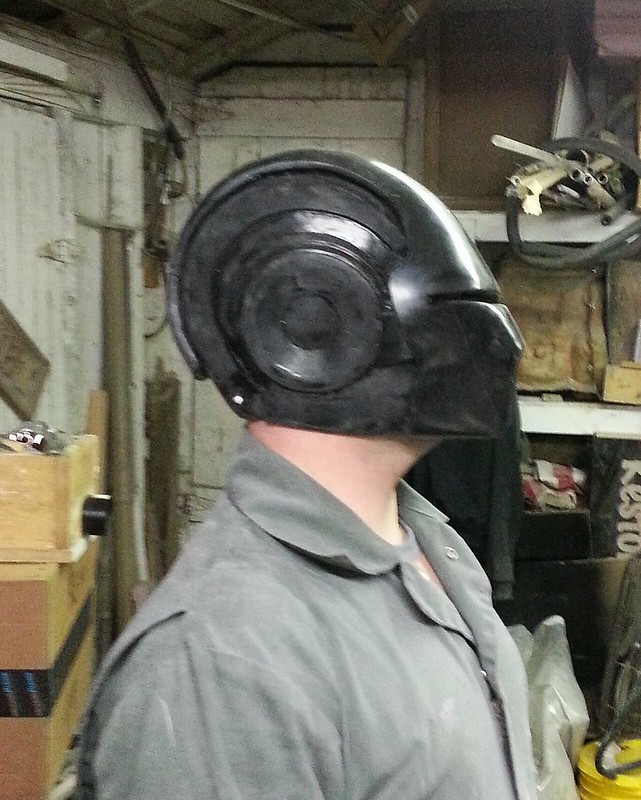
Success!
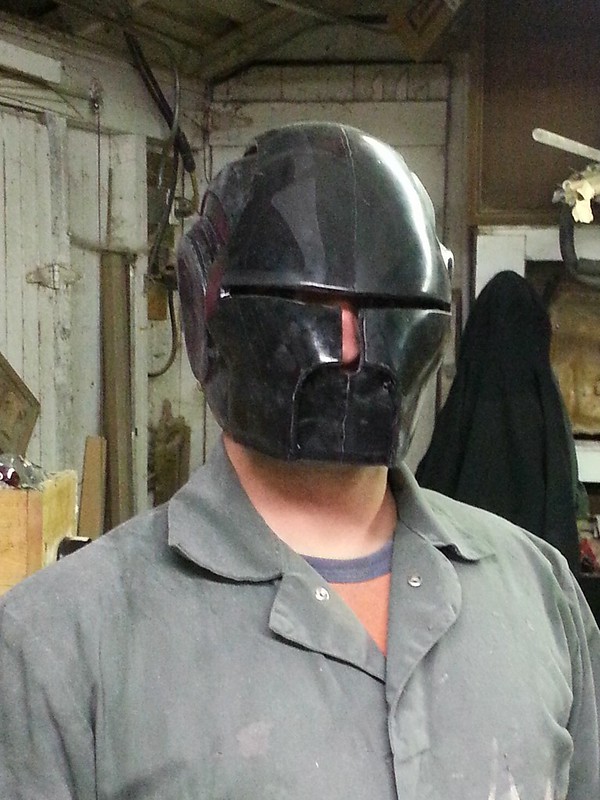
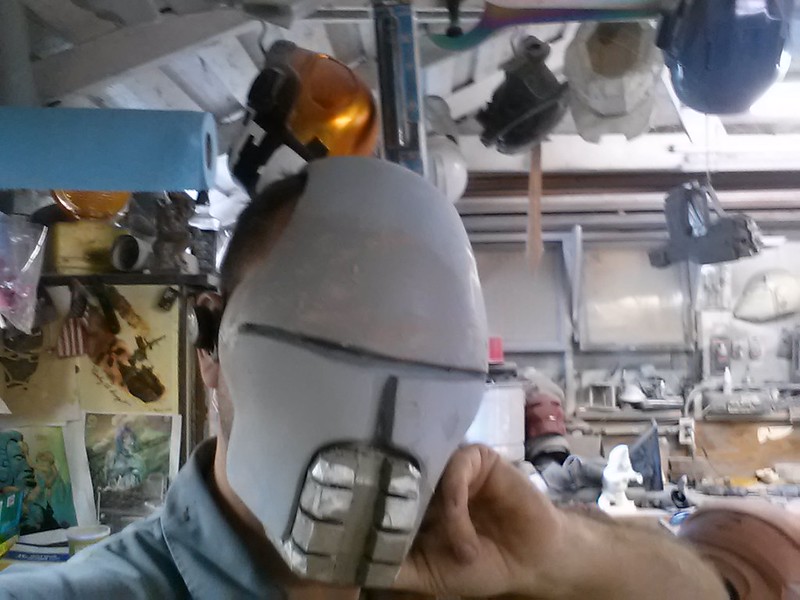
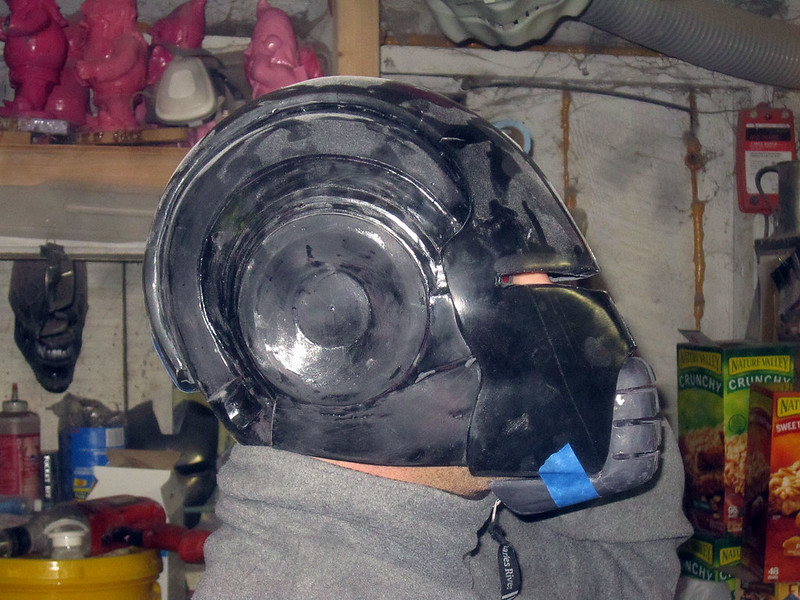
When the mouthpiece had cured, I taped it in place just to see how it would fit:
Not too shabby:
Since the concept had been proven, all that remained was finish work. This meant sanding down the mold flashing and filling in a few small bubbles and surface flaws:
If you're trying this at home, I'd recommend removing the helmet for this phase of the project.
Here it is with a coat of primer:
In order to keep the mouth piece in place, I fitted in a pair of rare-earth magnets so it would pop into place and hold itself there.
To match the metallic sheen of the in-game helmet, I settled on a color with a name I can't remember from Dupli-Color:
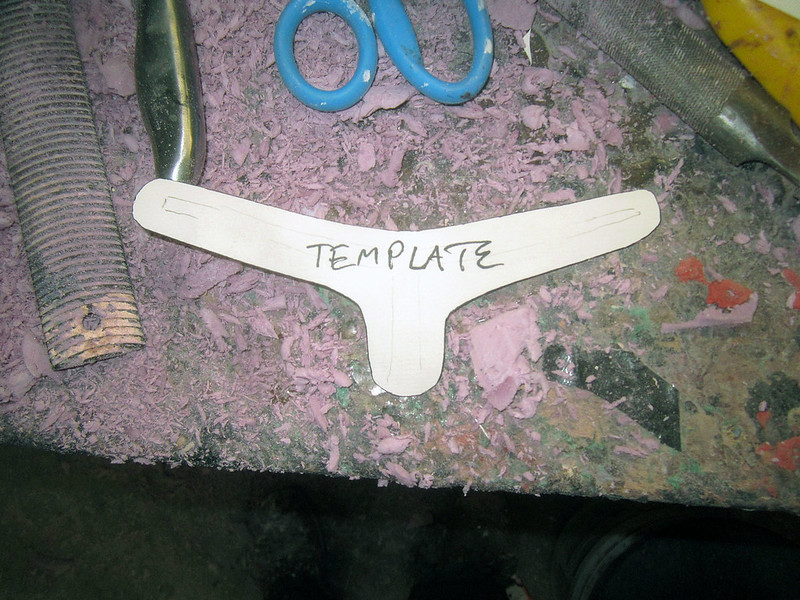
At this stage I decided the helmet would look a lot cooler if my nose wasn't visible from the outside. I made a T-shaped visor out of smoke-tinted 1/8" cast acrylic. I started by making a paper template to test the fit in the helmet. Here's what the template looked like:
After tracing the template onto the acrylic, I cut out a couple of copies on the scroll saw:

Then I peeled the protective backing paper off and baked one of them in the workshop toaster oven until it was soft and flexible:
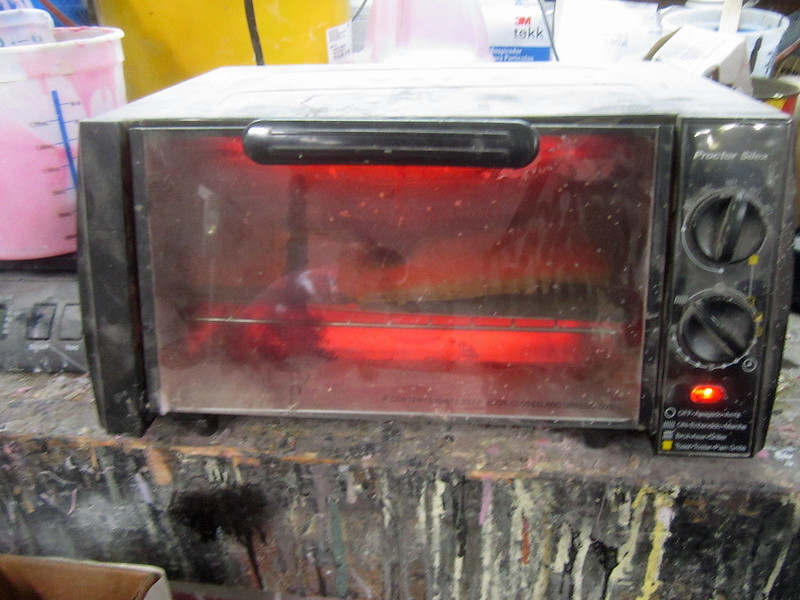
NOTE: Baking acrylic like this is really gross. It smells funky and it's probably bad for you. Don't blame me if you try the same thing and end up getting nostril cancer.
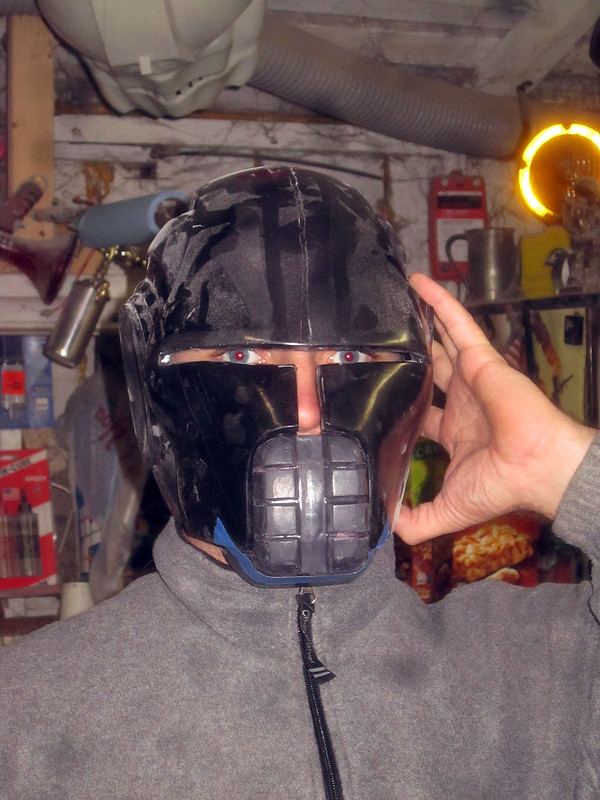
Once the acrylic was hot enough to bend easily, I clamped it in place inside the helmet:
In order to ensure a perfect fit, I pressed it into place with a paper towel (because the acrylic is a bit too hot for my sensitive, dainty fingertips), being careful not to mar the surface in any of the areas that I would later have to see through:

Once the acrylic had cooled enough to hold it's shape without me holding it, I glued the visor in place with a few drops of CA adhesive

Here's what it looked like on the outside:
And a quick "Sith selfie":
With major construction out of the way, it was time to finalize the paintjob. I started by picking out the black parts:
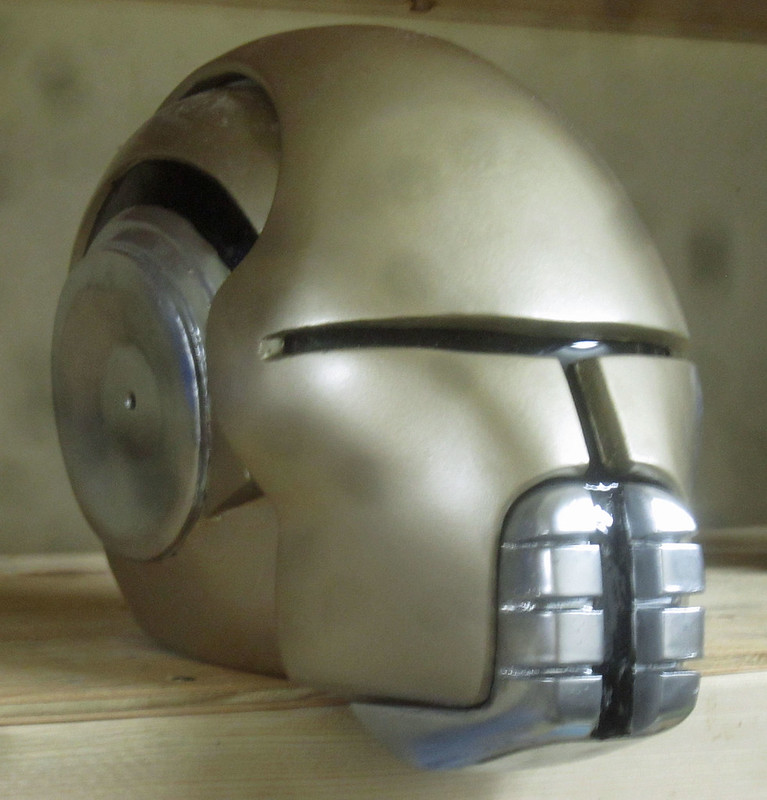
The next thing I had to do was lay out the stripes along the top of the helmet with masking tape, then spray them with a coat of beige. To keep it all from looking too shiny and new, I gave it a bit of a wash with some brown acrylic paint.
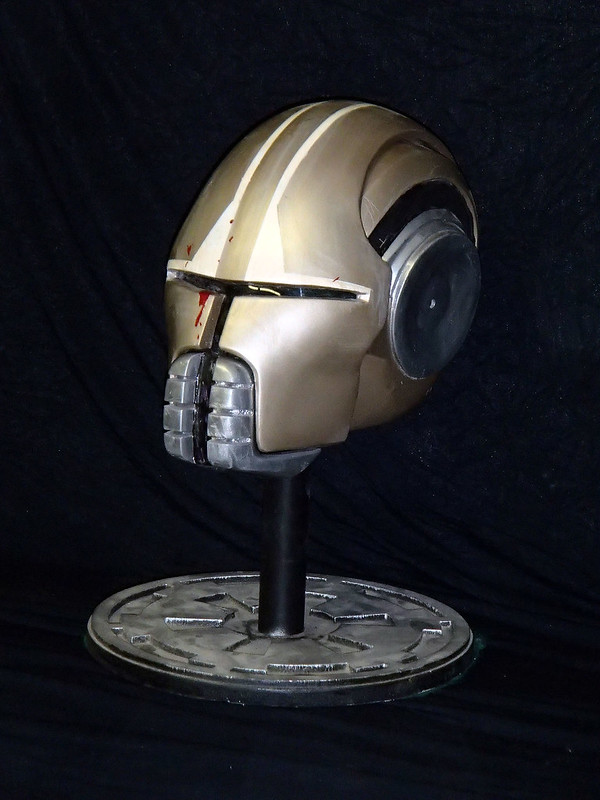
The final touch was a couple of small blood splatters to match the in-game look:
And just like that, it was done:
Here's a couple of showcase pics:

Now it's time to get to work on the rest of the costume:
Stay tuned...
Can't wait to see the rest of this build.
ReplyDeleteLanded on this after googling "gross toaster oven" (for the purposes of dank memes). Stayed for the awesome helmet creations.
ReplyDelete