
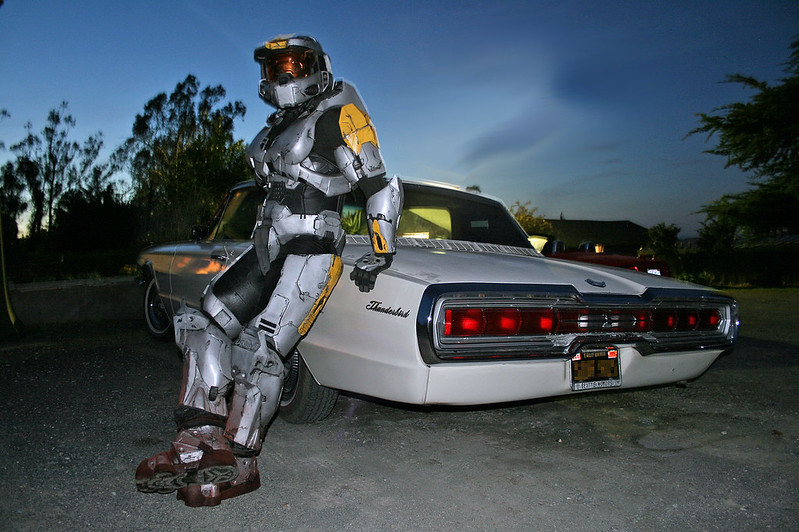
Since I've been working on an Agent Maine costume, I figured I might as well go ahead and build Agent Washington to keep him in check. Fortunately, this is just a matter of pulling more pieces out of the molds and cranking out another suit with a different paintjob.
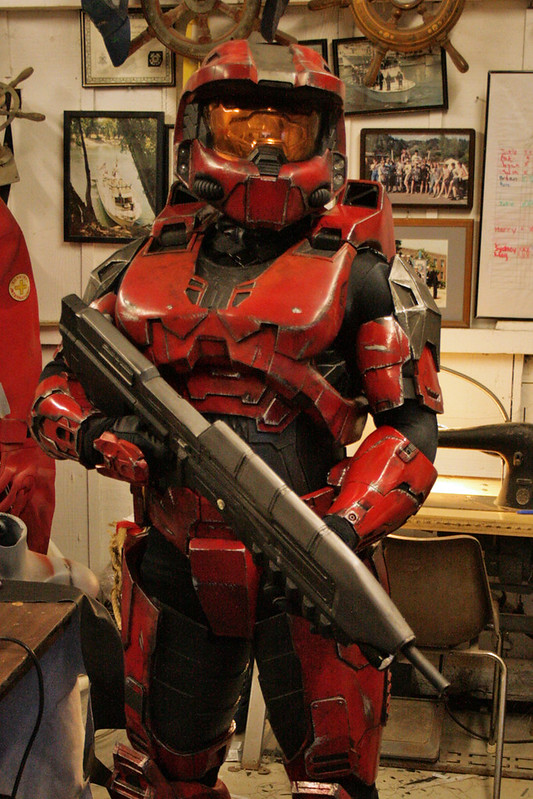
Here's what the finished costume looked like:
While I've posted quite a bit about building the Halo armor, I've never taken the time to go over the steps involved in taking the whole pile of cast resin parts and turning them into a fully wearable suit.
If you're interested in seeing the complete assembly process, read on...
Torso:
You've got to start somewhere. I figured I'd go ahead and start with the biggest parts; the chest and back. The first thing I did was take a file and spend a few minutes grinding down the mold flashing. Once that was done, I went ahead and smoothed out the seam lines with some spot putty:
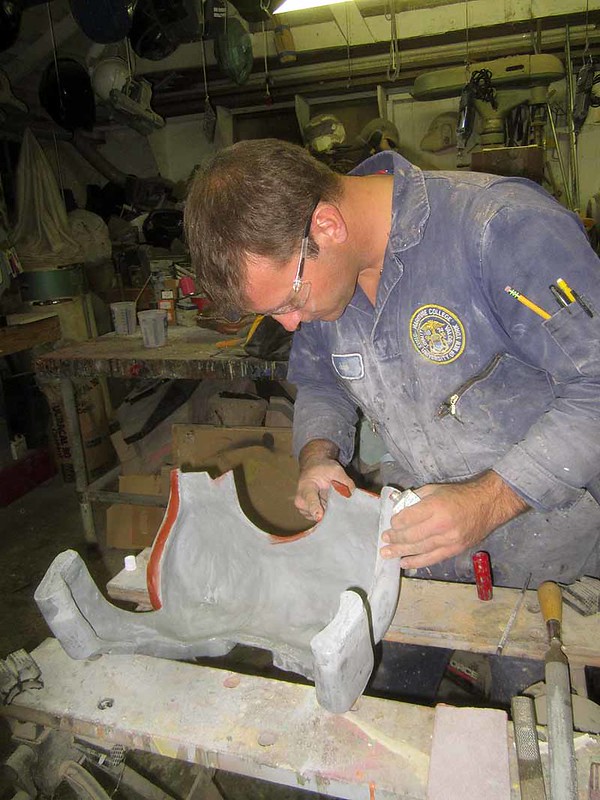
I also went ahead and filled in whatever other small bubbles I found along the way.
While the putty was drying, I went ahead and cut out the holes where the lights get fitted into the back plate:
Then I did the same thing with the "nipple lights" on the chest:
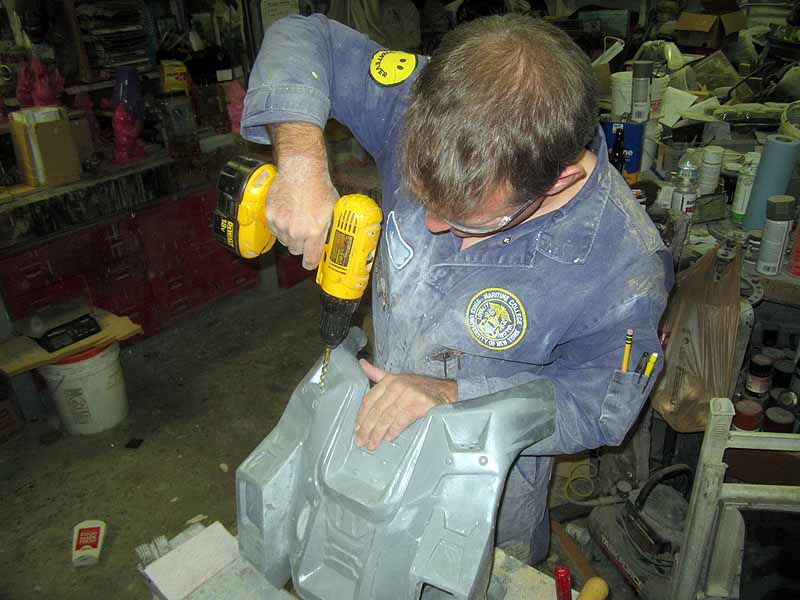
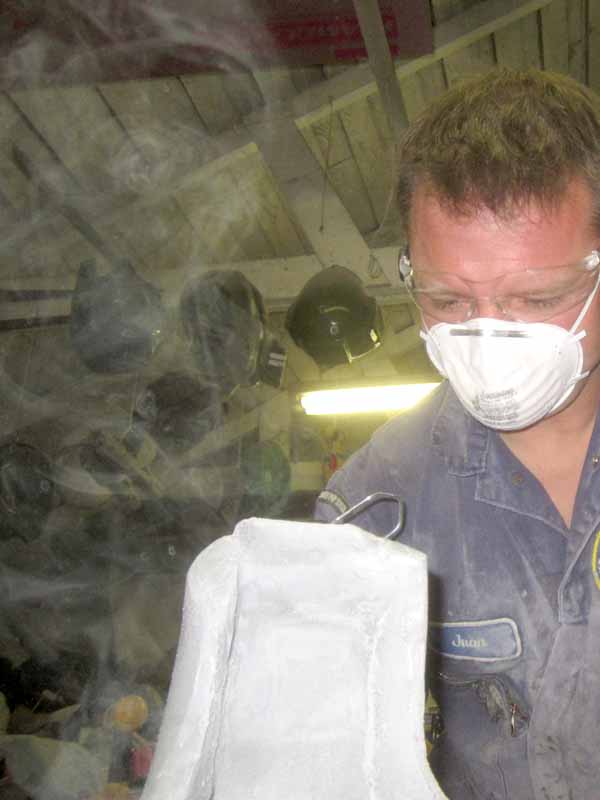
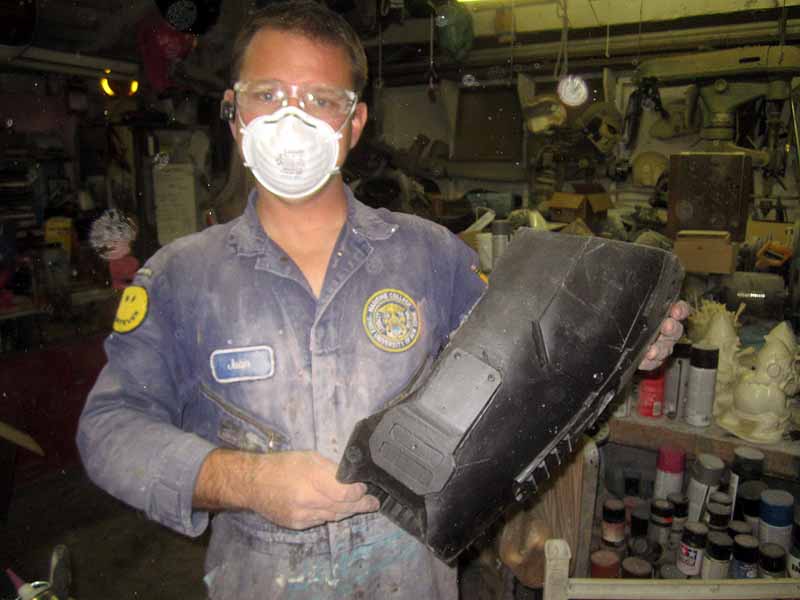
Urethane resin dust is listed as a "respiratory irritant" (like any dust, I guess) so it's important to wear a dust mask. Safety glasses are a good idea too:
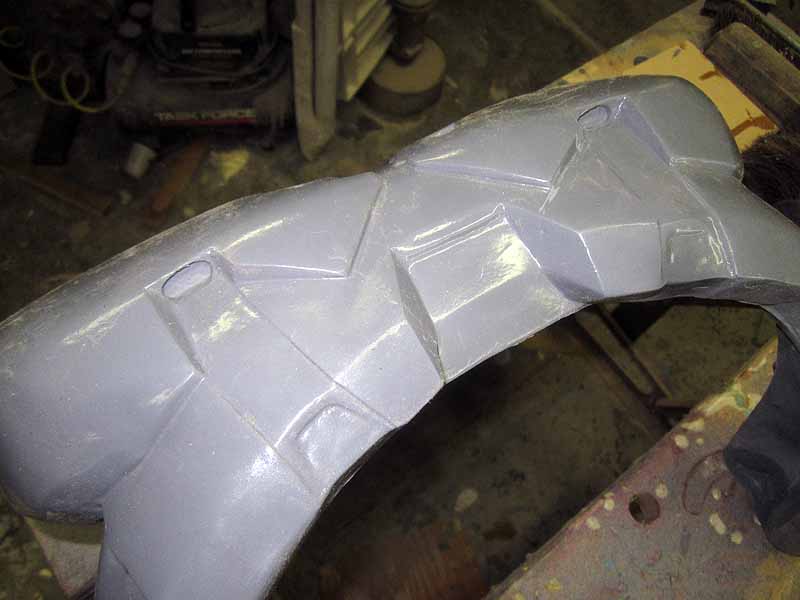
With the edges cleaned up and a few air bubbles filled in, the next step is trimming the shoulder vents to fit:
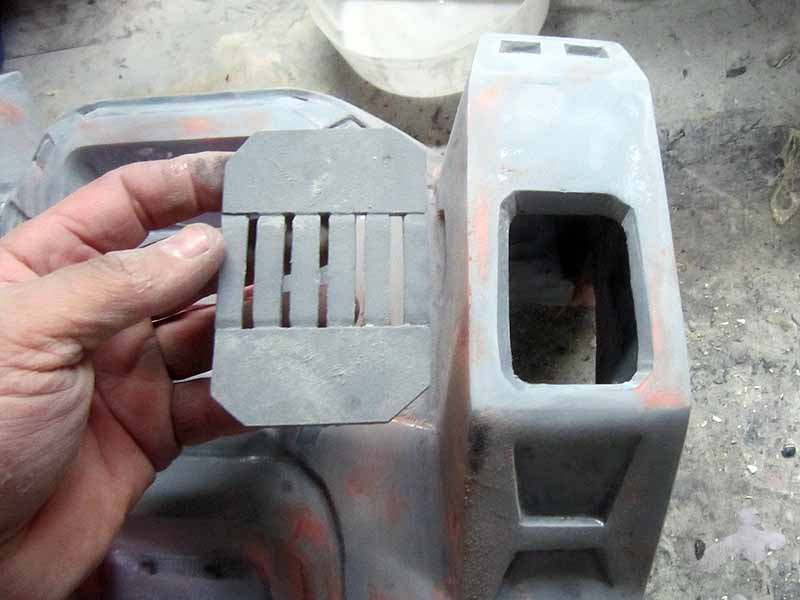
After a bit of trimming, they're ready to install using some CA adhesive:
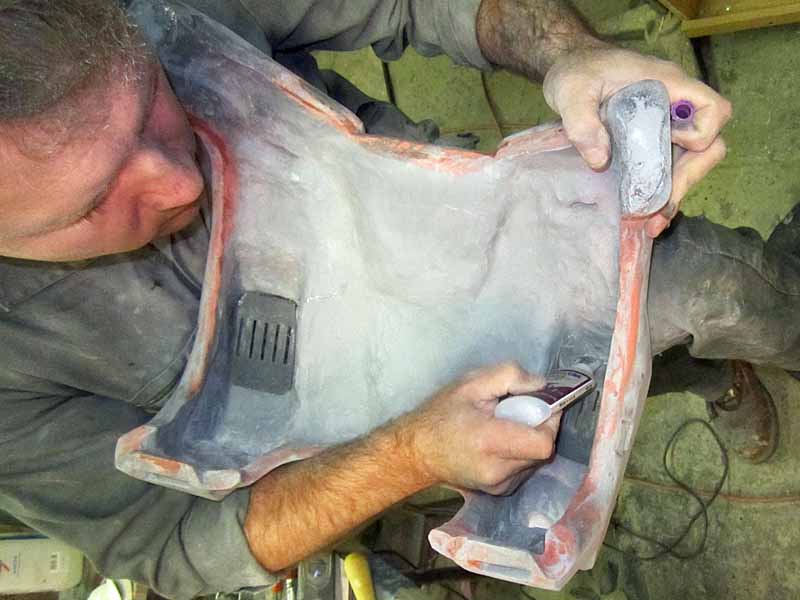
The last thing that needed to be glued on was the alignment tabs under the arms:
They glue onto the back plate to keep the chest place lined up:
Like so:
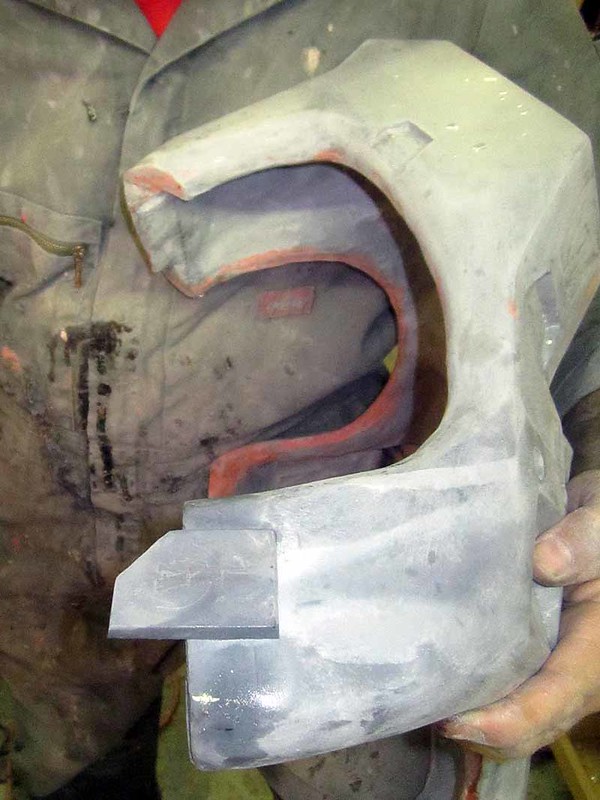
With that done, the back plate is done:
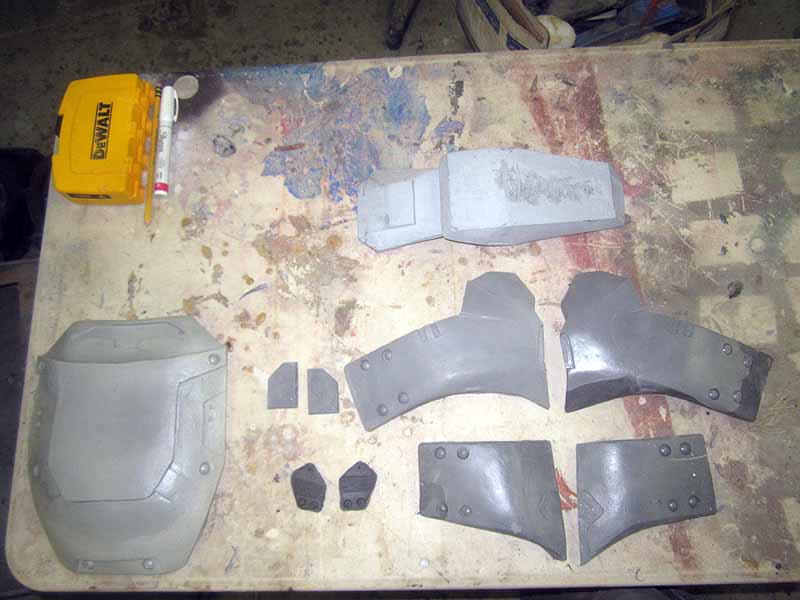
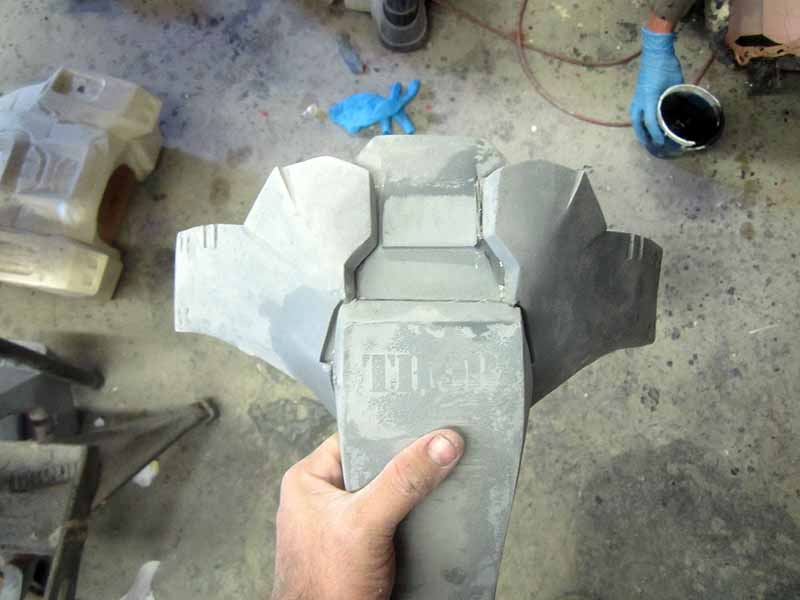
Diaper:
With the chest done, it was time to move on to the diaper armor. The first thing was to pull out all the parts:
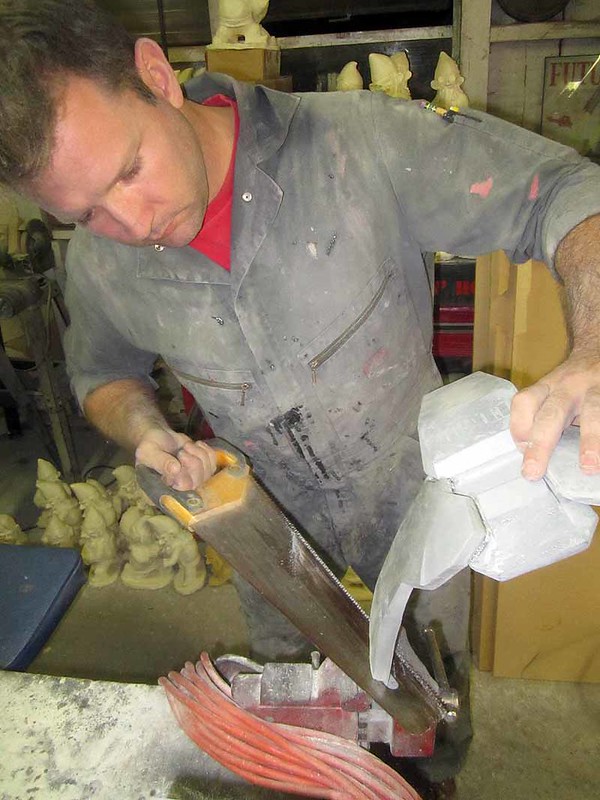
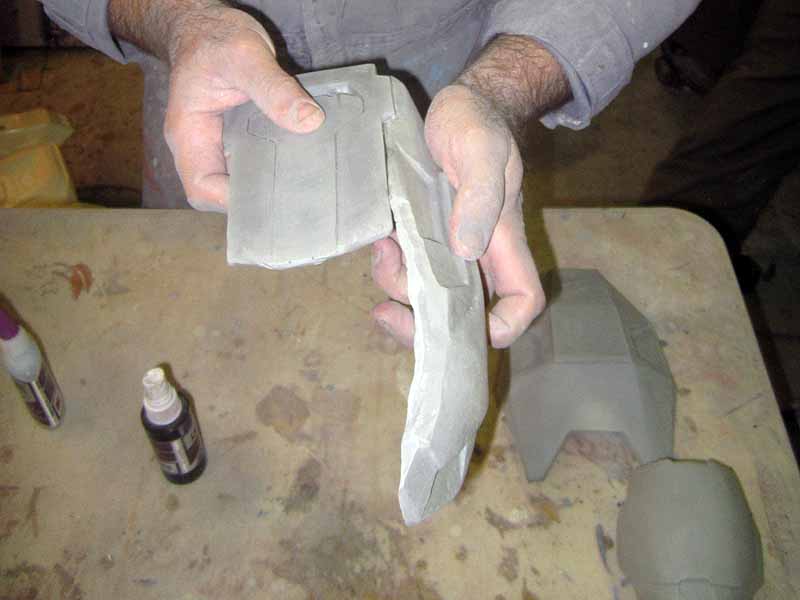
I started by gluing together the codpiece and the front belt sections:
Since I originally made the parts to fit a variety of wearers, I had to cut some excess length off of the belt sections in order for it to fit me:
At this stage, test fitting is important:
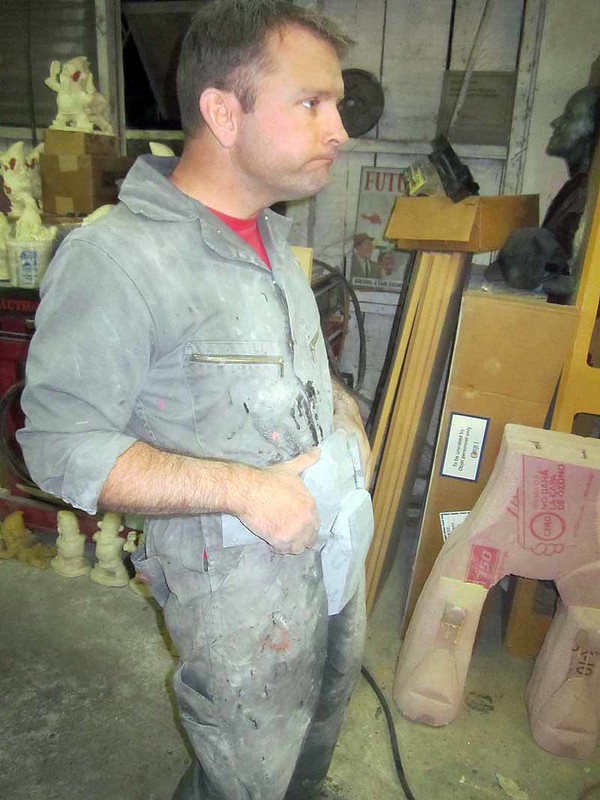
With the front of the pelvis armor done, I attached the rear belt sections to the buttplate:
Then I cut off the excess length from the belt parts:
And test the fit again:

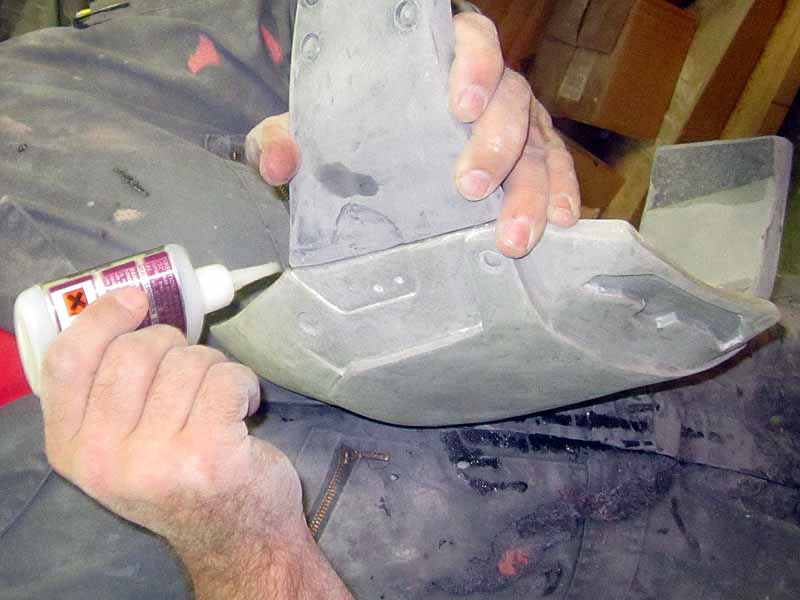
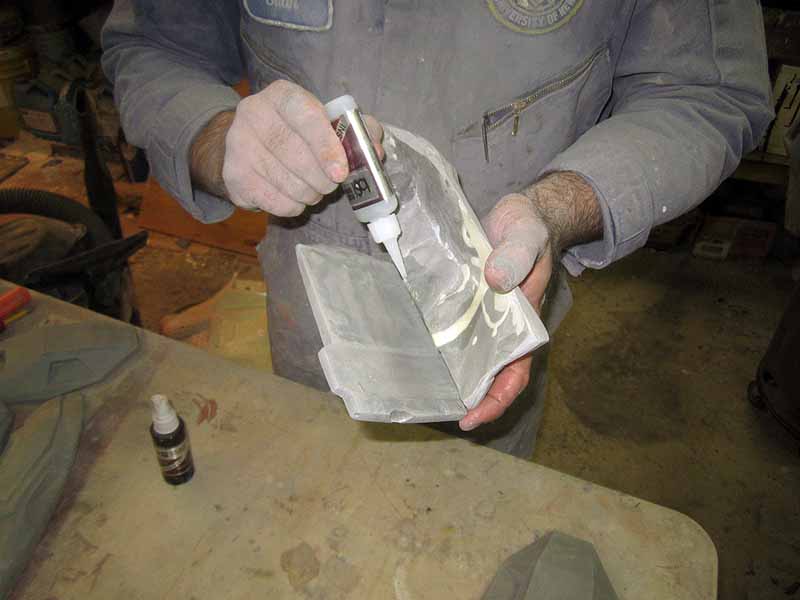
Even though the CA adhesive bonds very well with the cast resin pieces. I decided to lay up a bit of fiberglass on the inside where the belt parts mate up with the codpiece and the buttplate:

I could just as easily have achieved the same results by riveting some nylon webbing in place between these pieces. It's all probably unnecessary, but I like to be sure.
Thighs:
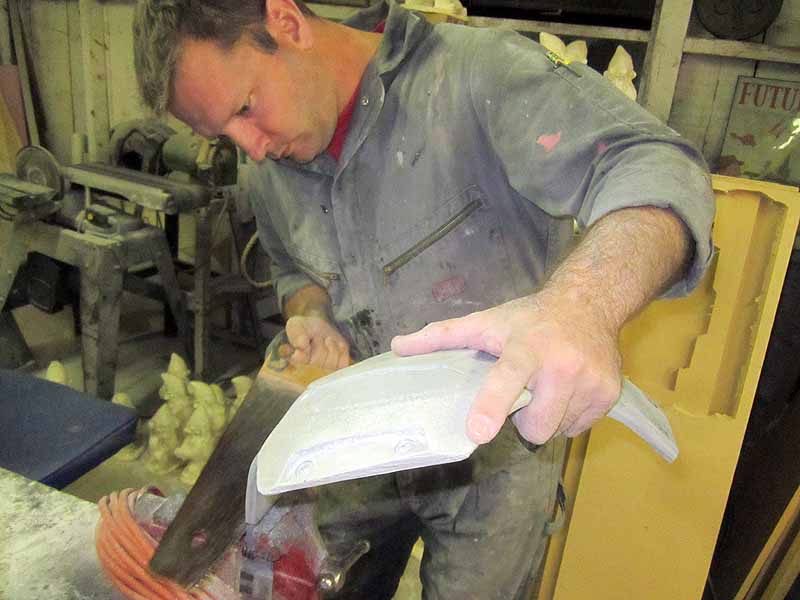
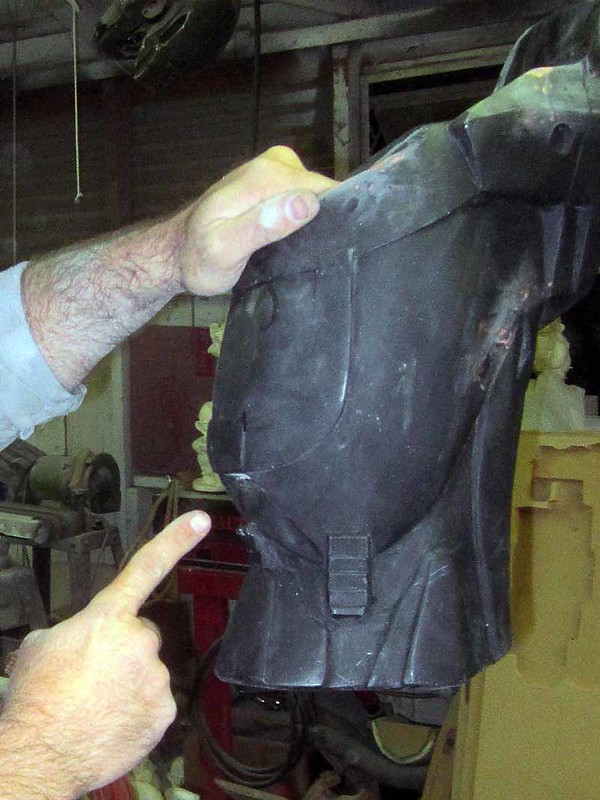
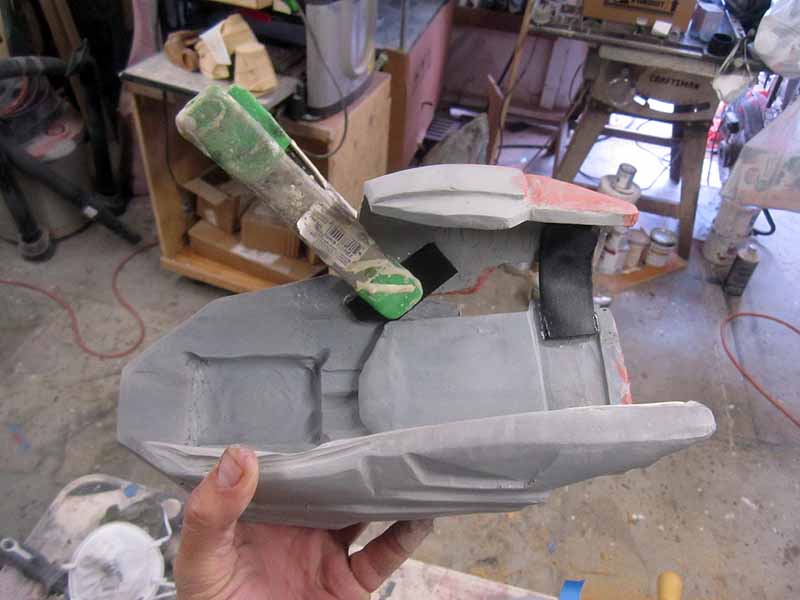
Working my way down, it was time to make me some legs. Here's one of the raw thigh castings:
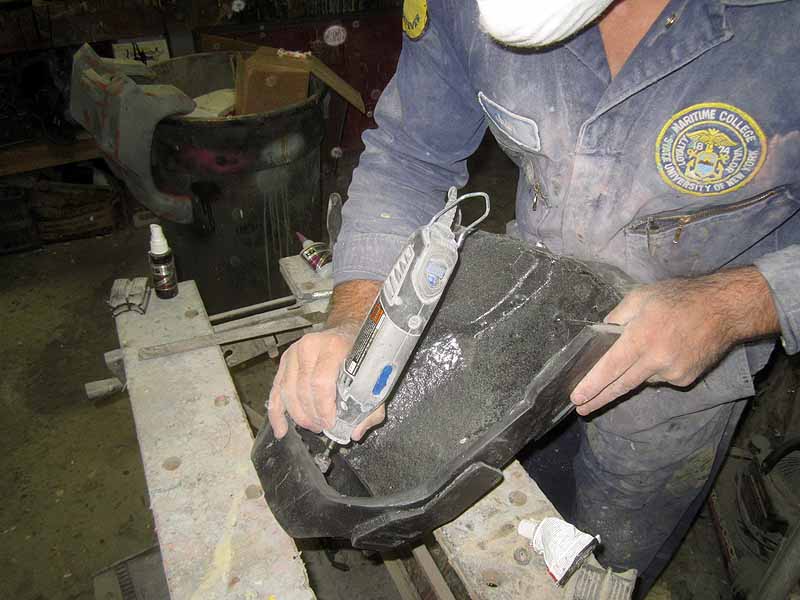
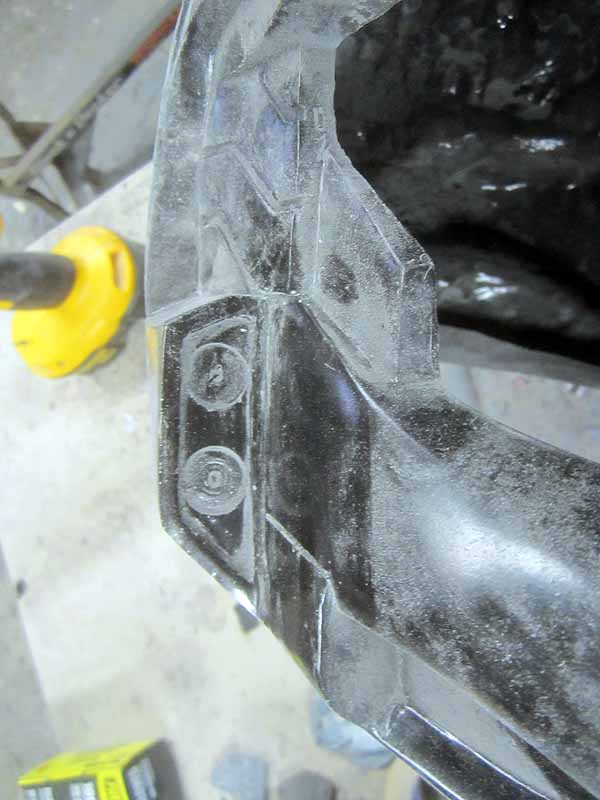
On the bottom end, where the knee goes through, it needs a hole:

The rough hole-making is accomplished by gently rapping on the thin part in the bottom of the casting:
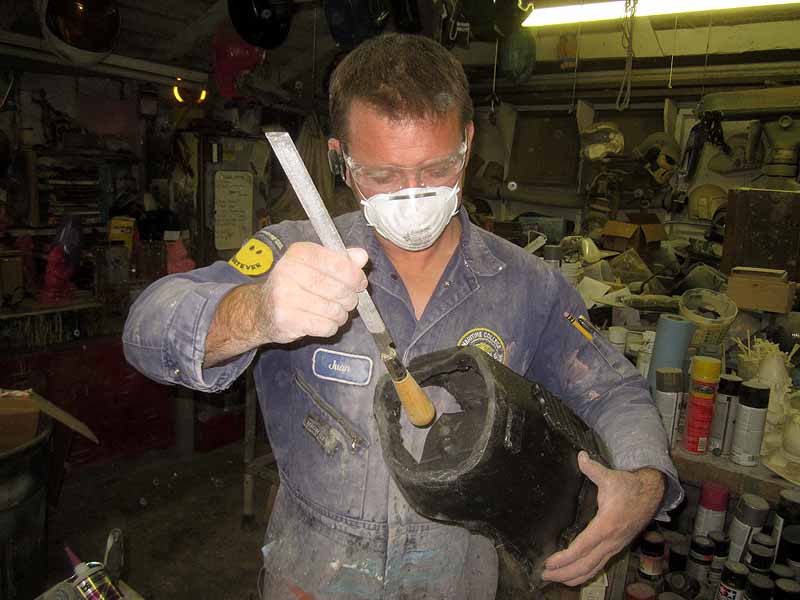
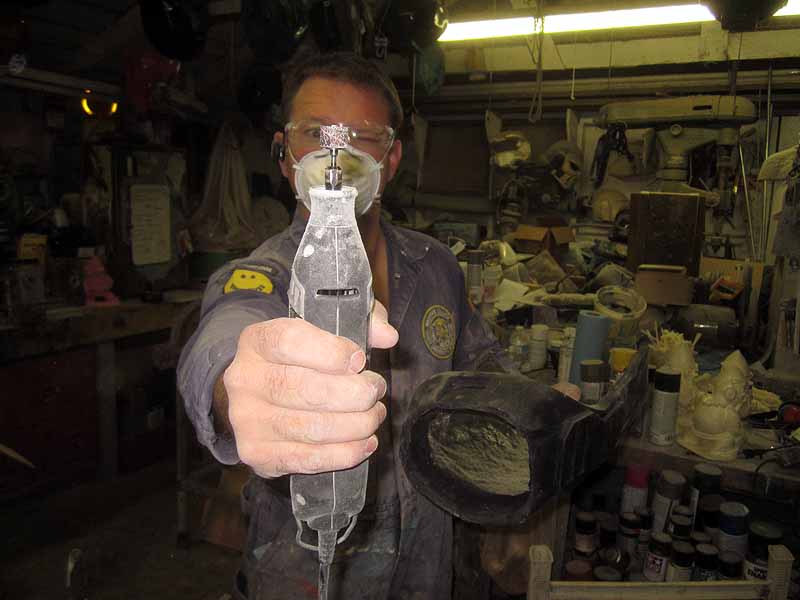
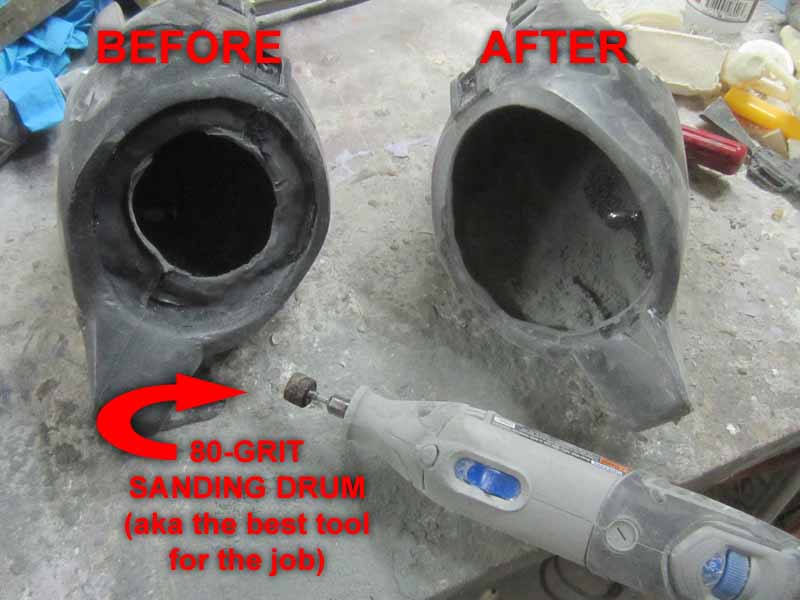
Then it's time to clean up the hole. There are a lot of options for cleaning or carving cast resin pieces, but for me there's none better than a rotary tool fitted with a sanding drum and a coarse sanding collar:
That little doo-dad will burn through a lot of material in a hurry.
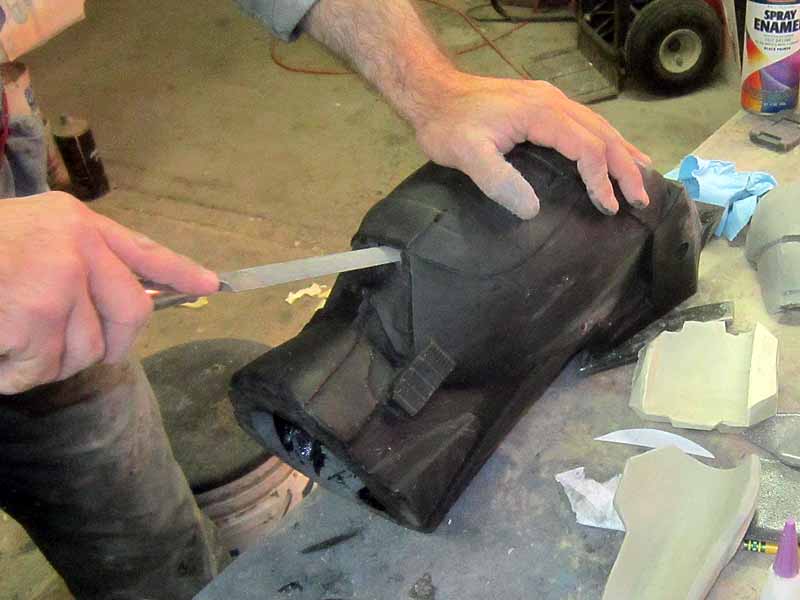
Here I am grinding down the rough edges and making the piece wearable:
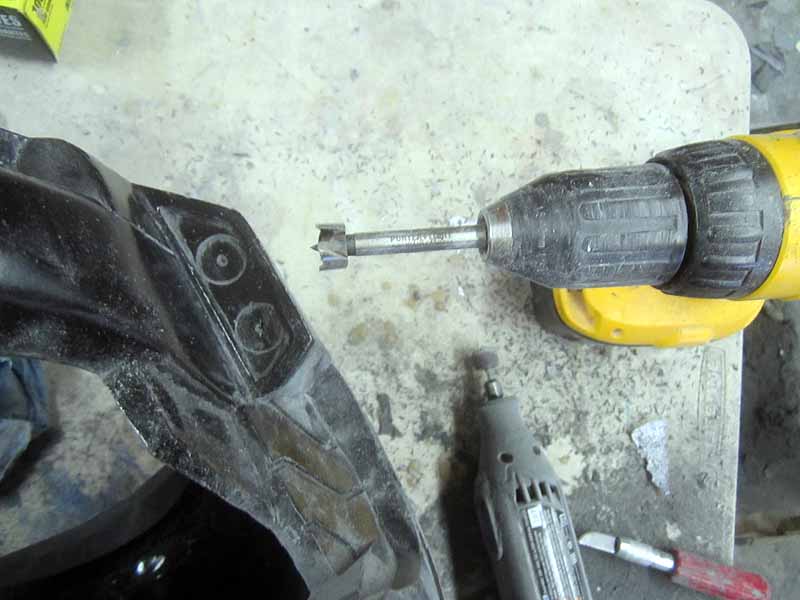
With all of the rough shaping and sanding done, all that was left was to cut out the sections where the lights go in above the knee. I did this by drilling out the four corners of each hole and then cutting the straight parts with a cutoff wheel. That done, I did final cleanup with a file.
Shins:
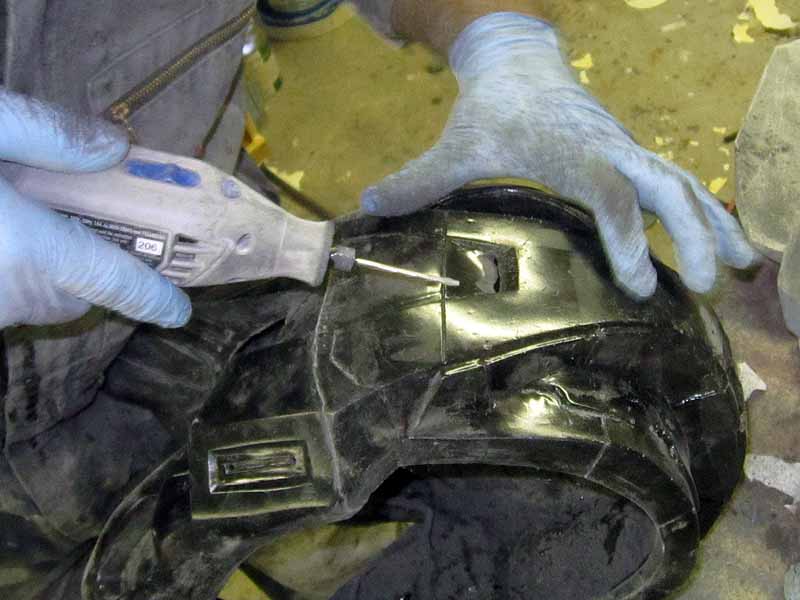
The first thing to do with the shin armor was to cut out the holes where the lights go at the back of the calf:
Again, I started by drilling holes in the ends:

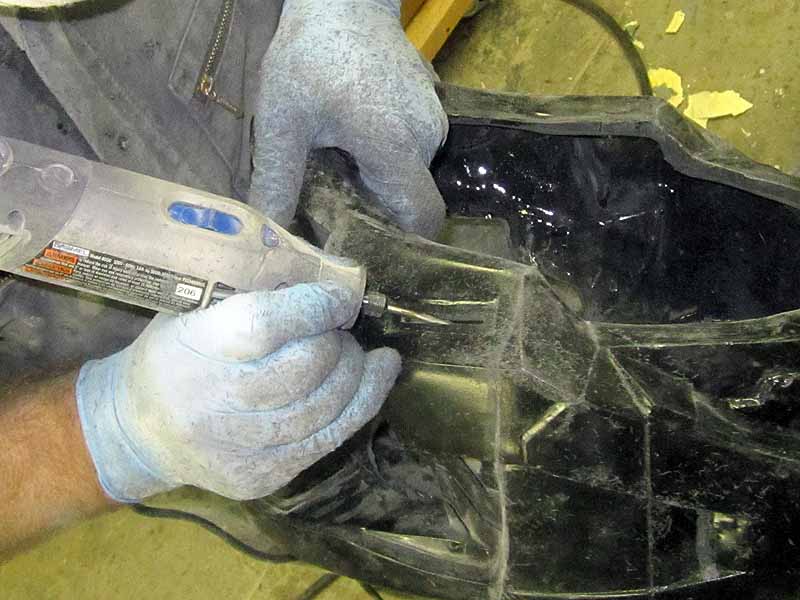
As soon as I'd drilled enough holes to fit the file in, I did the rest of the cleanup with a file:
I got into the corners with a triangular file:
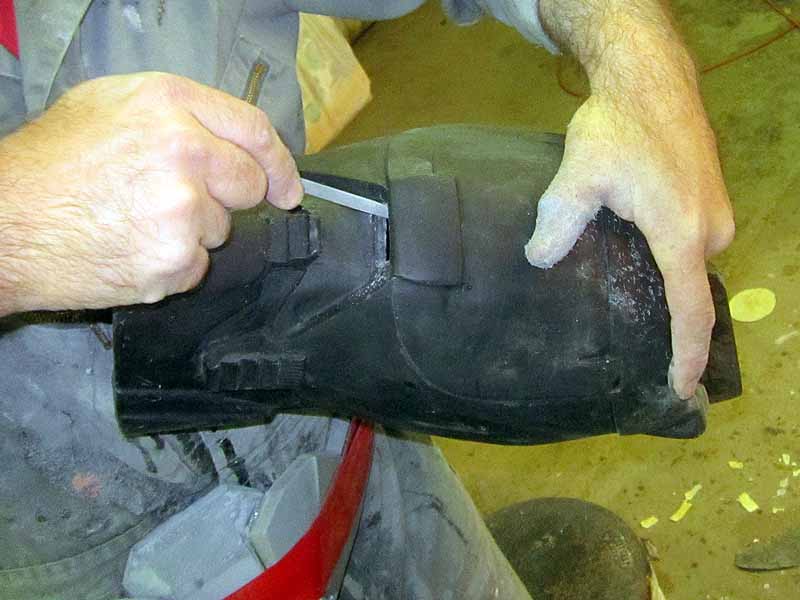
It's not perfect, but here's the end result:
Upper Arms:
With the legs done, it was time to pull out all fo the upper arm parts:
The first step in assembling these parts is to attach the tricep plate to the side plate:
As with so many of these parts, I glue the seams with CA:
With the tricep plate glued on, the next step is deciding how high to place the shoulder plate:
Happy that I will have enough range of motion, I glue the shoulder plate in place:
Assuming both of my arms are about the same length, I went ahead and made the left arm to match:
More CA adhesive:
To attach the bicep plate, I start by heating up some strips of foamed PVC sheet (commonly referred to as "Sintra") and bending them to fit around the front of my arm:

These strips get glued into the back of the bicep plate:
I also heated up a bigger piece to fill in behind the two brackets and add a bit of strength.
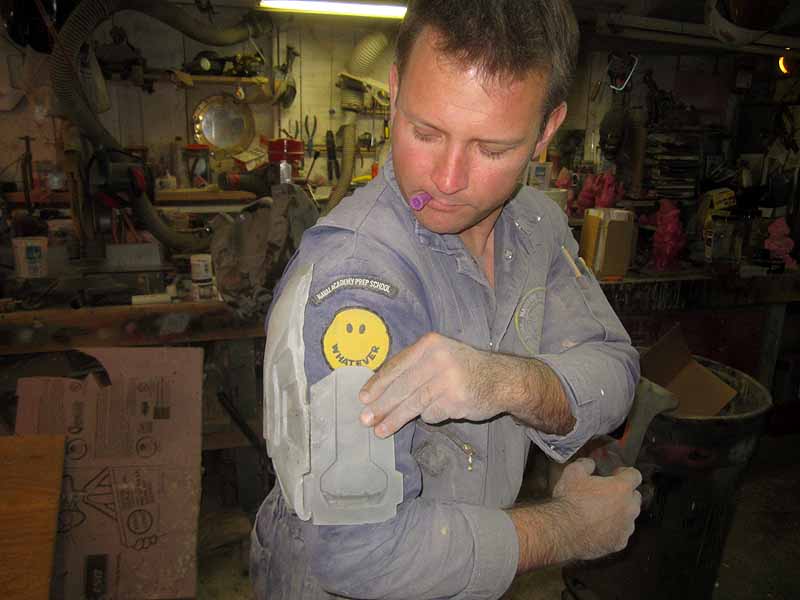
Forearms:
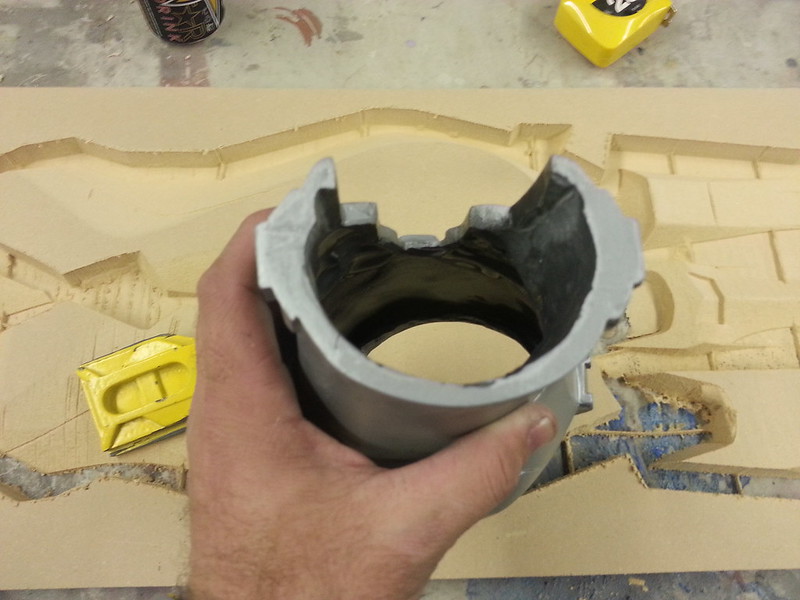
The forearms are a matched pair of rotocast parts. The first thing I needed to do is grind out the unnecessary flashing around the opening on the elbow end:
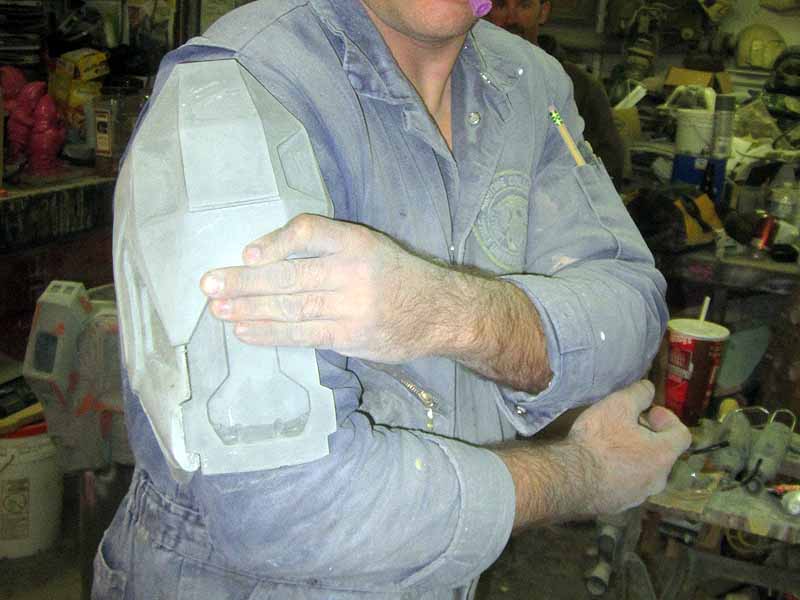
With the big end cut open, it's time to start on the wrist end. I did the initial cutting with a plastic cut-off wheel along all of the straight edges:

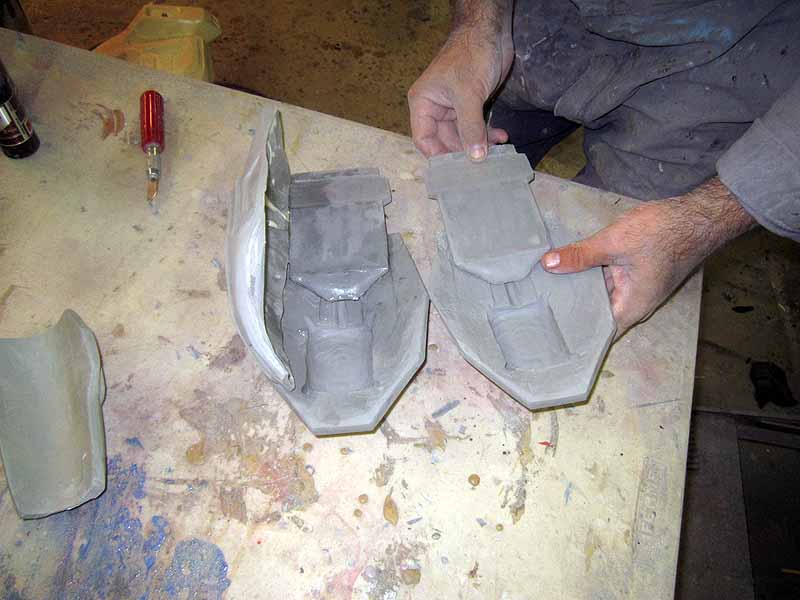
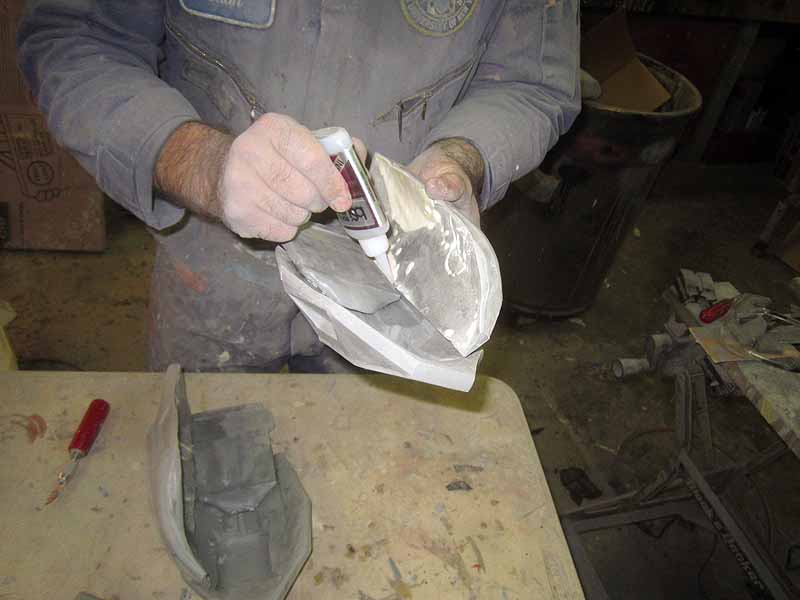
Later I used the sanding drum to notch out the inside to fit the small detail insert that fits into the end:
I also rounded out the inside of the insert to make it fit a bit more comfortably:
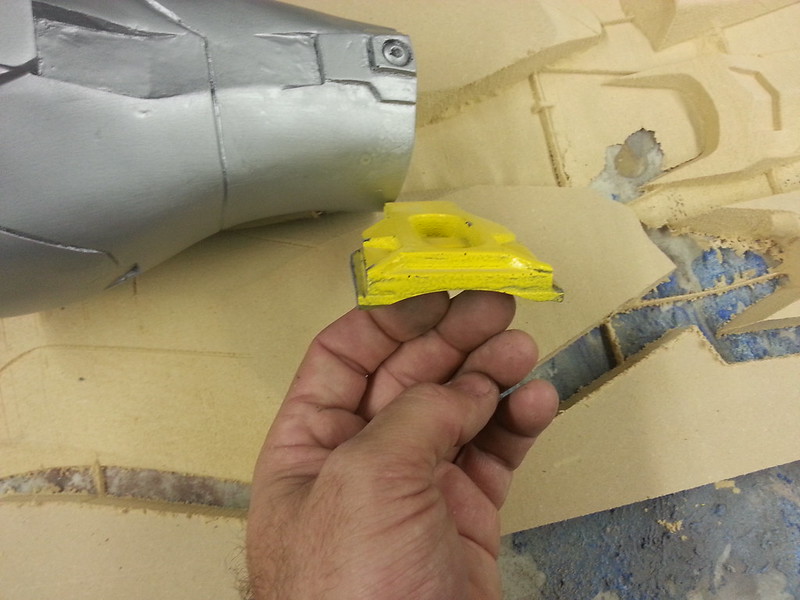
Done right, friction will hold the insert in place after passing a hand through the hole:
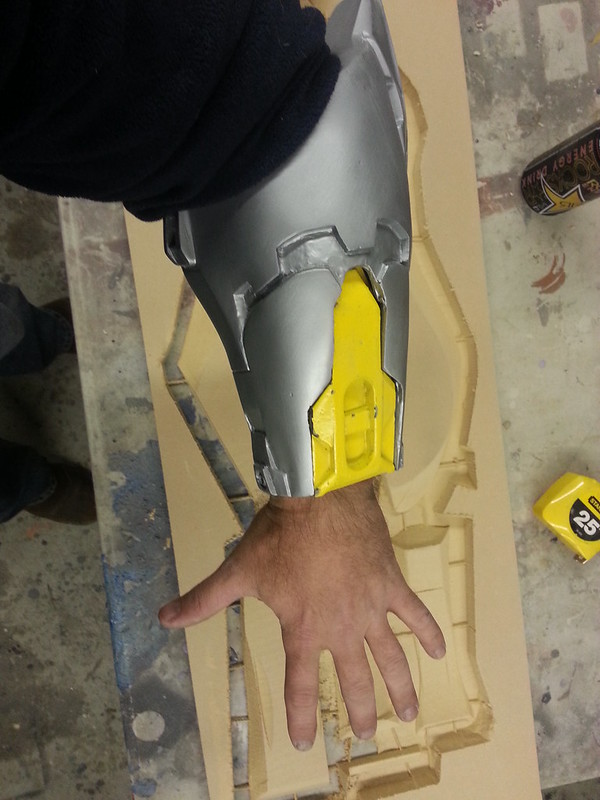
This arrangement allows you to fit your hand through the hole while making the hole look small enough to be fitted around the wrist:

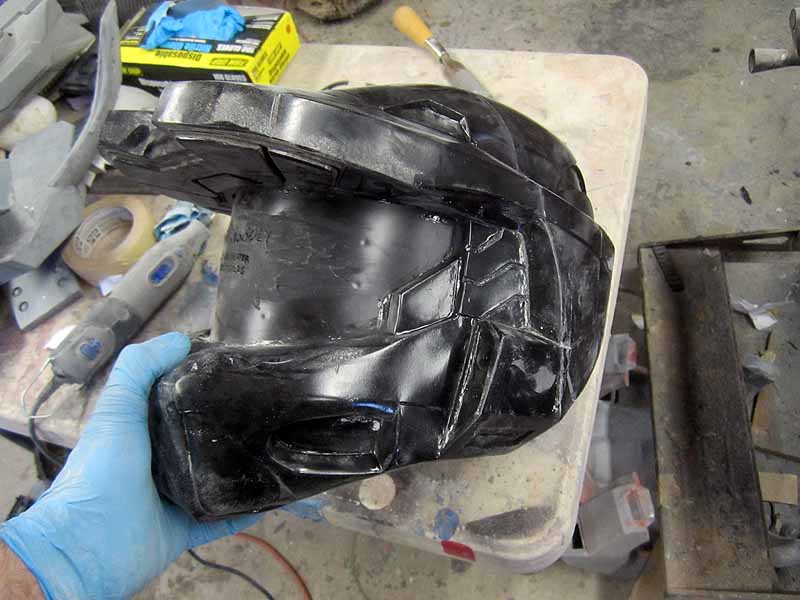
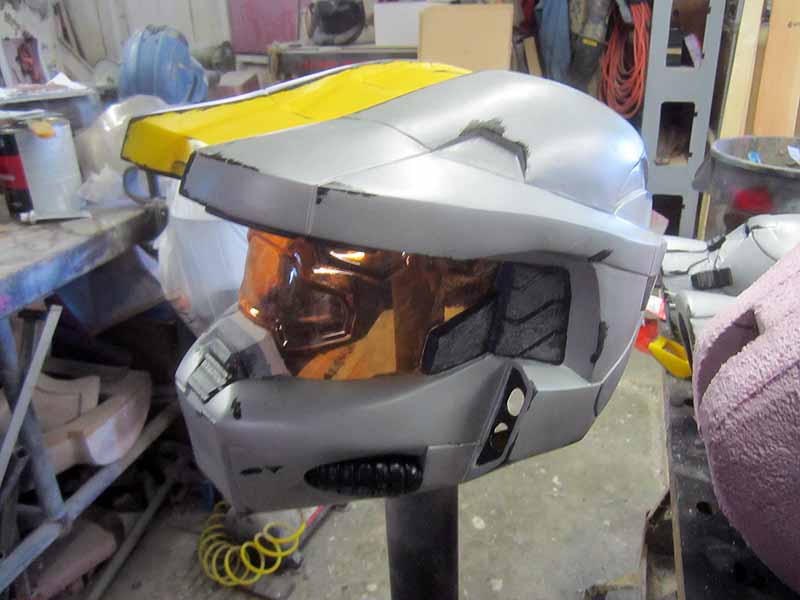
Helmet:
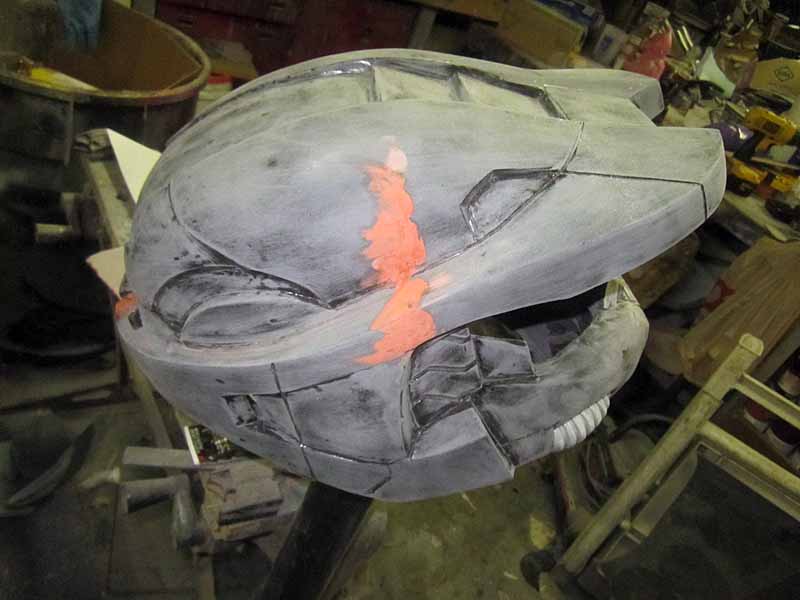
Here's the helmet fresh out of the mold before I did any prep work:
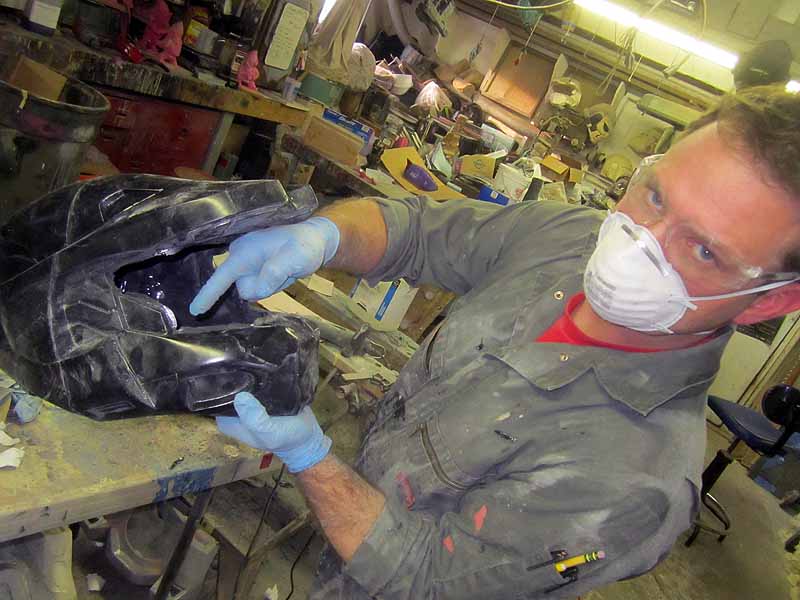
I started by cutting out the face hole using a spiral saw bit (the kind that looks like a drill bit):

Since the spiral saw can be a bit agressive, I was careful to stay well away from the edges so I could go back later and fix them up:
The best thing for cleaning up the edges quickly is, again, a coarse sanding drum:
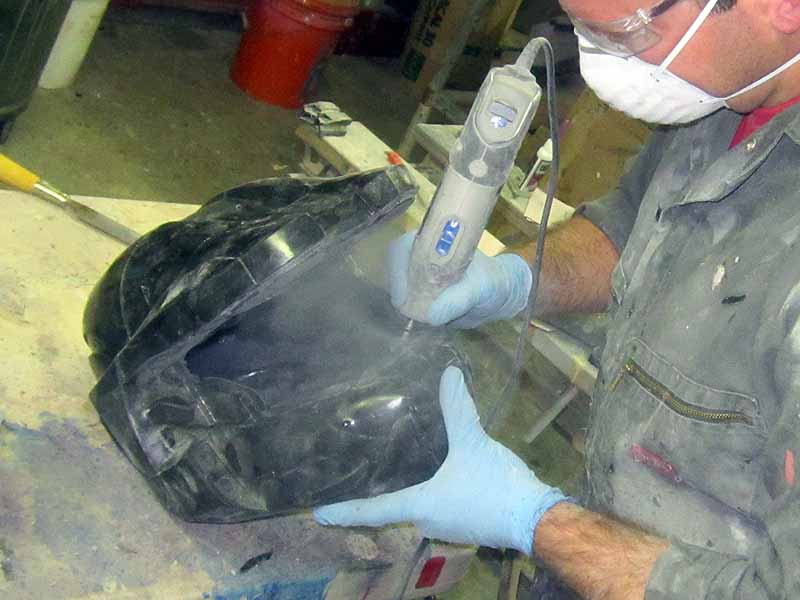
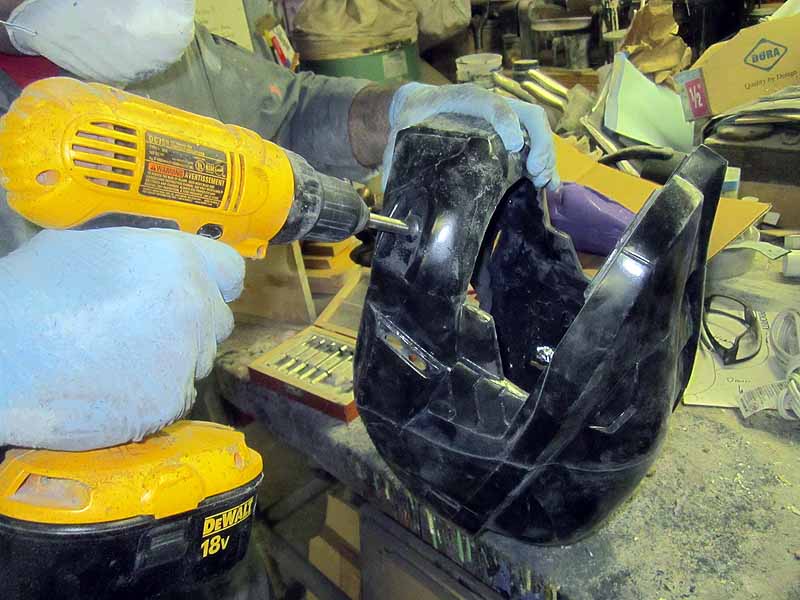
With the face hole cut out, the next step is to cut out the headlight lens holes:
They're sized for a 1/2" Forstner bit, but any 1/2" bit will do:
The neck hole also needs to be smoothed out with the sanding drum. Then, since I'll be installing marker lights in this one, I cut out the light holes in the side of the helmet with the spiral saw:
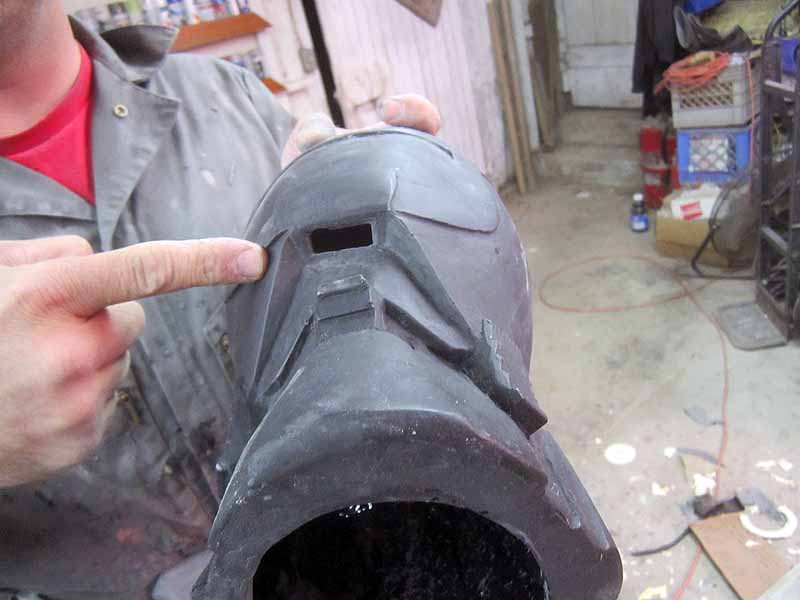
I also cut out the vents under the back end of the jawline:
To allow for greater ventilation, I drill a hole in the area behind where the hose inserts will fit into the cheek:
The schnozzwidget needed a tiny bit of cleanup before installing it in the front of the helmet:
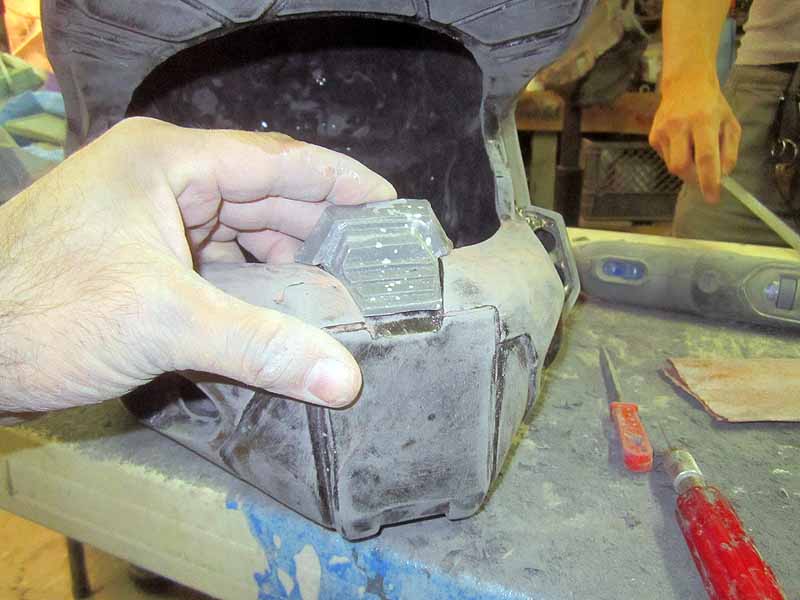
Here's one of the cheek inserts glued in place:
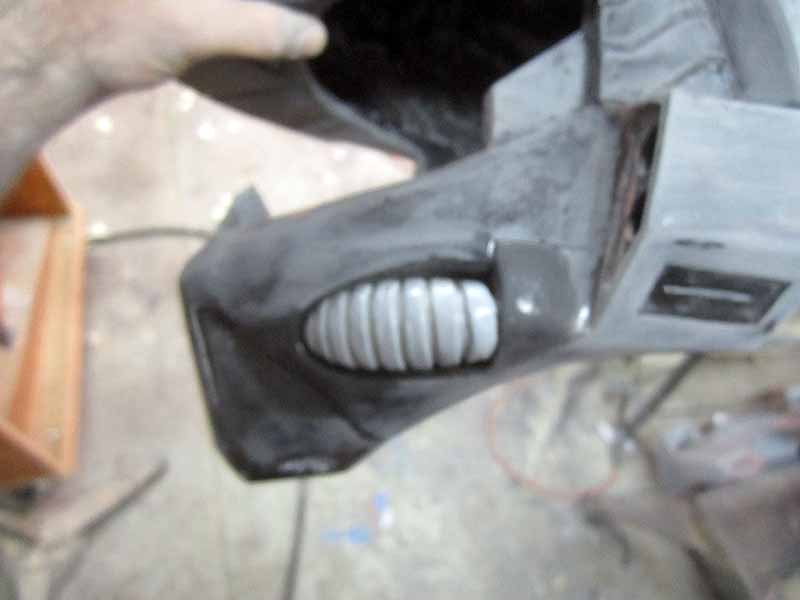
Here's an inside view showing the hole behind the cheek insert:
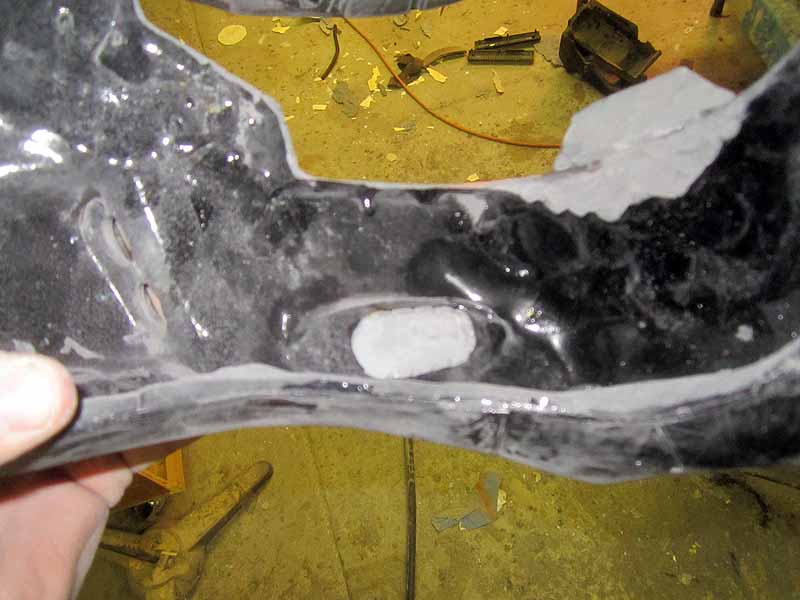
With all the assembly done, the next step was to sand the whole helmet with 150 grit sandpaper. This was enough to take the shine off of the whole thing and eliminate almost all of the mold flashing. The only exception was a small problem area on the right side which required a dab of spot putty to fill in:
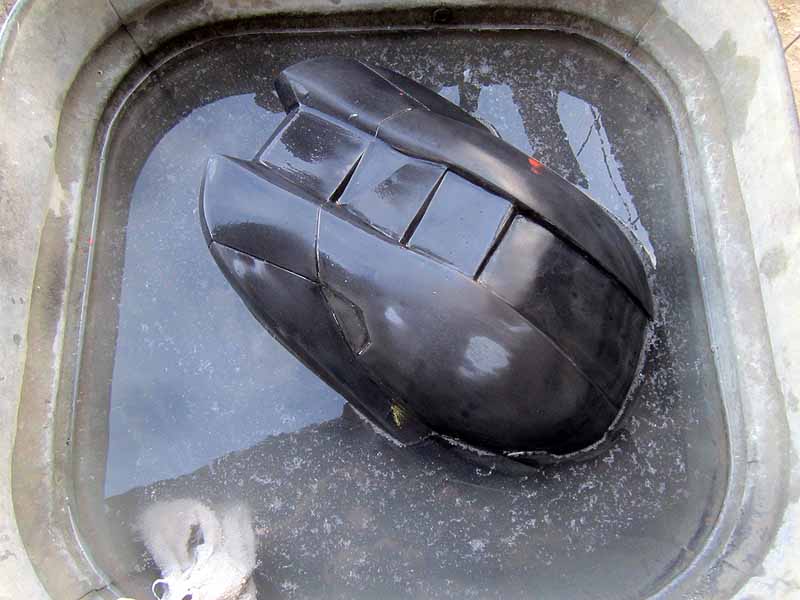
Once I was done sanding and filling, it was time to give all of the parts a scrubbing in warm, soapy water:
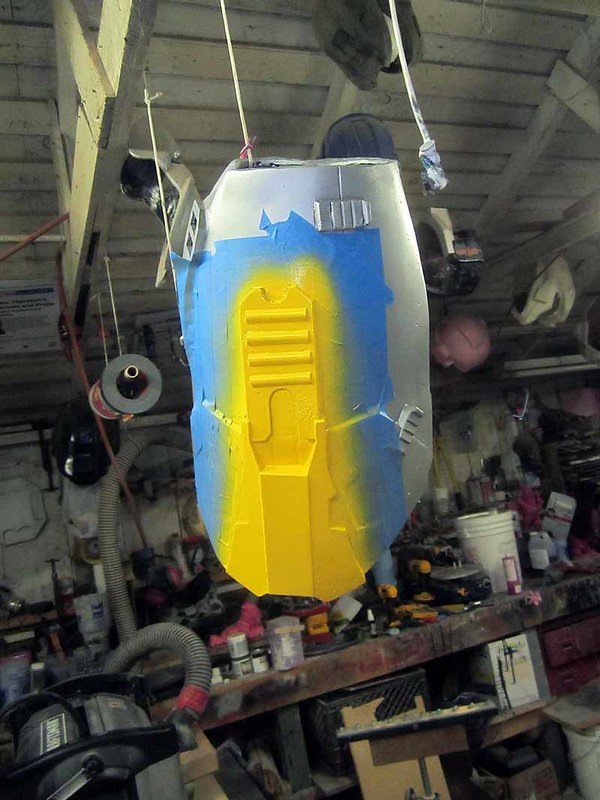
Painting:
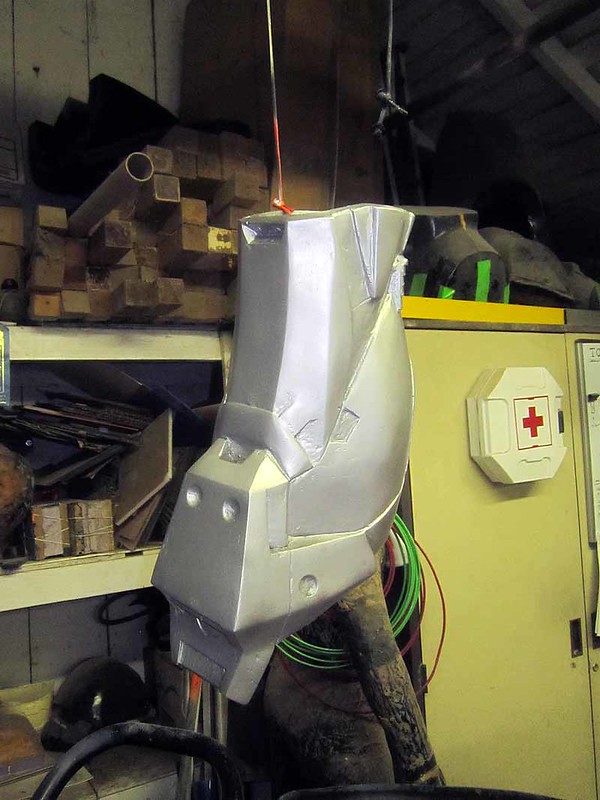
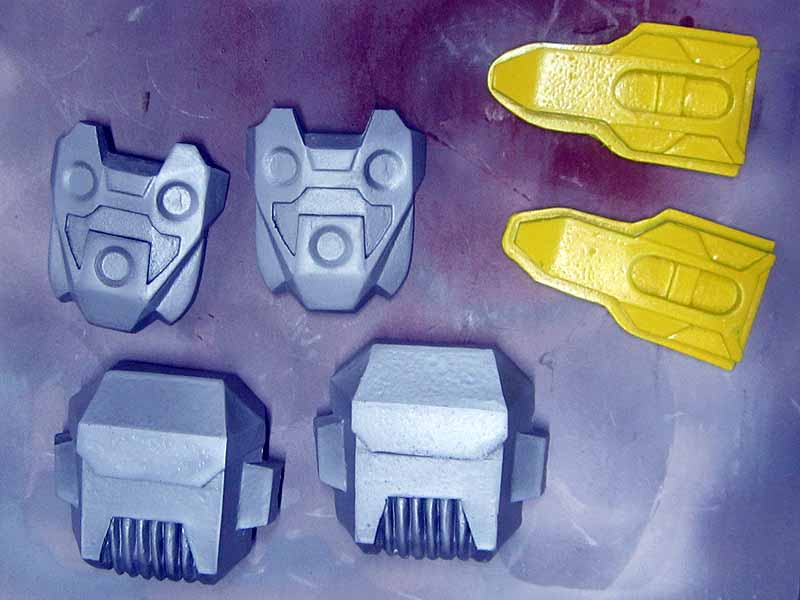
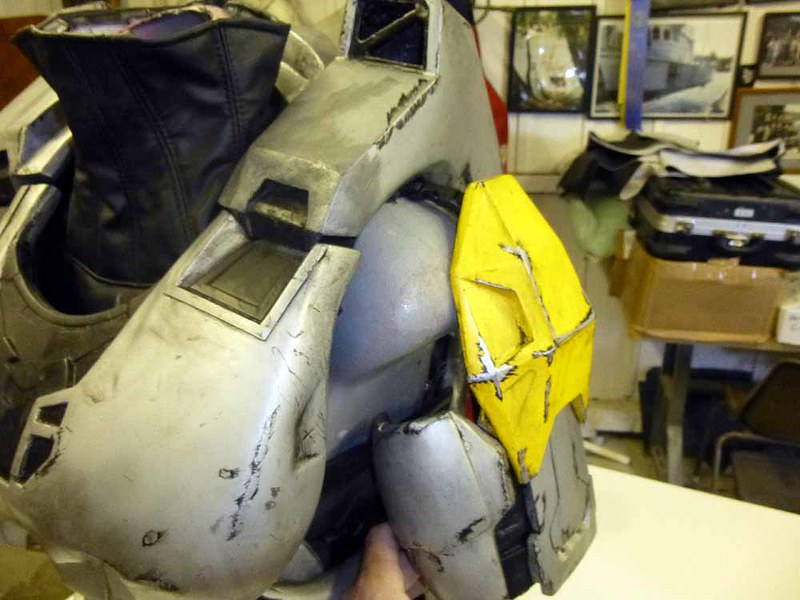
For this suit, the plan is a light gray metallic with yellow trimmings and some significant wear and tear. I started with a coat of grey primer over everything. Once that had set up, I used a spray can of "Matte Aluminum" from Rustoleum to give it a light gray color with a hint of metallic:
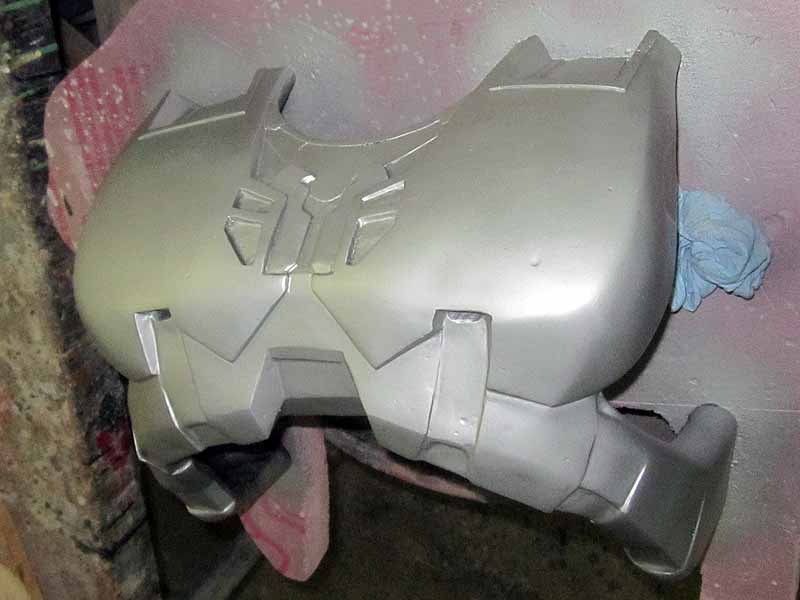

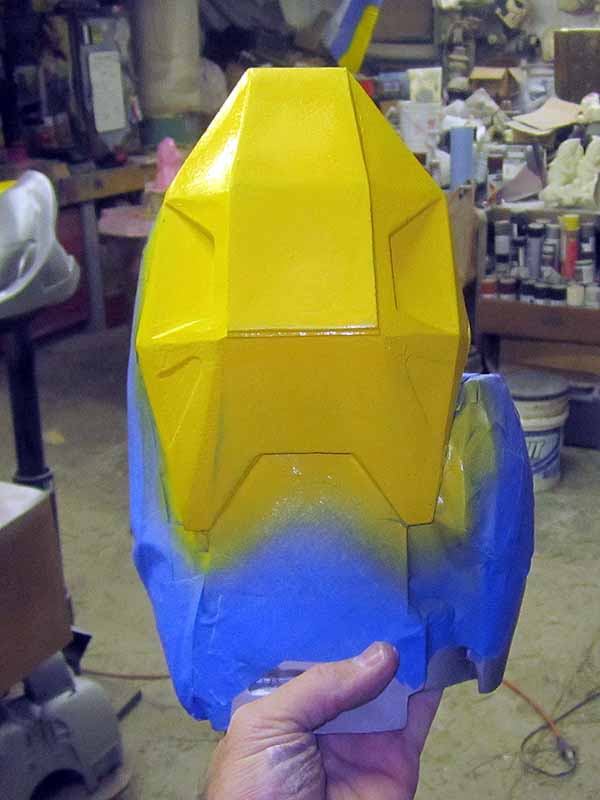
Once the base color had dried t, I masked off the yellow trim areas and went over them with gloss "sunburst yellow" also from Rustoleum:

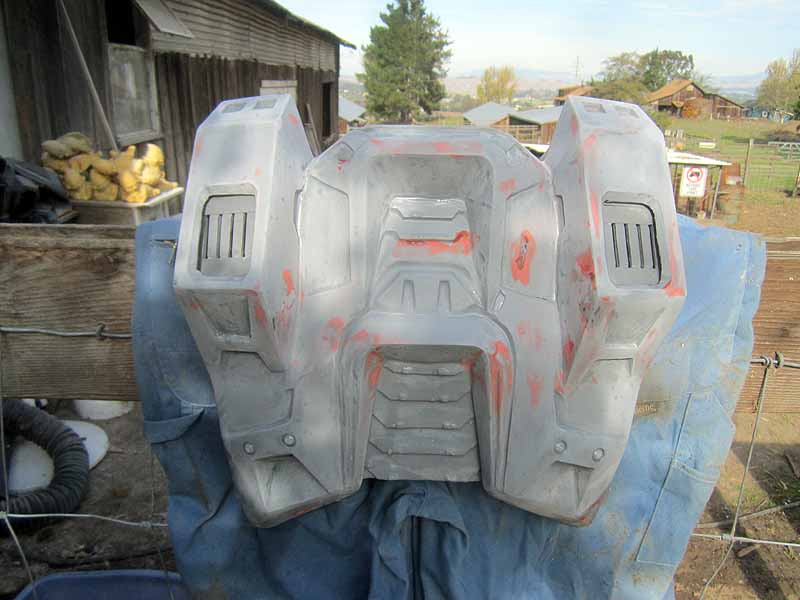
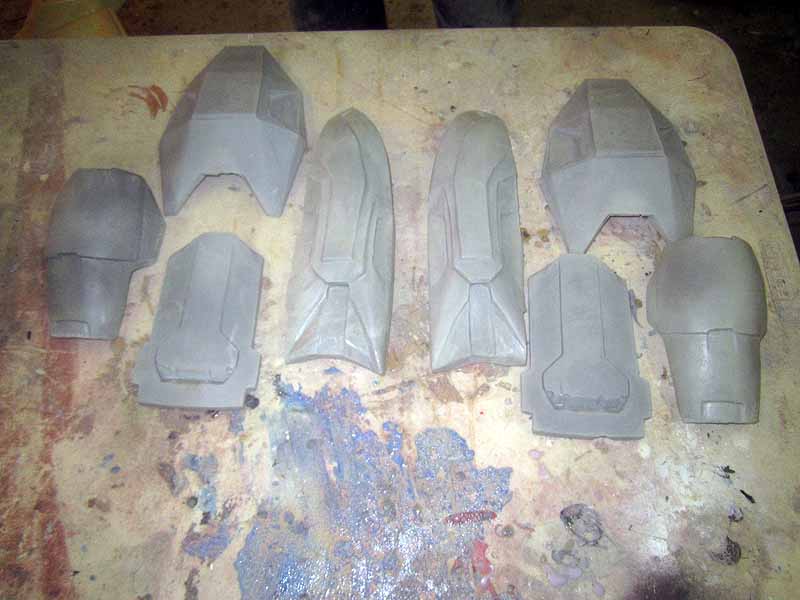
Here's all of the upper body parts stacked up at this stage:
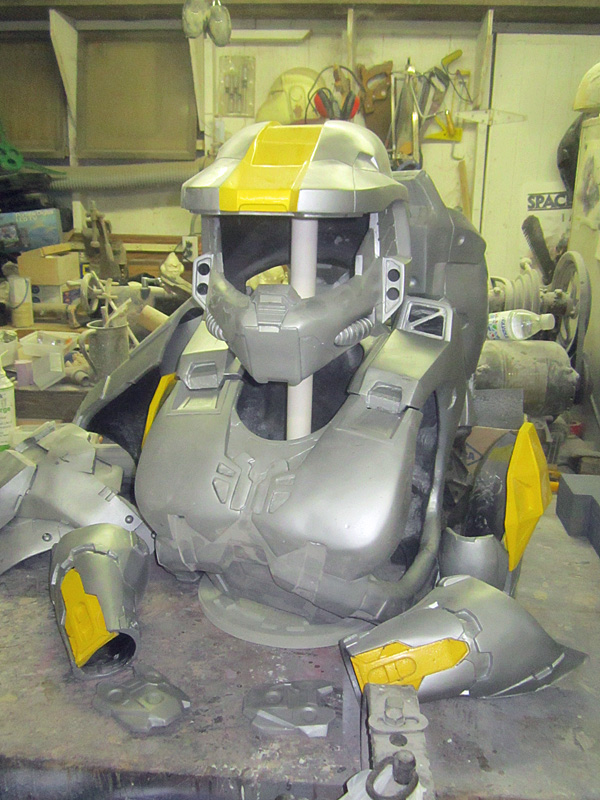
Not too shabby.
With the base colors painted, the next step was to install the faceshield in the helmet and start picking out the black detail parts:
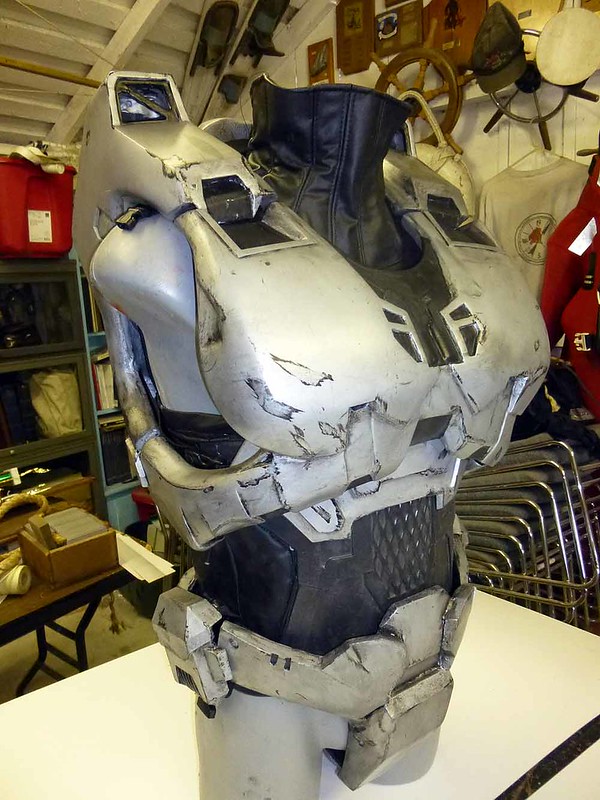
For the weathering, I drybrushed many of the edges with flat black paint, then went back over them with a slightly lighter drybrushing of silver paint to simulate bare metal scratches showing through the metallic gray paintjob.
The black paint effectively outlines the silver scratches. Without it, the silver drybrushing would be lost against the light base colors.
Once these colors had dried, I gave the whole suit a quick blackwash using a watered-down acrylic paint.
Because I was being neglectful, I didn't get any pictures of the weathering in progress. I am ashamed.
Strapping and Padding:
If there's any one thing I absolutely hate about these kinds of projects, it's the sewing part. Not because it's particularly difficult, it's just because I usually feel like I don't know what I'm doing and end up spending hours cursing at the archaic, heavy-duty upholstery machine I use for this sort of work.
Still, after a few angry hours in which I narrowly escape stitching my fingers together, I'm able to end up with this handy piece that wraps around the waist:
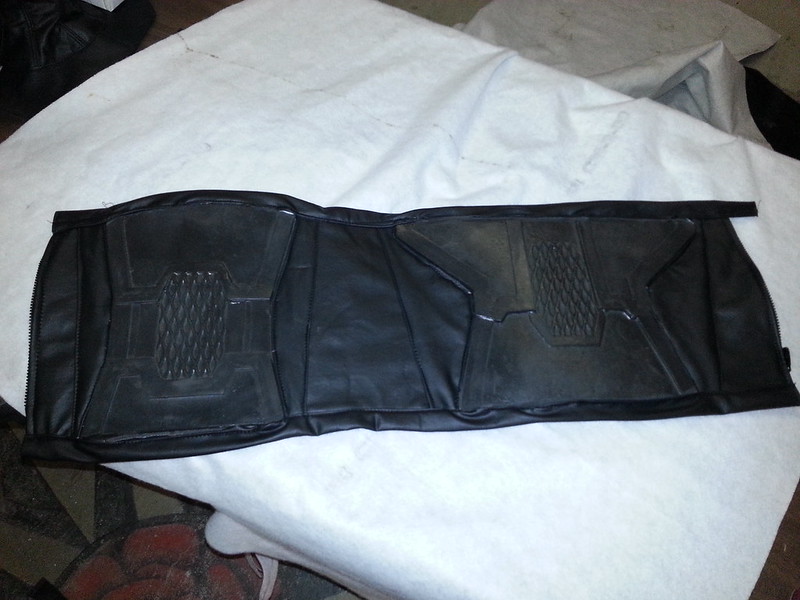
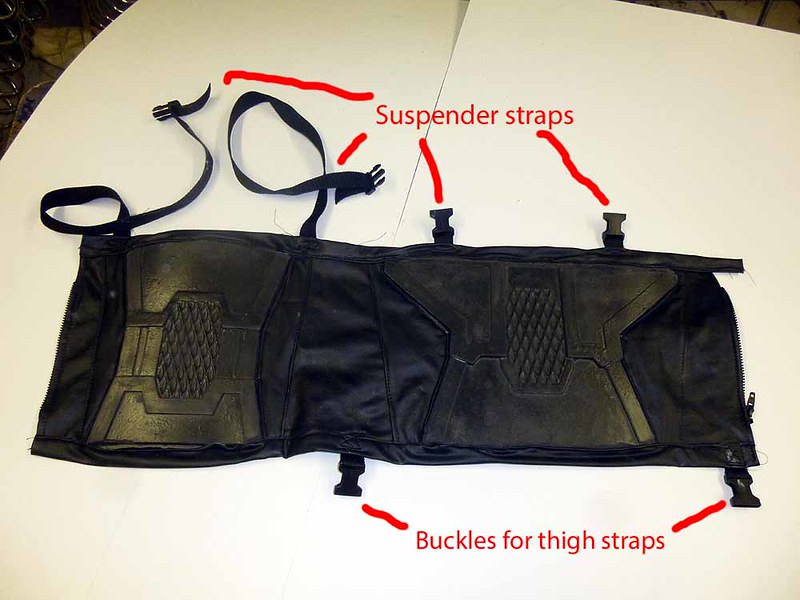
The textured pieces are cast in flexible foam rubber with fabric backing that I sew onto/into a waist cincher with a zipper that runs up one side. Suspender straps go up and over the shoulders to keep it from sagging. This is important because this piece will become the harness that holds up the thigh armor:
Through another lengthy process of not knowing how to sew, I also make a zip-up collar piece:
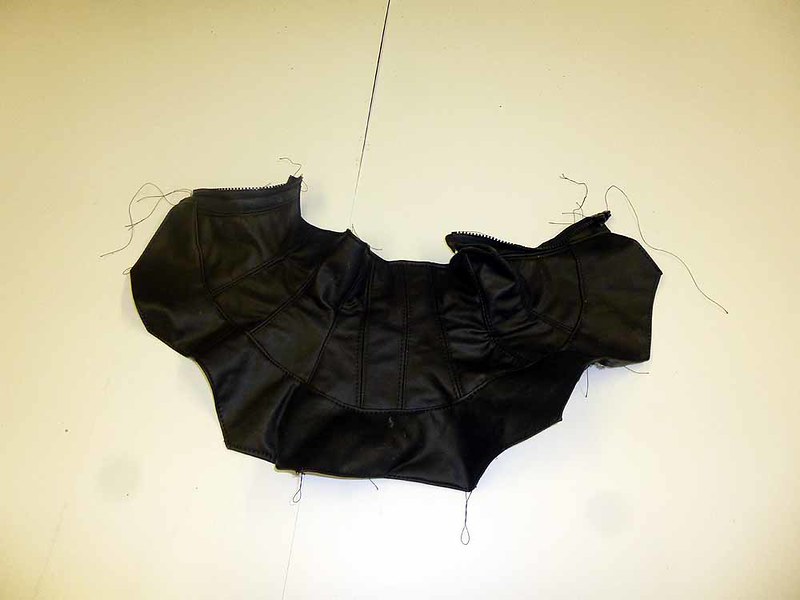
Sitting in a pile like that it doesn't look like much, but it makes a lot more sense when it's zipped up around the wearer's neck:

That does it for the sewing part of the project, so after a quick run to the hardware store, it's time to start adding hooks and straps to the armor itself.
First, I get a four-pack of heavy-duty picture frame hangers and rivet them in place inside the chest armor thusly:
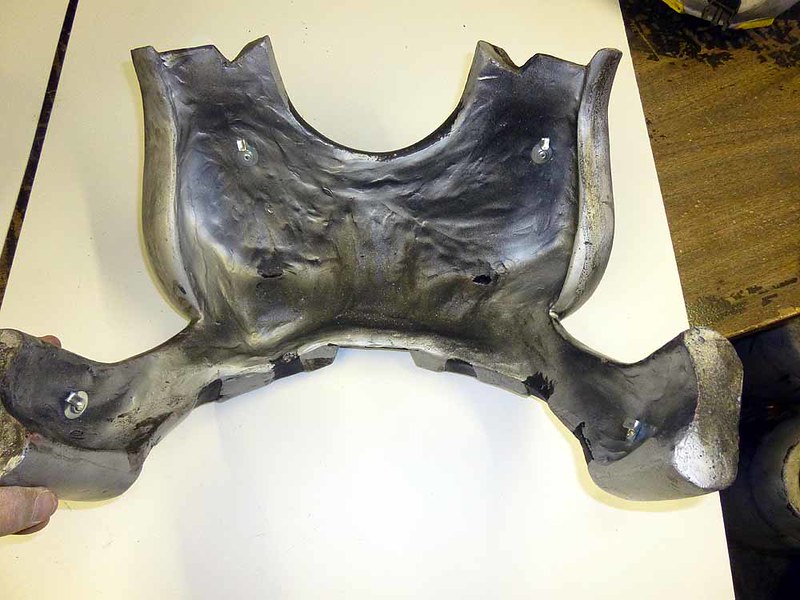
Here's a closeup showing the hook inside one of the ends:
Since I cast these parts pretty thick, there's enough material for me to put a 1/8"x1/4" pop rivet into the resin to hold the hooks securely in place. It's just a question of drilling a 1/8" diameter hole where I want the rivet and popping it into place. Usually I'll also put a couple of drops of CA adhesive into the hole for an added bit of insurance as well.
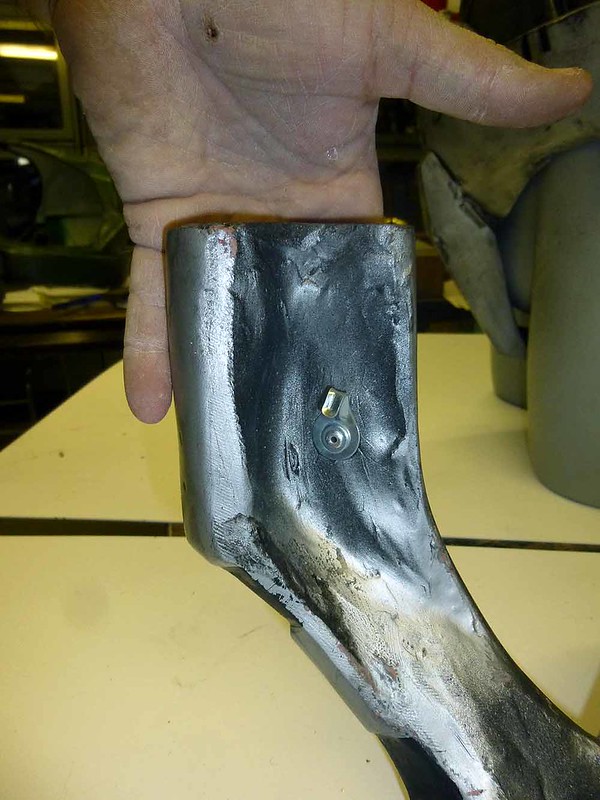
Hardware installation for the chest is pretty simple. The back is a bit more complex. First, each place where there's a hook on the chest needs a corresponding loop of bungie cord attached to the back. Here's the bungie attachments at the shoulders:

And here's the loops at the bottom corners of the back:
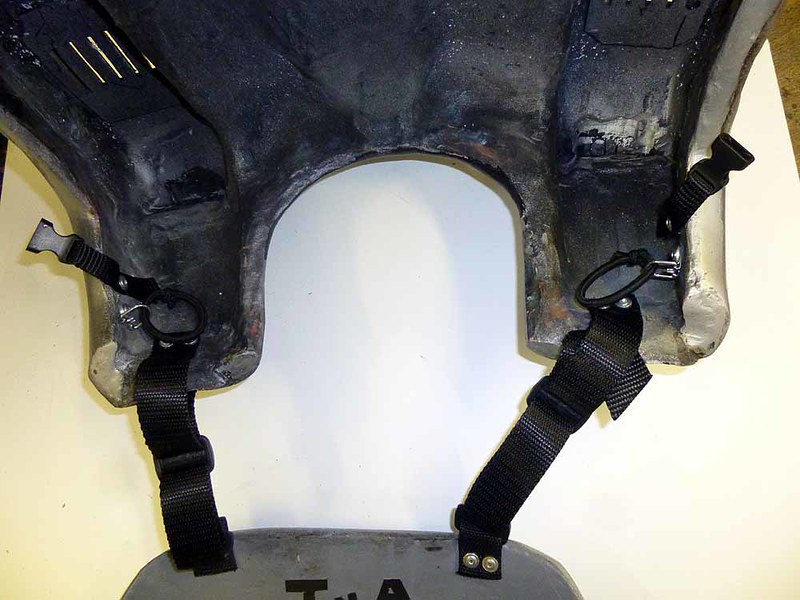
These loops of bungie cord are there to hold the chest onto the back. The nylon web straps at each corner attach to the small abdomen plate the rides up under the chest. This way the backplate wears like a backpack and the chest is suspended off the front of it.
Everywhere I need to rivet a piece of nylon webbing onto something, I use an old soldering iron to melt a hole through the webbing for the rivet to pass through. The edges of the resulting hole are heat-sealed to prevent fraying and the diameter is usually just about perfect for the rivet to fit through.
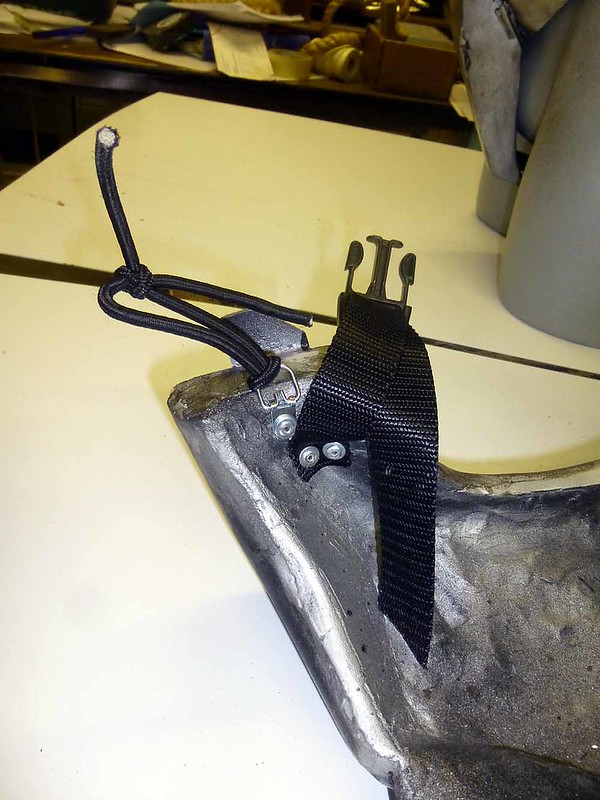
Here's a shot of the straps attached to the abdomen plate:

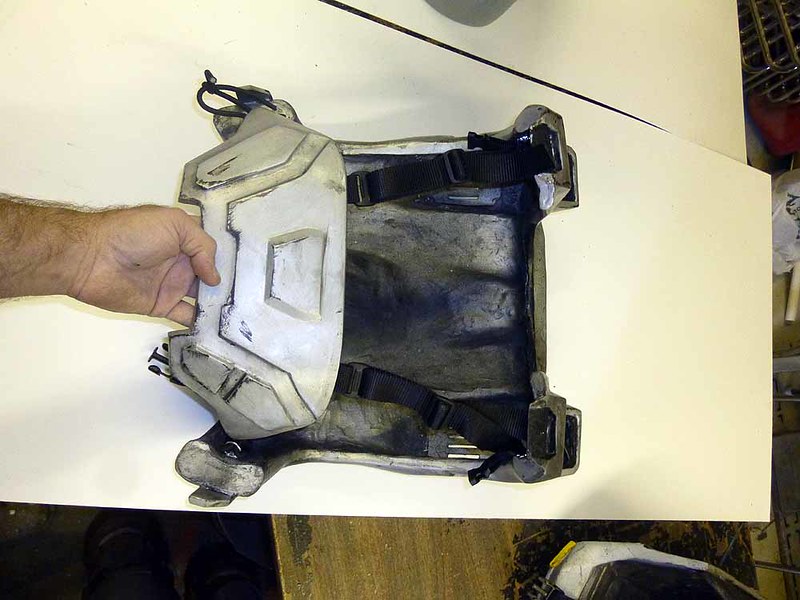
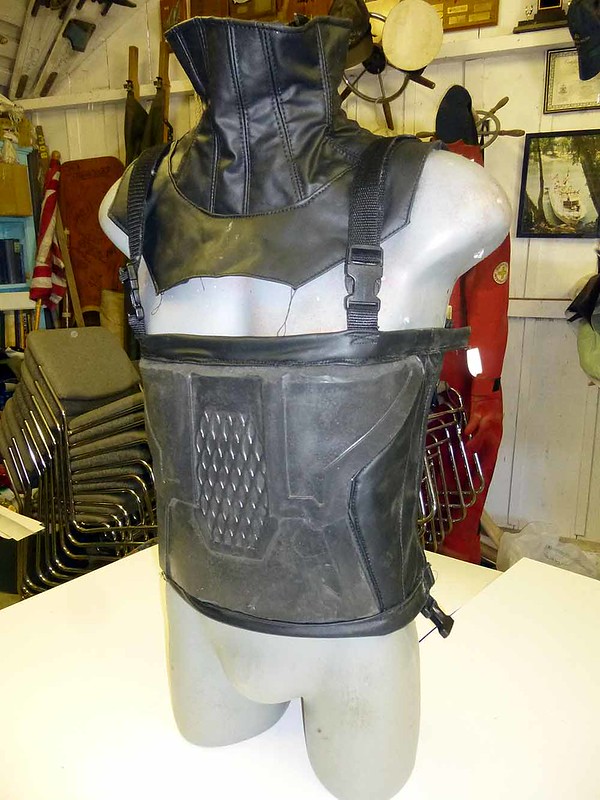
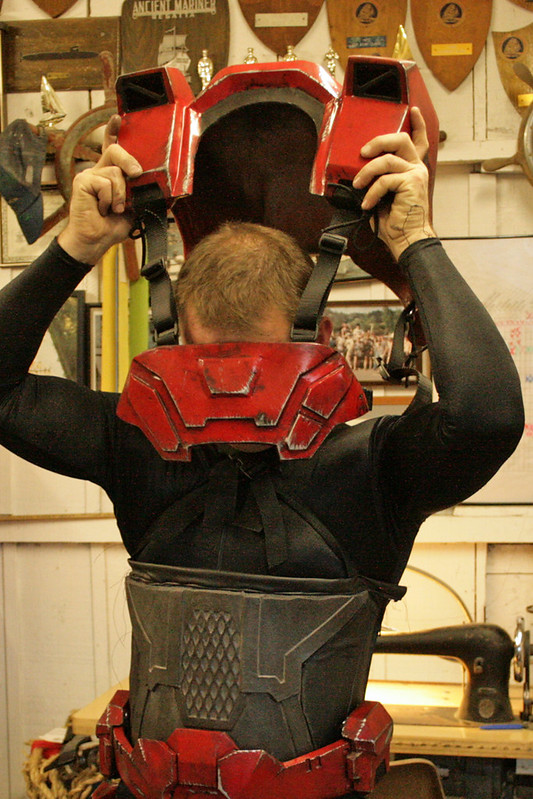
It makes more sense when you see the whole thing strapped onto a mannequin:
With the back strapped securely in place, it's just a question of fishing out the loops of bungie cord and stretching them out to catch the hooks inside the chest armor:
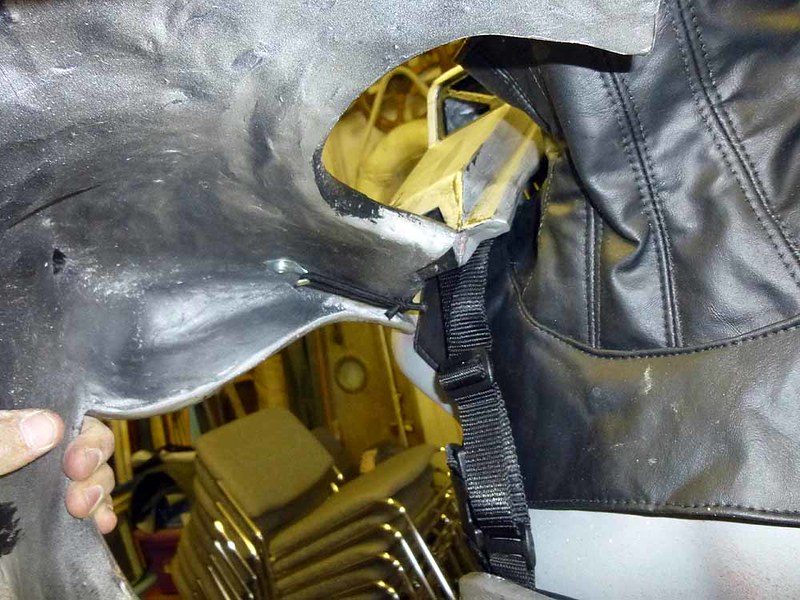

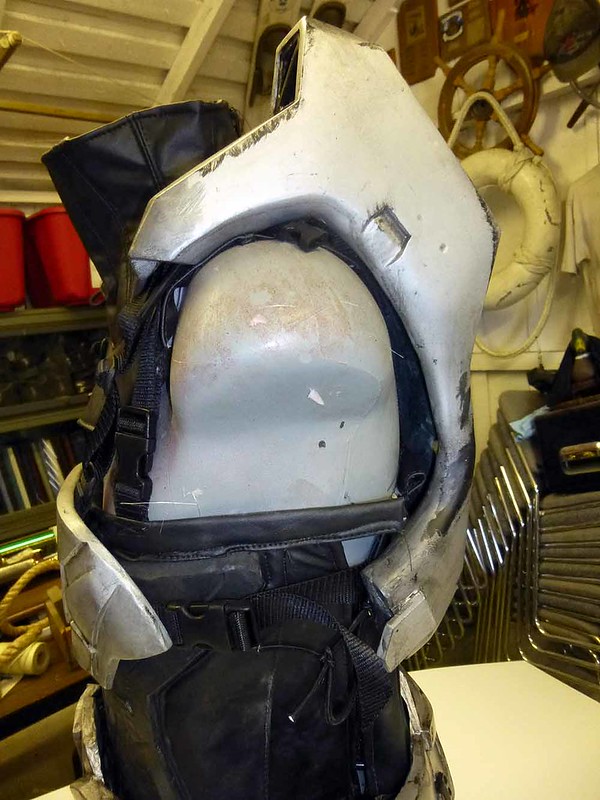
It's a bit tougher to get to the loops at the side of the ribcage under the arms, but that's only because you have to do it blind:
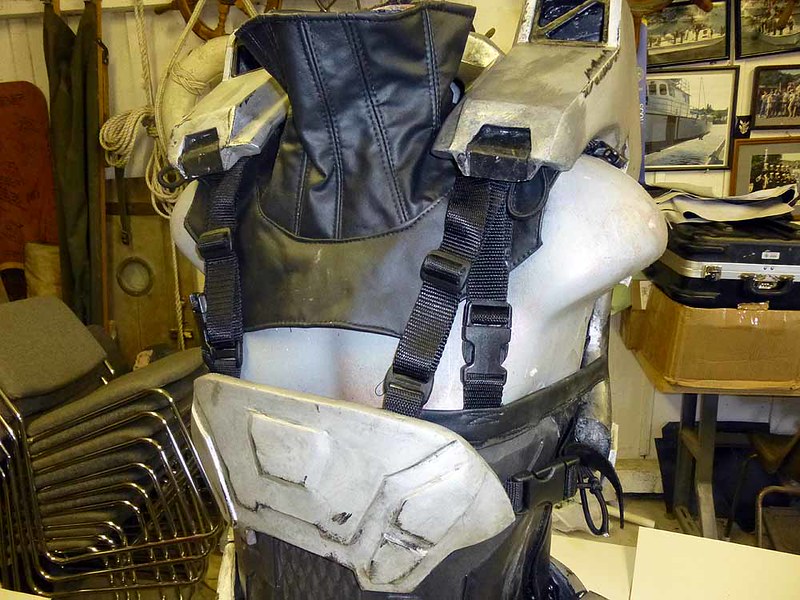
Somewhere along the way I installed a small loop of nylon webbing with the female end of a buckle at the top of the shoulder. Then I attached the male end of those buckles to a length of webbing attached inside the top of the shoulder plate. Aside from that, the only strapping for the upper arm is a wide piece of elastic to hold the armor snugly on the inside of the upper arm:

The strap and buckle attach to the shoulder part of the back plate:

This keeps the upper arm armor from sagging down to the elbow:
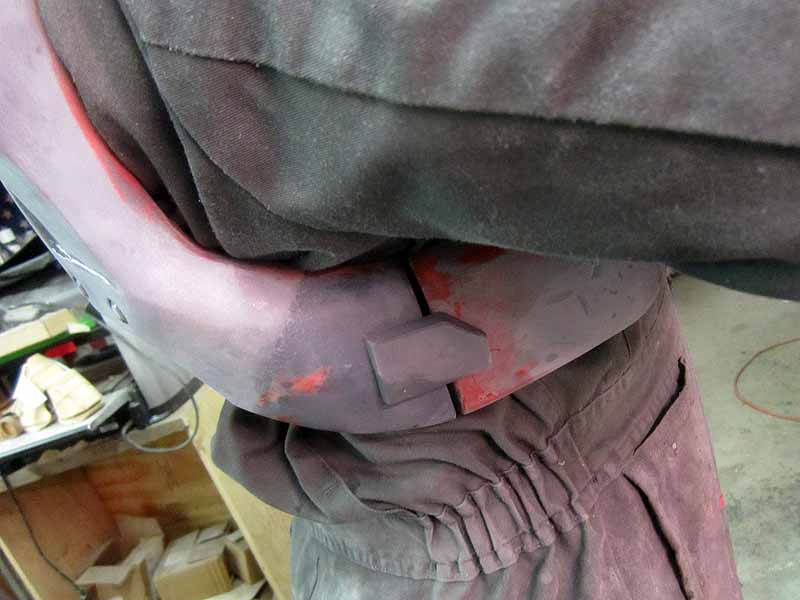
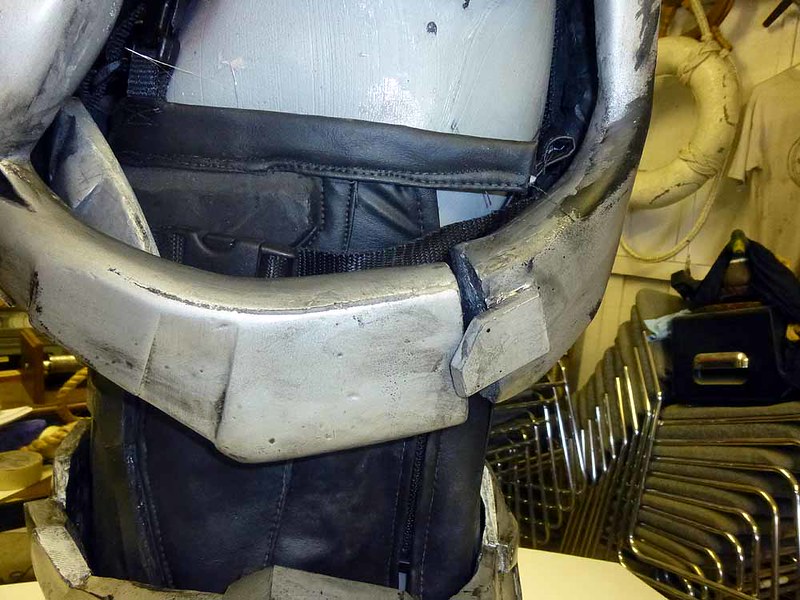
The last part that requires any complex strapping is the pelvis armor (aka, the "Space Diaper"). I build mine so they function much like any belt using 2" nylon webbing and large parachute buckles at the sides for donning and doffing. This also means that, in the event of the inevitable urological emergency, the Space Diaper can be removed for bathroom breaks without having to take off the rest of the armor.
Explaining the step-by-step is tricky, but a picture is worth a thousand words:

The thong strap is riveted in place between the butt armor and the nut armor in order to keep everything aligned. When it's time to get dressed, the hip boxes just loop over the belt sections like your favorite nerds cellphone holster. The whole thing will sit much higher on the waist than any belt worn by anyone under the age of 70, so the thong strap will end up firmly in place in the wearer's crotch.
Here's a shot of the Space Diaper on the mannequin:
This is where you'll remember the thigh buckles hanging out on the sides:

At a glance, it looks like there's a lot of bun hanging out. Without the thigh armor, you kinda feel like you're mooning the world in this outfit.
The last thing that needed any attention in the strapping department is the thighs. I started by installing a generous length of nylon webbing fitted with the male end of the buckles. I leave it long so it can tuck back into the thighs and be less likely to flop out while being worn:

With the straps securely riveted in place, I glued the foam rubber inner thigh section into place with a healthy dose of CA-adhesive and called it good enough.
With that, the strapping is done and it's time for...
Donning the Costume:
I don't have any step-by-step pics of putting on the Wash suit. Fortunately, while I didn't mention it sooner, I was simultaneously assembling another complete suit of armor with a custom paintjob. Aside from being a different color scheme, it's identical.
The first step in getting into costume is putting on the black undersuit. By now I've got a handful of undersuits ranging from compression-fit thermal underwear and dance unitards to dive skins and underarmor heat gear. The details aren't important as long as they're all black.
Next it's time to strap on the waist cincher:

I really should've worn briefs instead of boxers...
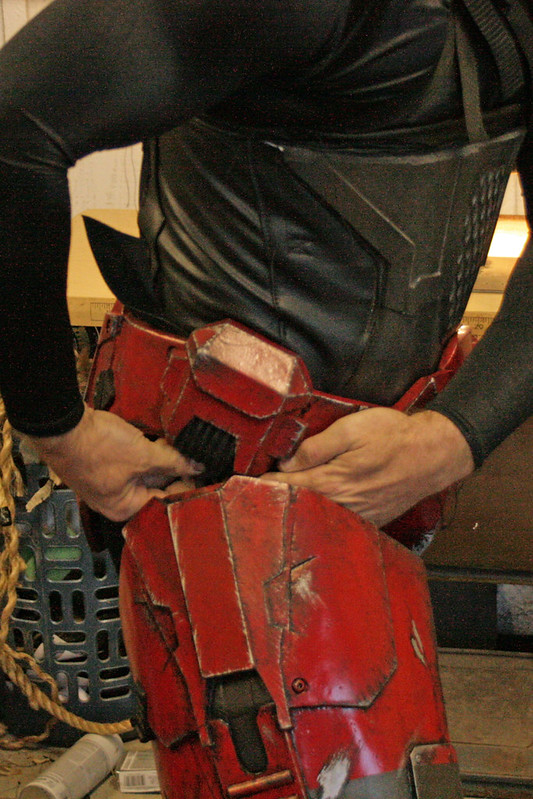
With the waist cincher in place, it's time to strap on the space diaper:

With the diaper buckled on it should be snug enough to hold itself up. I may go back and add a couple of velcro patches to the waist cincher in order to keep the diaper from slipping down while walking around.
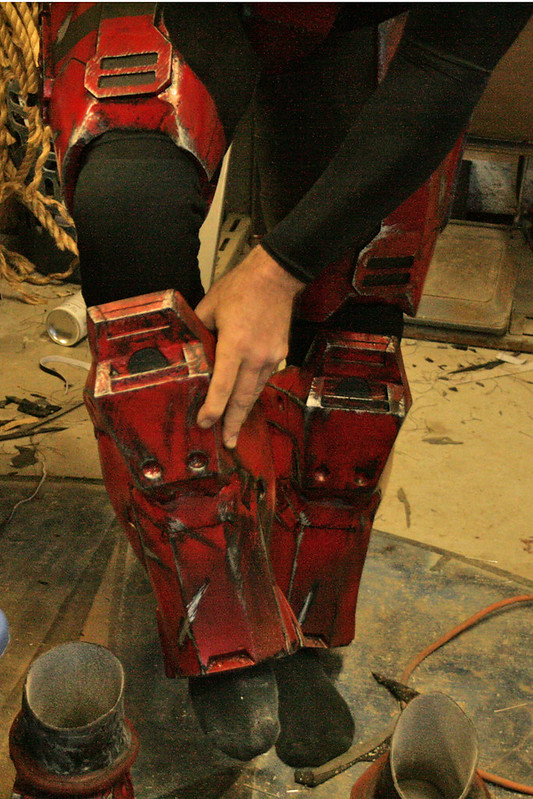
After sliding the hip boxes into place over the buckles, it's time to slip the thigh armor on and strap them in place so they'll sit high enough to clear the knees:
Since the armor is really bulky-looking and I have skinny legs, I picked up a pair of low-profile dancer's kneepads to add a bit of girth to my legs. This also keeps the hard armor parts from bruising my kneebones too badly* whilst strutting. After slipping them on it's time for the shin armor:
The shins are supported by riding on top of the rim around the top of the boots:
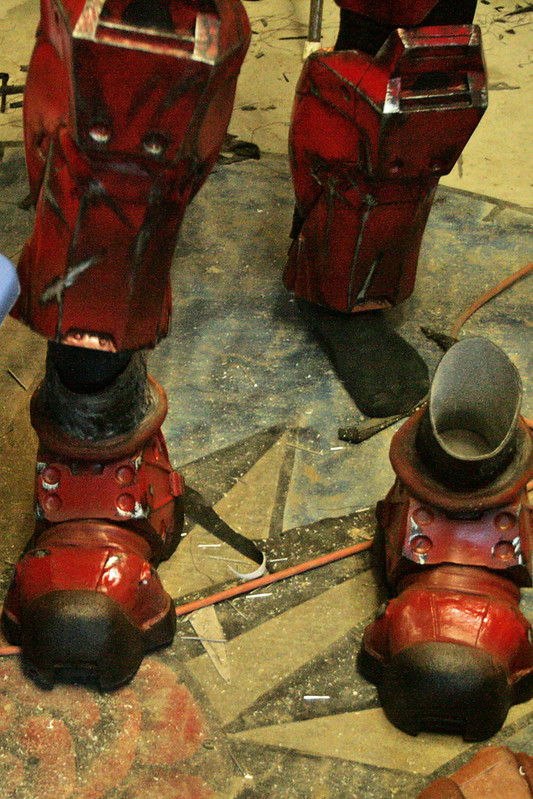
Now I look awesome from the waist down:

All of the dressing up to this point I'm able to do by myself. Starting on the upper half, I'm going to need help.
I can put on the neckseal without help:
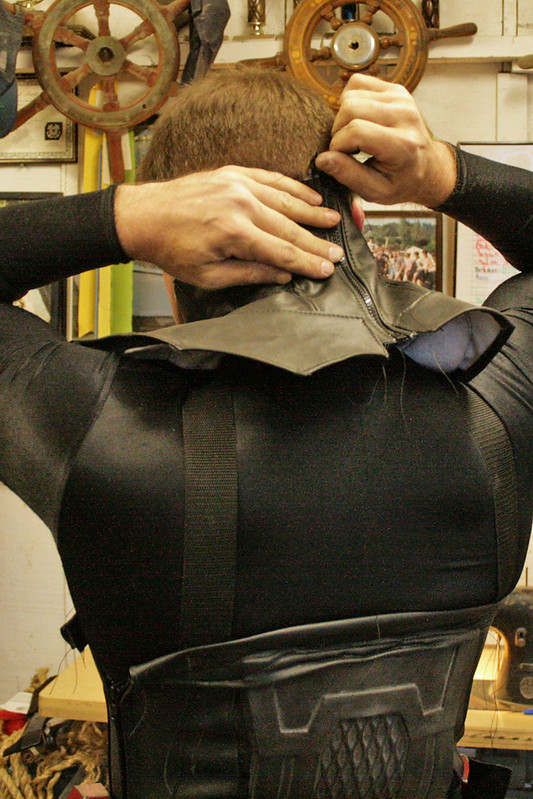
I can get the back on by myself:
With a bit of contortionism, I can install the upper arms by myself:
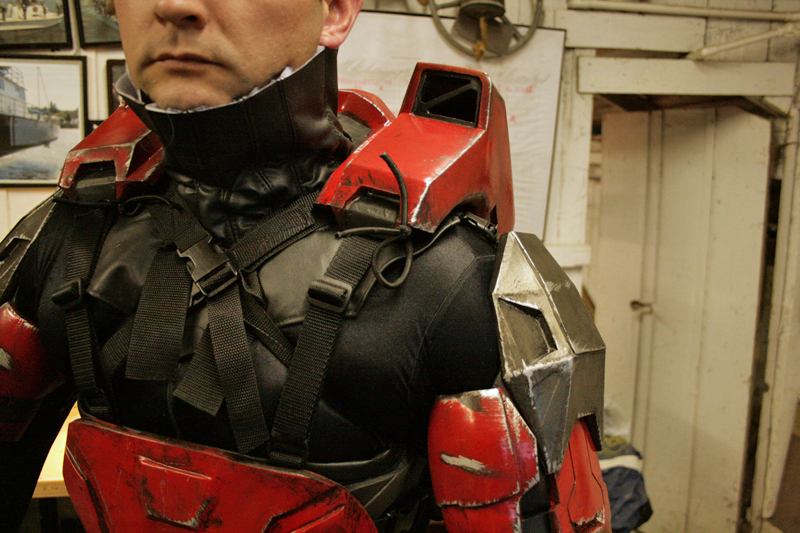
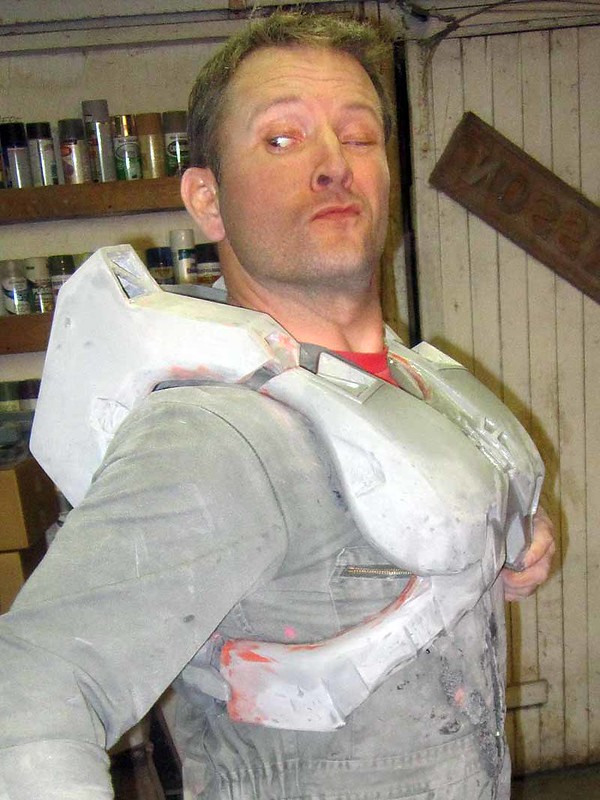
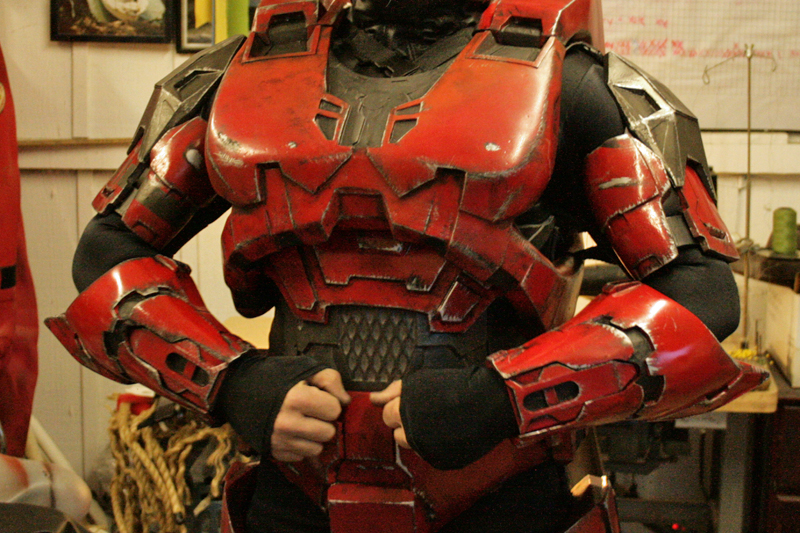
I need to have someone else attach the chest:

At this point, arm movement becomes a bit restricted against the chest armor:
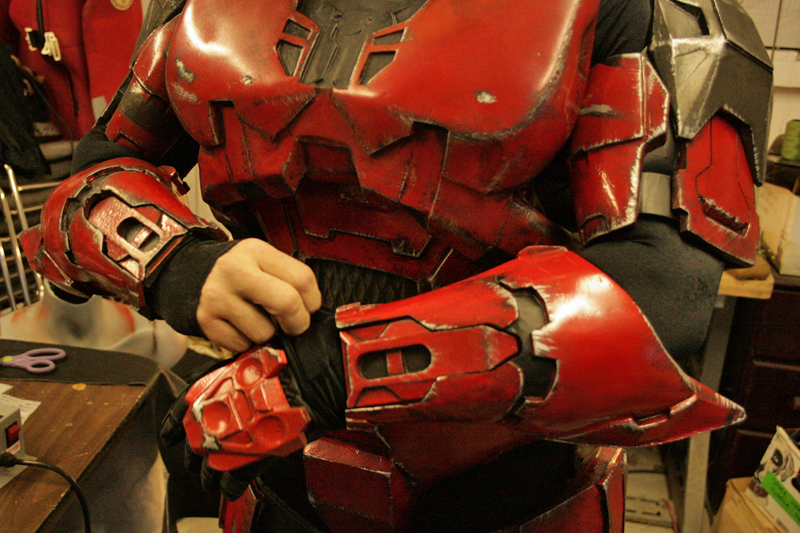
Before putting on the forearms, it's a good idea to pull some extra sleeve length over the hand:
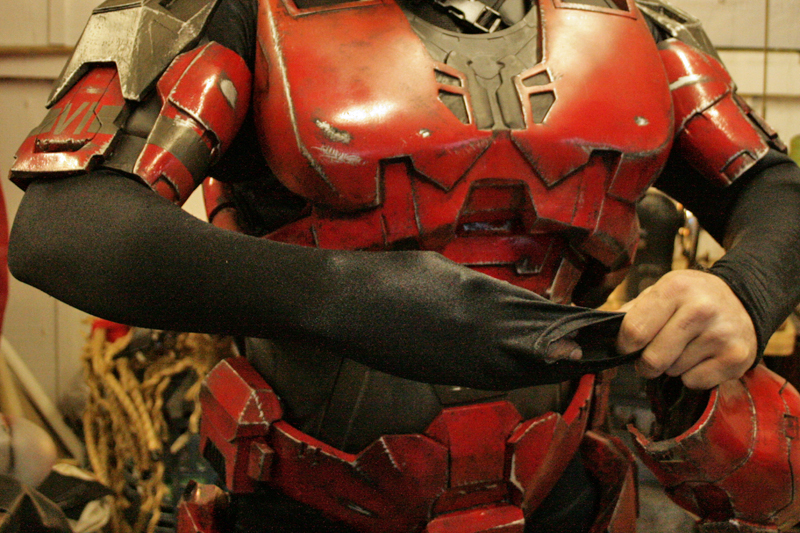
Then slip the hand through the armor:
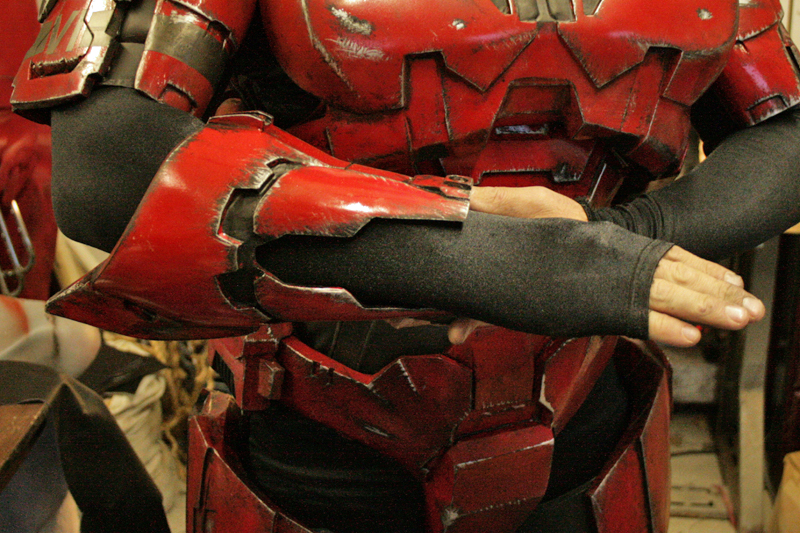
Then wedge the detail insert into the hole for a snug fit:
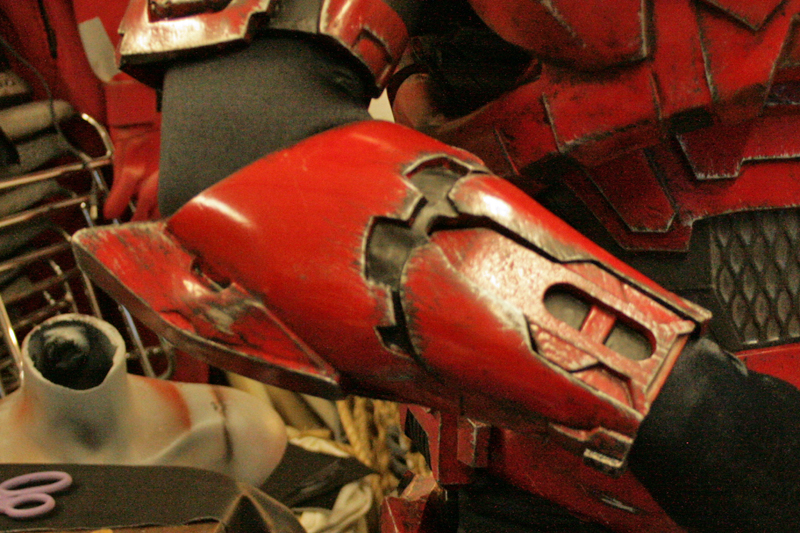
Repeat for the other side:
The next is to put on the gloves. I pull the extra length of sleeve down to cover any brand markings at the wrist of the glove:
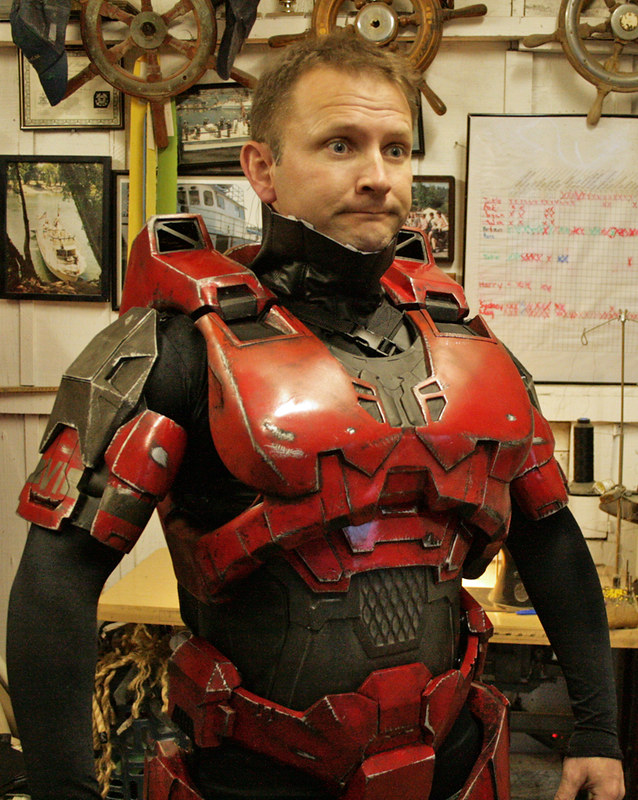
So there you have it:
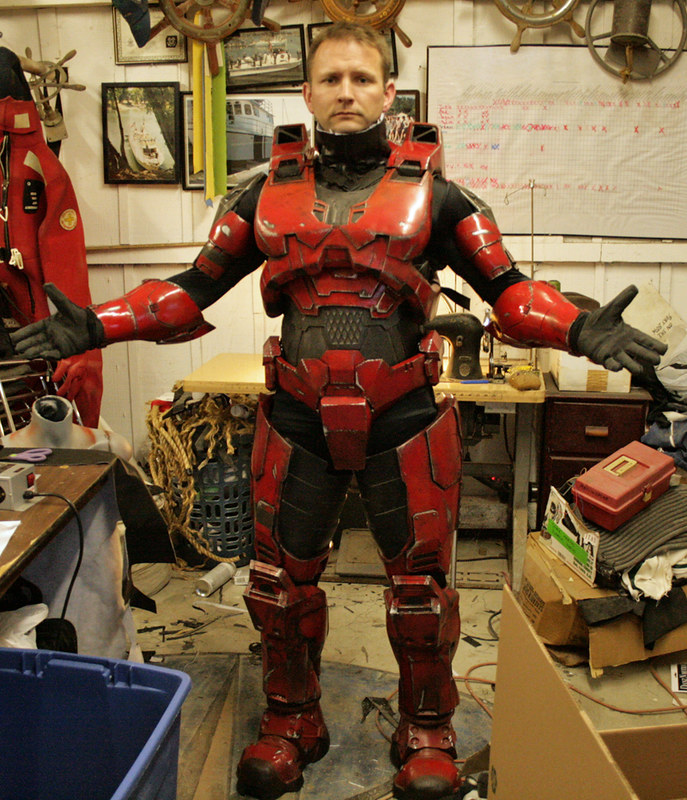
All that's left is the helmet to cover the silly look on my face:

Then the looking cool:
Finished Pics:
Here's a few more shots of both suits all done:
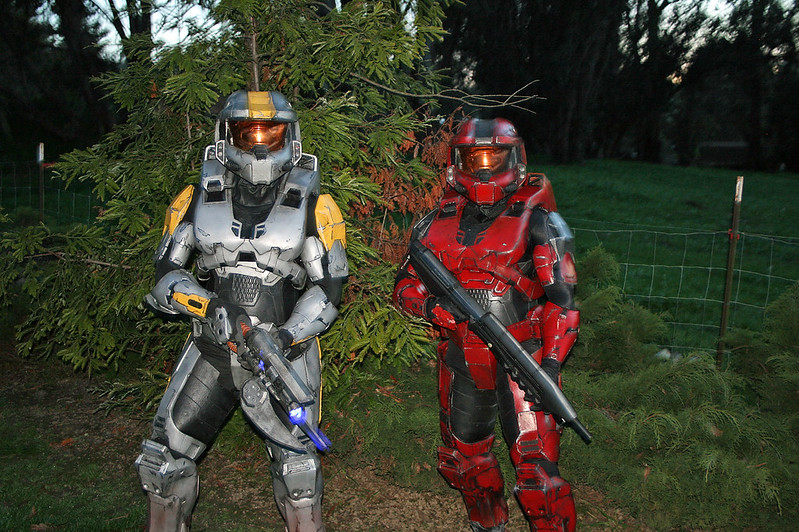
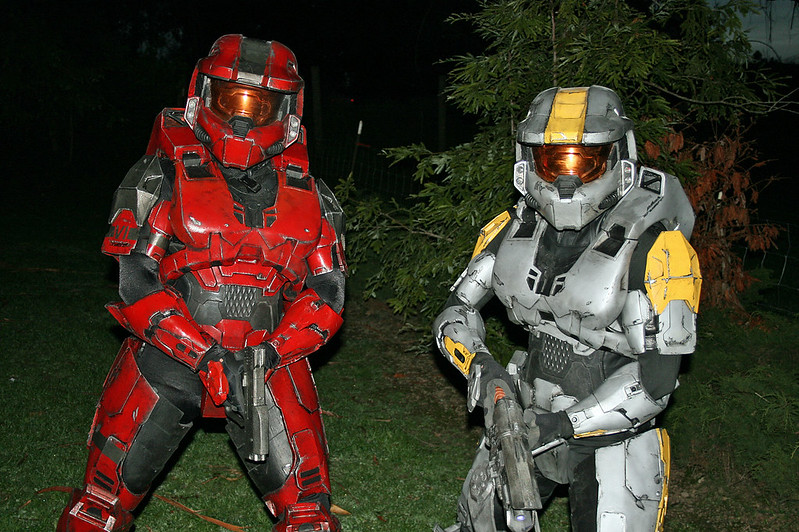
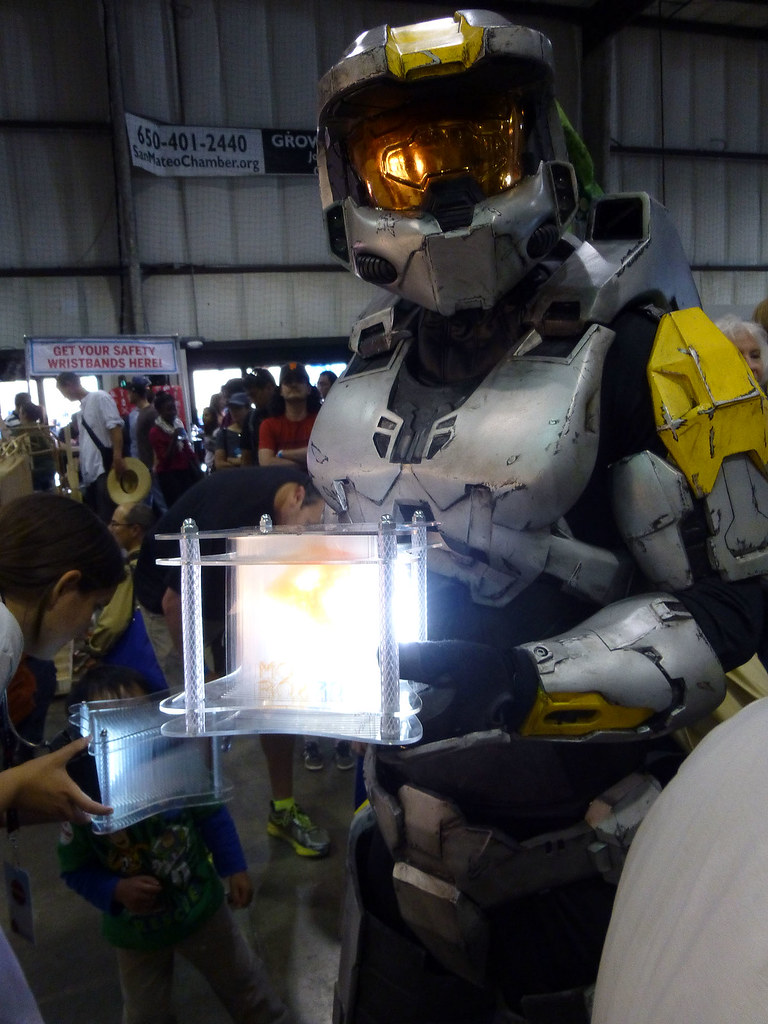
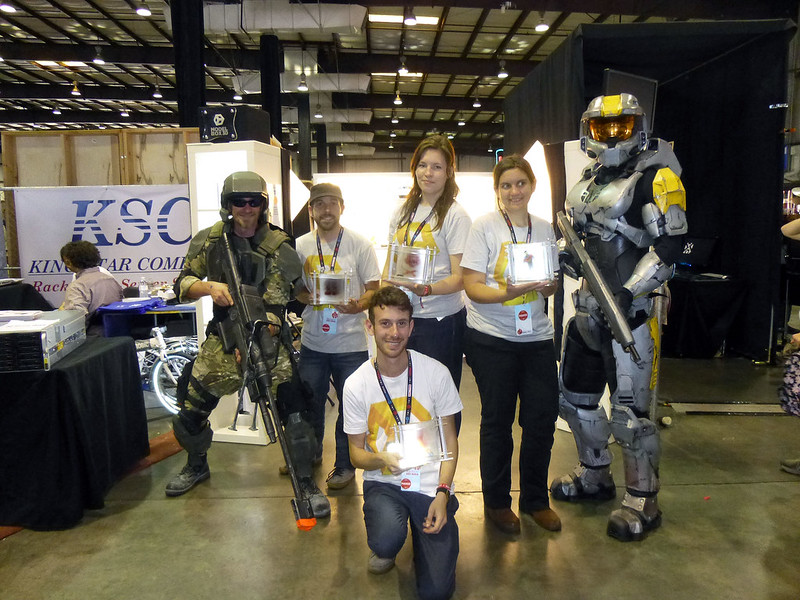
I'm sexy and I know it!
Thanks for reading. Be sure to subscribe so you don't miss any future updates.
*With a suit like this, some sort of pinching and bruising is just to be expected.
Impressive!
ReplyDeleteGreets from Finland!
ReplyDeleteYour how-to guides are awesome, just writing to let you know that there are probably zillion of us non-commenting visitors oogling at your work:)
-Miikka
You don't happen to sell molds or finished helmets do you?
ReplyDelete~Chase
I am eager to see him complete Agent Maine. He is my favorite in the series only cause of his brute force :D
ReplyDeleteI would be more than willing to comission you for one of these... IF I HAD ANY MONEY. Damn. Really, all the kudos in the world to you, sir. I am in love with your work.
ReplyDeleteDo you happen to have the templates for these pieces? I've been looking, but I don't know the model of the characters from Reconstruction-Revelation. I was wondering if you had any links to the templates you used to make this armor. It's very impressive, fantastic job!
ReplyDeleteThis comment has been removed by the author.
ReplyDelete