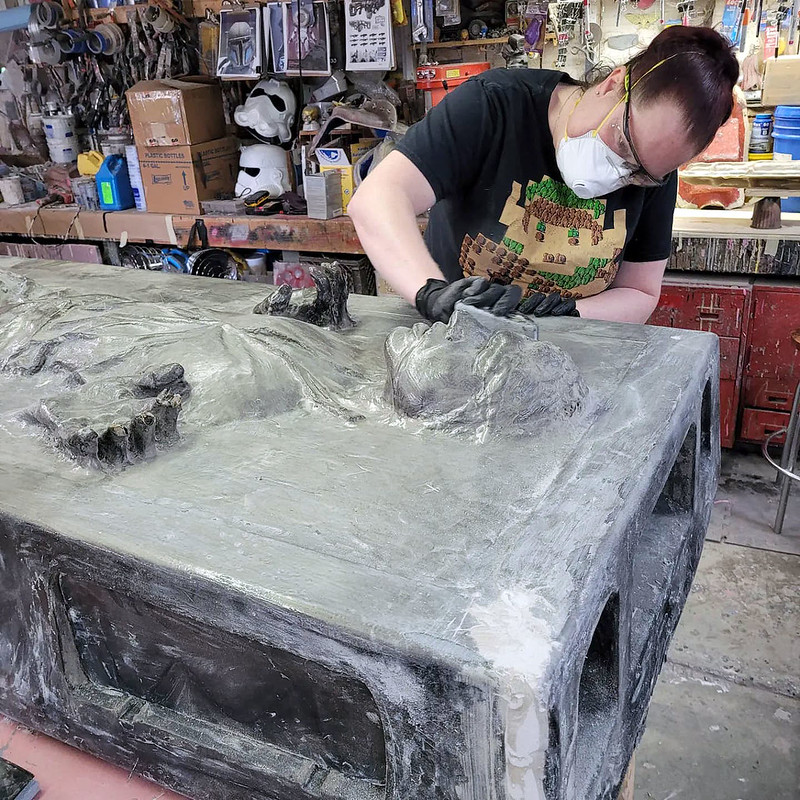
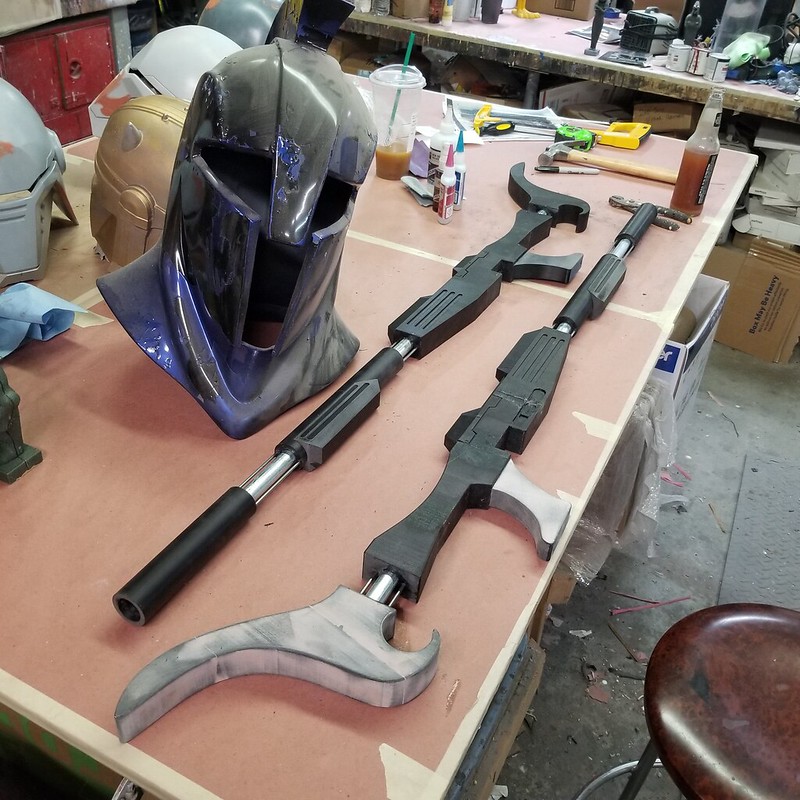
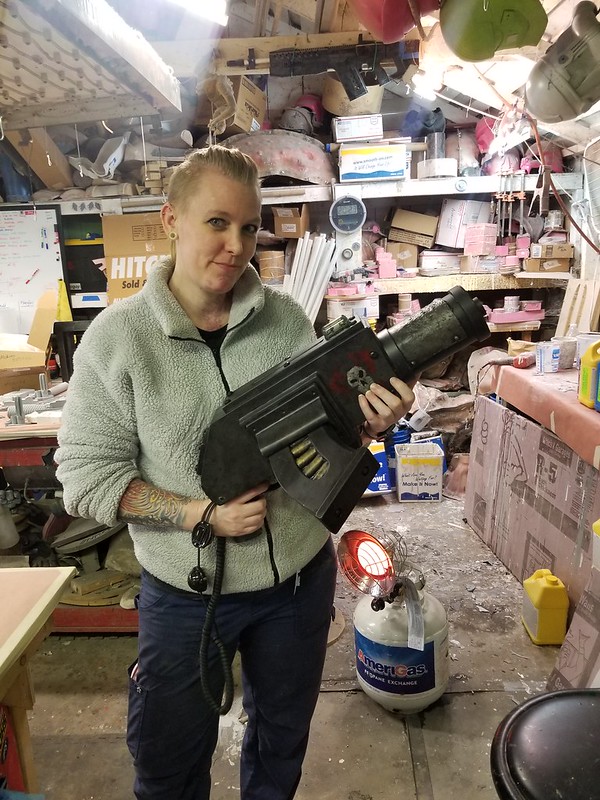
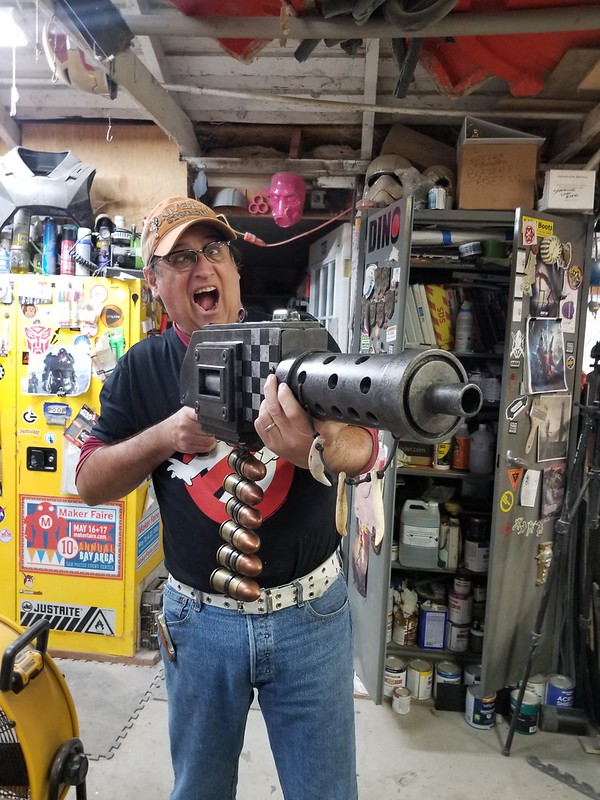
A few months back I got an interesting email from a representative for Games Workshop. It seems that after years of making various costume and prop projects based on their Warhammer 40,000 universe in my free time, they've taken notice. Not that these things are easy to miss when I take them out in public: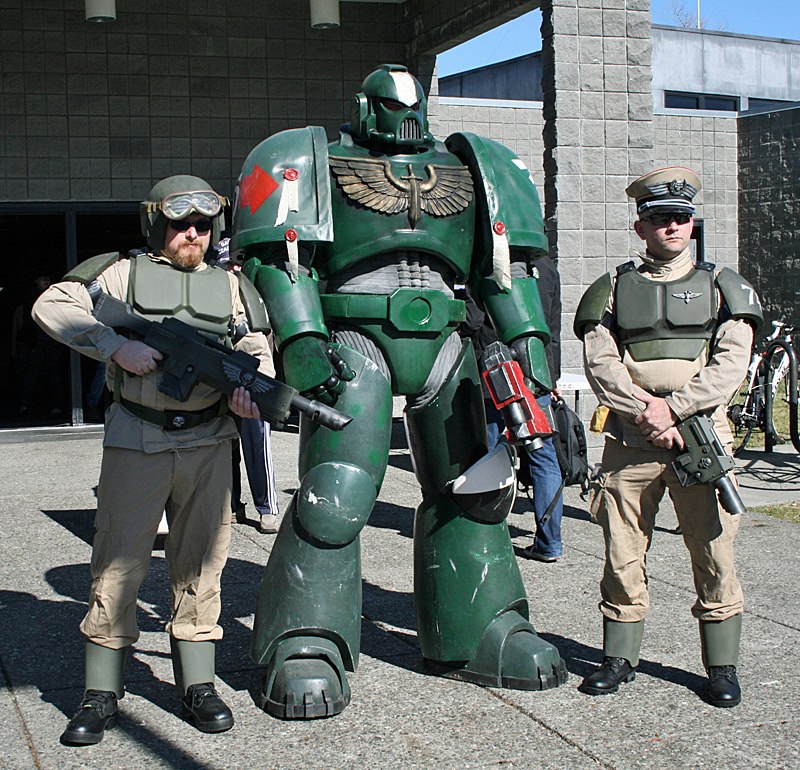

After a brief video conference, they sent me a list of potential builds that included loads of interesting projects. I can't go into the details of most of them in case they still end up being built for future events, but after a lot of discussion and back and forth, they finally settled on a first project to commission me for.
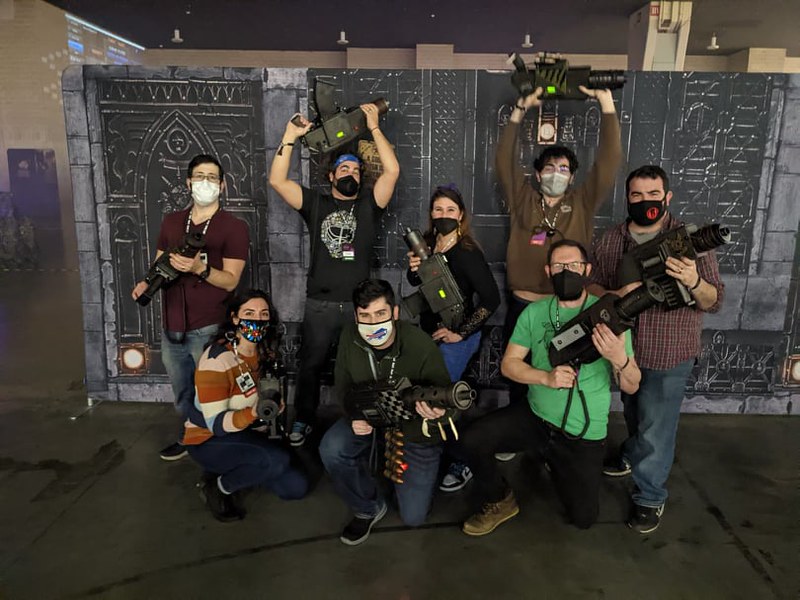
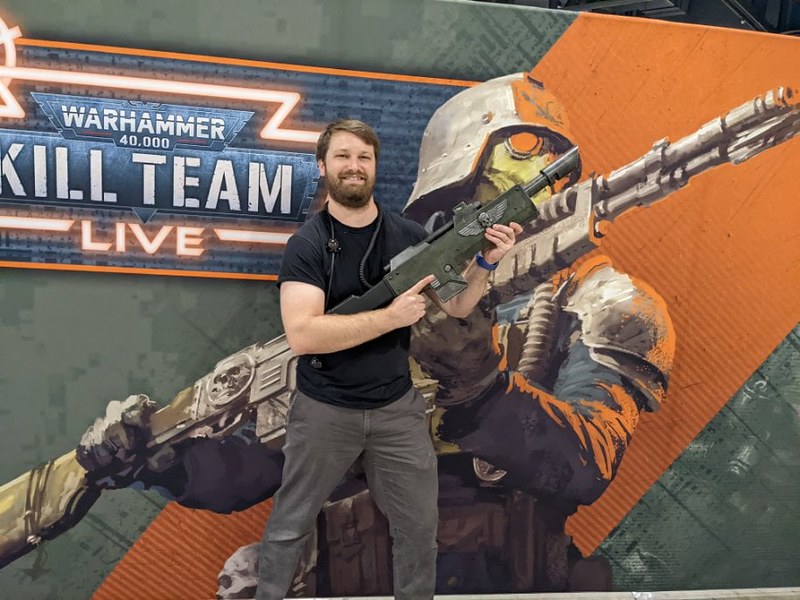
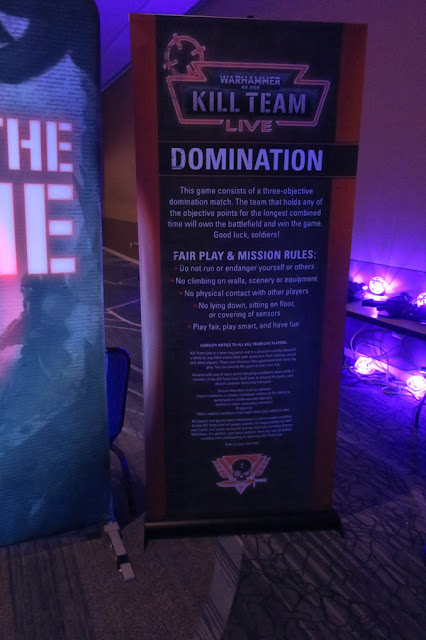
My crew and I would build functioning lasertag guns themed to look like Ork Shootas and Imperial Lasguns for an in-person event experience called "Kill Team: LIVE."
My first concern was that I have no idea how to build functional lasertag guns. Turns out this was not a problem because the internal electronic components were going to be built by a company called Battlefield Sports and provided to us, ready to be installed in the shells we would build. Total build timeline was about six weeks to build twelve weapon props. No problem.
After a bit more discussion, twelve guns turned into sixteen. Doable, but with a bit more stress. Then, by the time we actually got the green light to begin the build, the project had expanded to twenty guns.
Twenty fully-finished, functional lasertag guns in six weeks? Damn. The whole build would be crunch time.
Diving in, I started by whittling out wooden masters for the main body of the Lasgun: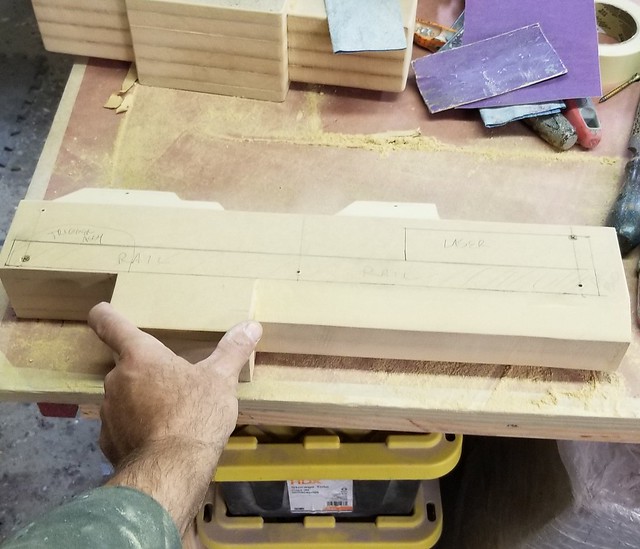
Here's the main body master next to a sample of the most basic lasertag gun made by Battlefield Sports:

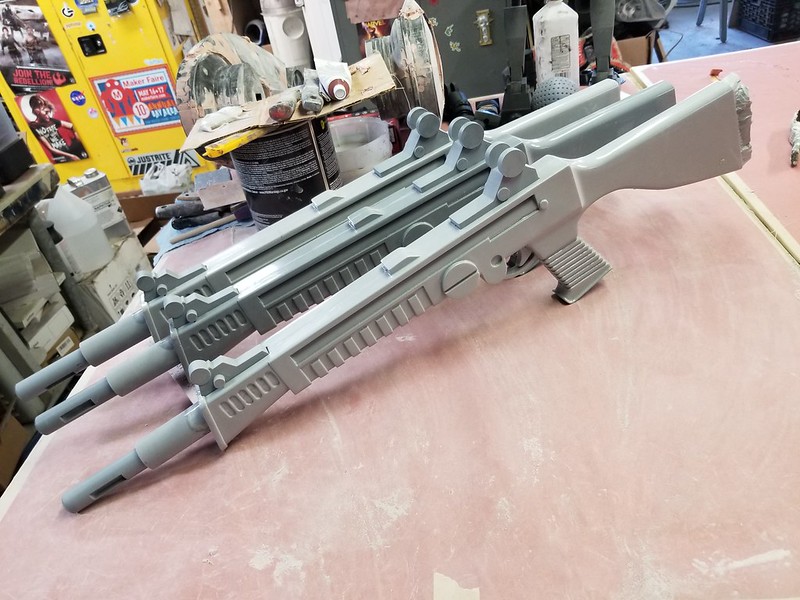
Satisfied with the basic shapes of the bodies, they were sealed, painted, polished, and molded. Since these were going to be handed out to fans and subjected to all kinds of abuse, we needed to make them as durable as possible. We settled on fiberglass to build sturdy shells for the main bodies. Here's the second set of shells laid up in the molds. You can see the first untrimmed set in the background.
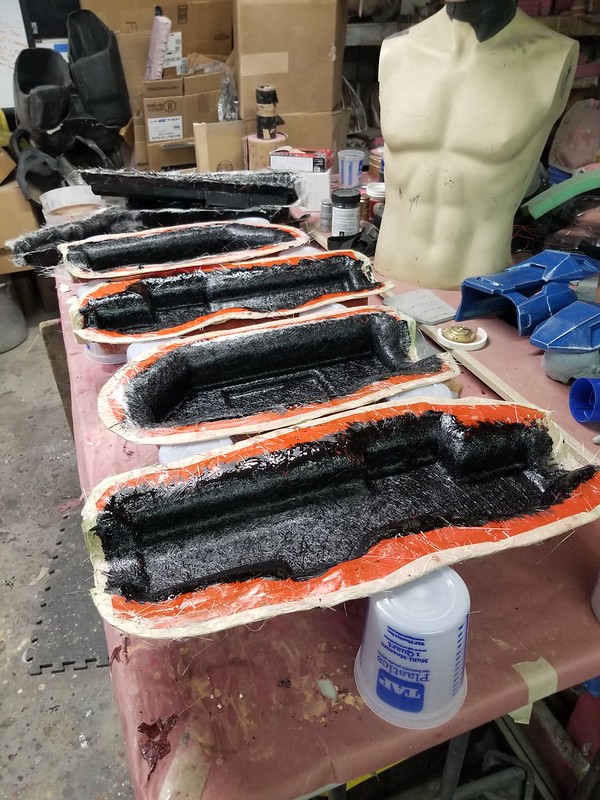
After trimming the edges, they were kinda taking shape:

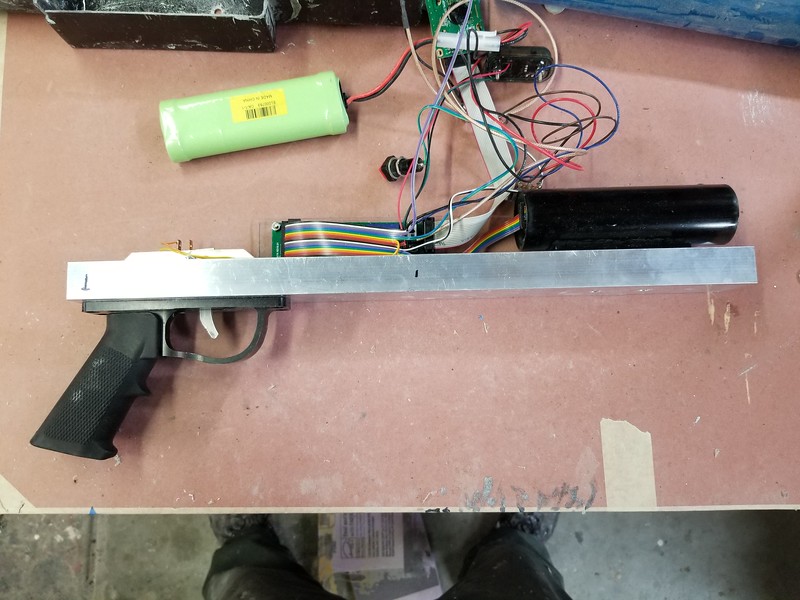
Shortly after we had started producing the shells, I received the first prototype set of internal components made to my specifications from Battlefield Sports. Here's the basic frame with all of the movable elements set aside:
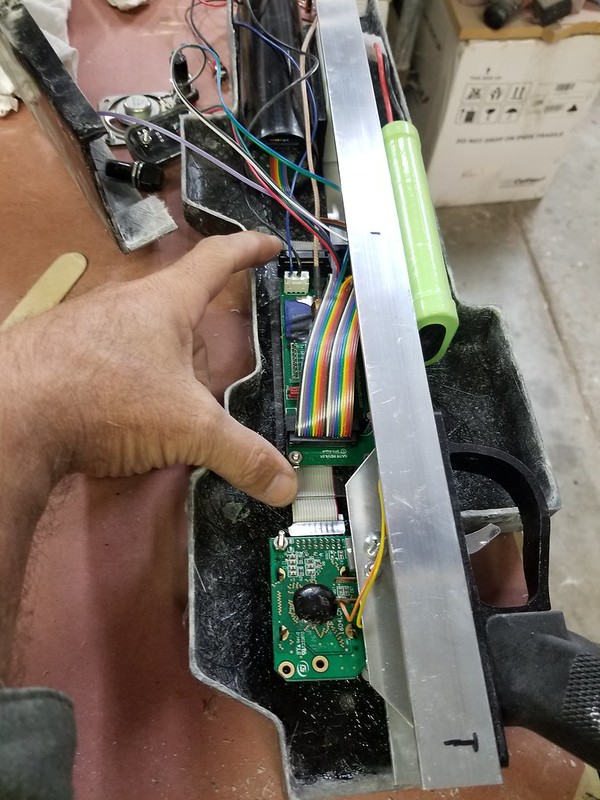
Given their huge, blocky profile, the Ork Shootaz had plenty of room for all of the guts. The lasgun was a tighter fit, but we made it work:
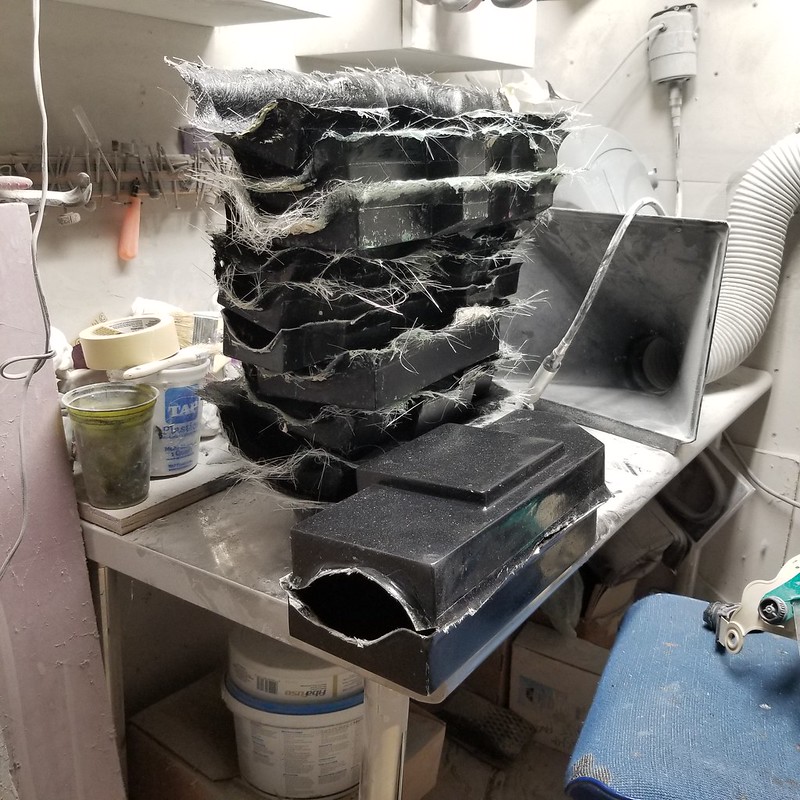
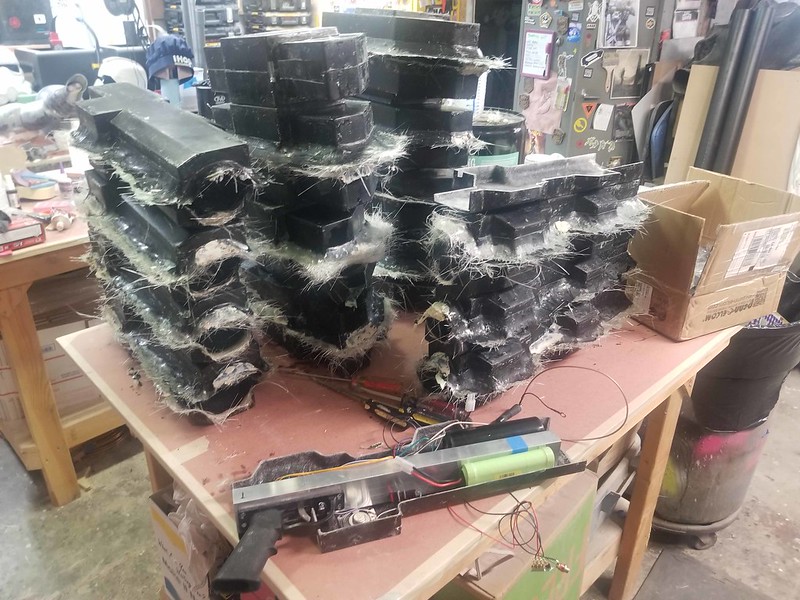
Meanwhile, untrimmed fiberglass shells started stacking up:
Lots of them:
With the production of the shells well underway, it was time to start making up the rest of the parts. The Lasguns called for resin cast muzzles, buttstocks, and detail bits. Here's a quick and dirty mockup so I could determine the proportions:
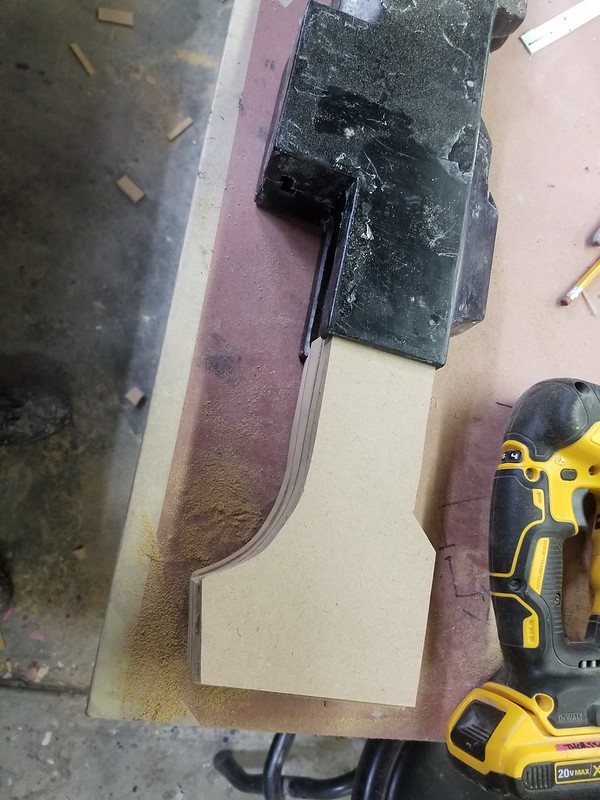
The buttstock master was made from a laminated stack of MDF, 2-1/2" thick:
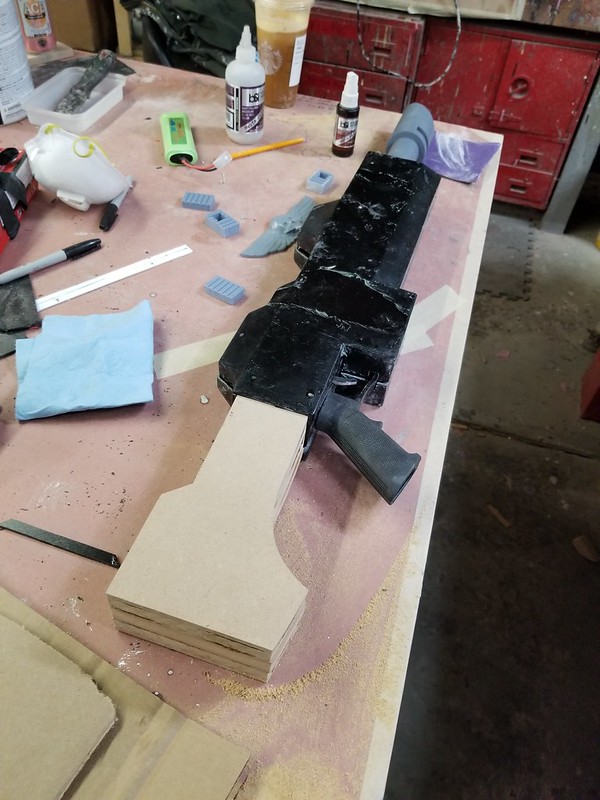
The muzzle was a 3D printed piece fitted to a section of PVC conduit tubing:
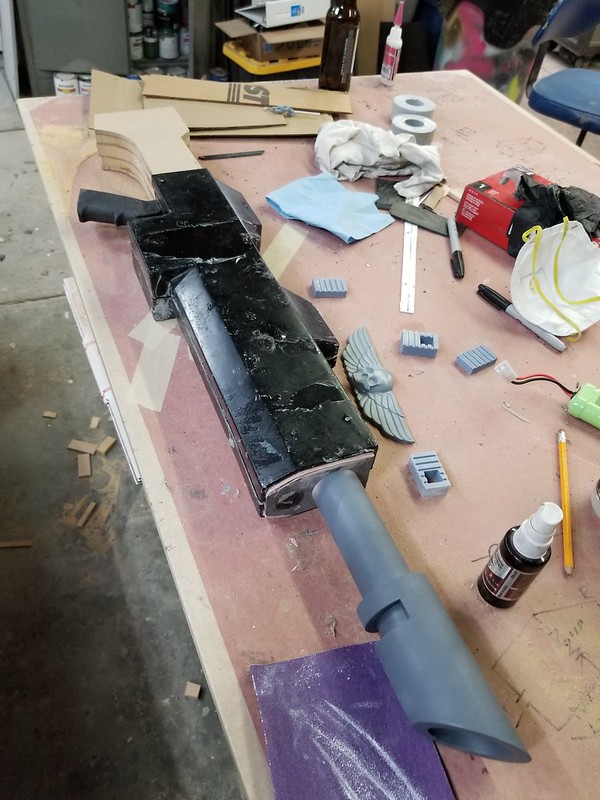
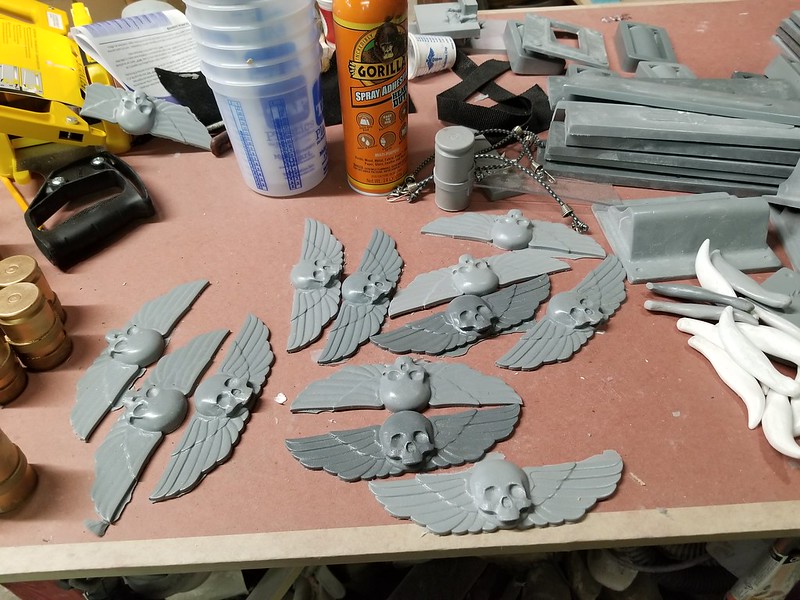
The winged skull icon and other detail bits were also 3D printed:
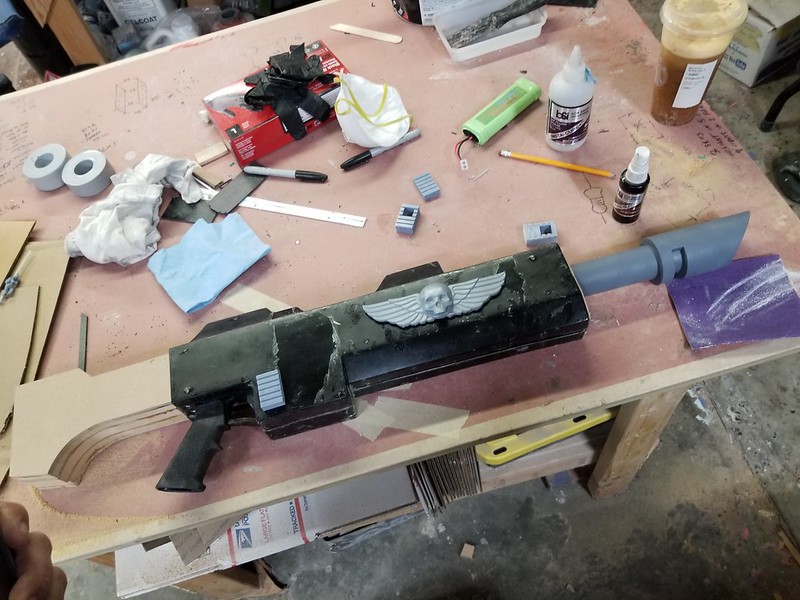
Then the detail bits were molded and cast in urethane resin:
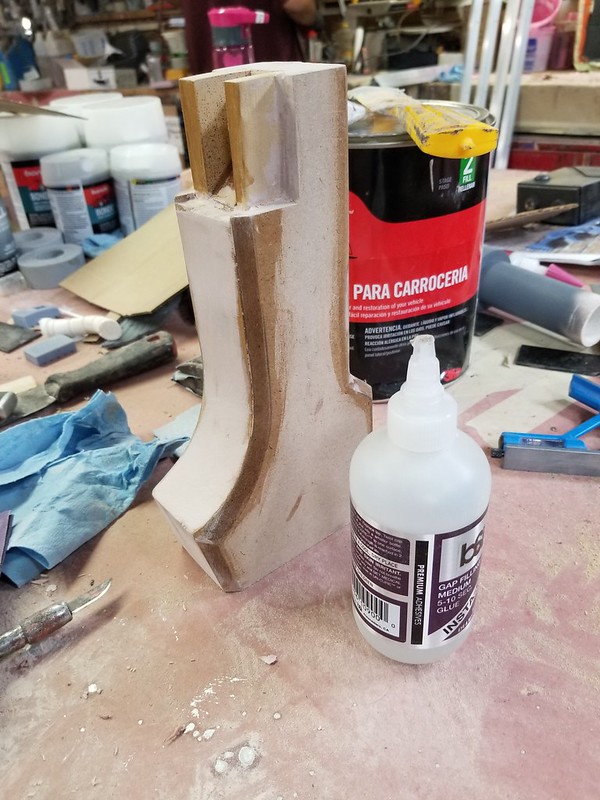
The edges of the buttstock were chamfered and the forward end was cut to fit around the internal components:
The magazine block was made of layers of MDF with details cut from Sintra. Then it was added to the queue for molding and casting:
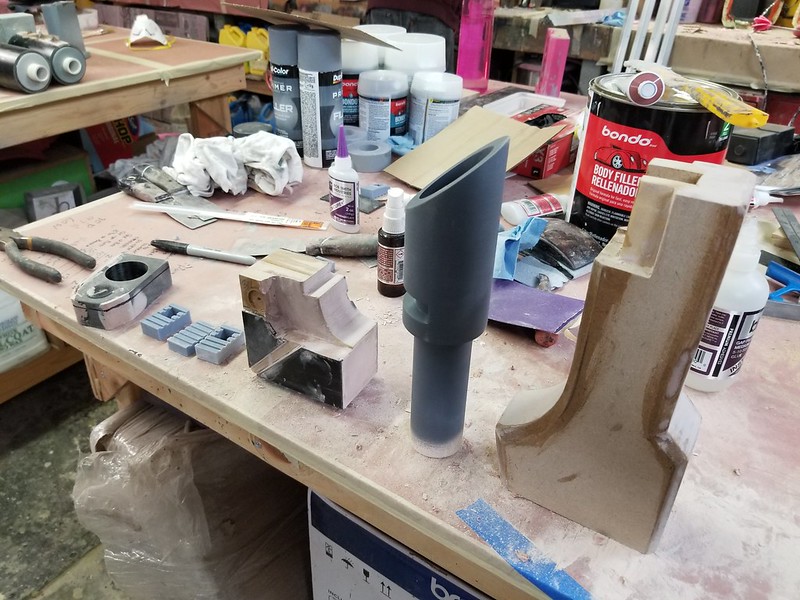
Before too long, lasgun parts started stacking up:
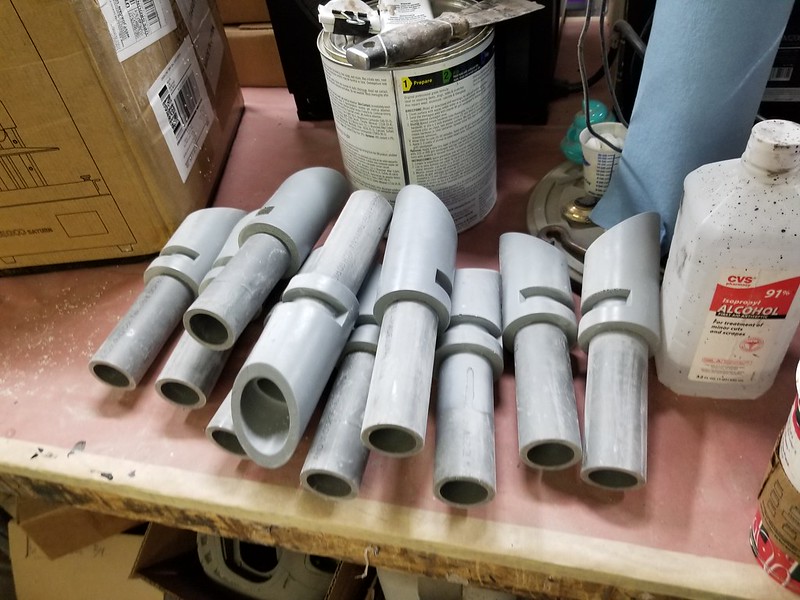
Then prep work could begin:
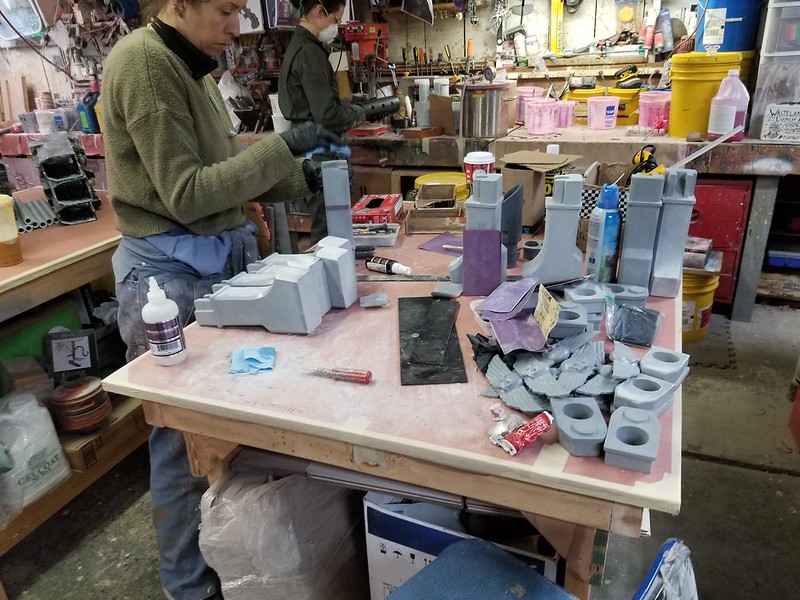
With all of the parts to keep track of, keeping things organized became pretty important along the way:
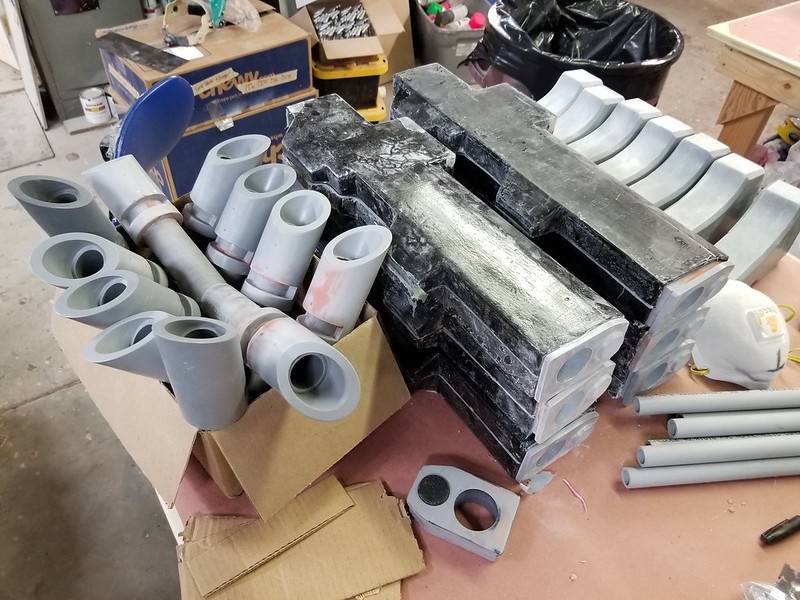
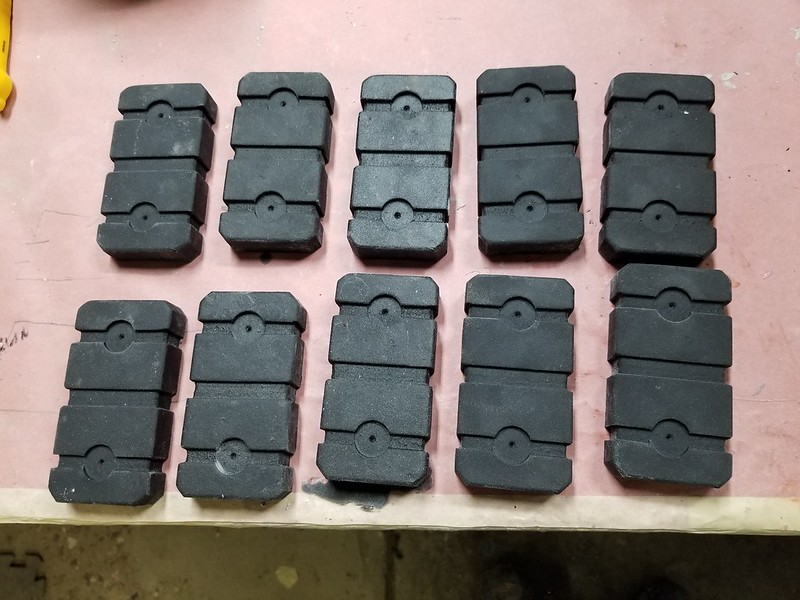
The last part of the lasgun was the buttpad which was mastered from a block of MDF, sprayed with a generous layer of truck bed coating for texture, then molded and cast in urethane rubber for durability:
Here's a stack of lagsuns getting prepped for primer and paint:
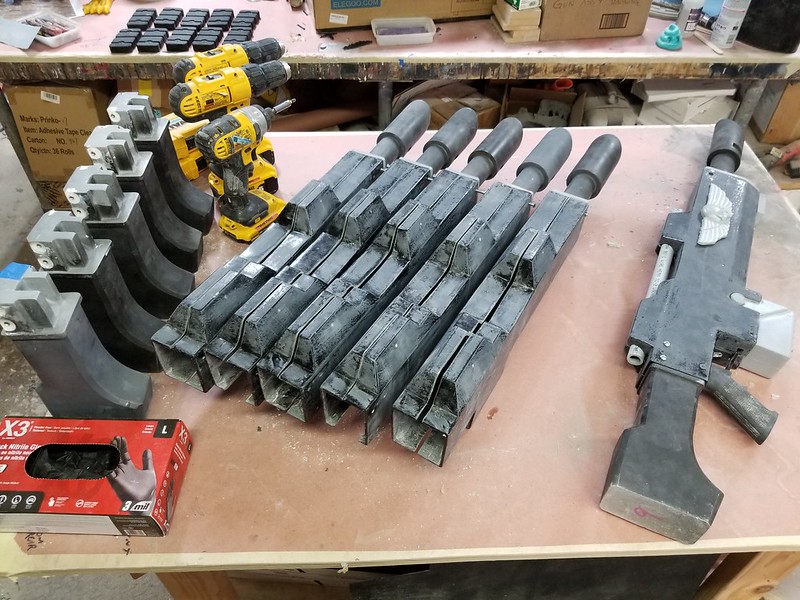
The bare metal bits were painted in a gunmetal metallic and set aside:

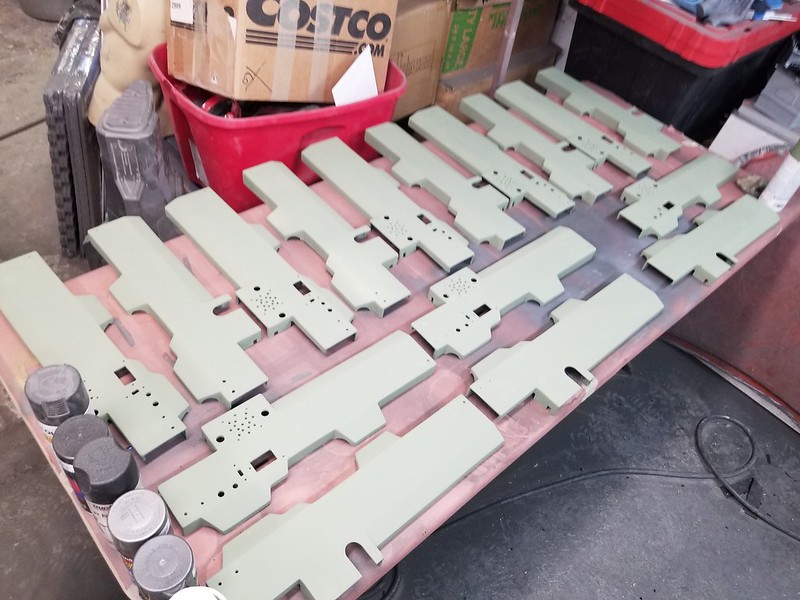
The body shells were painted in rustoleum camouflage "army green" for a very dull basecoat:
The magazines and other metallic parts were heavily blackwashed, then drybrushed with silver paint to pick out the edges:

All of the details that needed to be permanently installed on the shells were glued on, then the shells were also heavily blackwashed prior to giving everything a satin clearcoat:
The Ork Shootaz called for a slightly different approach. Unlike the Lasguns which are presumably made on an assembly line in some Martian Manufactorum, the Ork weapons would be kludged together out of whatever components were available at any given time. So we'd have to aim for a much rougher, handmade look. In order to make the electronics fit and function properly, we'd have some limited standardization, but then the outsides would be dressed up to make each weapon unique.
One of the first individualizing elements we started on was the muzzle assemblies. Each one started as a length of ABS pipe:
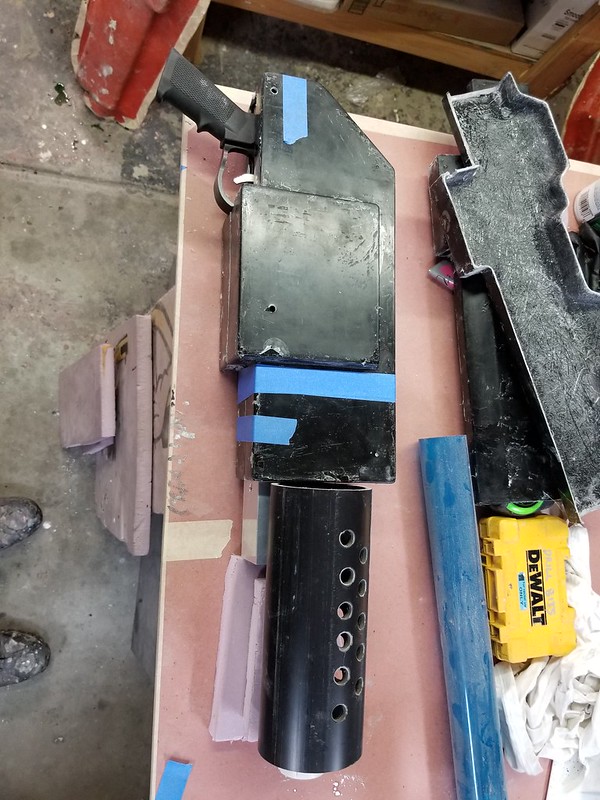
Each one was cut to a different length:

They were then dressed up with different details, layers, and hole patterns:
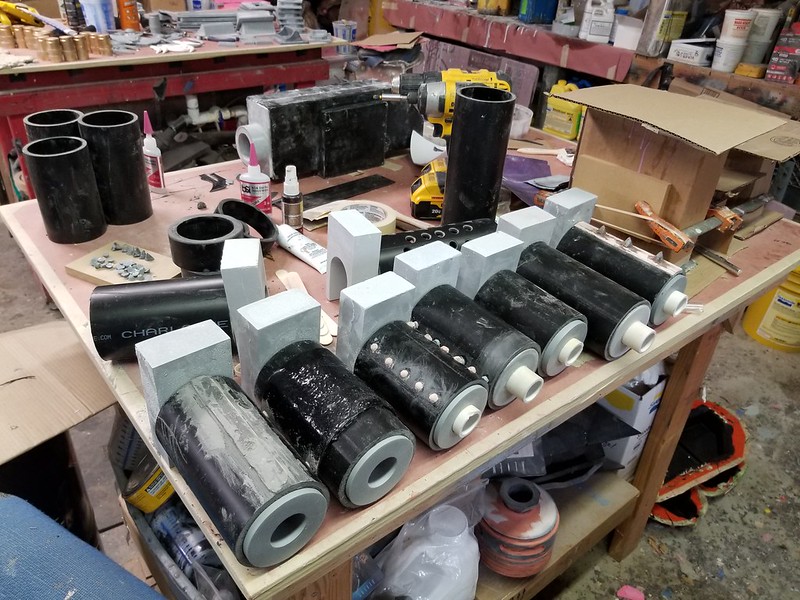
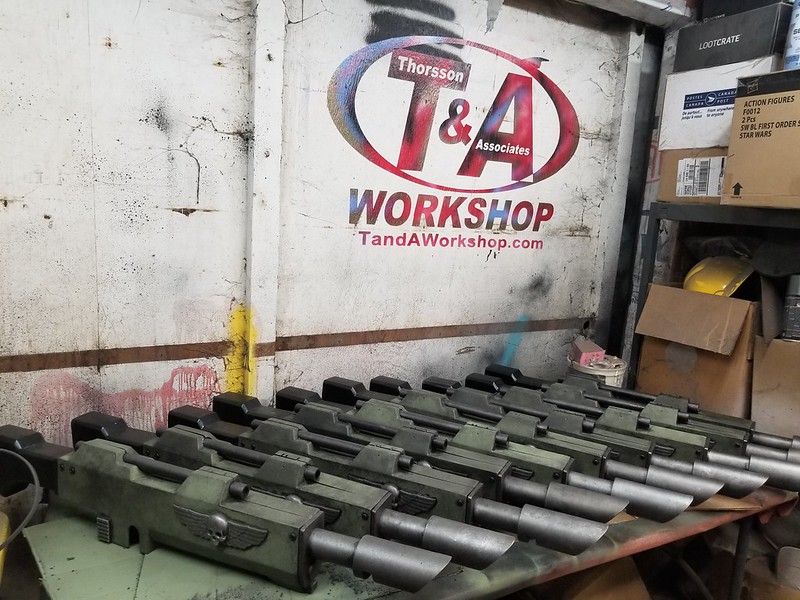
Once they were prepped and primed, each muzzle assembly was painted in whatever metallic paint was close at hand, giving them an even more unique look:

Other details were made as well, then molded and cast in urethane resin:
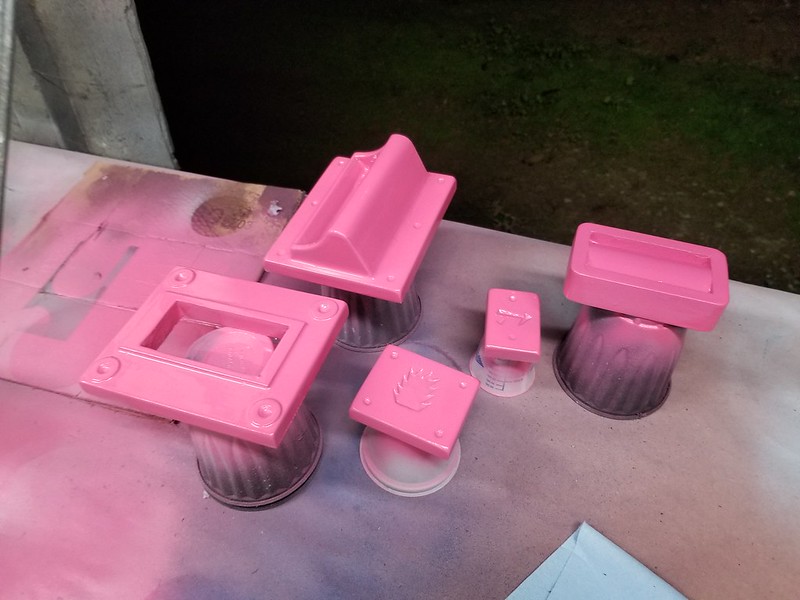
Resin details included magazine wells, ejection ports, blocks to hold the fiberglass shells together, and teeth:

To further differentiate the various weapons, we made two different styles of magazine:
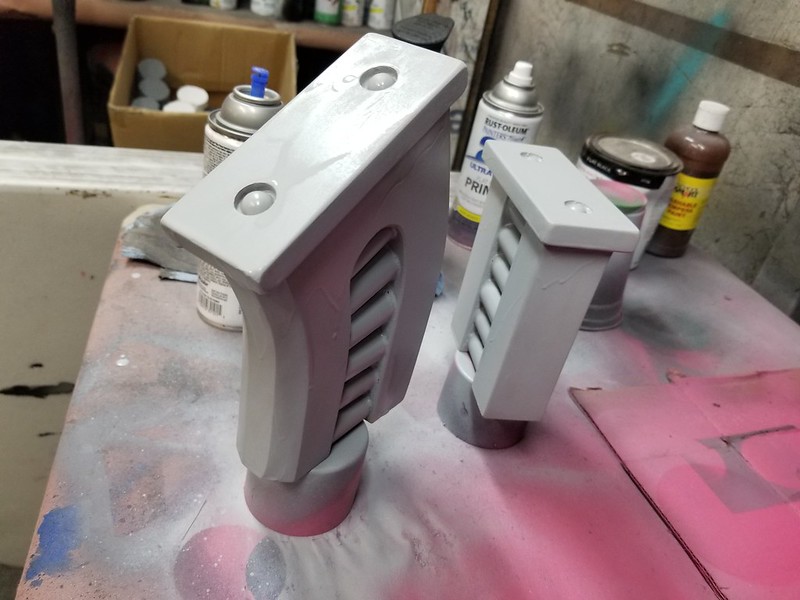
We also made a few with dangling ammo belts instead of magazines. This called for casting individual linked rounds:
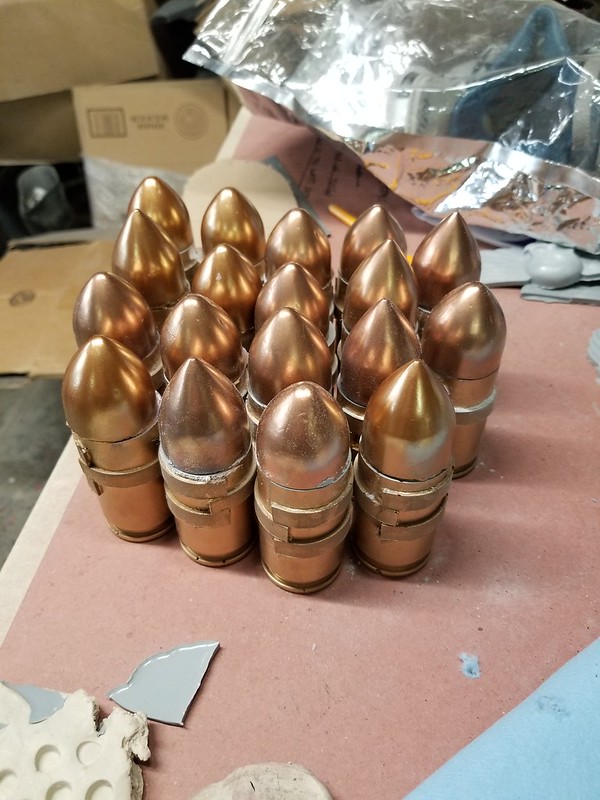
The resin parts were also randomly painted in metallic paints for more variety:
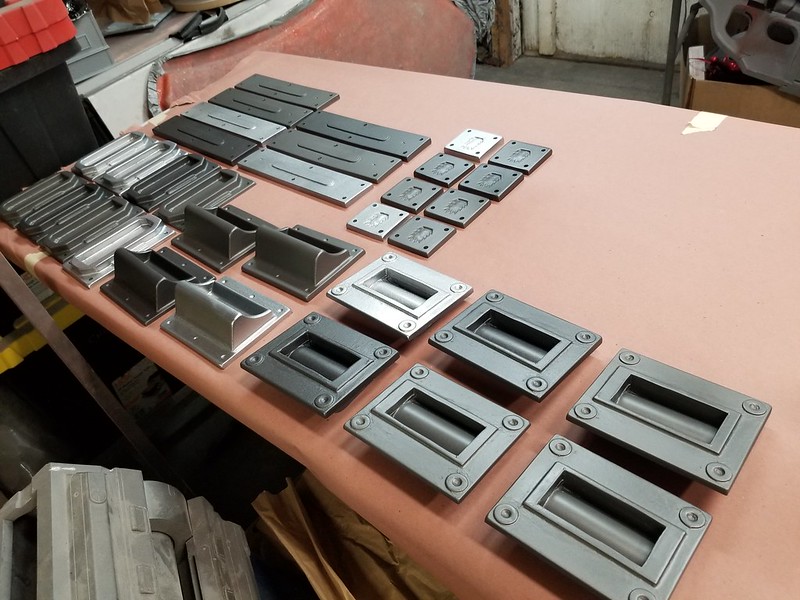
Before too long, all of the Shootah parts were painted and pre-assembled and ready for electronics to be installed:
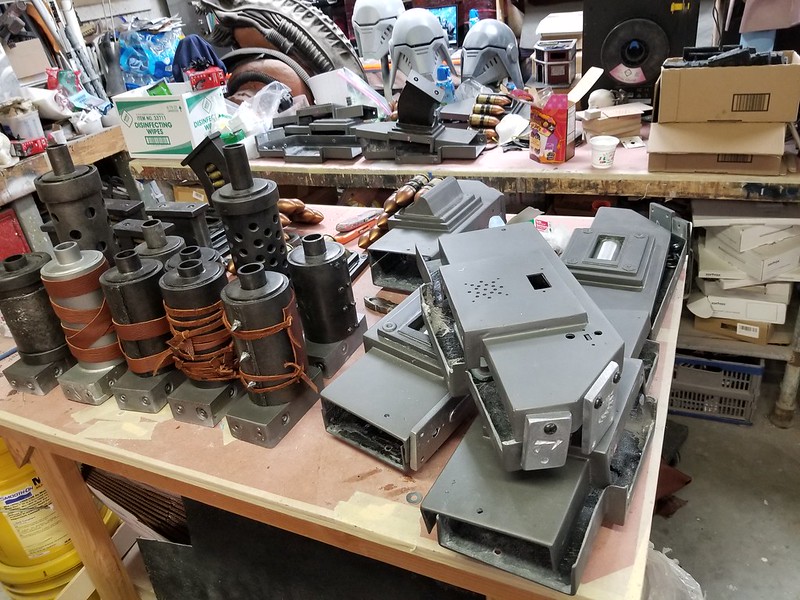
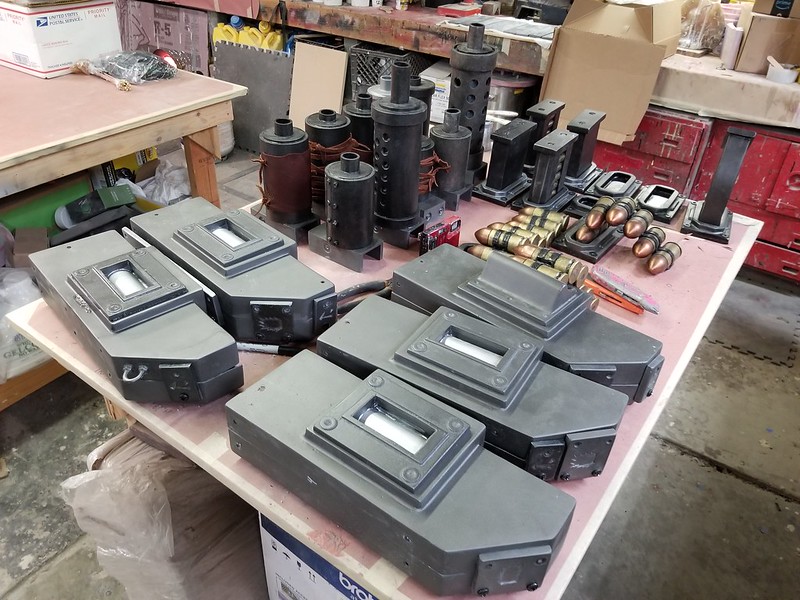
Due to the ongoing delays in world shipping and supply shortages, the internal electronics didn't arrive until the last possible second. They were also significantly less assembled than we expected. In order to guarantee the success of the project in time for the first activation, we'd have to knuckle down and put in some serious overtime.
Each gun started with a custom-cut piece of aluminum channel with various holes like so:

The laser lens assemblies were attached to the forward end, an acrylic mounting panel was attached in the middle to mount the main circuit board, and the trigger assembly was attached at the rear:
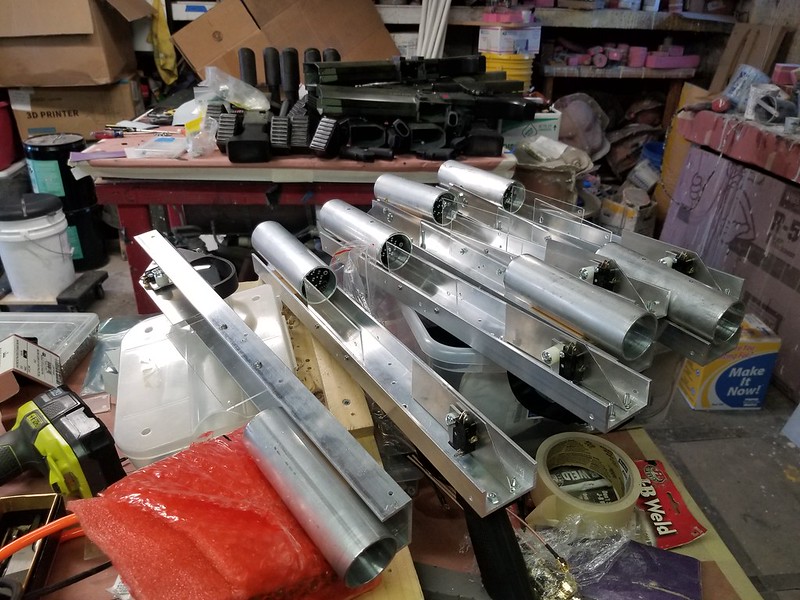
The whole crew pitched in and we managed to get all of the guts assembled:
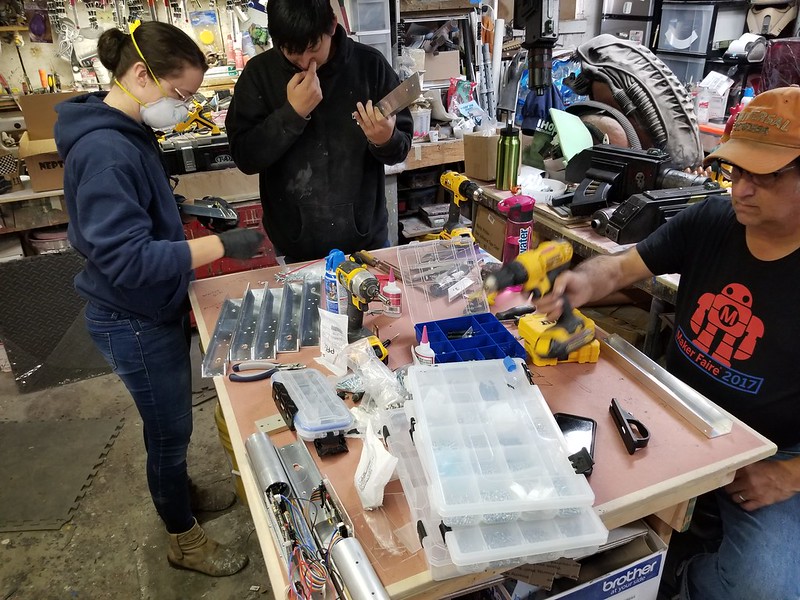
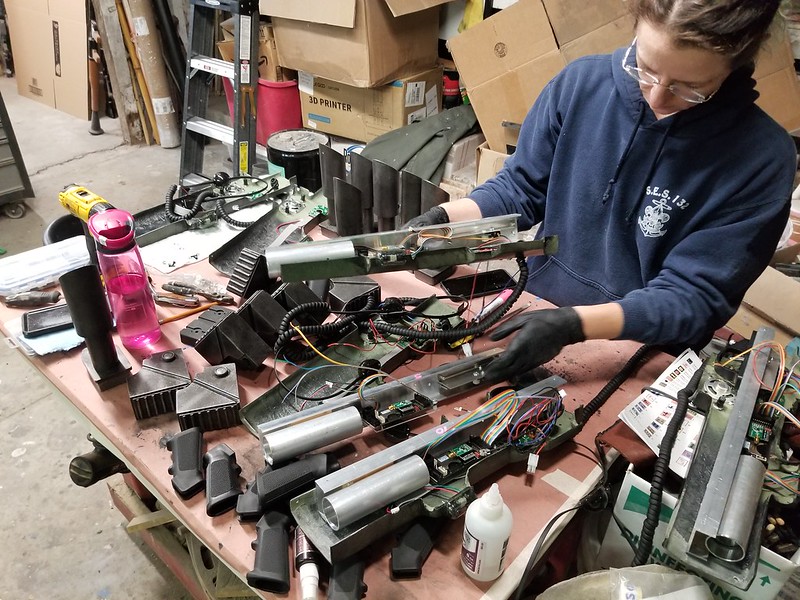
Before too long, we'd completed the final assembly for the first lasgun: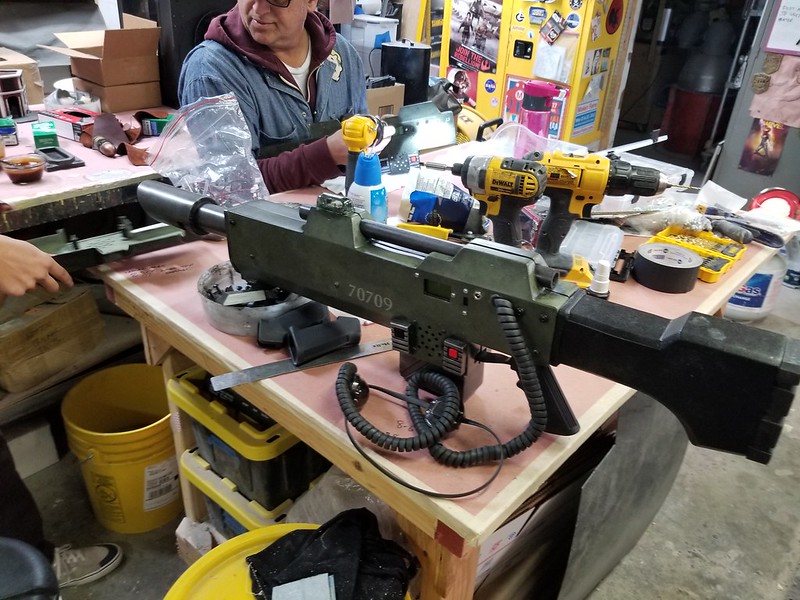
After fiddling with the settings for a few minutes, we had it up and running with flashing lights and "pew pew" sound effects.
With that done, we shifted focus to final assembly for first ork shootah:
With one of each assembled and tested, we were able to shoot them at each other and register hits on the attached sensors. Since we were now sure that they actually functioned properly, it was time to plow through the rest of the build.
In no time at all, we had two Shootahs:

Then two more lasguns:
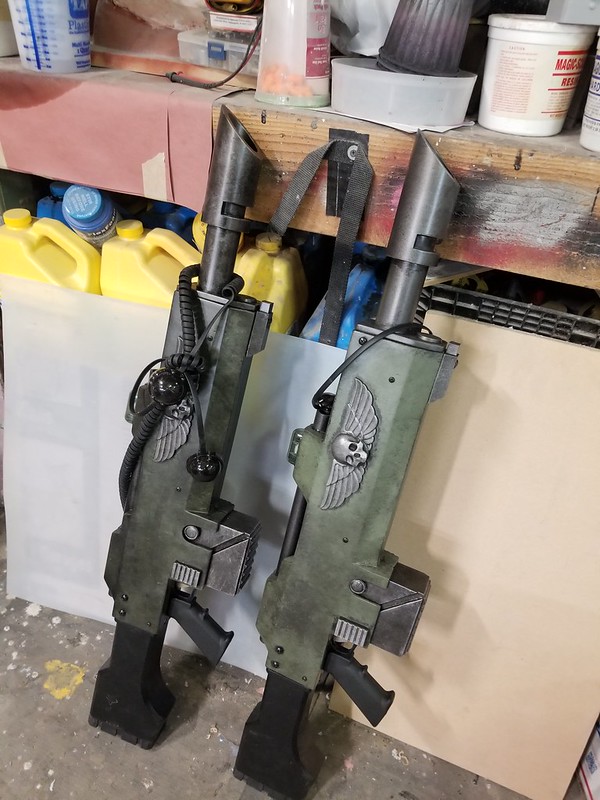
Then four:
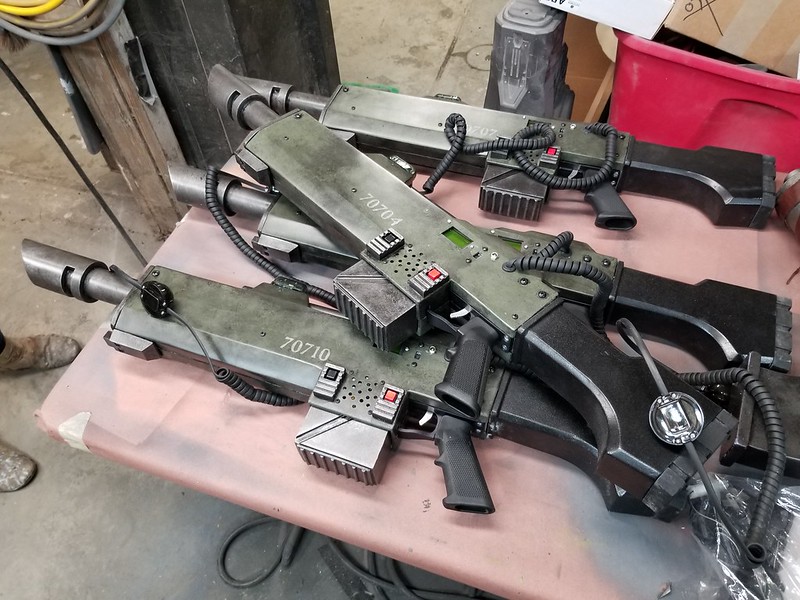
Then more:

The shootahs got more and more interesting and varied:
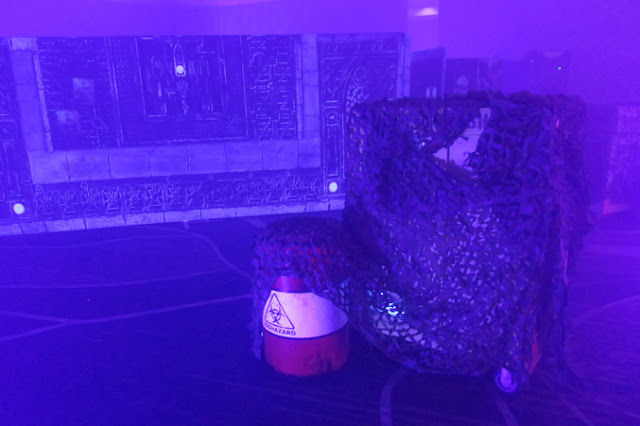
Dim lighting and smoke set the scene:
All that was left was for the fans to form up in teams and attack:
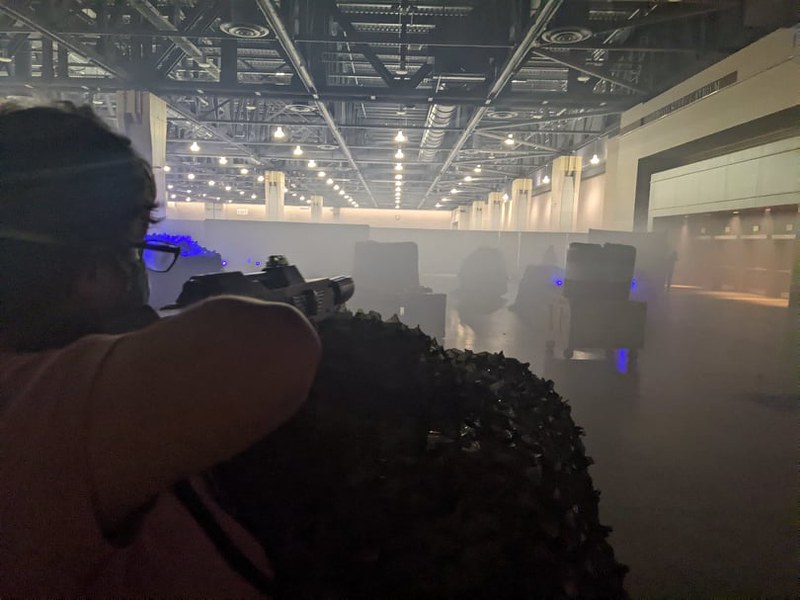
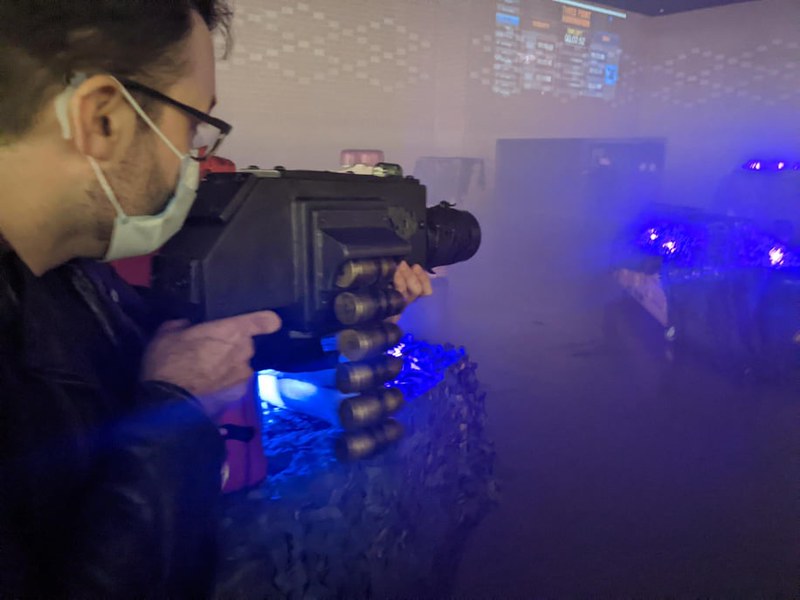
From what I was told, several hundred players cycled through the experience in the first couple of days of the event. I'm pleased to report that none of them managed to break any of the guns and it sounds like a good time was had by all.
I can't begin to thank my crew enough for all the hard work and long hours that went into this build.
Stay tuned for the next exciting chapter...