I make toys for kids who don't want to grow up. I'm on the lookout for new projects. If you're interested in commissioning me to build something ridiculous, shoot me an email.
If you're reading this, you probably have an internet connection. And if you've had an internet connection at any point in the past few days, you've probably seen the trailer for this summer's Solo, the origin story for Han Solo in Star Wars. If not, here it is: There's also some nifty teaser posters: So far they've got four different character versions: I was disappointed that there were only four, so I started making up some of my own. Call it wishful thinking: With a bit of free time on my hands, I decided to make a few more posters for characters that are unlikely to appear in the film, but might make things interesting: So that was fun.
I've been getting pretty neck-deep into building costumes from Star Wars: Episode VII, but don't think I didn't notice Rogue One along the way.
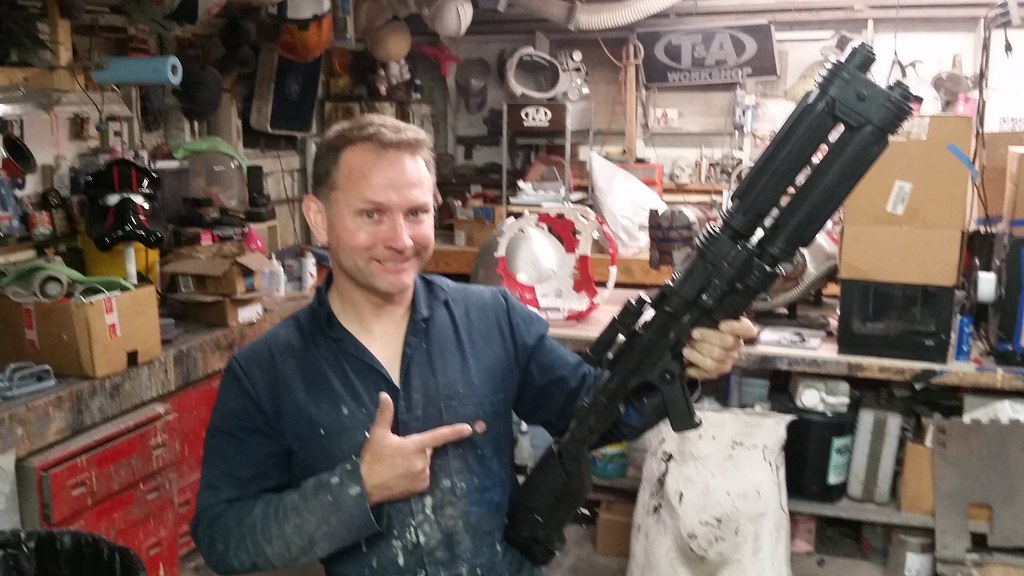
From the moment the first trailer came out I've been trying to resist the temptation to dive in and start adding all of the newly revealed Imperial trooper gear to my to-build list, but I've known all along that I was going to fail. While a lot of other makers have already jumped ahead and started making Deathtroopers, Shoretrooper armor, and Tank Driver helmets, I decided to reign myself in and just make this particular blaster rifle prop carried by this guy: That's a new version of imperial soldier that's being called the "Shoretrooper" on a lot of the forums and a "Scarif Stormtrooper" on the action figure packaging. While I like that his armor will make it possible to sit down and possibly even jog comfortably, what I really like is the weapon. While it looks like some of them are just carrying the same old Blastech E-11 that stormtroopers carried in the original trilogy, others are armed with this beauty: This is the Blastech E-22 Heavy Blaster Rifle. Here's my version: For details on the build (and better, focused pictures) read on...
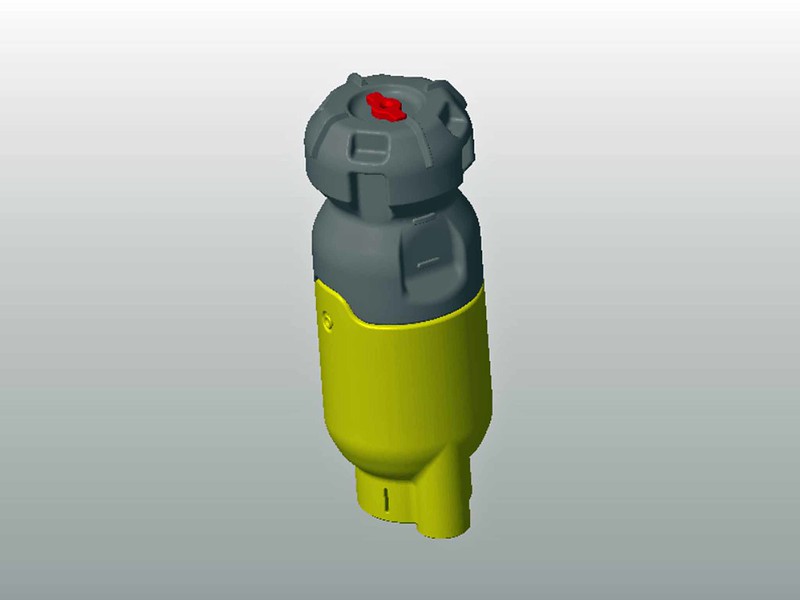
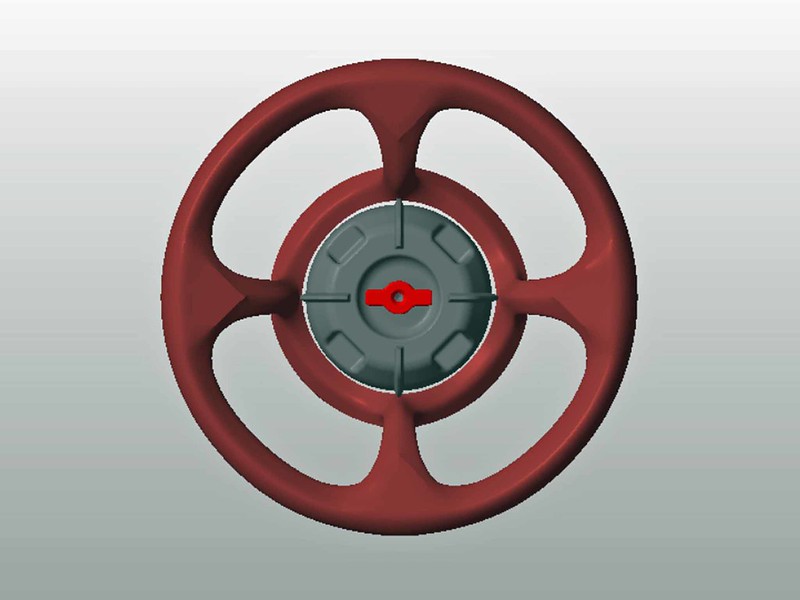
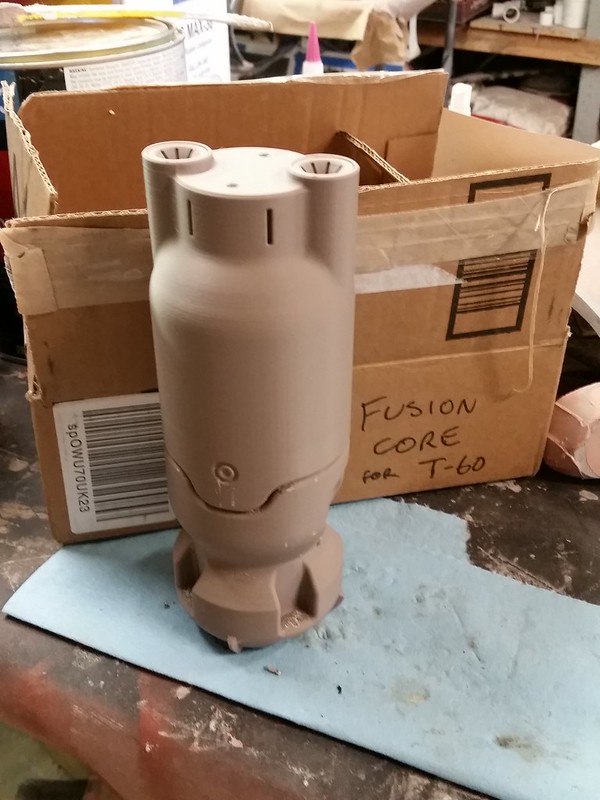
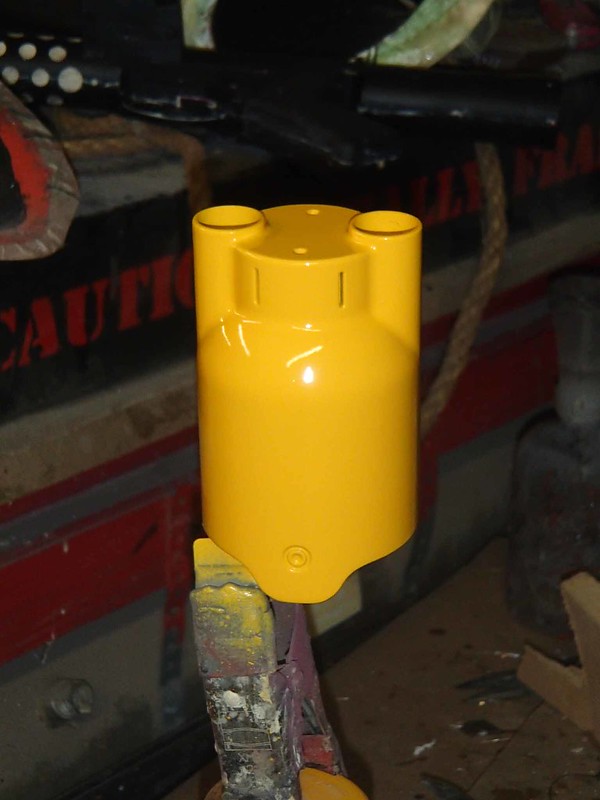
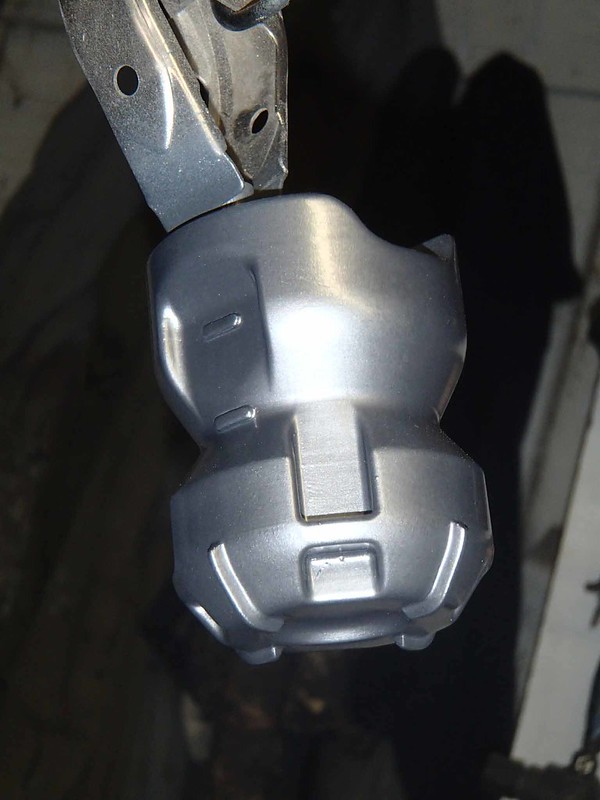
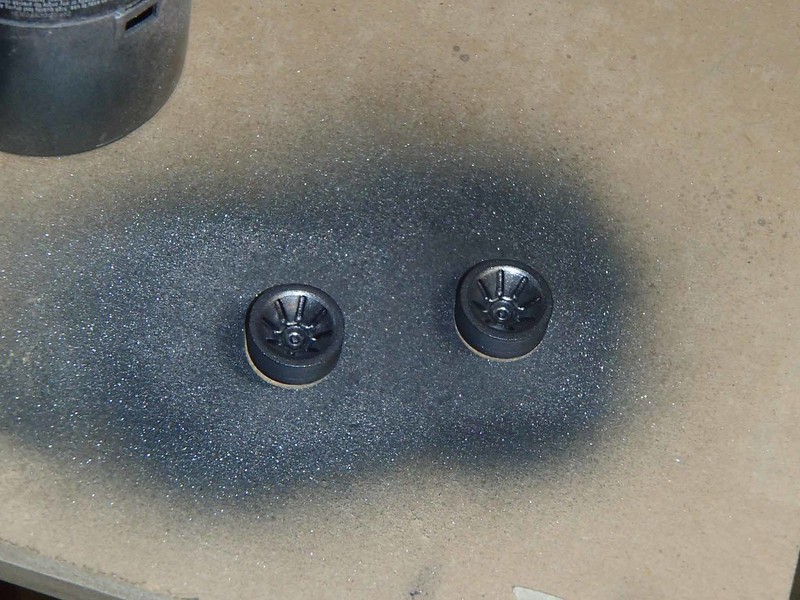
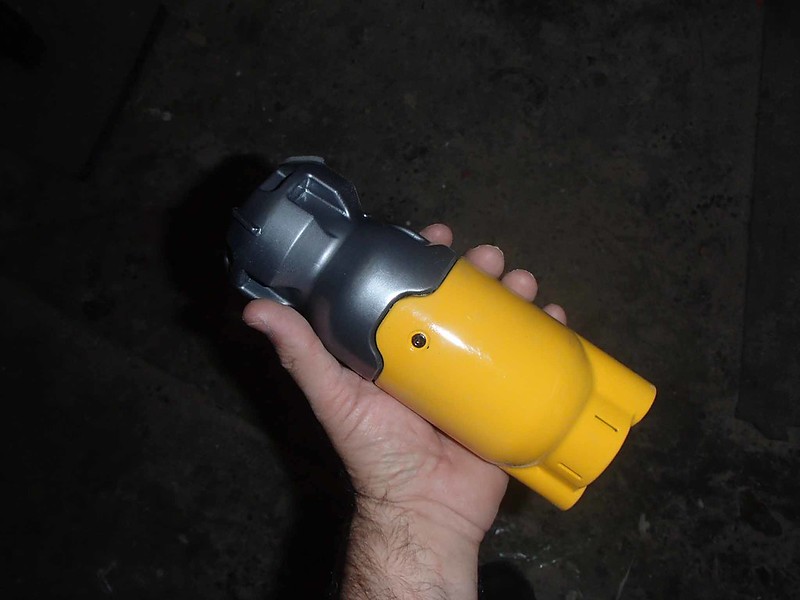
Every once in a while, in the midst of a huge project when it's hard to see the light at the end of the tunnel, I'll start to feel run down or overwhelmed. When that happens, it's helpful to focus on some small thing that I can finish in short order so I can get a glimpse of the feeling of accomplishment that will come at the end of a build. So when I was starting to feel swamped by the T-60 Power armor build, I was thrilled to come across a high resolution, printable 3D model of a fusion core by Daniel Lilygreen at myminifactory: You can download it for yourself here: www.myminifactory.com/object/fallout-4-fusion-core-17423 Ignoring the original scale of his model, I resized it so it would fit into the port on the back of my armor: Then I went ahead and uploaded the files to my Zortrax M200 3D printers. A few hours later, I had a thing: After a quick pass with 120-grit, then 150-grit sandpaper, the parts all got sprayed with a couple of healthy coats of primer. Then, without any additional sanding, I went ahead and sprayed the base colors onto each piece: Once the paint had dried overnight, final assembly took a few quick minutes: One of these days I'll dirty it up a bit and give it some proper wasteland weathering. But for now, there it is. A done thing. Stay tuned for some more Fallout builds. There's about to be a lot.
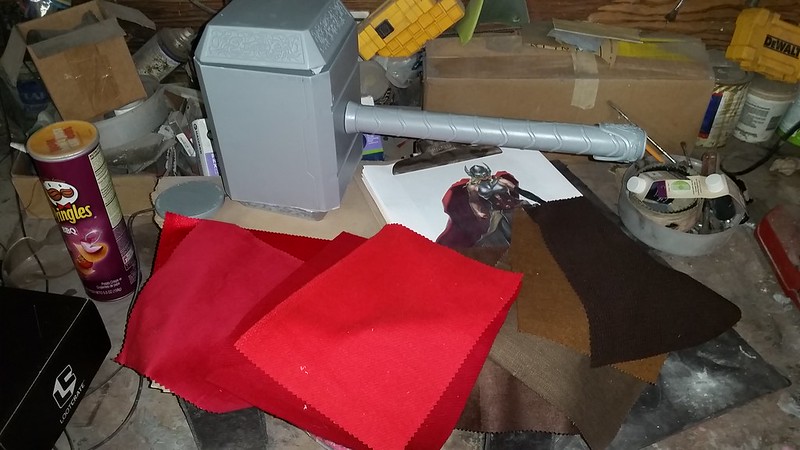
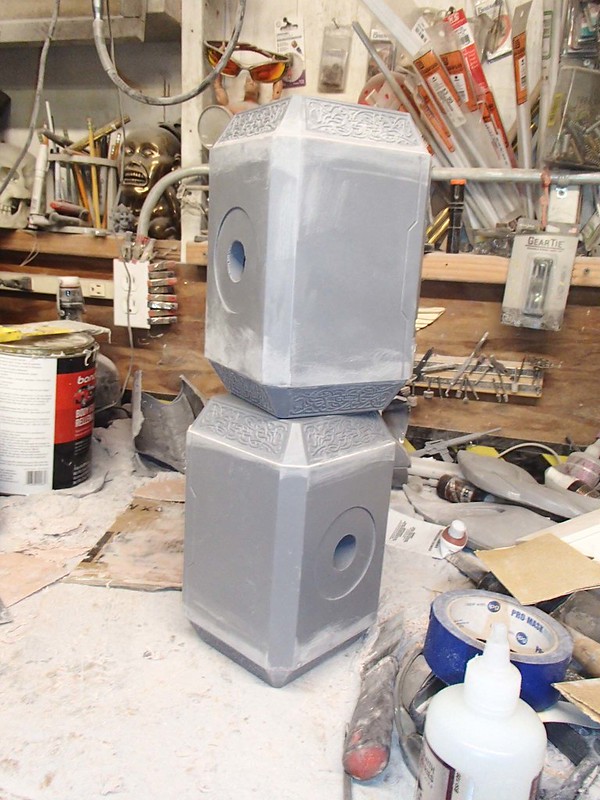
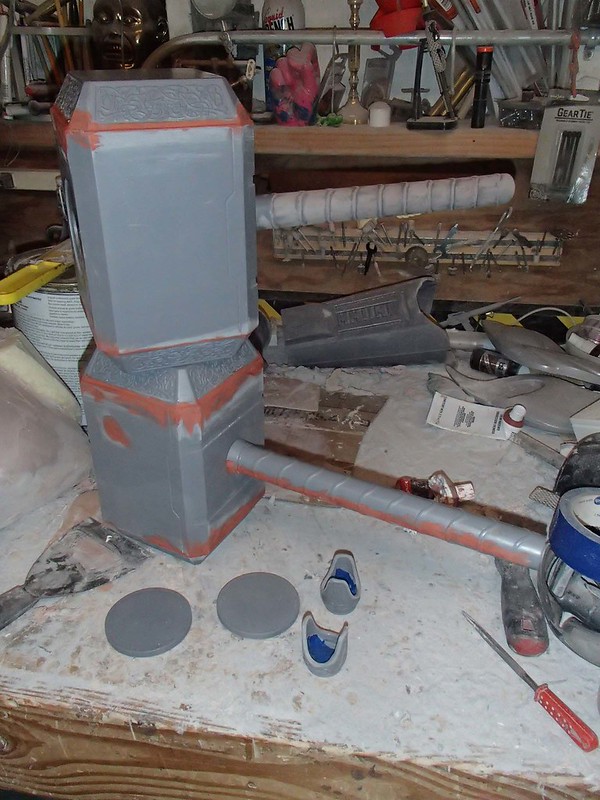
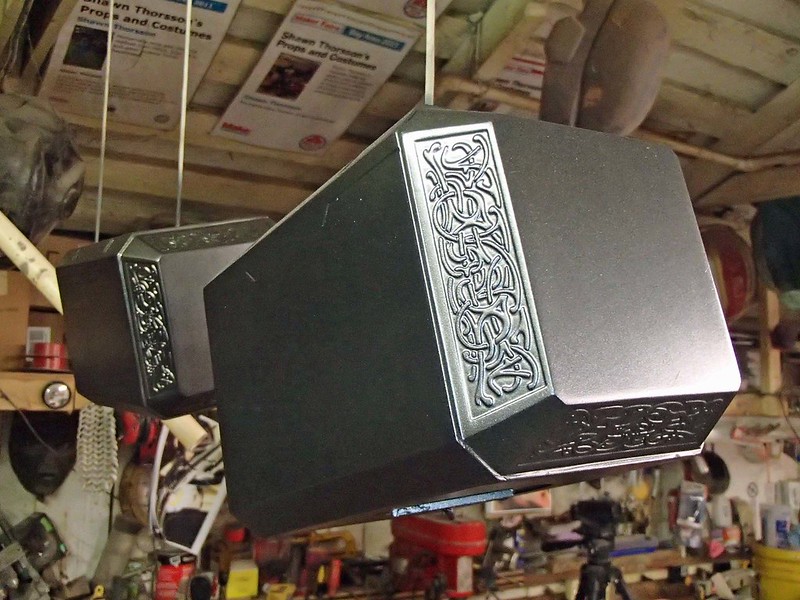
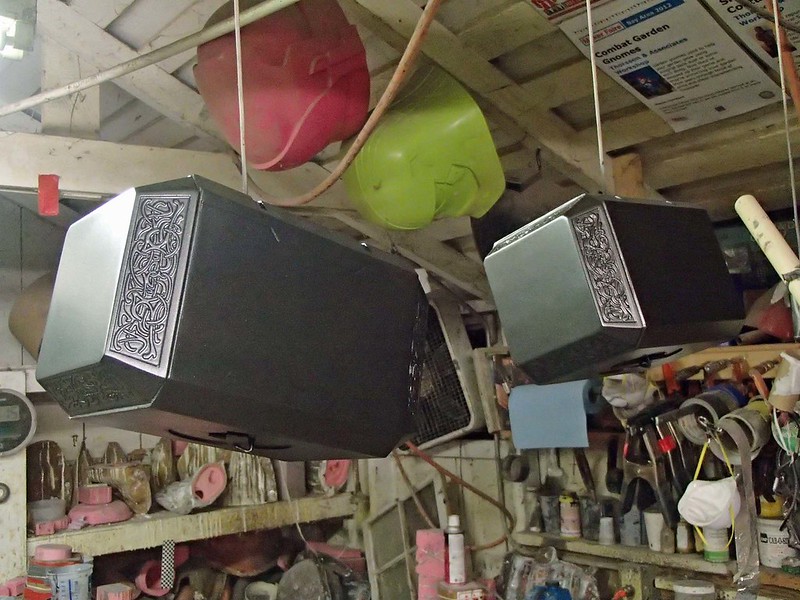
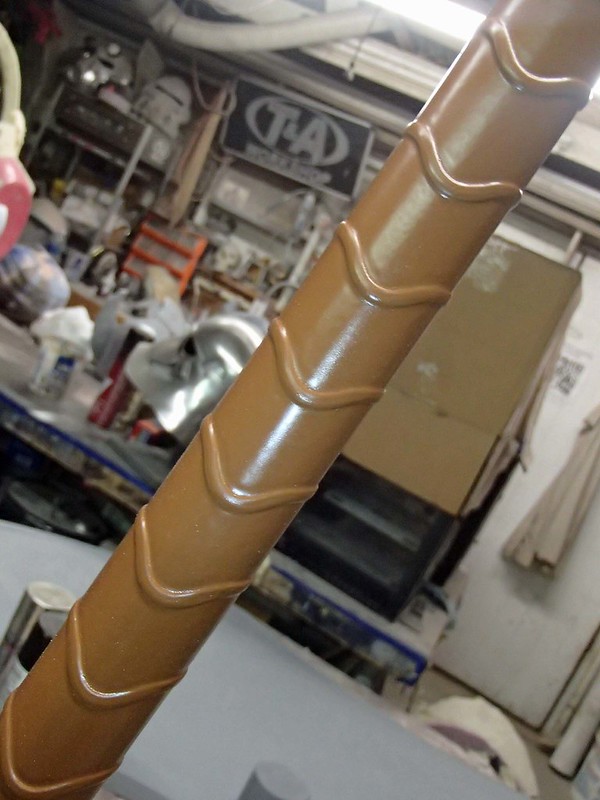
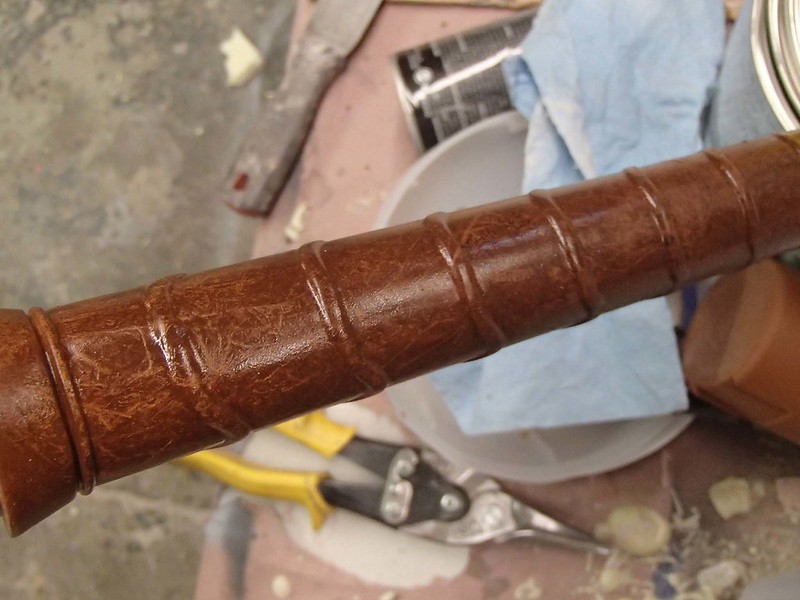
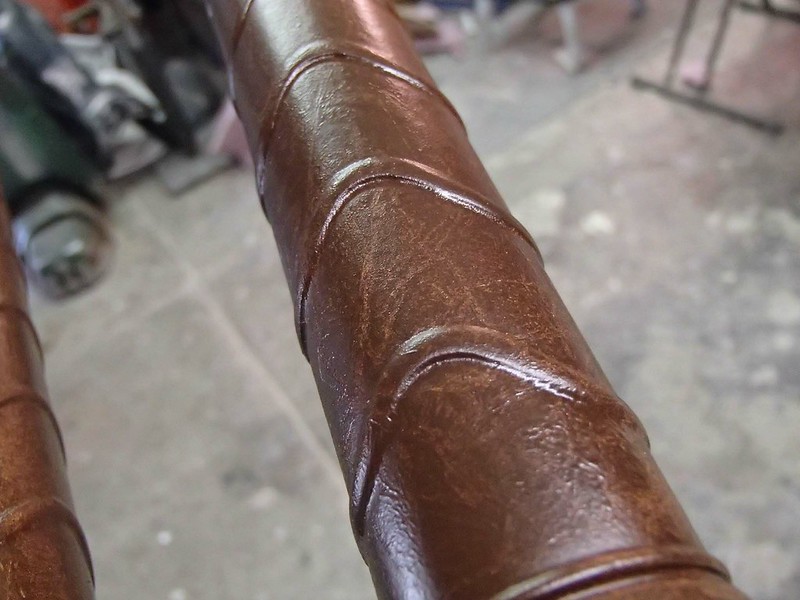
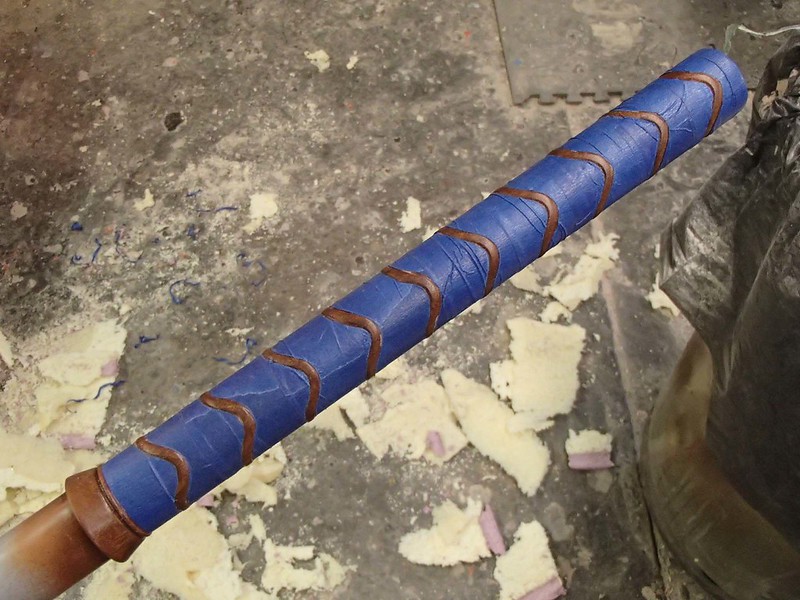
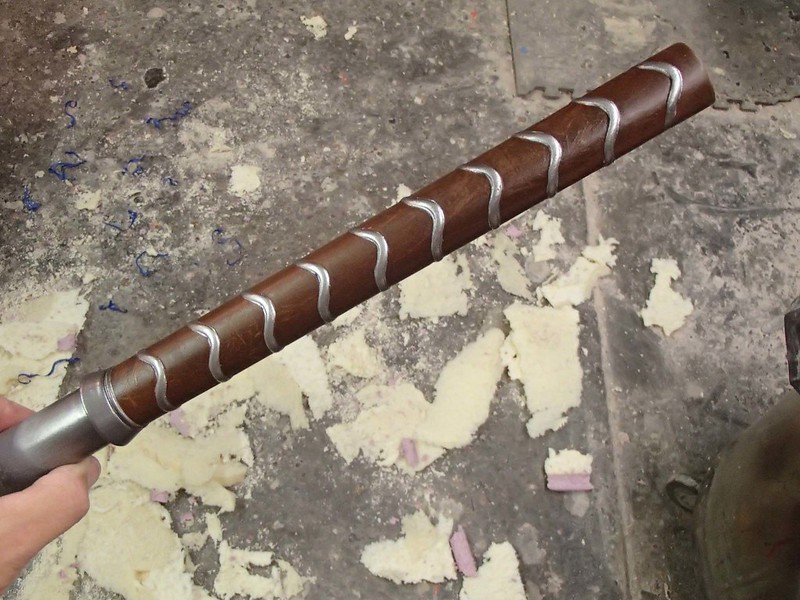
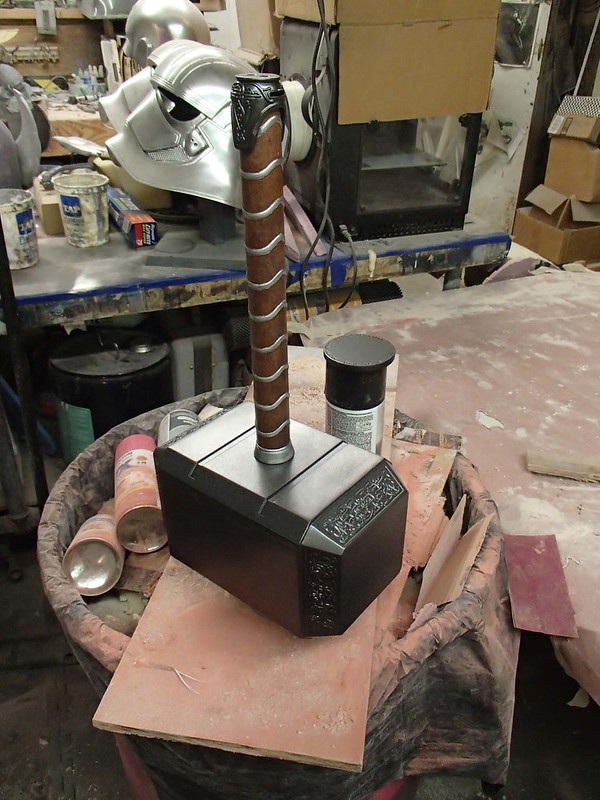
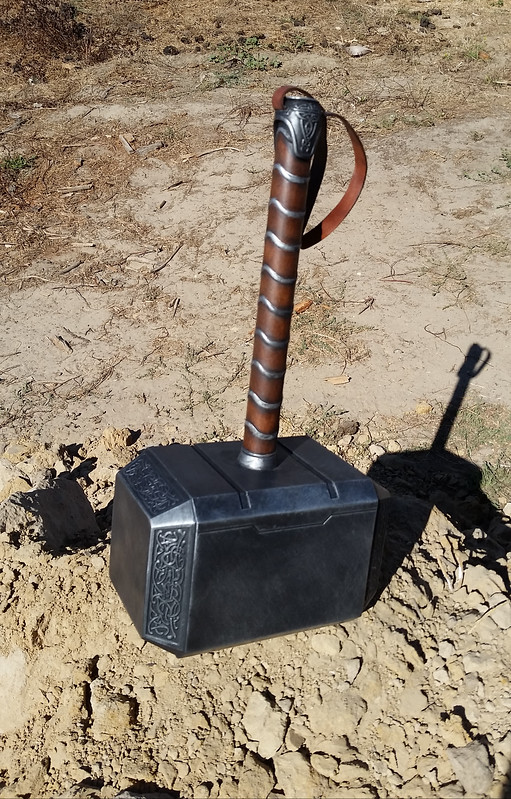
Without the hammer, Thor is just a lady in a funny hat and cape. About the time I started this project, I ordered up a couple of Mjolnir kits from Branfuhr Studios. You can see their current offerings here: www.etsy.com/shop/BranfuhrStudios The two kits arrived at about the same time as my fabric swatches: The castings were nice and clean. Free of surface flaws and with only a tiny bit of cleanup work to do on the sprues and seams. I ended up getting a bit carried away: Here's the parts of the heads glued together with the handles dry-fitted into place: Once I'd sanded the filler smooth, everything was primed and the metal parts were painted with a gunmetal metallic paint: The handle was painted in a tan enamel: Once that had dried thoroughly, I added a thick coat of darker brown acrylic paint, wrapped the whole thing in plastic cling wrap while the paint was wet, then peeled off the plastic wrap to reveal decent faux leather effect: After that had dried, the next step was to mask off the "leather" parts so I could paint the metal bits: The masking was a bit on the rough side, so there was a bit of leakage around the edges: Still, it was good enough to continue assembly: After a quick blackwash, the dark metallic parts were drybrushed in order to bring the details to life. Then I added the leather strap to the pommel and it was good to go: "But wait," says you, "I thought you said there were two of them." Good catch, dear reader. Stay tuned to find out what happens to that one.
Yesterday I had the honor of being interviewed on an episode of the New Screen Savers. I brought along a handful of recent creations from the workshop: I also dragged along a few characters in costume: The show was fun to shoot and you can see the whole thing here:
My segment starts at about the 51:50 point. Check it out and be sure to leave a comment!