
There are a lot of different renditions of this helmet. Here's just a couple:


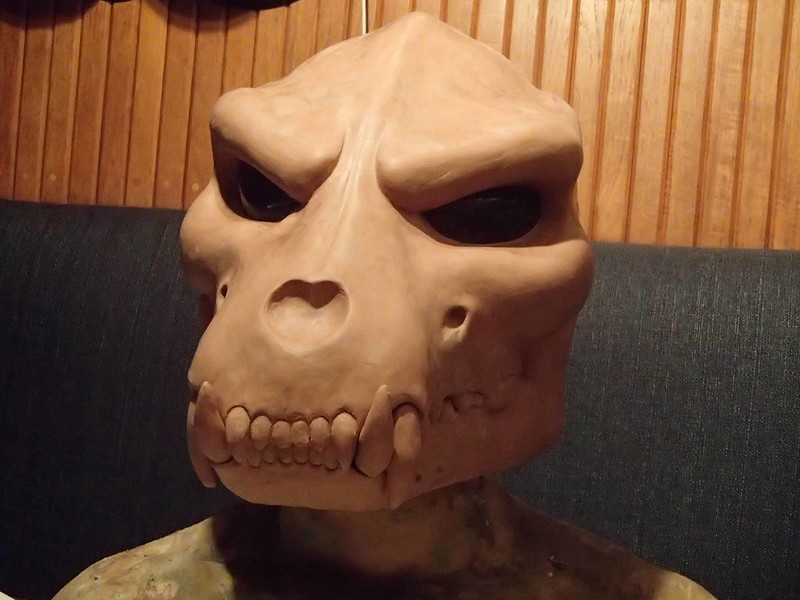
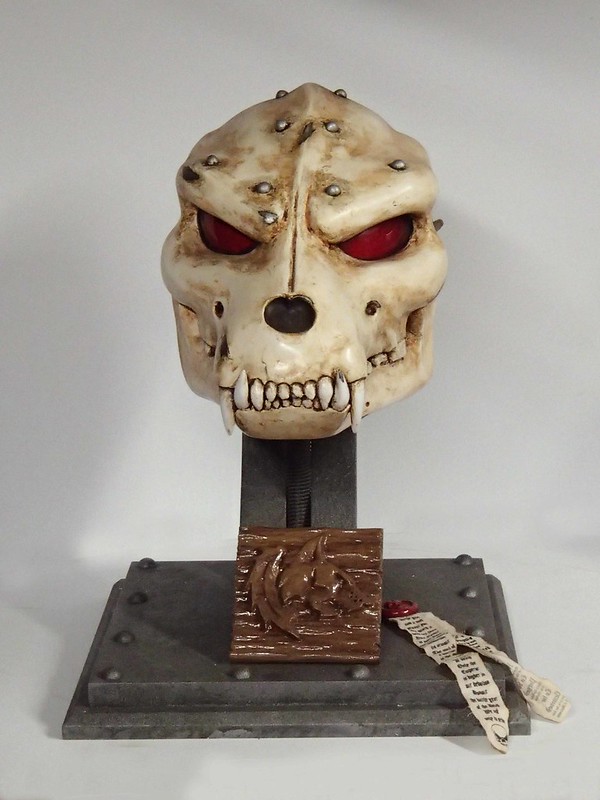
All of the reference artwork I could find tends to show the helmet with slightly different details, so I decided to take a bit of license with the design and streamline some of the goofier details. Here's the fully-wearable, life-size end result:
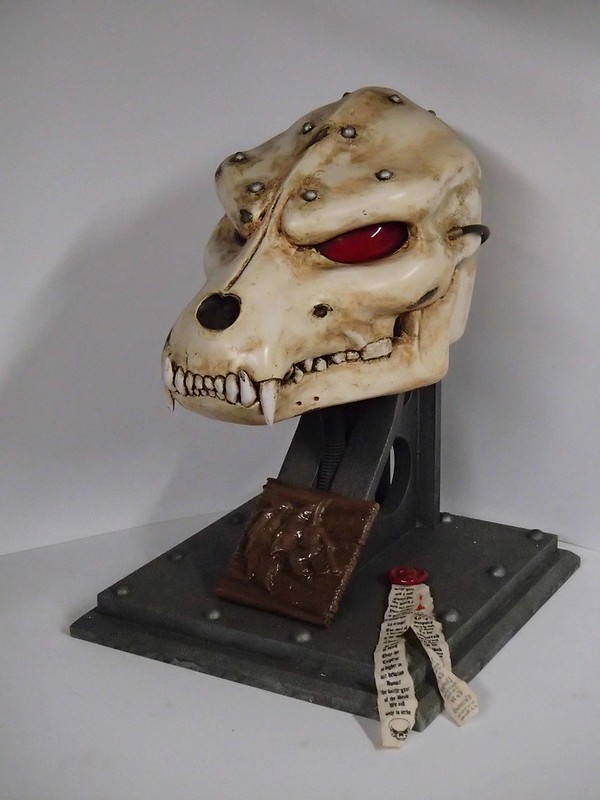
To see how I made it, read on...
I started with a raw cast of one of my old-school beakie Space Marine helmets. Then I ground off the temple camera housing, the ear caps, and a few other bits before splitting it in half lengthwise, adding a 1/2" gap, and taping over all of the resulting holes. Then I rotocast a couple of layers of resin inside the thoroughly hacked helmet to make it one solid piece again. At that point, it looked like so:

This gave me a solid base to work from that I knew would fit over my head as well as a reasonably smooth helmet shape for the back of the head. Then I started sculpting on top of it.
In order to cut down on the mass of the clay I'd have to pile on, I started by pouring on some expanding foam:
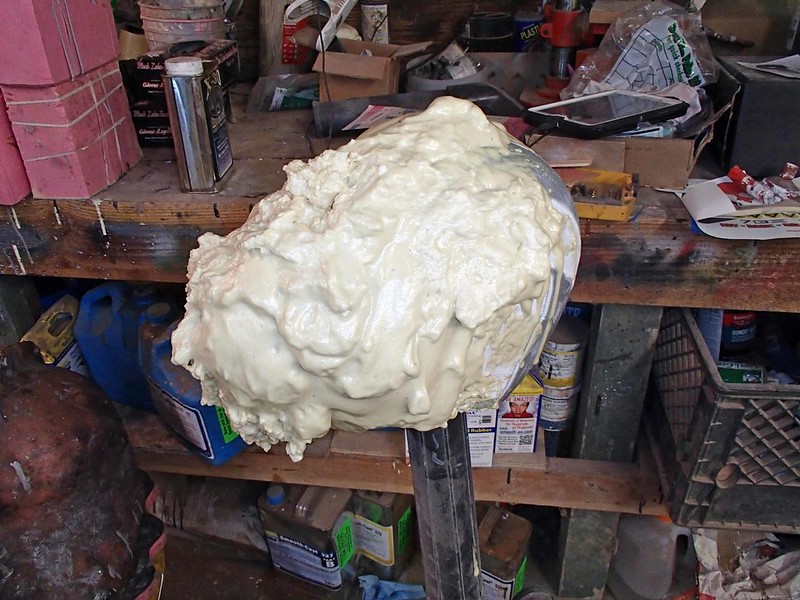
Lots of it:
Once it had cured, I went at it with some body rasps and a hand saw until it was roughly the right shape:
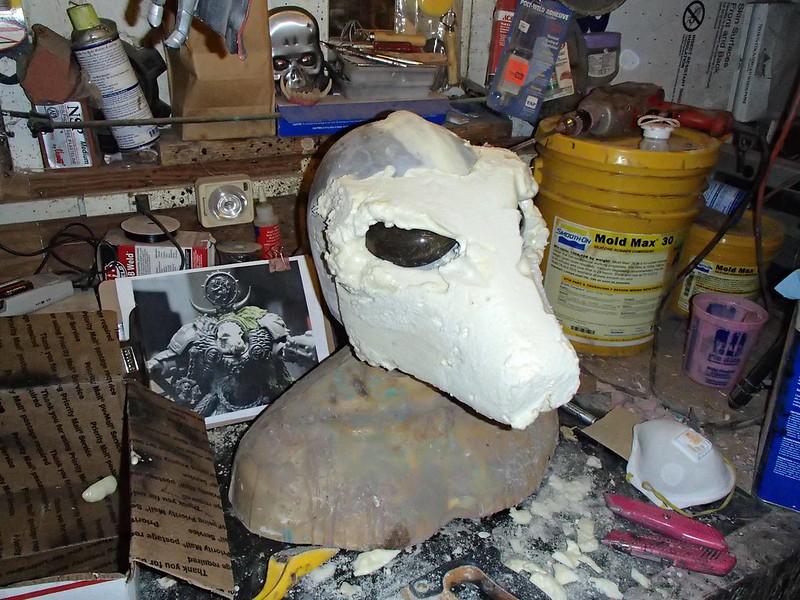
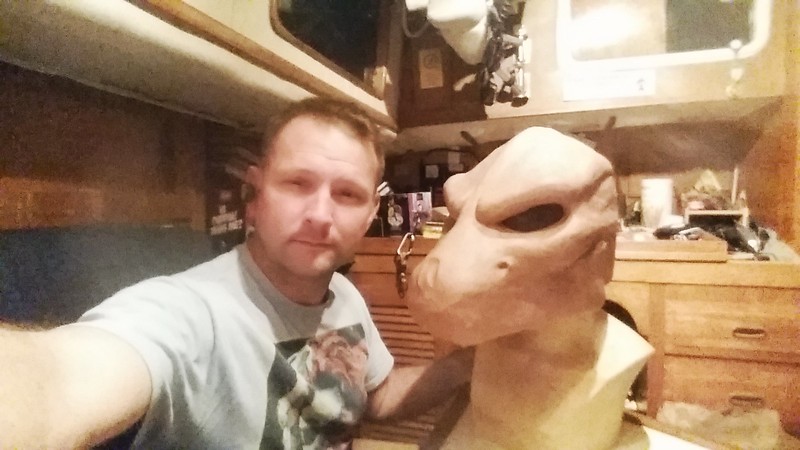
Then I started building over the top of that shape with some oil-based clay. Here's a blurry selfie during a late night sculpting session on my boat:
The next morning I found it looking like so:
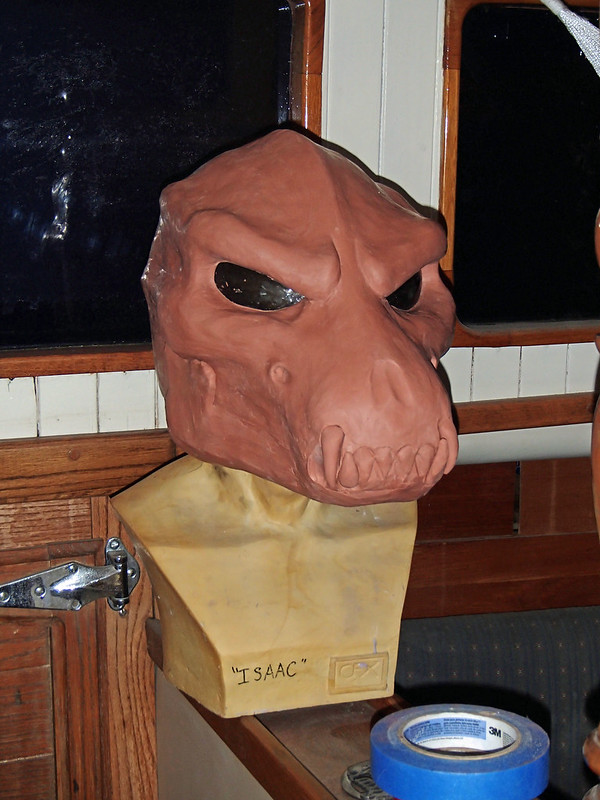
Not a bad start:
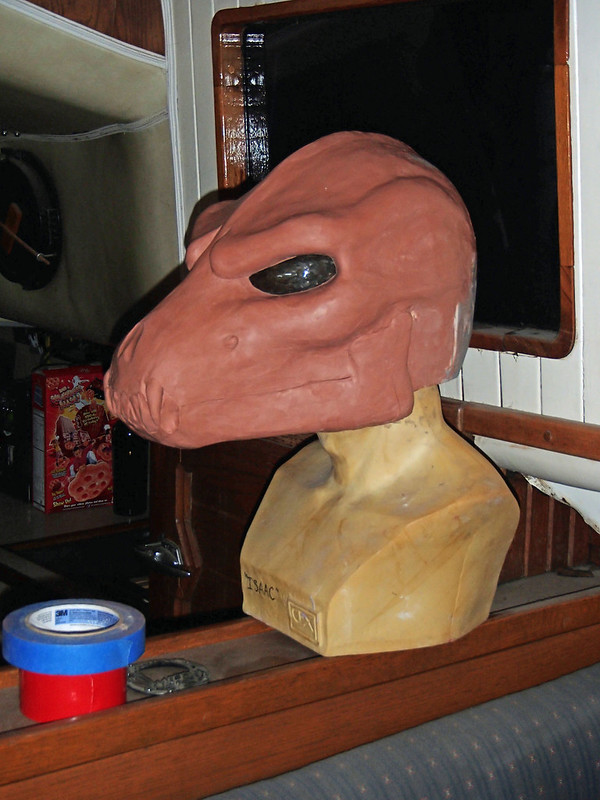
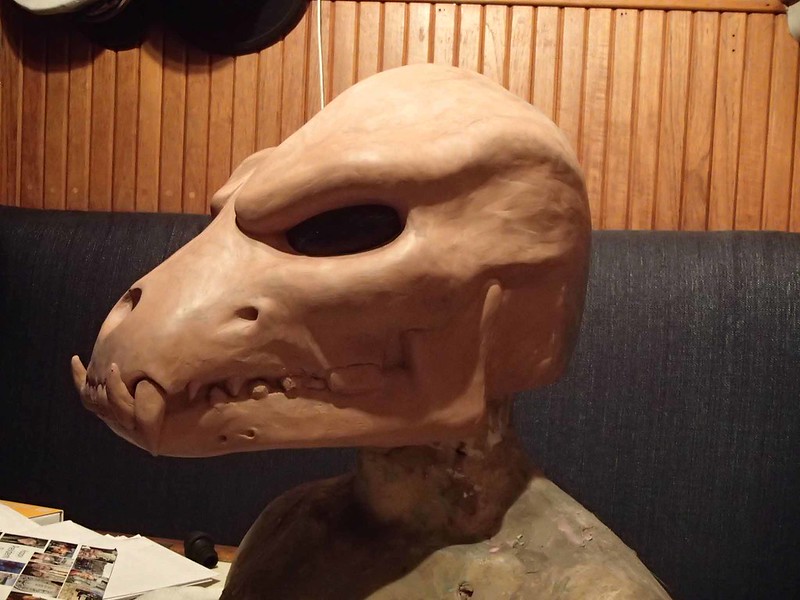
After a couple more sculpting evenings, I had this thing looking pretty good:
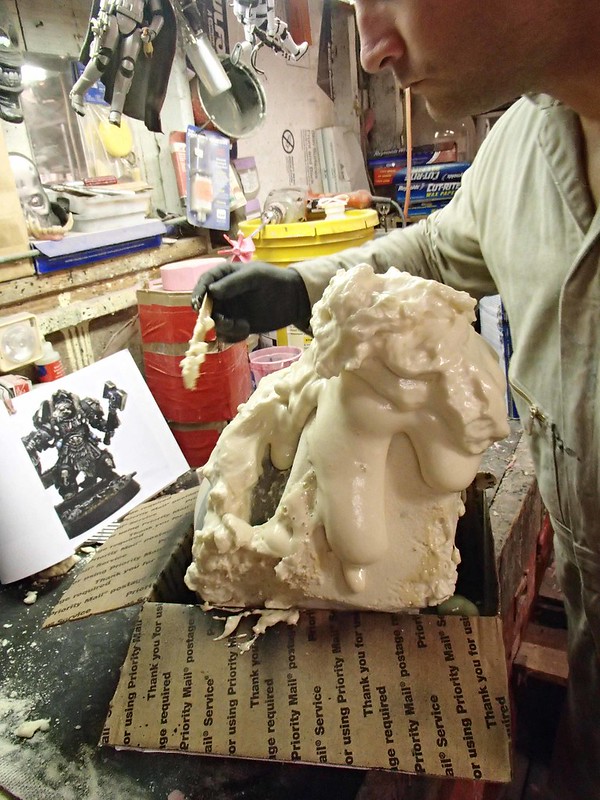
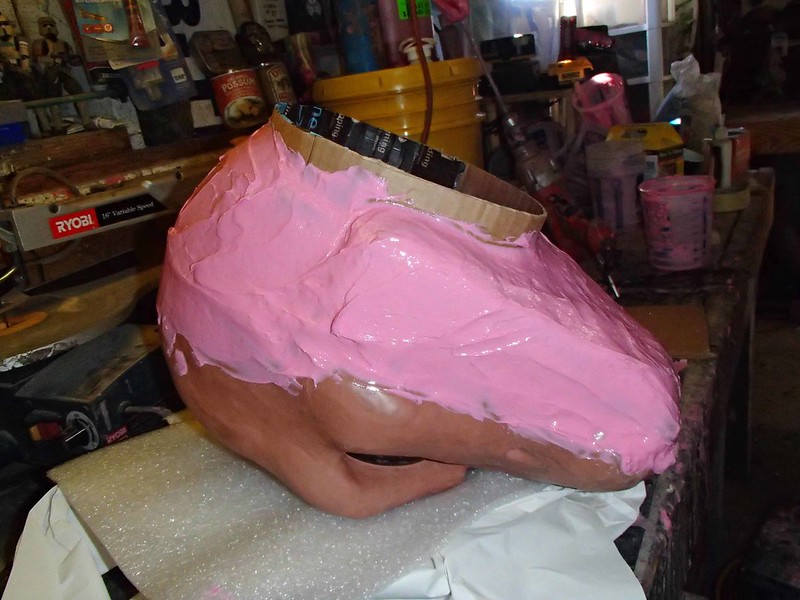
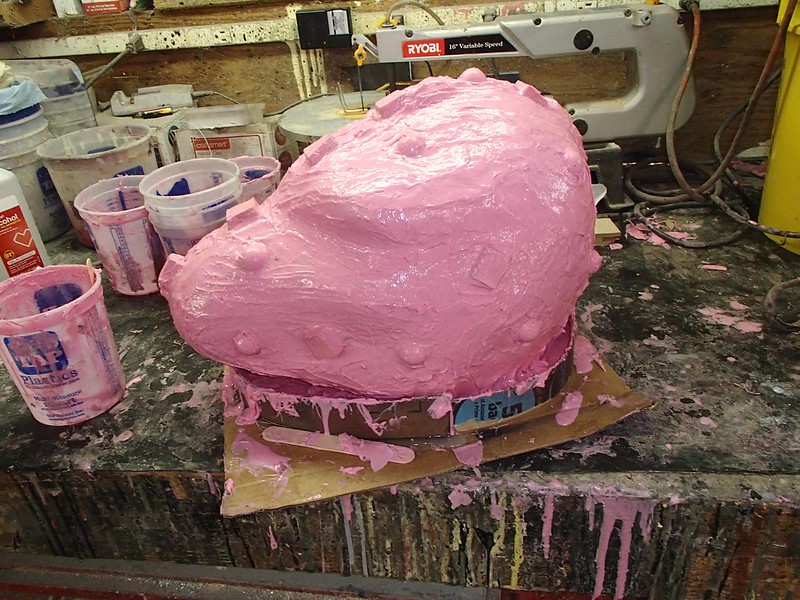
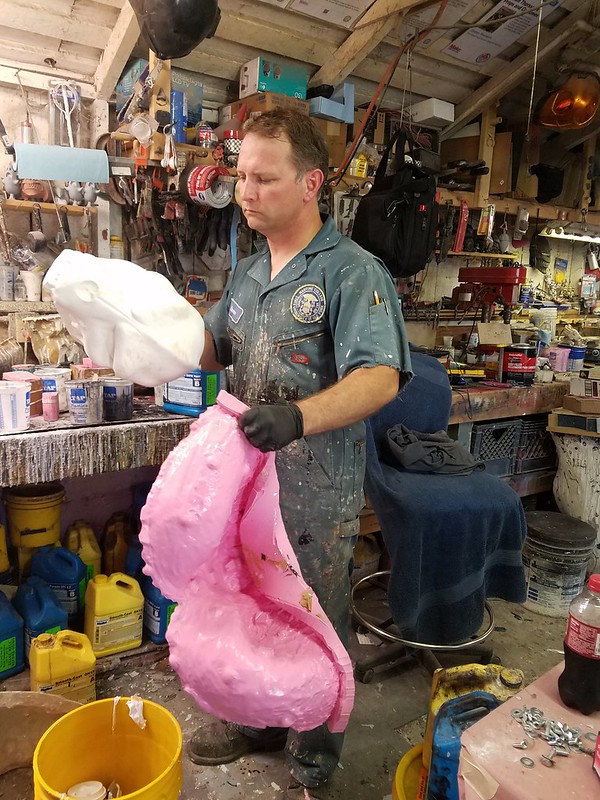
Molding began with gluing a cardboard neck into the bottom of the helmet, then mixing up a batch of silicone with thixotropic additive so I could fill in all of the undercuts:
Then I mounted the neck to another piece of cardboard and built up a drip wall:
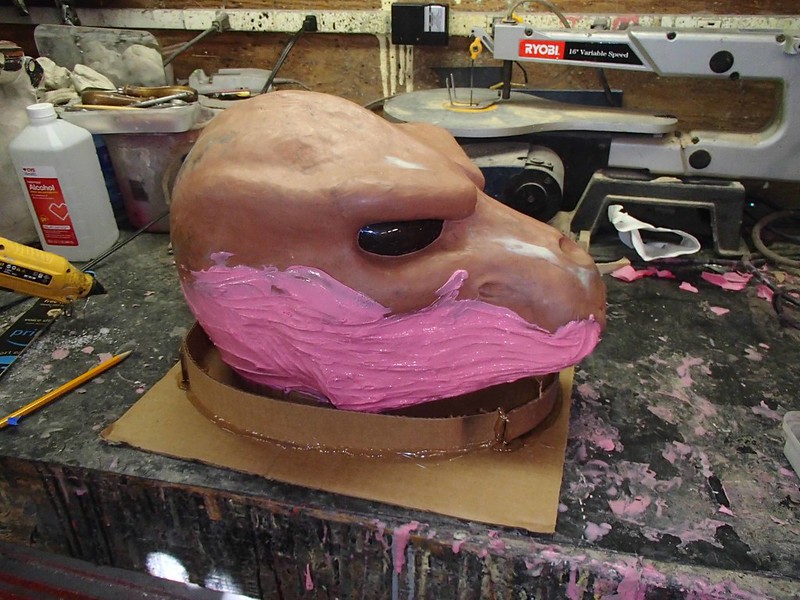
The rest of the molding process was a pretty standard brush-up mold topped off with a few pre-cast silicone registration keys:
The mothermold was a two part fiberglass arrangement:
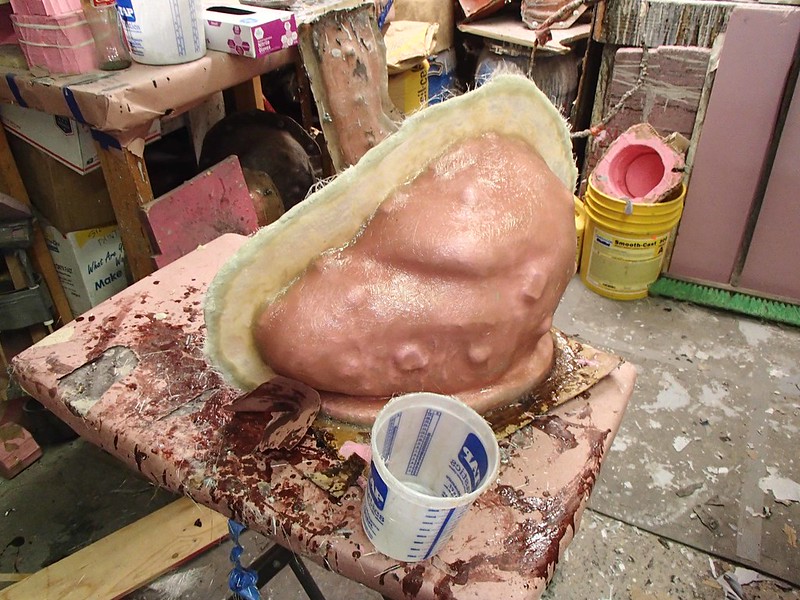
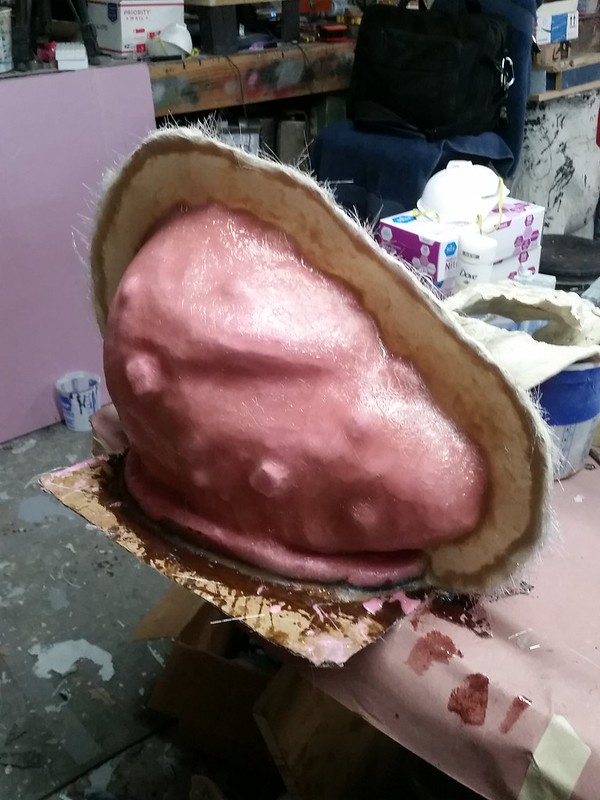
Once the flange was drilled, the fiberglass shell was removed. Then I made a relief cut up the back side of the helmet and demolded the sculpt:
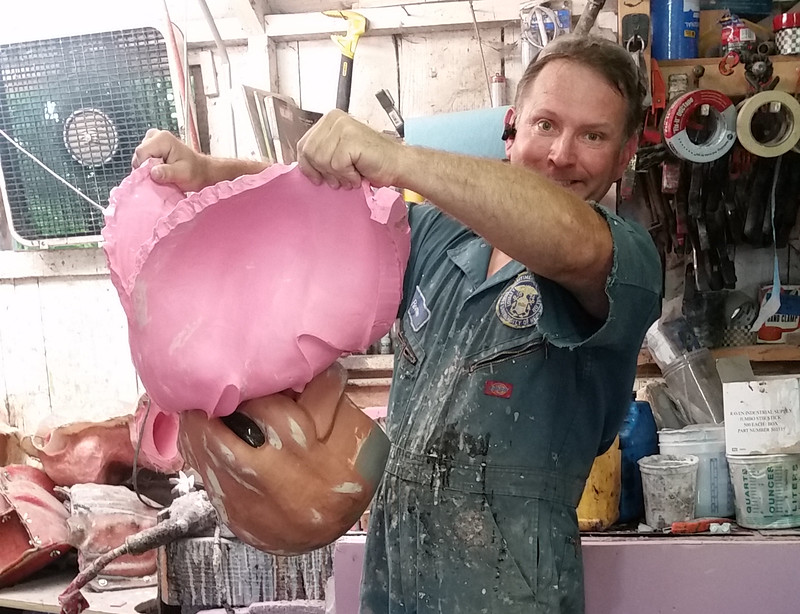
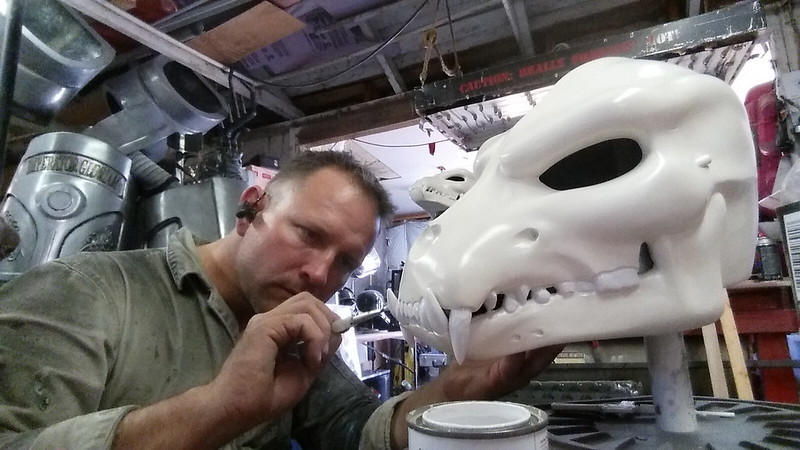
The first copy was rotocast in four layers of urethane resin:
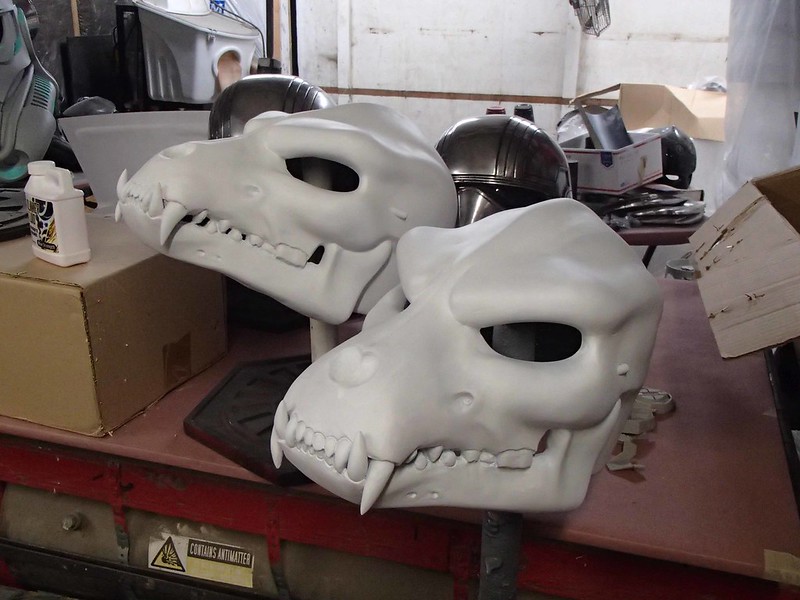
After a quick bit of trimming, I was pretty happy with myself:
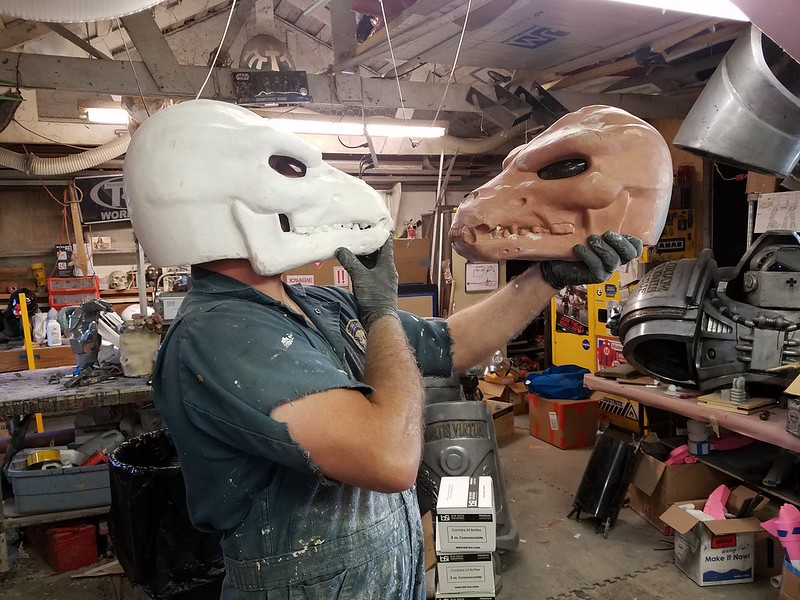
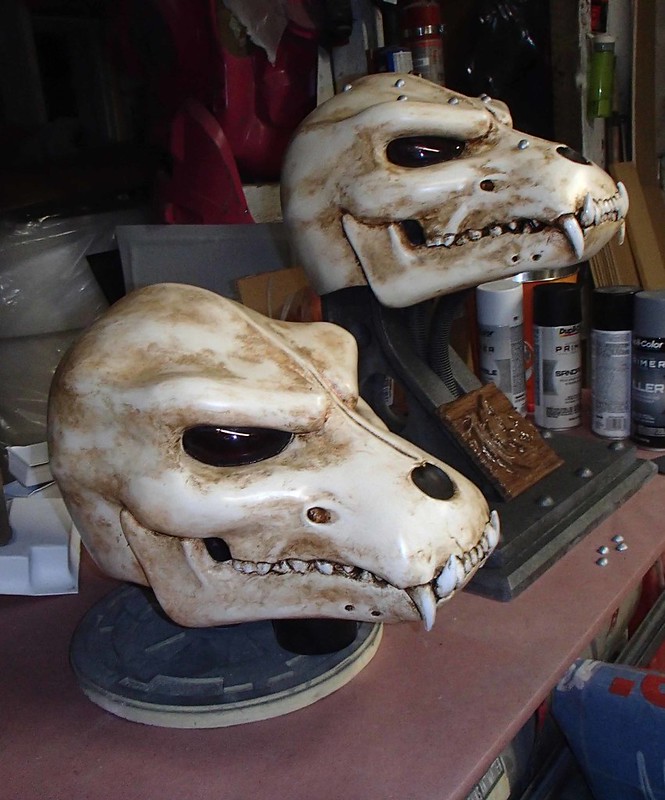
Of course, as long as I had a mold, I might as well go ahead and make two:
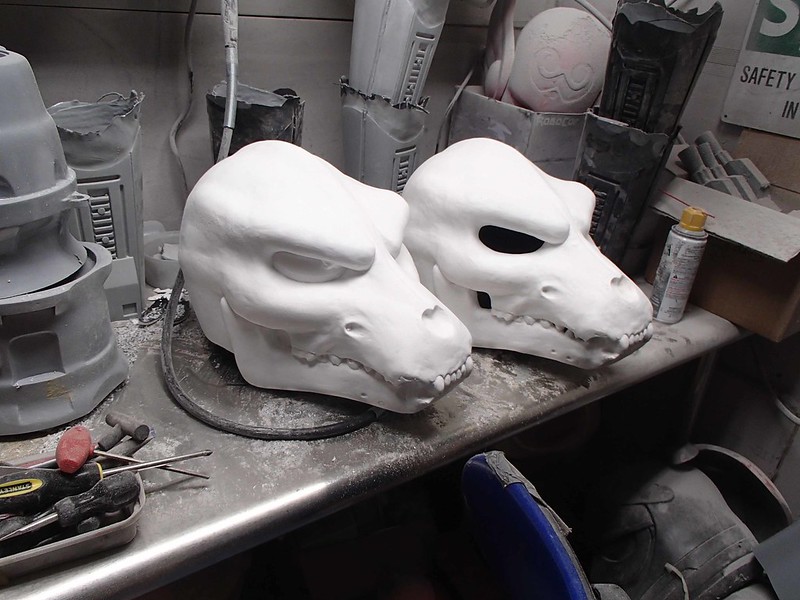
Once the helmets were both trimmed and sanded, they both got a couple of coats of primer:
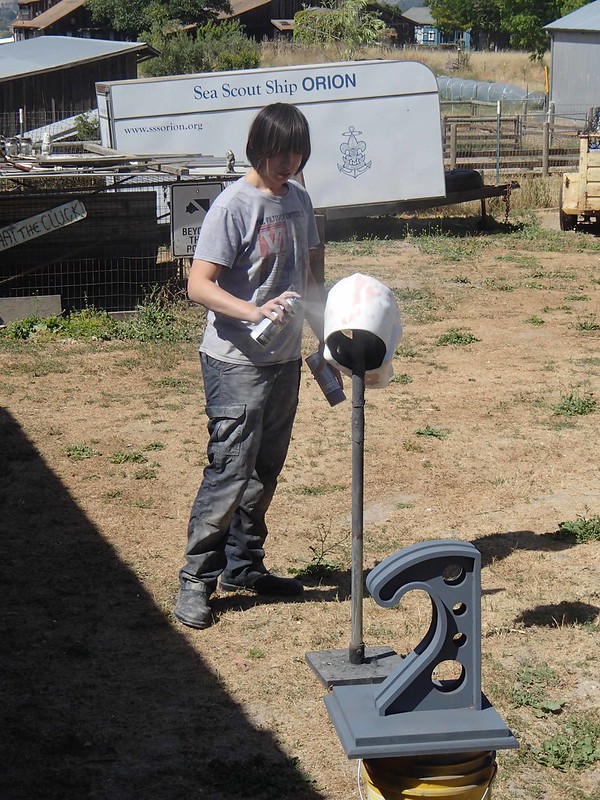
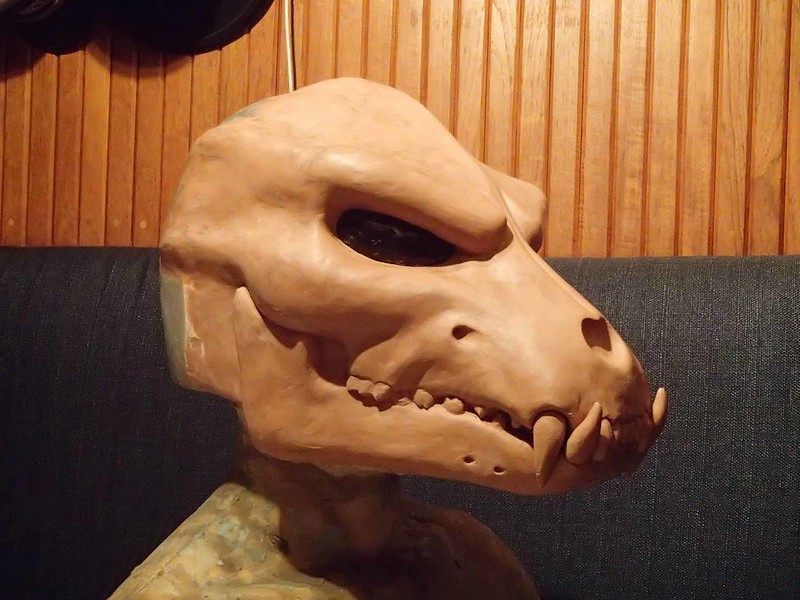
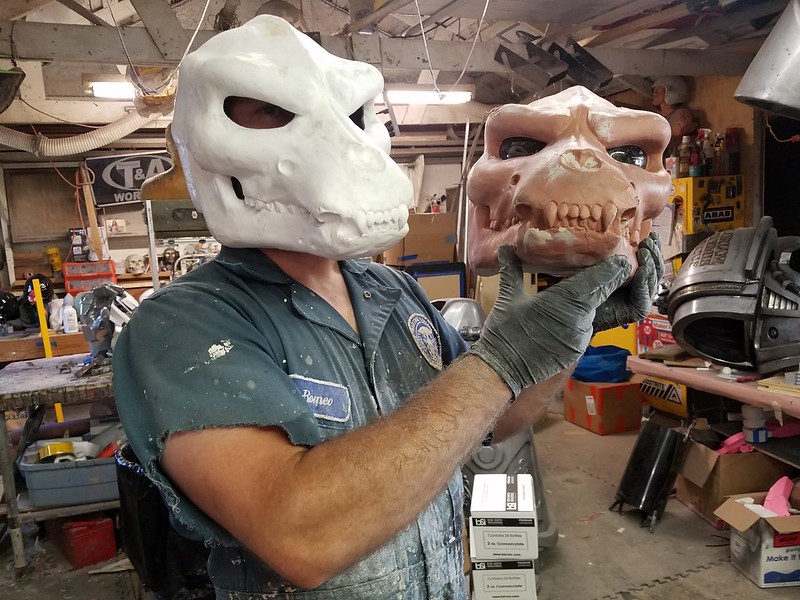
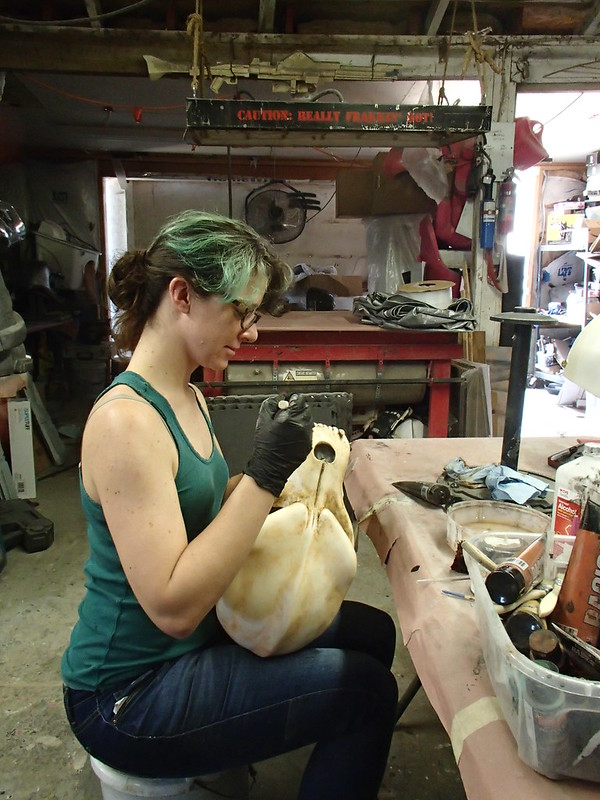
The canine teeth were sculpted separately. My friend Danielle (seen above with spray can) did the rough sculpts in epoxy putty. They were then ground and shaped and sanded until they fit their respective notches in the skull:
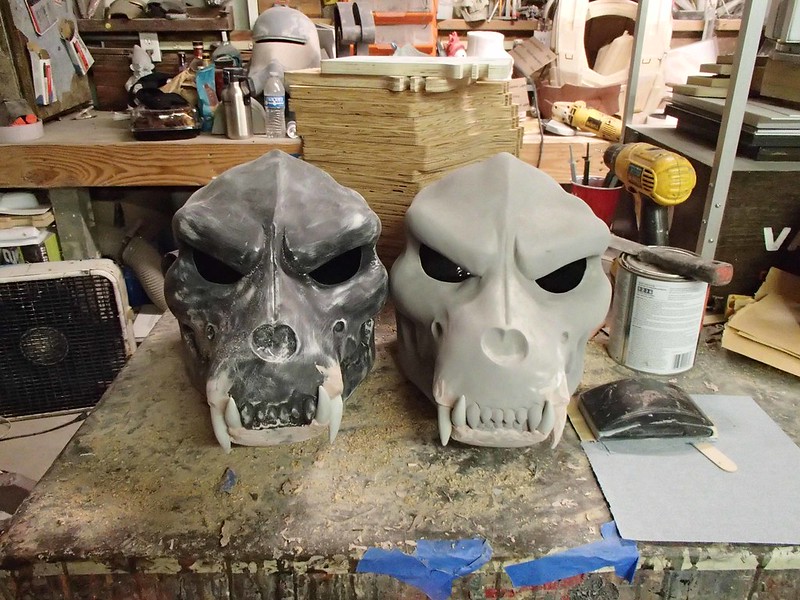
Once I was happy that they looked the part, the helmets were given an overall coat of "Heirloom White" satin paint:
Then I picked out the teeth by hand in plain gloss white:
Now it was starting to look like something:

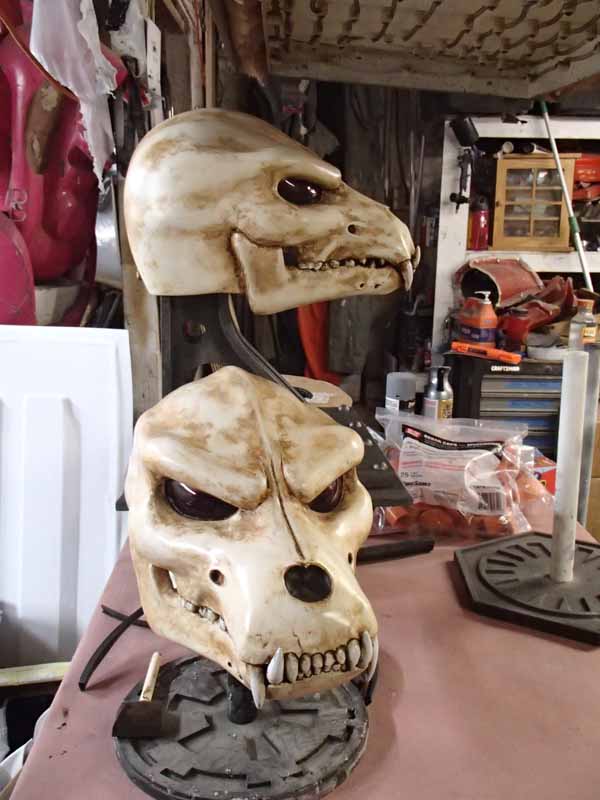
Once the paint was good and solid, my assistant Rachel set to work weathering them with varying washes of light brown and earthy yellow colors:
She did a pretty good job:

On both of them:
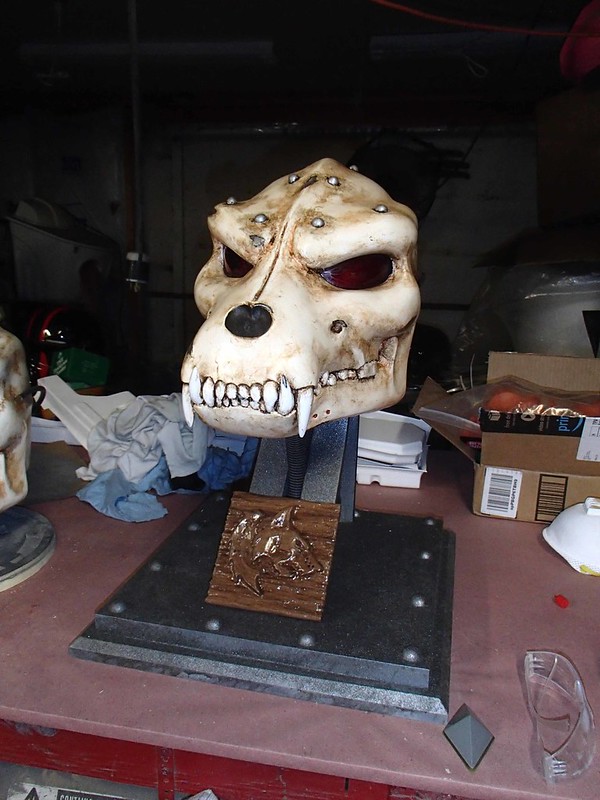
The next step was to add this little wire/hose detail:
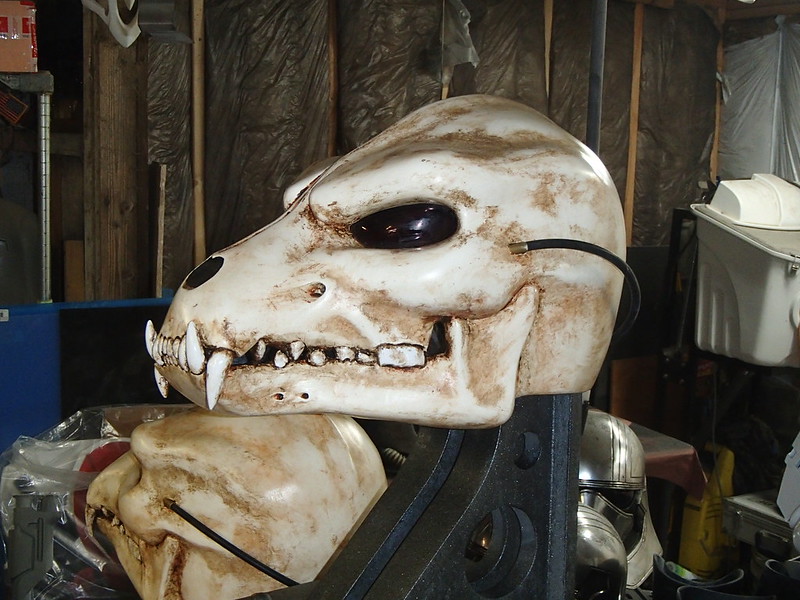
Different renditions of this helmet have varying amounts of hoses and wires attached. I decided to keep it simple. The thing I couldn't make up my mind about was the metal stud details:
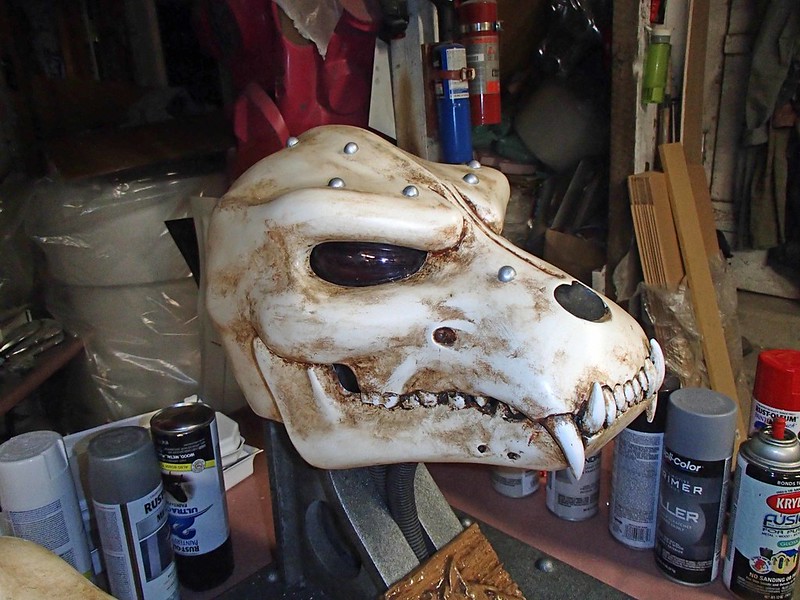
I finally decided to do one helmet with them and the other without:
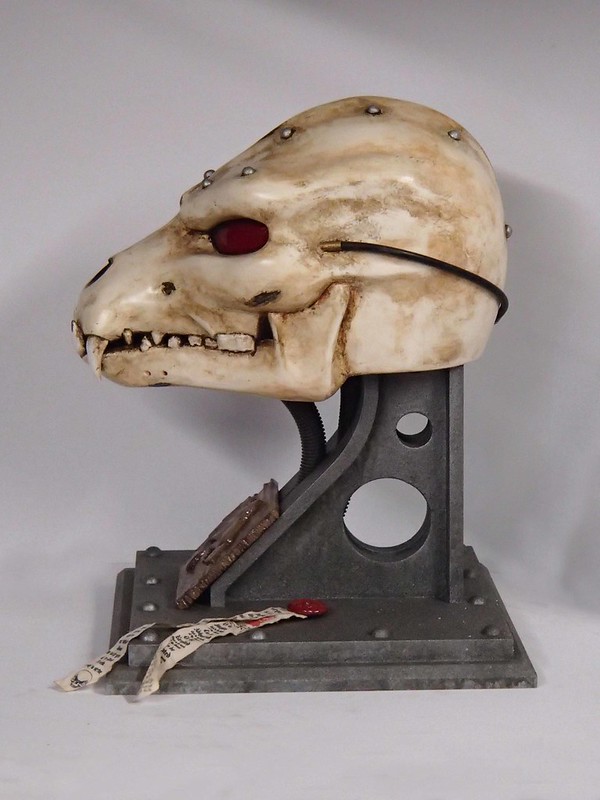
The next step was to build a custom display stand:
The stand itself was made up of multiple parts of MDF cut on a CNC machine, then glued and screwed together before being painted to look like cast iron.
Add a bit of white mesh behind the eye lenses and that's a done thing:
It's only a matter of time before I get around to writing about my next insane project, so stay tuned...
No comments:
Post a Comment