I make toys for kids who don't want to grow up. I'm on the lookout for new projects. If you're interested in commissioning me to build something ridiculous, shoot me an email.
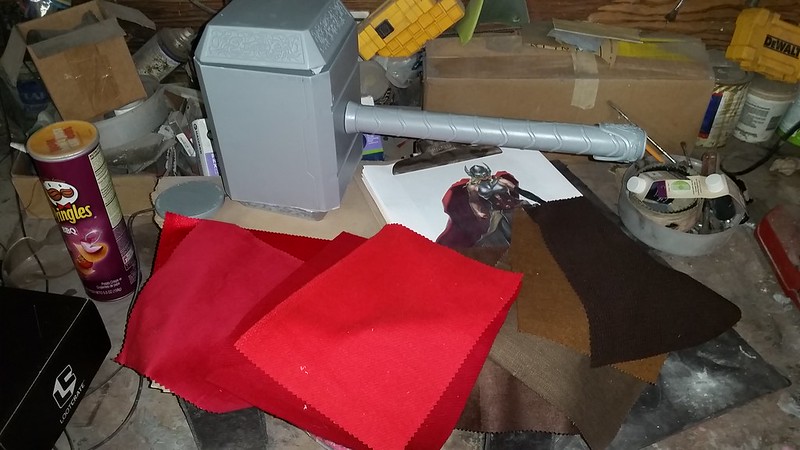
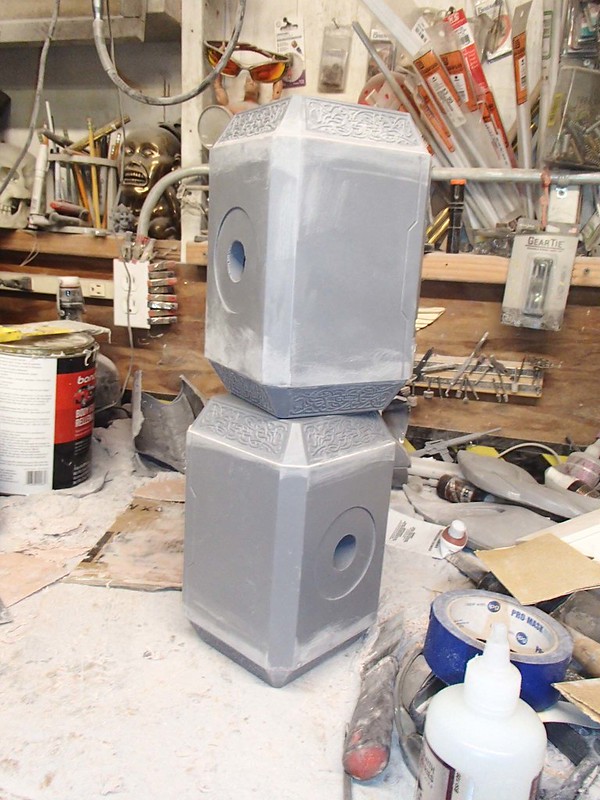
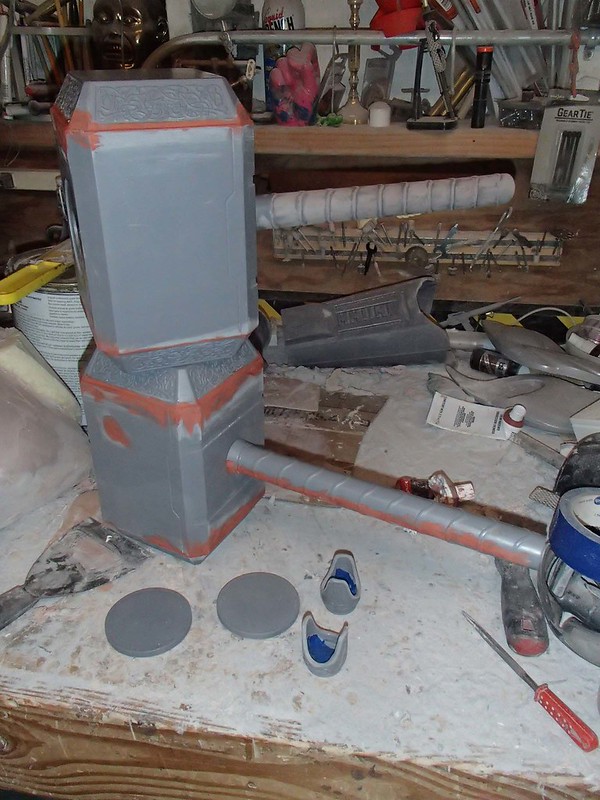
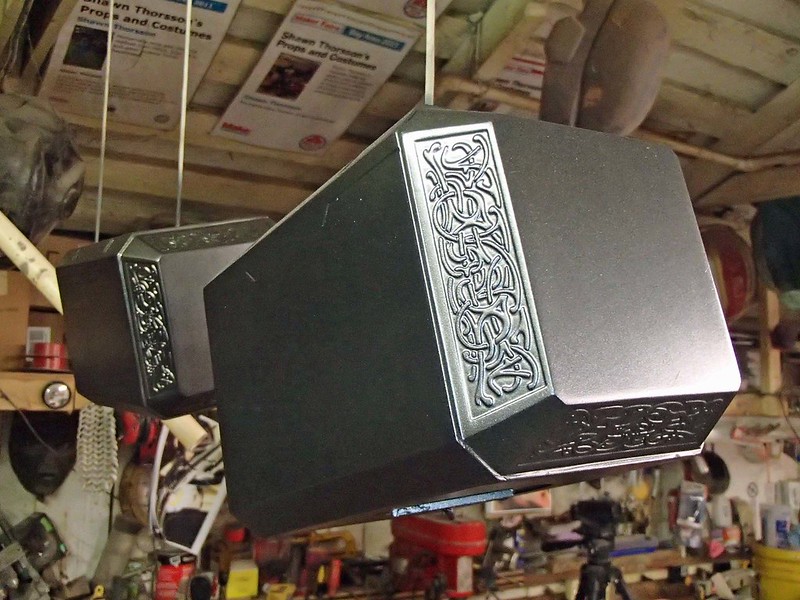
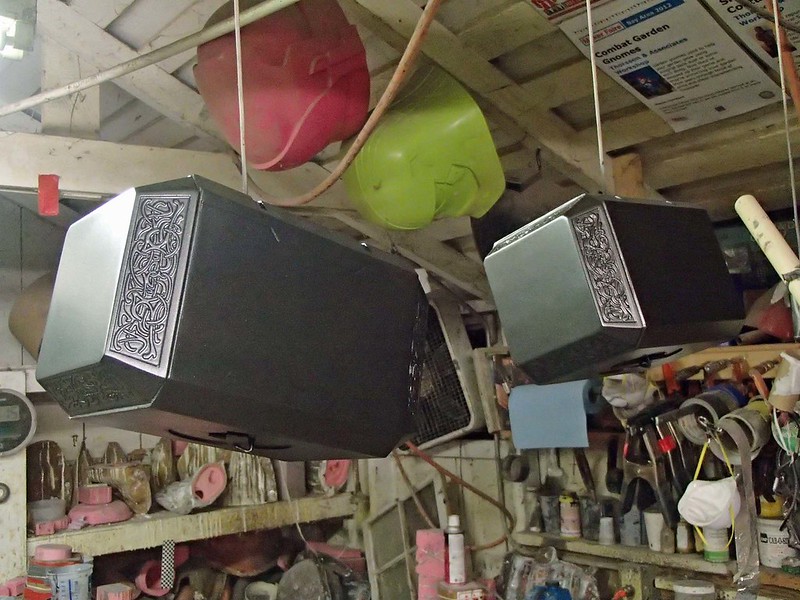
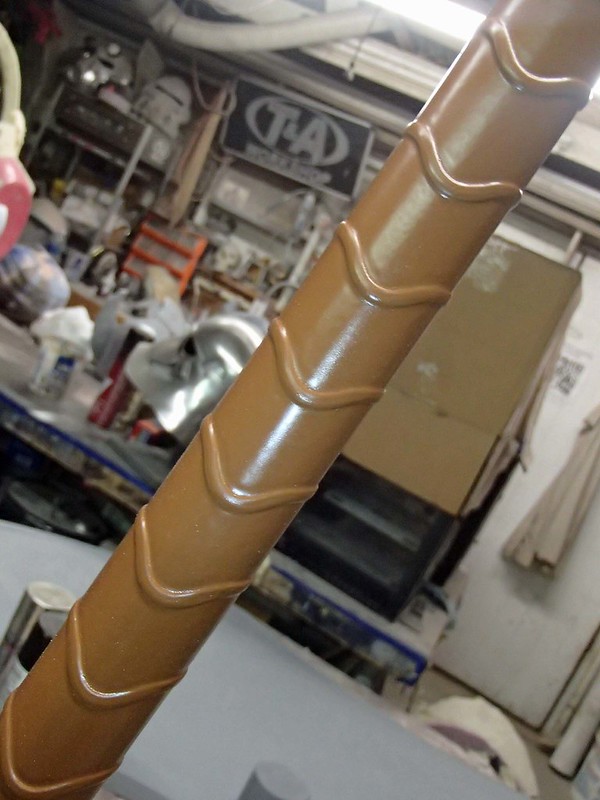
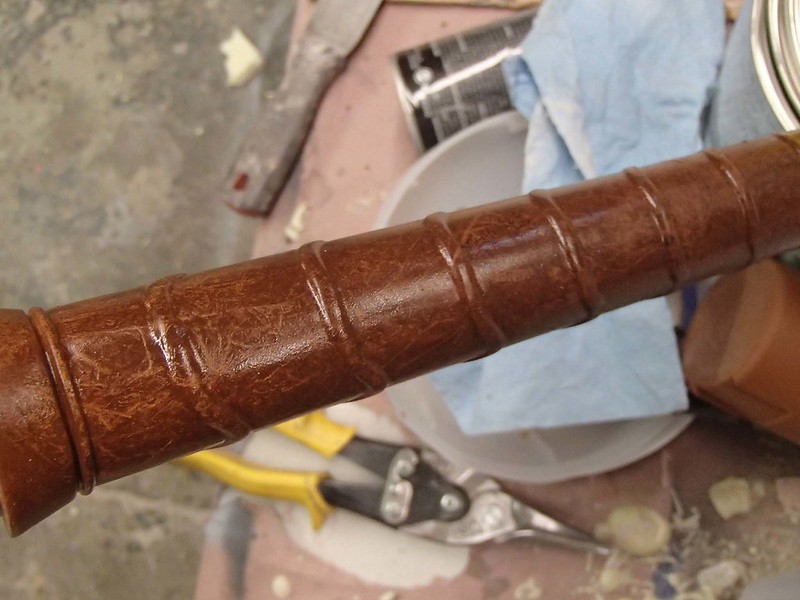
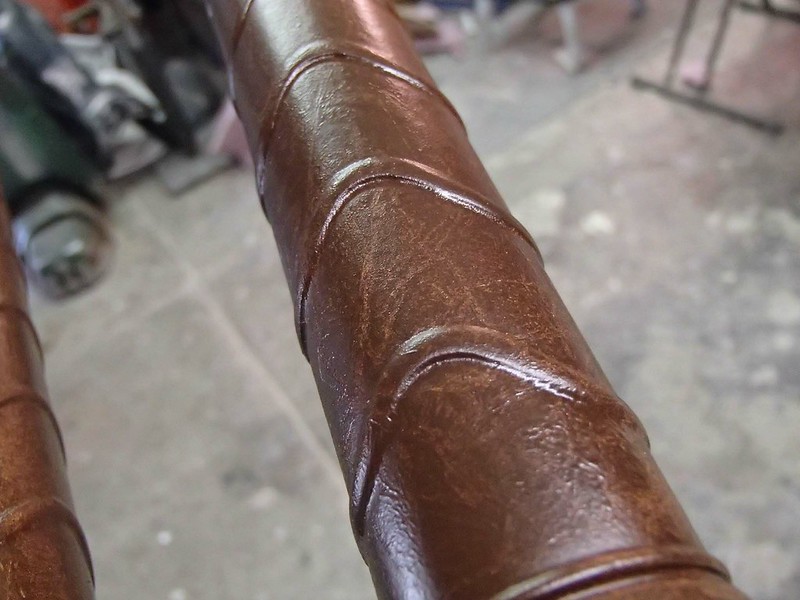
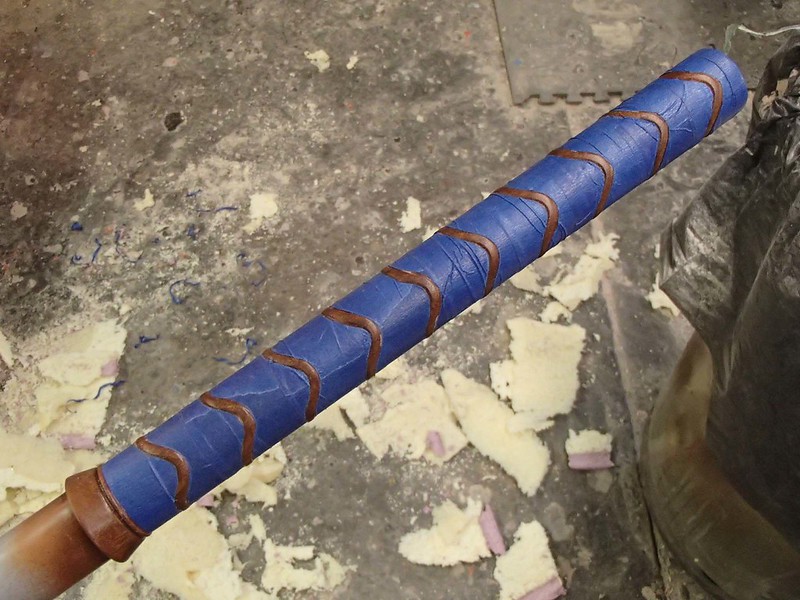
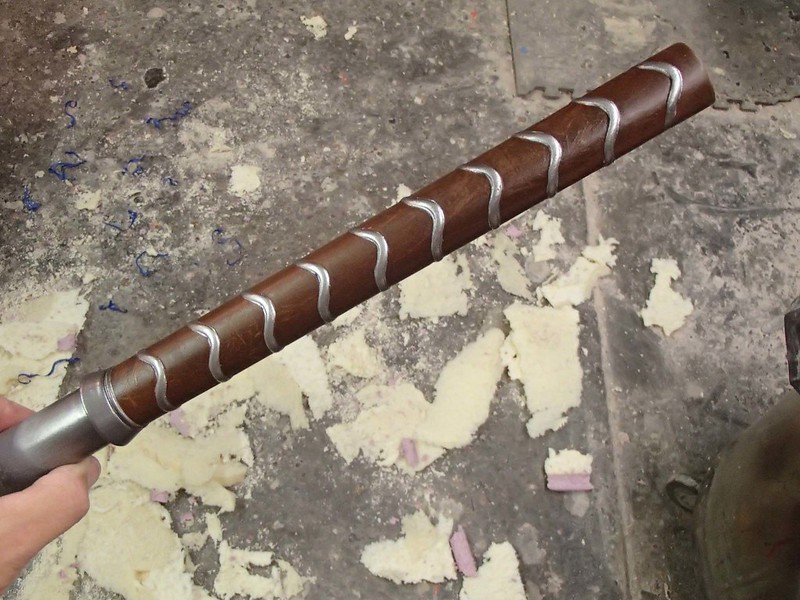
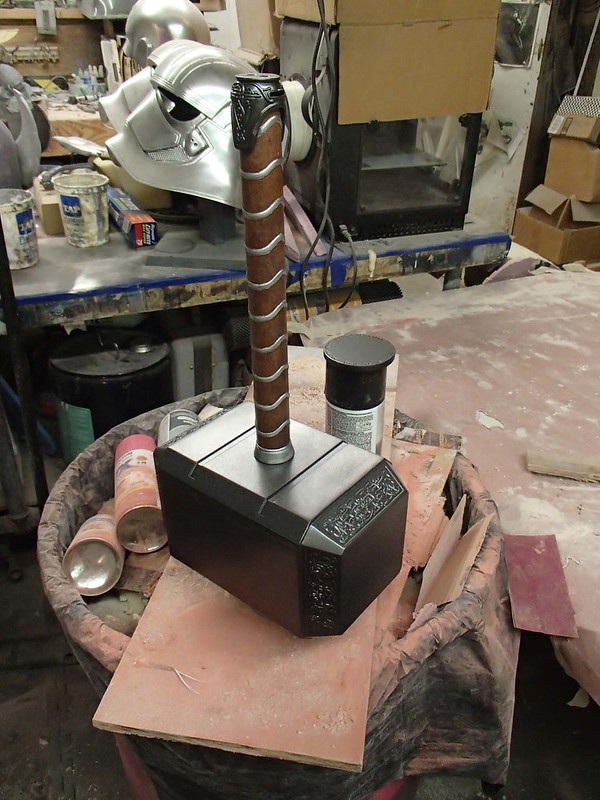
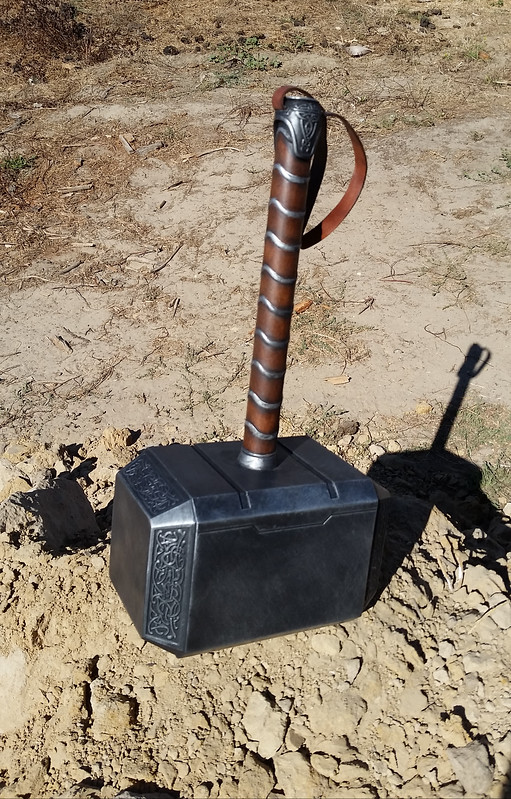
Without the hammer, Thor is just a lady in a funny hat and cape. About the time I started this project, I ordered up a couple of Mjolnir kits from Branfuhr Studios. You can see their current offerings here: www.etsy.com/shop/BranfuhrStudios The two kits arrived at about the same time as my fabric swatches: The castings were nice and clean. Free of surface flaws and with only a tiny bit of cleanup work to do on the sprues and seams. I ended up getting a bit carried away: Here's the parts of the heads glued together with the handles dry-fitted into place: Once I'd sanded the filler smooth, everything was primed and the metal parts were painted with a gunmetal metallic paint: The handle was painted in a tan enamel: Once that had dried thoroughly, I added a thick coat of darker brown acrylic paint, wrapped the whole thing in plastic cling wrap while the paint was wet, then peeled off the plastic wrap to reveal decent faux leather effect: After that had dried, the next step was to mask off the "leather" parts so I could paint the metal bits: The masking was a bit on the rough side, so there was a bit of leakage around the edges: Still, it was good enough to continue assembly: After a quick blackwash, the dark metallic parts were drybrushed in order to bring the details to life. Then I added the leather strap to the pommel and it was good to go: "But wait," says you, "I thought you said there were two of them." Good catch, dear reader. Stay tuned to find out what happens to that one.
Yesterday I had the honor of being interviewed on an episode of the New Screen Savers. I brought along a handful of recent creations from the workshop: I also dragged along a few characters in costume: The show was fun to shoot and you can see the whole thing here:
My segment starts at about the 51:50 point. Check it out and be sure to leave a comment!
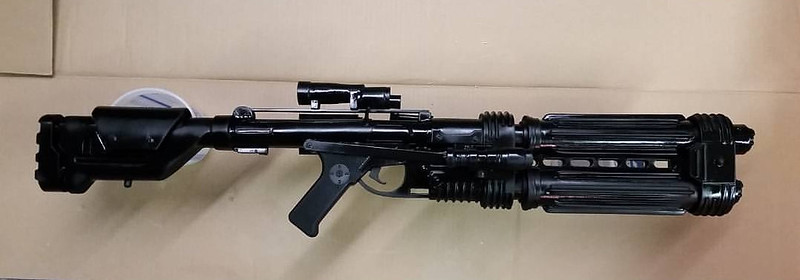
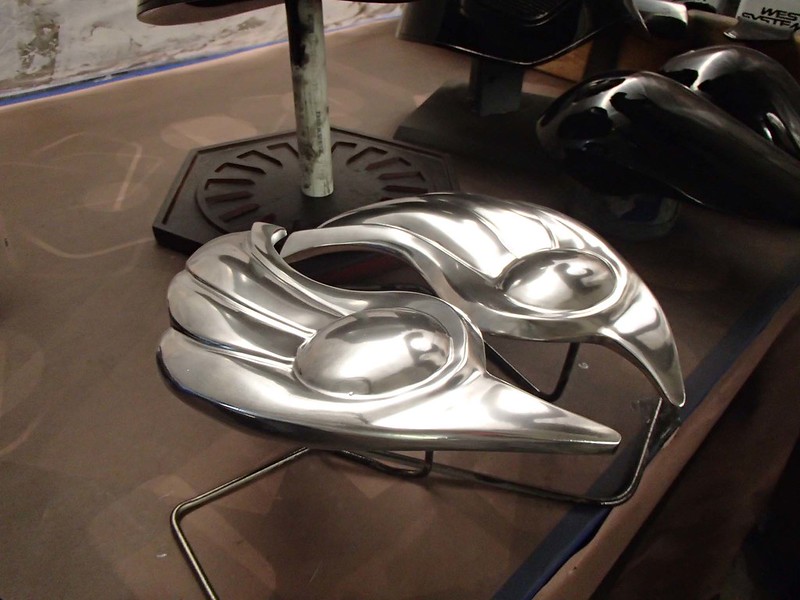
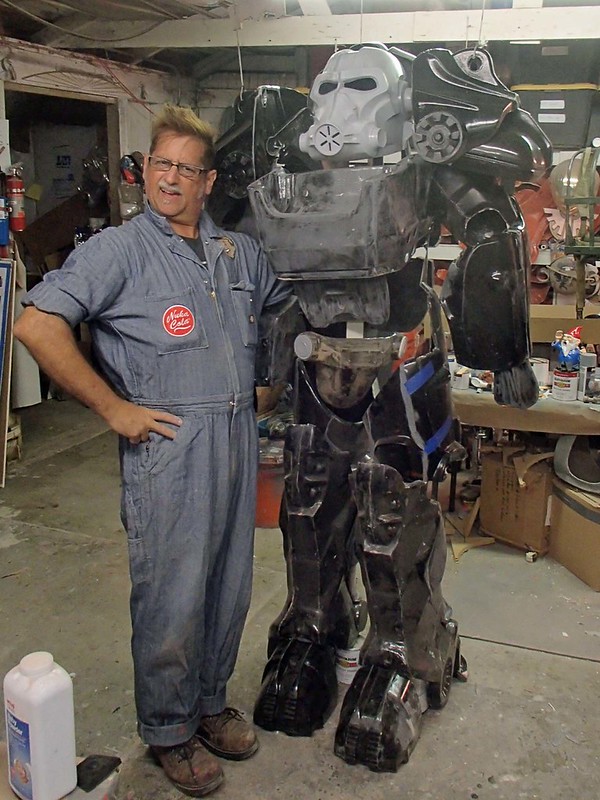
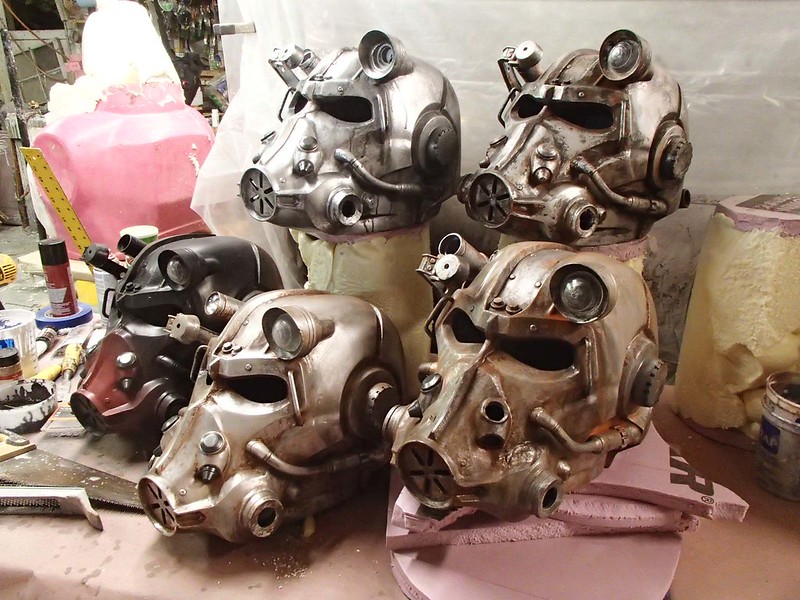
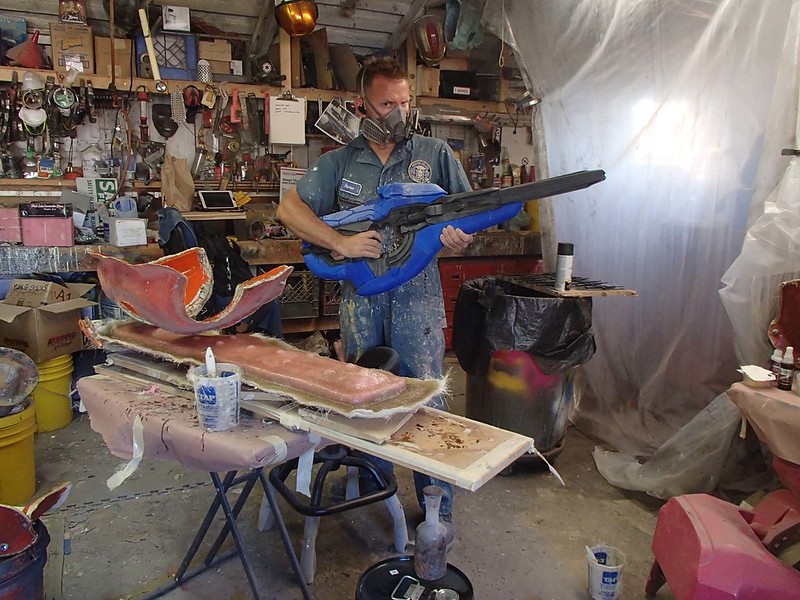
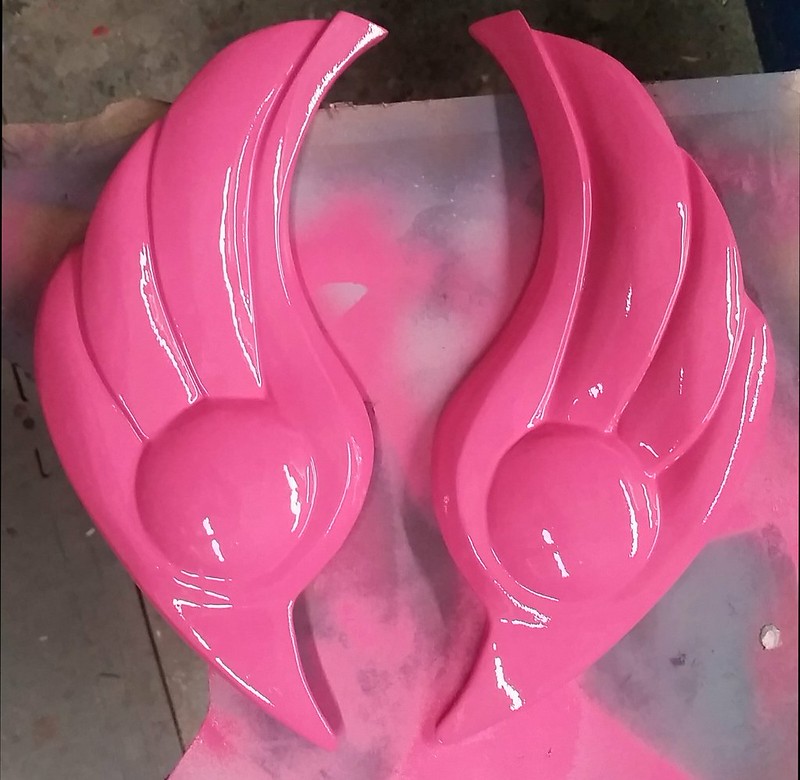
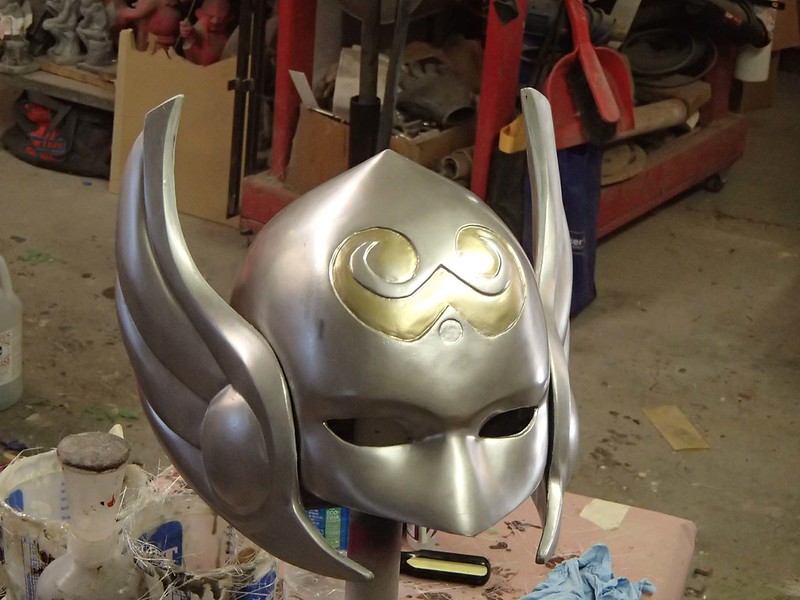
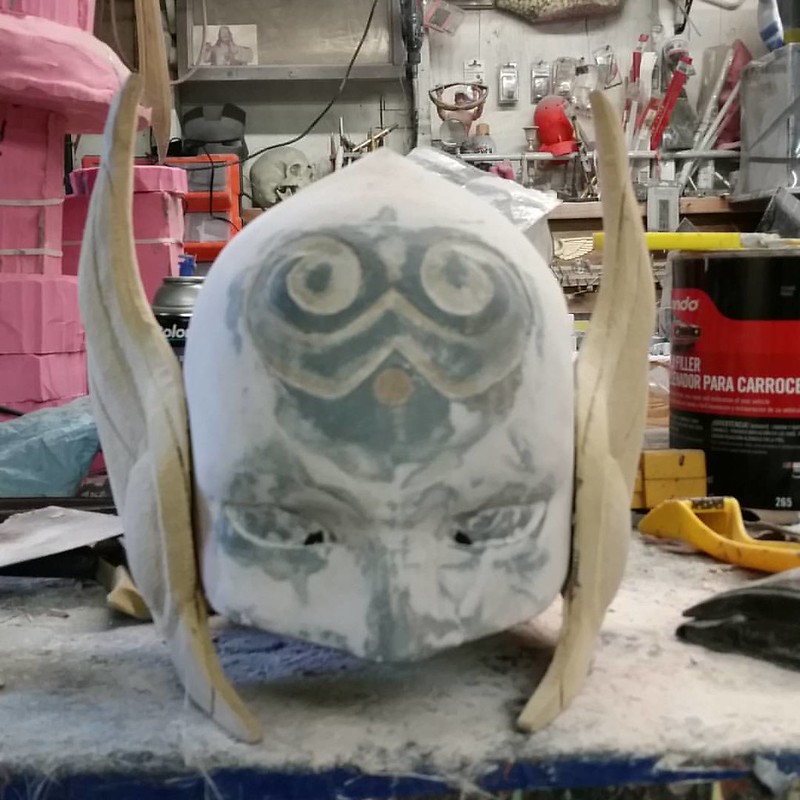
I'm doing a terrible job on the bloggage front, but in the workshop, stuff is definitely going on. So just to make sure you don't think I'm slacking, here's this month's round-up of Un-Finished Objects around the shop... First off, there's the E-22 heavy blaster rifle carried by the Scarif "shoretrooper" stormtroopers in Rogue One. At this point I've finished prototyping and molding and I've cast a complete rifle. Here it is in black primer and waiting for a real paintjob: While I've been tinkering with that, I've also been working on the helmet of the Goddess Thor: The wings are cast separately, so I'm keeping them separate until I'm finished painting them: Work also continues on the T-60 Power Armor from Fallout 4:
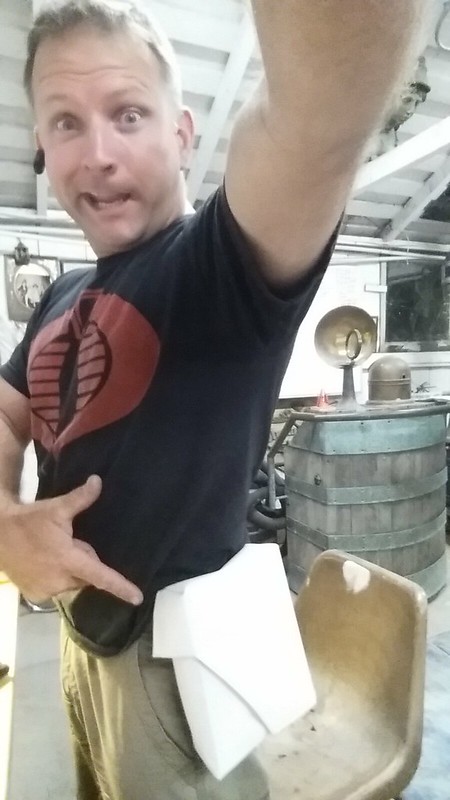
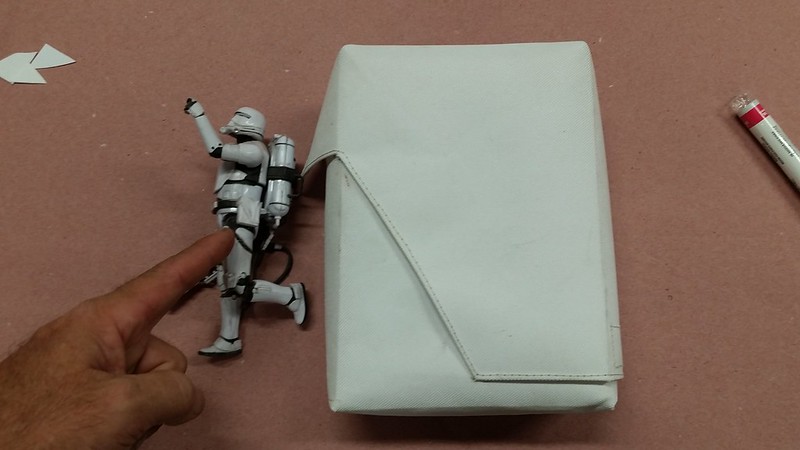
I still have to prototype the rubber parts and work out the rigging for the hands, but for now I've been stalled for a moment while I experiment with different paint schemes: The other day I decided to spend a few minutes on some sewing projects. Among other things, I made a pocket: So now I guess I've taken the flametrooper project off of the backburner: Finally, because I had the 3D printers sitting around with nothing else to do, I cranked out a Covenant Carbine from the Halo video games: So there's still a steady stream of prototyping, preparation, molding, casting, sewing, design, cleanup, painting, and more going on. Sooner or later I'll do some proper writing too. Stay tuned...
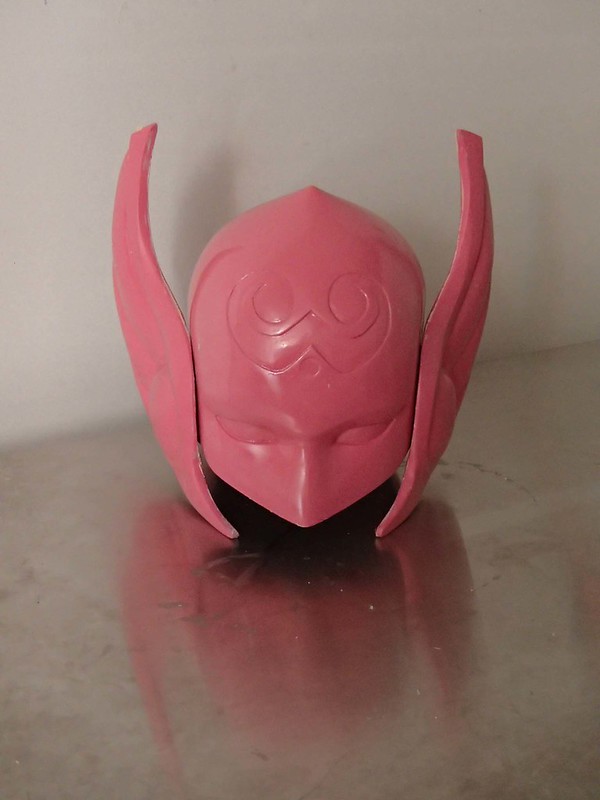
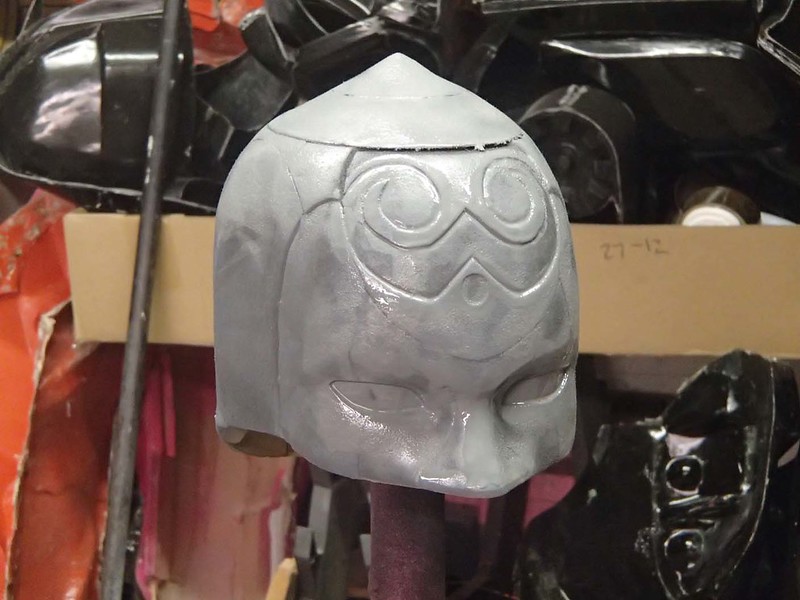
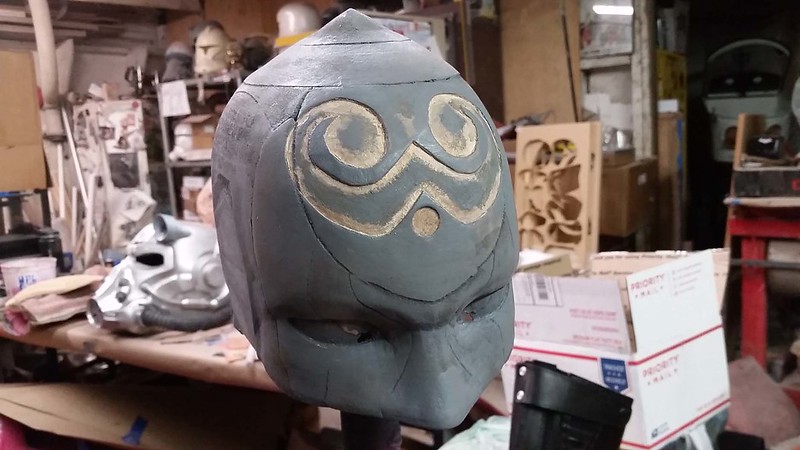
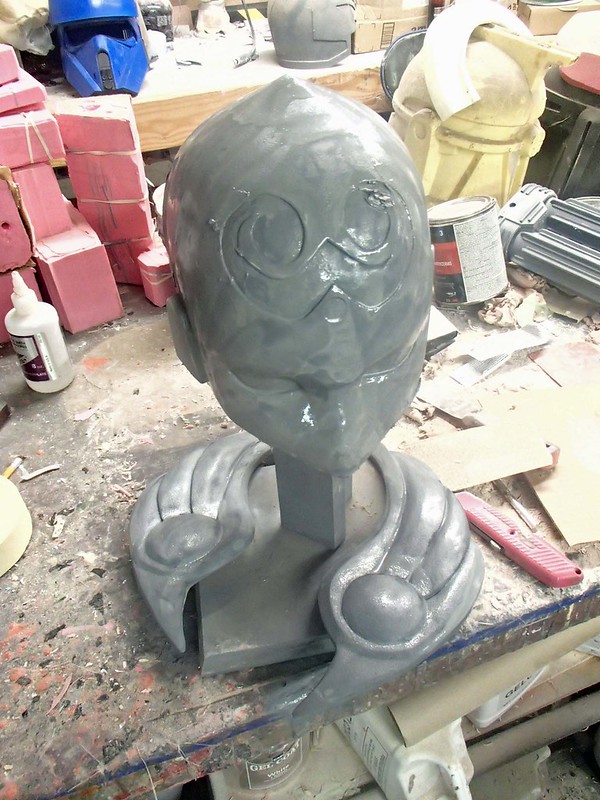
At the end of the last post on this project, I had three shiny helmet parts. The first one looked like so: The other two pieces looked like this: Tacked together in a hurry, they looked kinda like this: The problem: the carved and polished prototype helmet is way too thick, way too heavy, and way too pink. So it was time I turned it into this instead: For details on how it was done, read on...
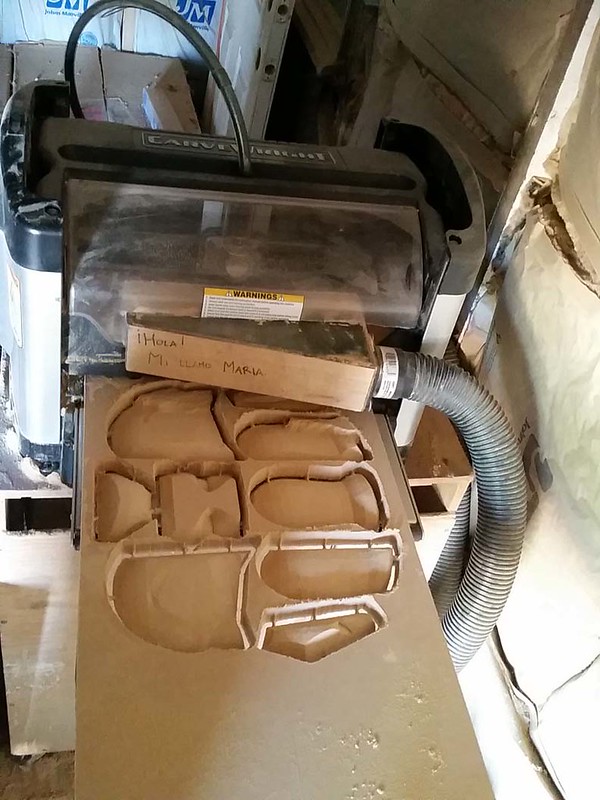
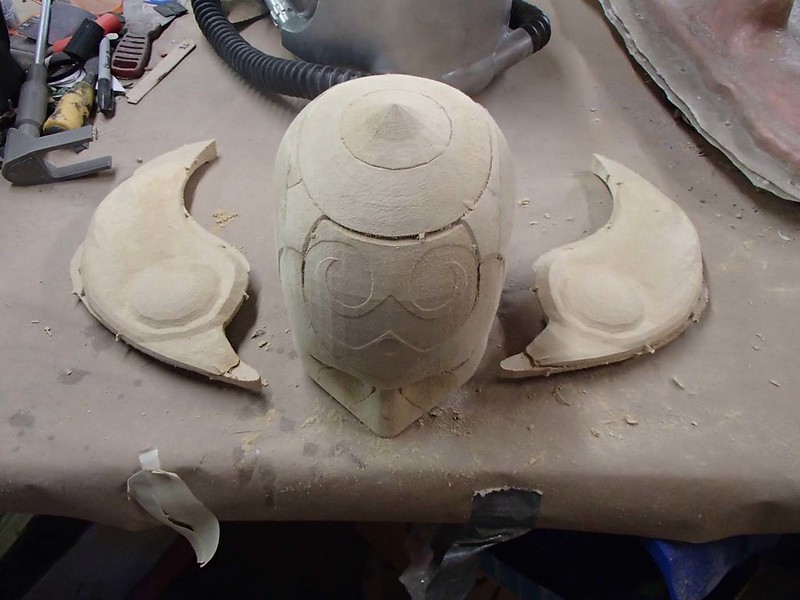
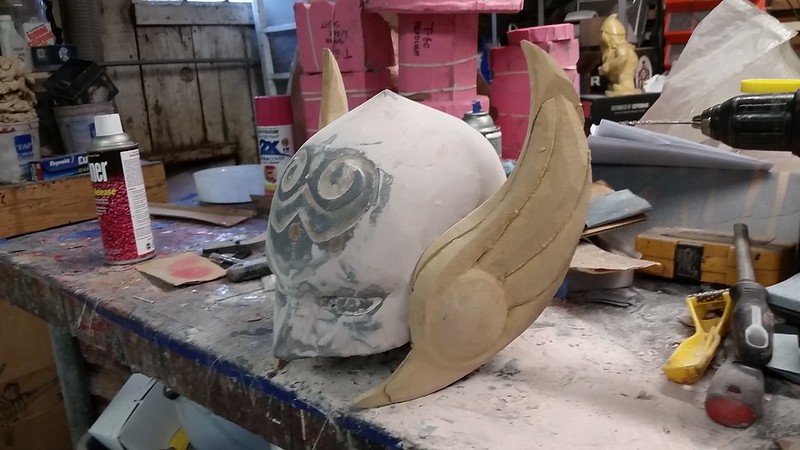
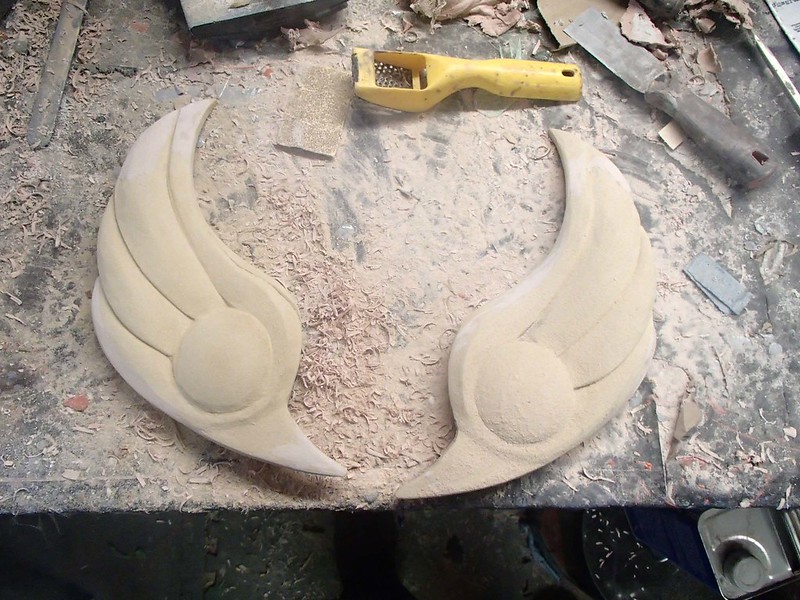
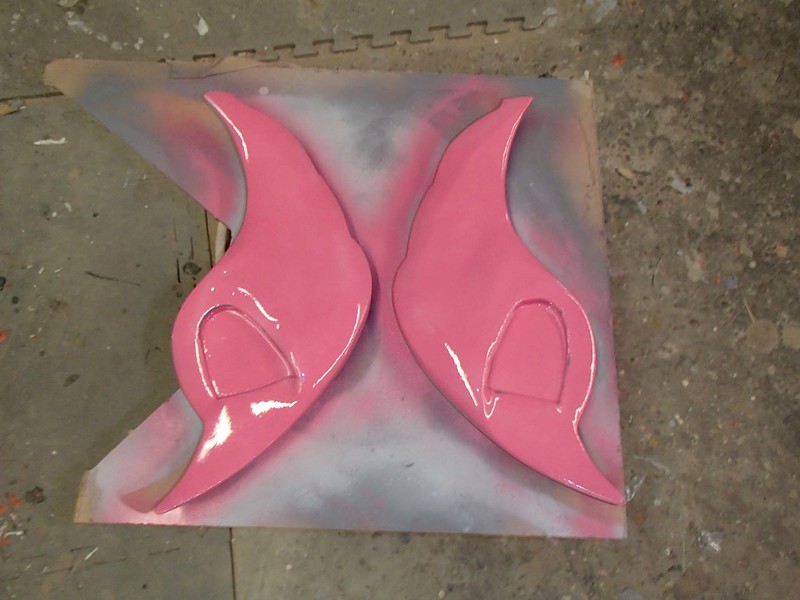
My shop robots had some free time lately, so I got them working on something new carved out of some leftover MDF I had sitting around: After a couple of miscalculations, I finally assembled a helmet with a size that I like: Before the day was over, I soaked it with primer: The next day I got started cleaning up some of the details: After a bit of bondo work, it was looking pretty good: Here's the wings after a bit more love with a file and some sanding blocks: So the new addition to my routing in the shop is to spend the last few minutes tinkering a bit with this helmet and then adding a coat of primer: Here's how it looked last night: Which means it looked like this this morning: Here's the inside face of the wings with the cutouts that register to the sides of the helmet:
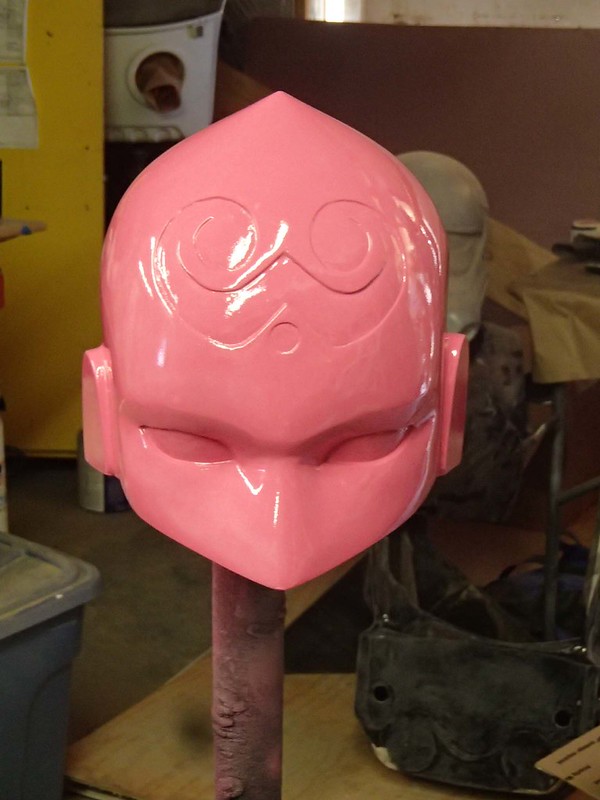
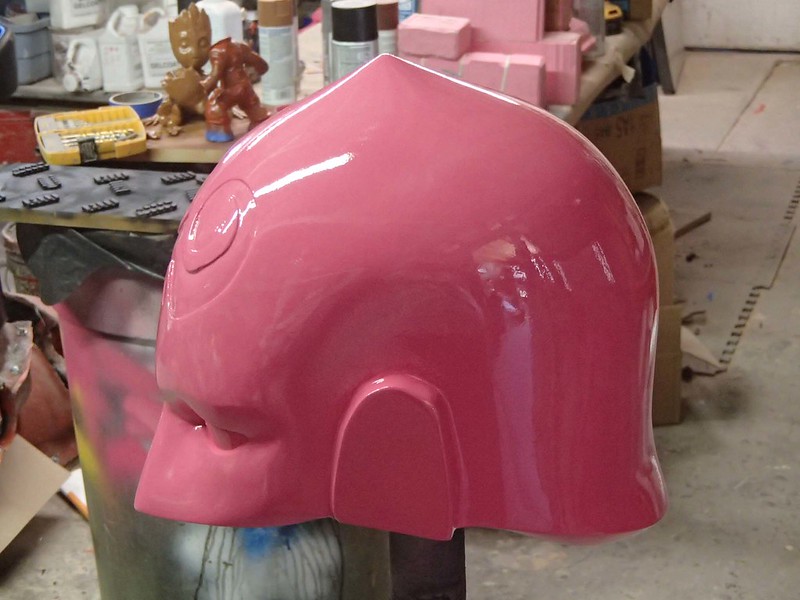
Once that dried, I sprayed the outside faces too: I'm not sure why, but this is the first time I've sprayed something with my standard high-gloss pink prototype paint and not had it instantly feel wrong*.Once the paint is dry, I'll flip the wings over and give the outside faces a nice, glossy coat of paint. Then I'll be ready to start molding all three pieces and make them into something wearable. Now I just need to resist the urge to dive in all the way on this project and make some shiny ARMORED BOOBS! I'll probably fail though. This outfit is pretty darned sexy: Stay tuned...
*Historically, I use pink gloss paint for my prototypes for no reason other than to aggravate a certain subset of people. In this case, those are probably the same people that will already be upset by the creation of a female Thor. So that's an added bonus.