
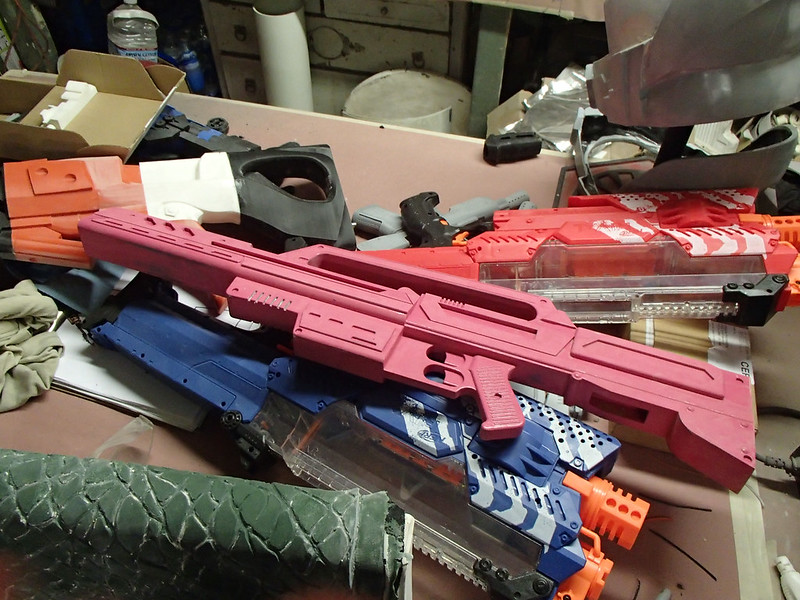
It was made from a digital model by my friend Michelle Sleeper. You can see more of her work here: LINK. She started with an original screen-used Morita prop and decided that it was going to take too much work to make it presentable. Instead, she took painstaking measurements off of it and produced a nice, clean, straight, damage-free digital model which I was able to bring into the real world with my collection of CNC machines and 3D printers. Once it was sanded smooth and painted up to be nice and shiny, it immediately got set aside so I could focus on other frivolous projects.
Then months passed.
When I finally found time to mold it, it just needed to be dusted off prior to building a mold box around it. Then I built up a clay bed and set the rifle into the box like so:
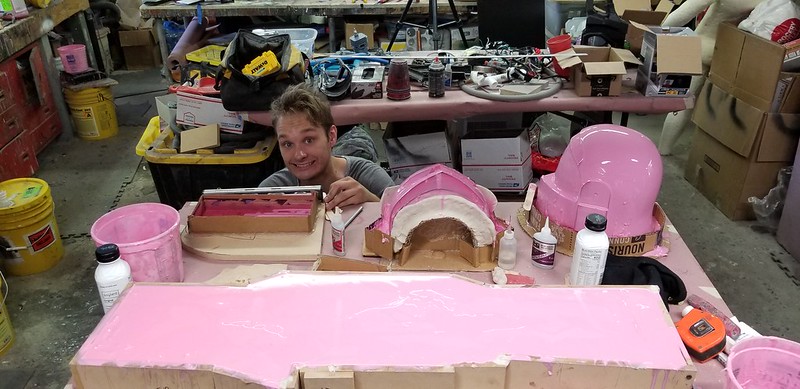
Then the clay bed was covered with more clay to make a watertight mold wall around the rifle along its centerline. Because I have no regard for those of you reading along at home, I neglected to take any photos of that process before I filled the mold box with silicone rubber. Freddy helped:
When that cured, we screwed a lid down on top of it, flipped the whole arrangement over, and removed the bottom of the box. With the clay removed, it looked like so:
Note the big lump of clay still in the mold on the far end. That's going to form the plug for the magazine well. It'll all make sense soon.
After spraying on a judicious coat of mold release, we filled the second half of the mold with silicone rubber:
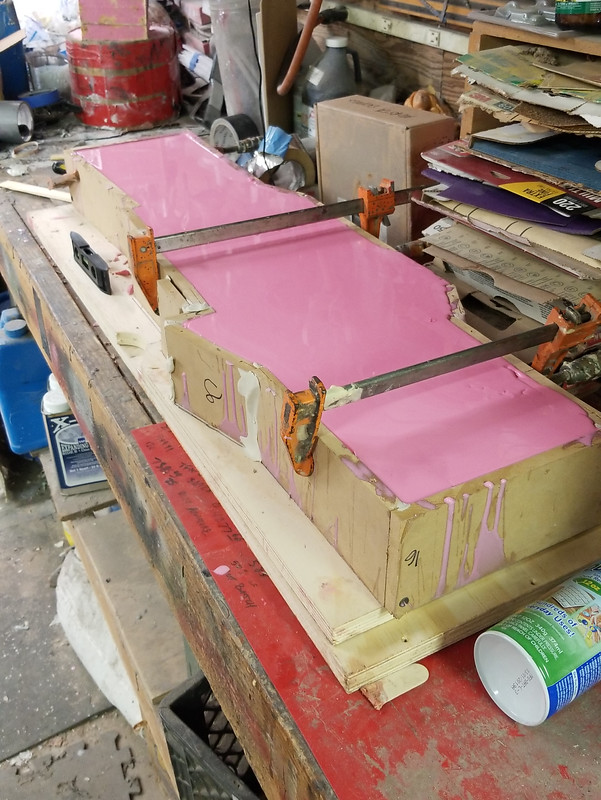
After the second half cured, we removed the box and took out the lump of clay for the magazine well plug. The resulting hole was sprayed with more mold release and then filled with another batch of silicone:
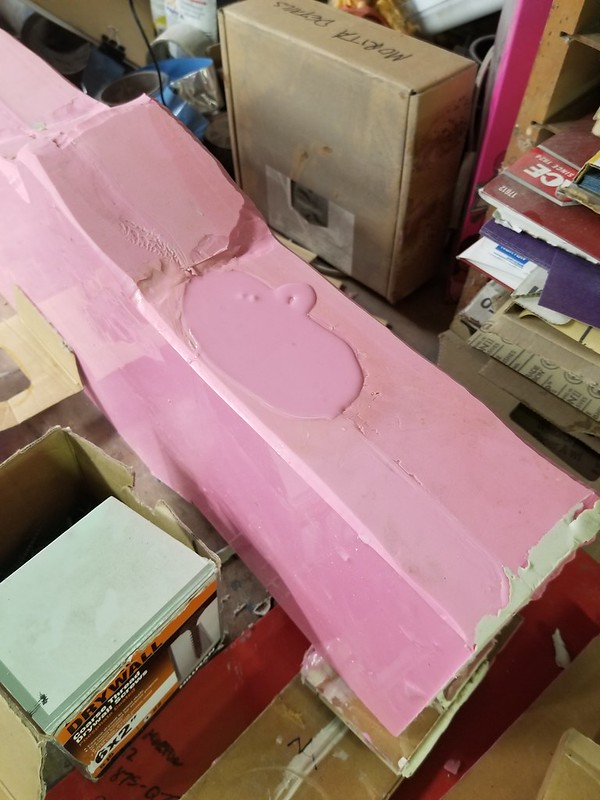
After that cured, the mold parts were peeled apart:

Then the molds were dusted with talcum powder:
In order to keep the weight down and to add a bit more rigidity to the resin cast, a length of PVC pipe was capped on both ends and placed into the mold:
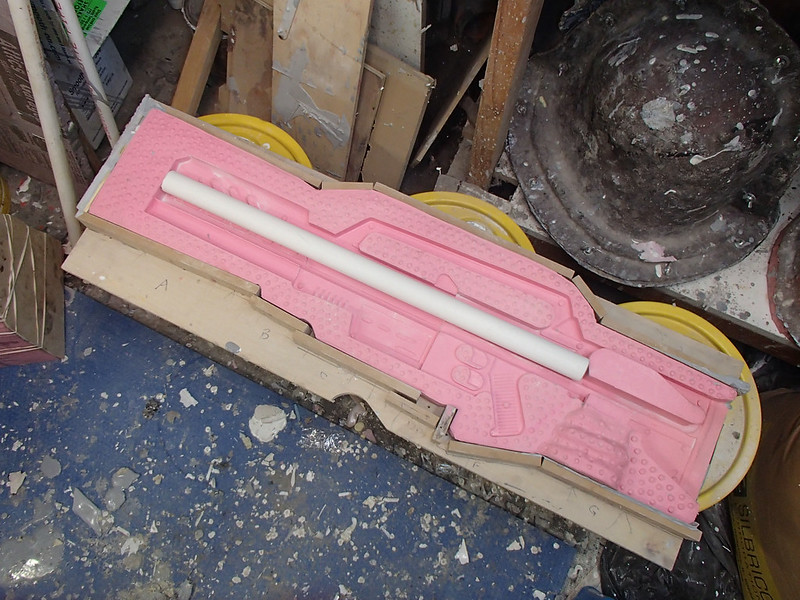
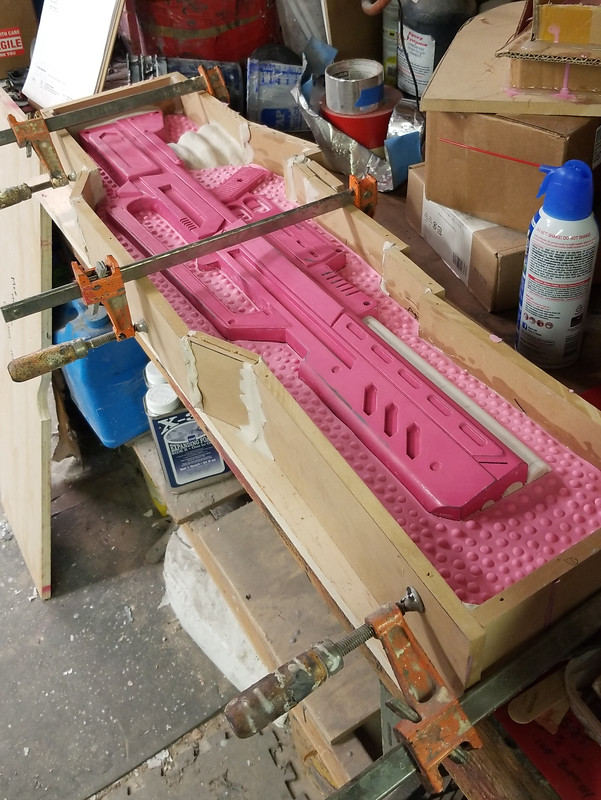
Finally, everything was clamped back together and ready for casting:

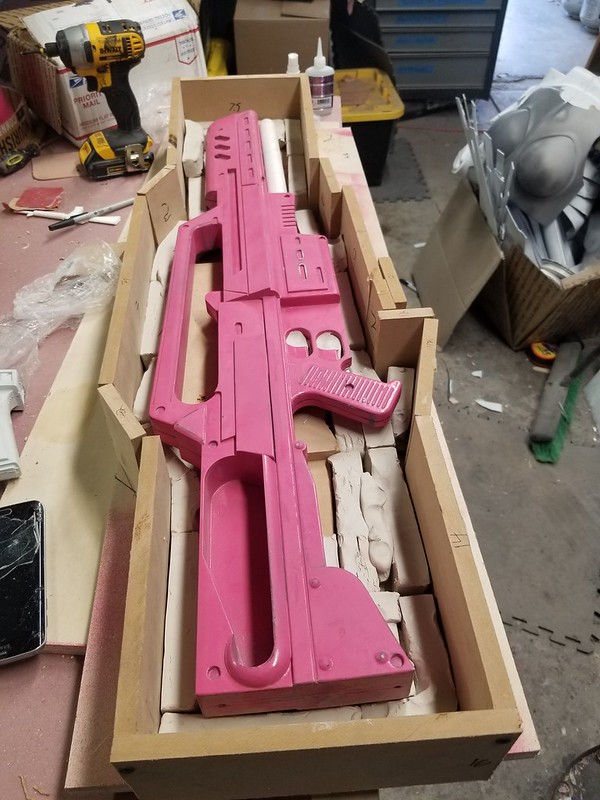
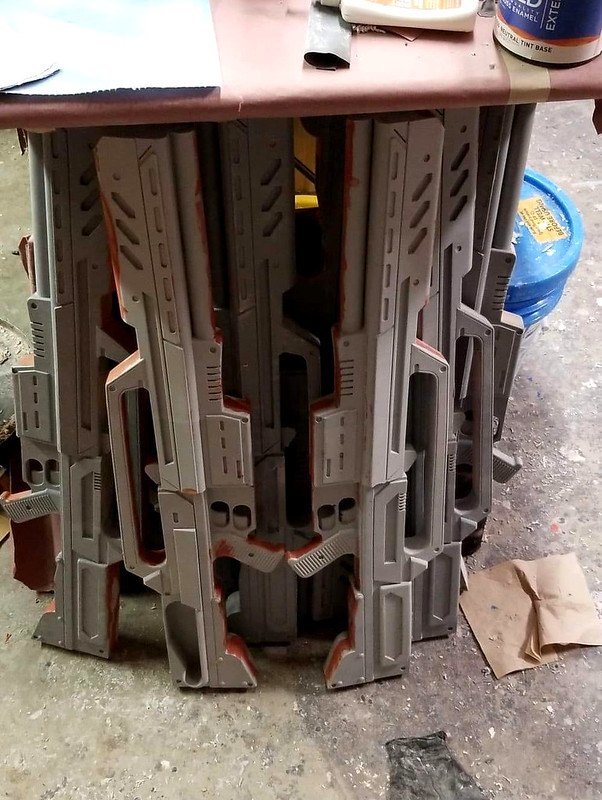
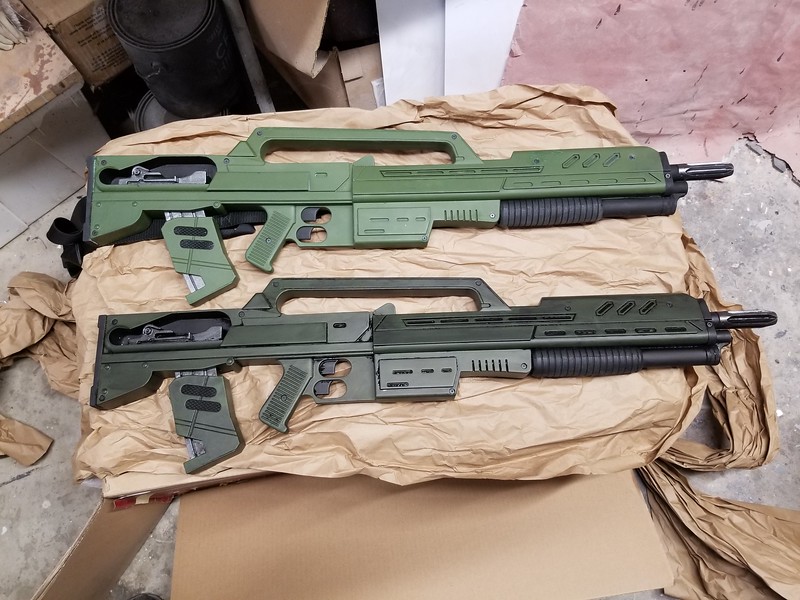
Once the first cast was out of the mold, I couldn't resist the urge to cast a second rifle. Here's the first two next to the prototype:
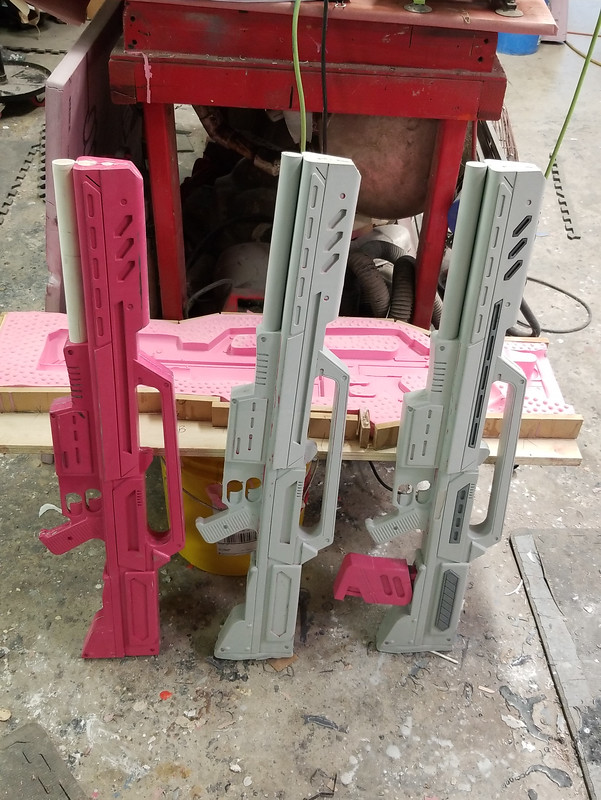
Here's my young friend Briar trying one on for size:

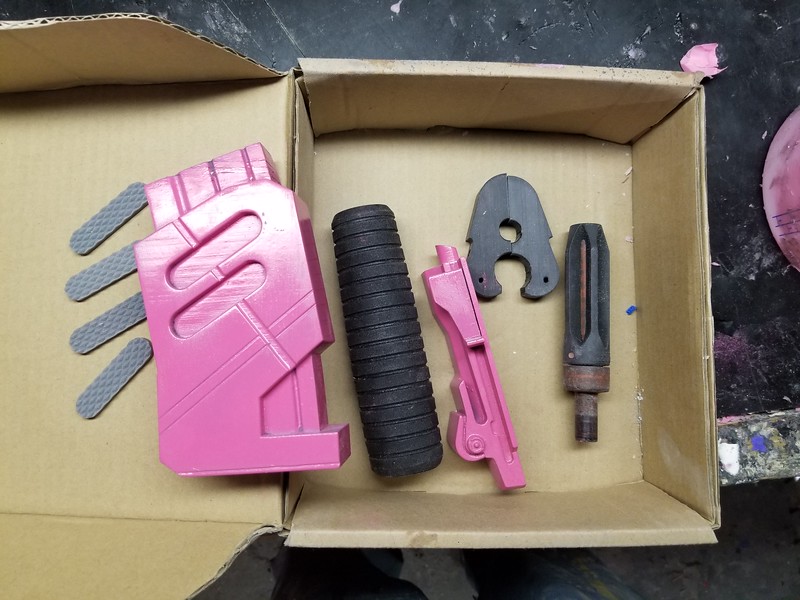
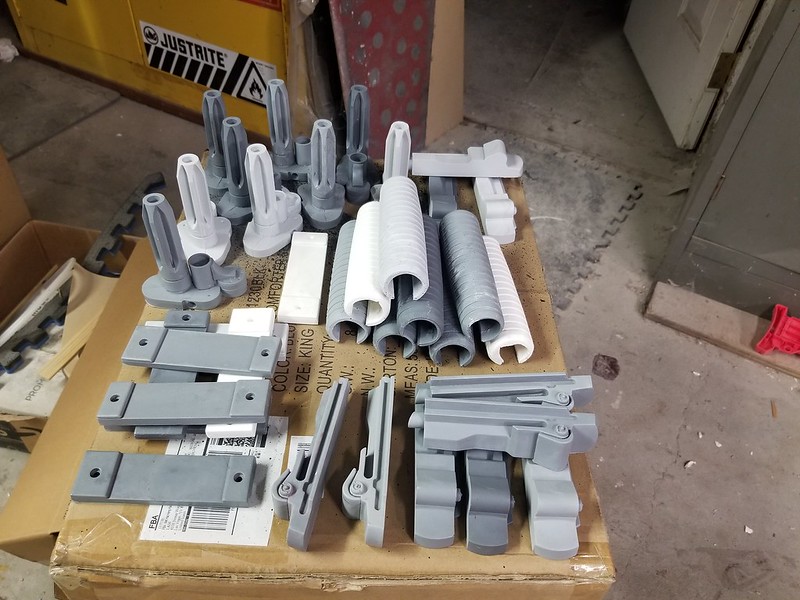
At this point I still had to mold the rest of the details and add-ons:
They were all simple block molds for the most part. Once the castings started coming out, it was time to begin assembly:
Michelle even made a model of the Ruger Mini-14 action to fit into the opening at the rear of the stock:
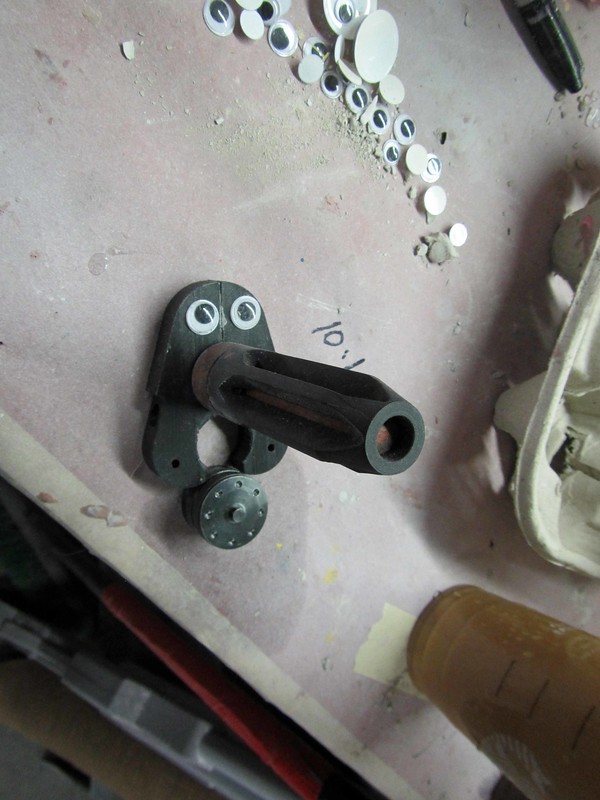
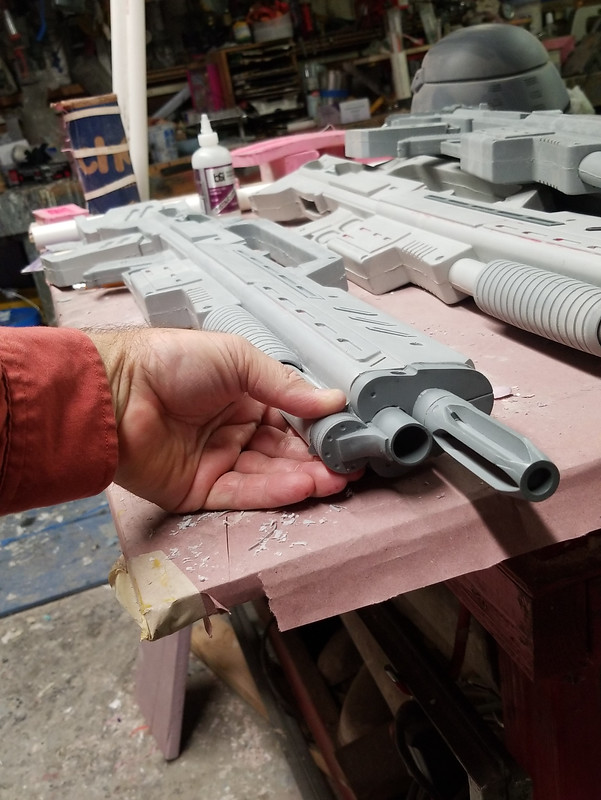
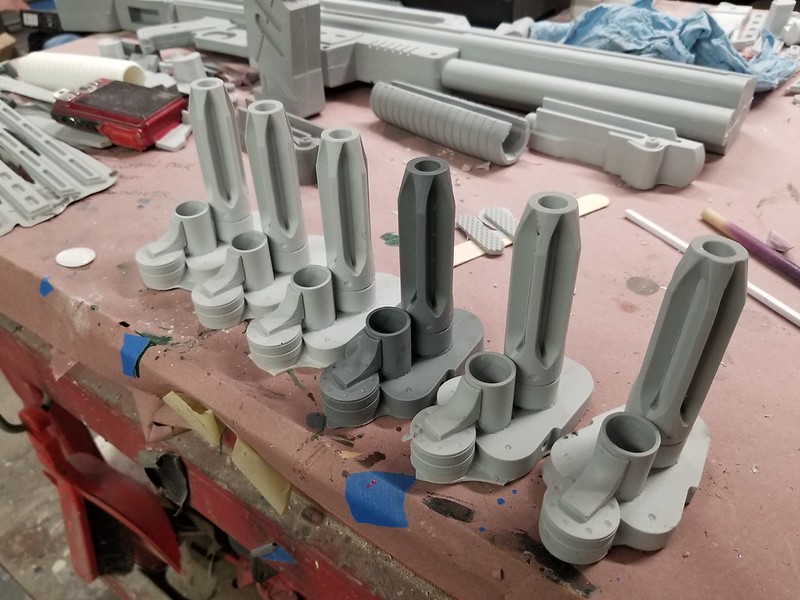
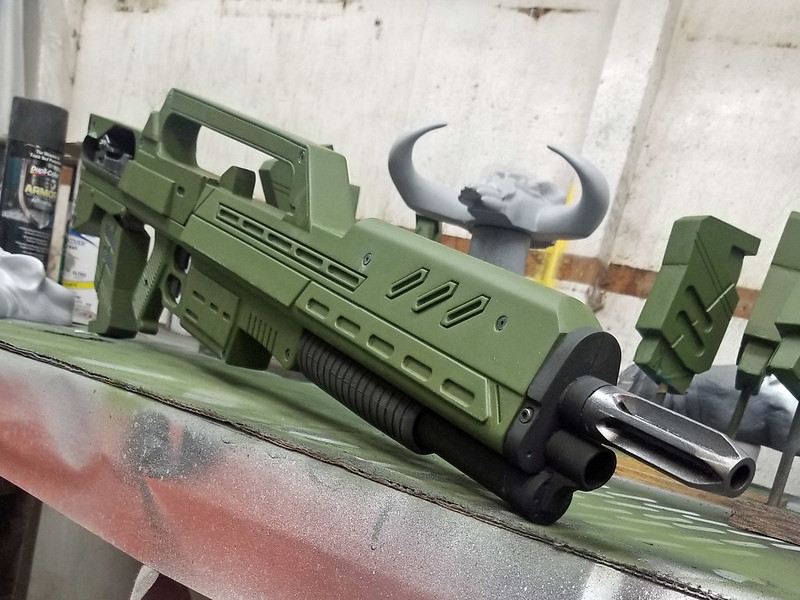
The last piece I molded was the muzzle assembly. It consisted of an actual M-60 flash suppressor and a magazine tube cap off of a 12-gauge shotgun fitted to a 3D printed bracket:
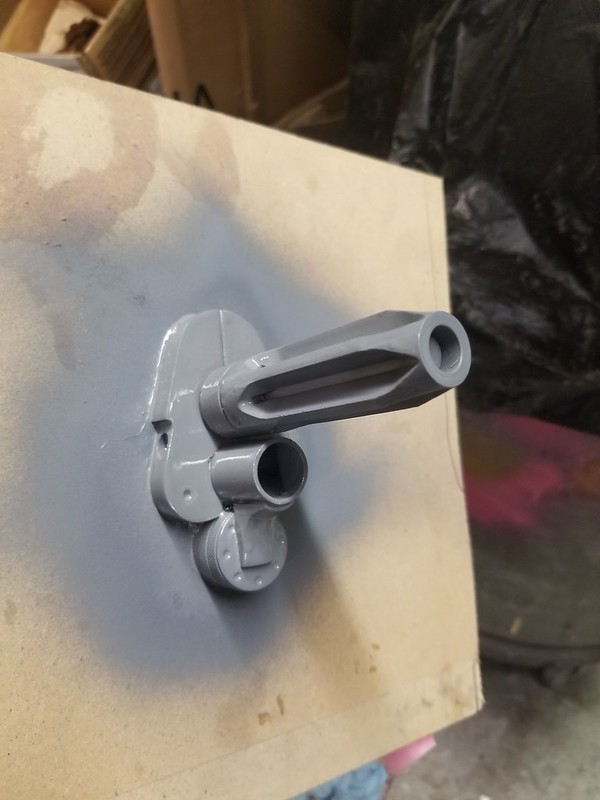
So far so good:
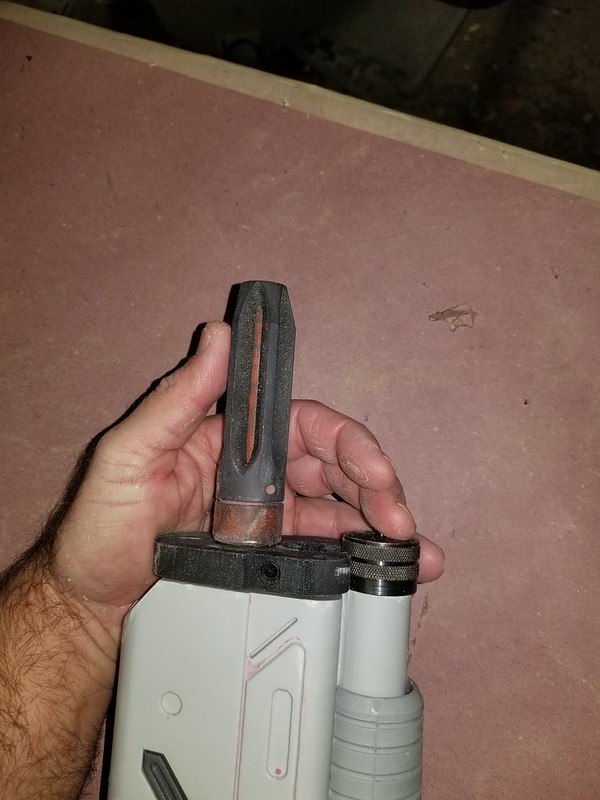
The final parts were a piece of tubing to simulate the shotgun barrel and a hand-sculpted bracket to tie it all together:
Once it was all done drying, I made up another mold box and filled it with rubber:

The castings came out perfectly:
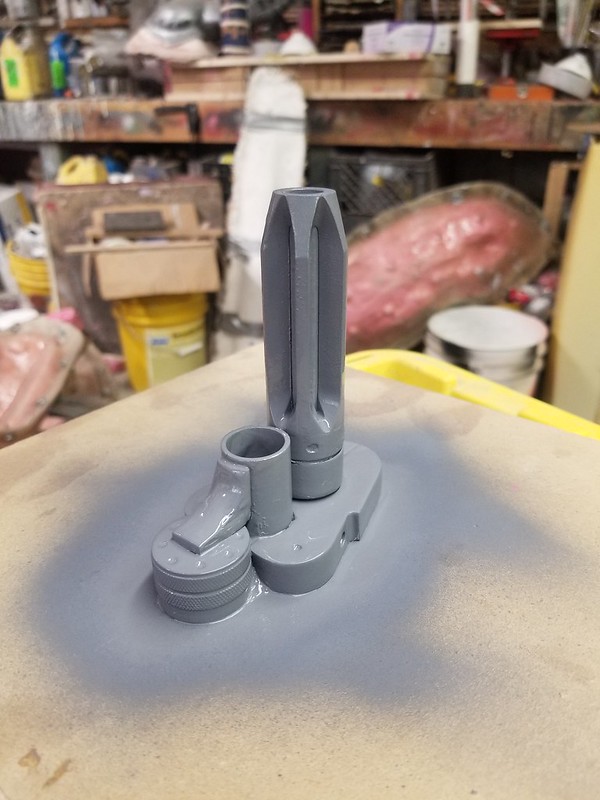
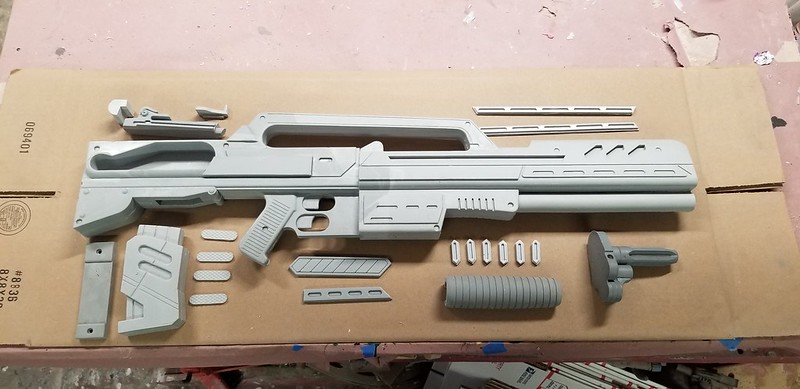
With the muzzle cast, I now had the full set of parts:
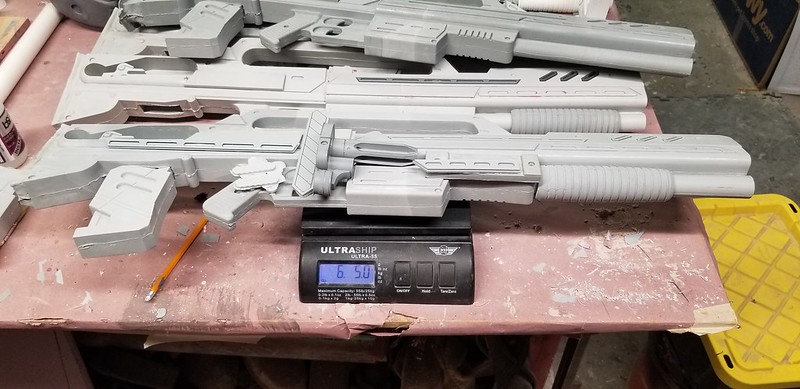
The whole set of parts worked out to a total weight of under six and a half pounds:
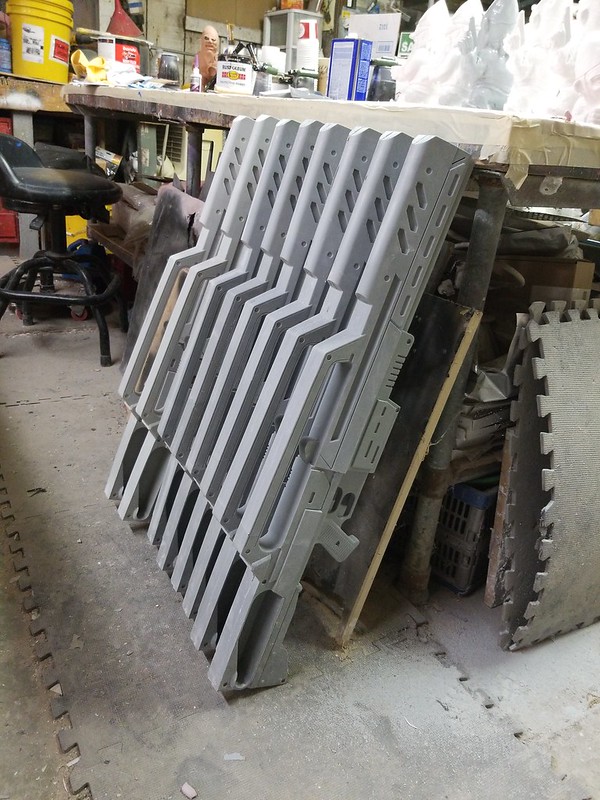
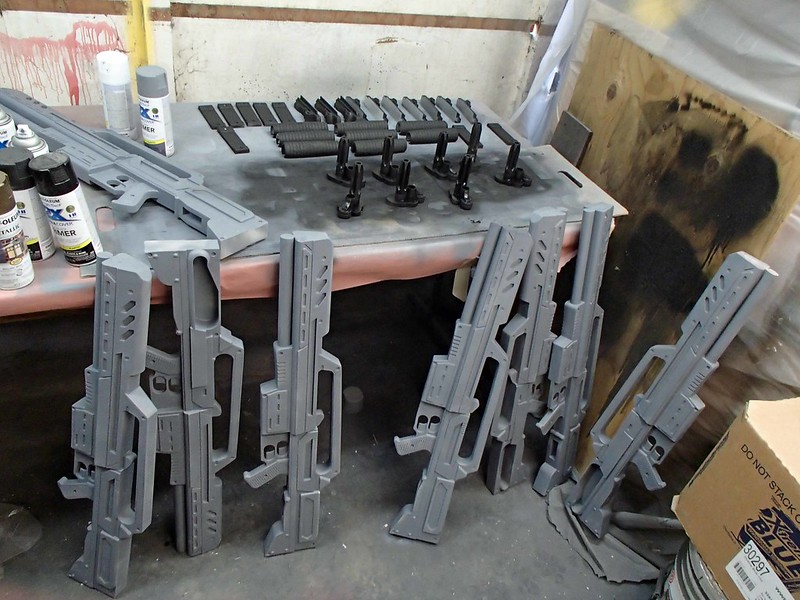
Now that all of the molds were made, it was time to make more parts:
If one rifle prototype was in the way, this stack was going to become a problem:
BUILDING
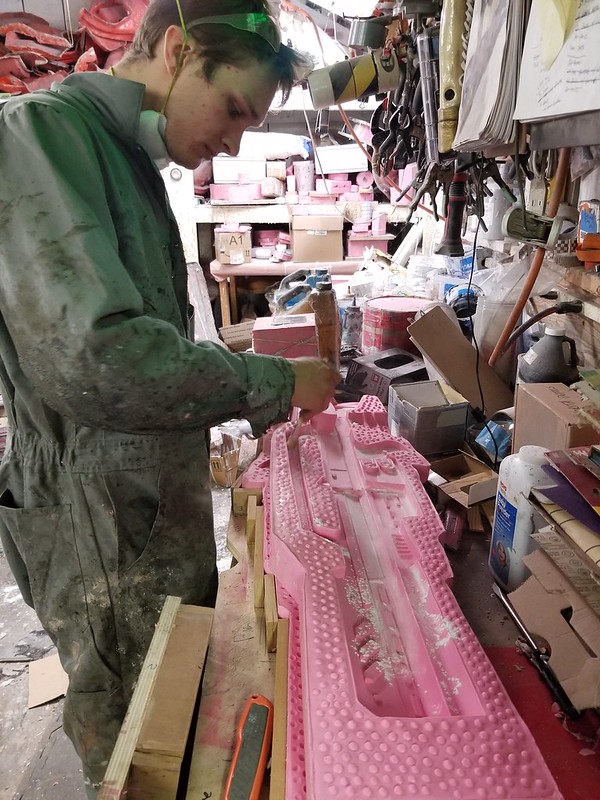
Sanding off the seam lines and applying a quick bit of spot putty took no time at all:
Meanwhile, I trimmed the excess resin off of all of the other parts too:
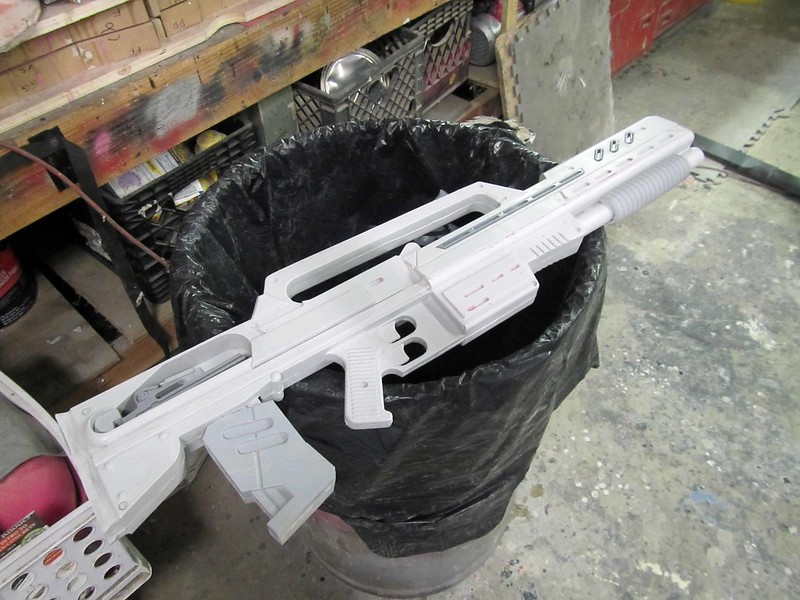
After a quick wash with warm soapy water, the parts were rinsed clean and primed. Then they were ready for...
PAINT
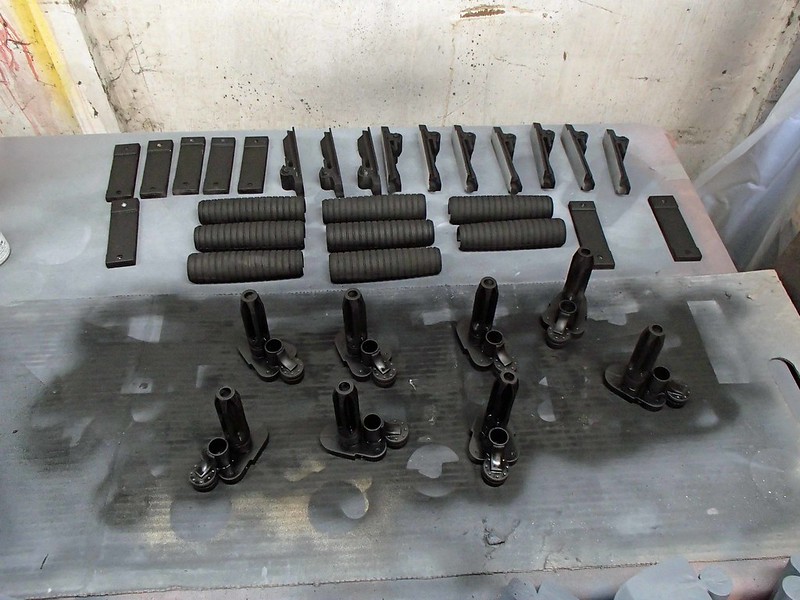
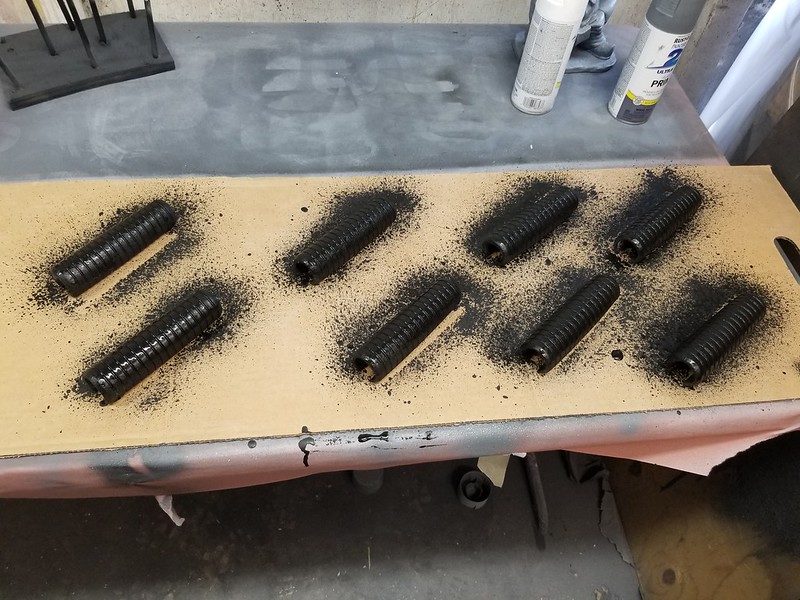
The receivers, buttplates, muzzles, and little details for the magazines were painted flat black to start:
The shotgun grips were given several coats of textured truck bed coating:
The main bodies of the rifles were given a couple coats of greay sealing primer:
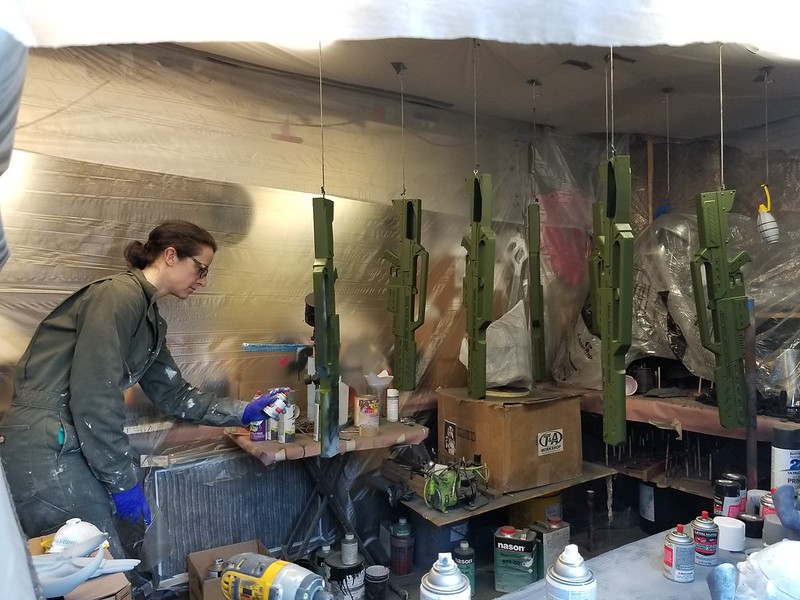
Then they were basecoated with Flat Medium Green from Model Masters:
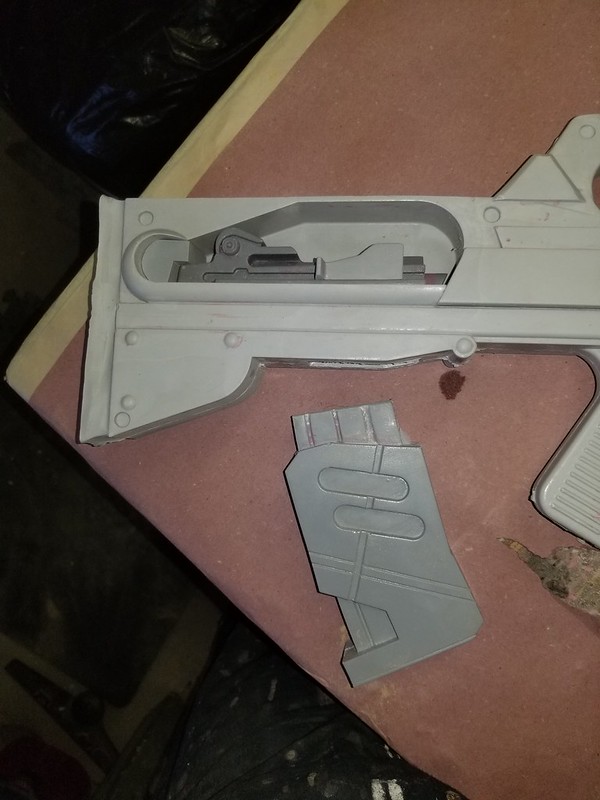
The triggers, shotgun barrel section, and the recess in the side of the butt where the receiver goes were picked out by hand with flat black paint. Then the rest of the pieces could be glued into place:
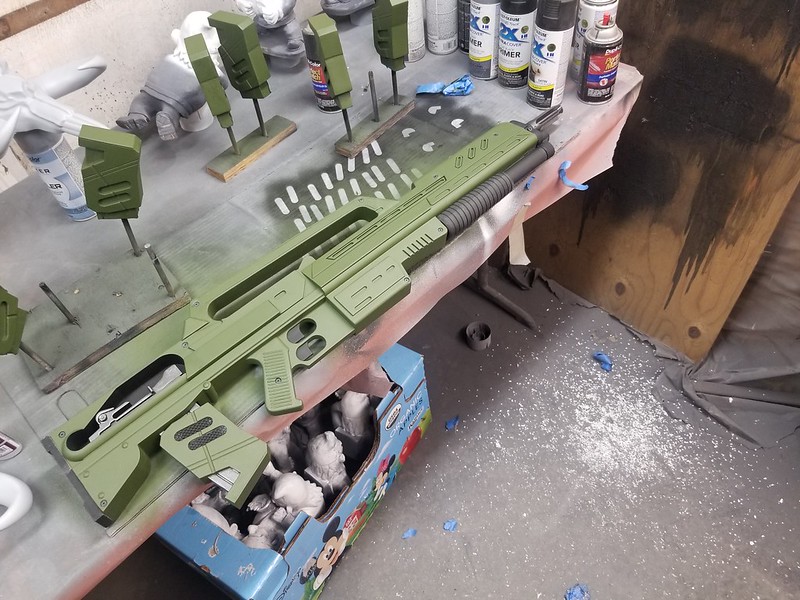
The muzzle assembly was masked off and the flash suppressor was painted in a gunmetal metallic:
At this stage, the base green was way too light. Fortunately, the flat sheen did a great job of soaking up the blackwash. This helped pop out the details and brought the color down to something much more screen accurate:
After a bit of silver was drybrushed onto the shotgun barrel, muzzle, and receiver, the whole thing was given a coat of matte clear for protection.
The last touch was adding...
THE SLING
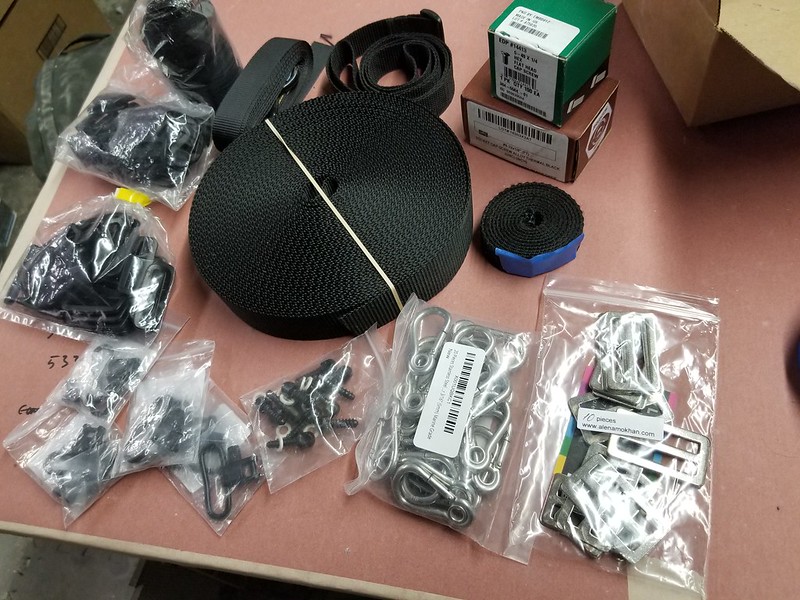
Making a sling sounds simple enough until you take a closer look at the odd contraption that was custom-made for these rifles in the film. I guess it's called a "safari style" sling with some garnish to make it look a little more complicated. Here's the ingredients:
Since I couldn't find flat metal sliders and tiny little carabiners in the correct black finish, I had to settle for painting them myself. So here's step one:
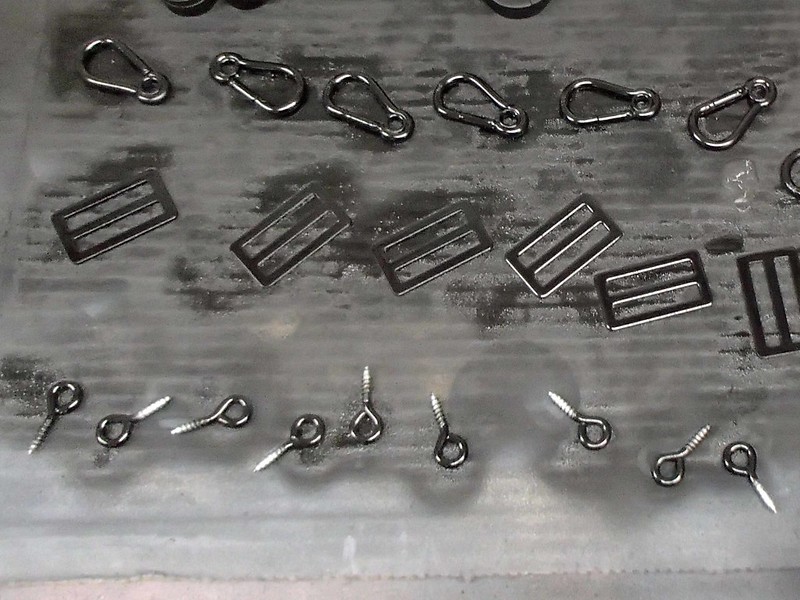
The slider on the sling was this doubled-up pair of paired plastic slide loops:
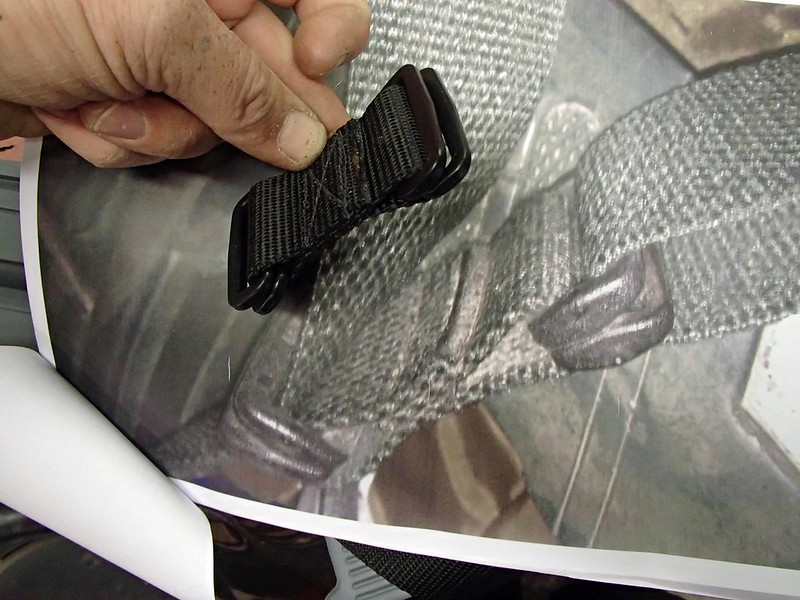
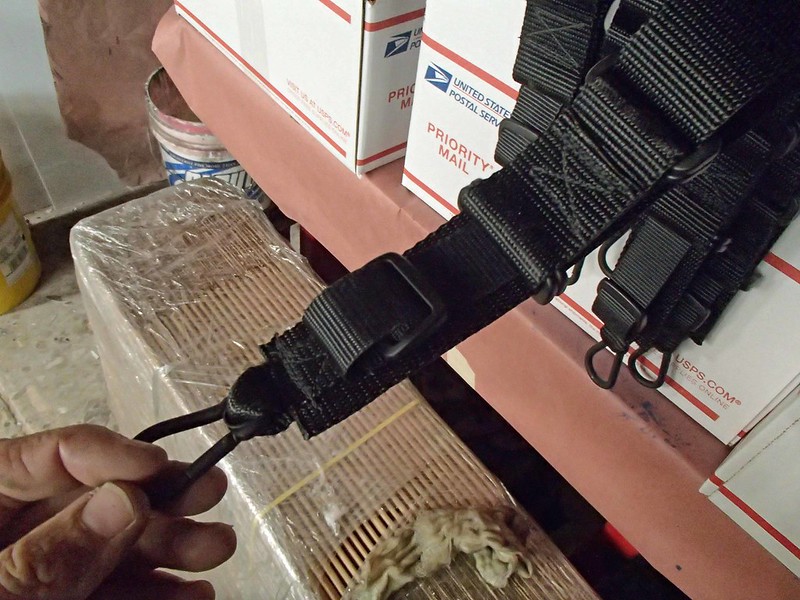
The carabiner was slipped onto a piece of 3/4" nylon webbing which was then sewn onto the end of the 1-1/2" webbing the rest of the sling was made of. There was also this weird little vestige of 1" webbing with a slide trapped on the end of it for no reason I can think of:
I ended up quitting after I'd made seven of them:

With the sling attached, this project was basically finished:
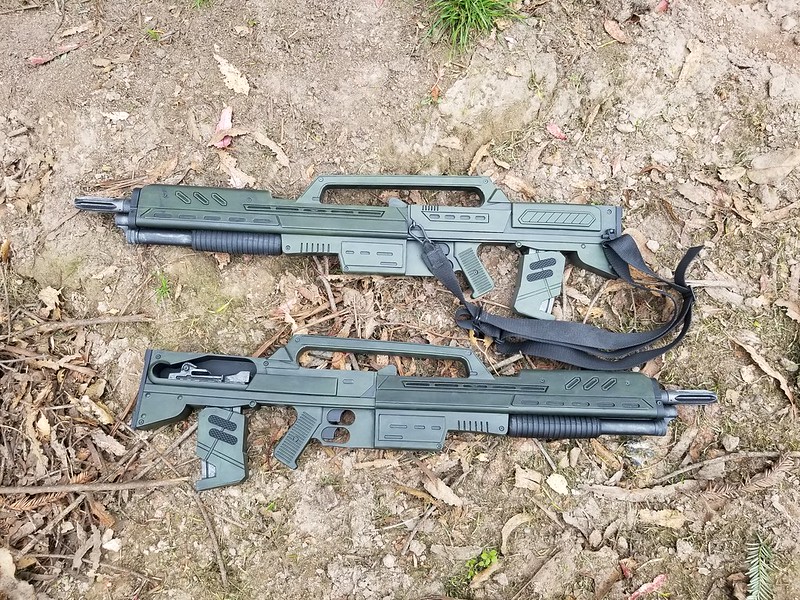
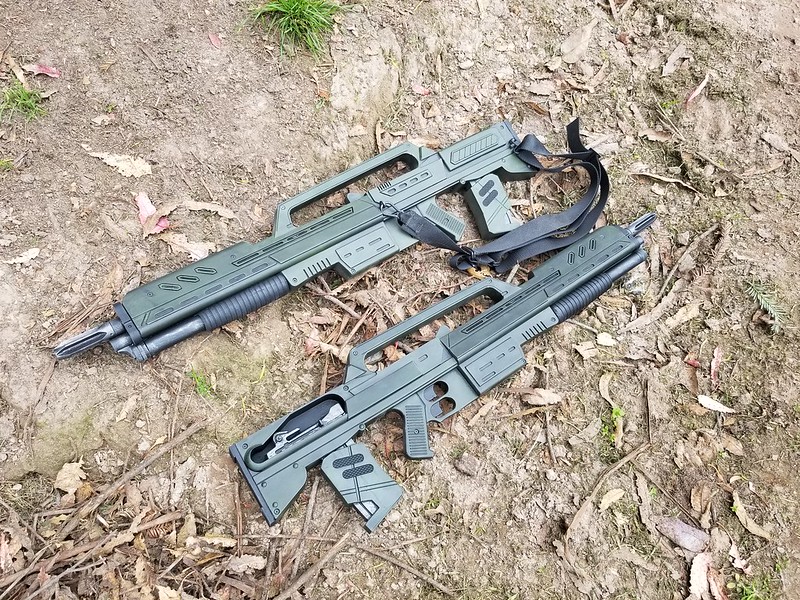
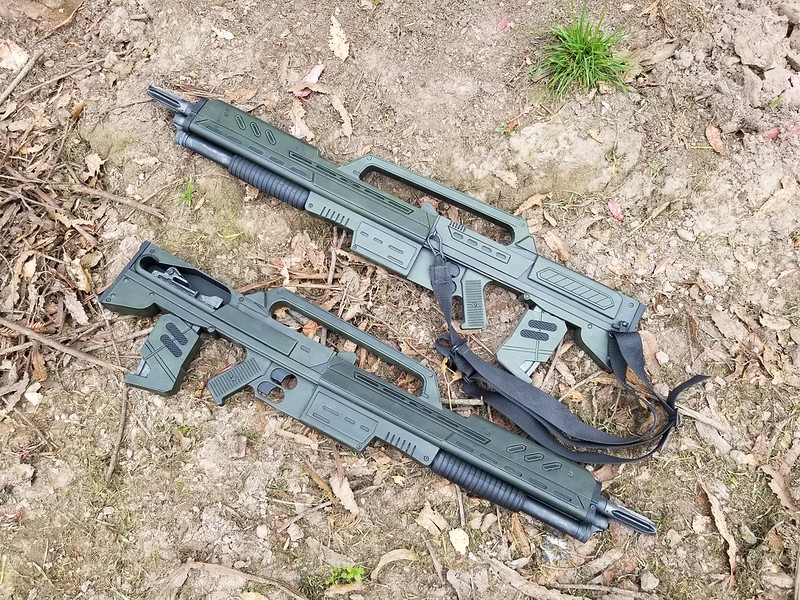
Most of them went to friends, but I ended up keeping two handy so I can take cool photos like this one at the Scum and Villainy Cantina in Hollywood:

Otherwise, they just hang on the recently finished projects rack:
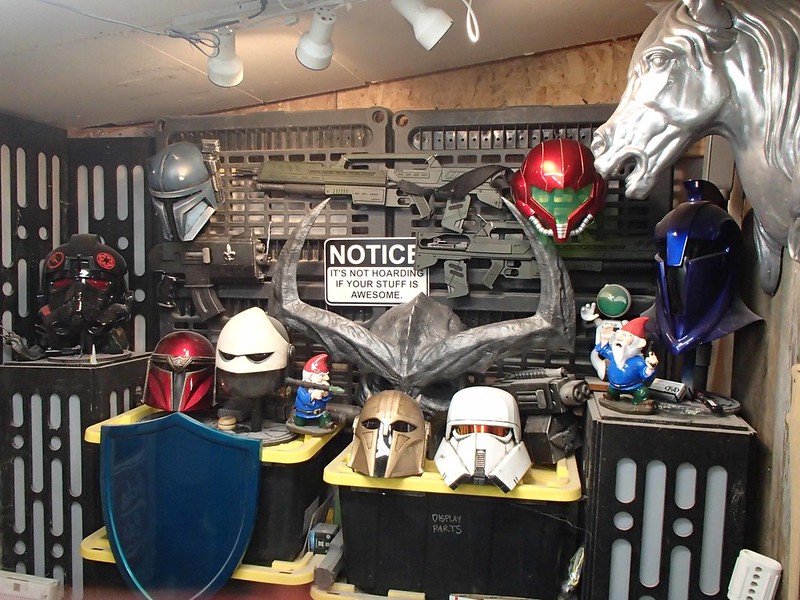
That's cool and all, but I've also got these other things lying around the shop, just begging for me to replicate them:

I may make the carbine version of the Morita too. Who knows?
Stay tuned for more...

