This is the second part of my Adepta Sororitas build log. You can read part one here: LINK.
In this article I'll go into details on the making of the fun parts that make these ladies the the battle-worthy menace they're meant to be.
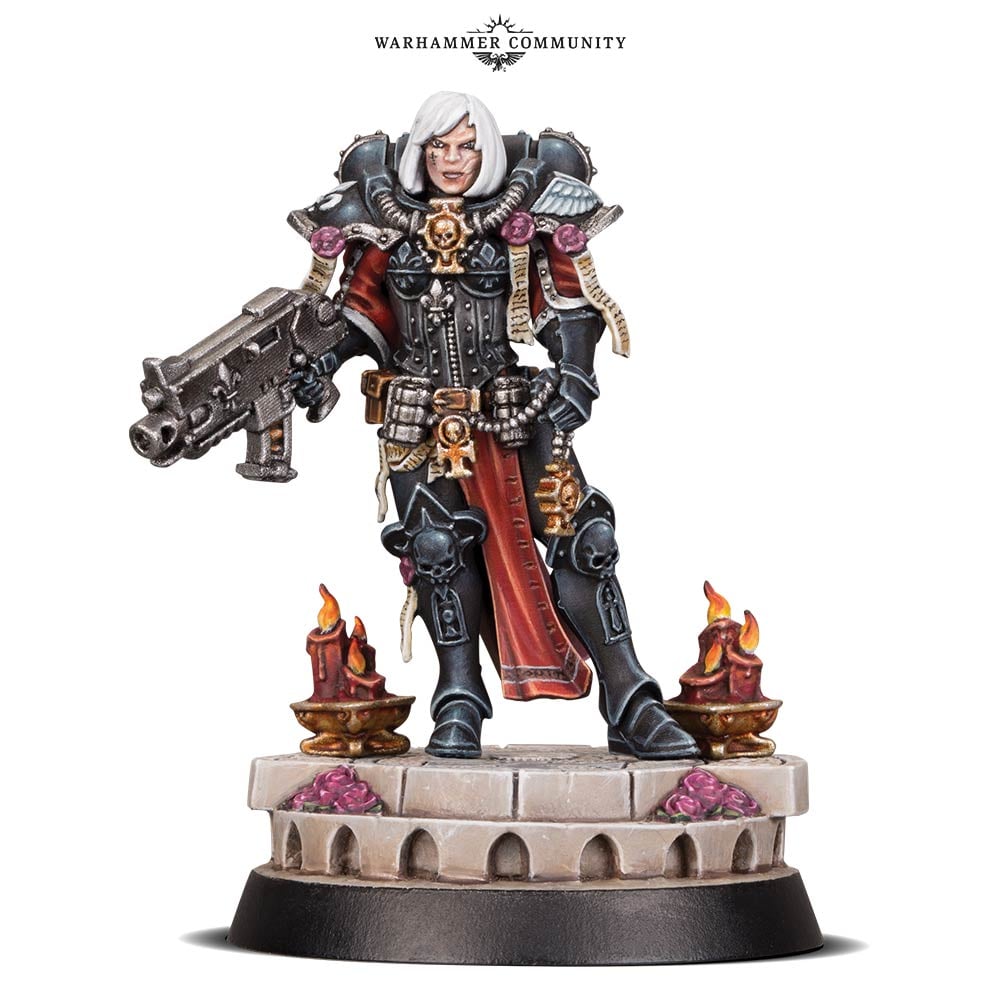
In case you're unfamiliar with the characters I'm building, here's a recently-released image from Games Workshop for reference:
While that particular miniature is equipped with the standard boltgun, the sisters also tend to carry flamers, meltaguns, and chainswords, among other weaponry.
Here's a snapshot of some of the weapons I made for my squad:

For details on how they were made, read on...
Back in March and April I spent a few weeks of quality time in Malaysia on behalf of the US Navy. While I was there, I had a lot of time to contemplate my preparations for the Bay Area Maker Faire. This would be my eighth time setting up an exhibit and, as usual, I wanted to unveil something new as a part of my display.
Given that I didn't have anything particular driving me toward a deadline this year, I decided to pull out something from my bucket list for this year's Maker Faire debut. It's a really long list, so this is usually a pretty tough decision. This year's winner: the Sisters of Battle, also known as the Adepta Sororitas.
Here's a recently-released image from Games Workshop for reference:
That's a painted gaming miniature that's probably just over an inch tall. For the past few years, I've had this on my bucket list for Warhammer cosplay projects. With all of the updates regarding the impending release of new plastic Adepta Sororitas models, I've finally gotten to the point where it's made it to the top of the to-do list. Translating it into a lifesize, wearable costume in just under six weeks would be a bit of a challenge. Of course, being me, there's no way I'd make just one.
Here's a snapshot of how the first batch came out:

For details on how the armor parts were made, read on...
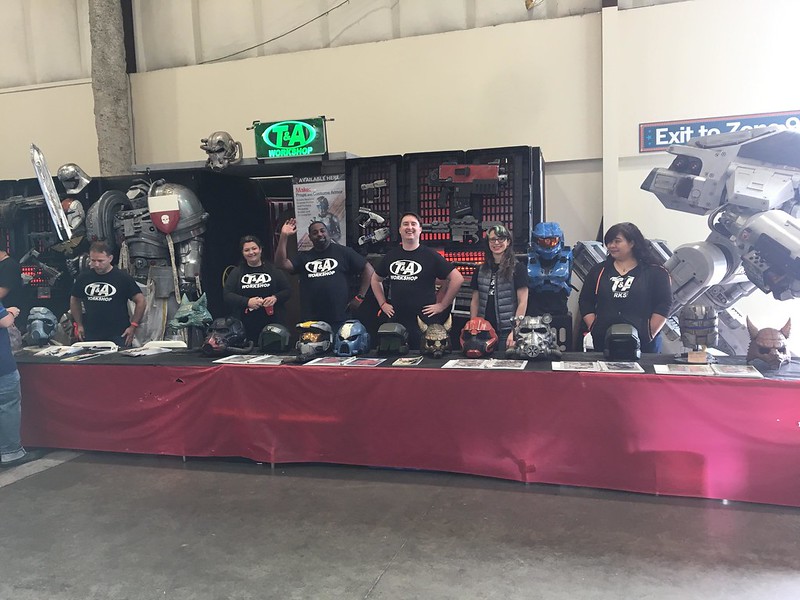
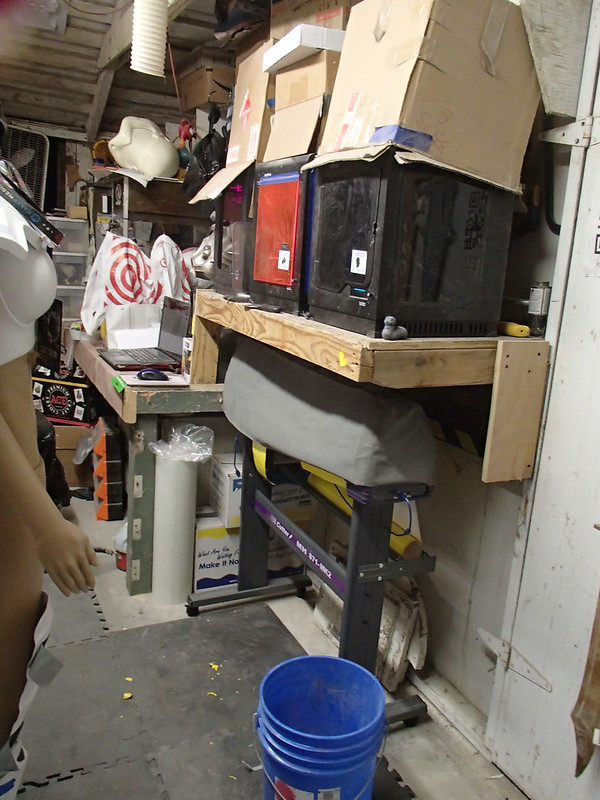
As usual, I'm running behind on bloggage. As usual, I've been overwhelmed with works in progress and failing to take the time to properly document builds when they're done. So to hopefully keep your interest while I get around to actually writing something interesting, here's a shotgun blast of photos of UnFinished Objects scattered around the workshop lately.
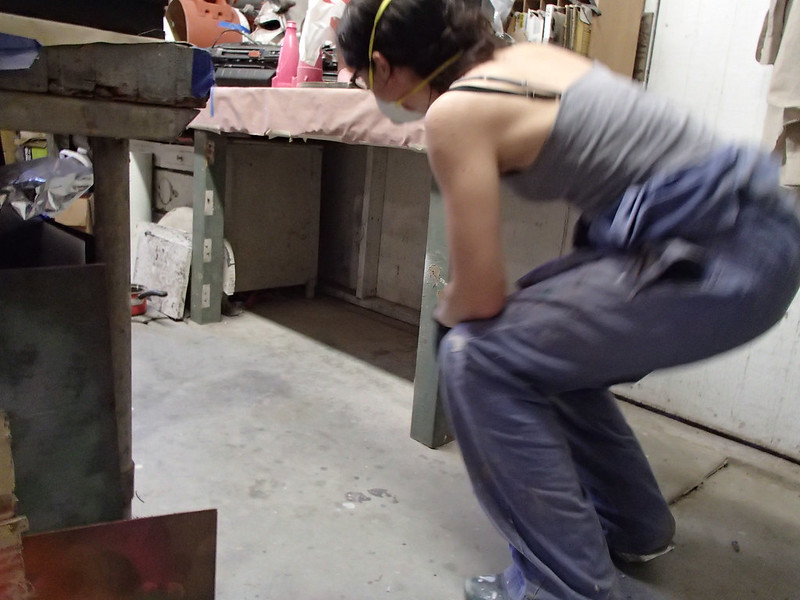
A while back I acquired a vinyl cutter (finally) and after dragging the box around the shop for a few months, we finally decided to assemble it. The main problem is that it was just a bit too big to keep it from being in the way wherever it went. To solve this, we cleared out space under one of the benches:
 Nobody thought to actually check the assembled dimensions of the new machine though.
In the end, I went ahead and removed the last four feet of work bench, cut it down on the table saw to make it narrower, and reinstalled it a bit higher so the vinyl cutter could fit underneath. The newly narrow section of the bench makes an ideal shelf for three of the 3D printers and their high-tech, custom-fitted dust covers (which look strikingly similar to cardboard boxes):
Now I can make all the stickers I could ever need.
Since a bunch of stuff had been wedged under that forgotten corner of the bench over the past few years, it means that much of the shop has become unusually cluttered for a moment. In the midst of all that are scenes like this:

And an array of nearly-finished things;

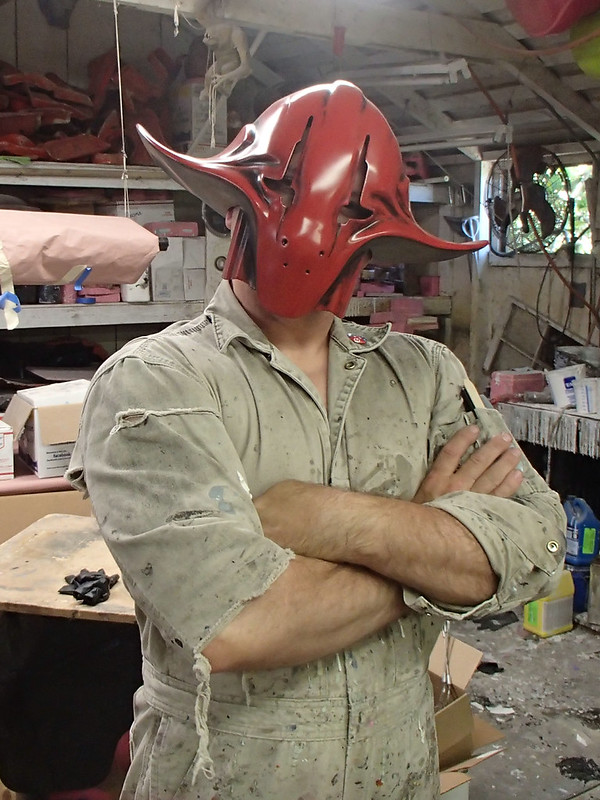
One highlight is my Sidon Ithano helmet:
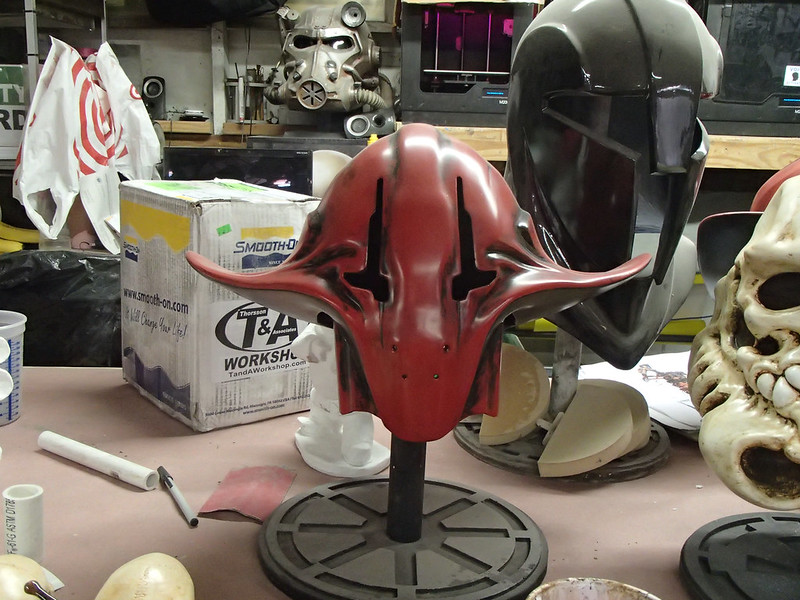
This guy was a minor character who appears briefly in a scene in Star Wars Episode 7. It's a silly project for me to take on, but for some reason I really want to make the rest of his costume. The helmet and coveralls combo just isn't cutting it:
On the subject of frivolous builds, the other day I got this helmet kit from a fellow maker:
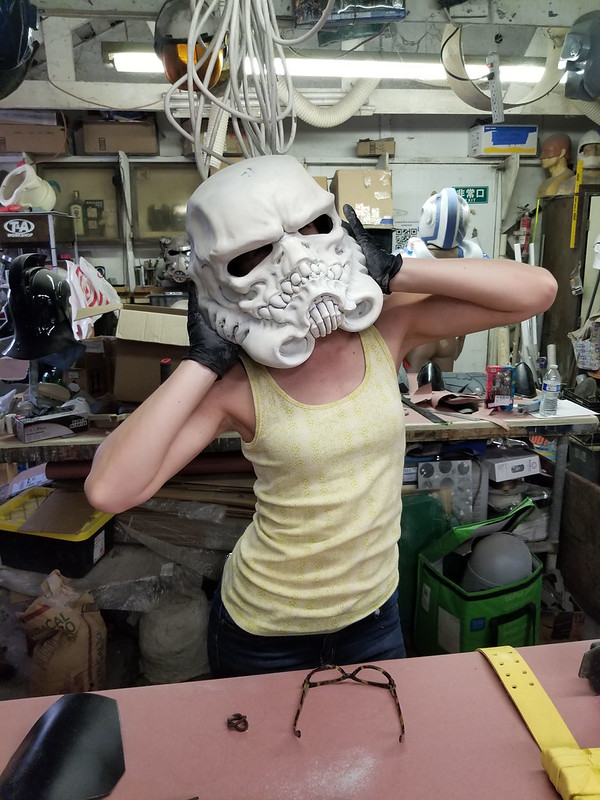
Here it is all painted and weathered and awaiting eye lenses:

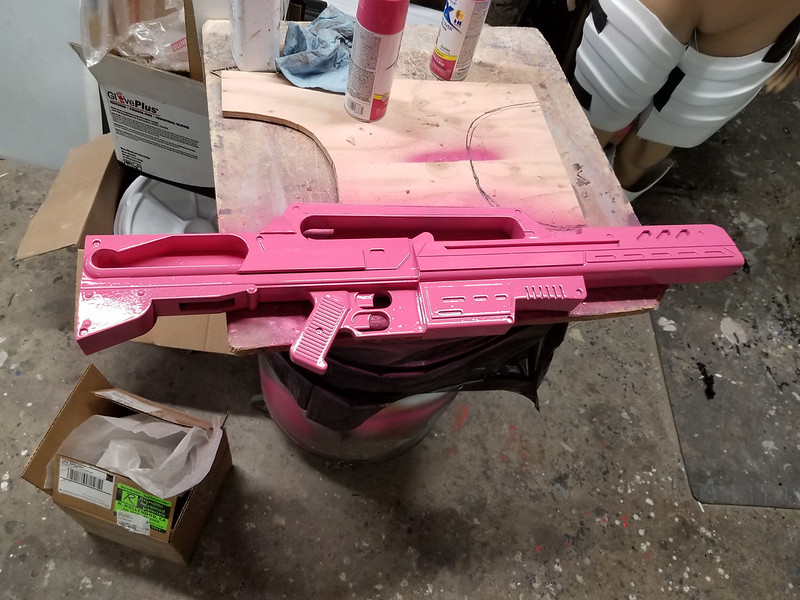
I've also set up a spray booth again, so I've been finalizing the prep work on everything that's been sitting around waiting to get shiny:

That'll include this lady:

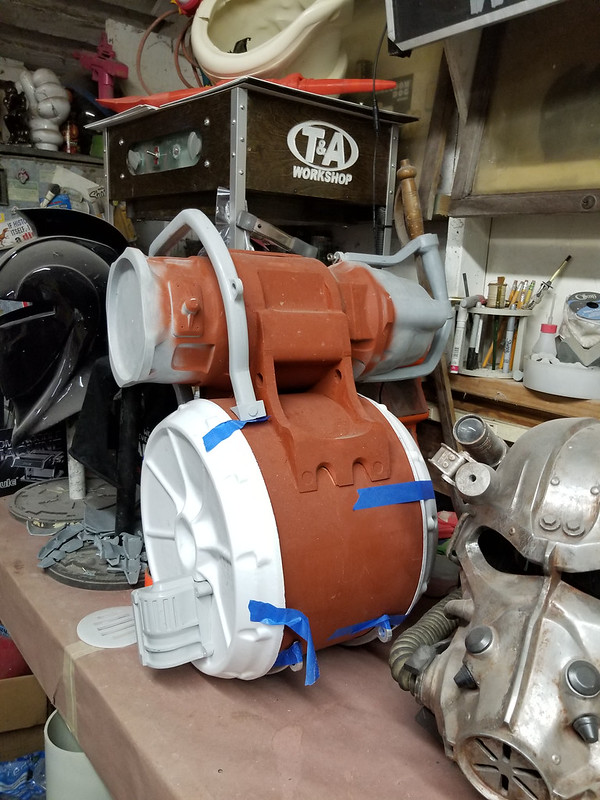
In other news, I'm about ready to mold this beauty:
And I've been printing out the pieces of the Widowmaker's rifle from Overwatch:
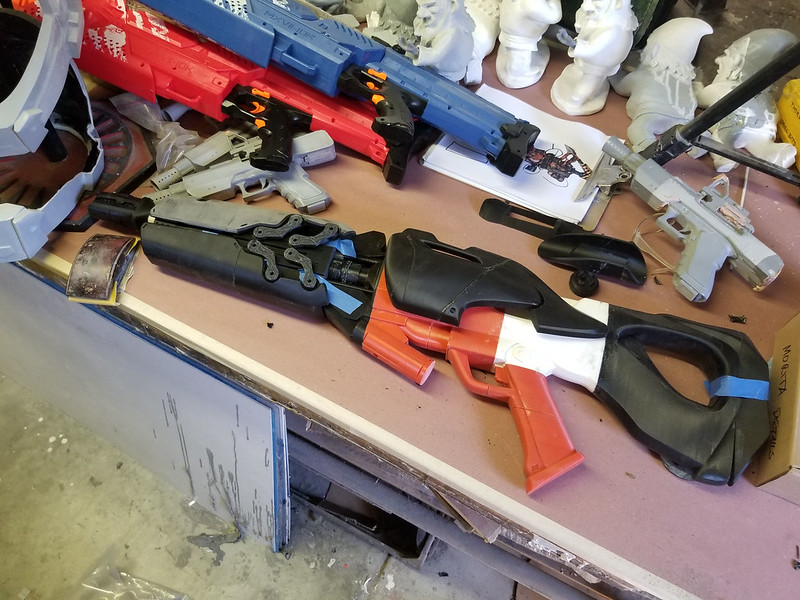
Fully-extended it becomes somewhat huge:
 If you need to print your own for some reason, you can download it here: LINK.
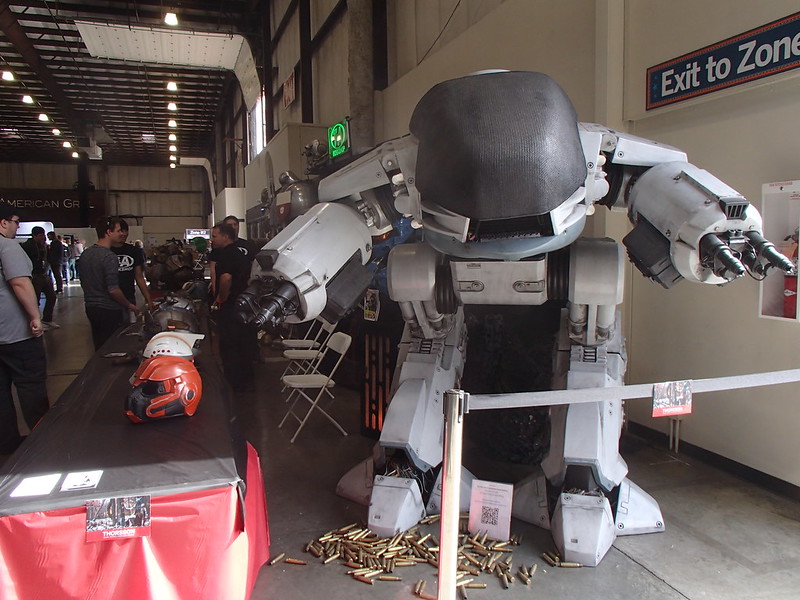
Somewhere on the backburner there's still this beast:
 I just need to make the ammo belt carrier and come up with a lightweight, speedy plan to mkae the barrels.
Then there's the ever-present Warhammer 40k thing in progress:

I've also got a few other silly things we're tinkering with. This will make more sense soon:

So will this:

In the meantime, we're grinding through the prep work on a whole platoon of Combat Garden Gnomes in progress:
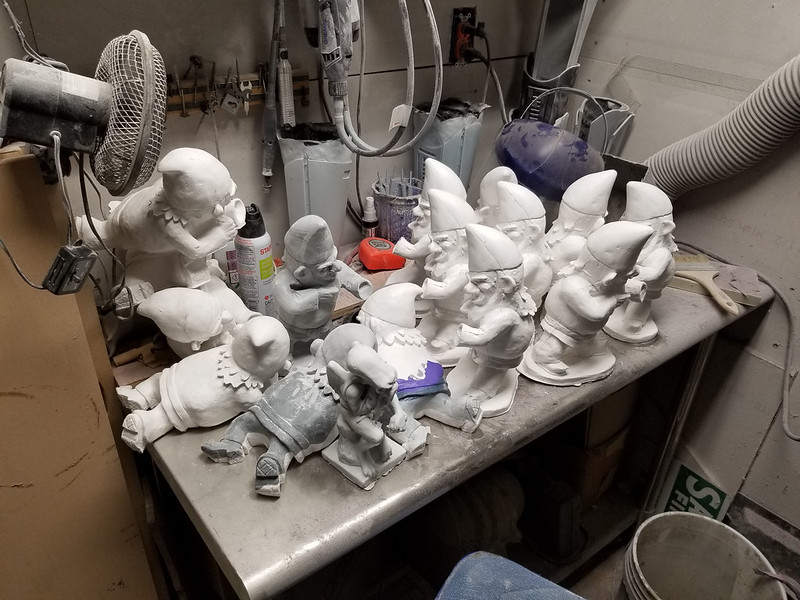
Which you can currently order at thorssoli.etsy.com.
So that's a whole bunch of work in progress. Stay tuned for the eventual blog article about finished things...
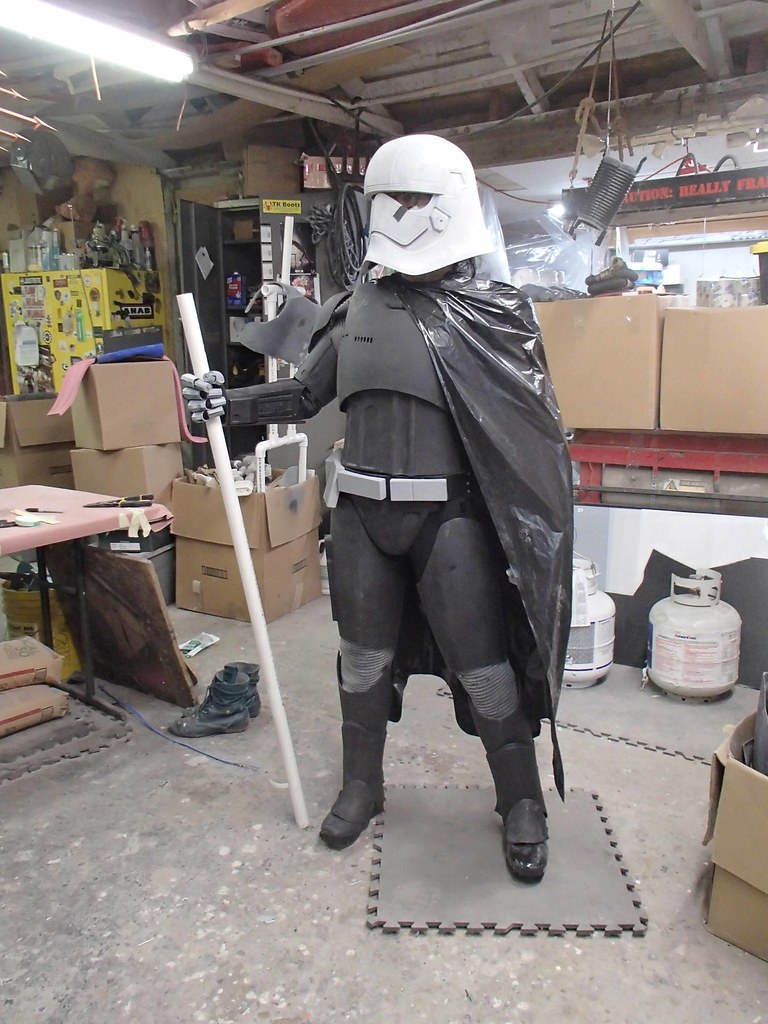
If you're just now tuning in, you may not know that ever since her first appearance in a trailer for Star Wars, Episode VII, I've been slowly tinkering with a Captain Phasma costume. You can read about the first two parts of the build here:
Part 1: the Helmet
Part 2: the Armor
That pretty much covers the making of all of the hard parts. But now it's time to make all of the pieces that hold it all together and make it wearable like so:
For more information on how it all goes together, read on...