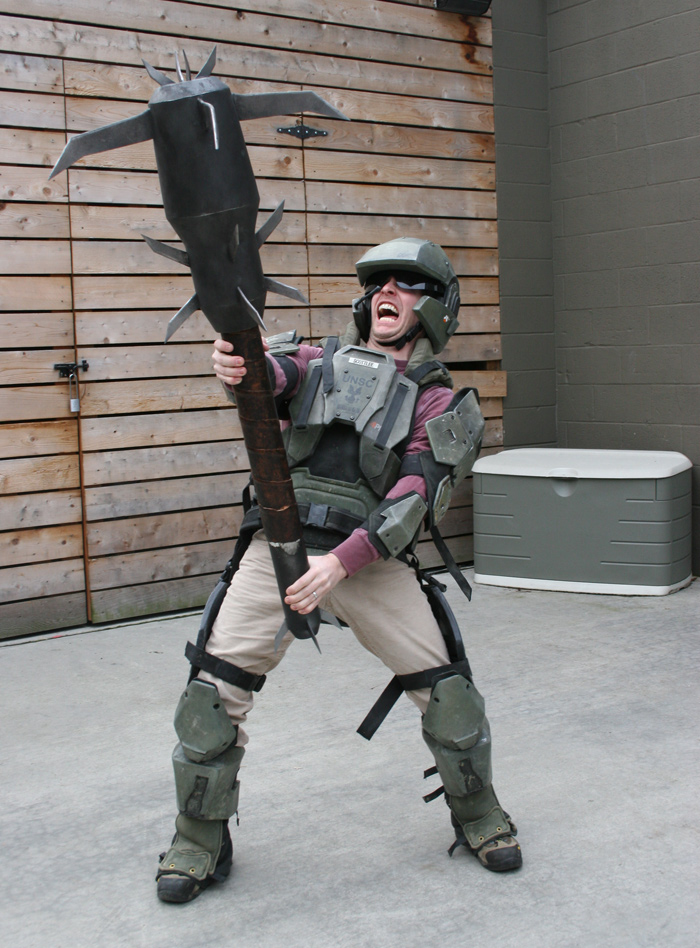
Meanwhile, I started building yet another weapon from HALO3
 . This time it's the MA5C Assault Rifle. To begin with, I went over to the HALO costuming wiki and downloaded Roadwarrior's Pepakura model for the high-definition Assault Rifle. Then I exported the .obj file and converted it to a format I could feed to Lopez the Robot Whittler and had him get to work:
Once the first slice was out of the machine, I gave it a quick shoulder test to make sure it felt like it would fit:

Being a total idiot, I decided that the rifle needed to be about 3/4" longer. So I went back through and re-sized the model and re-sliced it into pieces Lopez could carve.
Satisfied that the size was about right, I put Lopez to work on the slices of the bigger rifle:

It's fun to watch Lopez do his thing. Especially on the more detailed slices:

Here's the first two slices side by side:

Here they are glued together and clamped to the table saw so they'll be stay nice and straight as the glue cures:

As you can see in the horribly grainy picture above, I soak a bit of epoxy into the rough surface of the cut MDF in order to fill the grain and preserve the details. If I don't do this, the MDF is very fragile and the details can be brushed off with a fingernail. It also helps to fill the grain so it won't soak up too much paint. Otherwise I'll have to put dozens of coats of primer on it before I can even think of painting it.
Meanwhile, Lopes cranked out the first slice of the right half:

Which I then promptly epoxied to the portions I already had:

Once the fourth and final slice of the main body was glued on, it was time to see how the whole thing fit:

This would suit my purposes.
Then I started to smooth out the whole thing:


I'd also had Lopez cut me out a magazine. It turned out I needed to make the magazine well a bit tighter by adding some styrene sheet to the inside:

Then add a few details:

Here's a detail shot:

Once I was happy with the details, the next step was to add the correct textures. Since many areas of the rifle would end up being shiny and smooth, I started by spraying them with a nice, glossy coat of paint:

Other areas needed some texture to look like they were made of a molded plastic composite. For that effect I masked the rifle off and sprayed it with a thick layer of truck bed liner:

Then I drilled out the end where the barrel would go. Since the plan was to cast the finished pieces in foam rubber, I would need to add an insert to keep the finished pieces rigid and straight. The logical solution seemed to be a piece of 1/2" galvanized wiring conduit that would also double as the rifle's barrel:

I also cut a hole to receive a flashlight that could be added later.
With those last few details taken care of, the next step was to make the mold. If you read my article about molding the Mass Effect Pistol, you know how to make a 2-part box mold. With a piece this large that process would require a small fortune in silicone rubber.
Instead, I'm making a modified version of a matrix mold. You can see a pictorial diagram that does a good job of explaining the matrix mold process by clicking HERE. This type of mold allows you to have very precise control of the thickness of silicone in the jacket mold as well as a mothermold that mates up perfectly to hold everything in place.
In this case, I started with a nice clean surface to work on:

Then I made a plywood cutout to fit the rifle:

The next step was to build a clay mold wall. This would seal the gap between the prototype and the plywood and serve as a tray to keep the liquid silicone from drooling all over the bench and the floor and my toes:

Once I was happy with the edges, the next step was to press dimples into the clay:

Lots of dimples:

Then I started mixing silicone:

A NOTE ABOUT THE POSSIBLE HEALTH RISKS ASSOCIATED WITH RTV SILICONE RUBBER: That 5-gallon bucket is heavy. Lift with your knees, not with your back.
Once I'd mixed enough silicone to cover the rifle (about 55 ounces or so), I went ahead and poured on the print coat:

The little box on the top left corner of the picture above is the mold for the add-on bits such as the safety buttons and the charging handle. I neglected to photograph them before starting the mold.
Once the print coat had cured, the next step was to build a layer of clay over the rifle where I wanted to add thickness:

The ridges in the clay will allow the bubbles to work their way out of the silicone while the little cups will become pour spouts. Later, when the silicone has cured, these will serve to keep the mothermold properly aligned to the jacket mold and verse vice-a.
Satisfied that the clay is exactly the shape that I want the silicone to be, I laid fiberglass over it:.

Once the fiberglass had set up, the next step was to pop it off of the rifle and remove the clay from inside:

Then clamp the empty fiberglass shell down over the silicone again and pour silicone into the void:

In this case I was able to predict how much silicone I'd need by measuring the volume of clay that I'd used earlier. Since I don't have a clay-volume-meter* in the shop, it was a simple matter to weigh the clay and then figure out the density to get the volume used. It turned out the void was about 55 fluid ounces.
Once I'd poured the silicone into the void, the next step was to resist the urge to mess with it. At that point it was very late in the day anyway, so I was able to distract myself with a rare bit of sleep.
The next day I flipped the whole thing over and pulled the plywood off. Then I carefully peeled off the clay from the horizontal parts of the original mold wall while leaving the vertical parts in place.
The next day I flipped the whole thing over and pulled the plywood off. Then I carefully peeled off the clay from the horizontal parts of the original mold wall while leaving the vertical parts in place.
The vertical parts became the foundation of the mold wall for the second half. With the mold wall built up, the whole thing looked like so:

In order to prevent the next batch of silicone from sticking to the first half of the mold, I applied a thin layer of vaseline as a release agent:

Once this was done, I mixed up more rubber and poured it over the second half of the rifle. It turns out I mixed a tiny bit too much. Either that or I didn't make the mold wall quite high enough:

As I said, the process was identical to the process for the first half. Here you can see the fiberglass mothermold built up over the clay matrix:

Here's the cleaned up mothermold clamped in place and ready for silicone to be poured in:

Here's one of the bubbles burping its way out of a pour spout:

Once the silicone had cured for the second half, I removed the blob of clay that was blocking the magazine well to reveal the nice, clean mold edges with all of the registration keys:

After applying a release agent (vaseline again) to the exposed silicone, I propped the whole mold up at an angle so I could pour a block of silicone into the magazine well:

Once the silicone had cured in the magazine well, I went ahead and did the same process for the hole under the barrel where the flashlight would go. With this last bit of silicone cured, all that was left was to drill holes and bolt everything together. Since this mold will be used to cast expanding foam, I needed to put in a lot of bolts to prevent blowout.
As I was pouring the silicone for the second half of the mold, I also went ahead and made a simple box mold for the magazine:

Once the first half had cured, here's what it looked like all set up to pour the second half:

When the mold had cured, I pulled the two halves apart, removed the prototype, and laid it open to air out for a bit:

Then pour and pull the first casting:

Then throw it repeatedly to the ground without breaking it:
Having made one, it was time to make many:

The first casting had some significant surface flaws because I was still getting the hang of how to cast with the foam. By the time I'd gotten to the third casting, the details were almost perfectly reproduced:

Once I had some good pulls, the next step was to paint them. I used black Plasti-Dip as a primer over the foam. Then I picked out the dark metallic parts with Model Masters Metalizer in gunmetal and the light metallic parts were Model Masters Metalizer in magnesium. Once that had dried, I buffed it, sealed it, and gave it a blackwash to pick out all of the details:

I'm very happy with the result:

Since I was short on time and didn't want to have to wire up all of the indicator lights on either side of the rifle, I faked it. I carved out some power buttons and made a simple box mold to replicate them as well as some LEDs. Then I cast them in clear resin with glow-in-the-dark pigment added in. Here's a shot of the rifles in the dark:

The foam rifles look great from a distance, but for closeup shots I also went ahead and made one "hero" version. It came out of the same mold, but I cast it in rigid urethane resin instead. This way I could make the magazine removable without making the buttstock floppy. The paintjob was exactly the same, but the finish work was a tiny bit better. In the end I'm happy with the result:

It's also the only one with a removable magazine.
Finally, I boxed them up and sent them off to the East Coast for their screen debut in HALO: Helljumper.
Stay tuned for more goofy projects...
*As far as I know, there's no such thing as a clay-volume-meter.
,
,