
Over the past few years, I've built a handful of things for a local toy and hobby store called Fundemonium in Rohnert Park, CA. It started with making glowing signs to hang from their ceilings and then desktop models of their "Funbot" mascot character, but none of the various projects I've built for them has been quite as big as the Funbot Neighborhood, a series of miniature houses for their newly reopened kid's play area.
Back when they first opened their doors at the Rohnert Park store, Fundemonium had a big area of the store cordoned off and set aside as a play area where, for a modest fee, parents could let their children run free and play with a bunch of the toys that were available for purchase there in the store.
In 2020, the area was closed and everything was put into storage for the duration of the COVID-19 pandemic. But once things had started to return to normal, they decided to not only reopen the play area, but to give it a big upgrade as well.
That's where my crew and I came in.
For starters, we were given these rough sketches to work from:


We were also told that the total width of the neighborhood was thirty feet and the buildings wanted a depth of approximately seven feet. Armed with that knowledge, we started framing up some walls:

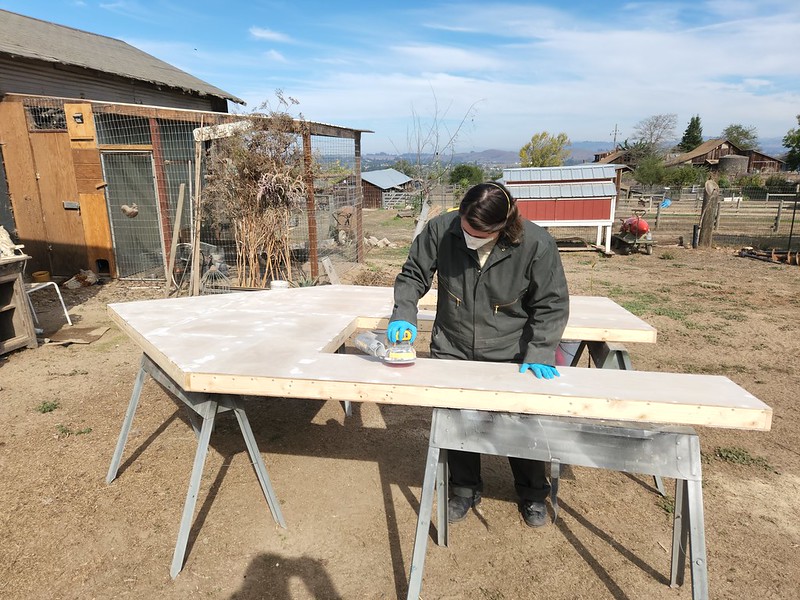
Each wall was framed in 1x3 pine and then skinned over with 1/4" plywood:


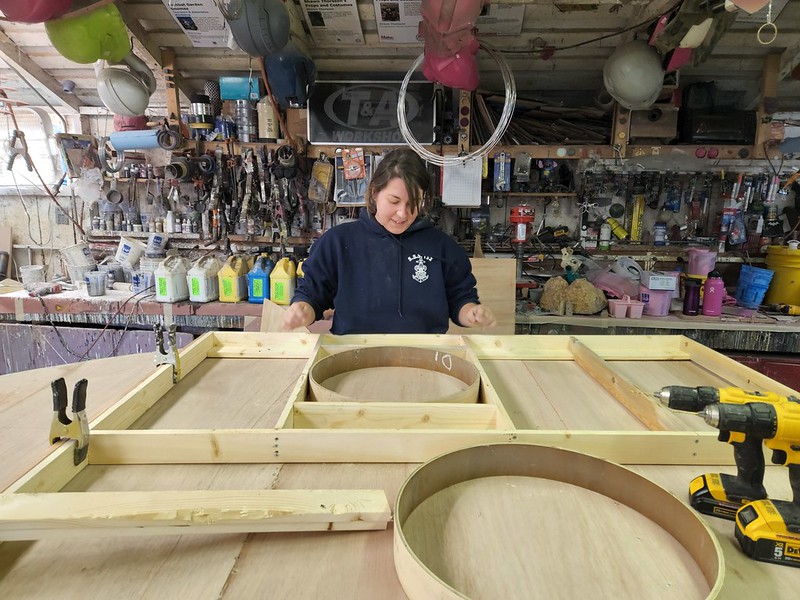
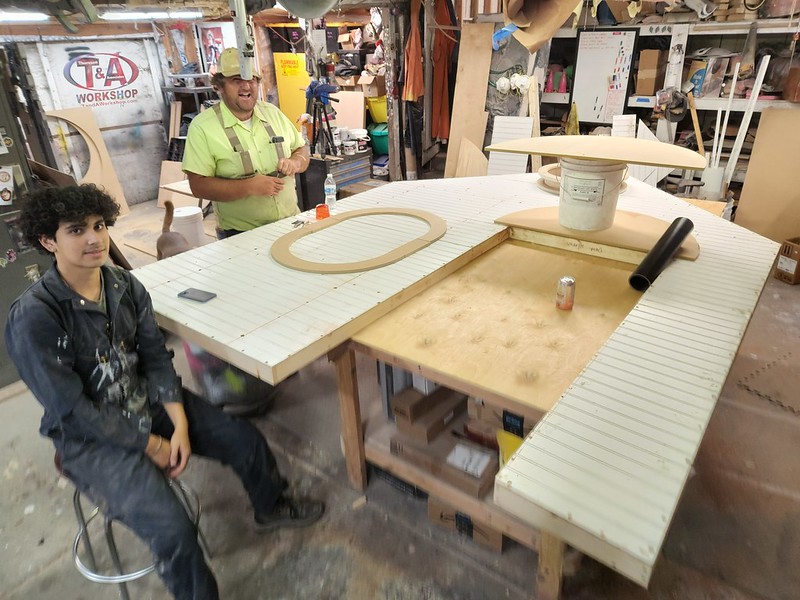
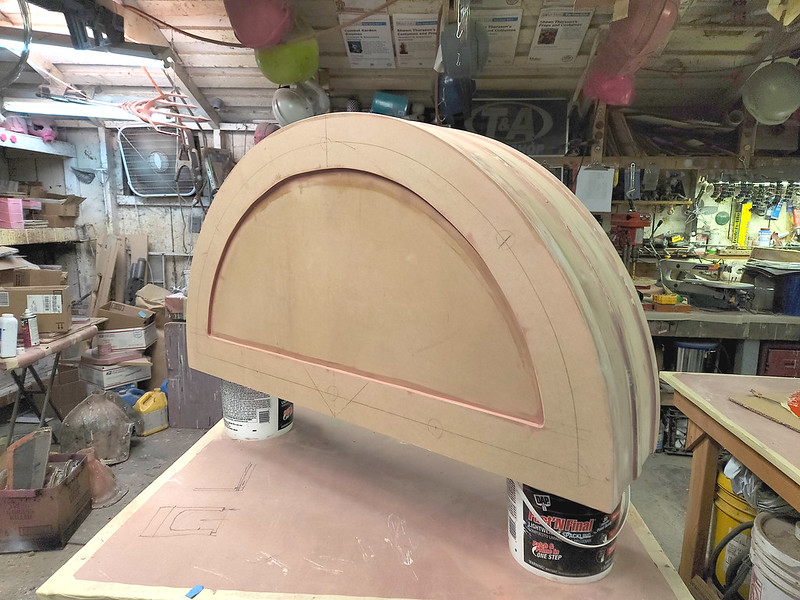
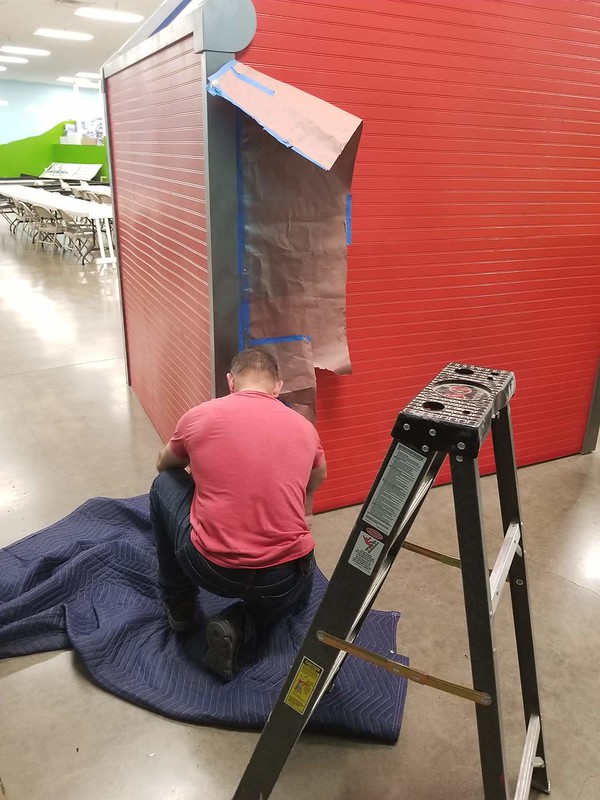
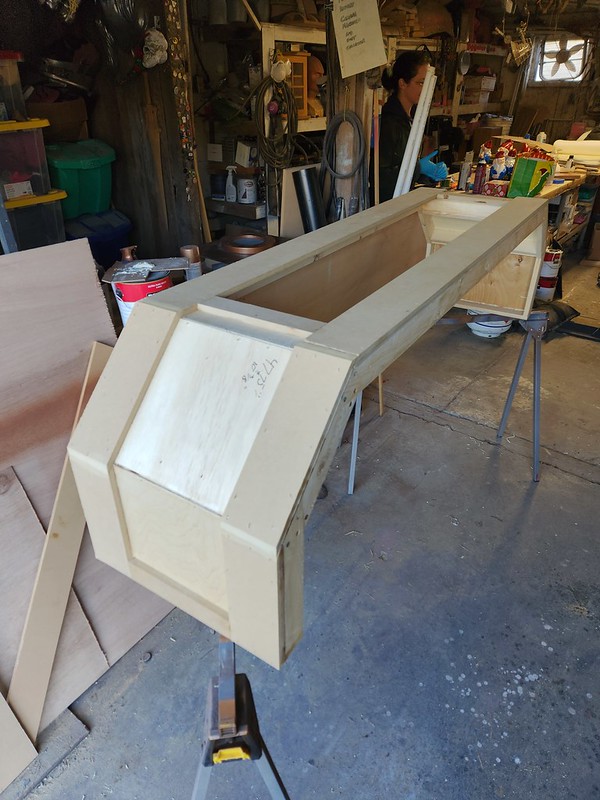
Building three also had a curved roofline. Here's Tia prepping the surface for the skin to be glued on:

A series of blocks was installed between the front and rear skins, and the cap was covered with a strip of "wiggle wood" to fair it back into a nice curve:

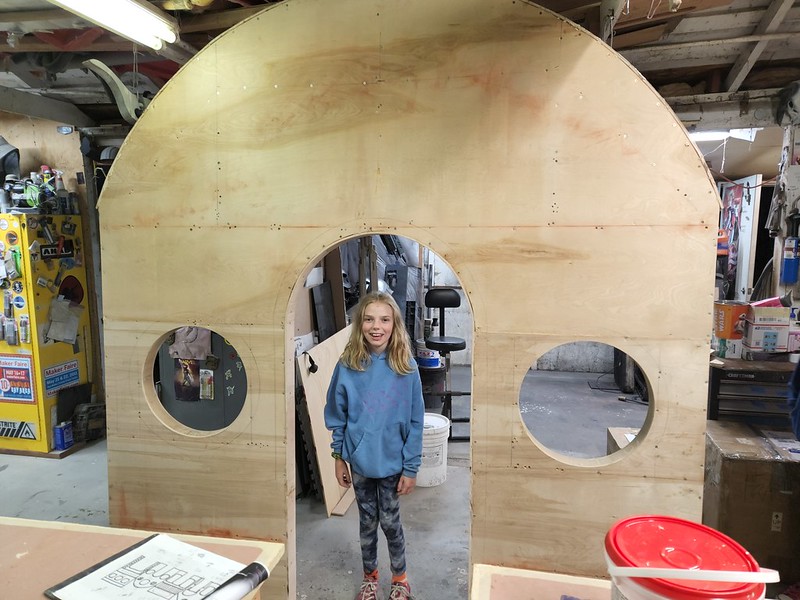
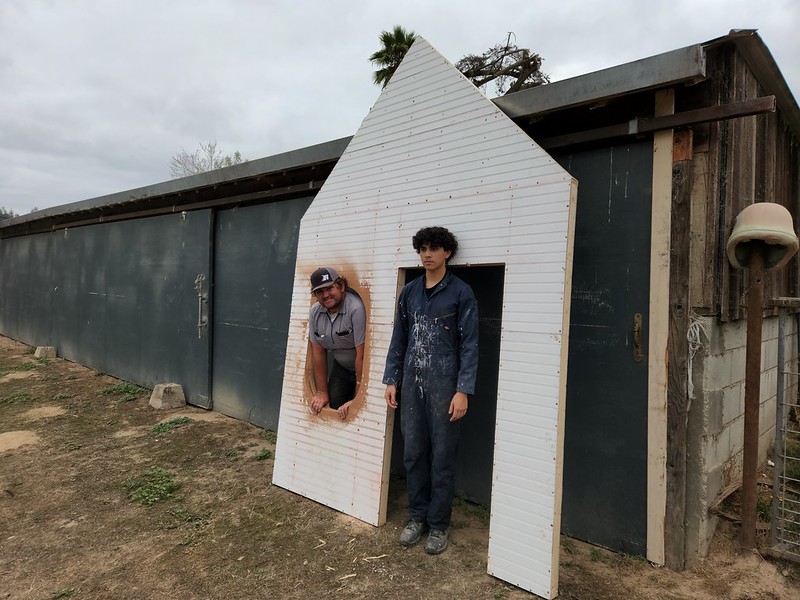
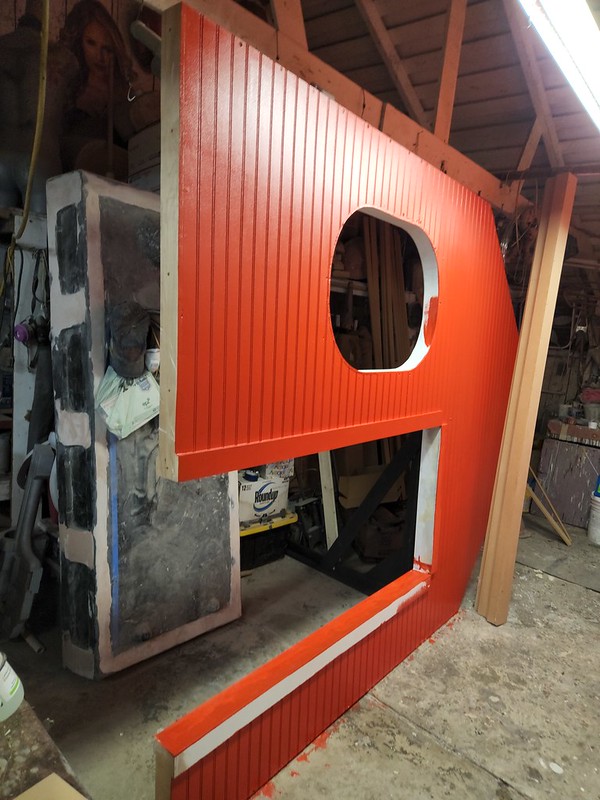
Here's the front wall of building three once we'd set up the skin and cut out the door and windows:

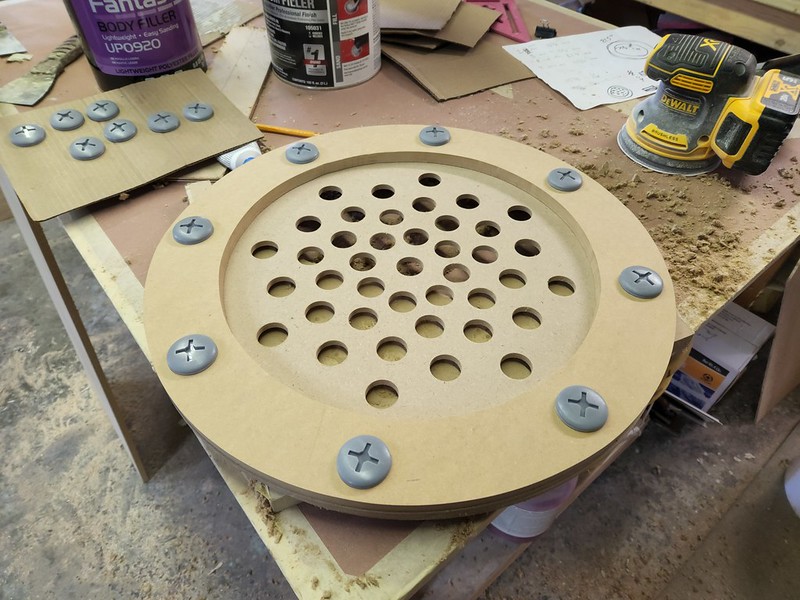
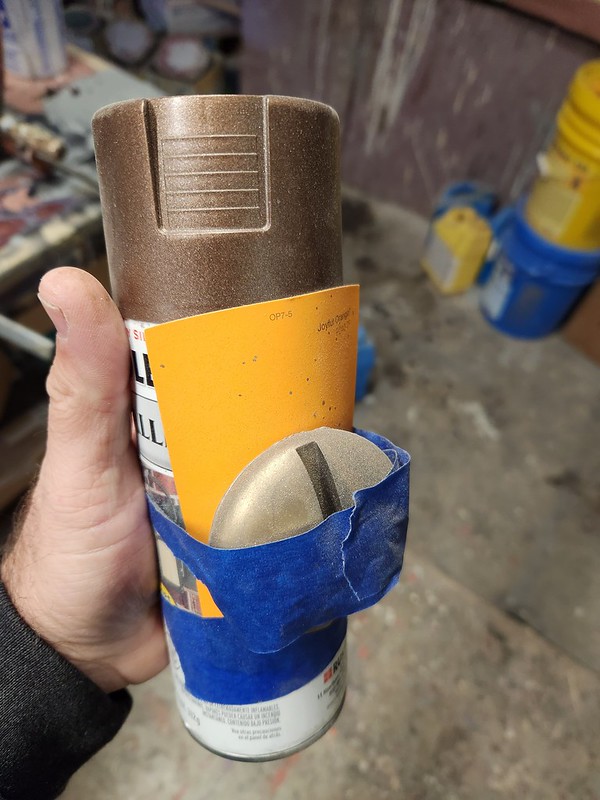
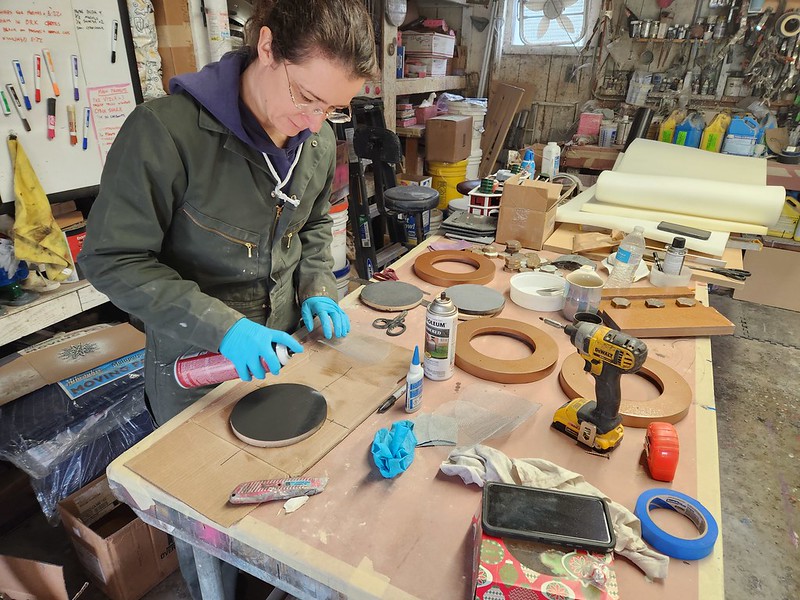
The screw heads were resin cast with a platinum bronzing powder dusted into the mold for color.
With the wall pieces assembled and skinned, we started filling in all of the screw holes:
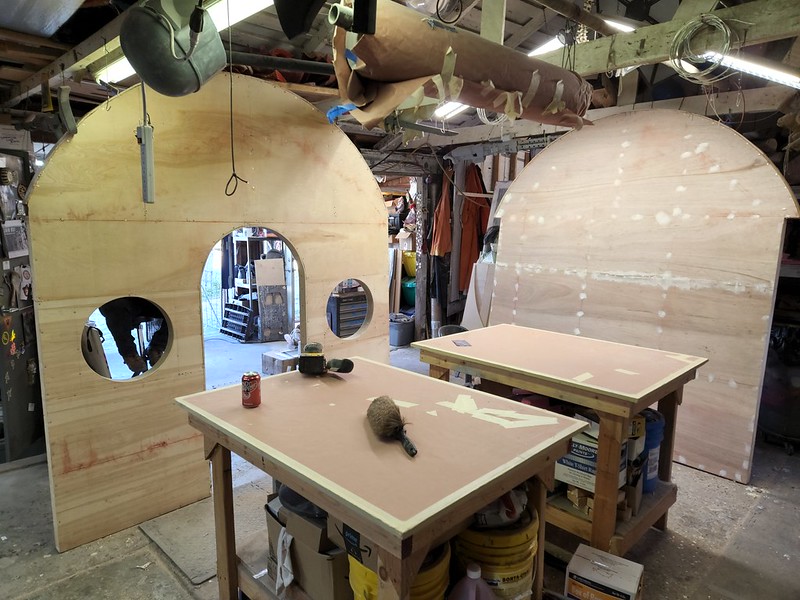
At this point, we started to run out of room in the shop, so here's Lewis filling screw holes and patching seam lines in the barn:

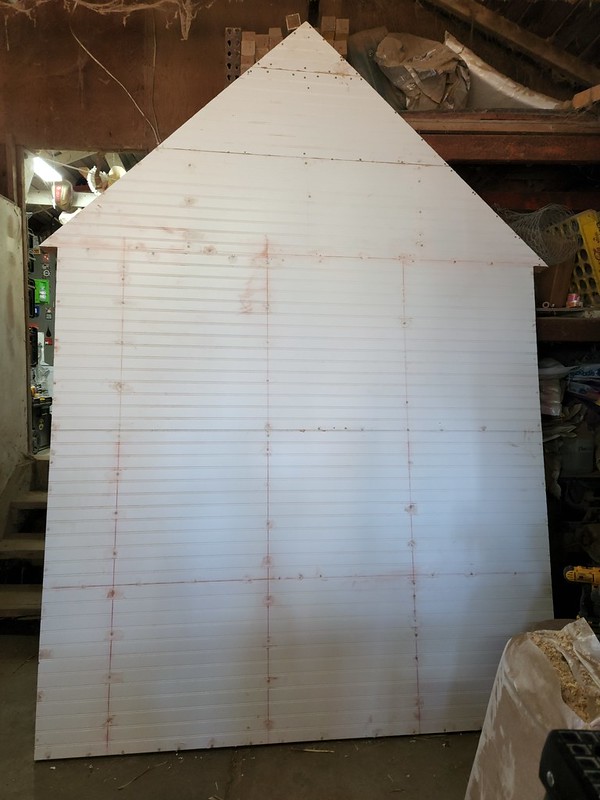
In order to make building one a little more visually interesting, the outer faces of the walls were skinned with beadboard turned horizontal to simulate siding:
Since things were getting a bit crowded and we were still having pretty good weather, the walls were mostly stacked against each other at night:

Then moved outside so we could do more noisy/dusty steps in the field during the daytime:


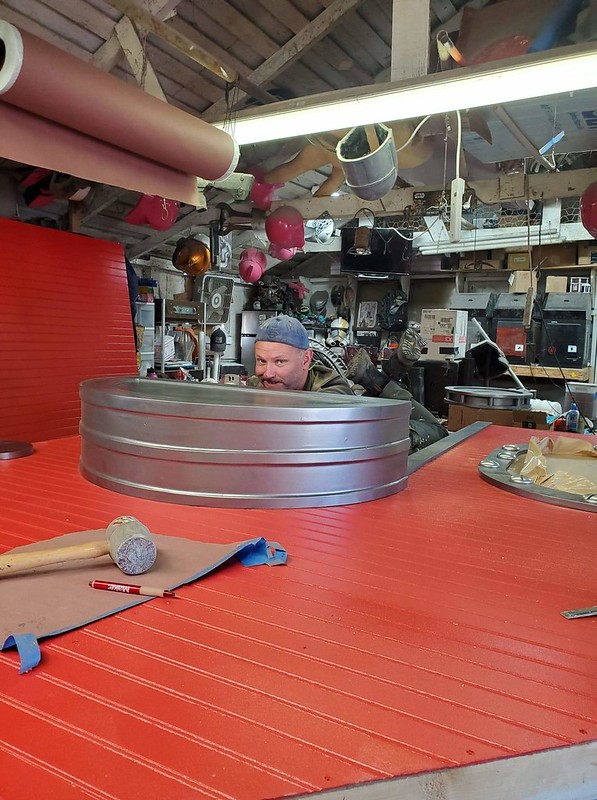
Here's one of the vent details for building three in the early stages of figuring out what it should look like:
And the awning for the doorway of building one:


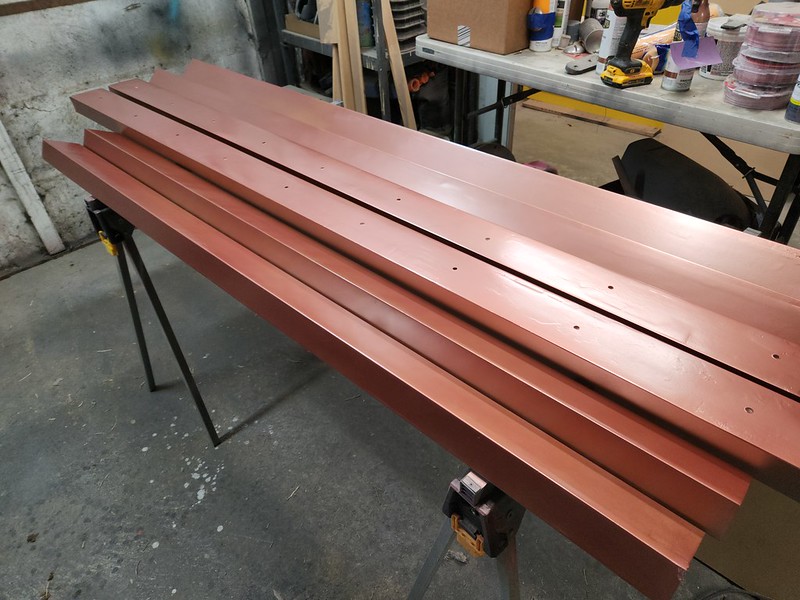
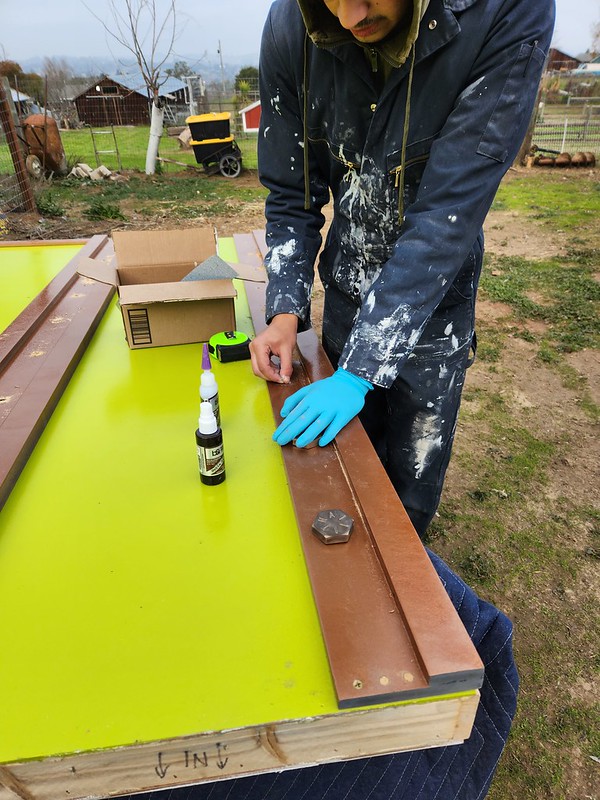
We made some simple trim pieces to go on all of the corners and exposed edges:

Then we decided we needed to focus on one building at a time, so building three got stacked against a wall outside while we focused on building one:


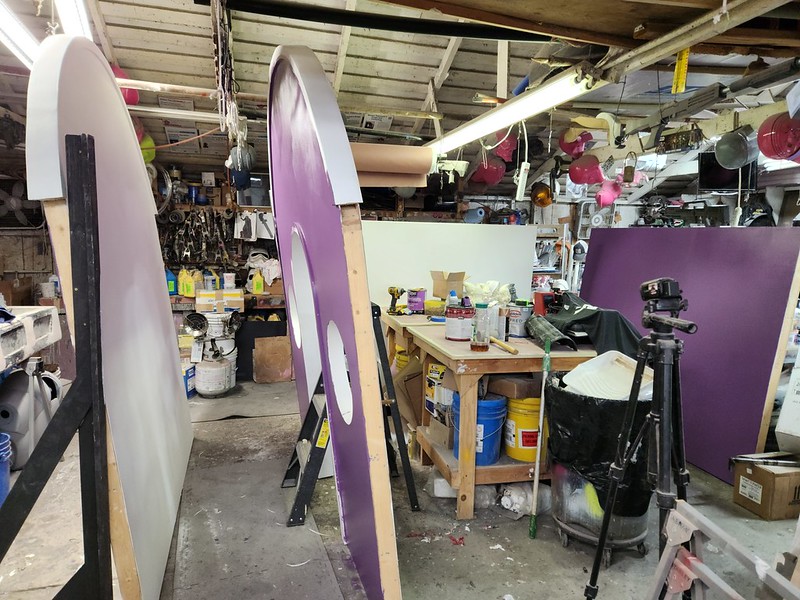
At this point, things started getting a little cramped in the shop:

Eventually we were able to rearrange things and brace the walls up to give them time to dry while we painted the trim parts:

Once the trim and other details were painted, it was time to attach them to the walls as much as possible prior to transportation:
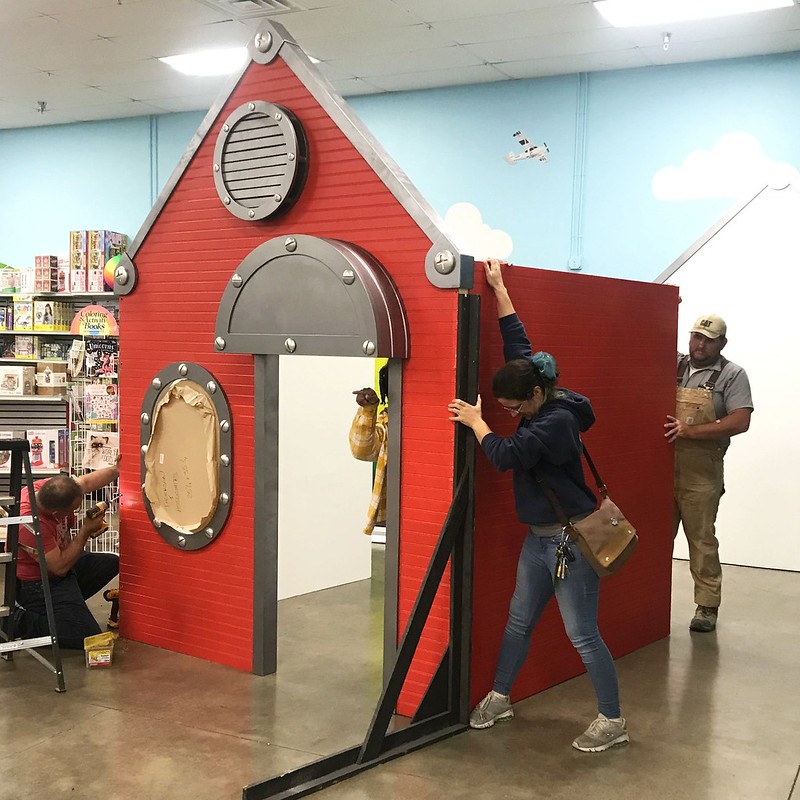
All four walls of building one were loaded onto a truck and delivered on the first installation day. We showed up a little before closing on a Monday night to minimize the impact on store operations. Still, we did have to move a few things to maneuver the parts into the store:

Once the walls were in about the right spot, the corners were screwed together:

The edge trim was screwed on on site, then the screw heads were patched over and the trim paint was given one final touchup:

And just like that, the first building was together:

Steve, one of the owners, seemed pretty happy with it:

The final step was to gently slide it into place against the back wall:

And with a tiny fence in place to keep people from messing with it, the first building was installed:

Back in the shop, we were well on our way with building number three, the round-topped building.
Here's the trim boards in paint:
The walls were braced up and spaced apart so they could be painted indoors:

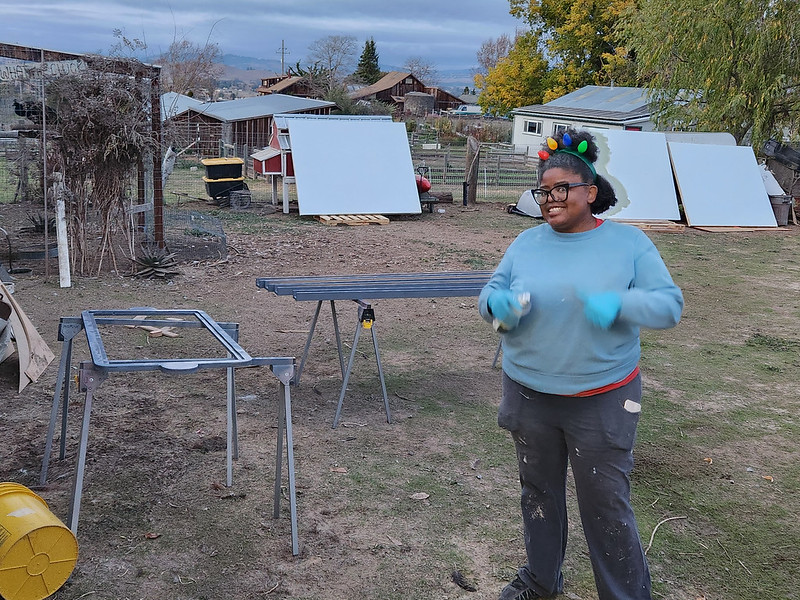
Sierra was happy to roll on the paint, even if it was a bit cramped:

Then we installed all of the trim and detail pieces:

And loaded building three up for installation:

This time around, installation went pretty quickly:

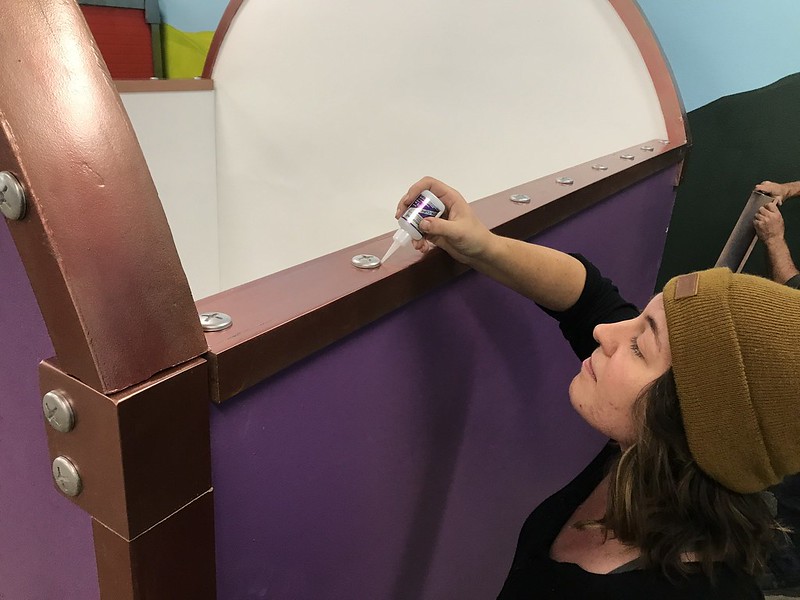
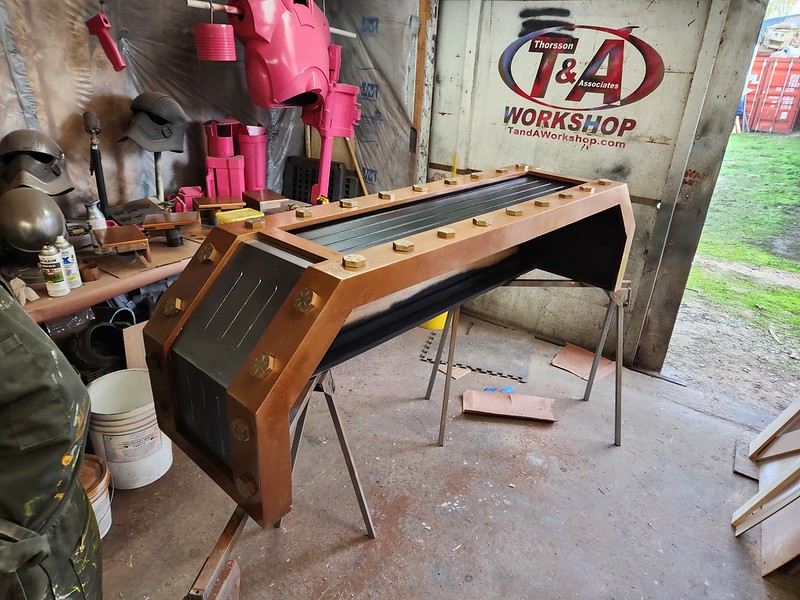
This building was designed with handy screw heads to cover the actual screws that were used to hold all of the trim in place:
With that done, we could call building number three installed:

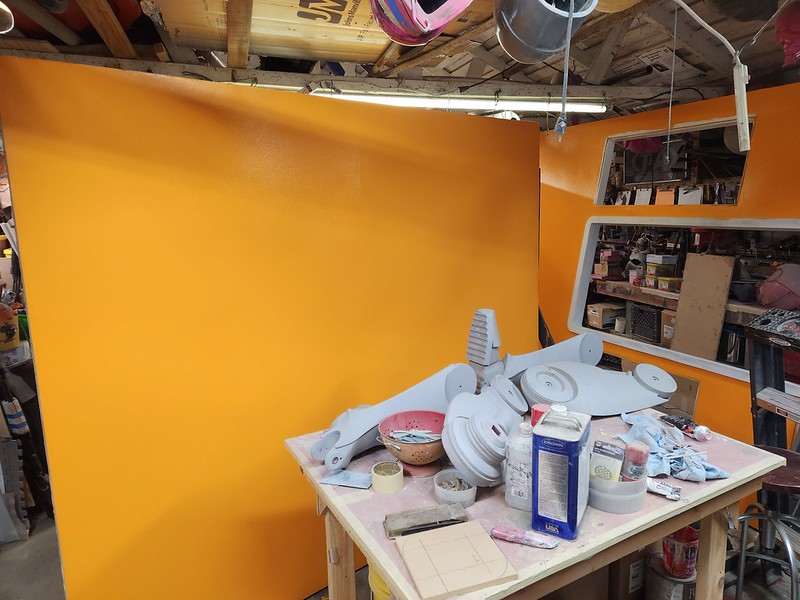
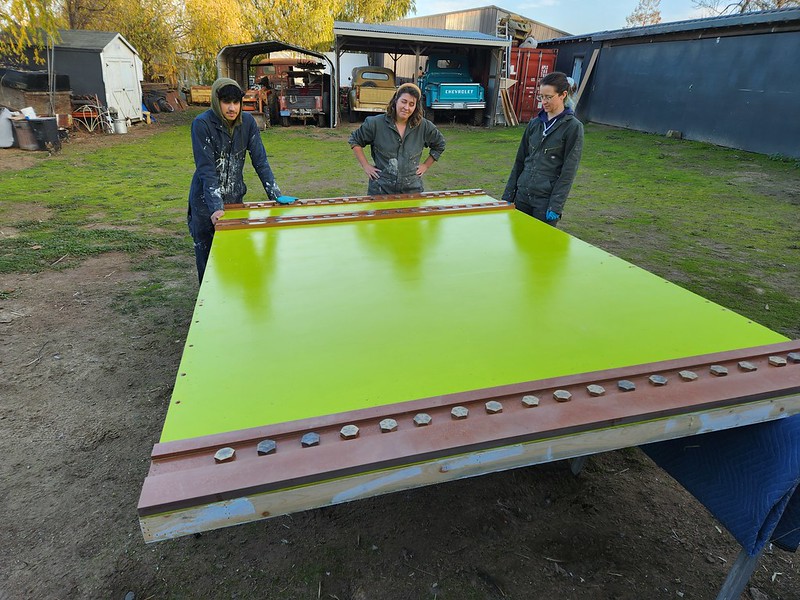
Building two was the first square-topped building we had to make. The framing for that was much simpler than the first two. The only thing I was worried about for this one was the paintjob. That's because the colors for building two were these:
Rachel assured me that these colors were going to look good together. Sierra had doubts:

In no time at all we had four walls that were the most amazing shade of Cheetoh orange:
Sierra was very proud of them:

Meanwhile, Tia was prepping the trim parts for paint:

The door and window trim were painted a dark brown metallic shade and then installed. This time we only had two big cosmetic screw heads for each window frame, so we had to cover and paint over all of the screw heads that were actually holding the window trim in place:

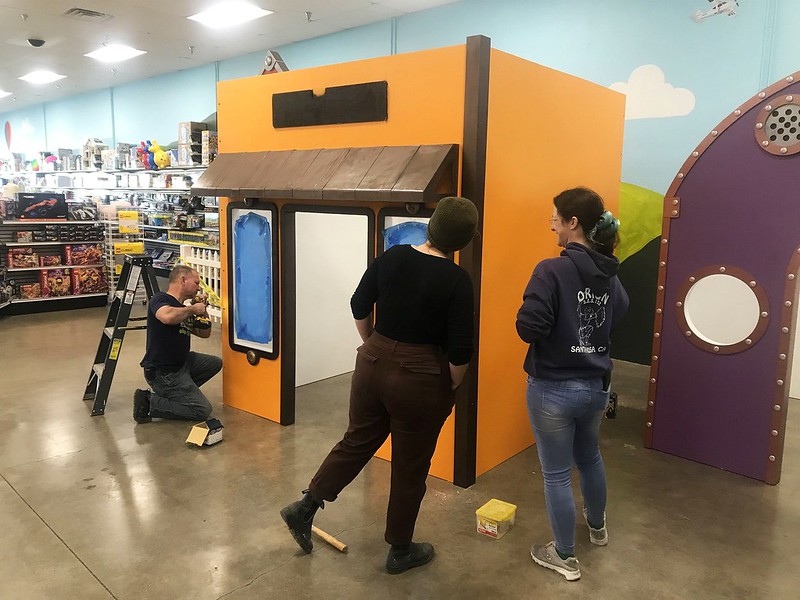
Once the trim was all finished, it was time to do another on-site installation:

At this point, we were getting pretty good at this:


The four walls were connected in no time at all. Then we installed the corner trim:
And the trim for the top edges:
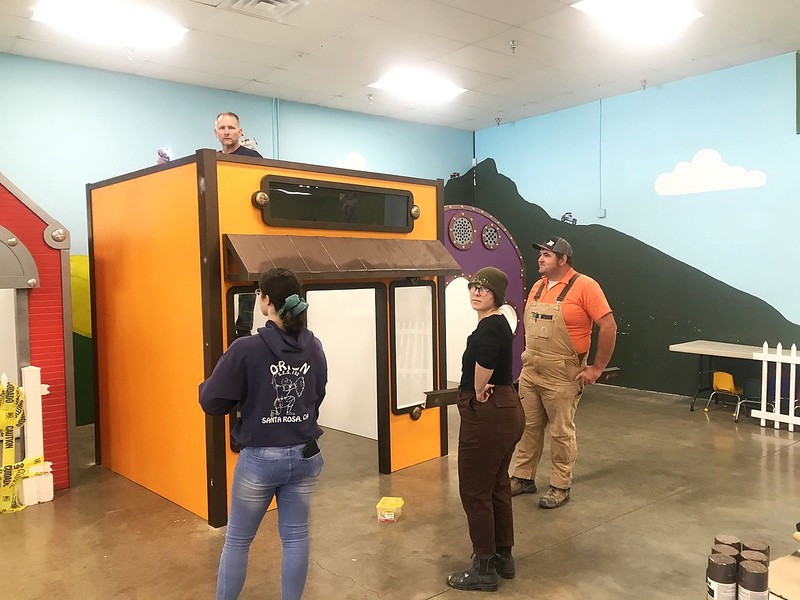
And slid building number two into place:
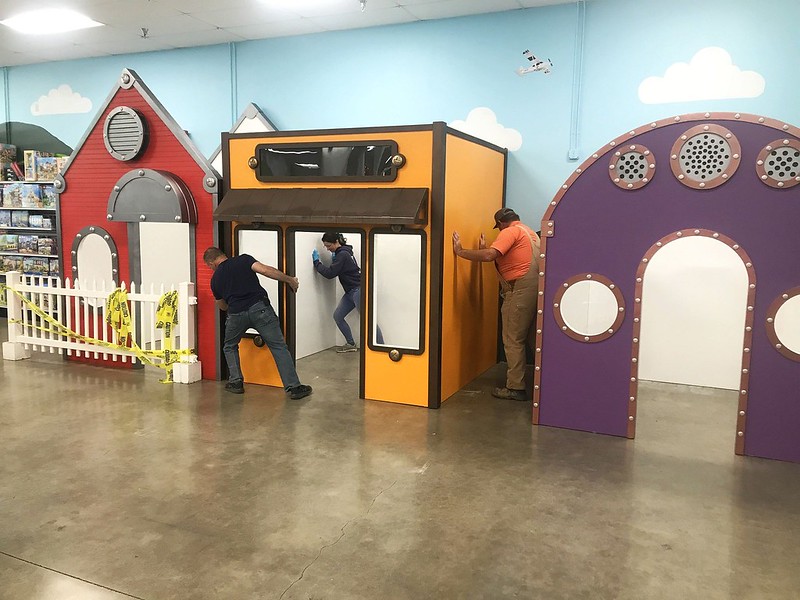
Then there were three:

And I was able to put to bed any concerns I had about the color scheme for building two. It looked pretty good:

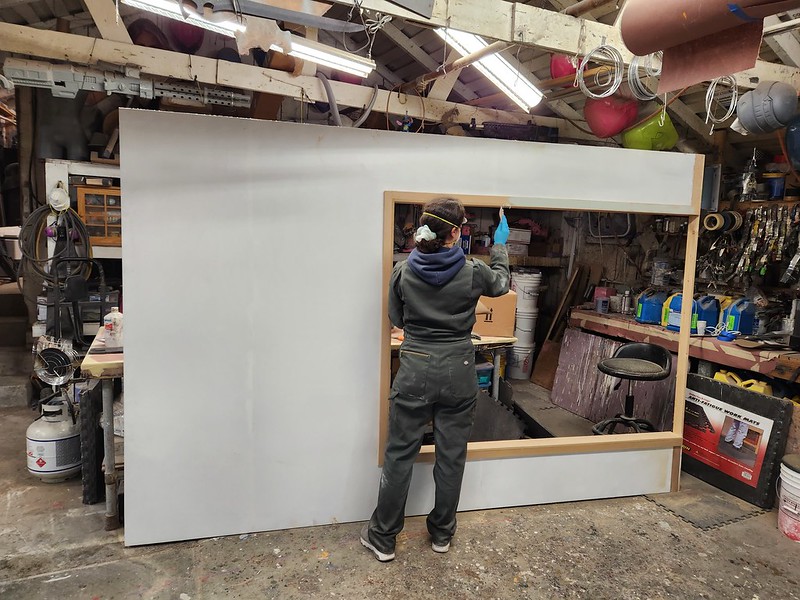
With the first three out of the way, it was time for the fourth, final, largest building of the lot. Here's William helping prep one of the walls for gluing on the skin:

Tia and Sierra got to paint all of the trim:

Meanwhile, Rachel was trimming out the door frame:
Then Sierra got to roll out some amazingly green paint:

The doorway trim was masked off and painted in place:

Meanwhile, Rachel made up all of the little vent details that would go along the top of the front wall:
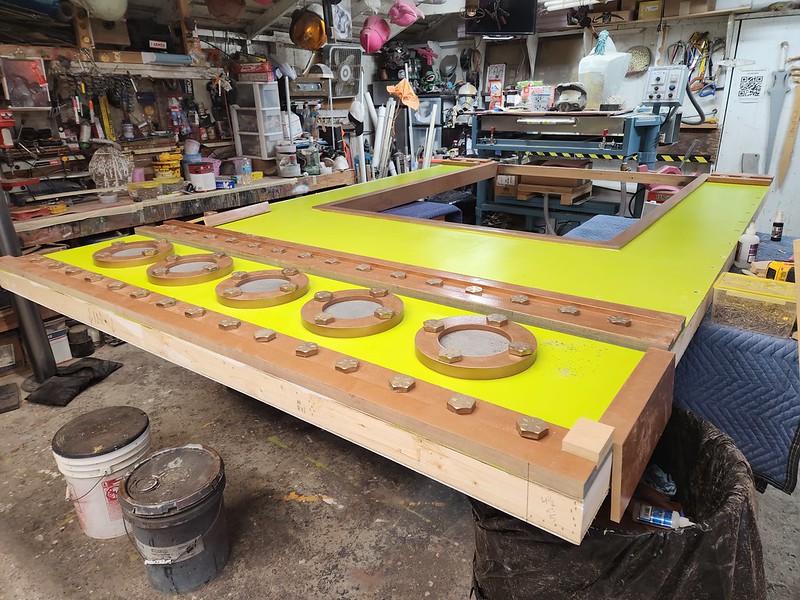
Once the paint was dry, Diego installed the trim on the walls:

Then installed the cosmetic bolt head details:
After a long day, we had some pretty great walls made up:
The front wall still needed something else:
So Tia got to making plinth blocks to go into the joints where trim pieces met up:

While I focused on making the marquee:
This was the last piece we attached before loading it out for install:

While Sierra and I were finishing that up, Rachel got to paint all of the corner brackets:

The next day we transported the fourth and final building for installation:

We had to slide building three out of the way in order to have room to work on all four sides of building four, but it went together pretty quickly:


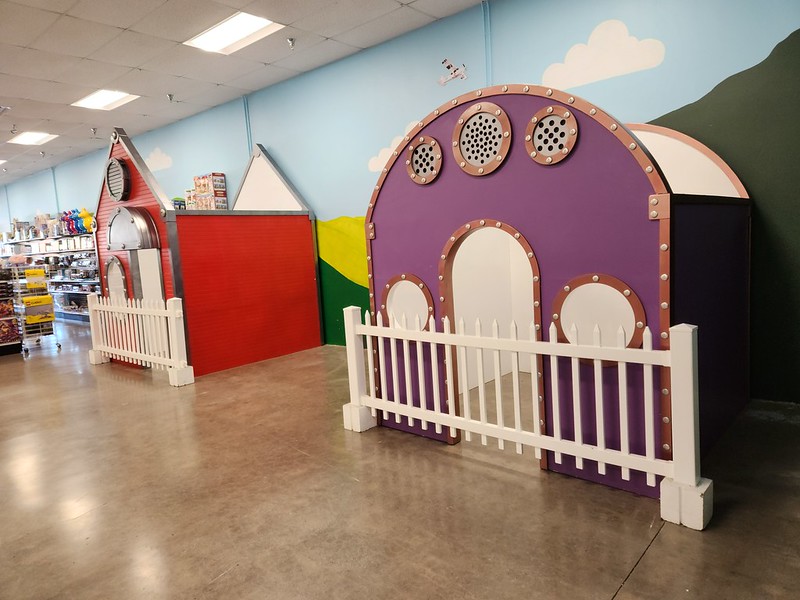
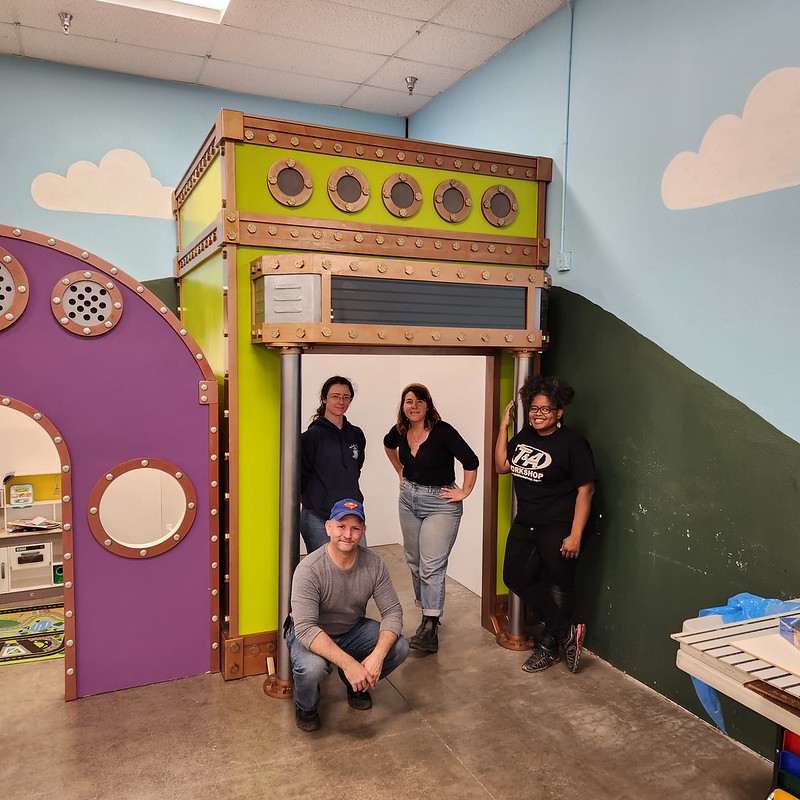
At just over ten feet tall, it's the biggest of the four buidings in the play area:

It also has the most little details. Here's a close-up of the bolt heads:

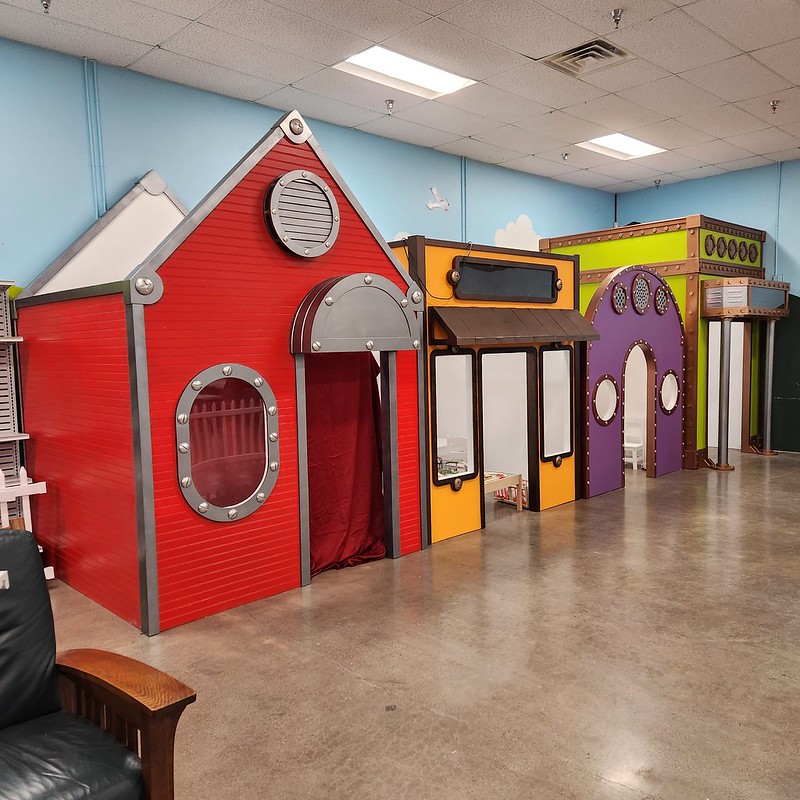
Here's all four buildings in the lineup:
The last few details included these struts to hold up the awning on building one:

And the gold sign bar over the door of building three:

So here's what it looks like now that it's fully populated with toys and ready for countless children to enjoy:

Stay tuned for more exciting projects from Thorsson & Associates Workshop.
(Seriously, I'm way behind on bloggage).
Thank you so much Shawn and crew! We love the neighborhood you built for Fundemonium. Kids love it too.
ReplyDelete