

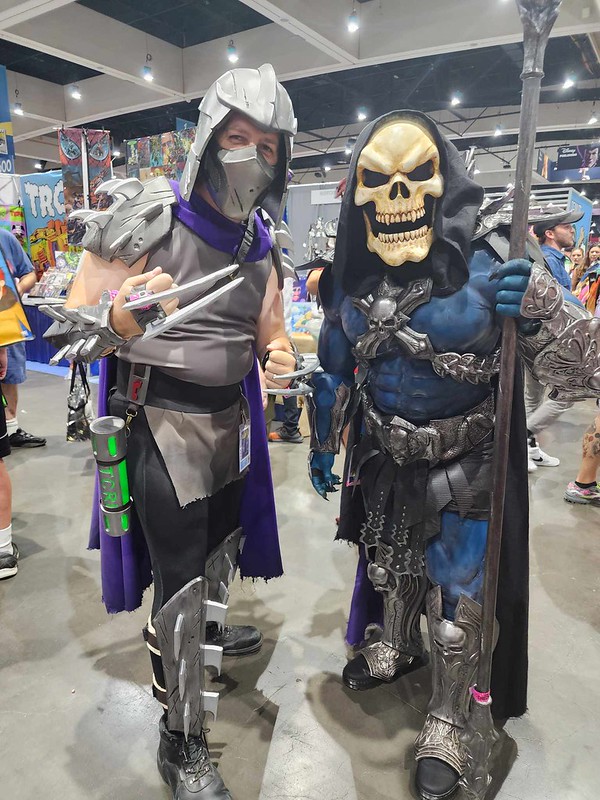
I started with the staff first, but the main goal all along was to build the entire outfit. It turns out I pulled it off:
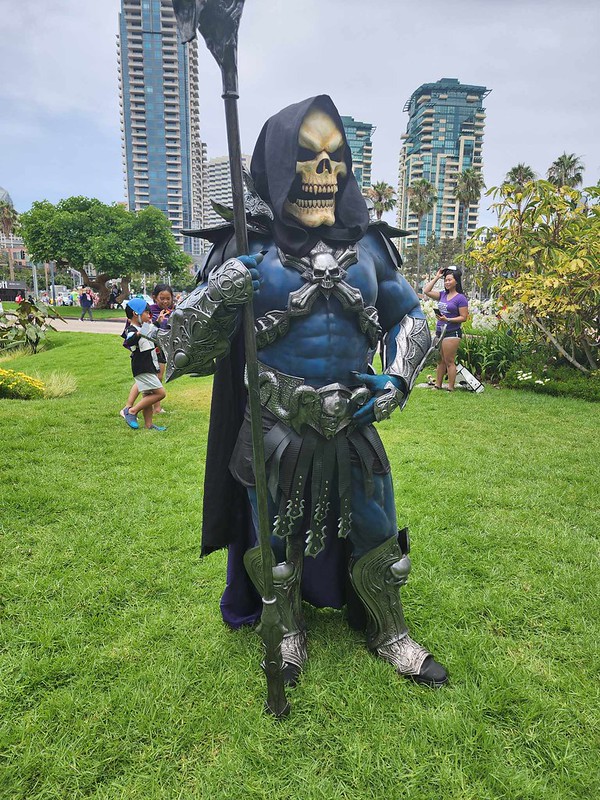
To see how the whole thing was made, read on...
For the longest time, this project was on my to-do list, but I never got it onto the "started" list for a variety of reasons. The main reason being that I wasn't about to get into the kind of shape I'd need to be in to simply paint myself blue for the right look. My plan was to build everything onto a musclesuit, but every time I found one it was either very clearly fake, or way too expensive.
That was until a friend sent me a link to one of these (LINK)
This is a lifeline silicone musclesuit top that can be had for less than $2,000. In fact, the complete set of top and bottom could be had for around $800. In the pictures she'd posted, she made it look pretty convincing. So I figured I'd roll the dice, spend a few hundred dollars, and see how it actually looked in person.
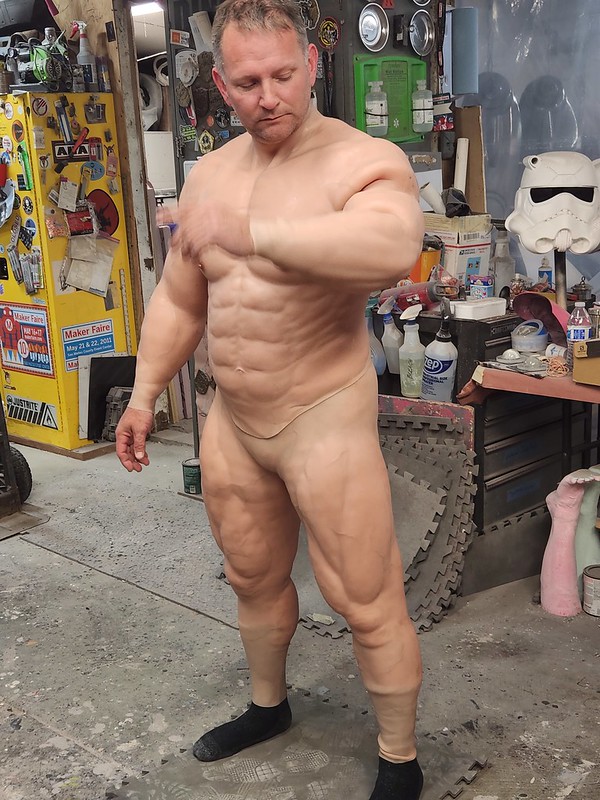
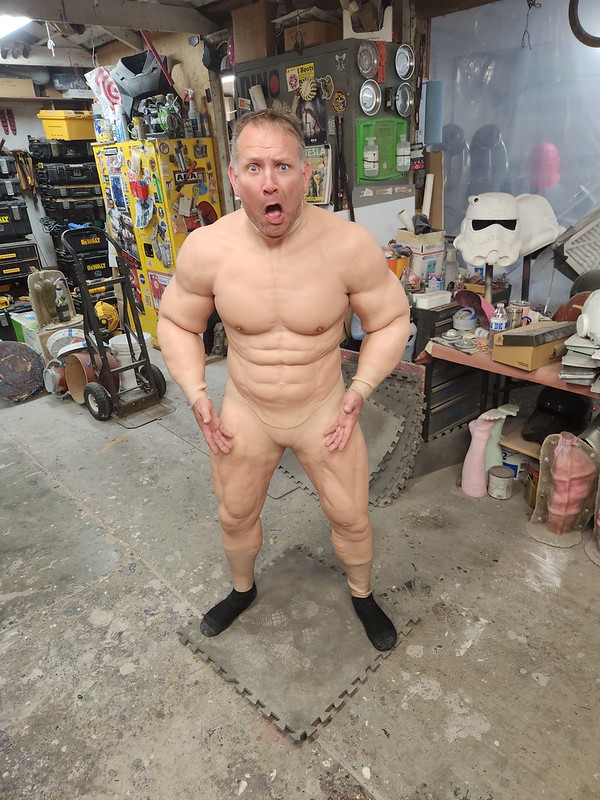
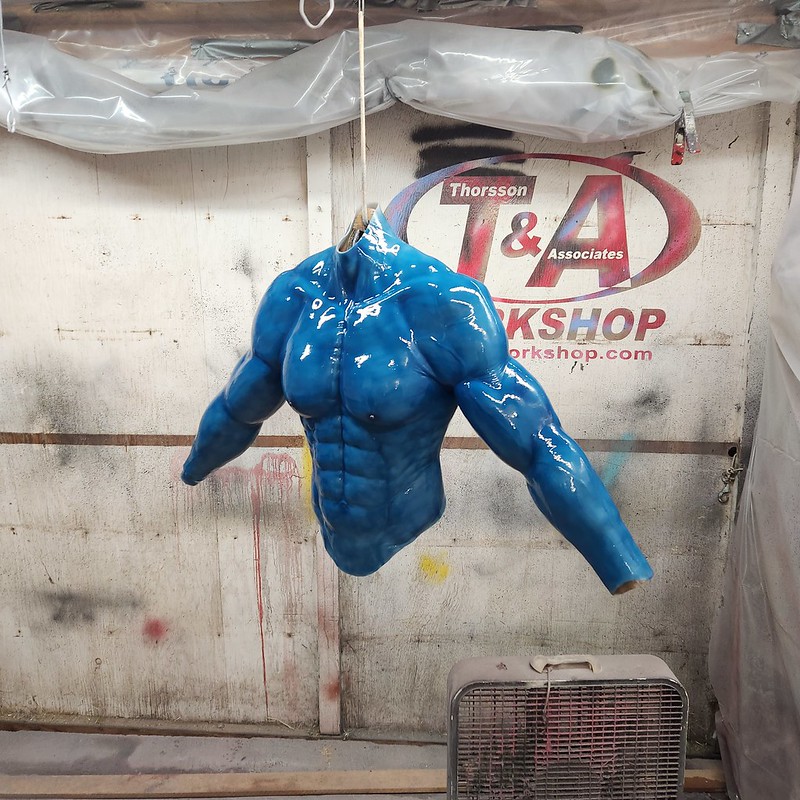
When it showed up, I was definitely happy with it:

According to the manufacturer's specs, the top weighs around 18 pounds. While I haven't weighed it myself, it feels at least twice that heavy. It's cast with a sort of egg crate pattern inside to reduce the weight, but it only helps so much. The rubber is supple and stretchable, but as soon as you move from the neutral pose the suit was originally cast in, it's pushing against you like a rubber resistance band at the gym. There is also absolute no kind of ventilation at all, so the entire thing just holds all of the sweat inside and slowly boils you. I'd have to come up with some lightweight solution to keep myself cool.
Still, I was pretty happy with the purchase.
So happy with it that I posted the above image to my Instagram with no real explanation of what I was up to. I also decided that I might as well go ahead and order myself the lower half of the musclesuit which you can get here (LINK).
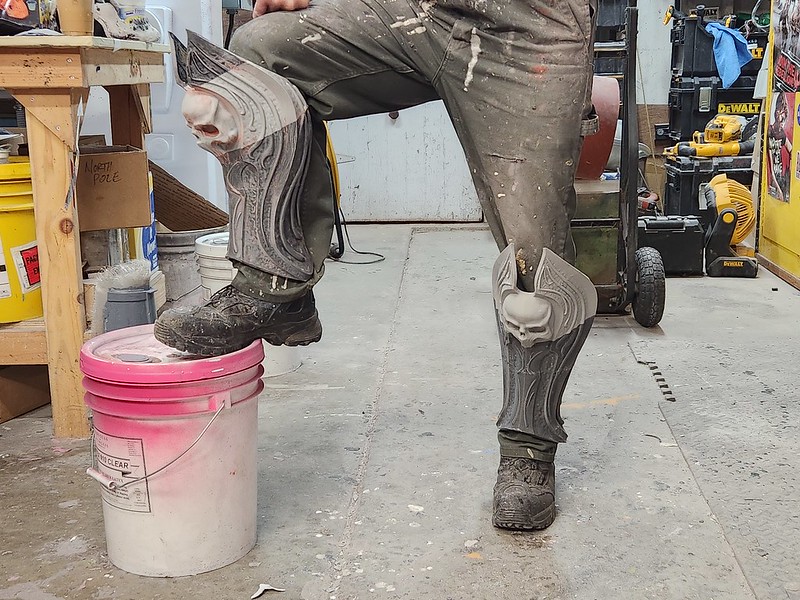
Not long after I placed that second order it was leg day. The legs showed up while I was in the shop and it wasn't until much later, after my girlfriend had gone to work, that I finally had a chance to try them on. Then, without any explanation, I texted her this image:
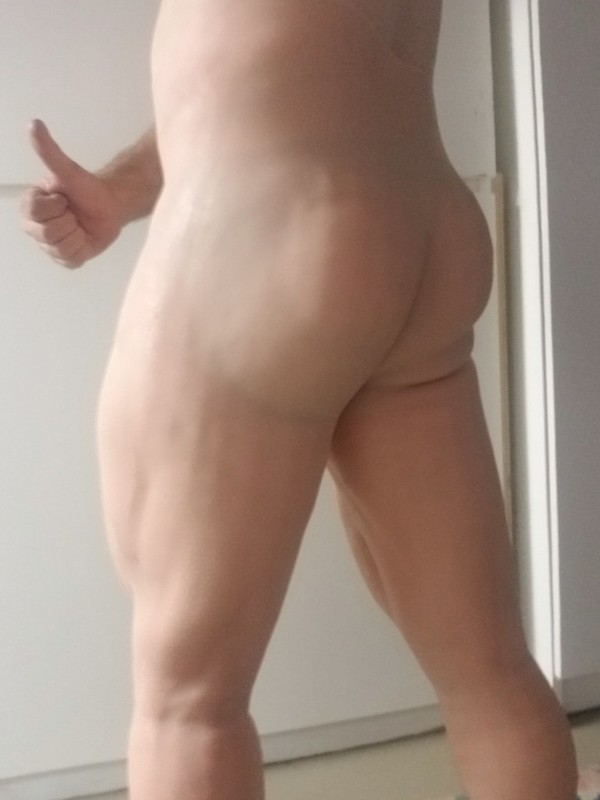
"What the hell are you thinking?" said she, "I'm at work!"
So I replied with this image:
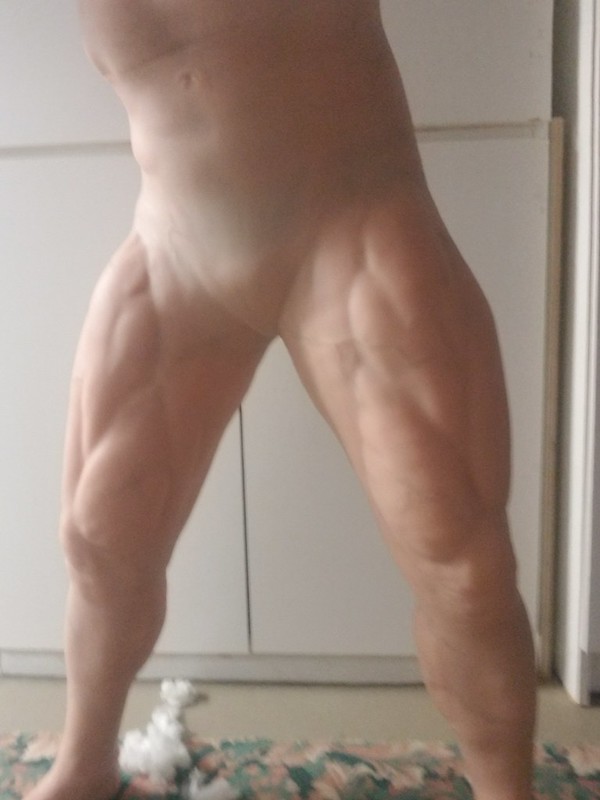
I think this is absolutely hilarious.
The image I refrained from sending was this one:

Some months later, I had my friend Jeff come over with his Revopoint Range handheld 3D scanner so we could scan me in the whole rubber suit. This would allow us to properly scale the 3D printed armor parts to fit on the suit. This was only the second time I wore the entire ensemble:
It was still pretty silly looking:
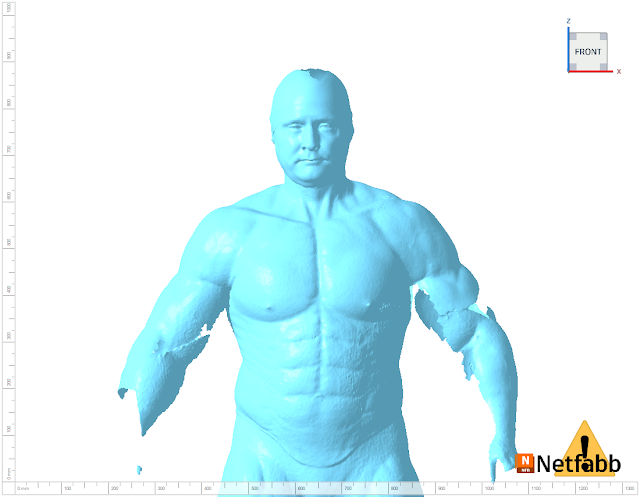
After the requisite amount of goofing off, we started scanning me:
I'd also donned a bald cap so we could get a scan of my head. With no hair and no color, I ended up looking like some kind of pro wrestler reincarnation of Vladimir Putin:
But the dogs didn't seem at all bothered by it:


With the Havoc staff project, I printed the low resolution scan at lifesize. Then I would sand the parts down to get rid of the bumps from the noisy 3D scan, then go through the painstaking, time-consuming task of hand sculpting all of the missing details and sharpening up the edges with Bondo and epoxy putty.
Since I intended to wear the completed costume at San Diego Comic Con, it was starting to look like there weren't enough hours in the month for me to do all of the work necessary to get this guy together in time.
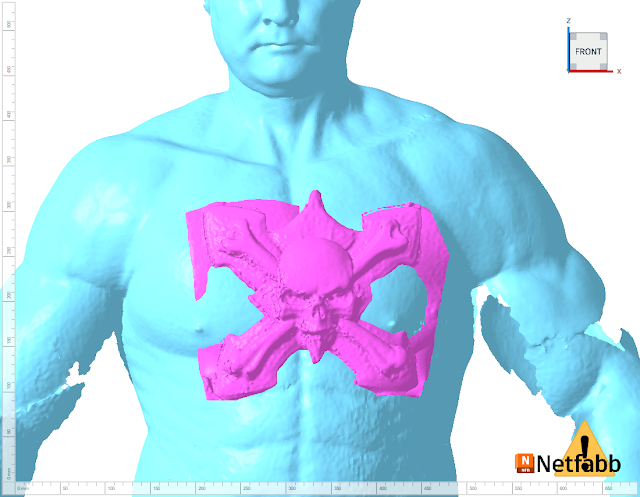
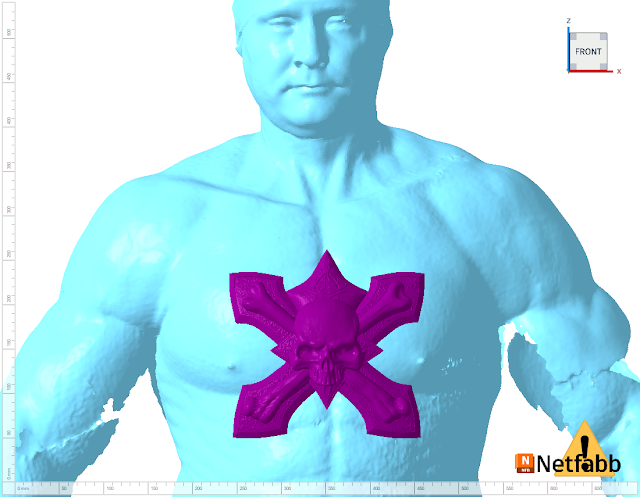
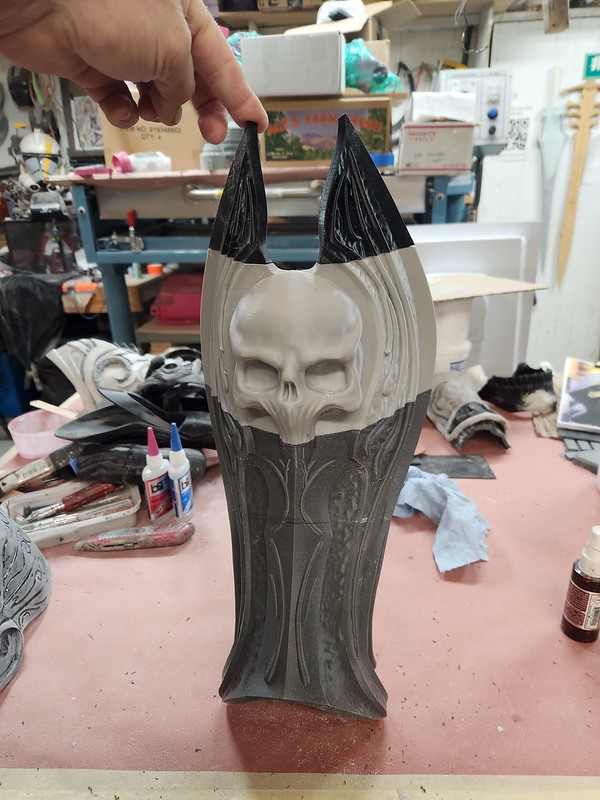
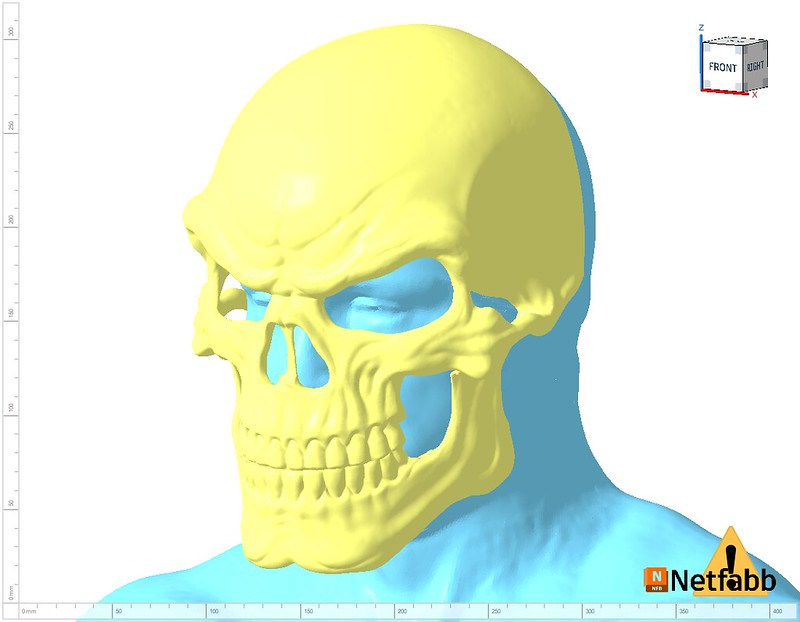
The next step was to import it into Netfabb and scale it to fit me in my musclesuit:
To speed up the printing process, the cross was split into two halves and each half was printed on one of my fleet of Zortrax M200 3D printers. Here's the top half in progress:

Since this costume would be a rare one-off, the printed parts would be finished and worn instead of being molded and cast in something more durable. With that in mind, the parts were printed with 20% infill for strength.
Printing the two halves simultaneously reduces the print time significantly. Starting the prints at the end of the day in the shop means coming in the following morning to find them ready to pop off of the print bed and get glued together:

To add a bit more strength, the backside was given a couple of coats of XTC-3D epoxy resin from Smooth-On.
These pieces have a lot of fine detail, so I printed them with a layer height of .09mm. As a result, they only needed a tiny bit of light sanding with 150-grit sandpaper before they were ready for primer:

After two coats of grey filler primer, and a bit of touch-up sanding, the whole thing was given a coat of black primer:

Once that had dried, I gave it two coats of Rustoleum Dark Steel:

We ended up with a lot of this stuff left over after a big project a few years ago. As a result, it's since found its way into lots of other projects in the shop.
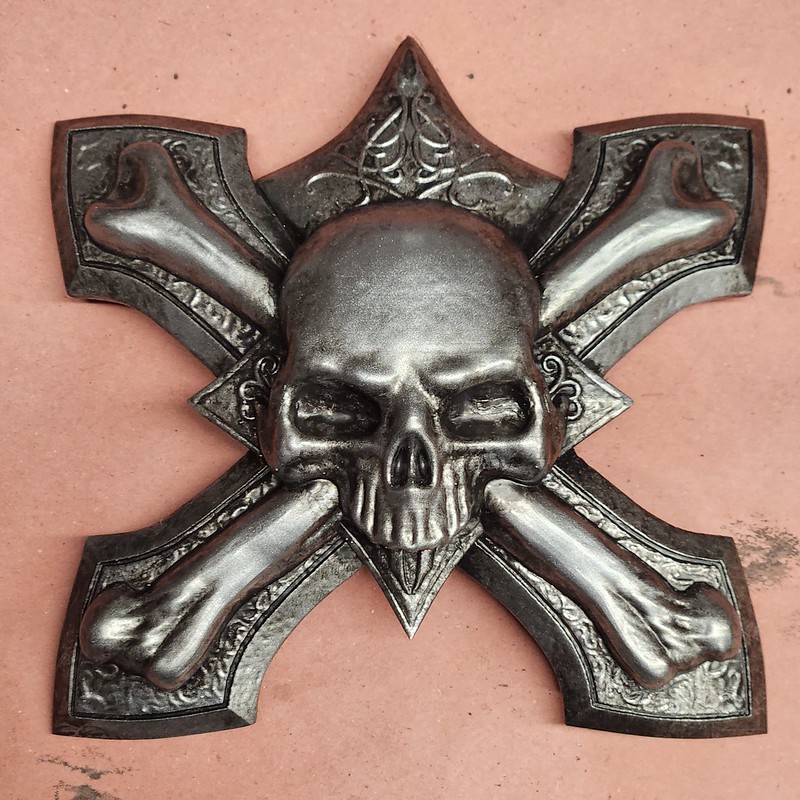
Once the paint had plenty of time to dry, the whole thing was given a copious blackwash:

The end result was a convincingly sinister chunk of metallic awesomeness:
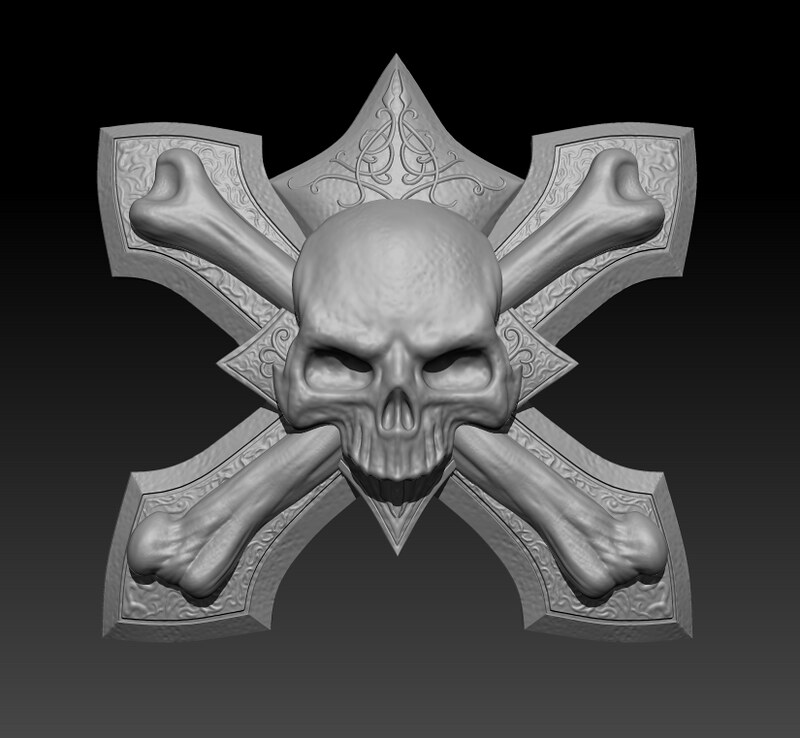
With that done, we had the workflow sorted out. First, I would scan a part of the statue and scale it to fit on the body scan:

Once he sent me the improved models, the larger parts were printed in sections:
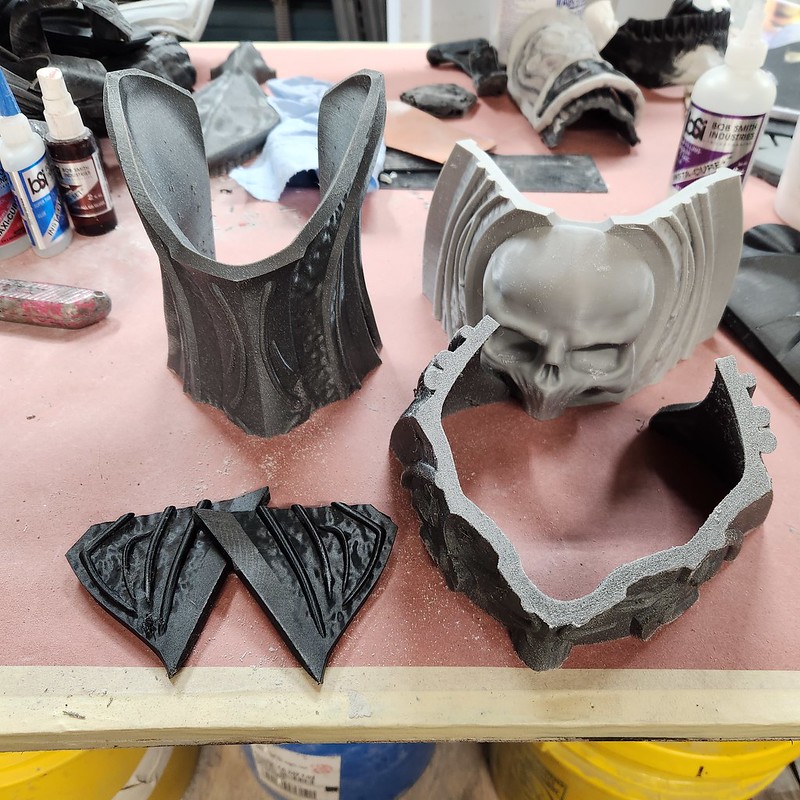
The sections were then glued together:

Once the parts were assembled, I would distract myself for a bit with a test fitting:
Then the parts would be sanded, primed, touched up with filler putty as needed, then sanded, primed, sanded, primed, painted, and weathered. In no time at all, parts were starting to pile up:


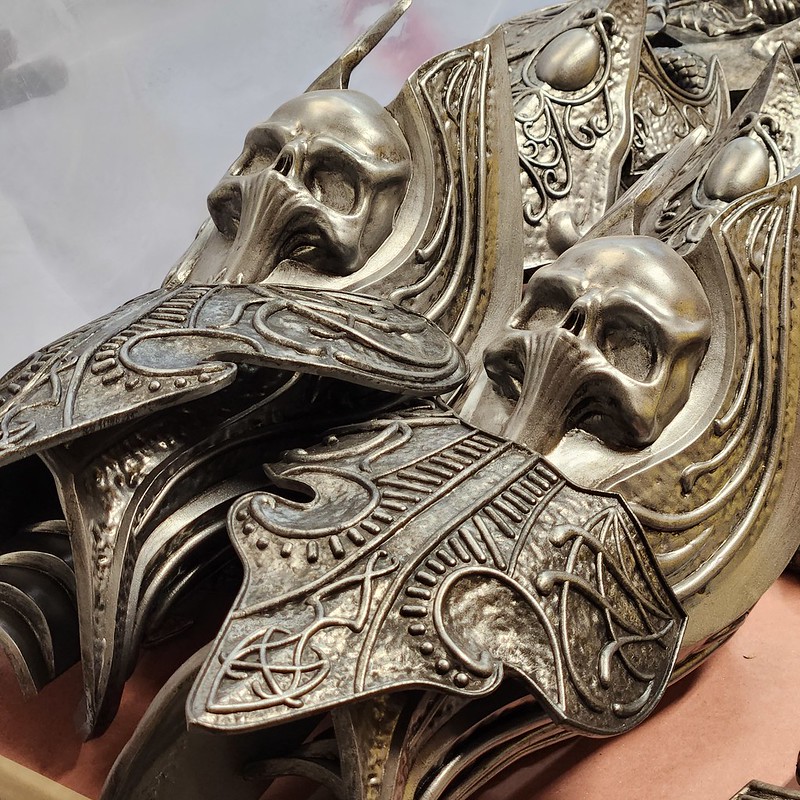
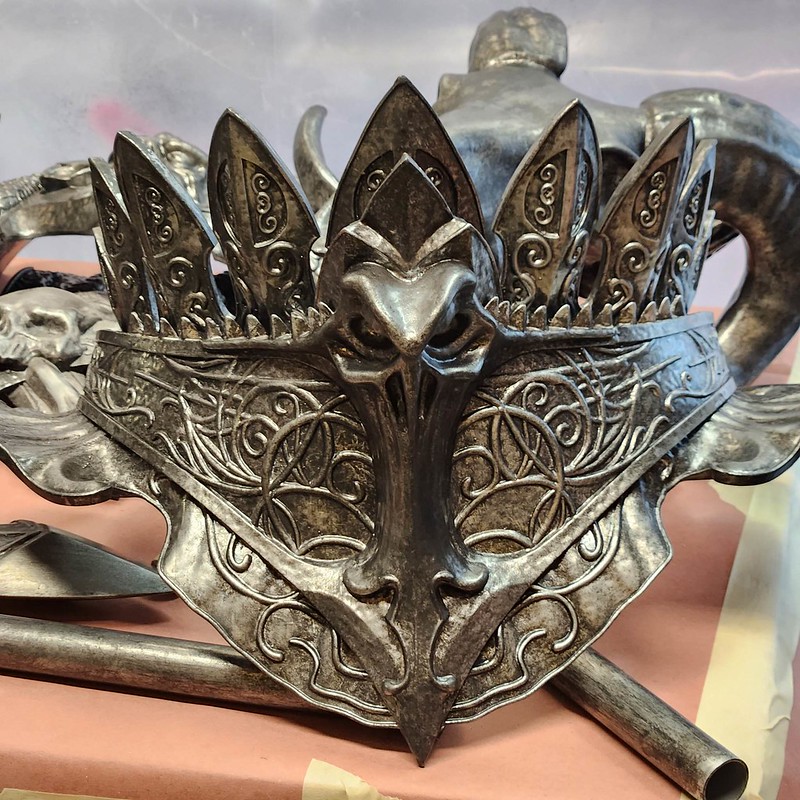
One of the very last pieces we made was the spiked collar arrangement. Mostly because it was going to be hugely elaborate to do the 3D sculpt:
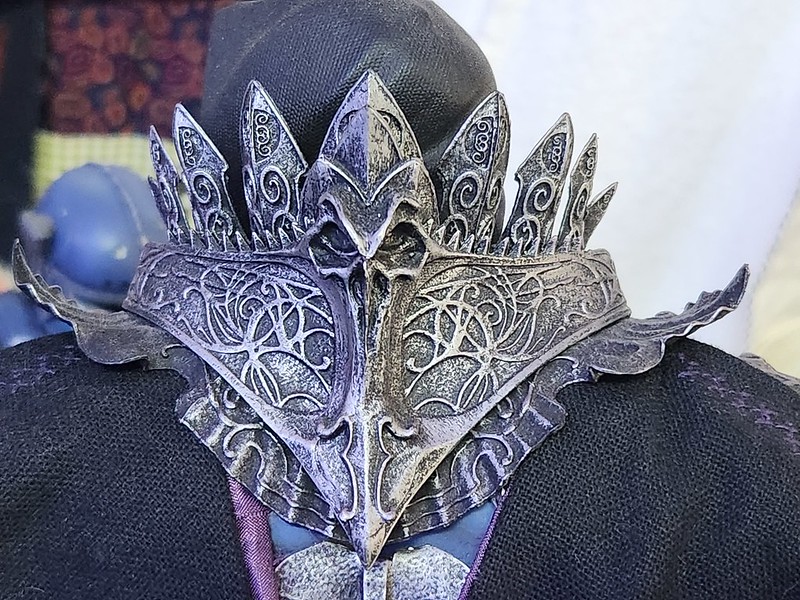
But we'd been progressing through the parts pretty quickly, graduating to more and more complicated pieces as we went, so by the time we got to this thing, it wasn't as much of a challenge. Mostly it was just what was next. The end result was also absolutely gorgeous:

Once I'd printed and assembled it, I had to try it on straight away:

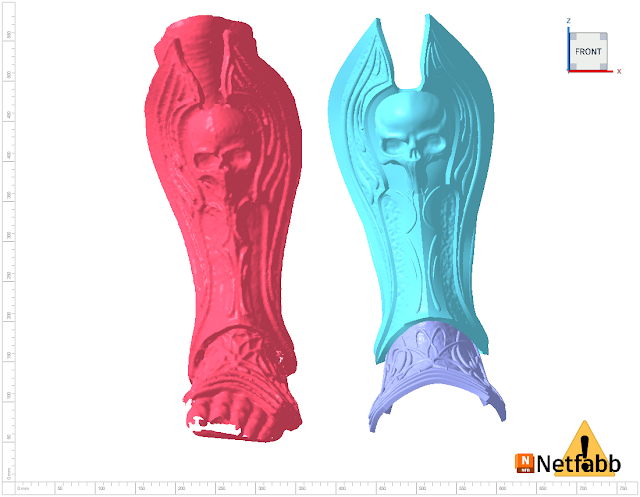
So instead of paint, we opted to dust the inside of the molds with a silver powder. When the parts were cast, the powder dust inside the mold would be bonded to the surface of the casting and flex and stretch as needed. Sadly, the only photo I took of the entire process was this one where my assistant Rachel was starting to pull one of the castings out of the mold:


Pay no attention to the cartoon version on the right.
Now it was time for some plastic surgery. I started by altering the brow, nasal ridge, cheekbones, and chin with some Free Form Air lightweight epoxy dough from Smooth-On:
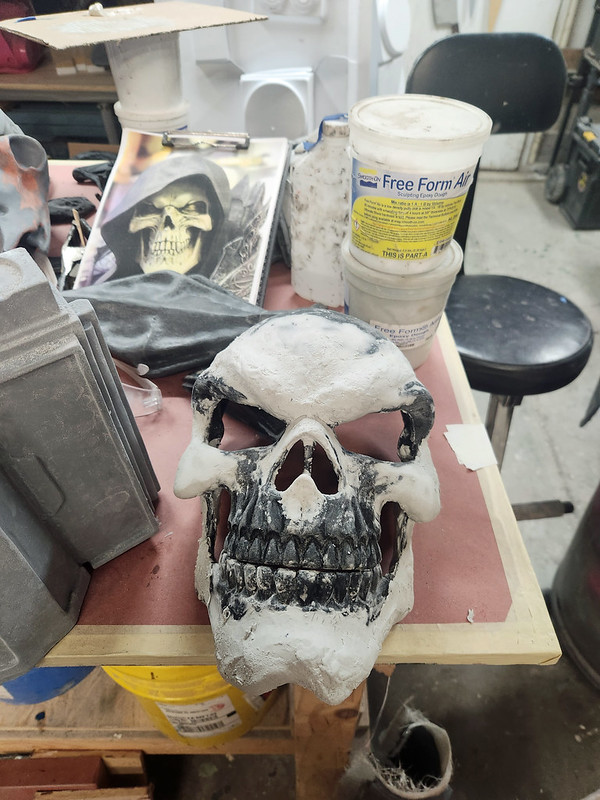
This stuff is pretty great once you know what to expect. It starts out as two separate materials that feel a bit like a lightweight version of dried Play-Doh. When you knead together two lumps of equal volume, it starts to get a bit sticky and if feels like you're sculpting with marshmallow fluff or cake frosting. So instead of sculpting it like clay or epoxy putty, you adhere it to whatever surface you're working on in some very rough semblance of the shape you want. Then allow it to cure and come back later to shape it with knives, files, and sandpaper. Here it is again after a bit of reshaping the cured FreeForm Air:
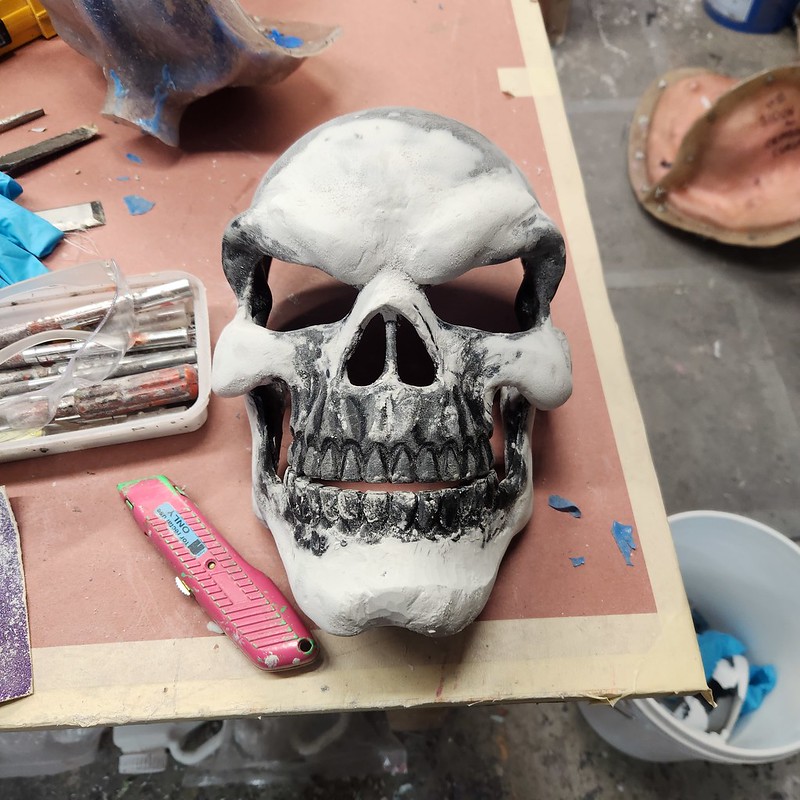
It requires a bit of patience, but the end result is a strong, lightweight piece. Here's my final result in primer after a few rounds of building up and re-shaping:

Since the face is largely immobile, it was important to me to make the jaw movable. This way he can have at least a little bit of expression:
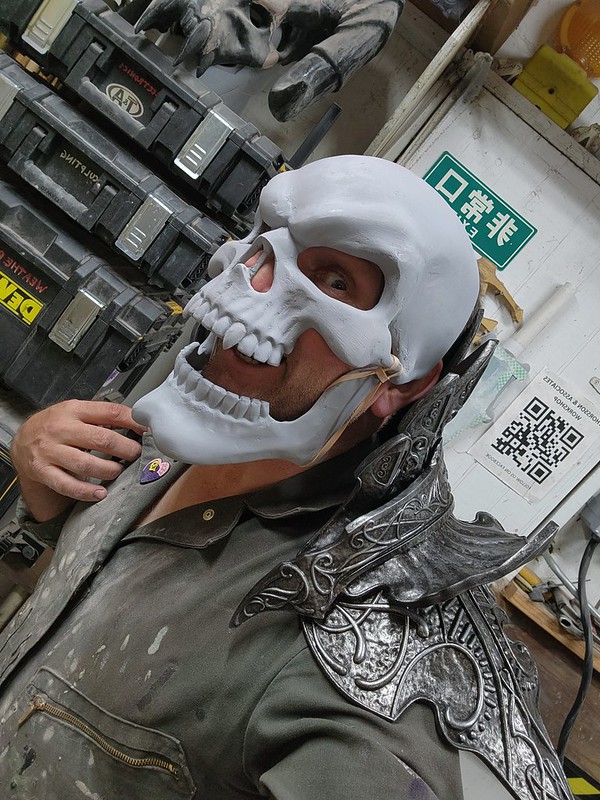
With a couple coats of paint and some shading, I was pretty happy with it:
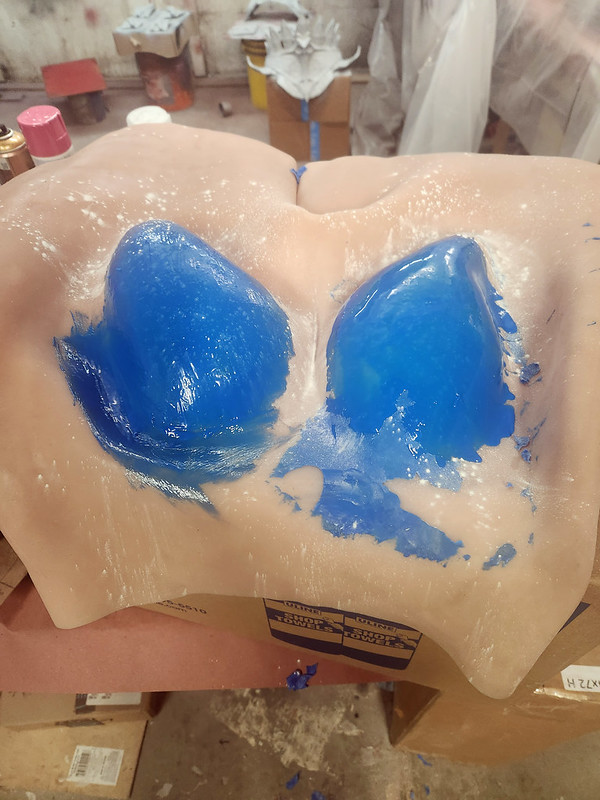
So I invested in a couple of pints of Psycho Paint from Smooth-On as well as their Silc-Pig silicone pigments and Novocs silicone solvent. Notionally you need to paint platinum cure silicone parts immediately upon removing them from the molds. Since I had no idea how long the muscle suit had been out in the world, I did have some doubts that I'd be able to get the paint to bond to the surface. So I decided to paint a test patch in a discreet area that wouldn't be noticed if it failed. So this is me painting a butt cheek after wiping it down with acetone to clean the surface:

So I tried a couple of other options, scrubbing the surface with Naptha, Novocs, Isopropyl alcohol, and acetone in an order I can't remember. I also gave the paint more time to cure on the surface. This time I ended up with two successfully blue buttcheeks:

Then I cleared out my painting booth and hung them up where I'd have plenty of room to move around them:

The first coat of blue went on okay, but while it photographs well, it looked a little too teal in person:
Clearly the "natural" skin tone was giving the blue a bit of yellow undertone. So I added another coat of blue:

To fix the teal tone, I shaded over the whole thing with a thin layer of black, then, to reduce the gloss, I dusted the whole thing with talcum powder and let it set up:

Happy that I'd captured the color I wanted, it was time to pack everything for the trip to San Diego Comic Con:


The car itself was huge and should've had plenty of room, but we had two other big projects taking up most of the interior space. But that's a story for another blog article.

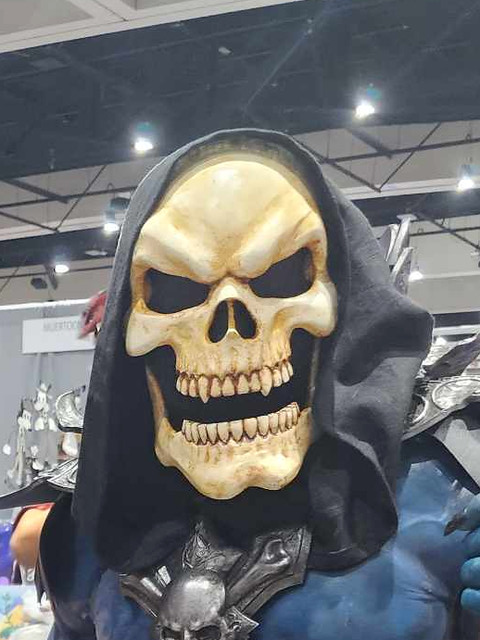
And arrive he did:

Not only was Skeletor there, but we'd put together a whole group of Masters of the Universe cosplayers:

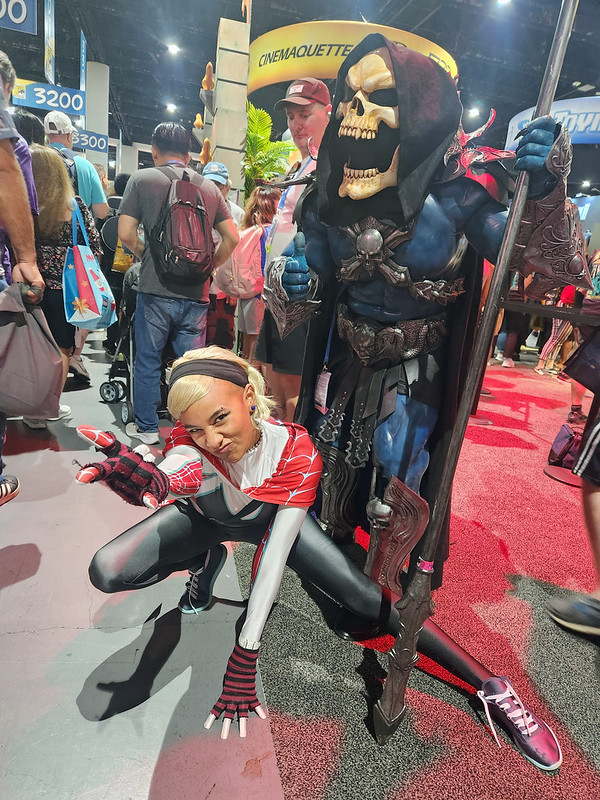
I had a lot of fun posing with other cosplayers too:
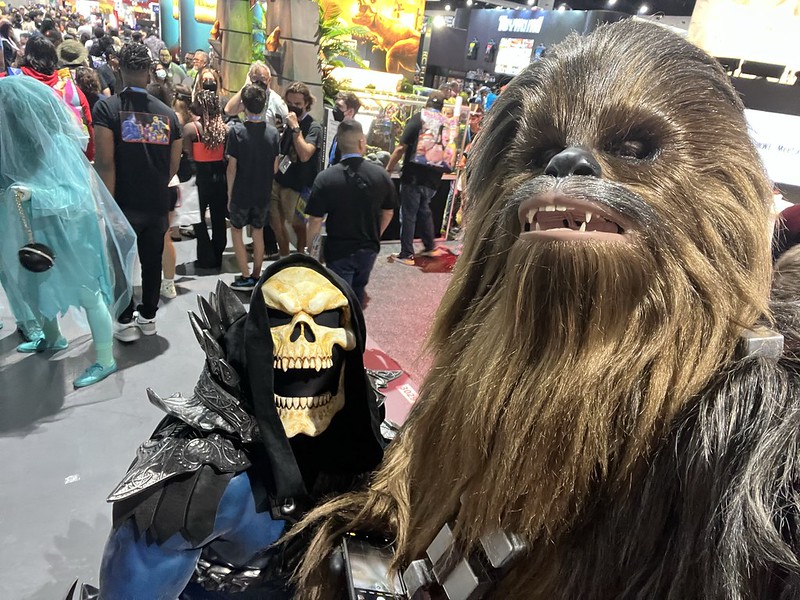


And whatever this thing is:

Jeff gets all of the glamorous jobs.
I also drank an entire gallon of water in that time and lost at least that much as sweat:

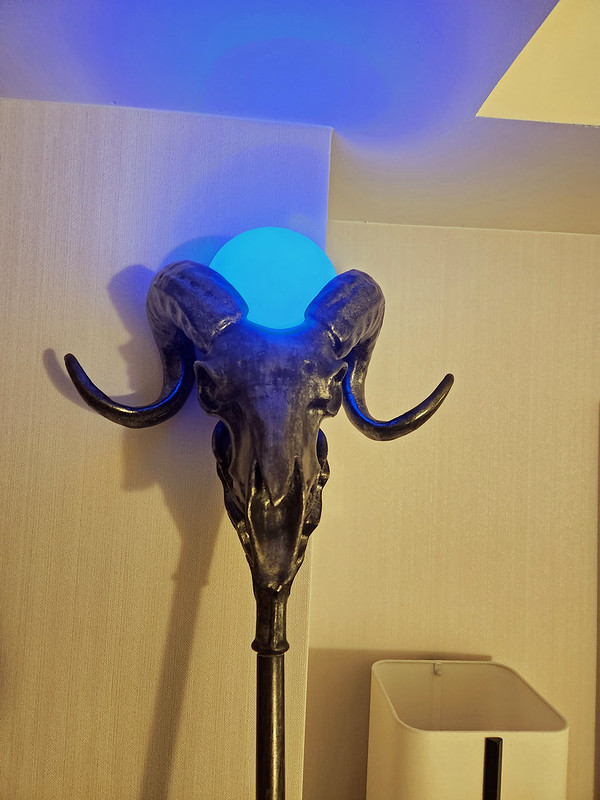
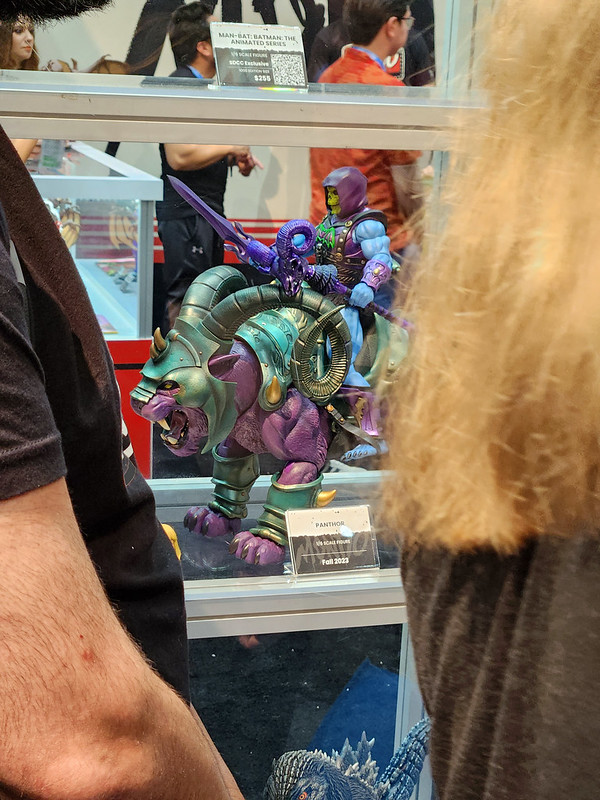
The goal is to stop before I go too crazy making accessories for this character. Though this thing I spotted at the Mondo booth has me a little inspired:
Wow, you really know how to blue yourself 😆
ReplyDeleteWow, this is an amazing costume. Are your STL file for sale, by chance? I would love to try to 3D print something like this.
ReplyDelete