
Back in what seems like forever ago, I made the helmet for the Armorer as seen in the first season of "the Mandalorian:"

Read about that build here: LINK
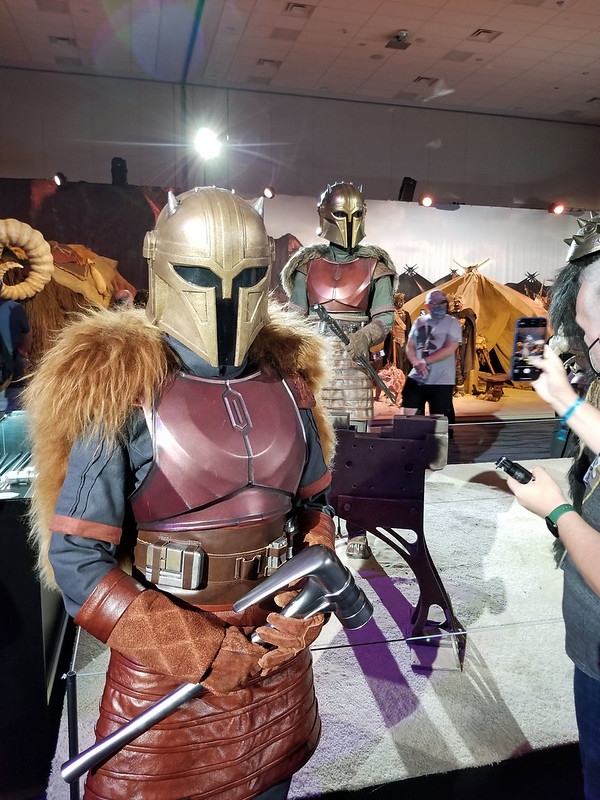
Since I can't just leave well enough alone and I have a thing for strong, capable women, I had to build the rest of her ensemble. Here's the end result:
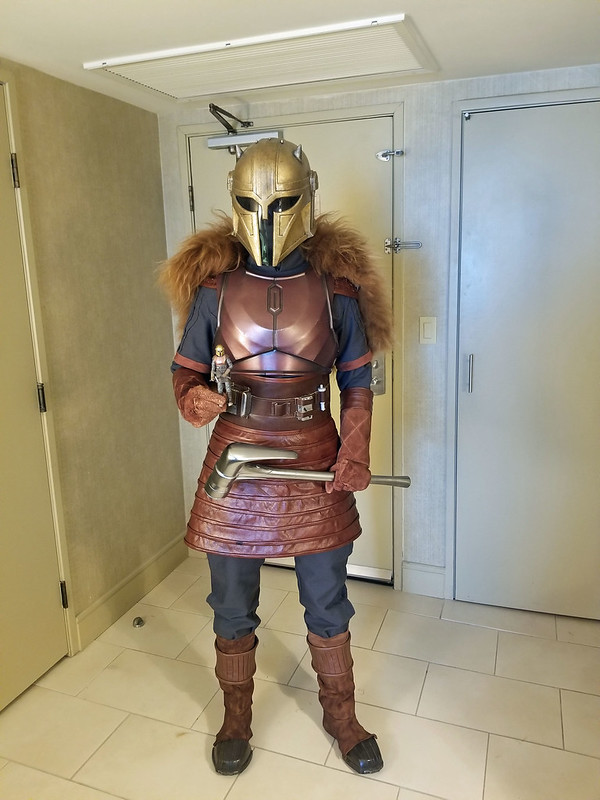
To see how it was made, read on...
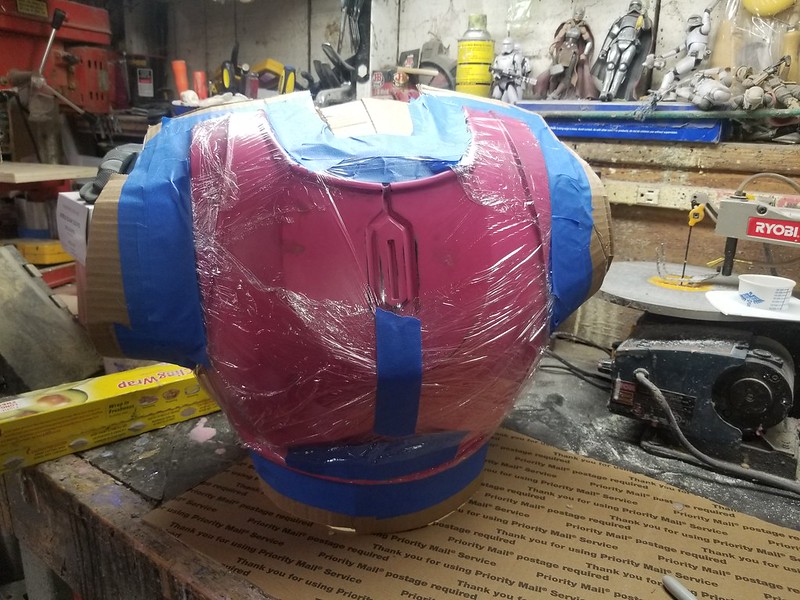
The chest and back armor were printed using files from DO3D.com with a few adjustments. To speed up the printing, I sliced each piece into a series of smaller sections and fed them to my fleet of Zortrax M200 FDM printers. After a day or so worth of printing, we taped the parts together and did a quick test fit:
So far so good.
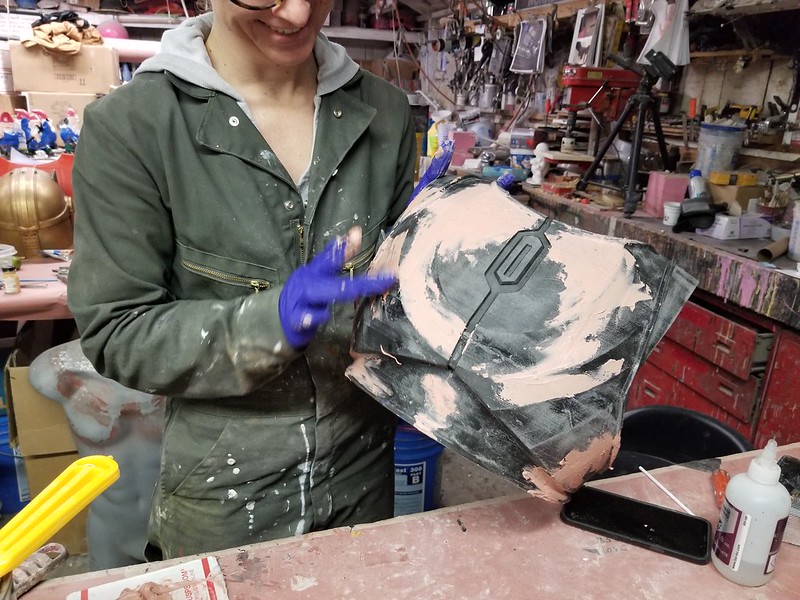
Satisfied that I'd gotten the sizing right, I started gluing the sections together and began the bodyshop work to smooth out the seams. Here's my assistant Rachel applying Bondo in excess to fair in the edges:

The first round of greay primer revealed a few flaws we'd missed:

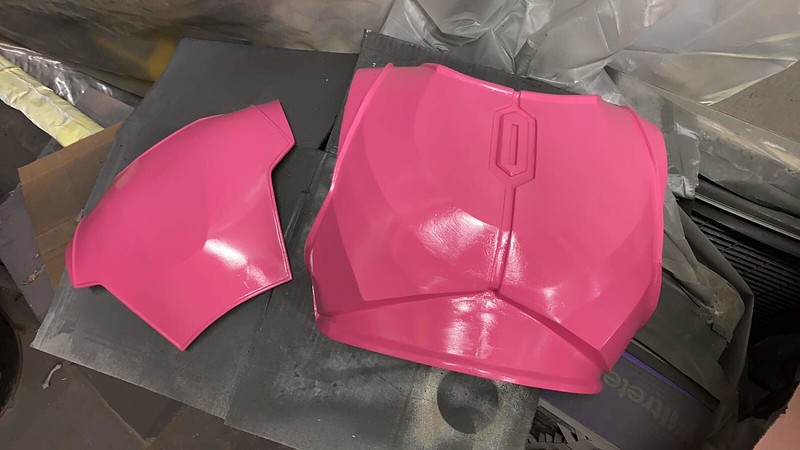
But after a couple more rounds of filling and sanding, we were ready for a nice gloss coat:
The gloss coat revealed a few more flaws, so we did a couple of rounds of spot putting and sanding. Somewhere in the middle of that process, the Lady Shawnon stopped by to try on the parts in progress:

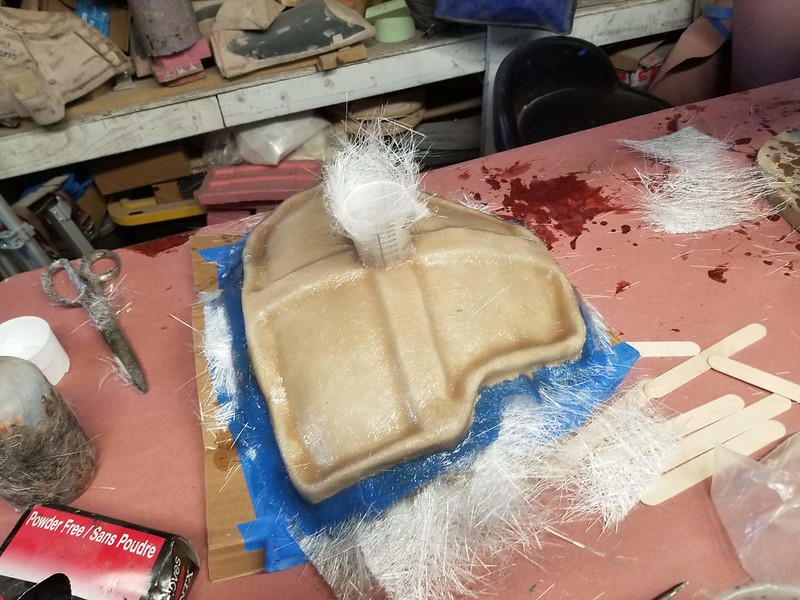
Once I was happy that the surface was smooth enough, the whole thing was polished up and mounted to some corrugated cardboard, then wrapped in plastic food wrap for the beginning of the matrix molding process:

The backplate was a much simpler matrix since it would only require a one-piece mothermold:

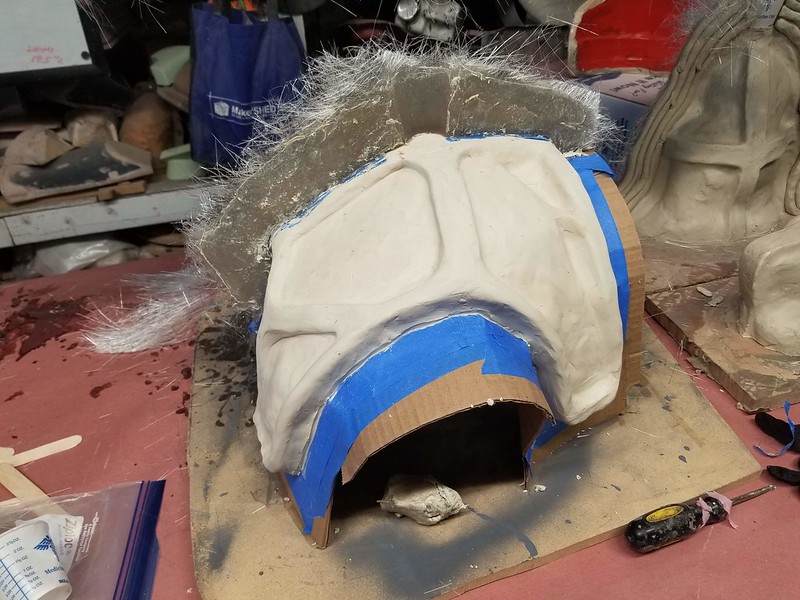
Once I was happy with the shape of the clay matrix, I started laying up the fiberglass mothermold. Here's the first half of the chest mothermold:

The key consideration when laying up the fiberglass mothermold is to keep out any bubbles. While this is usually a concern when laying up fiberglass parts, a bubble in the mothermold becomes a place where silicone will leak through and potentially make it tougher to demold and/or fit everything back together when it's time to cast copies in the mold.
Here's the one-piece mothermold for the backplate:
Slick.
After removing the clay parting wall, I was ready to lay up the second half of the chest mothermold:
The hairy excess was trimmed off of the mold flange, the surface was given a liberal smearing with petroleum jelly to keep the second half from bonding to the first half, and then the second half of the mothermold was laid up just like the first:

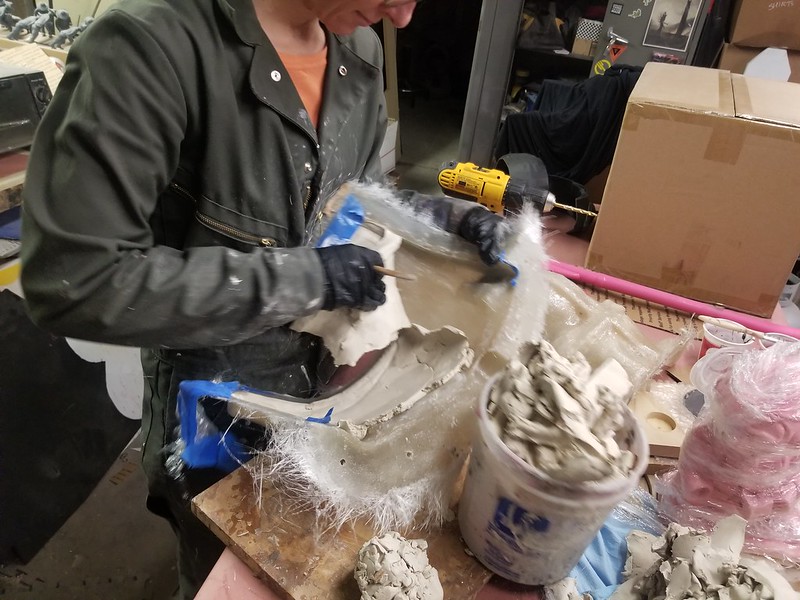
Once that had cured, it was time to pry the two halves of the mothermold apart and remove the clay matrix:

Because we're getting pretty good at this, the clay came out nice and easy:
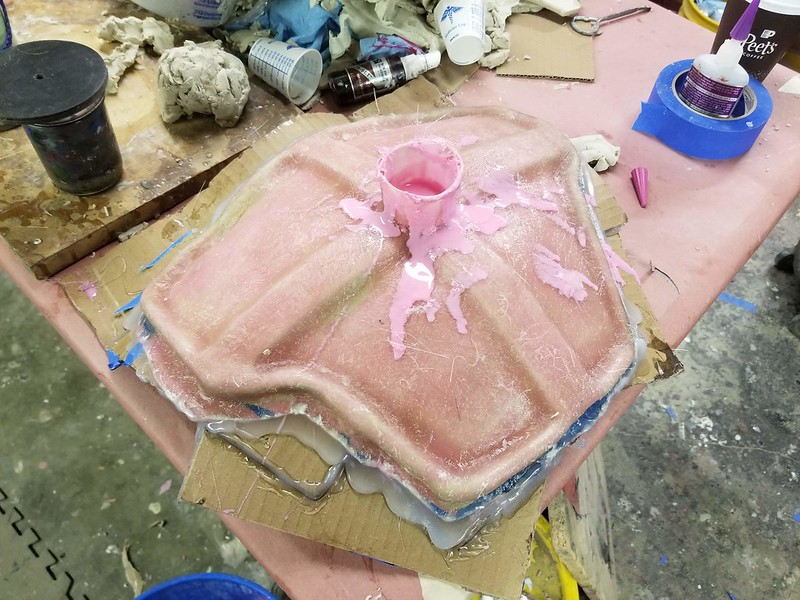
After trimming the edges of the mothermold, it was reassembled and glued back in place with hot glue before pouring silicone into the spout at the top to fill the void left behind where the clay was:
NOTE: I use a lot of hot glue here. Like, a lot a lot. Possibly way too much. The idea is to seal up all of the edges all the way around in order to prevent any of the pricey liquid silicon rubber from leaking out of the edges wasting time, money, and material that could go into some other awesome project.
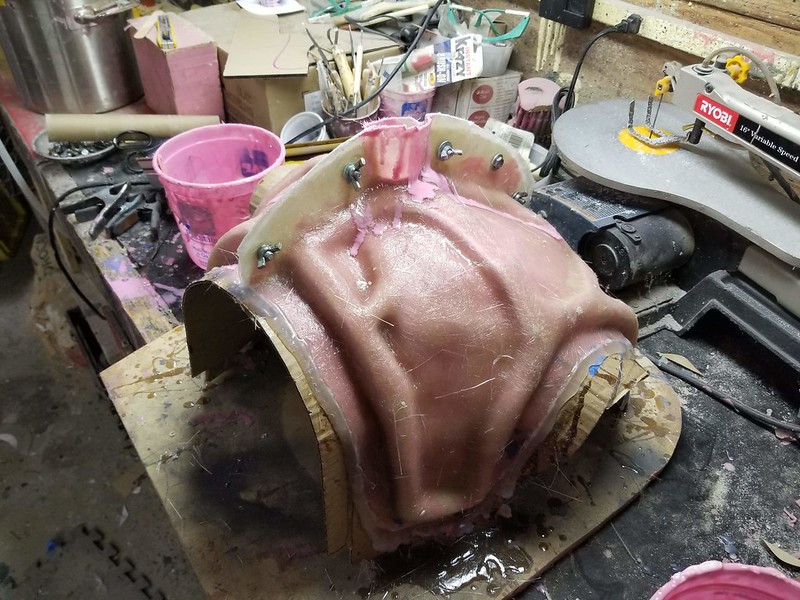
Here's the backplate after we'd poured in the rubber:
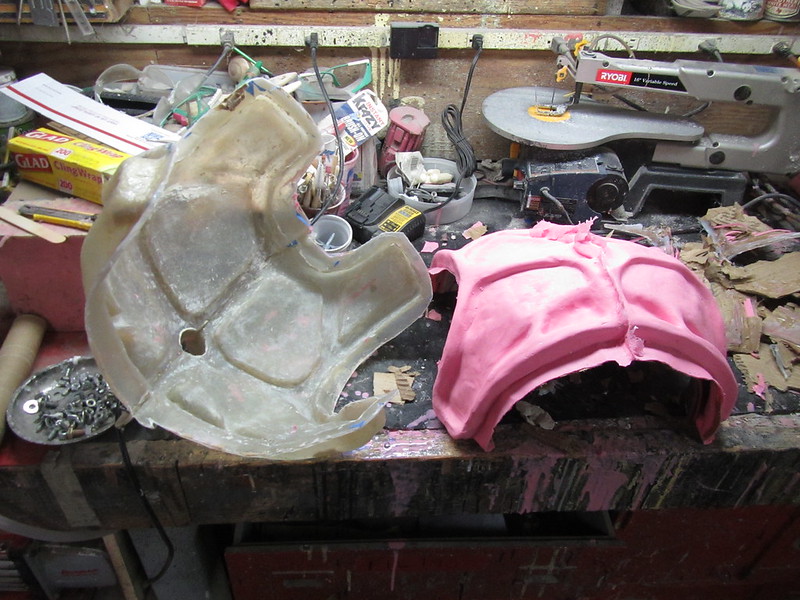
Once the silicone had cured, we could remove the mothermold and take the original 3D printed masters out of the rubber mold jacket. Here's the reassembled chest mothermold next to the newly cured rubber jacket:
Once the jacket was placed back into the mothermold, we went ahead and laid up a set of parts in fiberglass:

Typically, tin cure silicon rubber will retard the curing of polyester fiberglass resins and gelcoats. To mitigate this, I dusted the mold with a silver colored metallic powder which serves as a barrier and also installs this nifty finish onto the cast parts:

Still, after a couple of not-so-awesome fiberglass pulls were attempted, we decided to opt for rotocasting them in urethane resin instead. Here's one of the first good pulls with a quick and dirty rattlecan paint job:

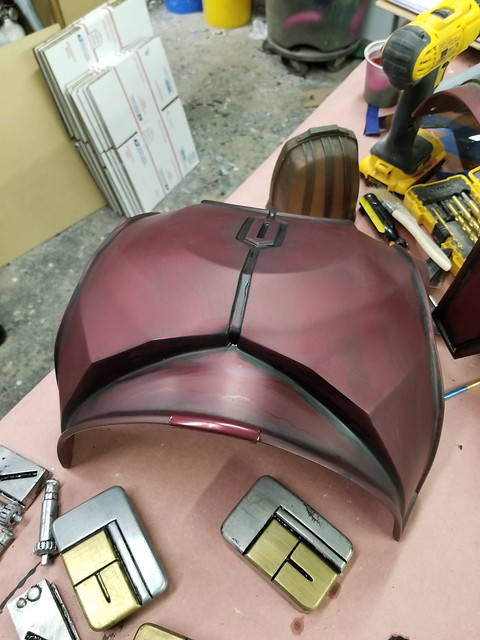
Given how dimly lit most of her scenes are, we spent a lot of time deliberating over the color of the chest and back armor and finally settled on "burgundy berry metallic" from Duplicolor. Here's a chest plate after we'd given it a bit of a blackwash to age it:

Blackwashing is magical. Whenever something is shiny and clean, it tends to look fake. A few smudges of black and dusty and suddenly it all comes to life.

At around this time, someone pointed out that we had missed a little raised detail on the center of the bottom lip of the chest armor. I'm not sure how I missed it, because it shows up clear as day on screen in the show as seen here:

Yeah. It's right there.

After making ten or twelve of these little blobs, they were trimmed down and the ends were cut square like so:


After a bit more weathering, you'd never guess I'd made such an egregious oversight:


After a bit of noodling it over, I decided on a combination of these two colors:

I might have not used the Burgundy Berry Metallic, but I bought a whole bunch of it in anticipation of possibly making more than one copy of this costume and didn't want it to go to waste.
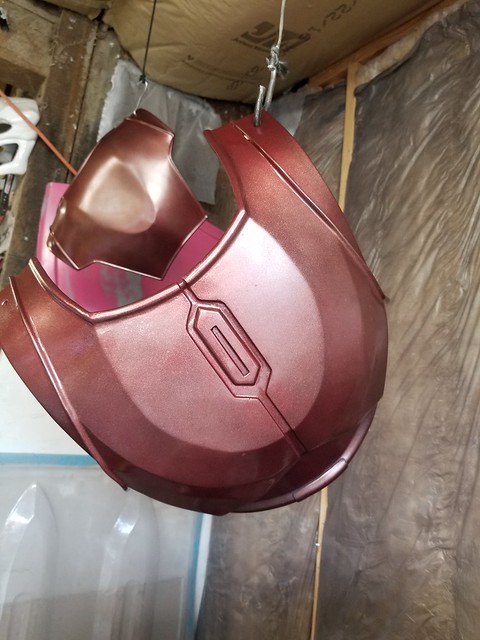
After another round of blackwash, I was pretty happy with the result:

So here's how it looked at this point:

For the next couple of years, I'd intermittently dust off this project and do a bit of tinkering on the toe caps or the hammer or whatever, but it had mostly ground to a halt. The plan had been to show it off at Star Wars Celebration: Anaheim in 2020, but that event was postponed to 2022, so this project was also set aside for later.


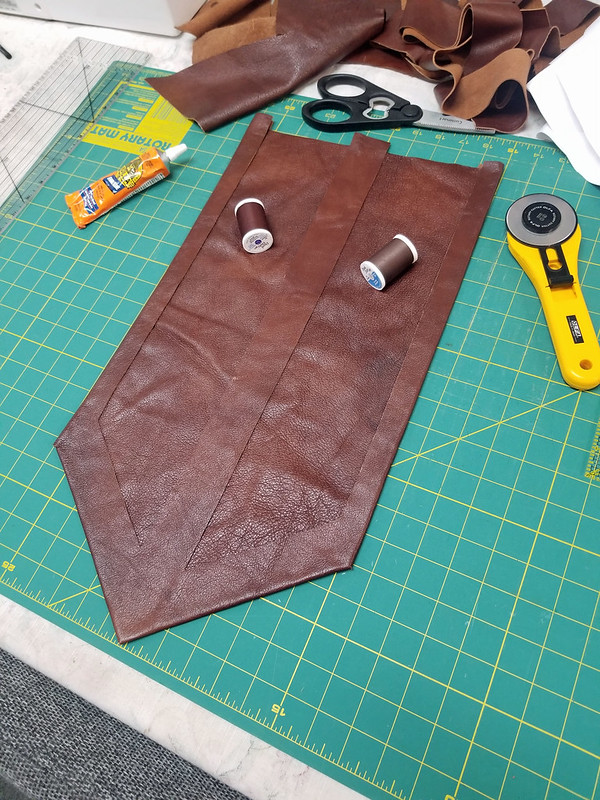
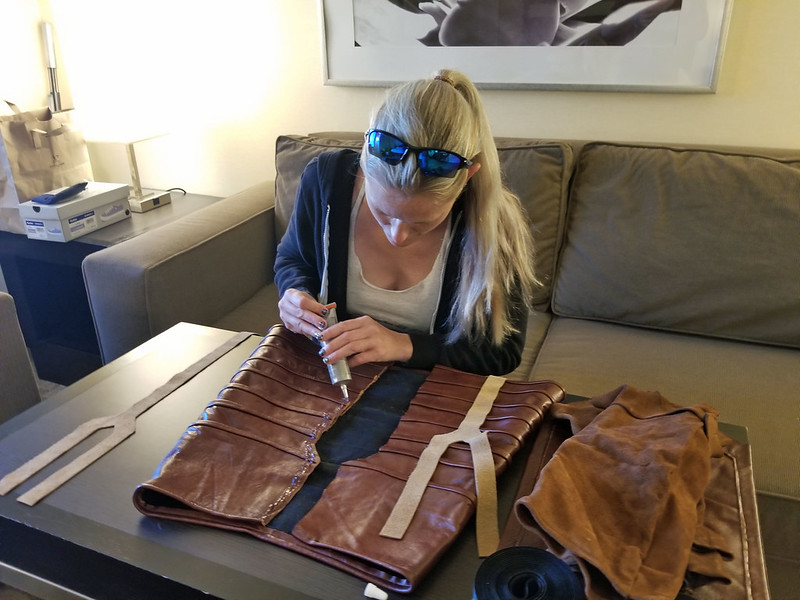
With that done, progress stalled until I could find the time and focus to sew together all of the leather parts. I've had the rest of the costume in a bin with three full hides worth of brown leather for almost two years, but I just haven't been able to get it done. Fortunately, a few weeks before attending Star Wars Celebration in Anaheim, the Lady Shawnon offered to knuckle down, draft some patterns, and bust out all of the leatherwork.
Here she is in the early stage of working out the skirt parts:

Starting with the easy part first, she made the boot covers. They came out great:

The next part in order of difficulty was the rear flap for the skirt:
The biggest piece, but not the most difficult, is the rest of the skirt:

She did a great job:

Of course, a few minor details ended up getting added once we were at the hotel for the convention:
Last on the list was the gloves. We'd tried to build the long forearm cuffs around a pair of donor gloves, but matching the color proved to be more of a pain than we'd expected. Instead, Shawnon spent a few hours one evening stitching up a pair of gloves from scratch. The end result was superb:

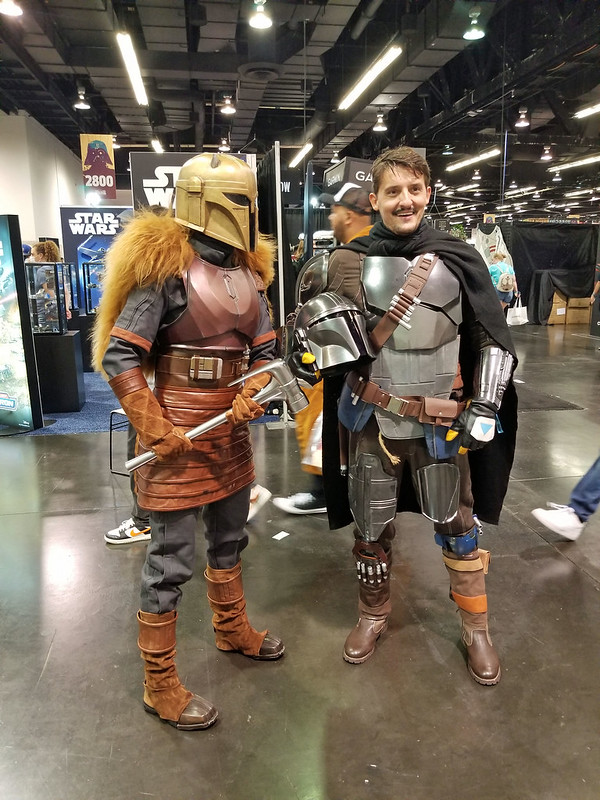
The whole thing could use a bit of weathering and darkening, but it was definitely good enough to take to a convention.

I was a bit worried that we'd run into a lot of people dressed as this character, but by the time the weekend was over, I'd only ever seen three or four others. We did run into a lot of this guy though:

We also got to check out the Mandalorian Experience, a massive collection of screen-used props and costumes from the Mandalorian as well as the Book of Boba Fett. We got a great pic as we entered the exhibit:

Inside, mixed in with all of the other awesomeness, was the screen-used Armorer costume. I was really happy with our replica until I got to compare it side by side with the real deal:
So stay tuned for whenever I get around to upgrading it.
Thanks for sharing. I have an armorer myself and feel your frustration as the screen used costume is released. Nice work!
ReplyDeleteIf polyester resin is out because of the tin-cure silicone, wouldn't it still be possible to add fiberglass cloth to an epoxy or urethane resin cast?
ReplyDeleteYes. In the end, we rotocast a couple of layers of urethane resin into the molds, then laid a layer of fiberglass mat into the third layer of urethane, and covered that with a fourth layer of urethane.
Delete