
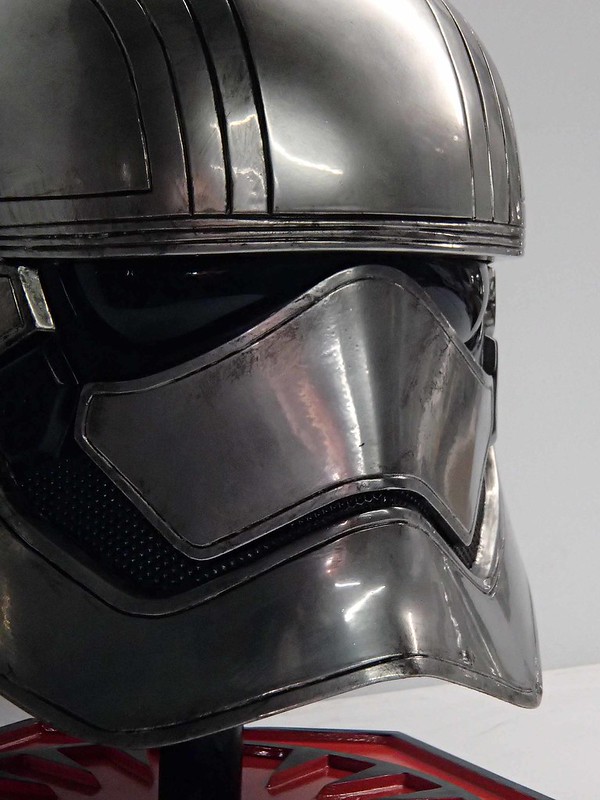
But it turns out I can't just leave well enough alone. Mixed in with all of the other awesomeness in the trailers was this beauty:

A chrome stormtrooper? I'm listening...
Folks who've known me for any length of time know that I used to drive a little car that was chrome. Not the whole thing, mind you, just the outside. So when images of the chrome stormtrooper started popping up online, I started getting flooded with messages from folks asking me when I'd be starting this project. Clearly it was right up my alley.
Still, I resisted.
Some time later there was a photoshoot which showed off a lot of the neat new things from the upcoming movie. The best part was that they actors names were listed next to each of the characters. This is when I found out that the chrome stormtrooper was named Captain Phasma and was being played by none other than Gwendolyn Christie. If you don't know who she is, she's the actress who's best known for playing Brienne of Tarth in Game of Thrones:

So not only is this a chrome stormtrooper, she's woman. A tall blonde woman. And they didn't do anything silly to make the armor look sexy or feminine. No nonsense, just the same gear that the rest of the troopers wear in a different color to make it clear that she's in charge.
Now I was hooked.
After that, all it took was having the Lady Shawnon offhandedly mention "I'd wear that." and I was off to the races.
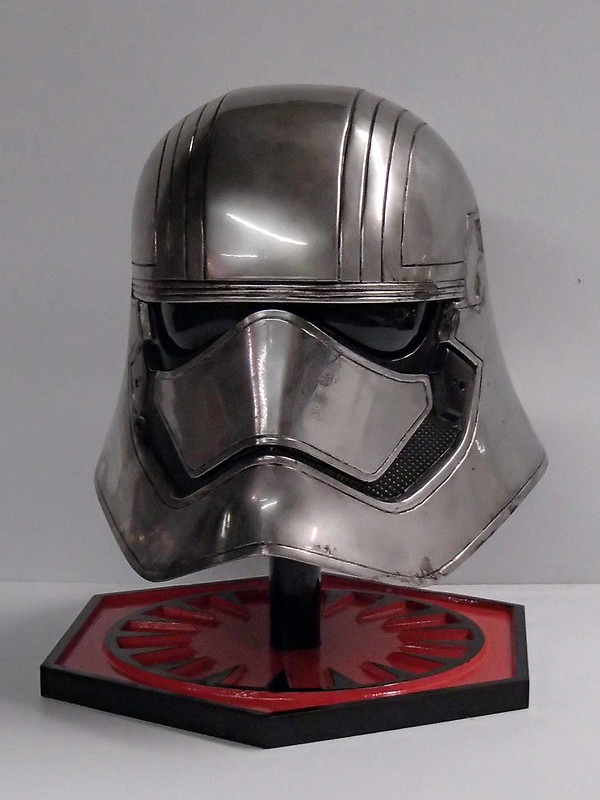
So far the helmet is done:
For details about how it was made, read on...
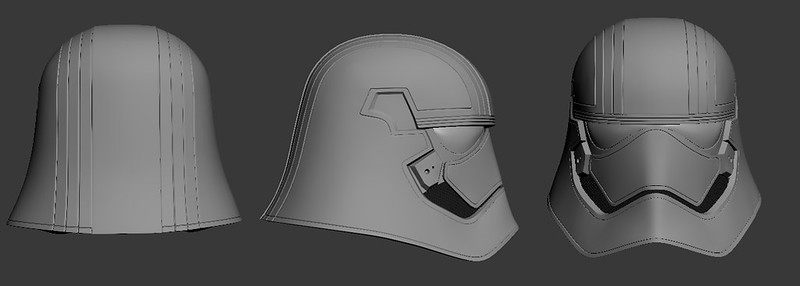
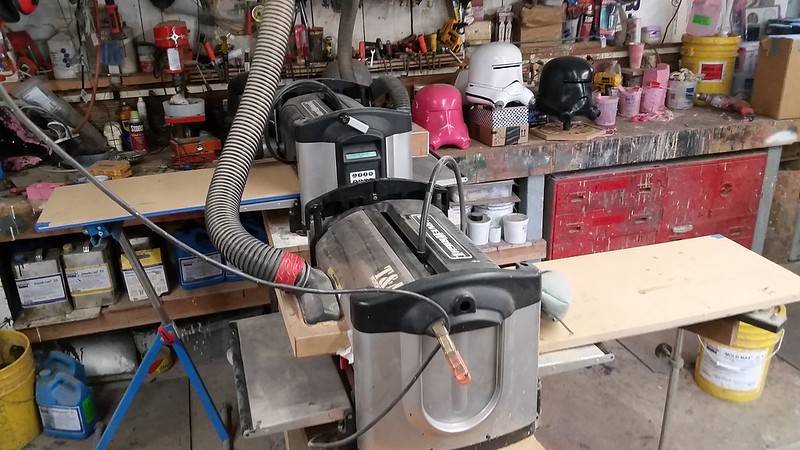
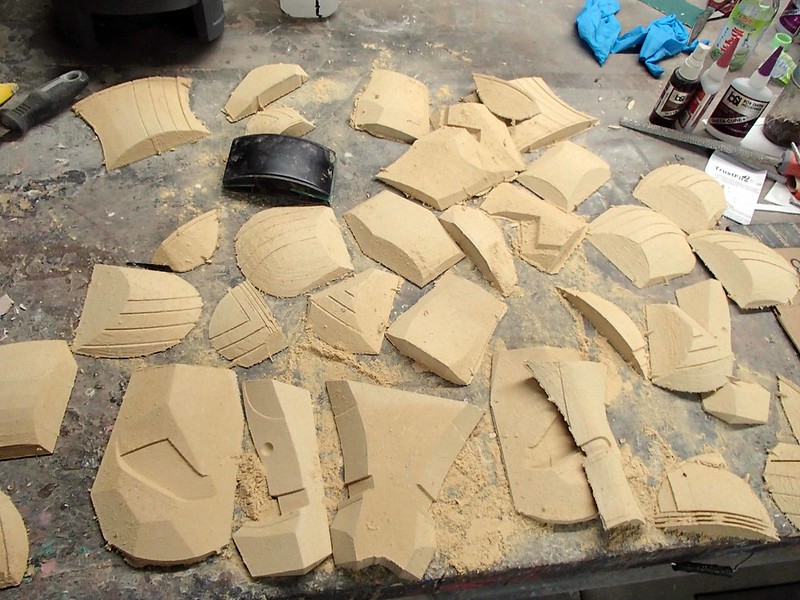
After spending a bit of time slicing that model into pieces I could feed to the Lopez twins (my pair of Carvewright CNC machines) I plugged them in and left them to chew up some MDF and spit out some helmet pieces. Here's a "before" shot:
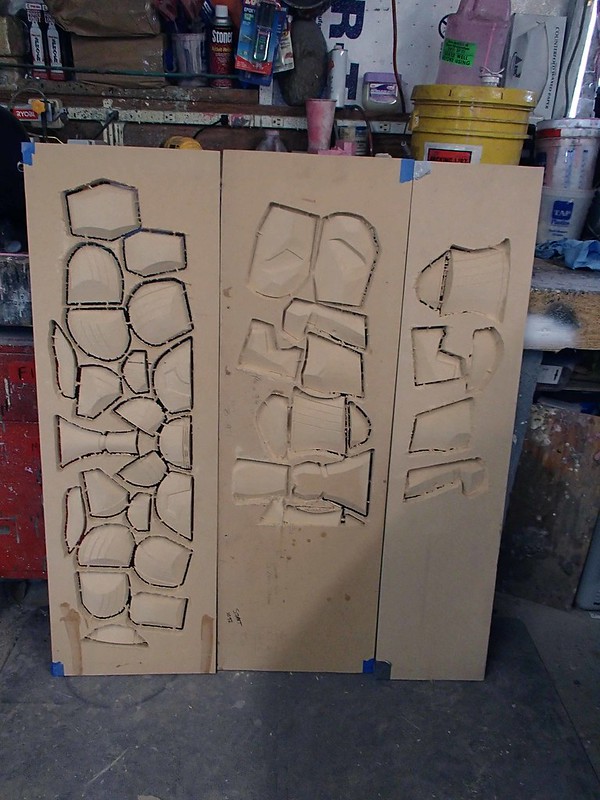
And the "after" shot:
With the carving done, it was just the simple matter of putting all of the slices together:
In this case, I started with the skirt parts around the bottom edge:
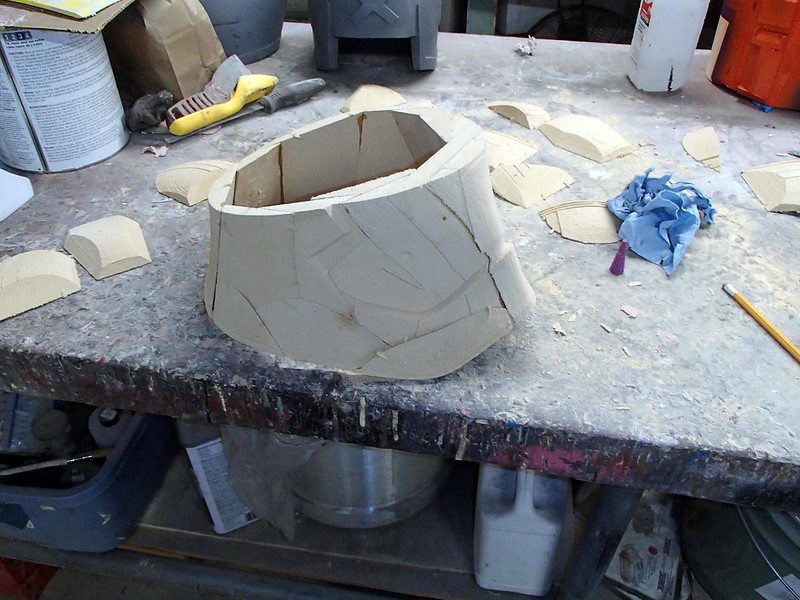
Then assembled and attached the dome:
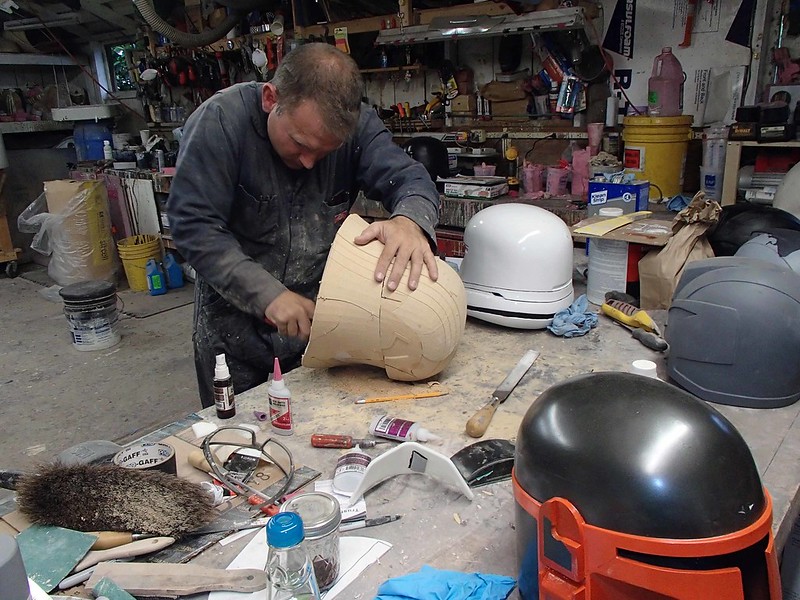
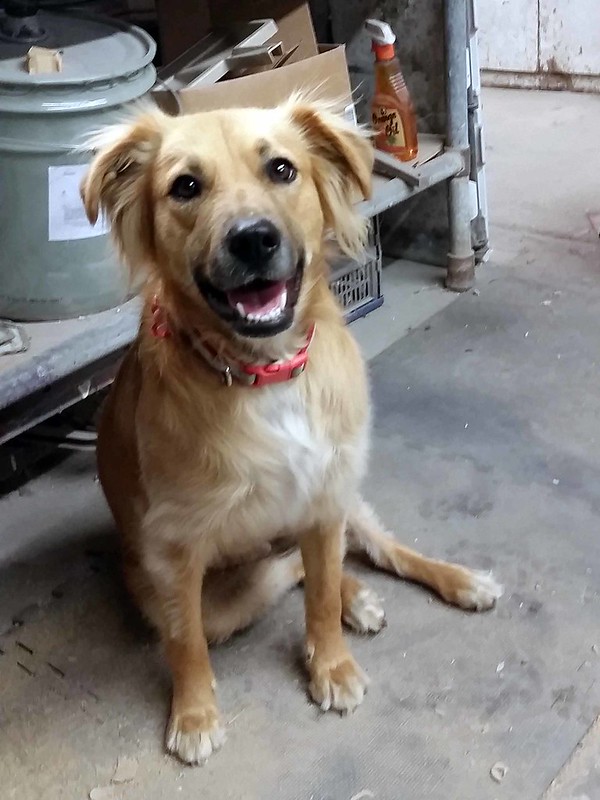
With the bulk of the parts put together, it was time for a test fit:
Little dog liked it:
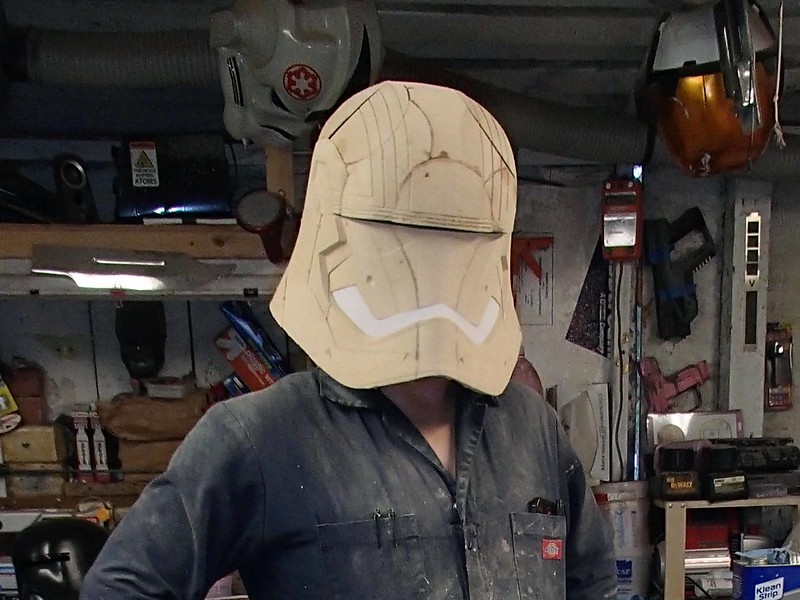
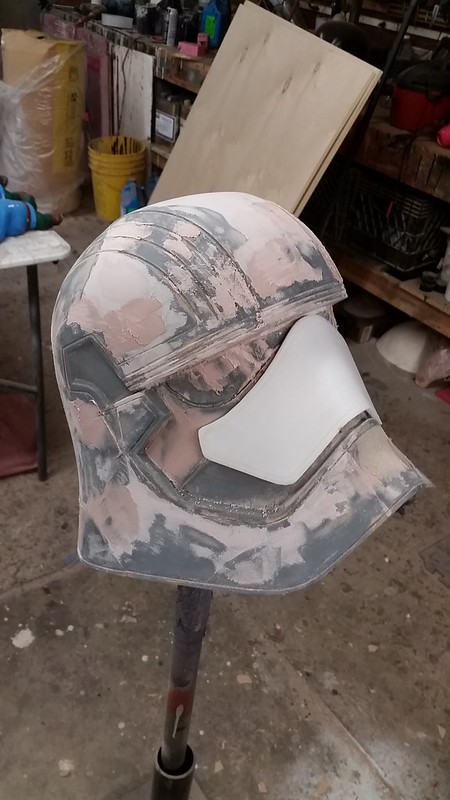
The nose plate, mesh grill for the "grin" and the teardrop details at the bottom of the eye holes were 3D printed. After a rough dry-fitting to make sure they'd be able to go where they belonged, they were set aside and I focused on the main body of the helmet. After a quick pass with some 120-grit sandpaper, the whole thing got a few heavy coats of primer:

Gah! So many seams!
Not to worry. I just needed to mix up a bit of body filler:
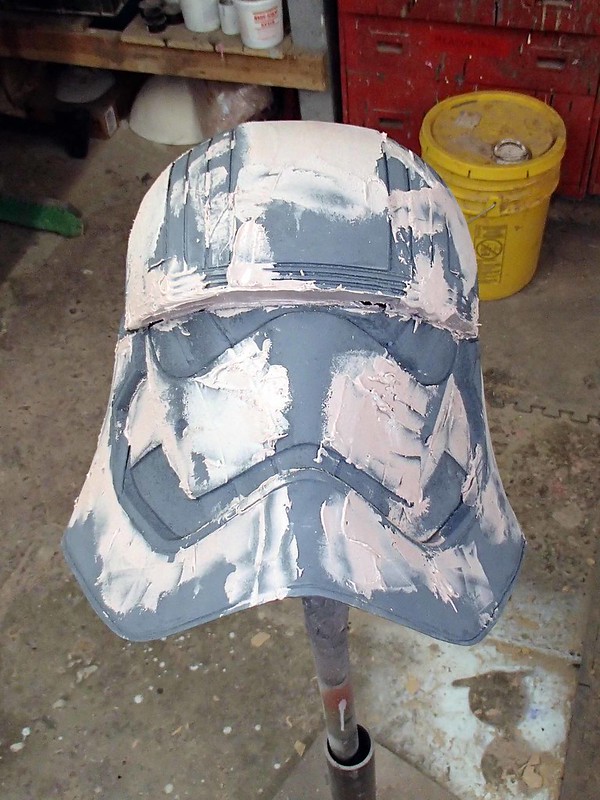
Here it is somewhere in the middle of the seemingly endless loop of sanding, filling, sanding, filling, sanding, and filling:
Eventually it was pretty much sorted out:
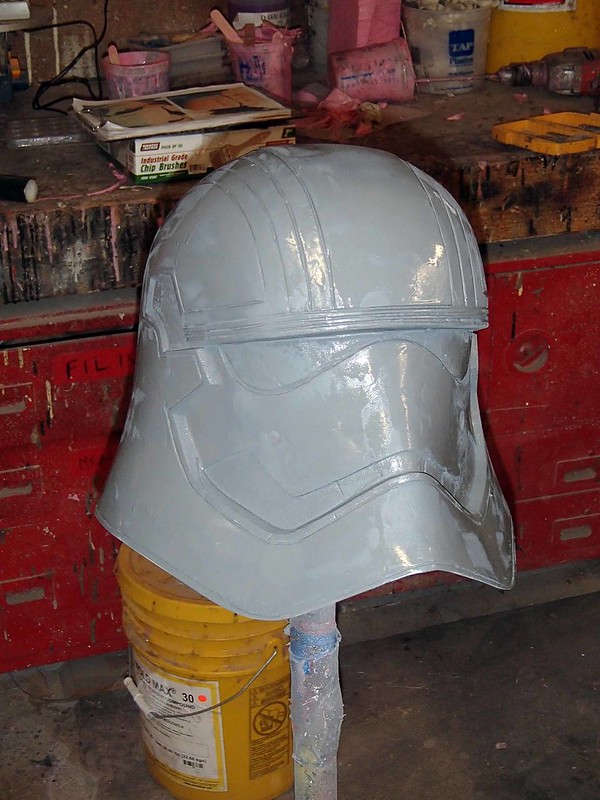
The I glued in the mesh grill and the teardrop details before giving the whole thing a nice gloss coat:
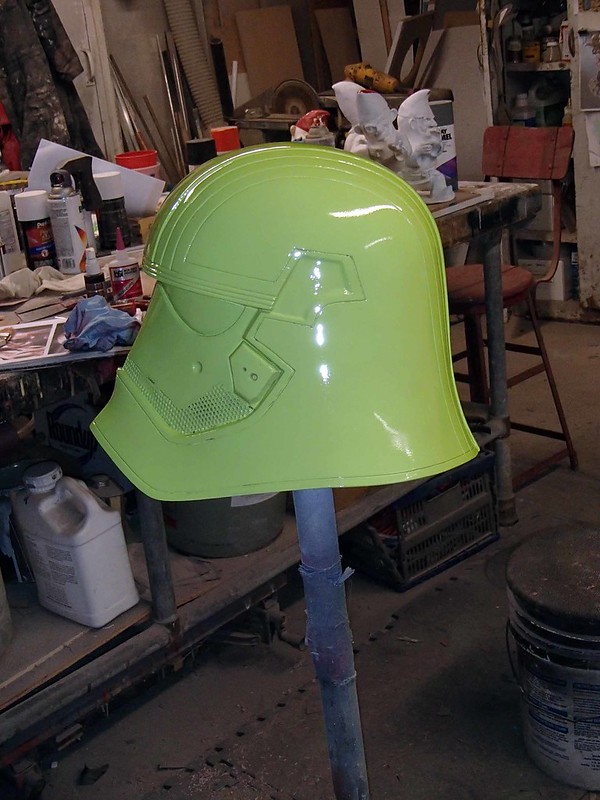
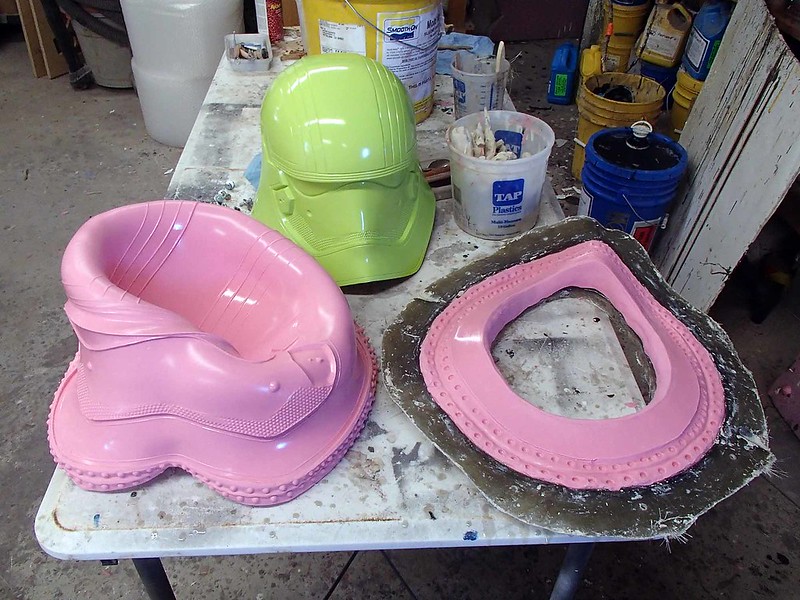
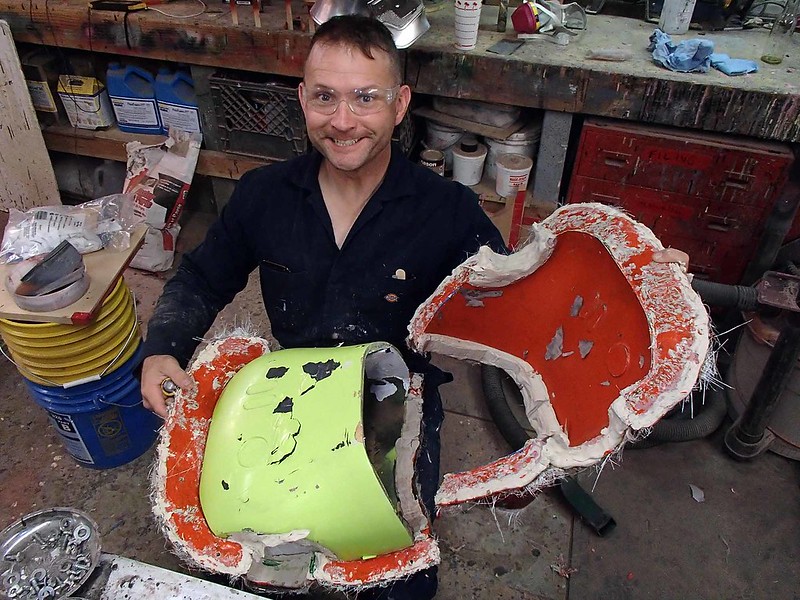
If you're wondering why it isn't pink (or lightish red) it's because I ran out of my customary prototype color and had to grab the next can of shiny anything off the shelf. It turns out I had plenty of Lime Green leftover from building the Harpoon Gun for the Evolve project.
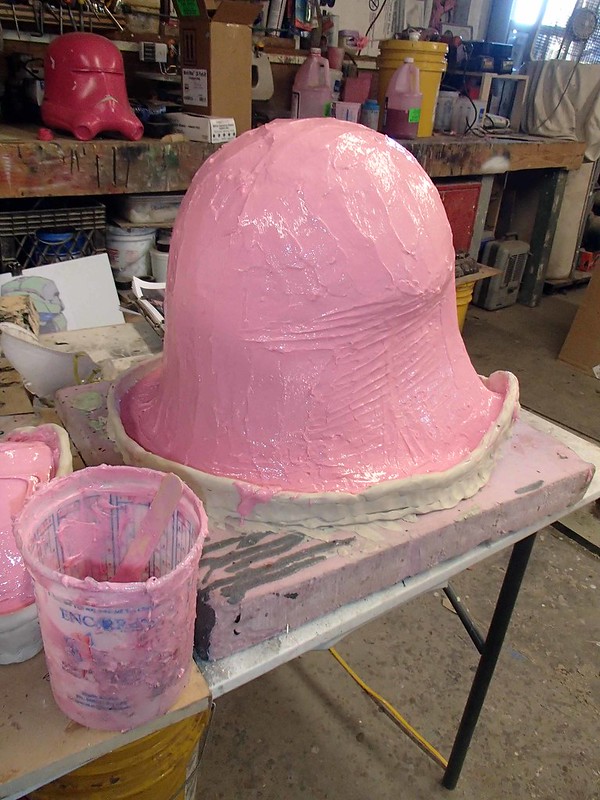
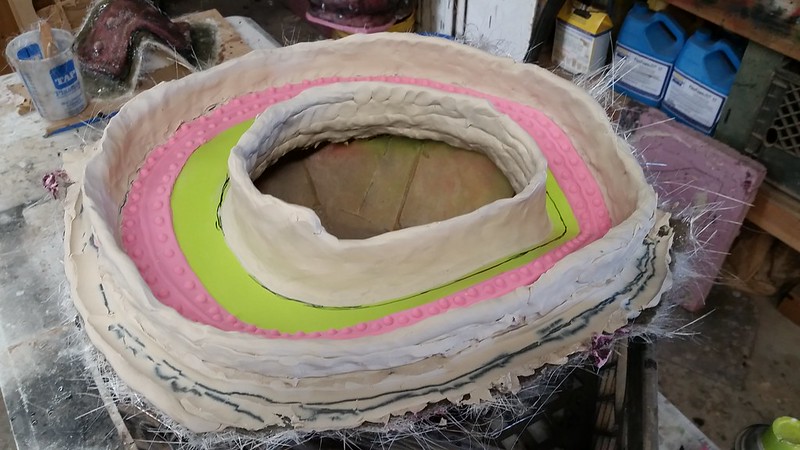
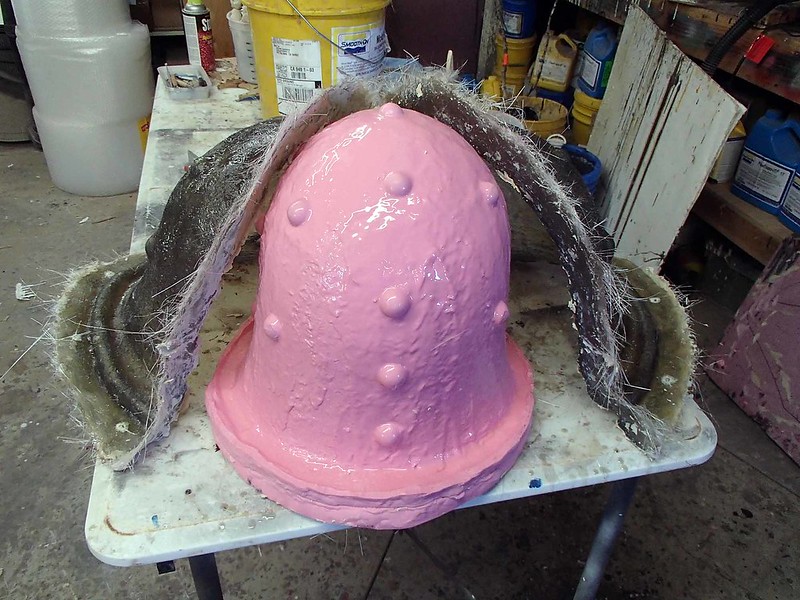
Once the gloss coat had dried, it was time to get to work on the molds. For the main mold, I decided on a 2-part mold that would end up looking like a bell on a plate. So I started by building up a clay parting wall/flange around the base of the helmet:
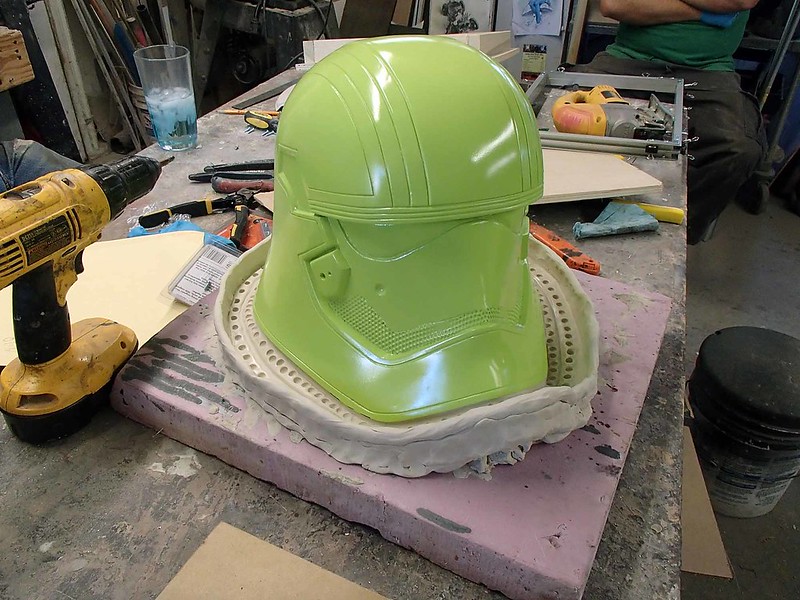
Once the clay was forming a watertight seal around the bottom edge of the helmet and I had pushed all of the little dimply registration keys into the surface, it was time to start pouring silicone:
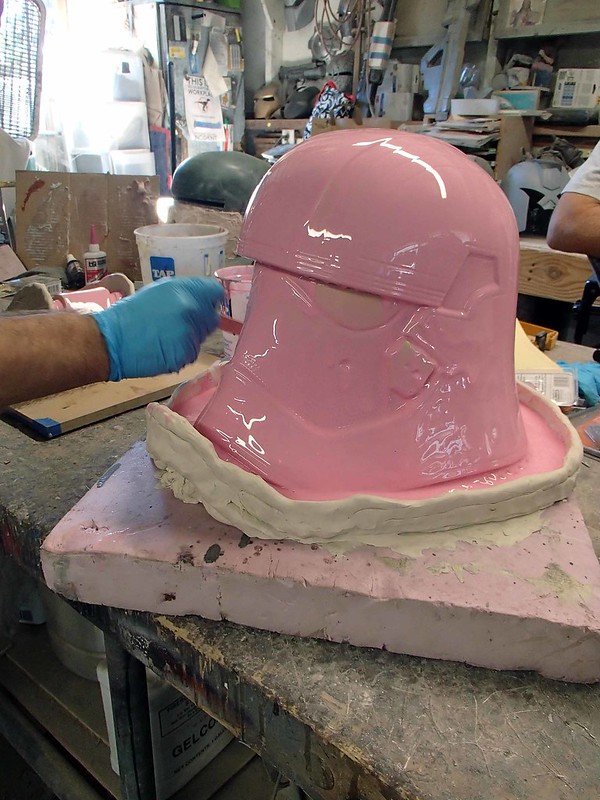
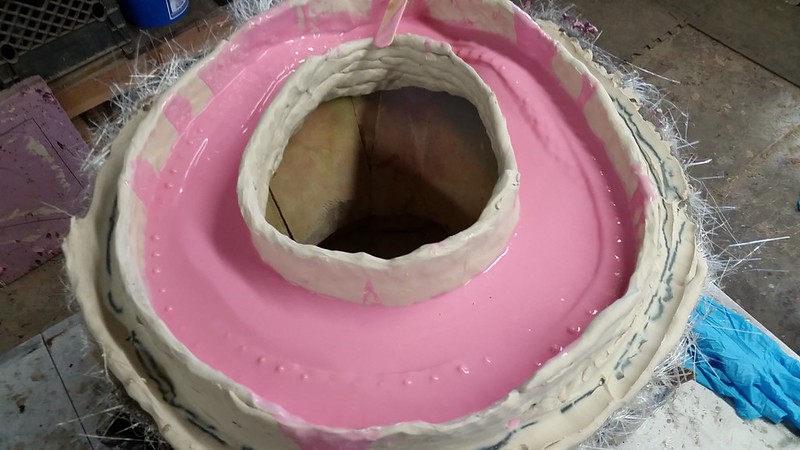
The first coat was a nice, thin layer that picked up all of the little details as it flowed over the surface.
Once that had set up, I layered on more silicone with a thixotropic additive to make it more viscous and keep it from drooling all over the place:
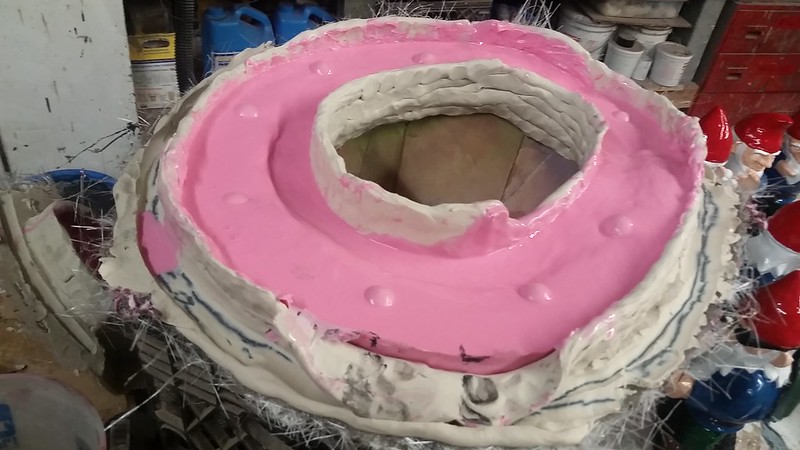
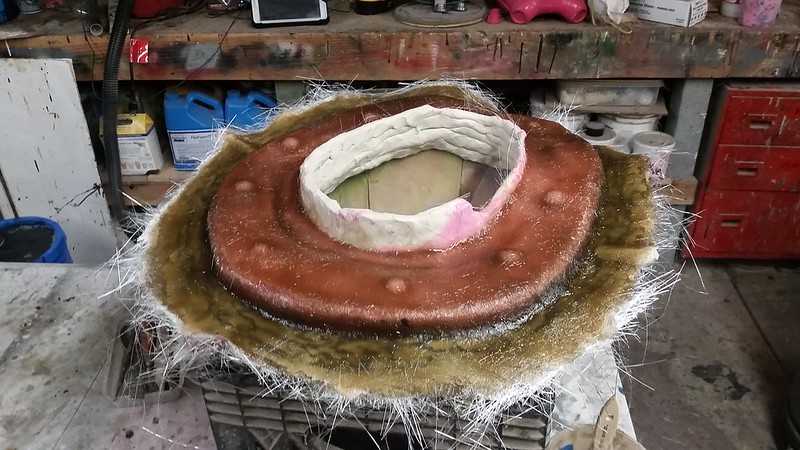
Here's the almost completed silicone rubber jacket mold:
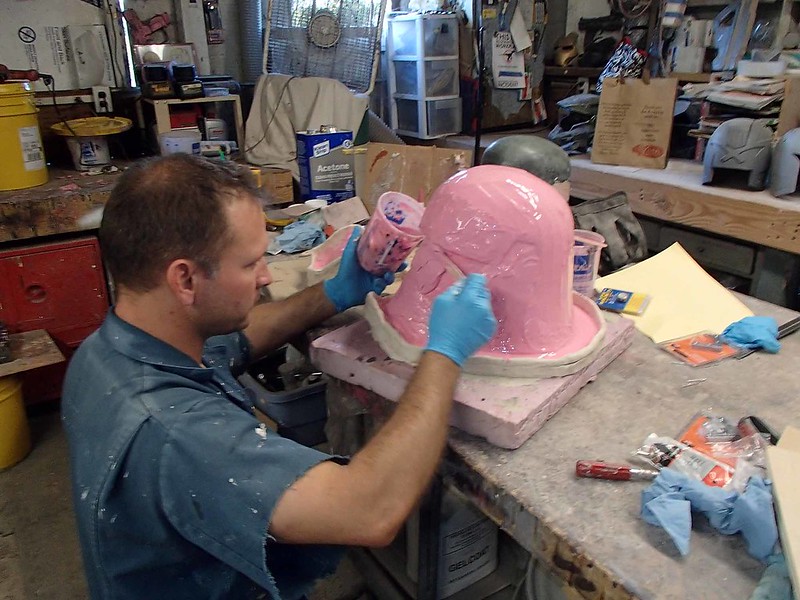
The last step was to add on some silicone registration keys to make it easier to align the rubber part in the mothermold:

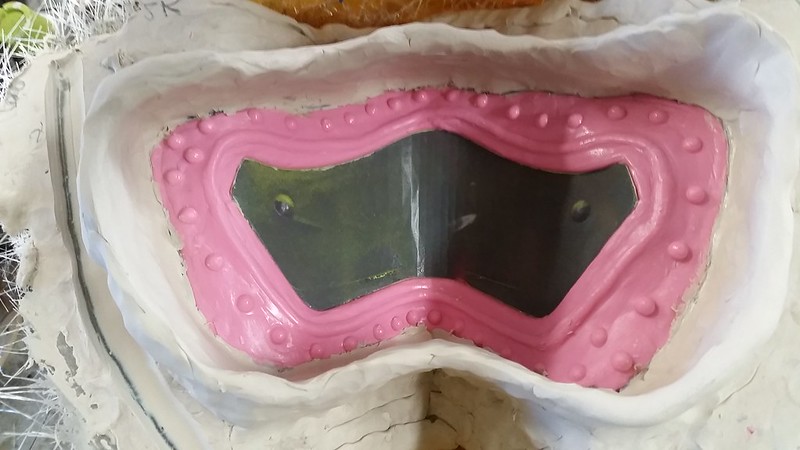
In order to make the undercuts easier to deal with, I decided to mold the Schnozzplate separately. This was a 2-piece mold, so I started by building up a clay parting wall again:
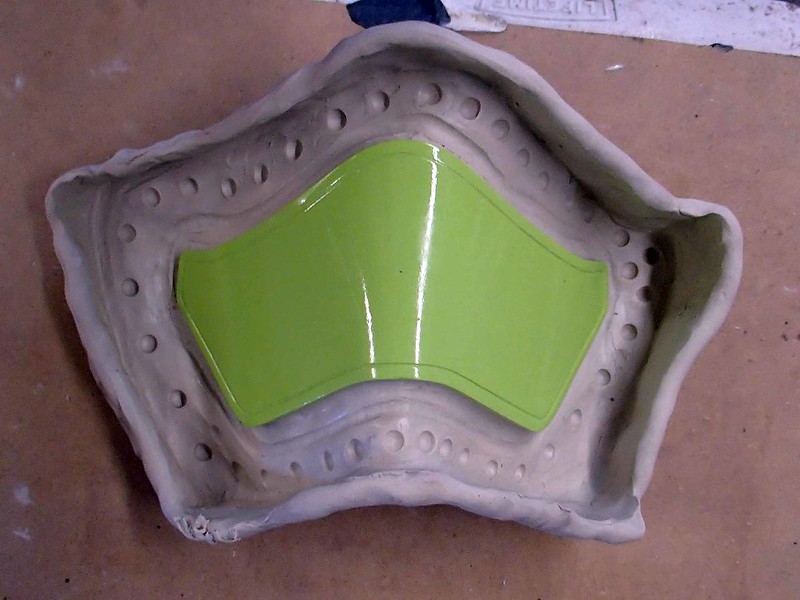
Then layering over the whole thing with silicone:
And adding registration keys:

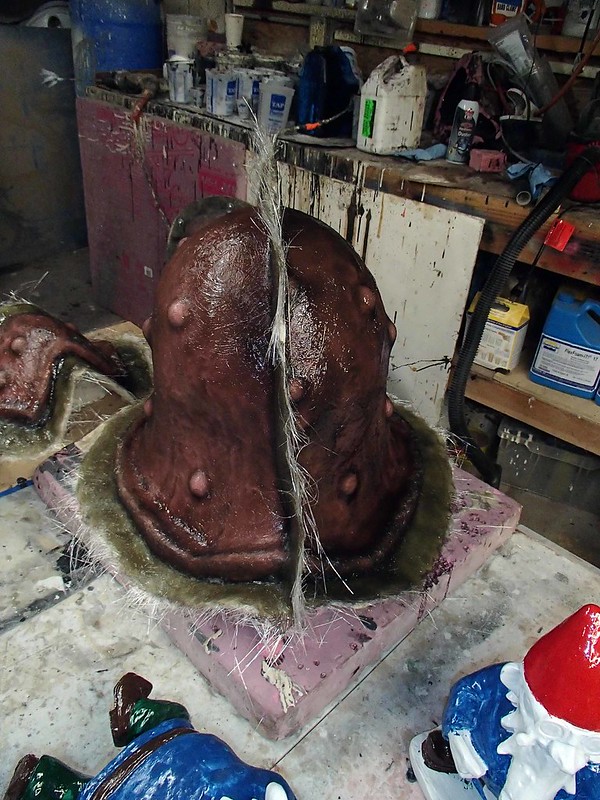
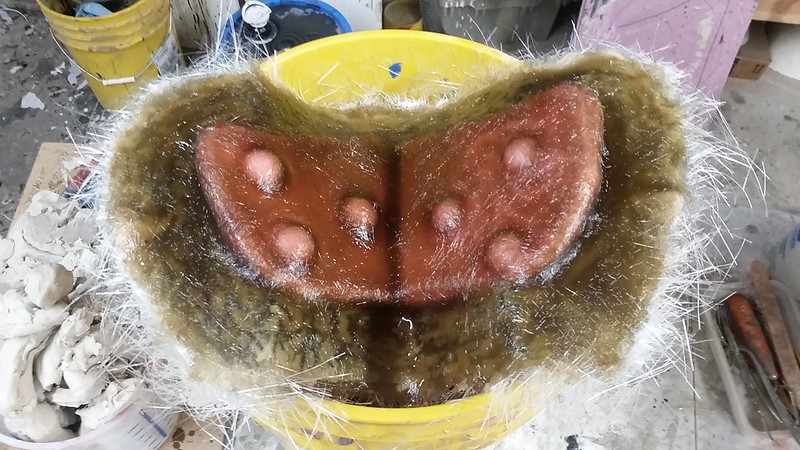
Once the last bits of silicone had cured, it was time to build up the mothermold. This was just a matter of building more clay parting wall and then laying up fiberglass over one half of the mold at a time:

After peeling off the clay parting wall, the second half of the mothermold was laid up on the main body of the helmet:
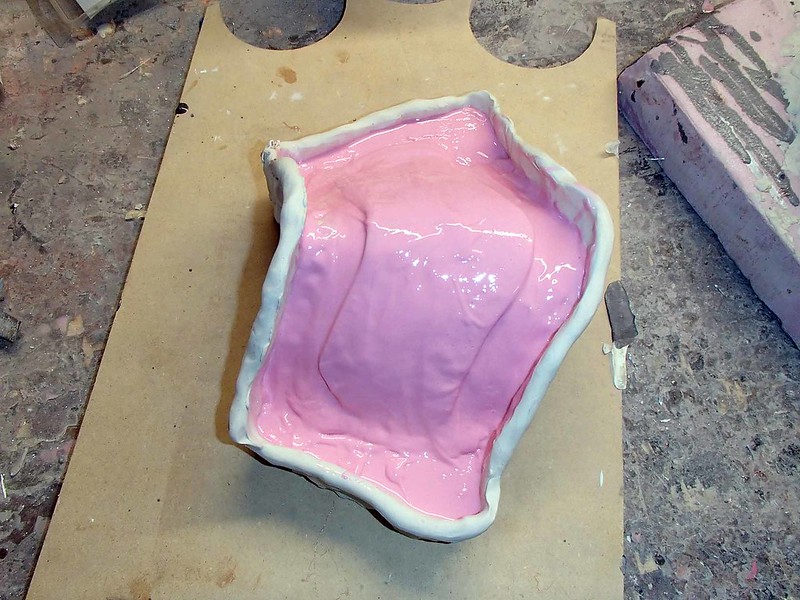
Then it was time to flip both pieces over and make the other side of the molds. For the bottom of the main helmet body, this started with the addition of clay drip walls:
The Schnozzplate got the same treatment:
Once a liberal coating of release agent was sprayed on, both pieces were layered with more silicone:
Here's the bottom of the main body of the helmet after the silicone had been thickened and the registration keys had been added:
Then it was time for the third piece of the mothermold:
The back side of the Schnozzplate was given the same treatment:
Before separating the sections of the mothermold, the flanges were drilled with 1/4" bolt holes. Then it was just a matter of prying the rigid pieces apart:
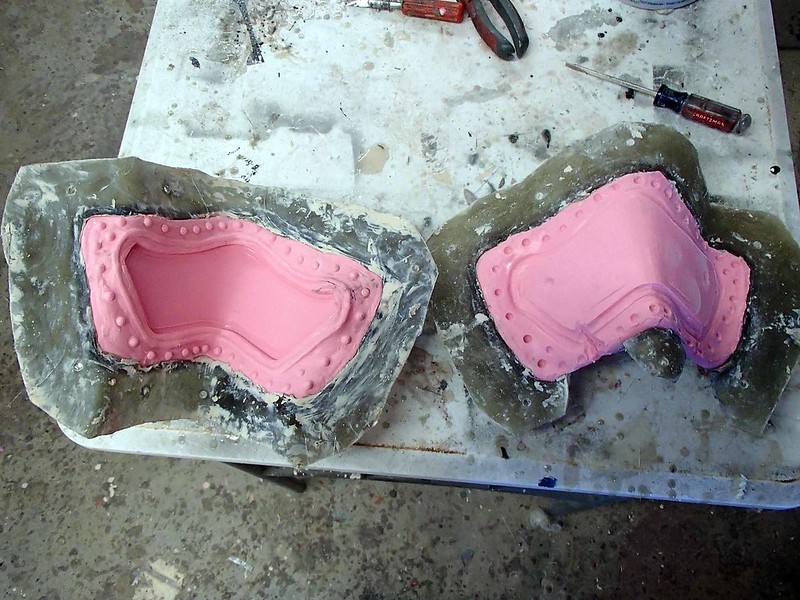
Once the mothermold was trimmed to remove the sharp, itchy, or hairy fiberglass bits from the edges, the prototype was removed from the rubber jacket:
The Schnozzplate mold needed to have pouring sprues and air vents cut out:
Casting a Schnozzplate required the assistance of a syringe:
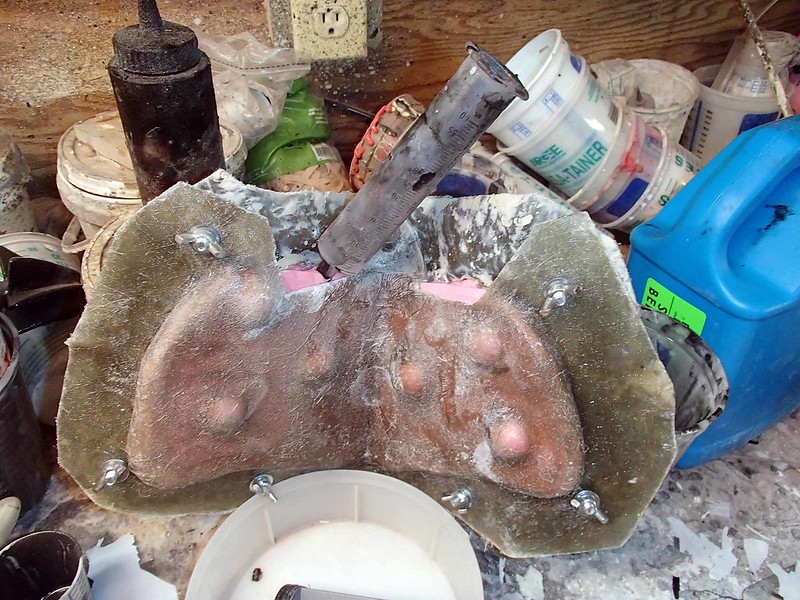
Mostly the syringe was used as a funnel to pour in casting resin until it started to drool out of the vent holes:

Schnozzplate cast successful:
The main body of the helmet was rotocast in grey-tinted resin:
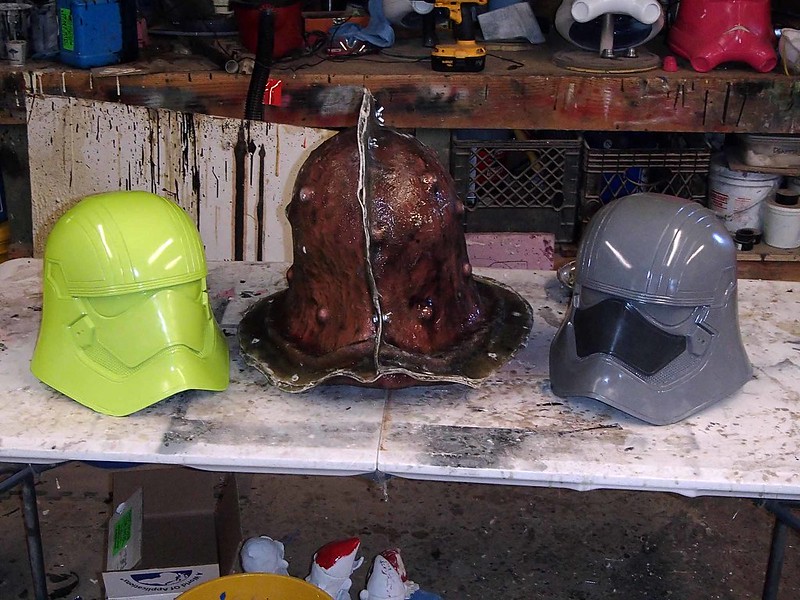
Once I had a complete set of parts out of the mold, I couldn't help myself. I trimmed the edges of the helmet, cut out the eye holes, and just sprayed on whatever silver paint I had on hand. I called this the "rough-draft" helmet:

The lenses in that rough-draft helmet's eyes were made by cooking a piece of tinted acrylic in a toaster oven and then jamming it into the eye holes. By applying pressure to the inside with a soft cloth, I was able to get the a decently convex bubble shape to the lenses, but I wanted a better way to make a more uniform curve. This calls for a custom eye forming box.
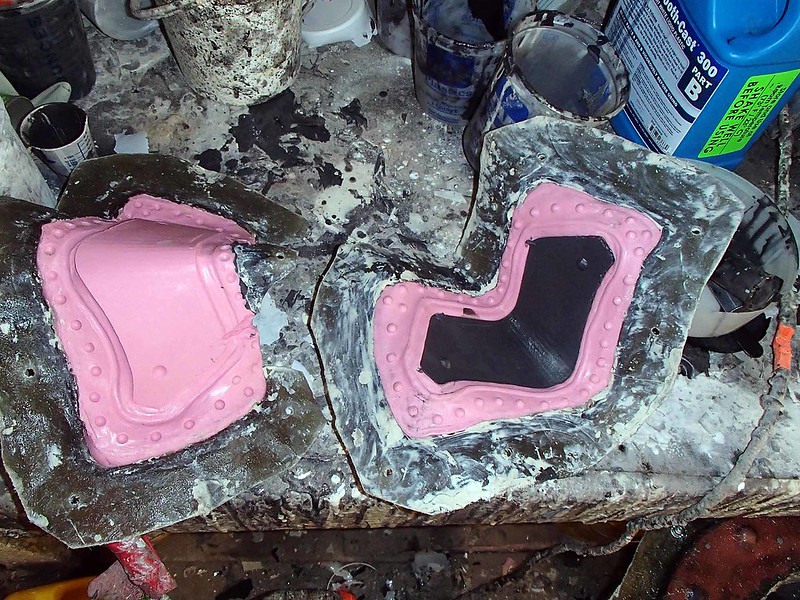
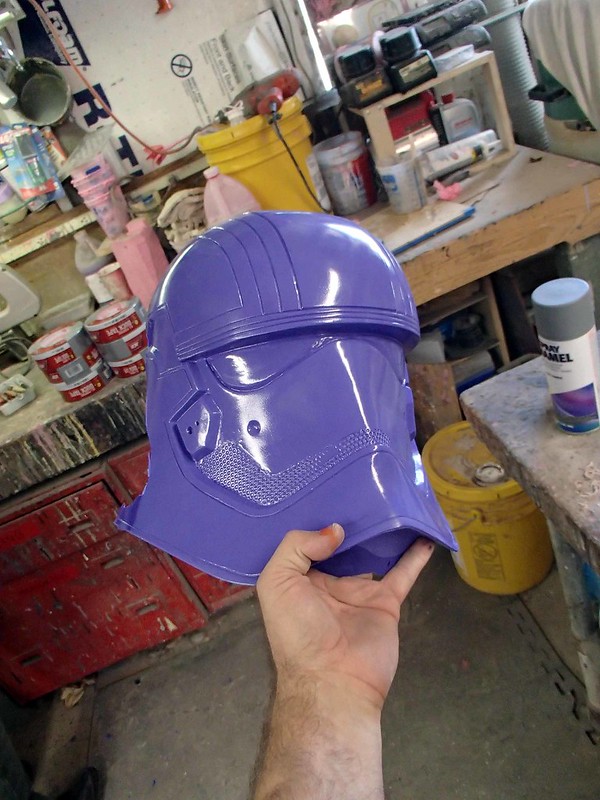
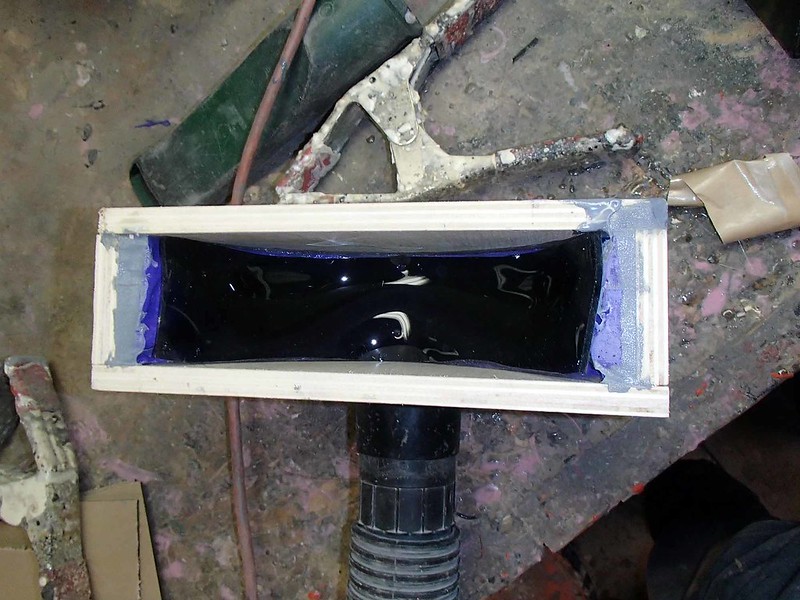
To make it, I started by casting an extra-thick copy of the front half of the helmet:

I tinted the resin for this casting a nice shade of bright plurple because you can't tell me what to do!
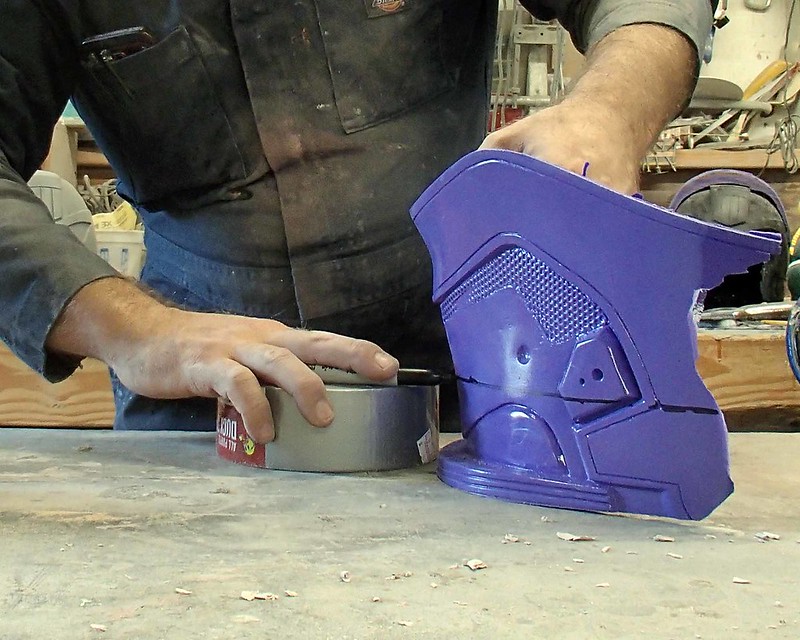
Then I used a handsaw to cut off the forehead:

The next step called for precisely marking another cut line parallel to the first cut:
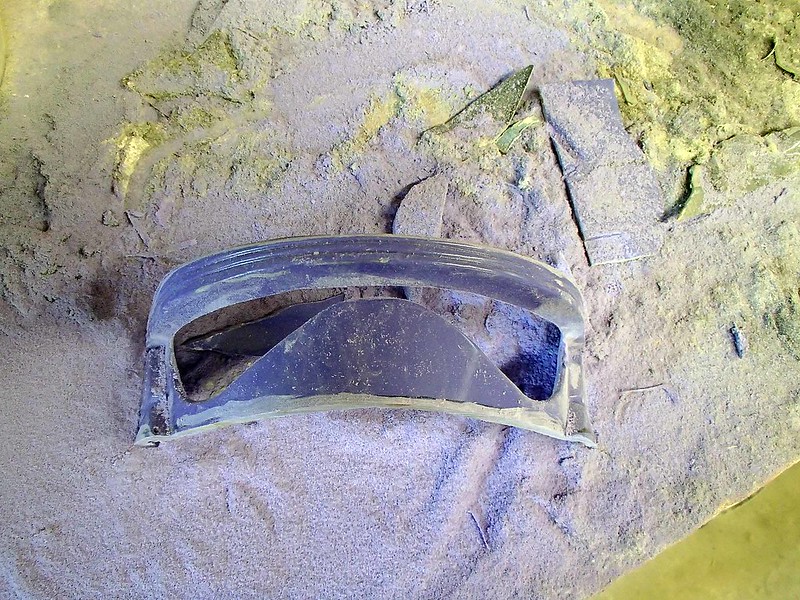
After hacking the bottom of the face off, I was left with just the eye section. Then I cut out the eyes:
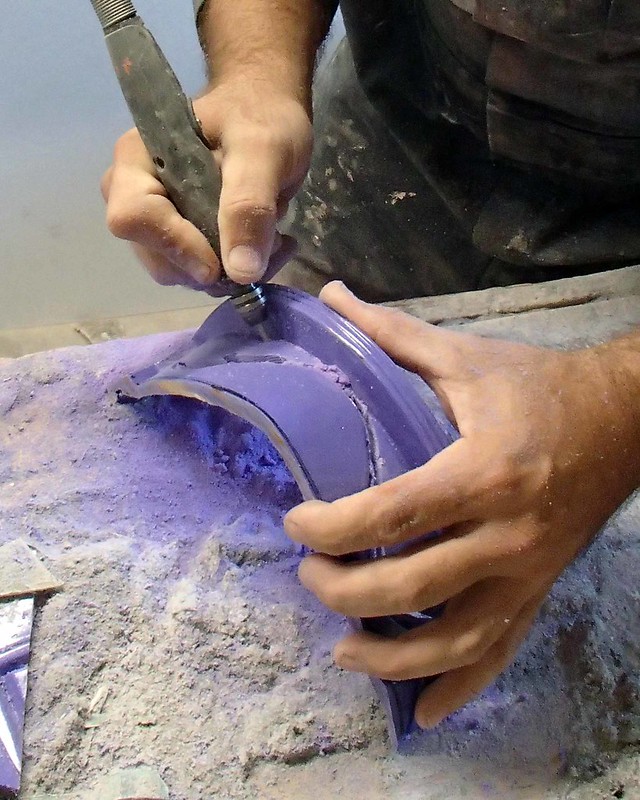
A few minutes with the sanding drum and I had nice smooth eye holes and a pile of plurple dust:
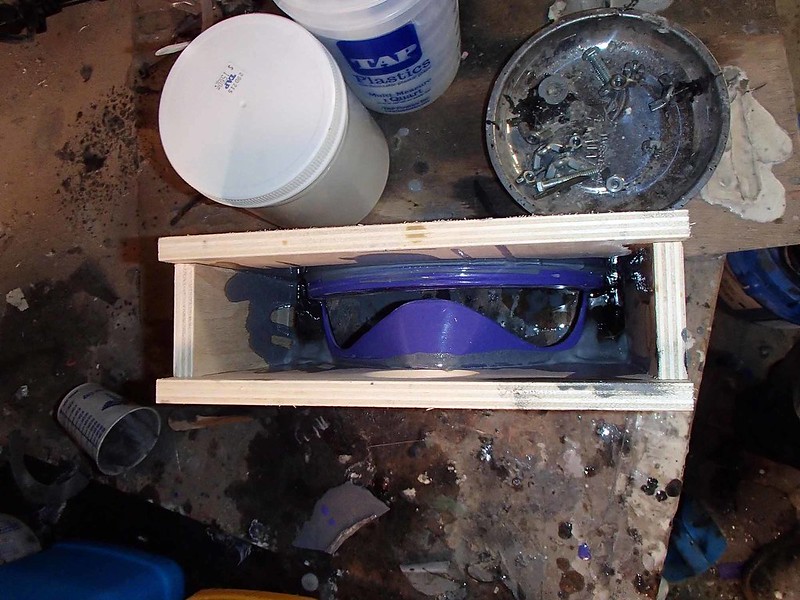
This section of the helmet was mounted into a custom-made box complete with a big hold cut in front of the nose:
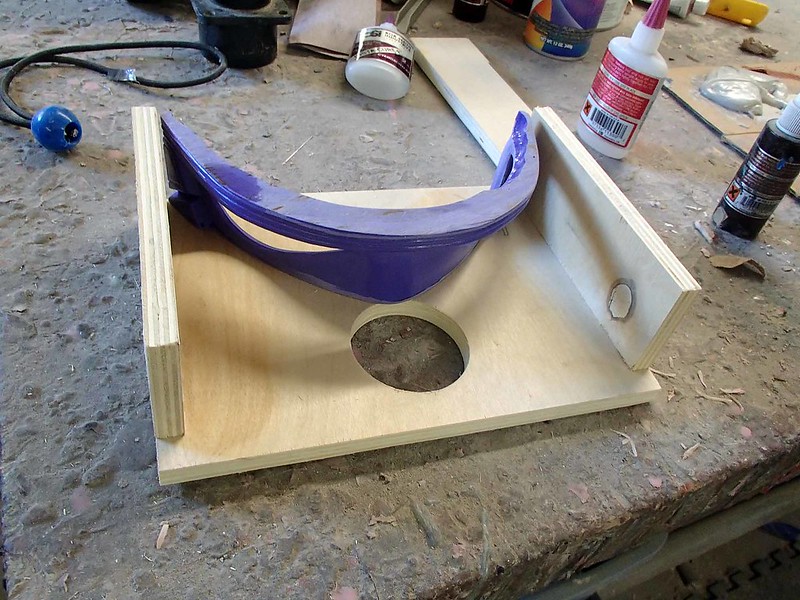
Once it was glued in place, I mixed up a bit more resin and poured it along the edges where the face piece met the wooden box in order to form a completely airtight seal:
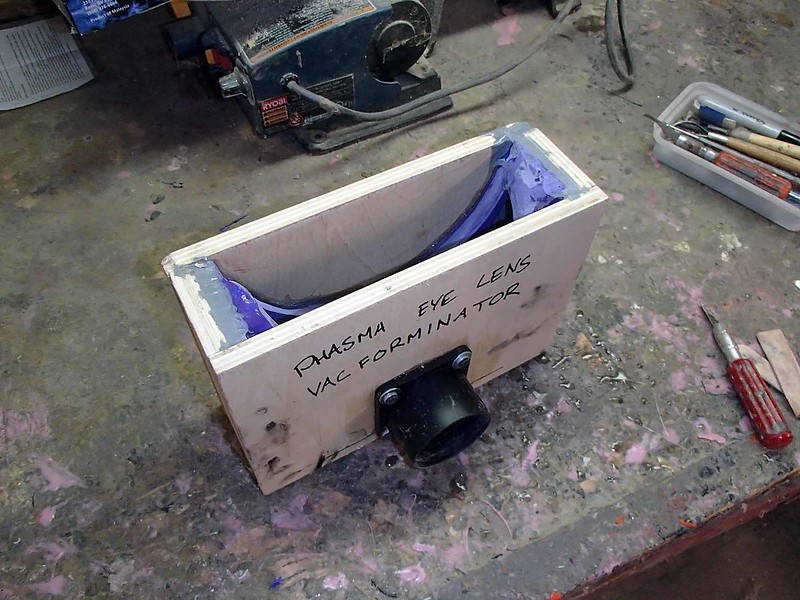
Then I sealed up the bottom end, added a tool adaptor so I could plug the shop vacuum into it, and gave it a descriptive label so I could remember what this contraption was for:
Making the lenses was now simply a matter of cooking a strip of acrylic in the forming oven:
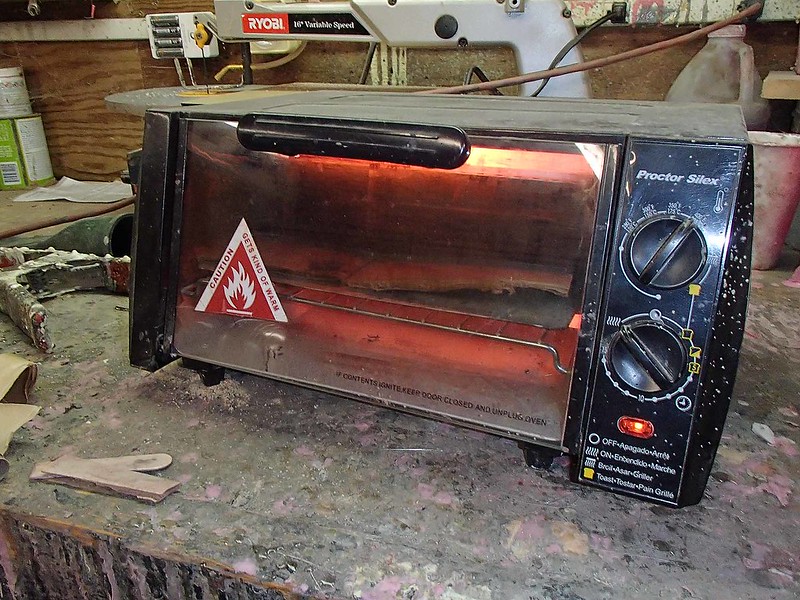
Once it was warm and pliable, it was ready to form:
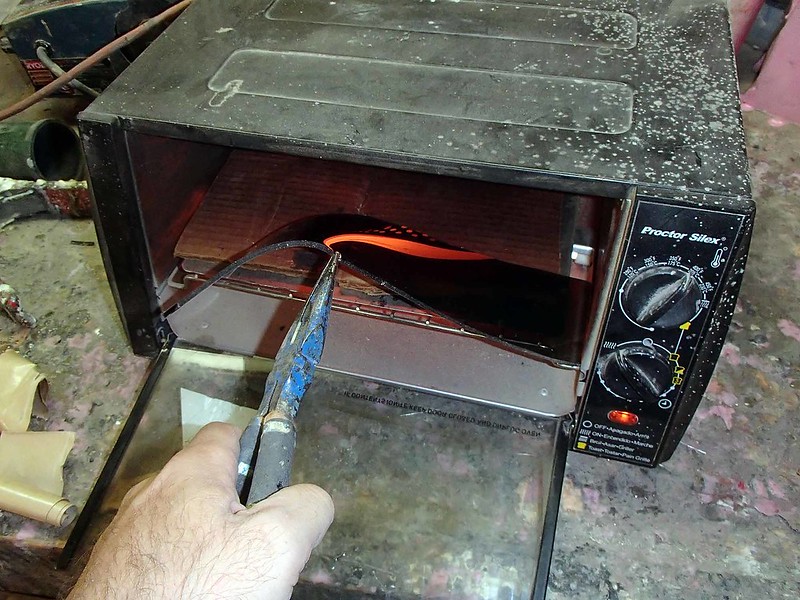
After laying the hot, stretchable acrylic over the eye holes, I turned on the shop vac and it pulled the plastic into the form:
The result, a bubble-shaped lens that you can actually see through. Here's my friend Anna trying them out:
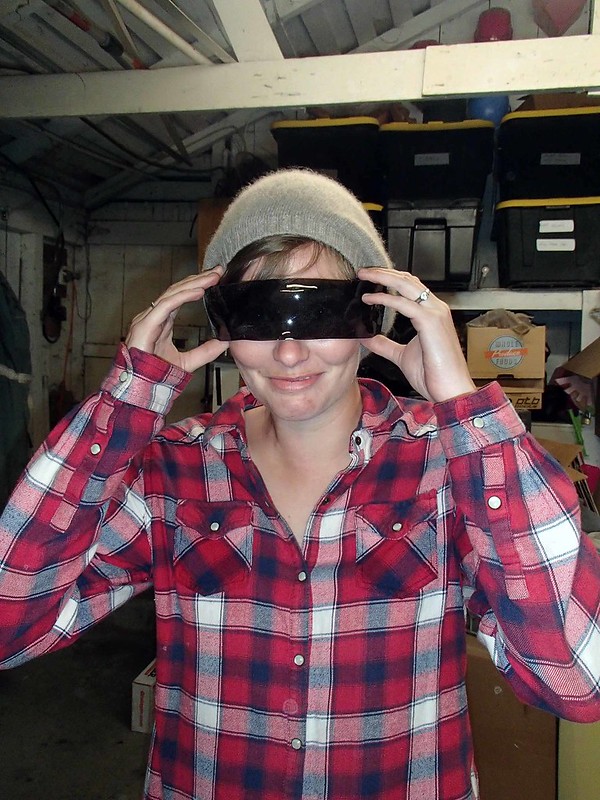
That also happens to be just the right shape to fit into the eyes of the helmet:
With all of the building and molding done, it was time to work out a plan to get the right polished metal look. While an initial glance at the character might have you thinking that her armor is all chrome, on closer inspection it's actually a bit darker in color and completely covered in all kinds of dirt and smudges.
Since I had a mold, I figured I'd go ahead and pull a couple of extra copies of the helmet to test various paint schemes on. The casts came out great and only needed a little bit of cleanup on the bottom edge where the mold seam was:

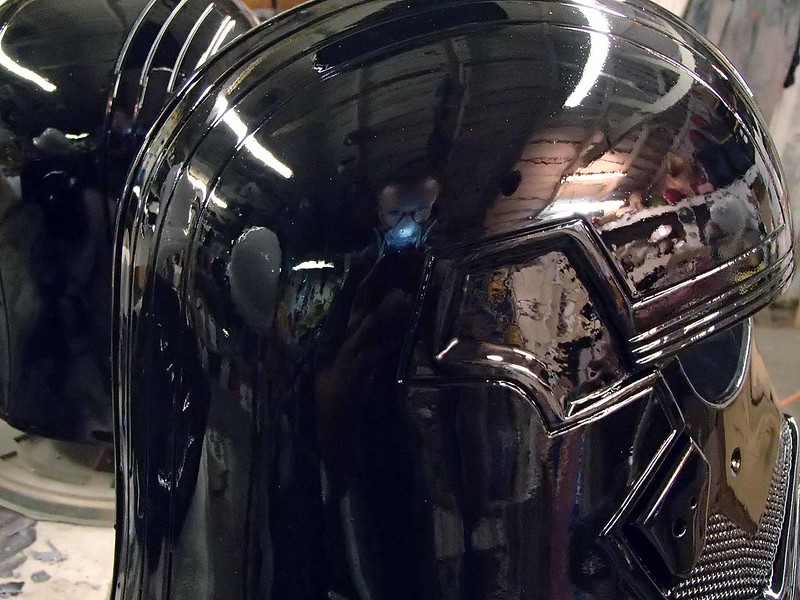
After a light sanding they were washed, primed, and given a high gloss black basecoat:

Seriously high gloss. Here's my reflection in one of them:
Then I tested what I figured were the three best options for a spray-on chrome finish. From left to right, here's ChromeFX, Mirror Chrome, and Krylon Looking Glass:
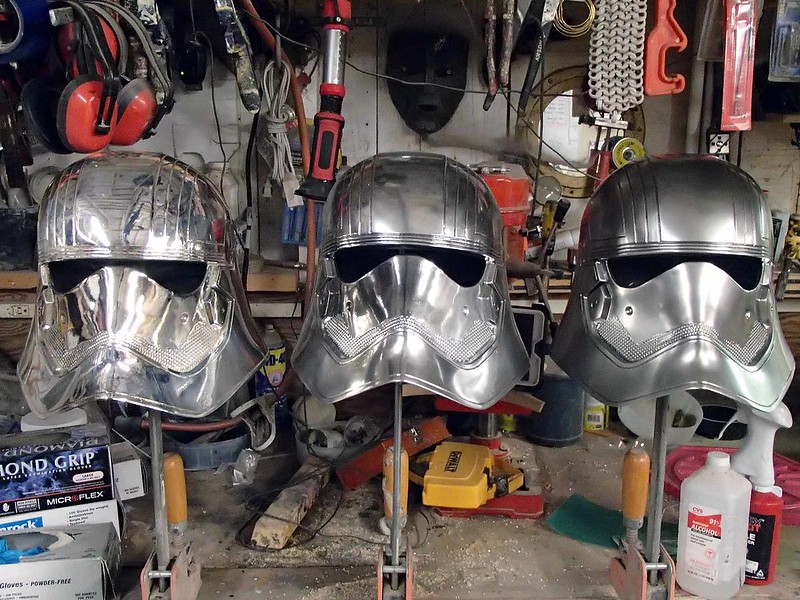
I decided the ChromeFX was way too shiny. The Looking Glass wasn't quite shiny enough. But the Mirror Chrome was juuuuuuust right.
After applying a gloss clearcoat to protect the chrome layer, I masked off most of the helmet so I could pick out the satin black section of the face:

Then it was just a matter of gluing on the Schnozzplate.
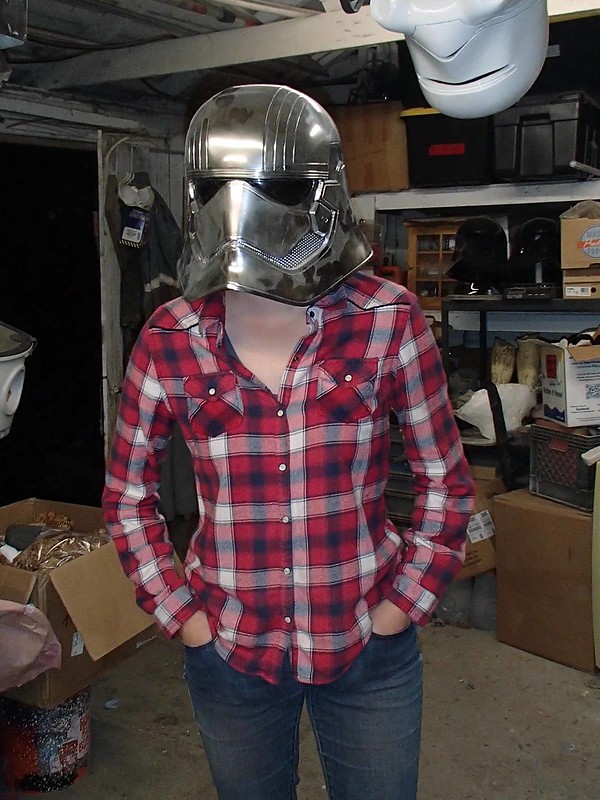
After a bit of weathering, the bubbled lenses were installed and it was good to go:
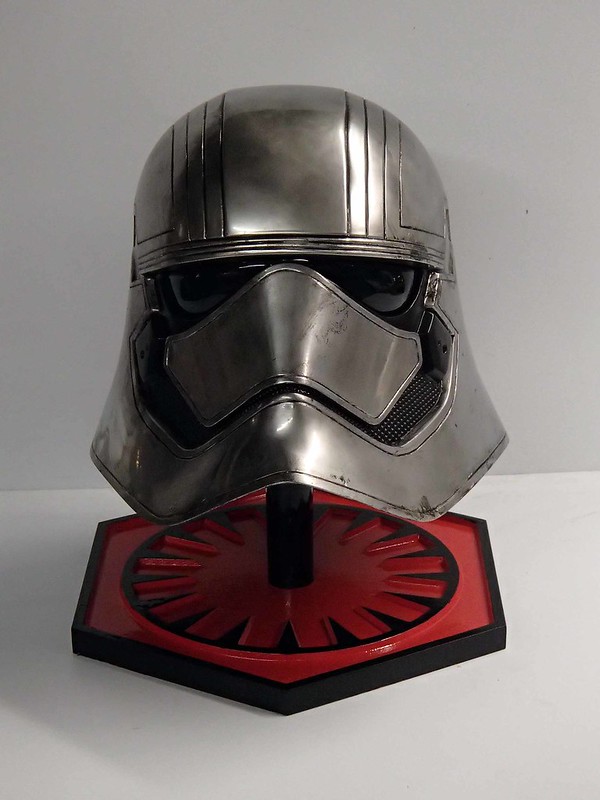

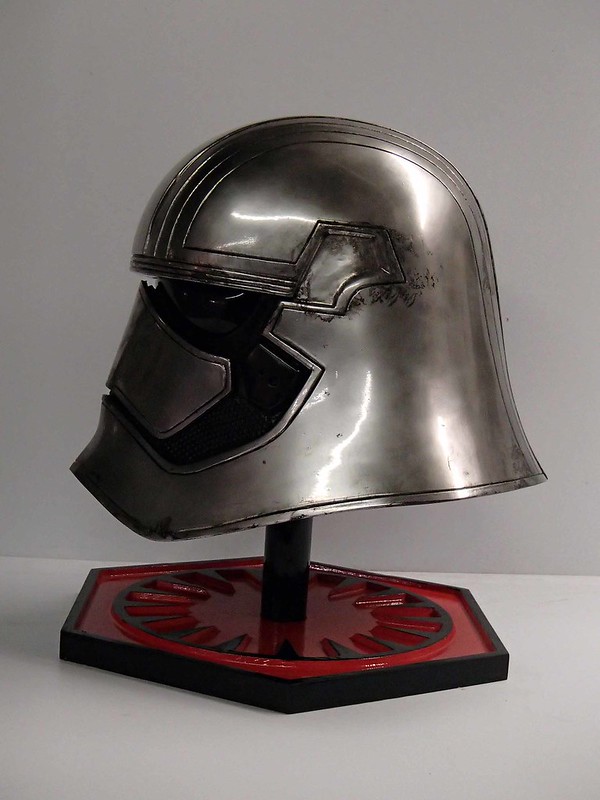
I'll admit that when I started adding the blackwashed grime over the gorgeous chrome finish, there was a brief moment of "GAH! WHAT AM I DOING?!!" but I think the end result really brought the whole thing to life:
It dimmed the chrome a bit, but it's still plenty reflective under the dirty:

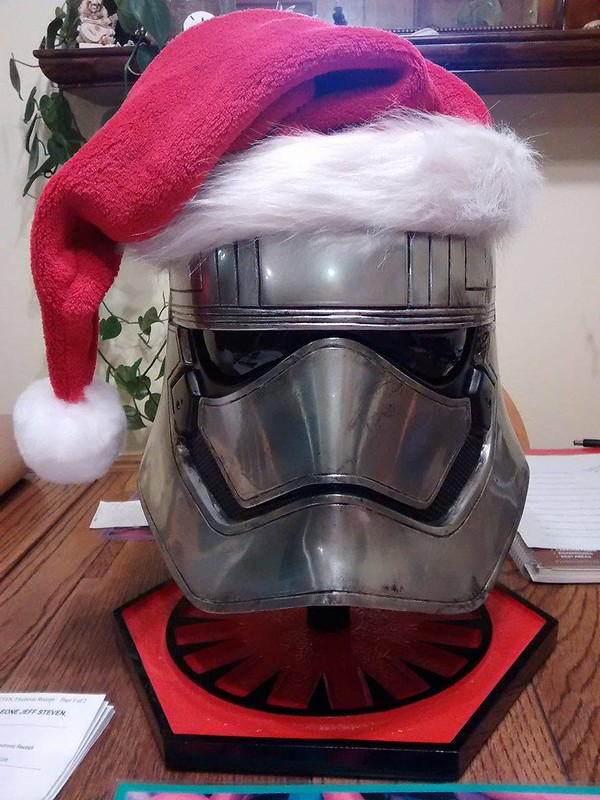
But the important thing is that this Captain Phasma project of mine is finished.
Or is it...
Alright. So now I'm in a mad scramble to have the full suit of armor finished in time for the premier in SEVENTEEN DAYS?!?!
While I'm at it, I'm going to make something for me to wear too:

So I'm on a roll with Star Wars builds. I'm sure there's something else going on in December, but I can't quite put my finger on it.
More to come. Stay tuned...
Awesome job. I`m working my way through my first ever helmet, the episode 7 stormtrooper, inspired by your mad enthusiasm and this blog.
ReplyDeletedo you sell it ?
ReplyDeleteIf there's something you'd like me to make for you, please shoot me an email at sthorsson99@yahoo.com.
DeleteThanks.
hello my helmet I'm interested if the captain Phasma siges becoming clear
DeleteSpectacular!
ReplyDeleteawesome stuff!!!!!!
ReplyDeleteHow much would it cost for one of these phasma buckets?
Im from Singapore..