
I promised I wouldn't get myself excited enough to build any of the stuff from the film until after I'd actually seen it. Then I saw this guy:

That's a stormtrooper. He has a flamethrower. This is who I want to be when I grow up.
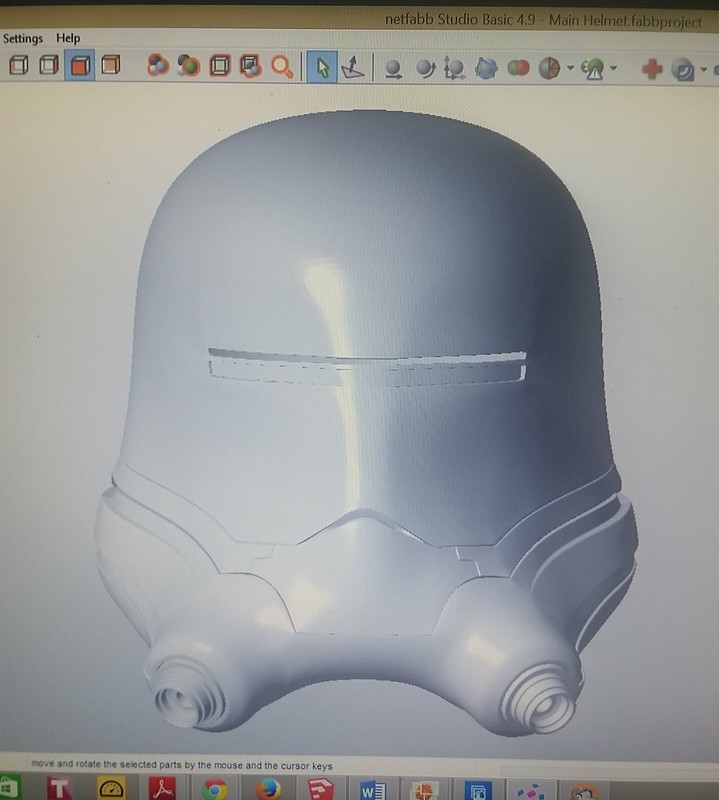
Since the State of California has very specific restrictions on the ownership of flamethrowers,* and the action figure just isn't quite enough, I'm going to have to settle for just dressing like this guy. As luck would have it, the Lopez twins (my Carvewright CNC machines) were sitting idle in the shop. So I hit up my friends at DO3D.com and had them crank out a quick 3D model for me:
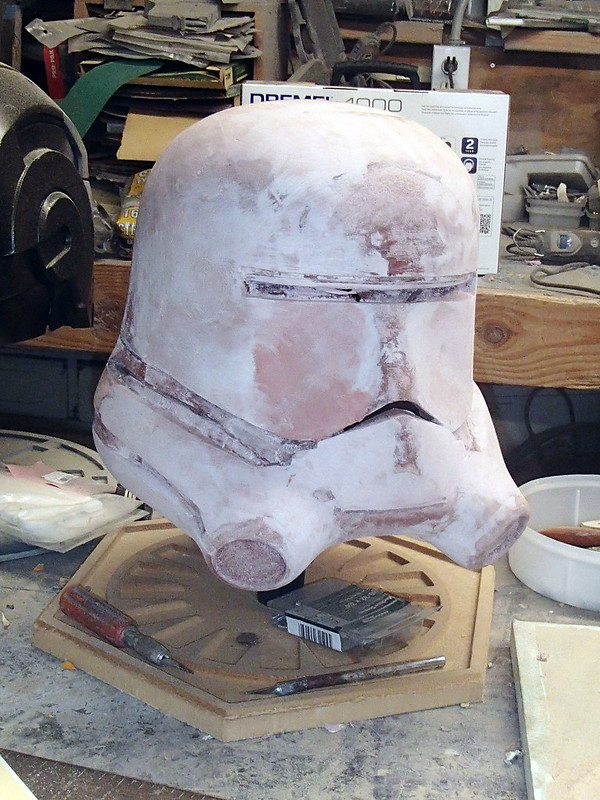
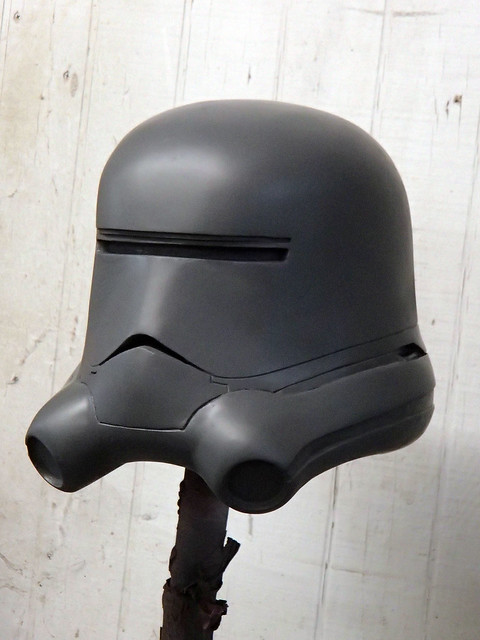
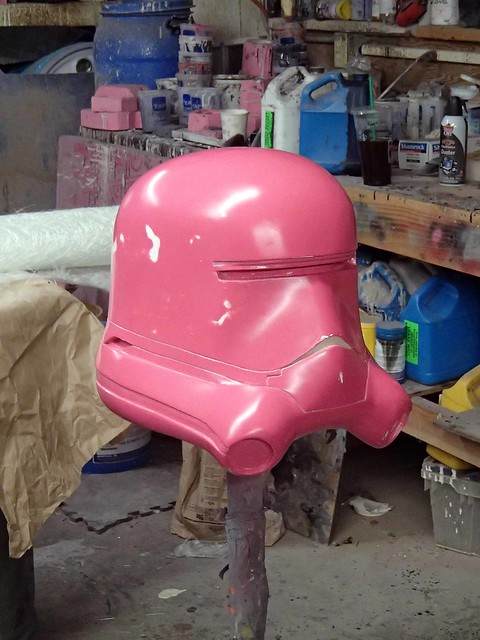
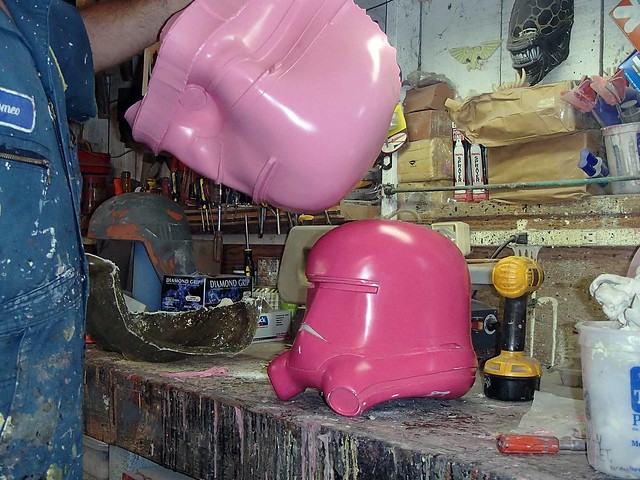
After the Lopez twins were done chewing it up and spitting it out, I molded it, cast it, and painted up a rough-draft version like so:

For more (better) photos, the final draft version, and a step-by-step explanation of how it was made, read on...
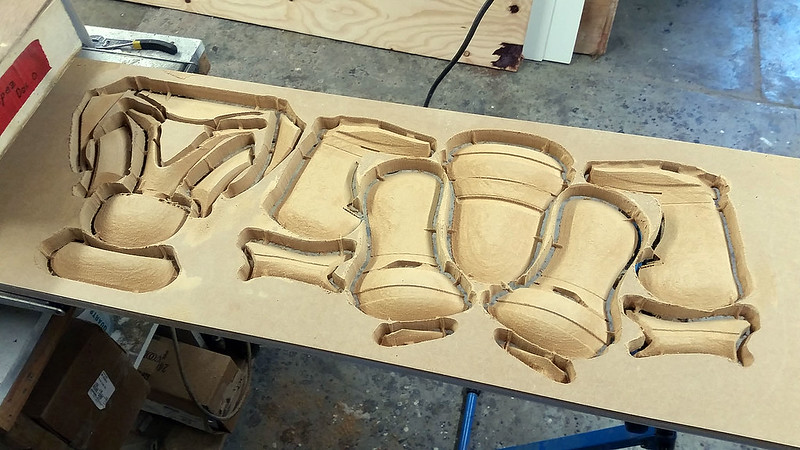
After importing the STL file into the Carvewright designer software, it took a few minutes to slice up the model and lay everything out for carving. The next morning I loaded some 3/4" MDF into Lopez Dos-Point-Oh and he cranked out these pieces:
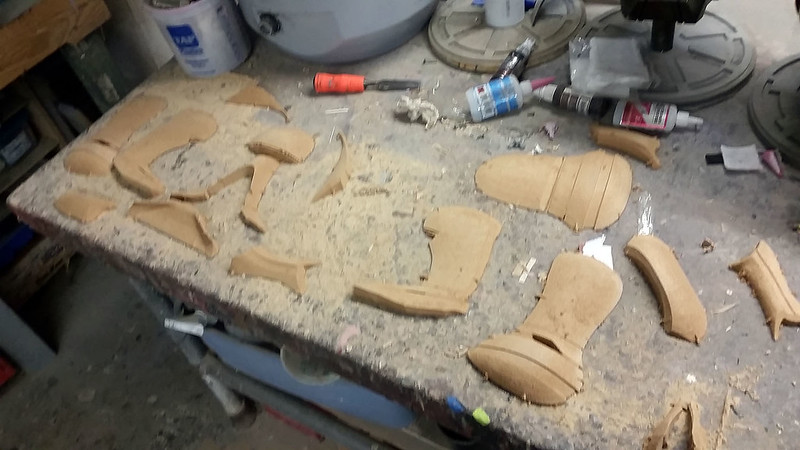
Once I'd snapped the waste material off, my workbench was covered with little flametrooper helmet bits like this:
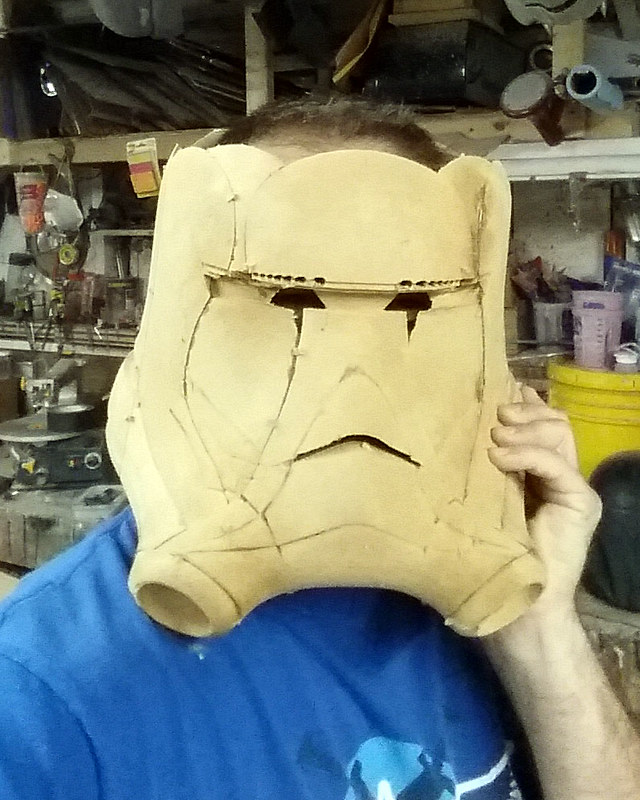
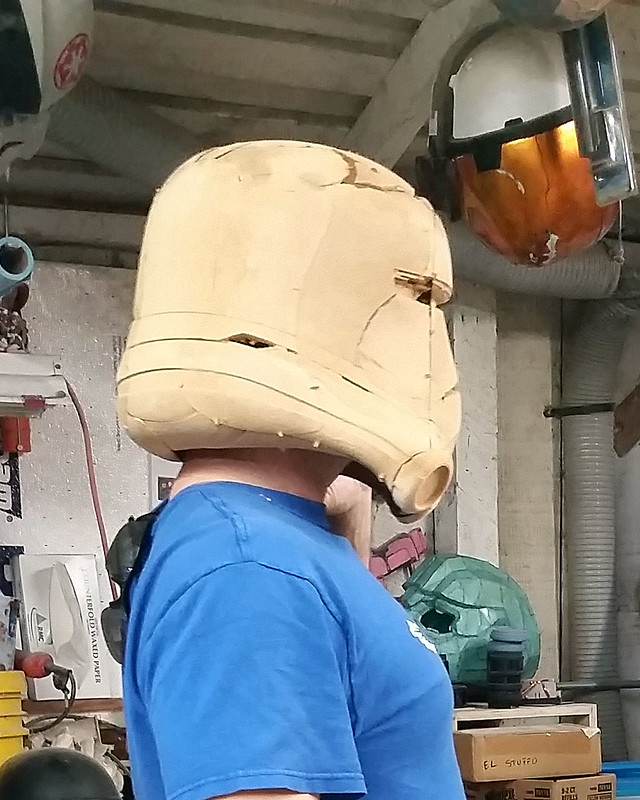
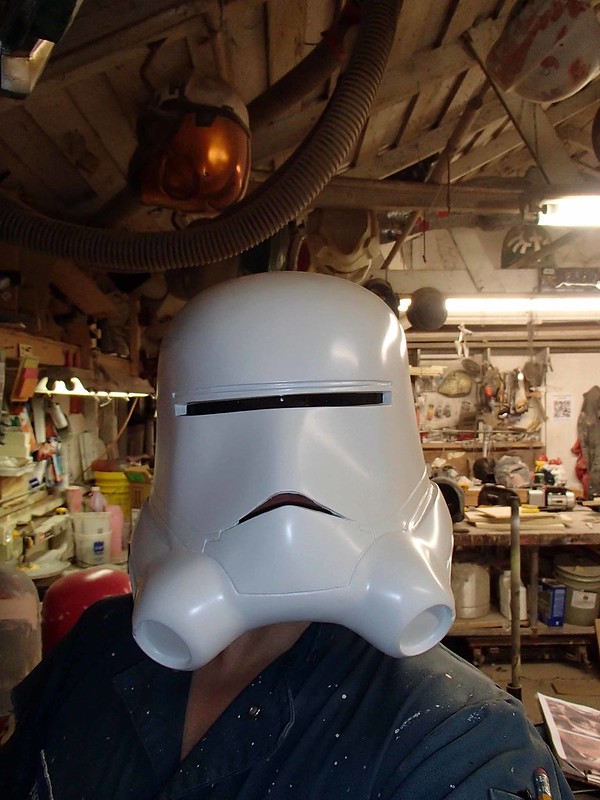
After gluing most of it together, I had to try it on. Size-wise, it looked about right:
After assembling the top of the dome, I did another series of test fits to be sure it was going to be the right fit:
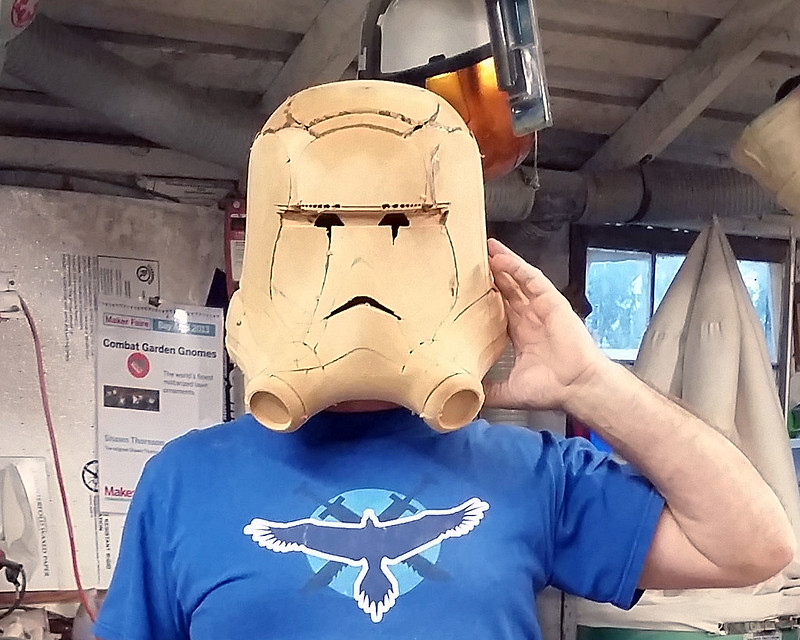
I'm pretty happy with it:
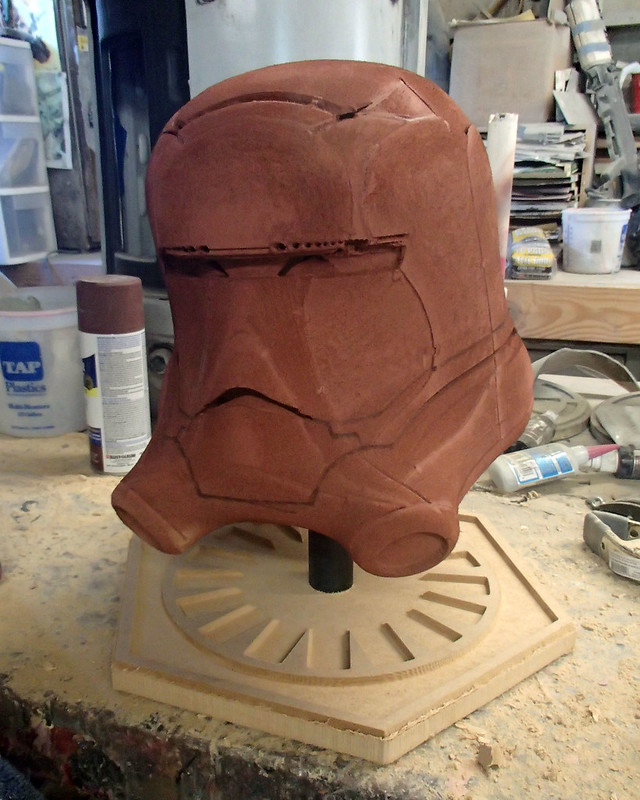
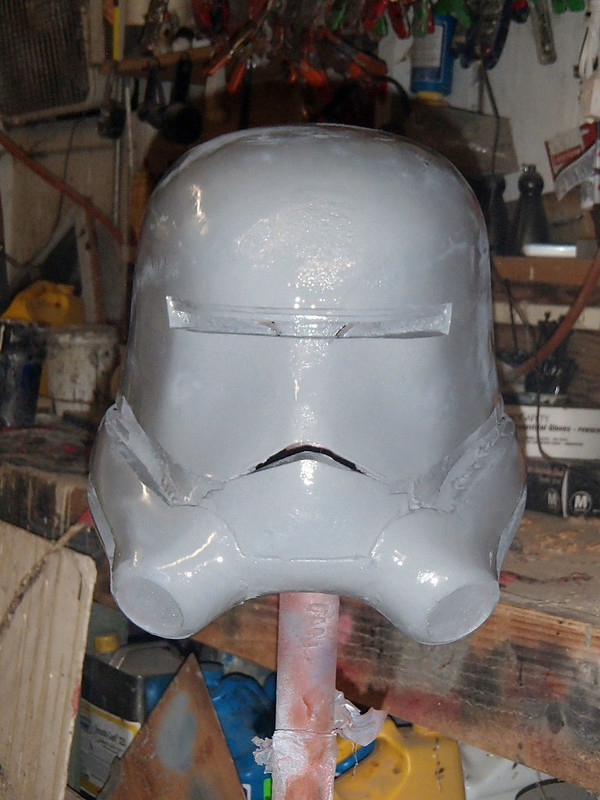
In order to fill in the fuzzy surface of the MDF, the next step was to spray on a few coats of primer:
Then fill in all the unwanted seams where the separate carved parts fit together:
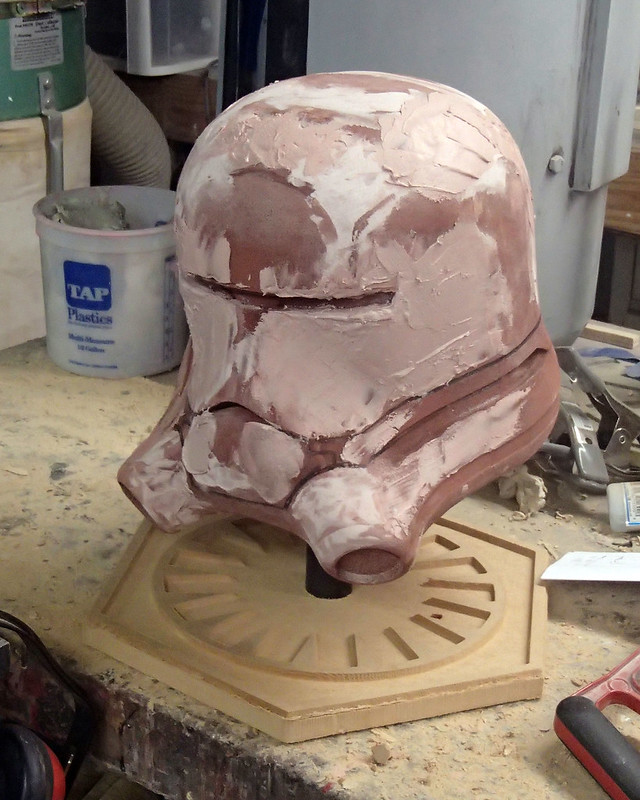
After a few passes of filling and shaping, it was really coming together:
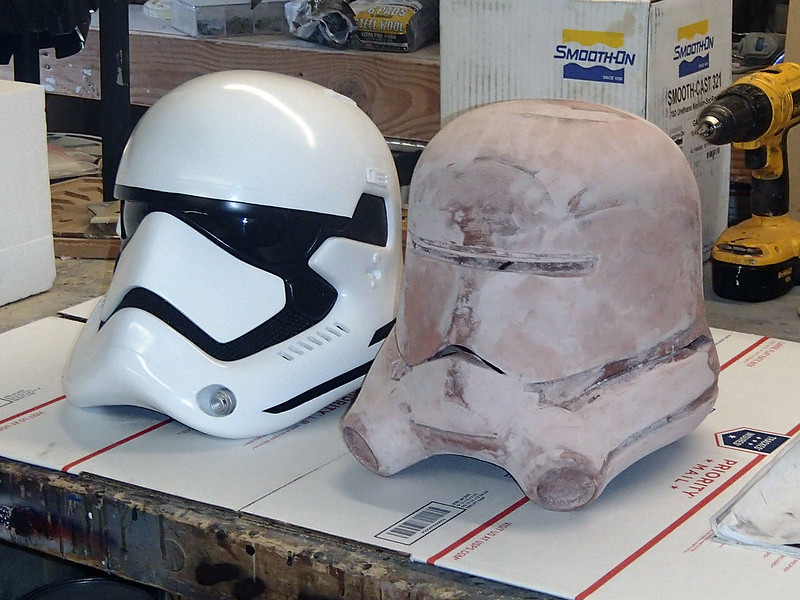
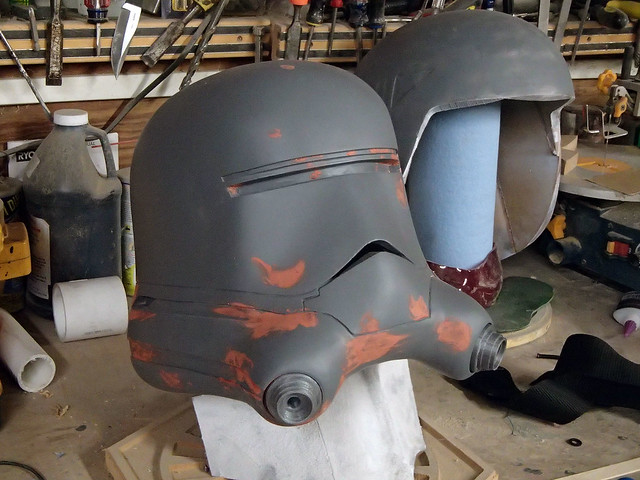
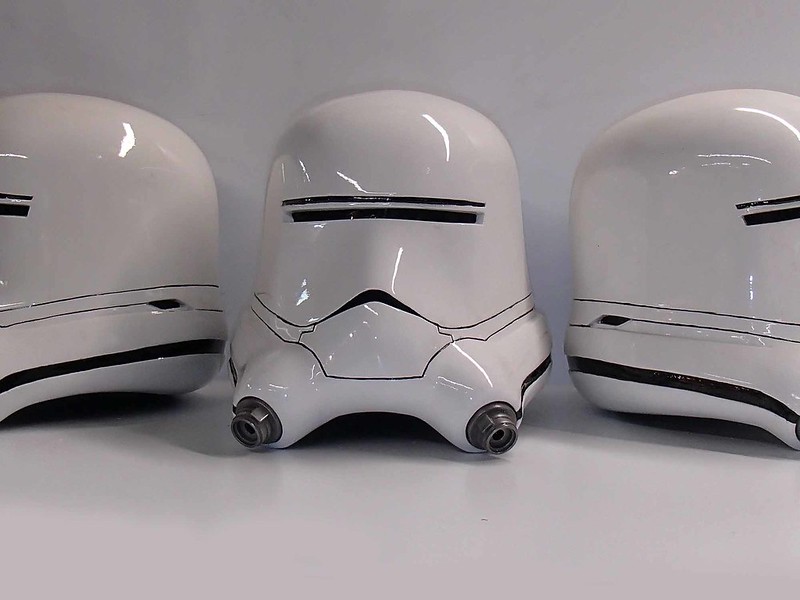
In order to be sure I had the scale right, I had a friend bring over his First Order Stormtrooper suit made by Anovos. It's supposedly the exact same size as the screen-used helmets. Setting them side-by-side, I was satisfied that I had sized the flametrooper about right:
Along the way, I ended up adding a bit more bulk to the jawline. Here it is in gray primer somewhere in the middle of the filling and fairing process:
And again after a bit more filling and sanding:
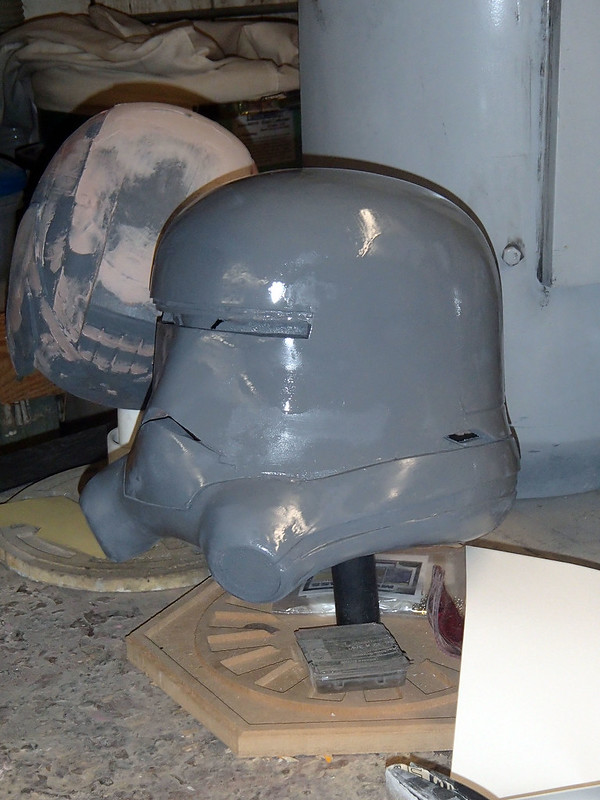
At this point, it was so close I could almost taste it:
The last few flaws were filled with spot putty:
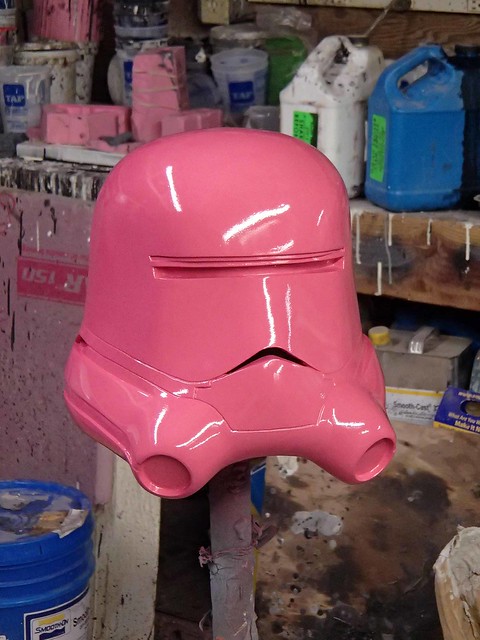
Once I'd sanded them smooth and given the whole thing a coat of white primer, the prototype got my customary lightish red gloss coat:
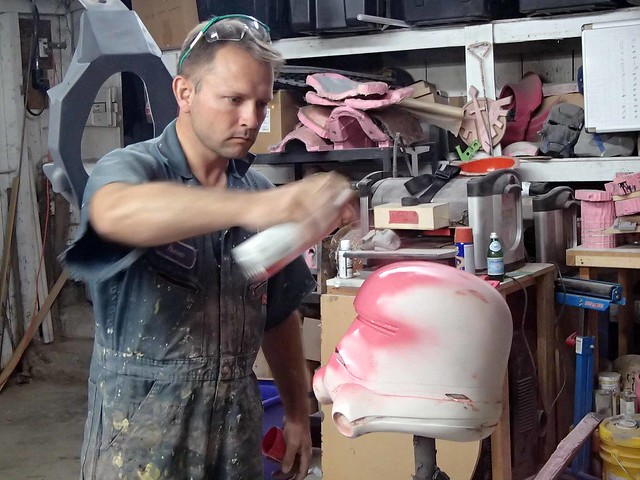
Shiny:
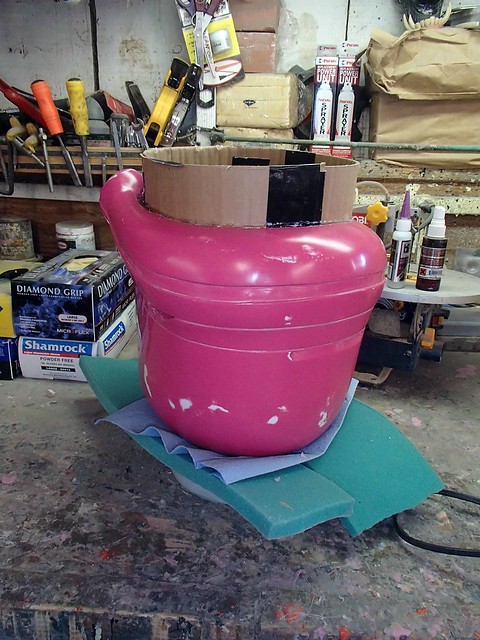
In order to make the mold last a bit longer, I wet-sanded the whole thing to 800-grit smoothness, then put on a couple coats of wax. Here it is somewhere in the middle of that process:
Satisfied that it was smooth as a fresh jar of Skippy, I flipped the whole thing over and added a cardboard standoff in order to make the molding easier:
Since the area under the chin was likely to trap air and cause all sorts of headaches when the helmet was sitting upright, I elected to fill in all of the undercuts with silicone while the helmet was inverted:

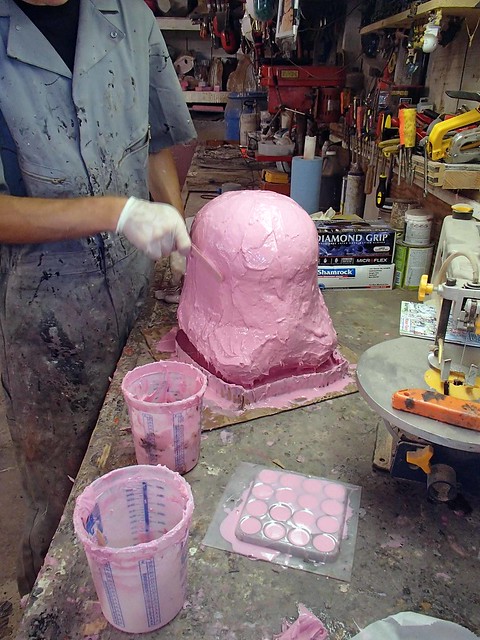
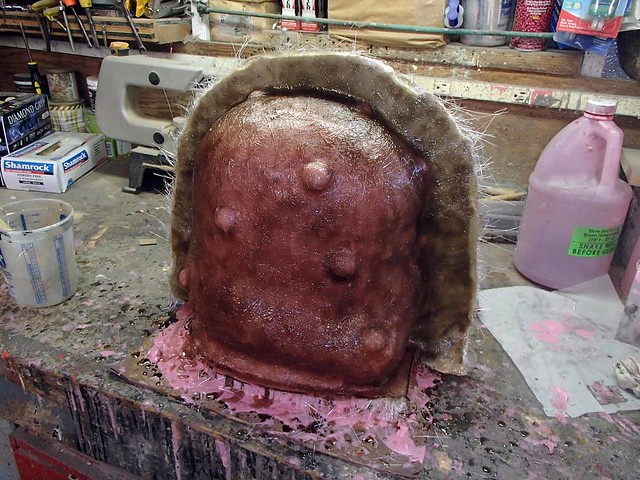
Once that had firmed up, I mounted the whole thing to a scrap of cardboard, built up a drip wall to keep the silicone from drooling all over the bench, and poured on a print coat:

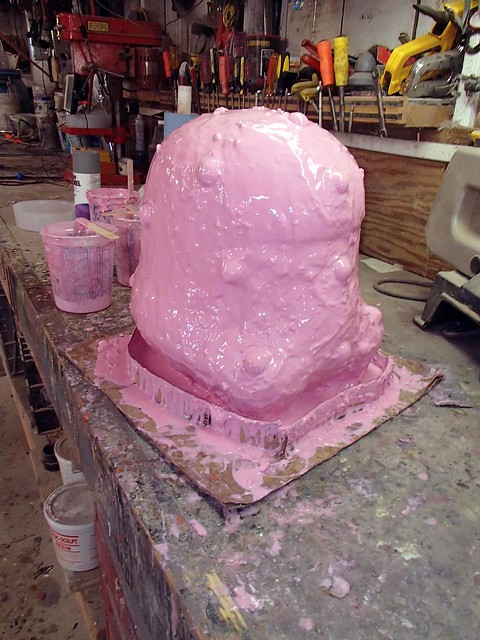
After the print coat had firmed up, it was time to add a couple layers of thickened silicone:
Here's the final shape of the rubber jacket mold, complete with pre-cast silicone "registration keys" to help it stay properly aligned in the mothermold:
Once that had cured, I built up the parting wall (where the two halves of the mothermold will separate) out of oil-based clay:

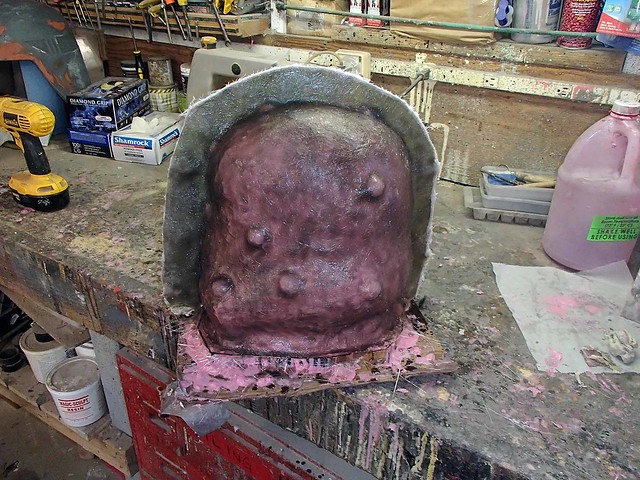
Then I mixed up a batch of resin and fiberglassed the first half of the mothermold:
Once the fiberglass had cured, I turned the mold around, removed the clay wall, and coated the fiberglass flange with a release agent:

Then I laid up the other side of the fiberglass mothermold:

Once the resin had cured, it was time to trim the fuzzy parts off of the edges:
Then I drilled some bolt holes along the flange:

With that done, I pried apart the two halves of the mothermold:
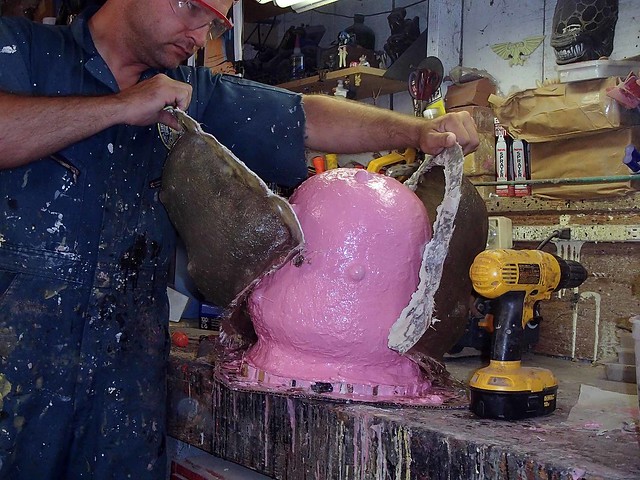
Then made a serpentine cut up the back side of the rubber jacket mold:
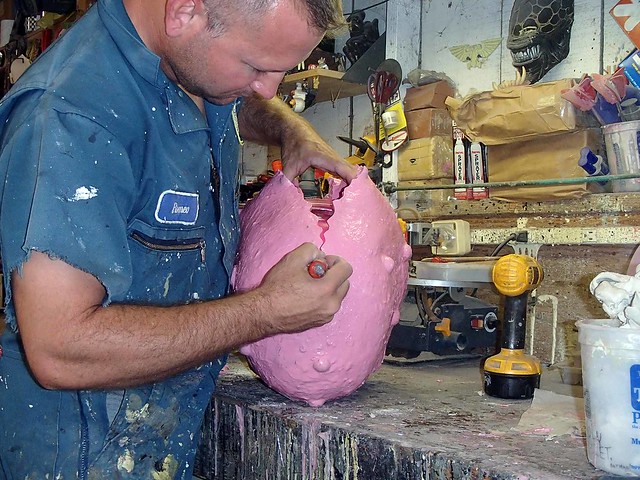
That made it possible to invert the whole thing and de-glove the prototype:
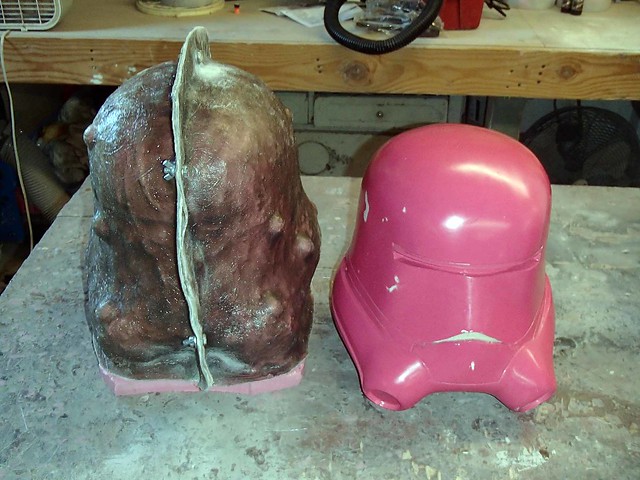
Here's the completed, reassembled mold next to the prototype:
Then the first rotocast resin copy after a light sanding:
I was eager to see how it would look, so I gave it a coat of gloss white in a hurry:
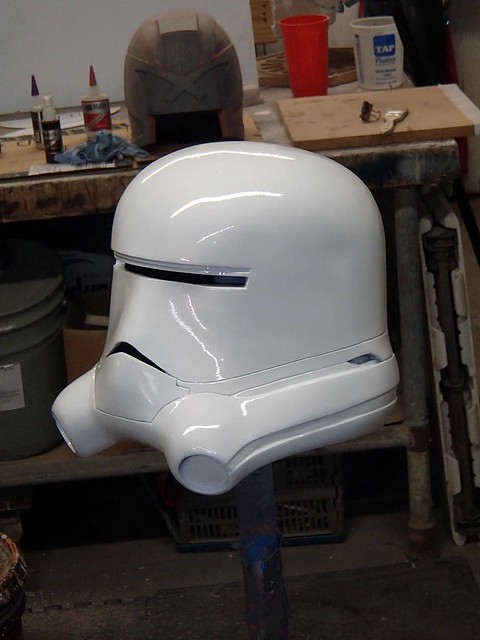
Then I had the Lady Shawnon try it on:
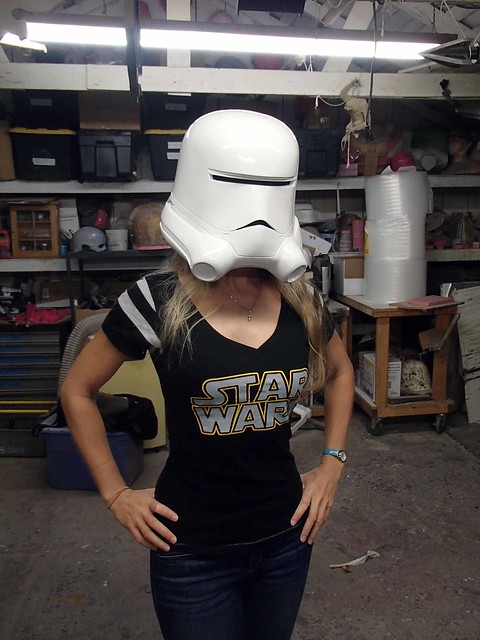
It looked good, but she makes everything look good:

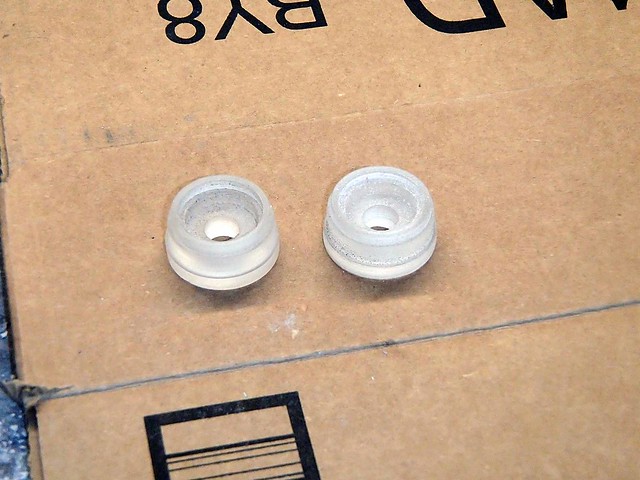
Satisfied that the main body of the helmet was good to go, I got to work on the "aerators" or tusks. I had a 3D printed pair, but I decided I wasn't really happy with how they'd come out. Instead, I turned down a couple of bits of clear acrylic rod on the lathe:
Then I glued them to the base section of the 3D printed parts and test-fit them into the prototype:
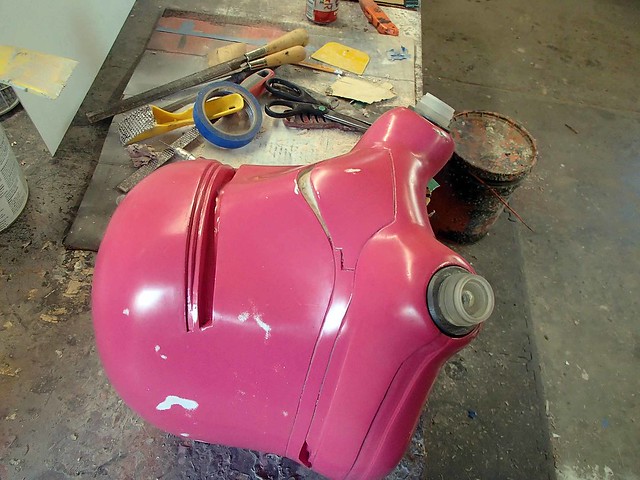
The proportions looked about right, so I went ahead and added the last little details and started filling in the seams:
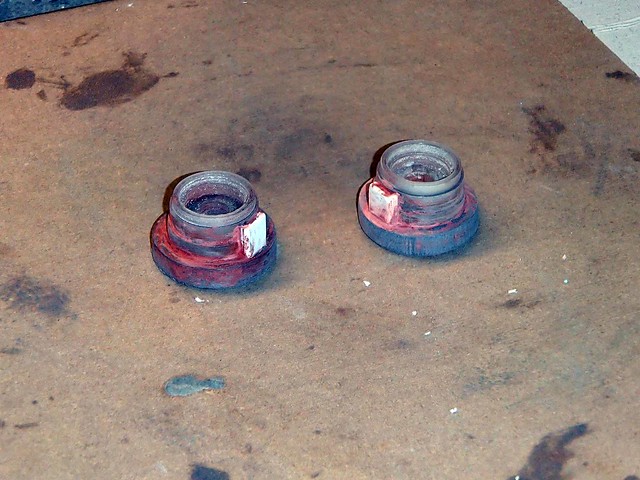
After a tiny bit of sanding and filling, they got the customary lightish-red gloss coat:
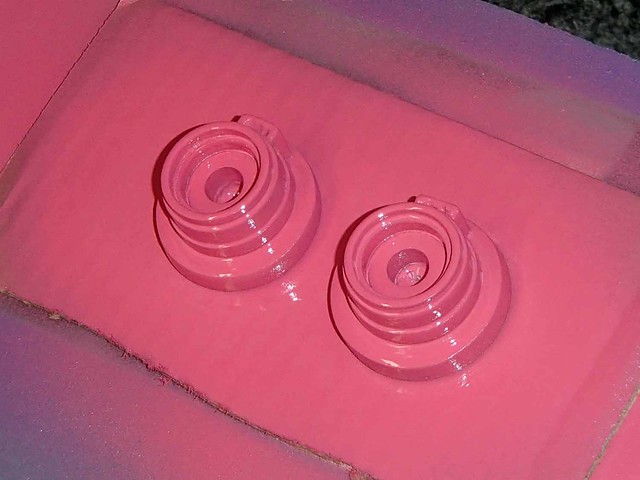
When the paint had dried, I built a mold box around them:
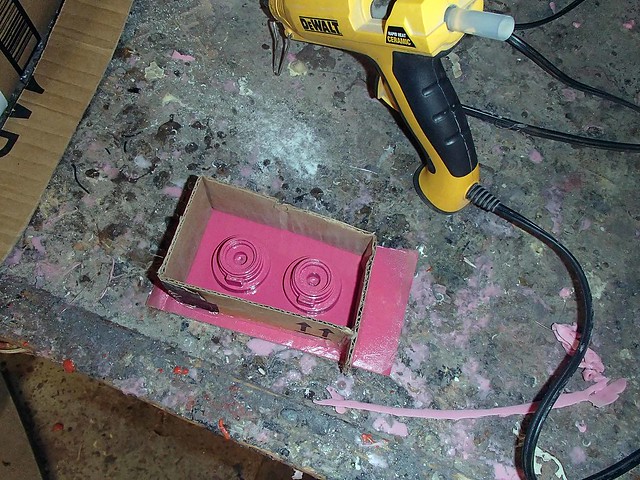
Then filled the box with silicone:
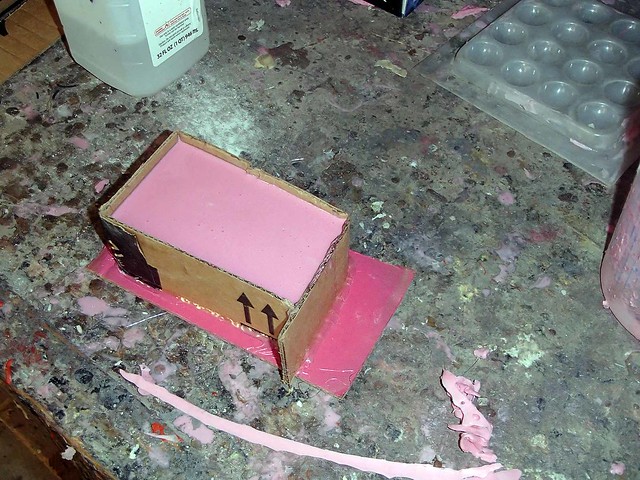
The next morning, I pulled out the prototype aerators:
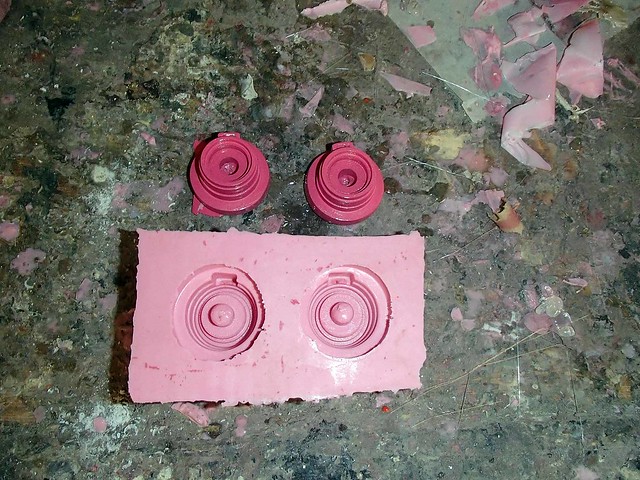
Then cast a pair in black resin:
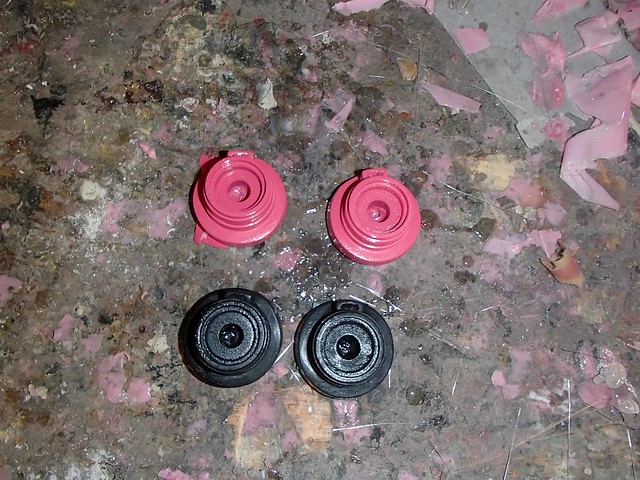
They looked cool, but I decided they'd be better in cold cast aluminum. Here they are fitted to the helmet:
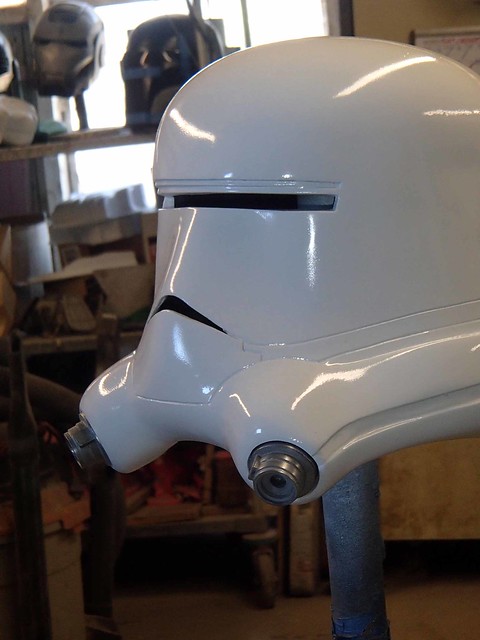
After a few minutes with some flat black paint and a small brush, the helmet was nearing completion:
Not bad:

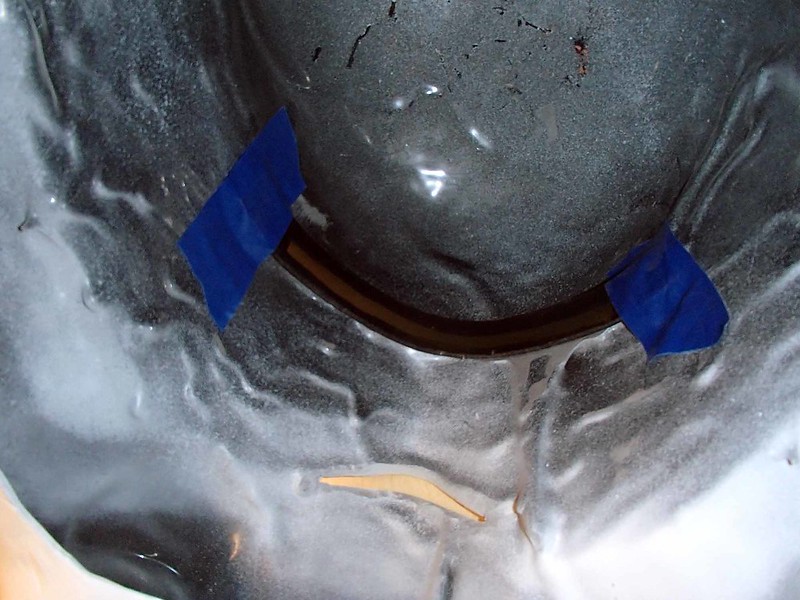
Of course, at this point you can still clearly see into the eye slit. To solve that, I cut a thin strip of grey tinted acrylic, cooked it in a toaster oven until it was soft and flexible, then taped it into the eye slit from inside:
Here's a selfie with the camera flash:
I can see out, but nobody can see in. Perfect!
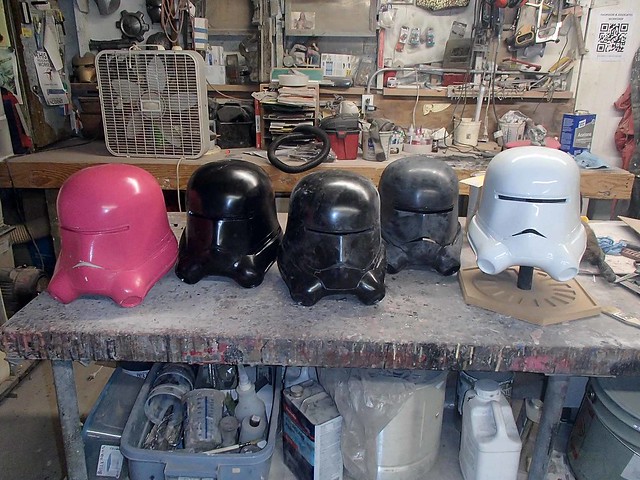
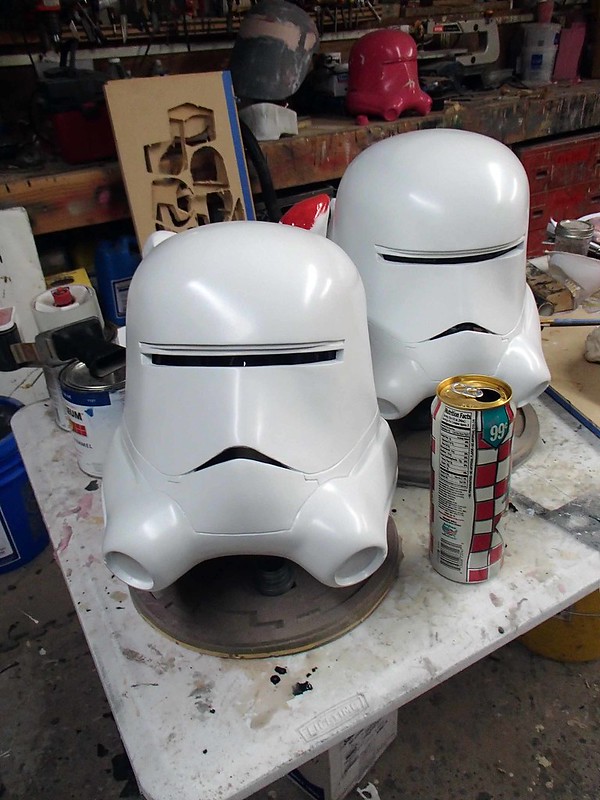
For some reason I feel compelled to make more than one of everything:
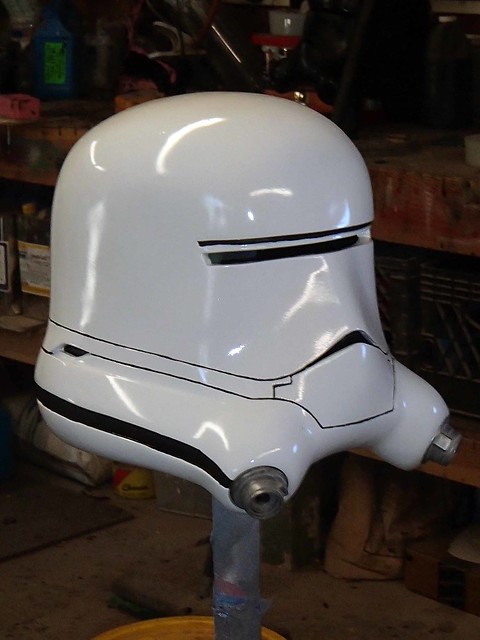
The next couple of helmets got a much nicer paintjob, starting with an automotive quality color coat:
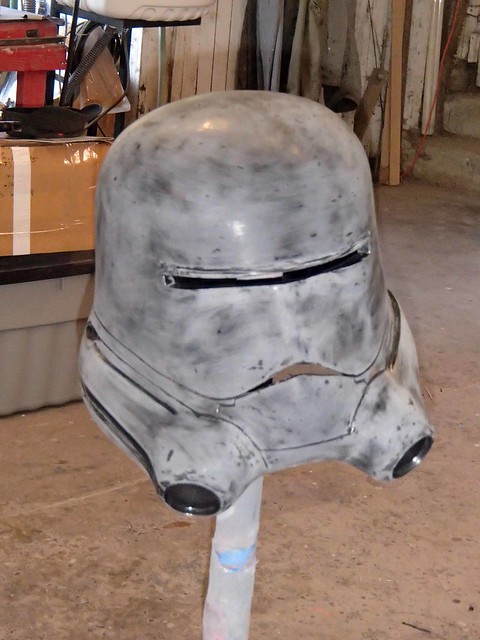
Then a clearcoat, detailing, and the tiniest bit of weathering:
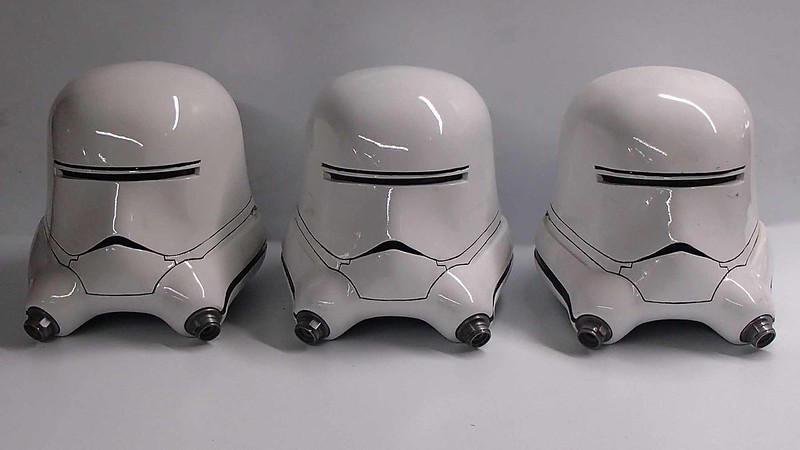

Now I just need to talk myself out of building the rest of the armor...
But wait! There's more!
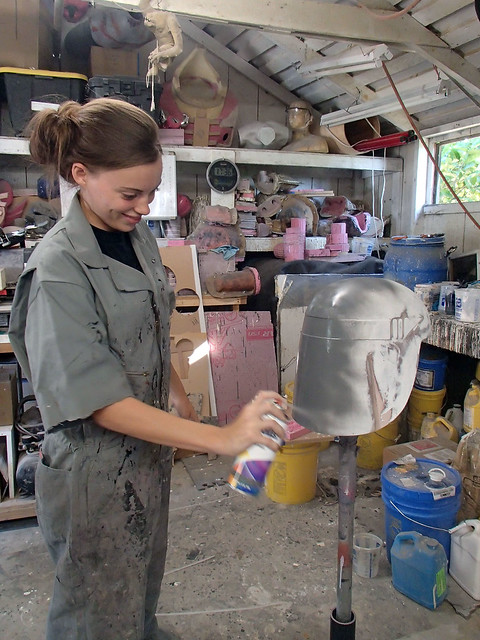
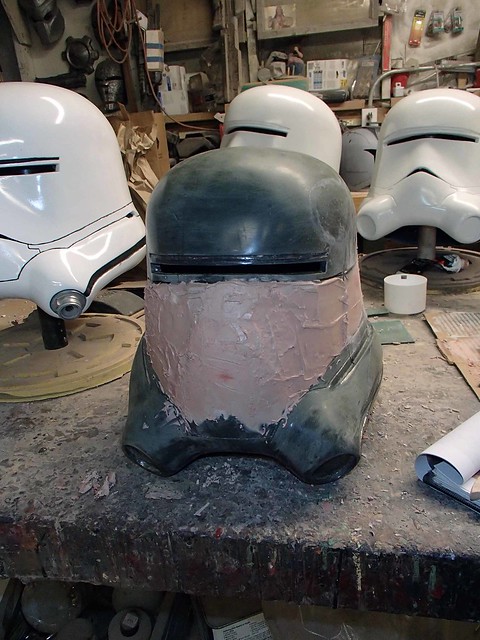
One of the other things that helped convince me to get started on this particular helmet was the fact that it's the foundation shape that's used for the Snowtroopers as well as the new TIE Pilot helmets. So I've also started working on the Snowtrooper helmet. Here's one of my assistants putting a coat of primer on the dome:
The face has an extra plate that will be sculpted in place over the current helmet:
More on that at a later date.
Then there's this other prototype made:
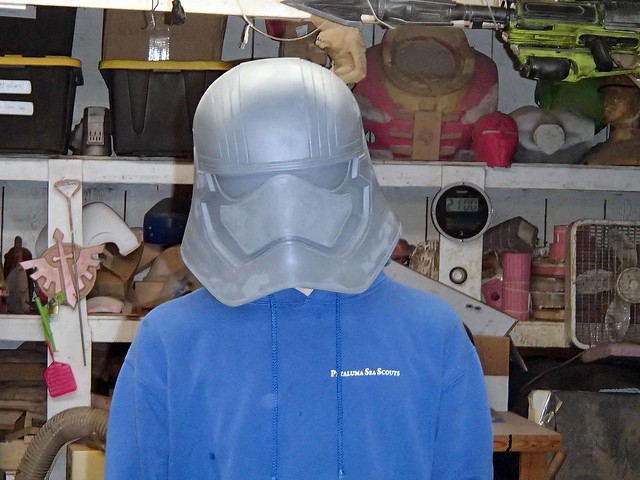
Which will look great in chrome.
Stay tuned...
*According to the State of California, I can't own a flamethrower without a special permit. That's the bad news. Here's the good news:
CALIFORNIA CODES
HEALTH AND SAFETY CODE
SECTION 12750-12751
12750. For purposes of this part, the following definitions shall apply:
(a) "Flamethrowing device" means any nonstationary and
transportable device designed or intended to emit or propel a burning
stream of combustible or flammable liquid a distance of at least 10
feet.
So as long as I keep it under ten feet (or use a flammable gas instead of a liquid) I can throw all the flame I want.
Wait, why are you talking yourself out of making the rest of the costume? The helmet looks amazing. Just think how much better it will look with a full suit and flamethrower backpack (you can't have a flamethrower, but you can make a supersoaker look like one, just saying).
ReplyDeleteAWESOME work!!!
ReplyDeleteGreat job, that's all I can say is Great Job!
ReplyDeleteWould you happen to have the flametrooper helmet file available for download? Thanks for this great project resource :D
ReplyDeleteNo, but if you contact the good folks at DO3D.com, they can probably take care of you.
DeleteThat's amazing but can I buy one is the next question. If I do that I'd pay you to design and build me a wearable full replica Flametrooper costume.
ReplyDeleteDo you have an email where we can discuss this?
If you'd like to hire me to make something for you, please email me at sthorsson99@yahoo.com
Delete