Fortunately for you, there's the SAW!
"SAW" stands for "Squad Automatic Weapon." When I was bouncing around Afghanistan, I managed to talk one of my Canadian counterparts into letting me burn through a few hundred rounds on his SAW at the firing range:
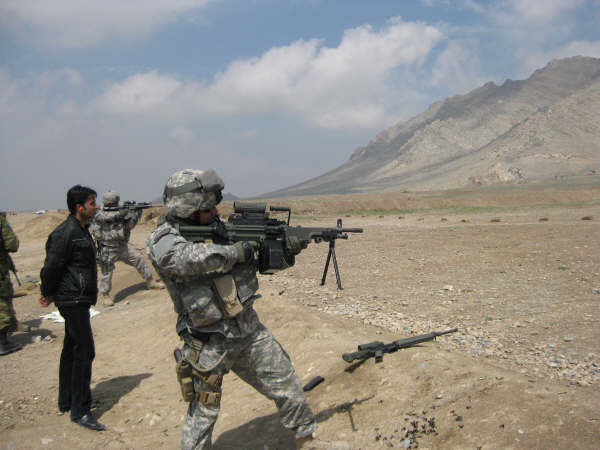
Those were fun times. When I'd emptied the entire box of ammo, I tried every way I could to talk him into trading that beauty for my M-16, but alas it was not to be.
Since I can't (legally) have one of those to hang on the wall, the next best thing is this version from HALO 4:

It's still pretty imposing and I had to have it. Since it's not something I can just buy from someone, I had to make it.
Here's the finished result:
Here's the finished result:
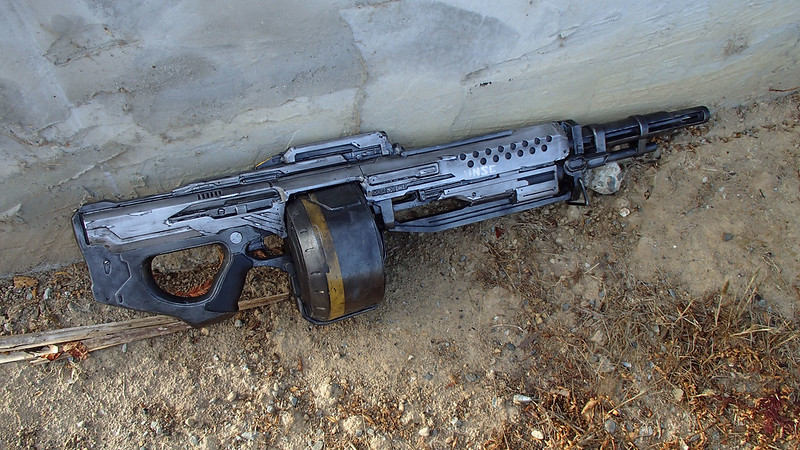
For details on how I made it, read on...
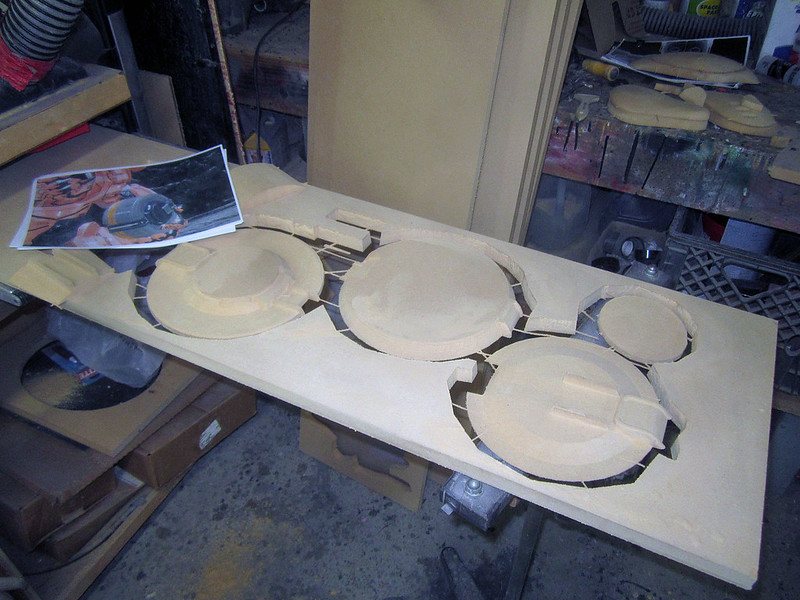
I started with the digital model which a friend of mine had emailed me. After a bit of fine-tuning, the model was ready to be fed to Lopez the Robot Whittler (my Carvewright CNC machine). Here's the first slices of the main body coming out of the machine:
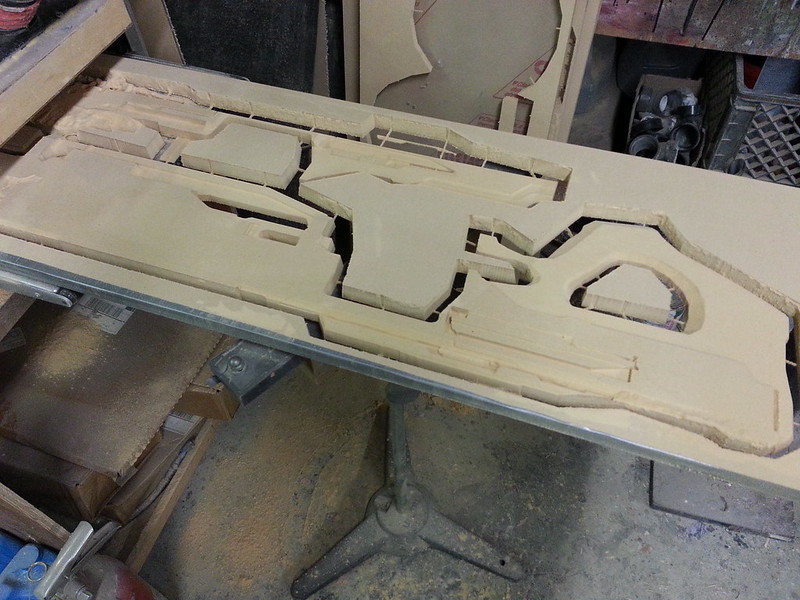
Not everything came out perfectly:
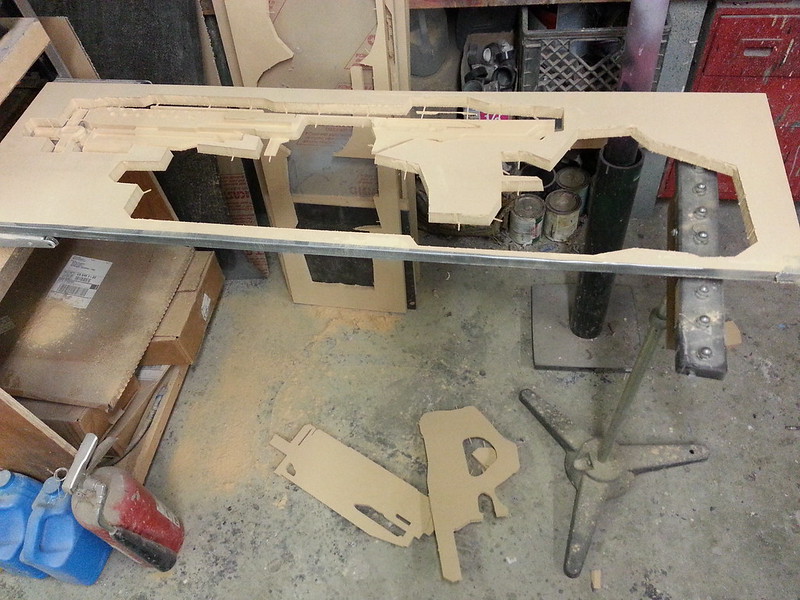
Here's the first slices of the drum magazine:
After a bit of tinkering, the mag started shaping up:
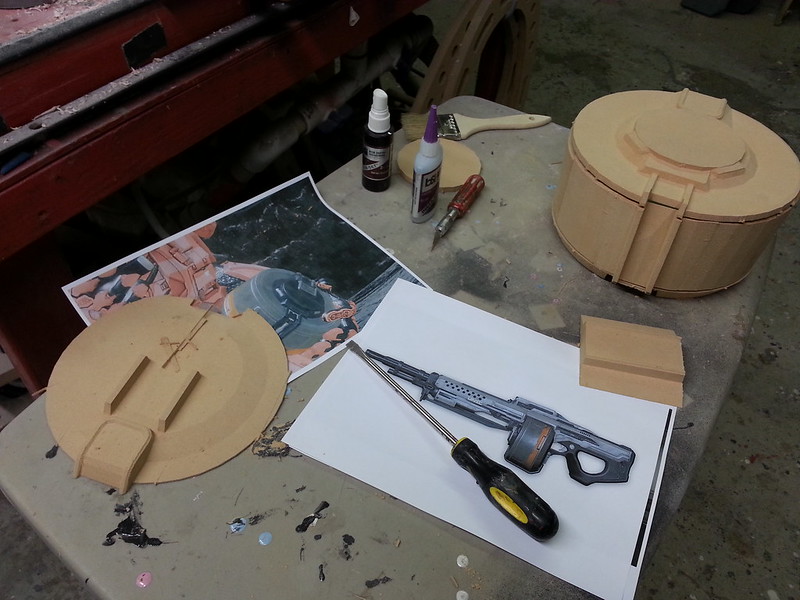
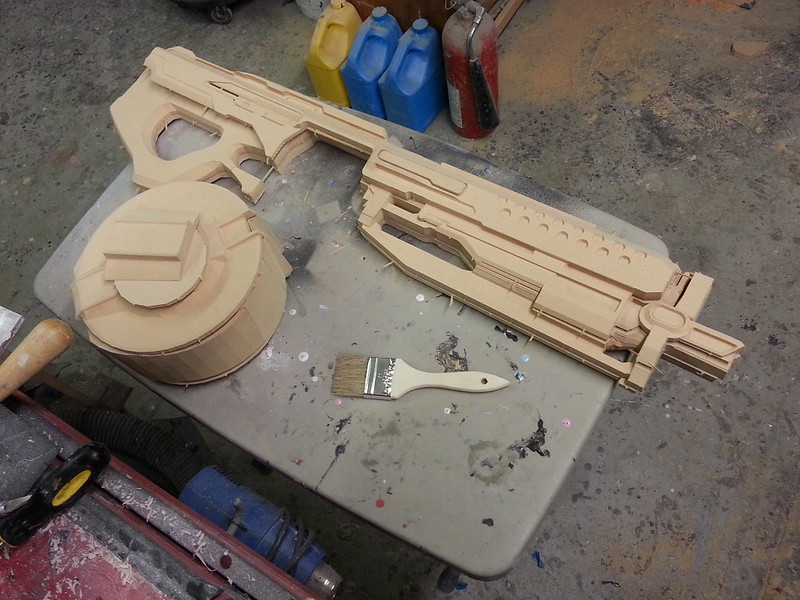
Same goes for the main body:
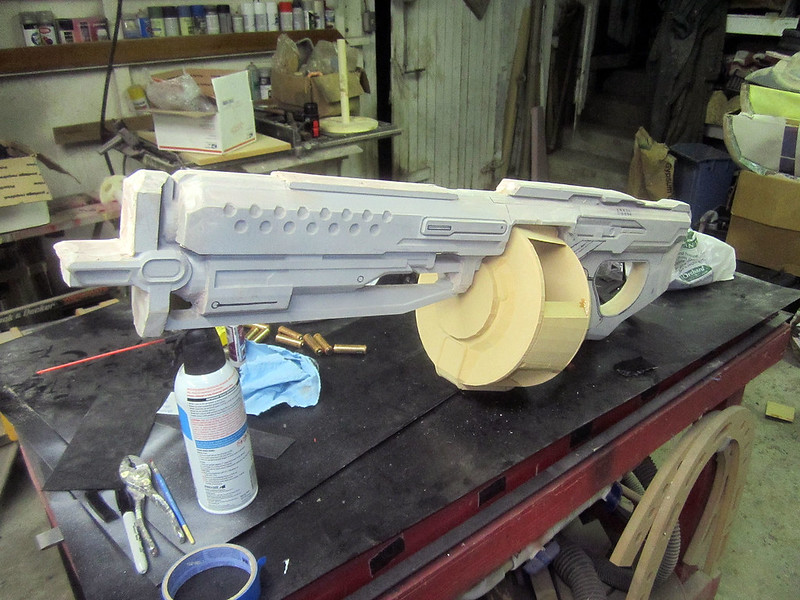
I gave the body a bit of filling and primer and it started to look pretty good:
With the main shape coming together, it was time to start adding some of the smaller details. I started with the raised details at the grip and the buttstock:
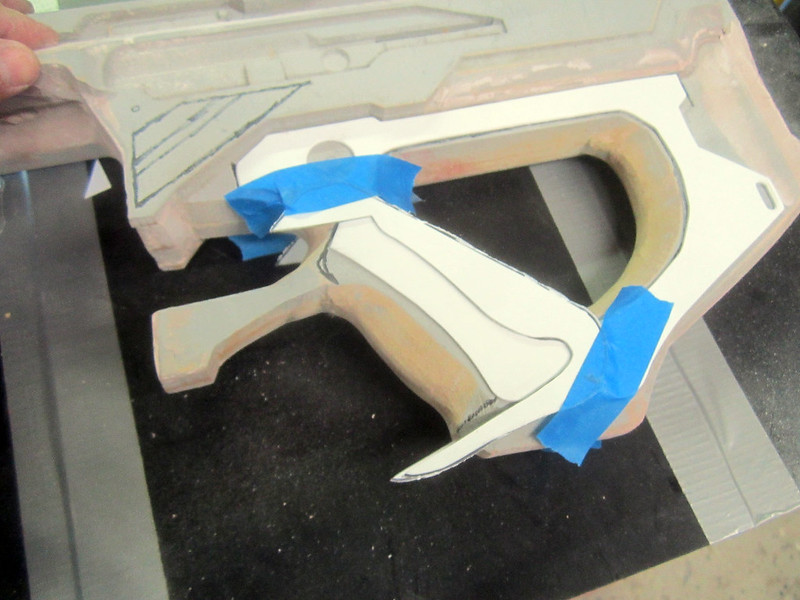
Once the raised portions were added on with sheet styrene, I carved out some of the recessed areas and added some Bondo:
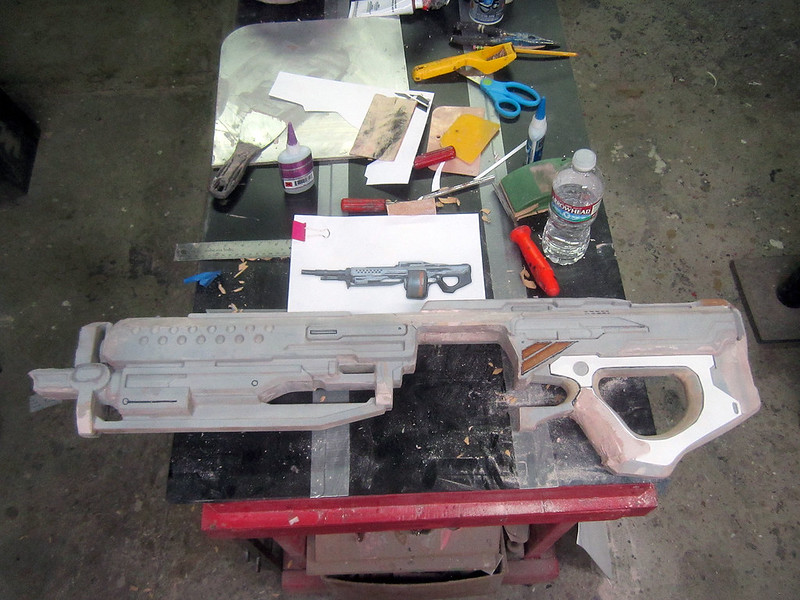
Somewhere along the way, I had Jarvis (the Objet30 3D printer) crank out the sight arrangement:

It was a perfect fit:
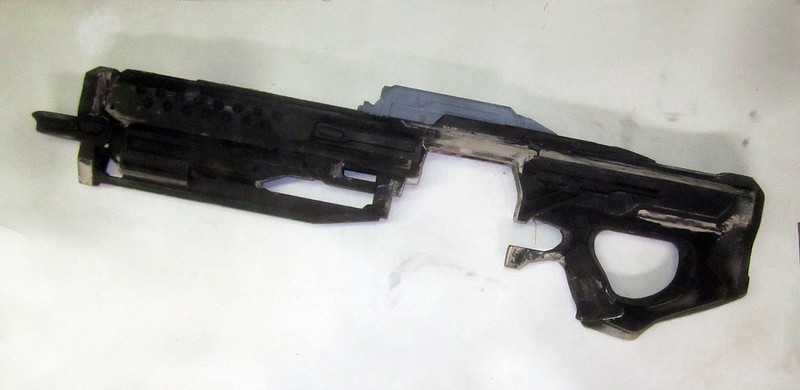
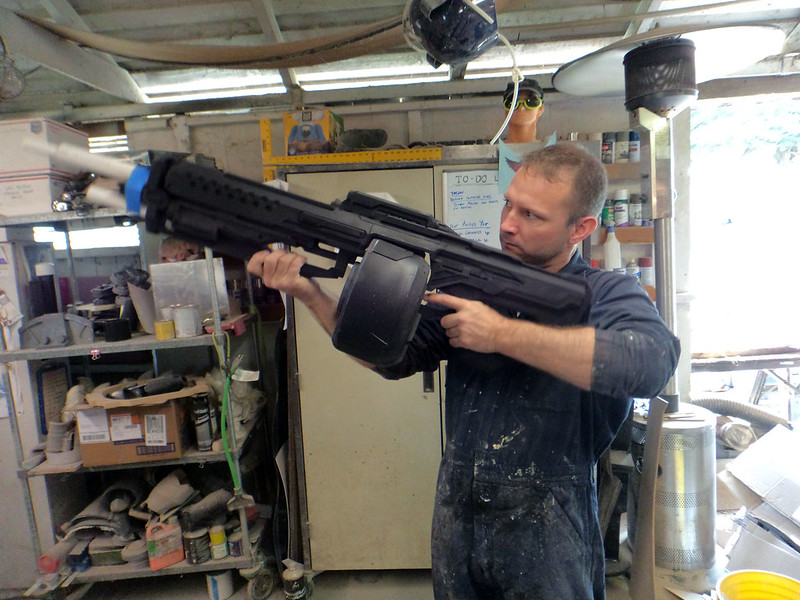
Somewhere along the way, I had to pose for a portrait:
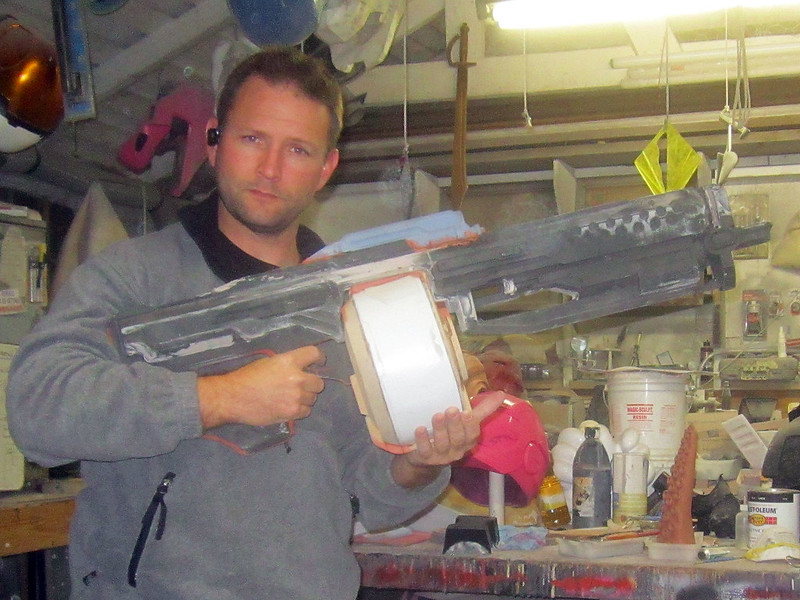
Sometime later, I decided it would look a lot cooler if I added a barrel mockup:
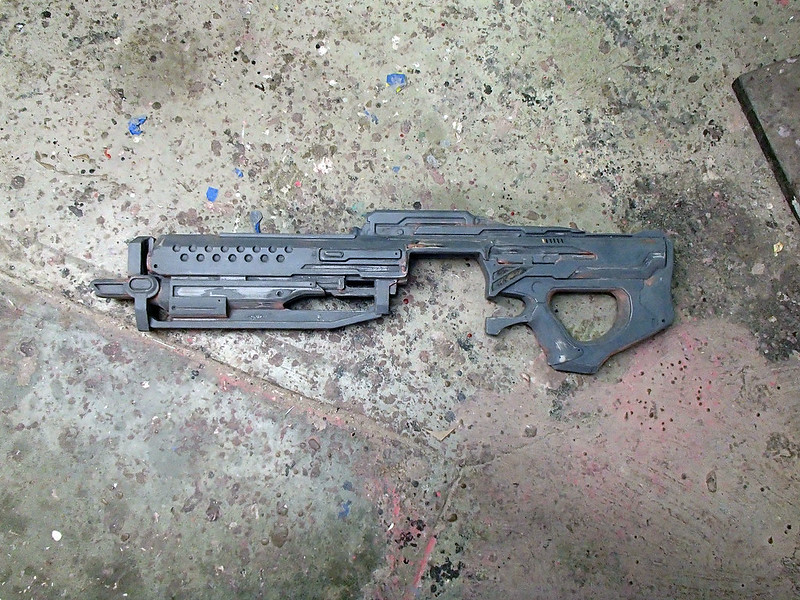
At this point I was stuck in the seemingly endless iterations of sanding and filling and sanding and priming and sanding and filling:
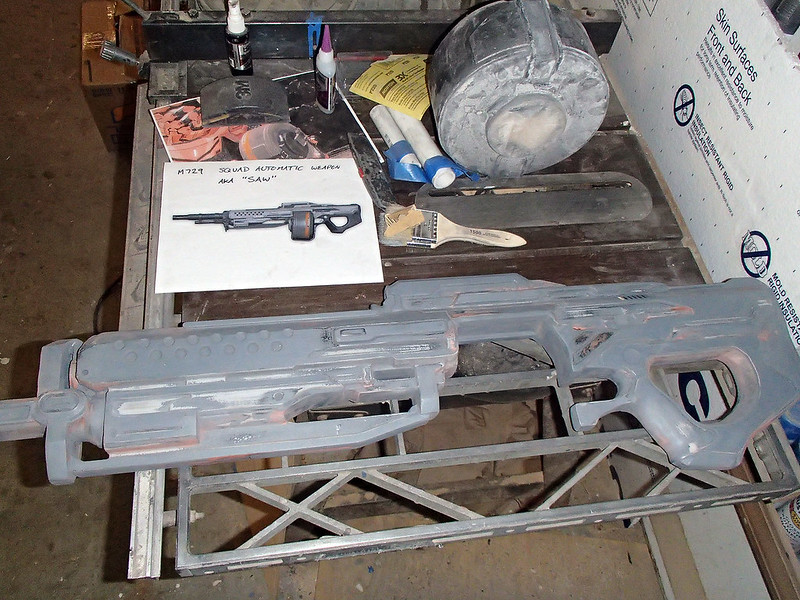
and sanding and priming and sanding and filling and sanding and priming:
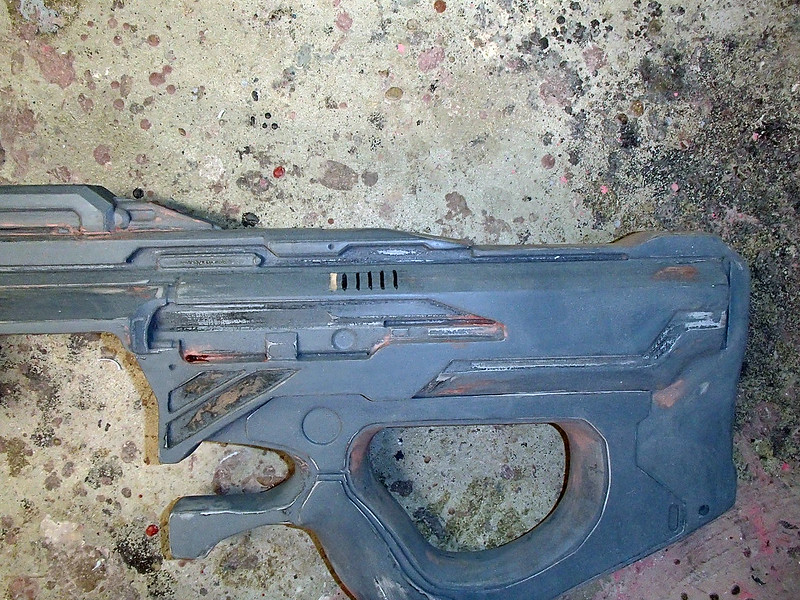
I still kept noticing little details along the way that needed more attention:
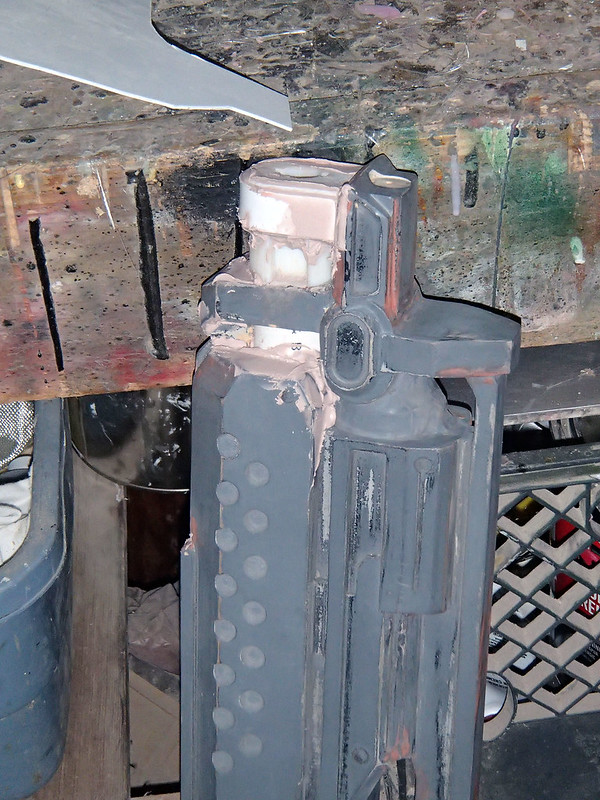
When it was about 90% done, I decided to go ahead and add a barrel. Once again I turned to Jarvis. I had him build me a socket that would fit the front end of the gun body:

Jarvis also printed out the barrel itself:
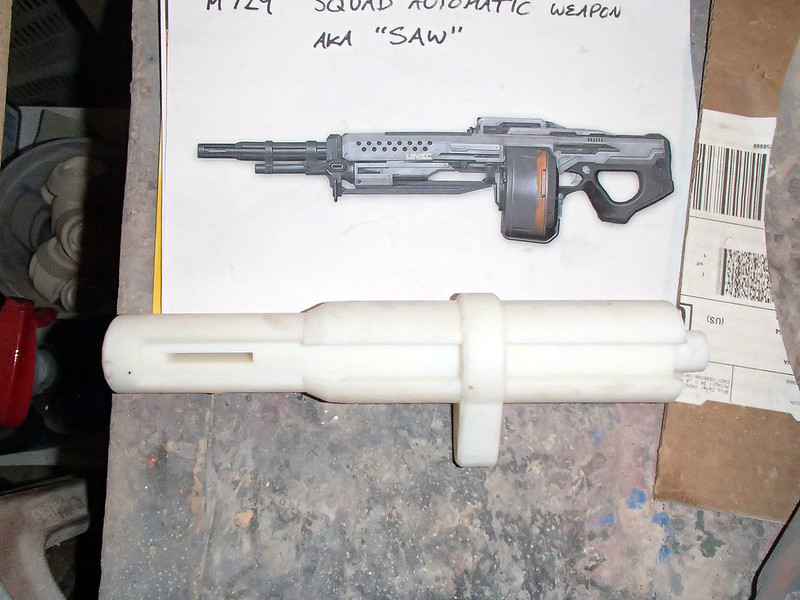
The back end of the barrel is tabbed to fit into the socket at the front end of the gun body thusly:
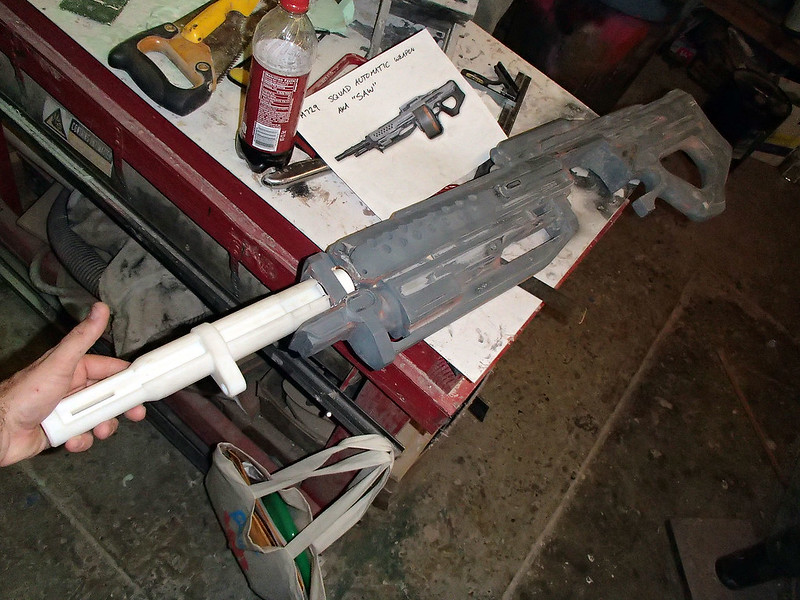
Another quick consultation of the reference images revealed that I had more filling and sanding to do:
At this point, the drum magazine was very near to completion:
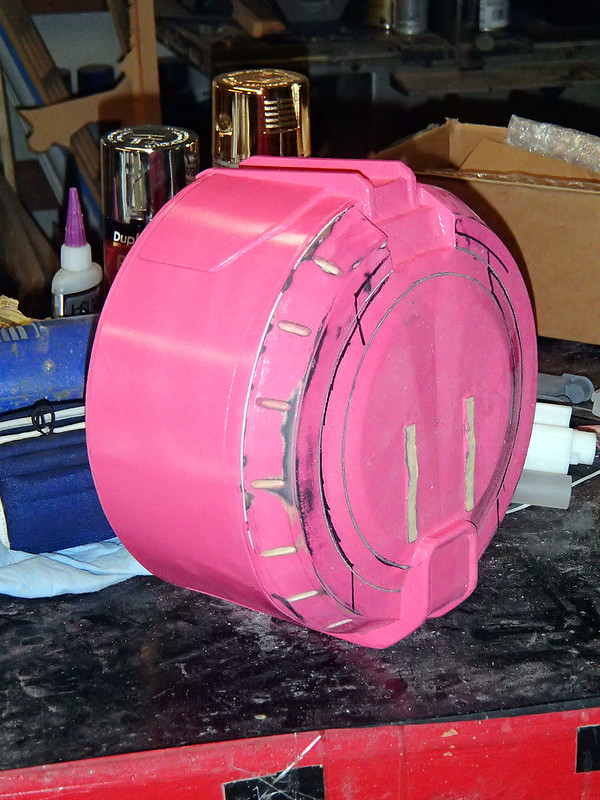
I couldn't resist the continuing temptation to set the whole thing on the bench and see how it looked:
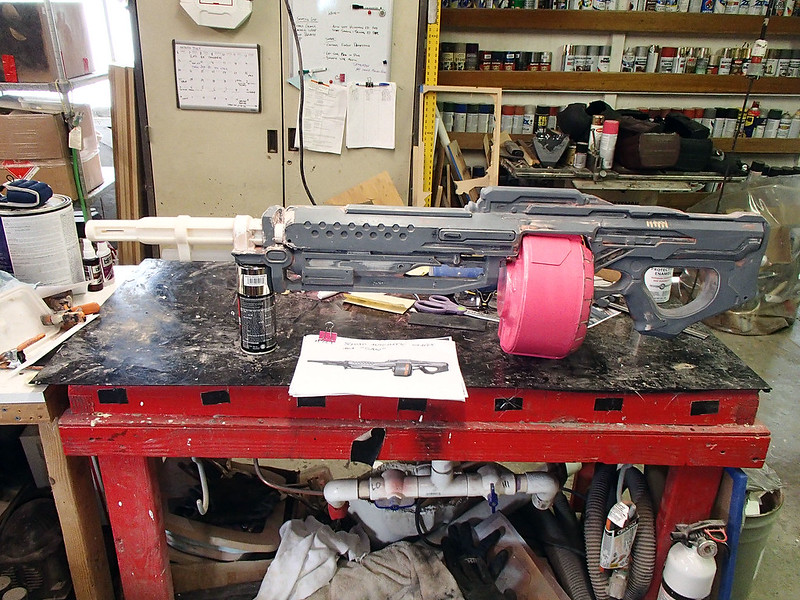
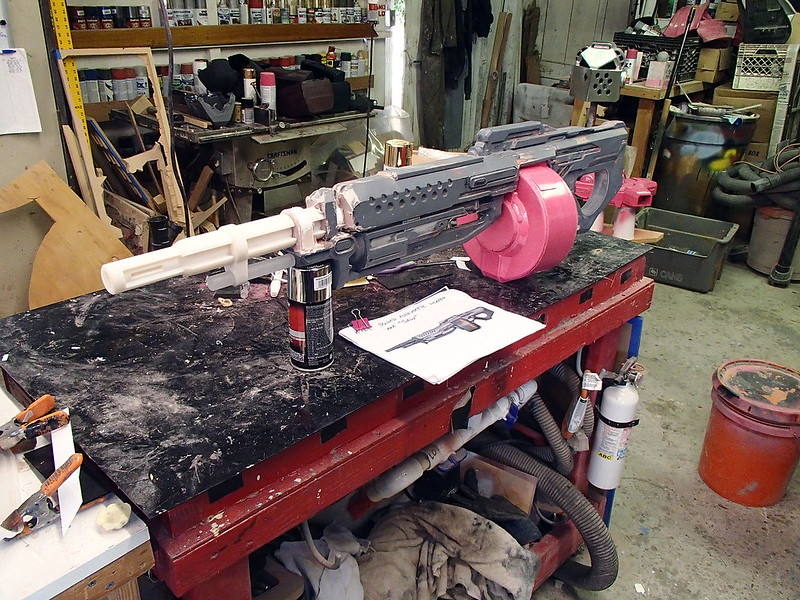
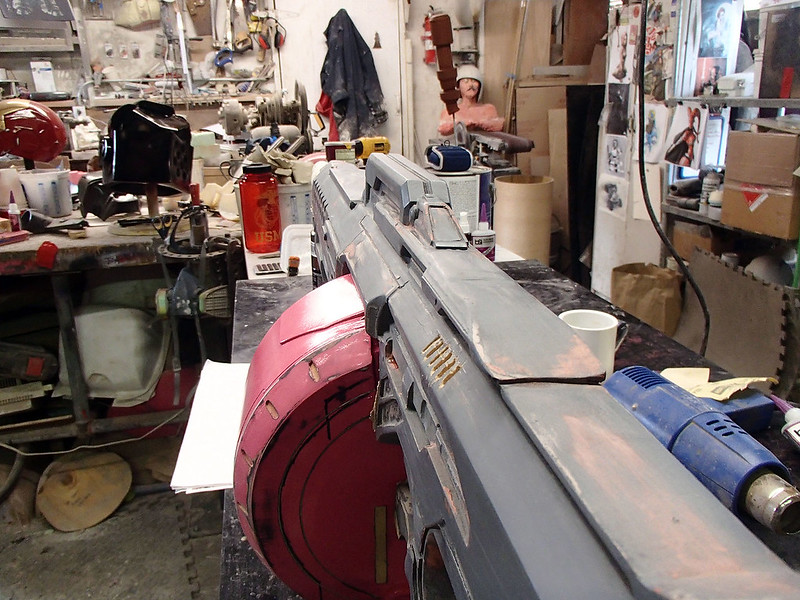
That got me noticing even more details that were missing from the magazine:
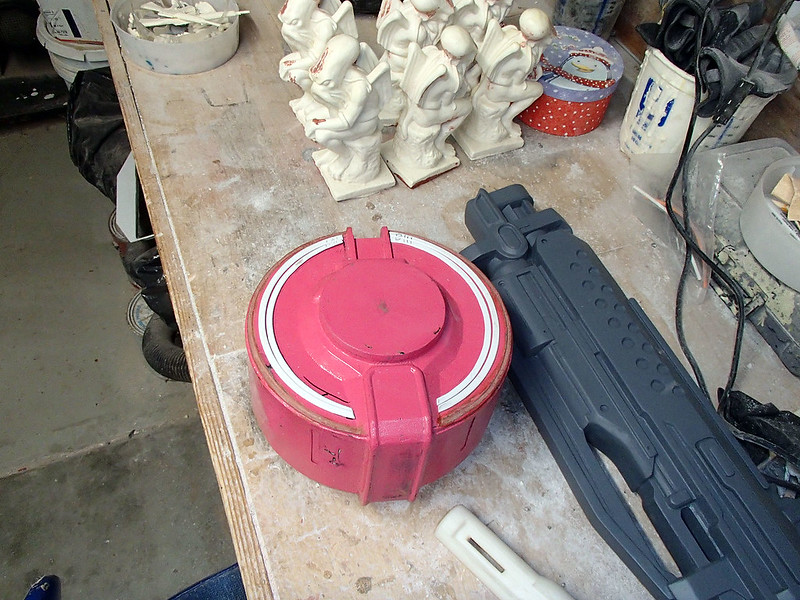
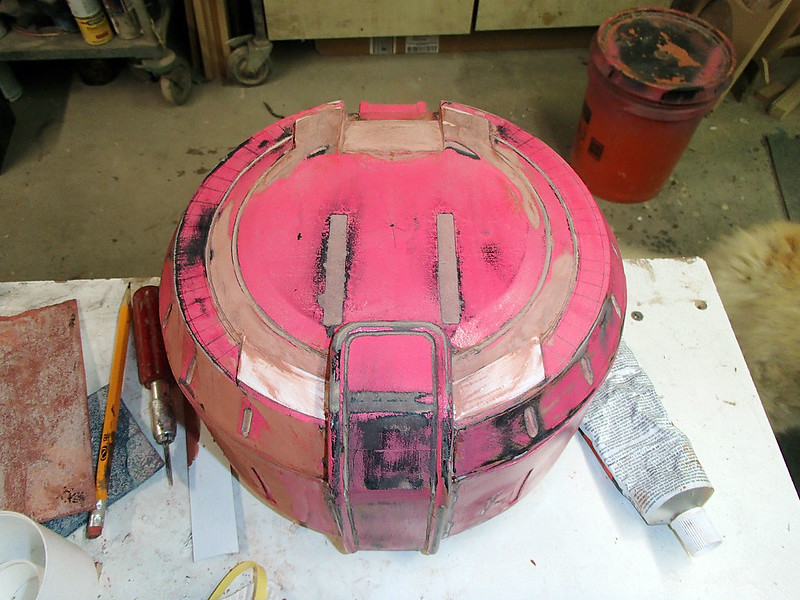
After a bit more sanding and smoothing, it was all shined up and prepped for molding:
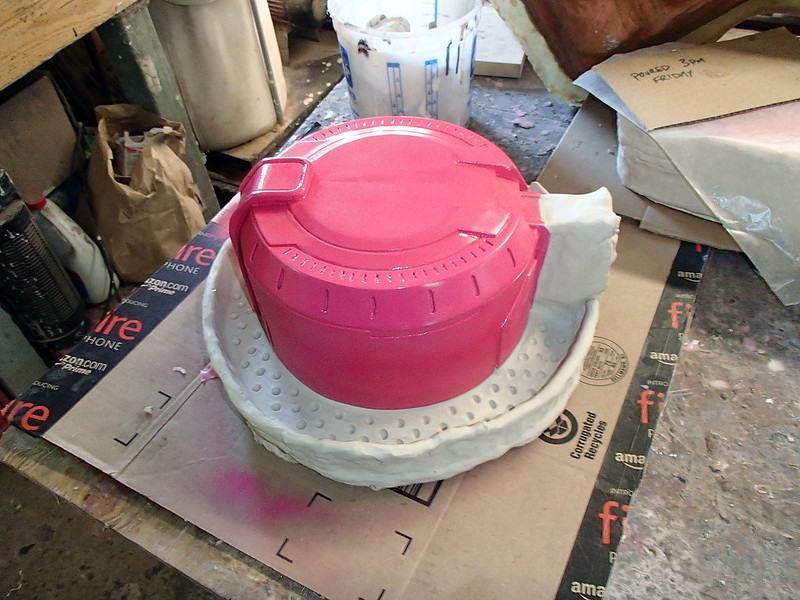
Since I was going to rotocast the drums to keep the weight down, it was important to make the mold lightweight as well. Here I am pouring on the silicone rubber print coat:
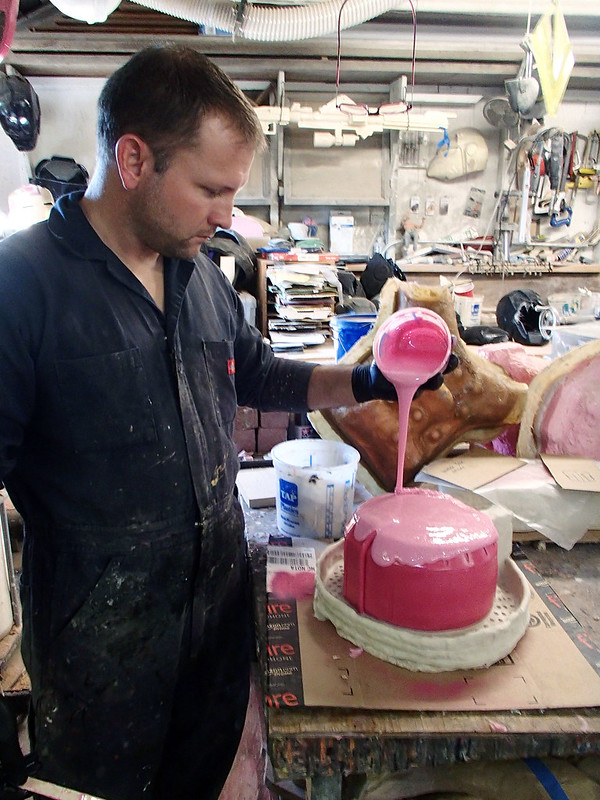
Once the print coat had cured, I thickened it up with more silicone:
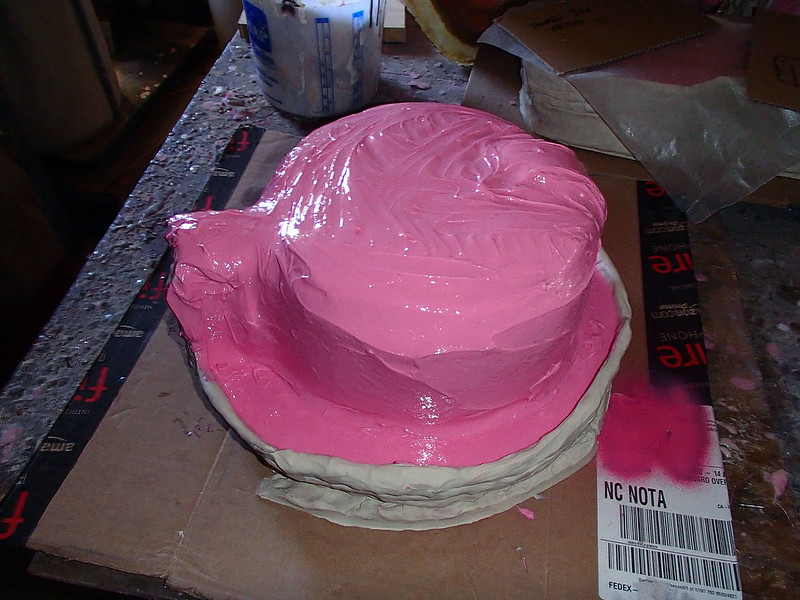
Once I'd built up about 3/8" worth of rubber and added some registration keys, it was time to lay up a fiberglass mothermold:
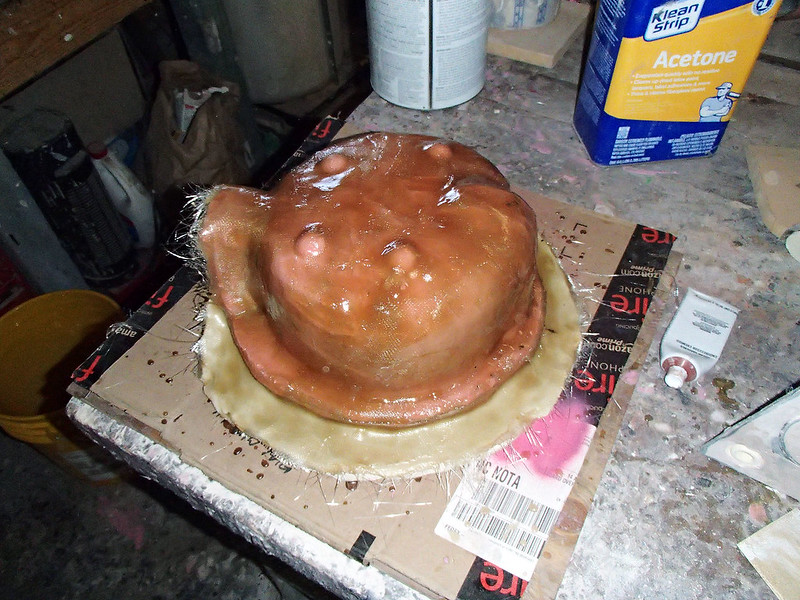
Then I flipped it over and removed most of the clay parting wall, leaving a lip around the edge:
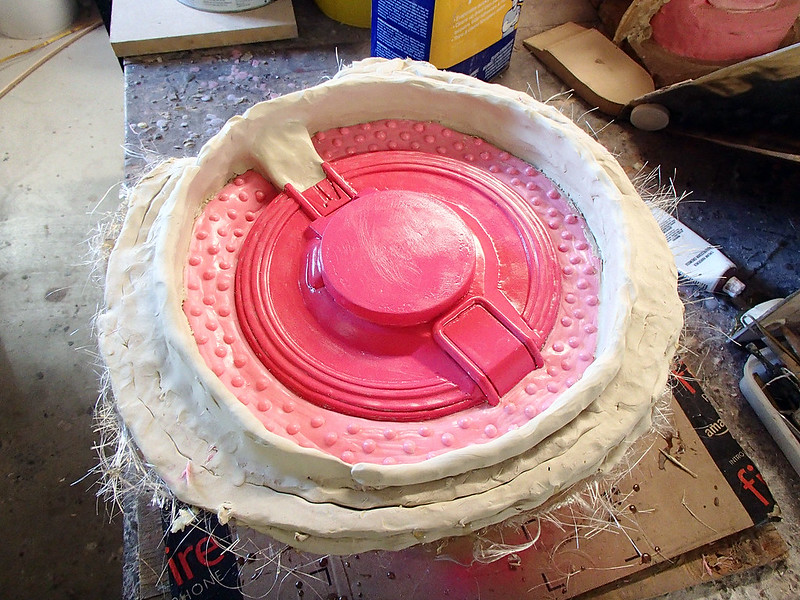
After spraying the exposed silicone with copious amounts or release agent, it was time to pour a print coat for the second side:
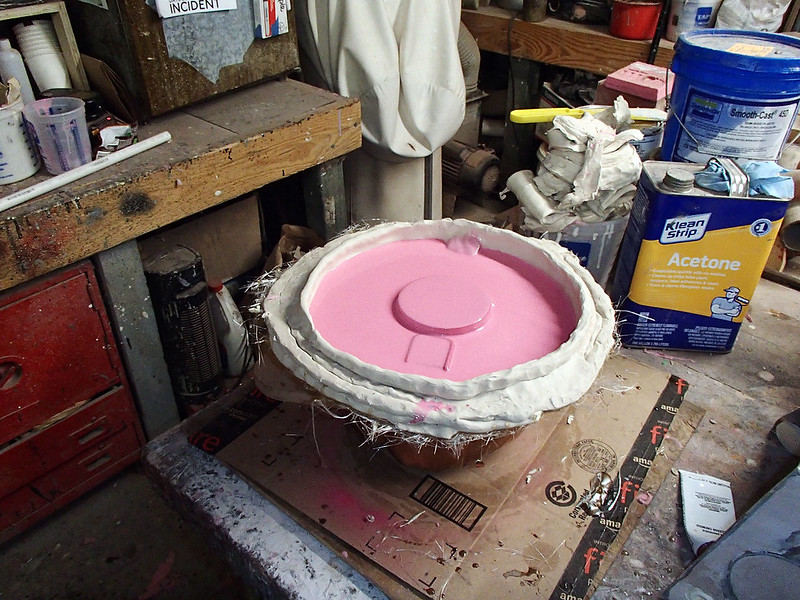
Then I added more thickness to the second side as well:
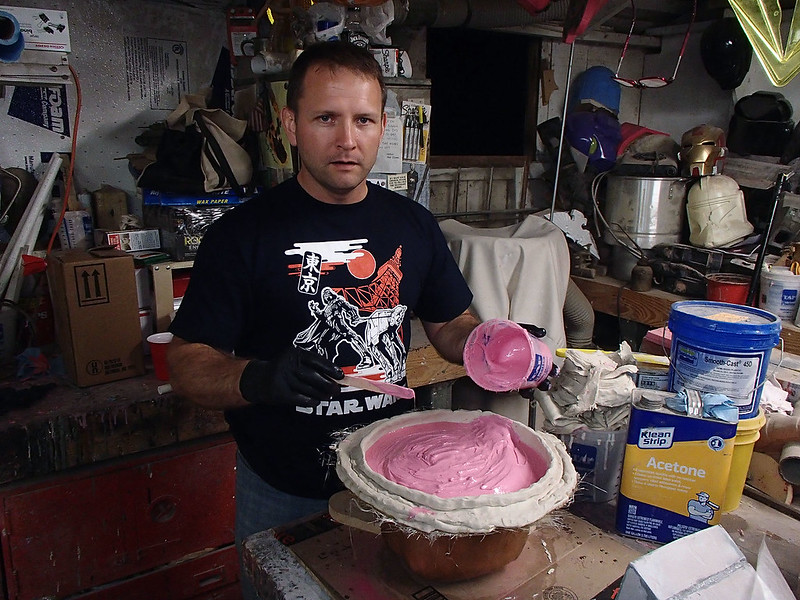
Once the rubber had set up, I laid up the next piece of the mothermold. Here's the completed mold with the prototype removed:
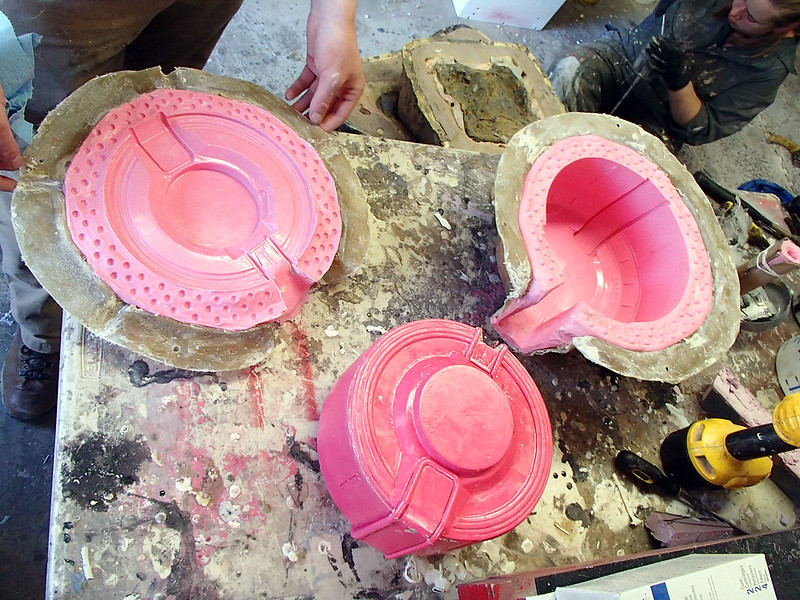
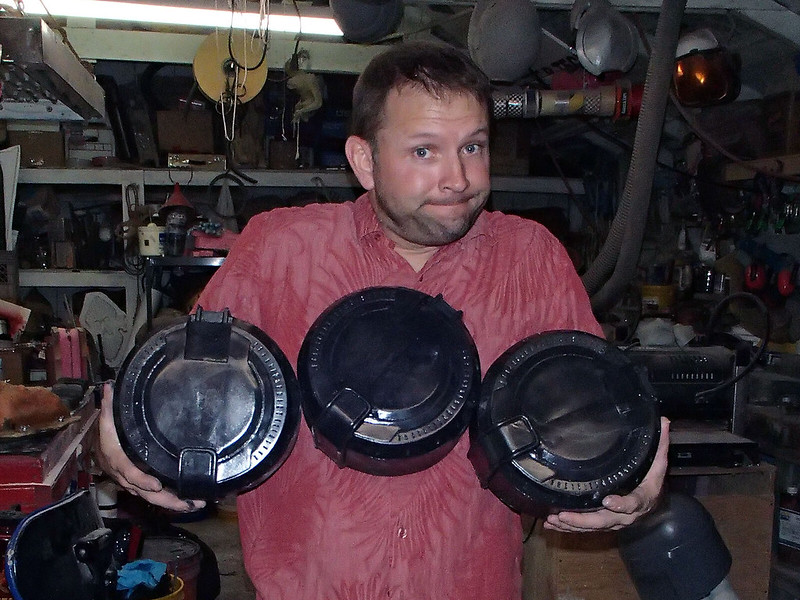
Then it was time to bolt the whole thing back together and rotocast a few copies:
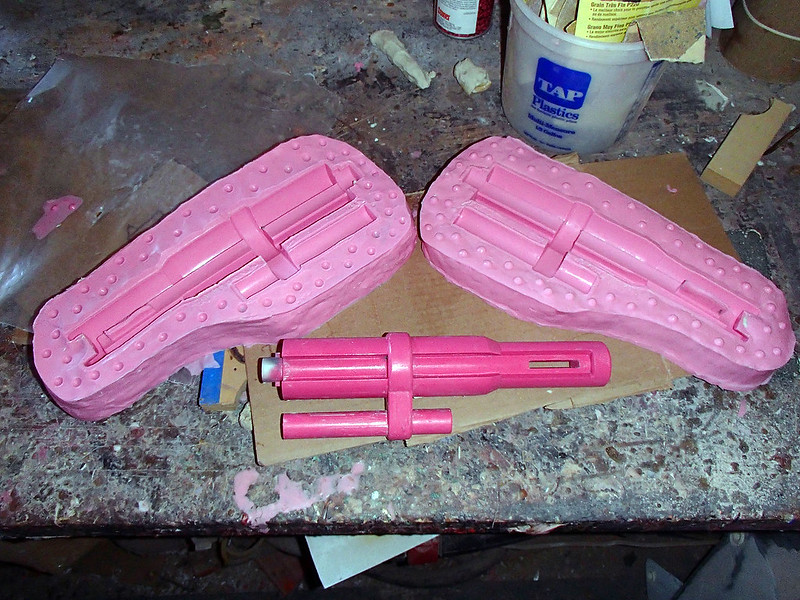
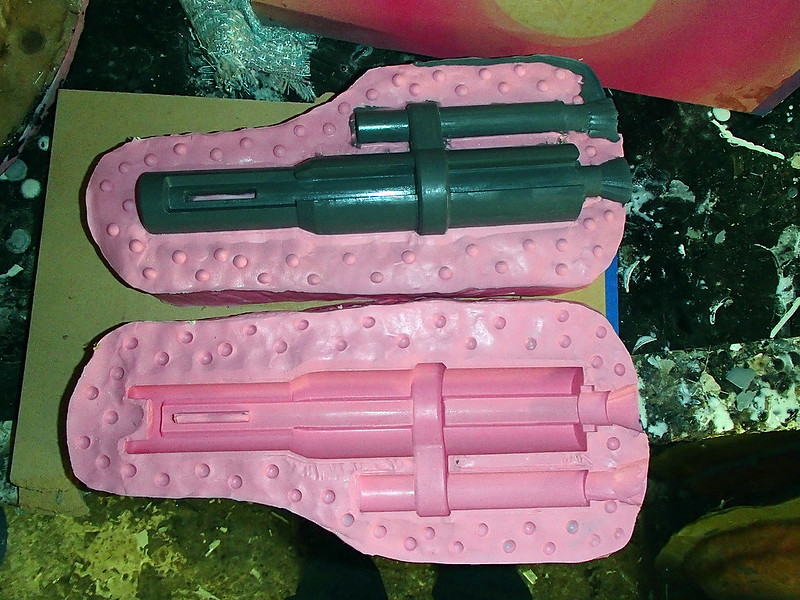
Somewhere along the way, I made a mold for the barrel. The mold was made in much the same way as the two-part molds I've previously described HERE. Here's the two halves separated:
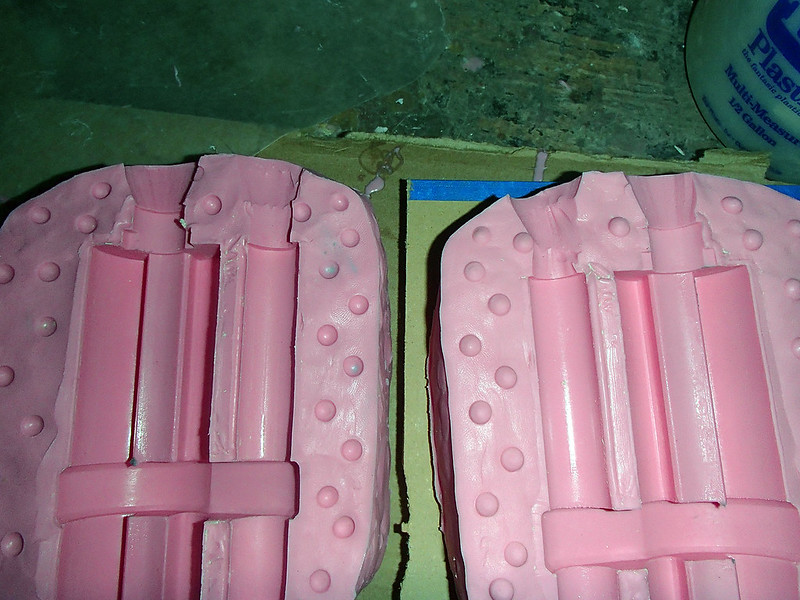
In order to be able to fill the mold, I had to cut some pour spouts (called "sprues") and vents into the top end:
After filling the mold with resin, here's what the first casting looked like:
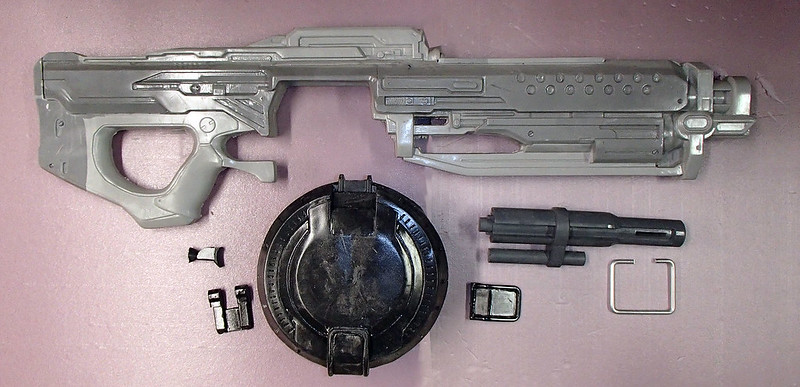
There were still a few small parts, but the shaping, molding and casting of the tabs for the magazine, the trigger, and the becket that hangs from the front end aren't very interesting. The end result was a full set of seven pieces:
Here's the whole thing glued together:
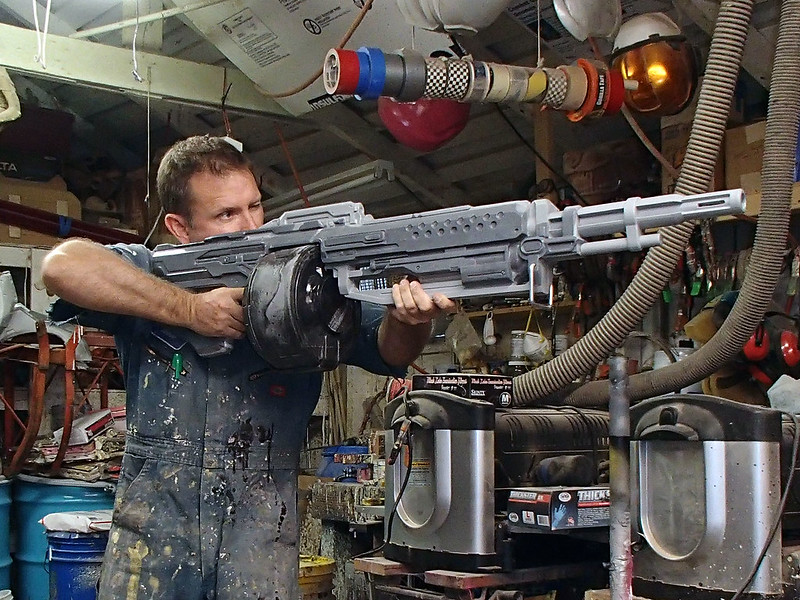
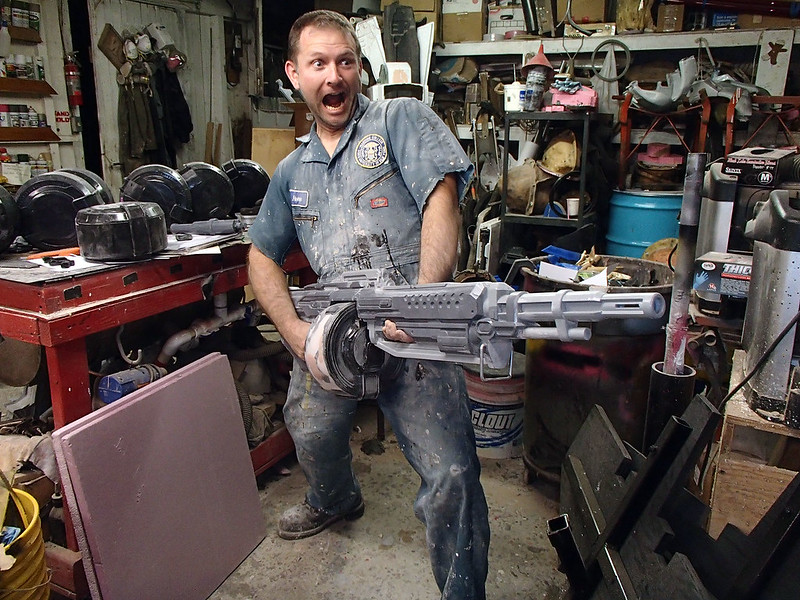
Though it looks more fun like this:
Once I'd filled the tiny bubbles and sanded off the flashing from the mold seams and otherwise ironed everything out, it was time for a coat of primer:
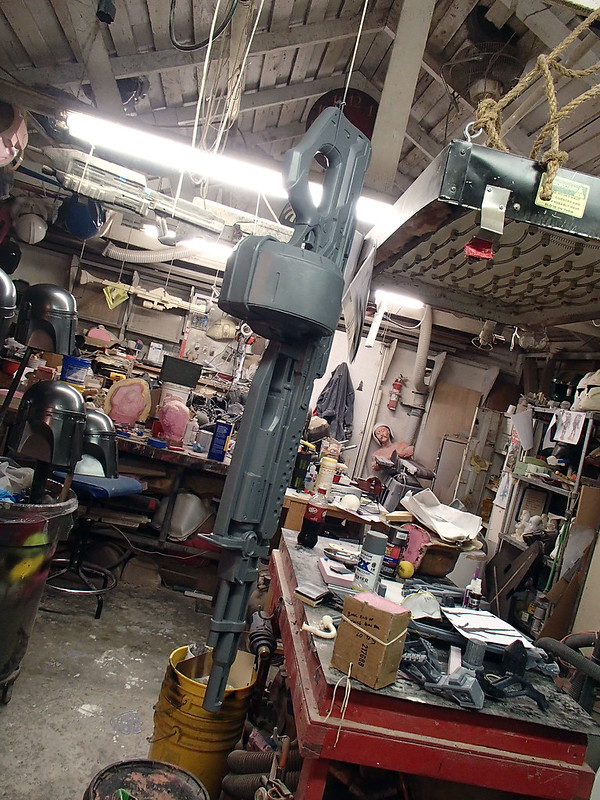
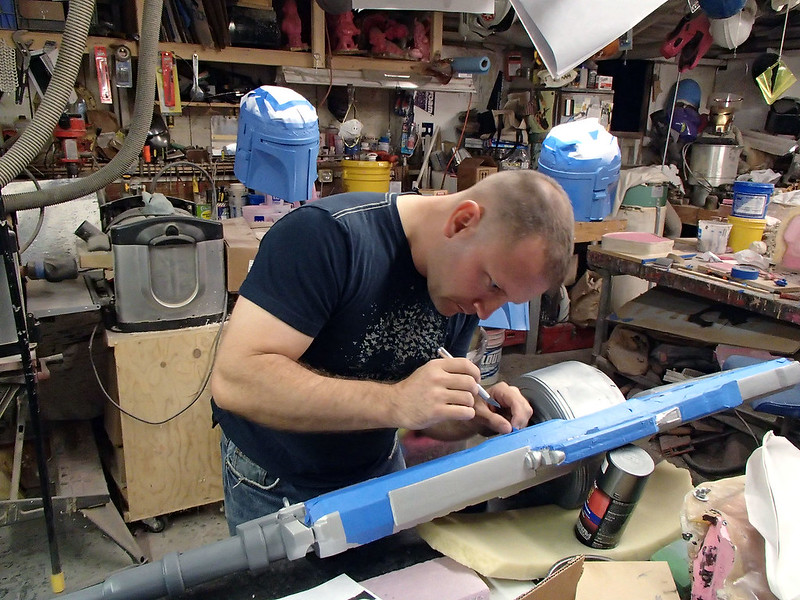
After the primer had dried, I sprayed most of the main body with a coat of Matte Nickel Metallic from Rustoleum. Then I masked off all of the areas where that color was going to show:
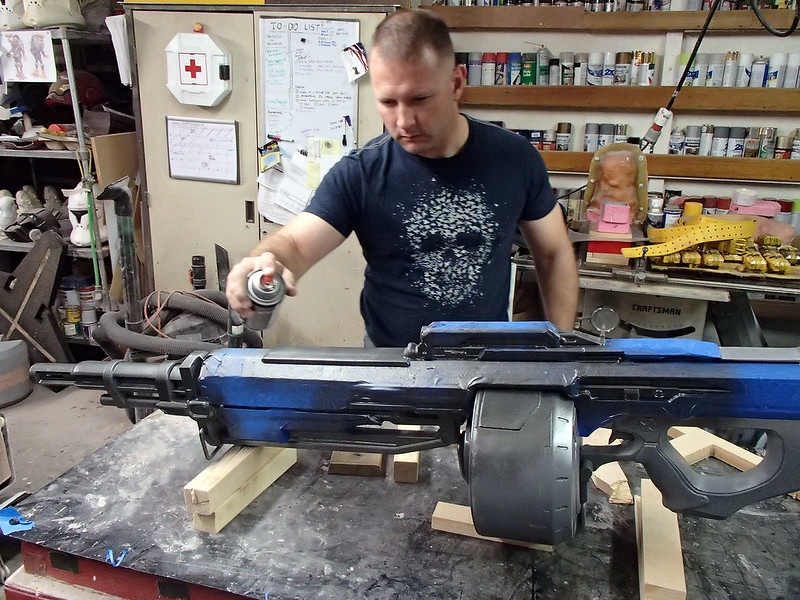
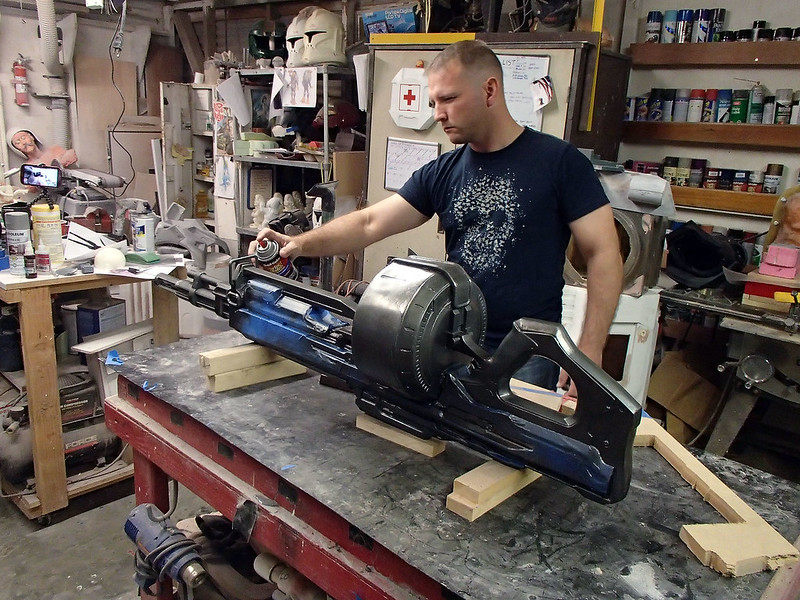
Then I sprayed the exposed areas with Duplicolor "Polished Grey Metallic" spraypaint:
It was a bit brighter than I'd like, but that would all be solved in the weathering phase:
So here's the shiny, new version with none of the upcoming details:
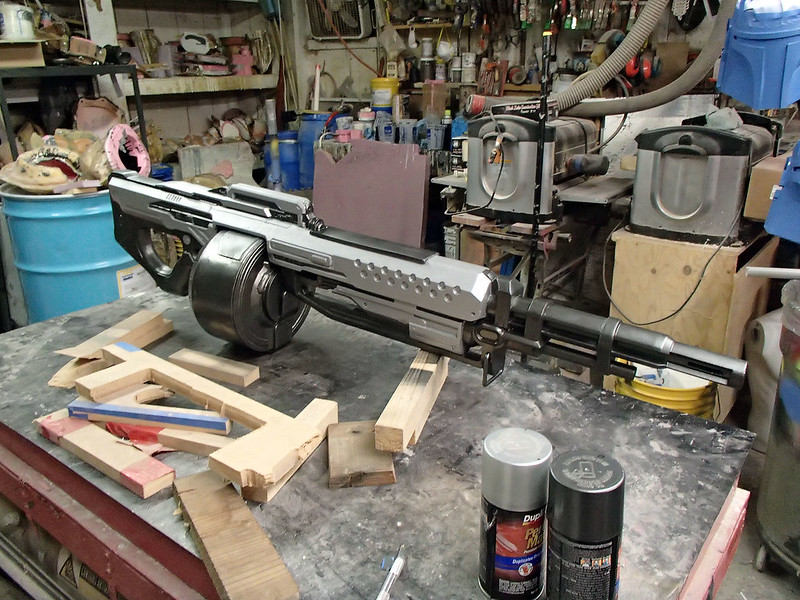
The first and most prominent detail that needed to be added was the lettering on either side of the main body:
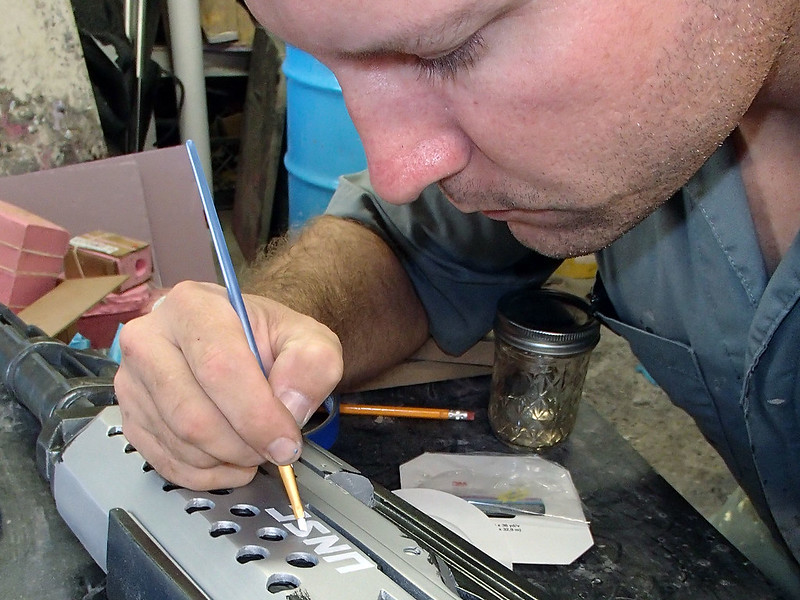
I think it came out okay for a rush job:
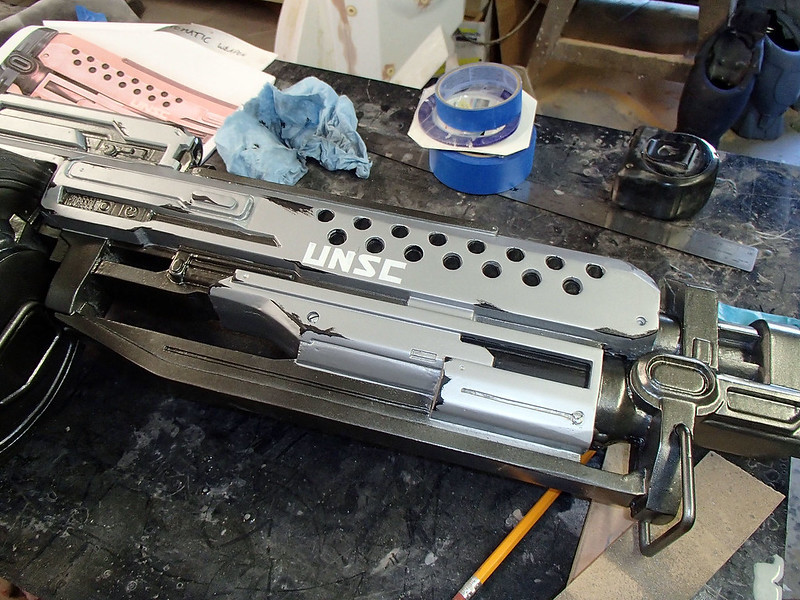
Then I did some more masking and sprayed Rustoleum Gloss Marigold for the stripe on the drum magazine. Once it had dried, it was time for a heavy blackwashing. I started by spreading on some undiluted black acrylic paint:
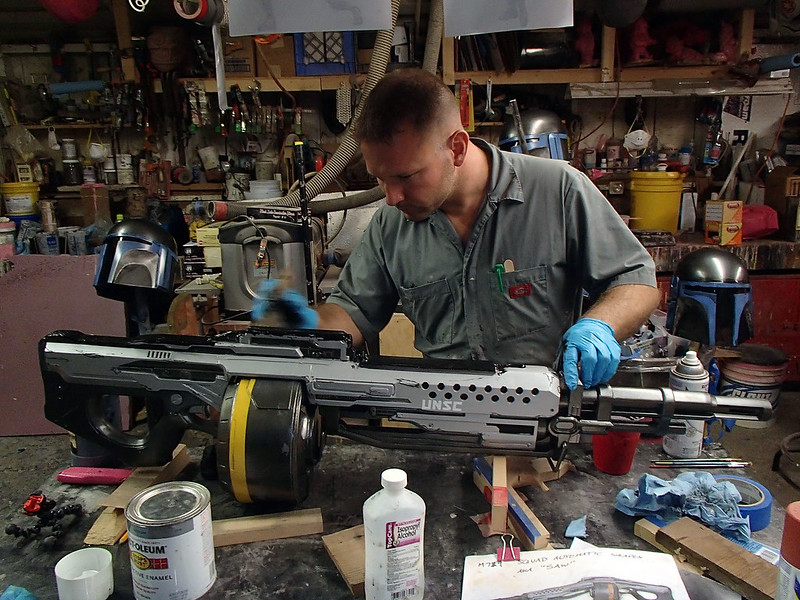
Then I used a solution of water and isopropyl alcohol to dilute it in place while working it into all of the recesses and detail areas:
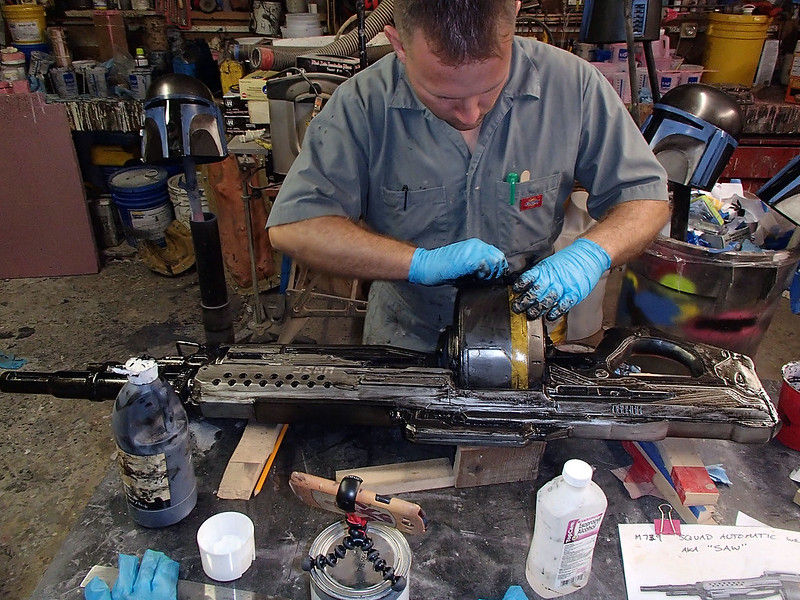
This served to make everything darker:
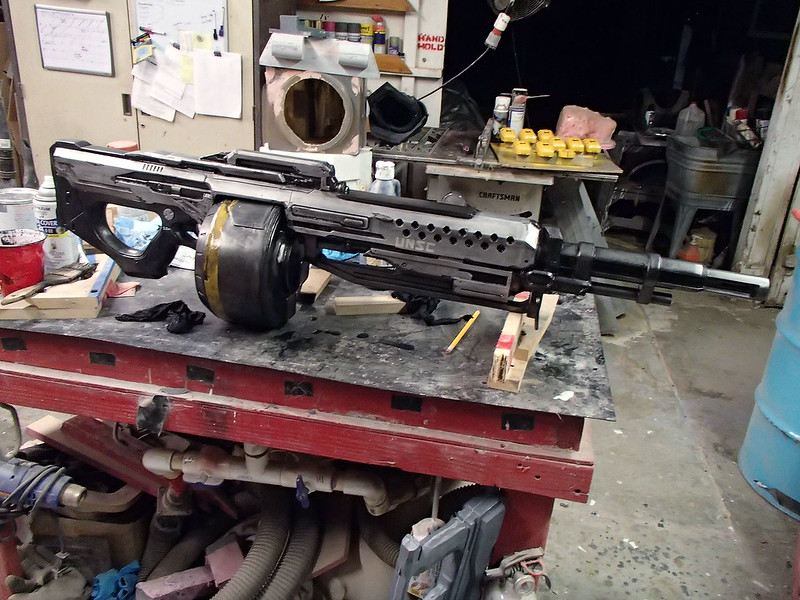
Once the blackwash had dried, I did some light drybrushing with a silver to highlight the details and give the edges a worn metal look:
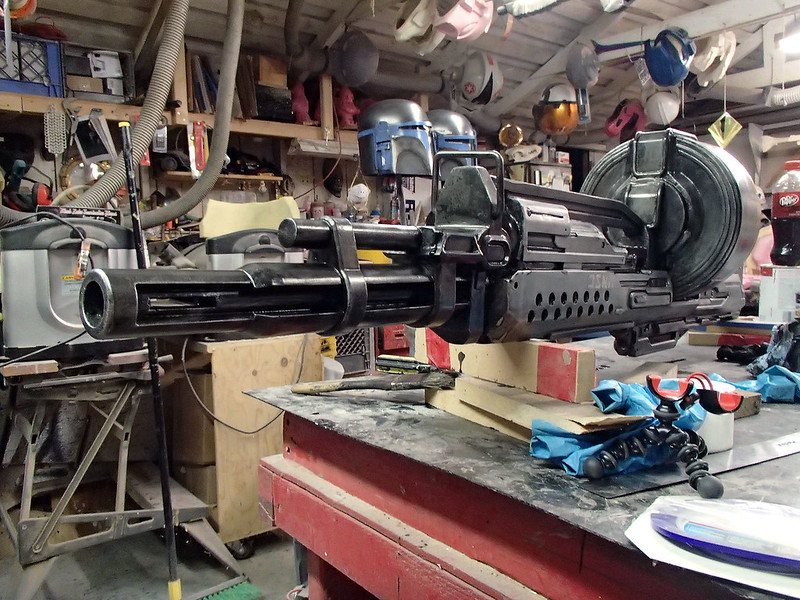
I think the finished result was effective:

Then I picked out the pistol grip in flat black:
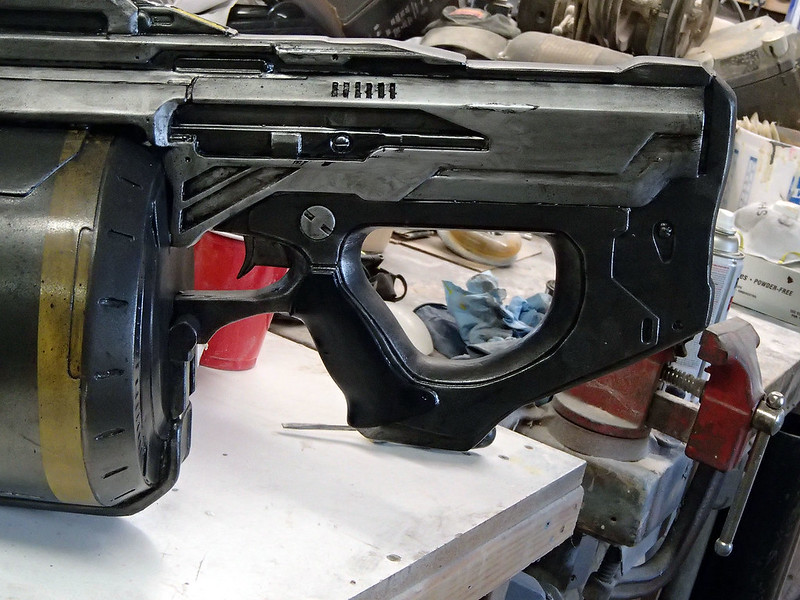
And added some Sunburst Yellow to the little widget at the rear of the sight assembly:
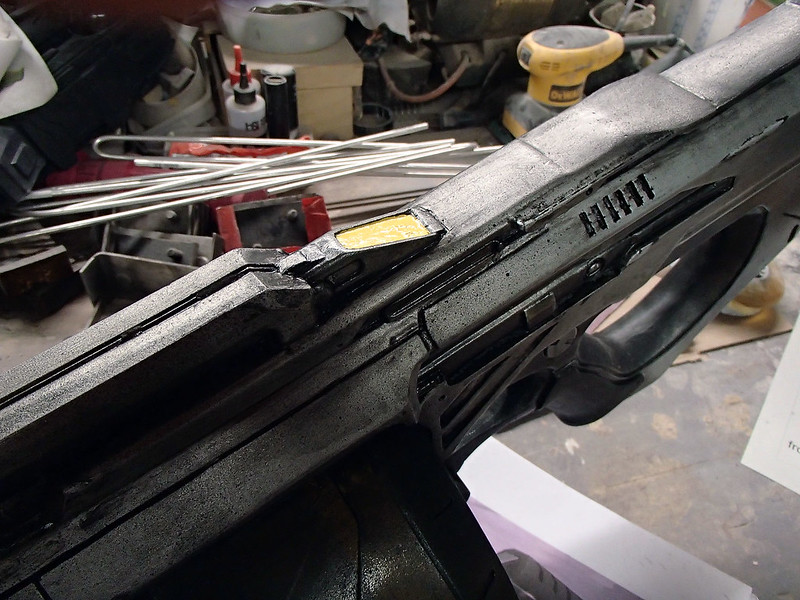
Once that had all dried, it was time to call it finished:
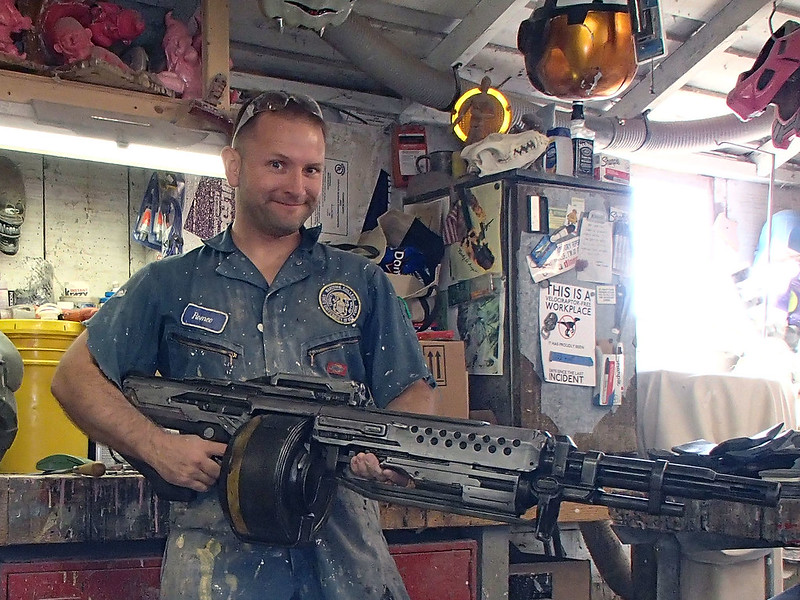
Then set up some showcase photos:
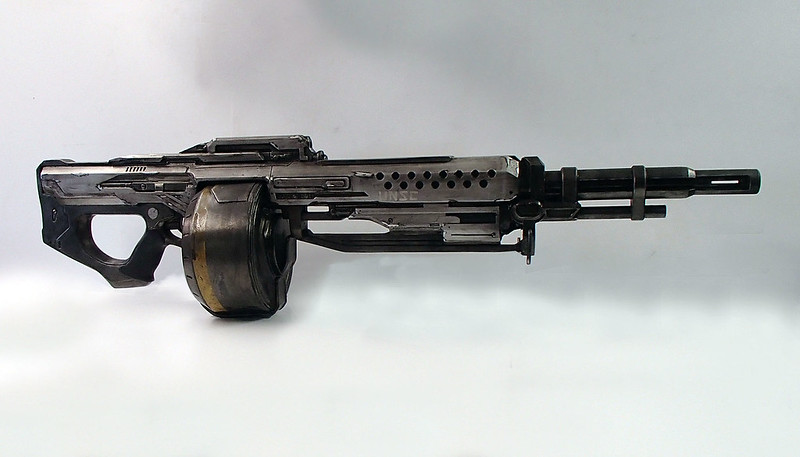
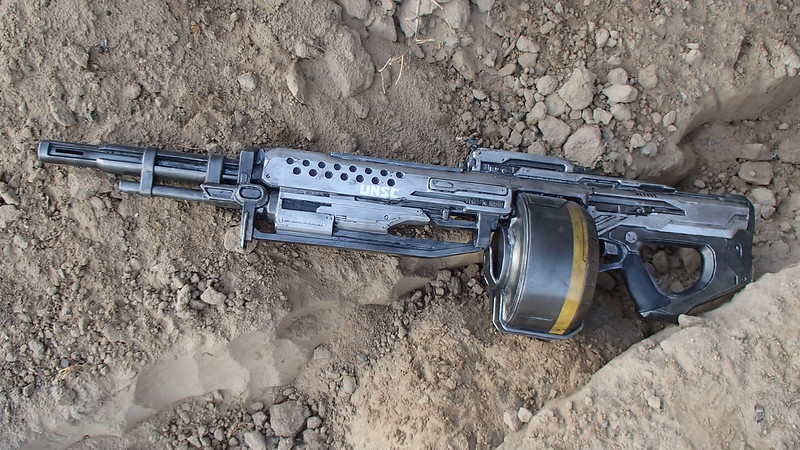
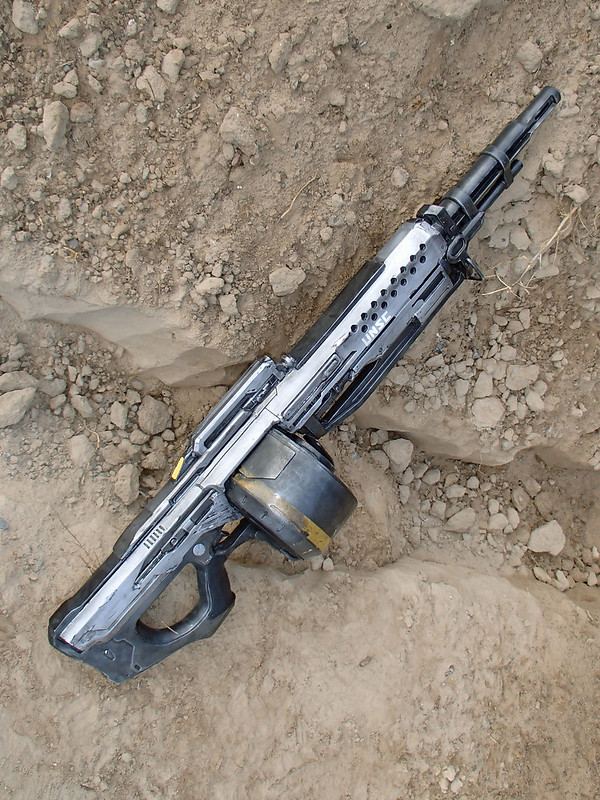
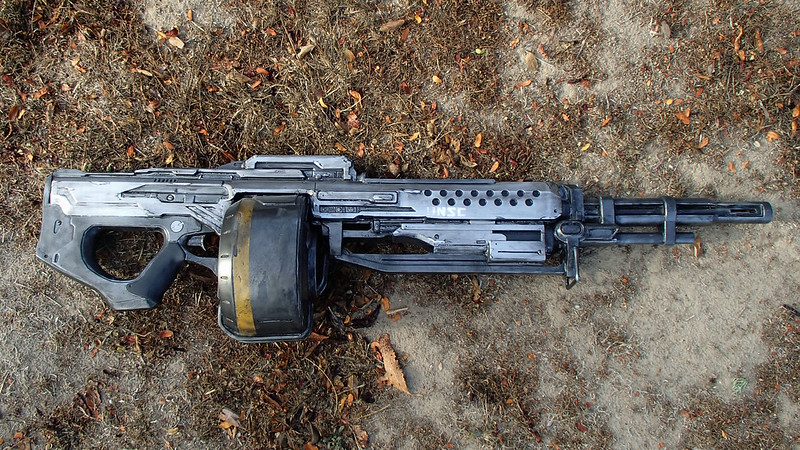
So I can't quite use it to poke holes in things with tiny explosions, but it's pretty imposing all the same. Now I just have to paint up another one with a bright orange tip so it can safely go outside for conventions and the like.
Stay tuned.

I feel like, having seen this, that you could make a badass Spartan Laser.
ReplyDeleteMakes mine look like a joke
ReplyDelete