Pages

Friday, January 23, 2015

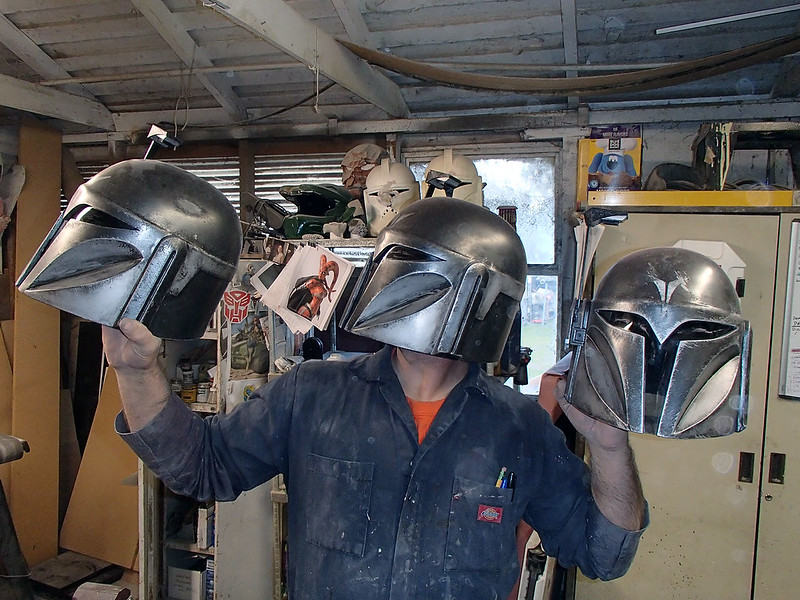
Clone Wars Mandalorian Costumes Part 2: the Night Owl Helmets

A while back I mentioned that I'll be going to Star Wars Celebration: Anaheim with a group of friends and that my friend Matt talked me into making a bunch of costumes so we can go as Death Watch mercenaries from the Clone Wars animated series.  Since then, we've been on a roll with the Death Watch stuff.  If you didn't see the post about making the helmets, you can read it HERE.

Since our significant others will be going along (as well as a handful of other folks) we have a pressing need to dress the girls in appropriate outfits to fit in with the group.

Here's a finished helmet:
Nite Owl Helmet on Shelf

We've made a few more of them too:
Lineup
For details about how they were made, read on...


Thursday, January 15, 2015

January 2014 UFO Sightings in the Workshop

The holidays really took their toll on workshop projects, so it's taken me a couple of weeks of 2015 to really gather steam and get to working on my various projects again.

Back in what seems like forever ago, my amazingly gorgeous girlfriend bought a couple of tickets for us to go to Star Wars Celebration 7 in Anaheim with the condition that I had to come up with stuff for us to wear.  Once some of my friends got word of the fact that we were going, they started making plans to go along, so I'm dressing many of them as well.  One or two of them have even showed up in the workshop to help me build the outfits for them.  

So looking around the workshop there's a lot of Star Wars stuff going on.  Here's my friend Matt putting together a jetpack prototype so we can dress as a unit of Mandalorian Death Watch Mercenaries from the Clone Wars series:
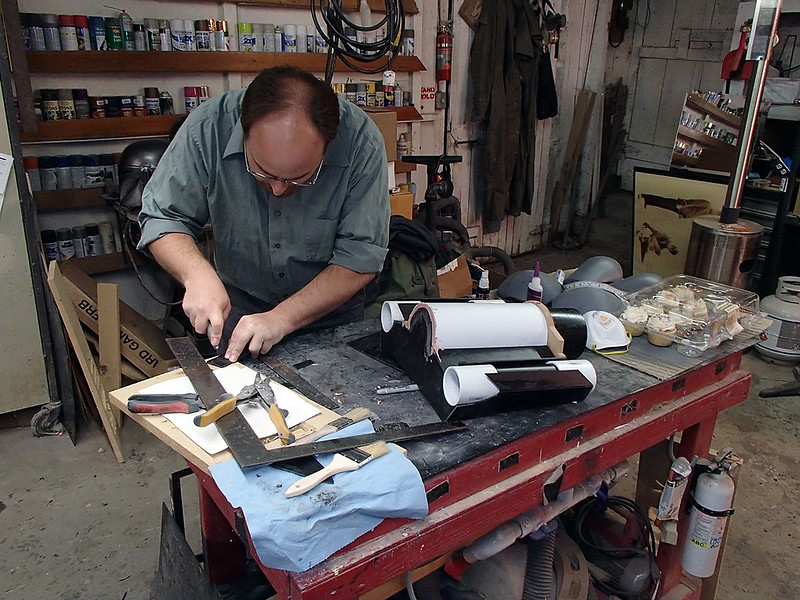
Matt Skinning Jetpack

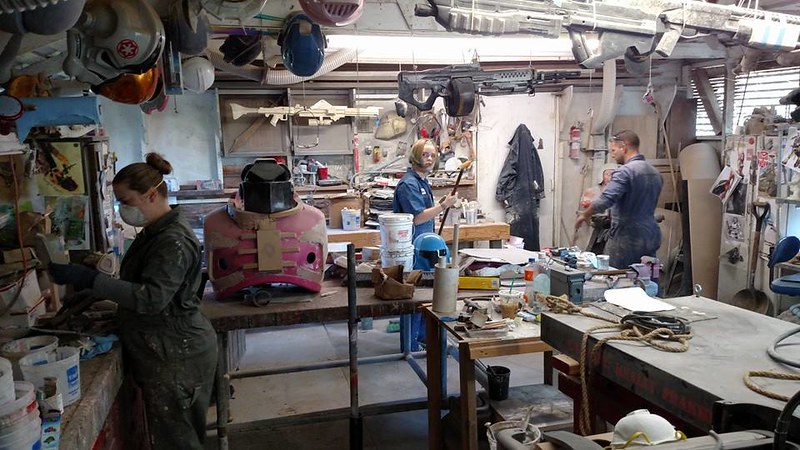
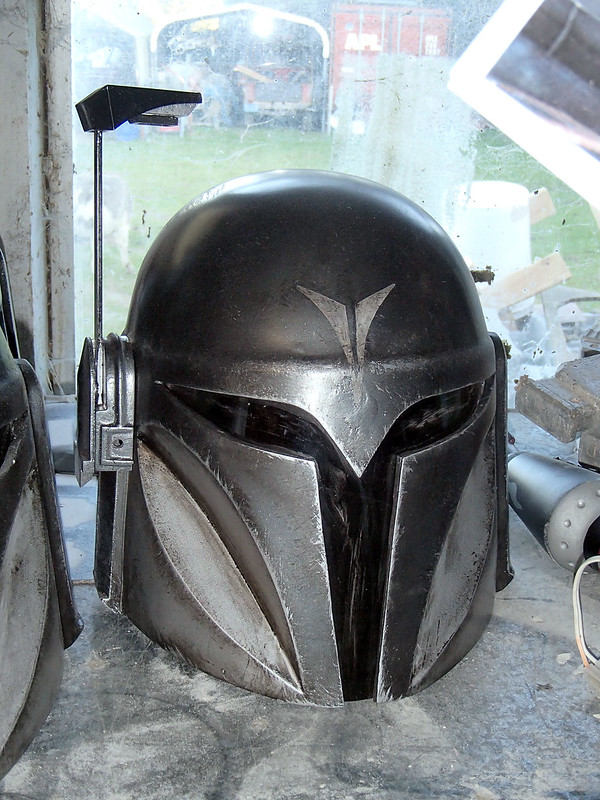
In order to include our significant others in this plan, we're also making a handful of sets of Nite Owl armor.  Here's some of the helmets in progress:
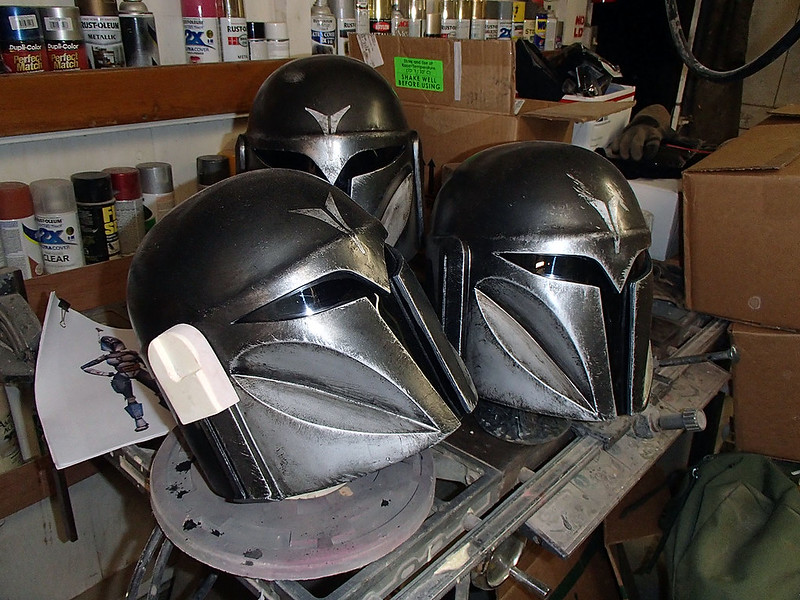
Test Fitting Ear Puck

Another thing I'm planning on making a few of are the Sith Warriors seen in the trailers for the Old Republic MMORPG (like this one).  Here's the first couple fo pieces of the armor out of the molds:
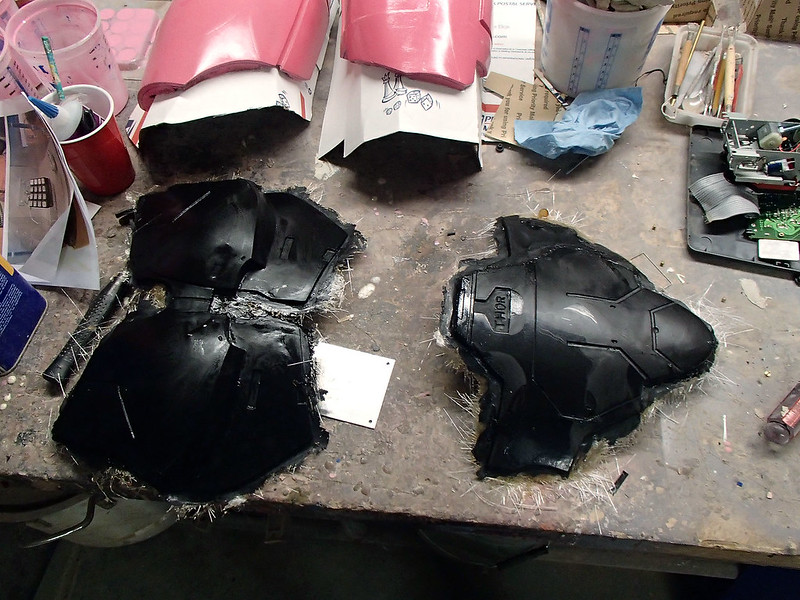
Sith Acolyte Raw Armor Pulls

I'm laying them up in fiberglass, so they'll be unnecessarily sturdy, but using silicone molds to ensure that they'll have all of the details in place.  Here I am test-fitting the chest armor:
Sith Chest Armor Test Fit

Also from the Old Republic there's the Shae Vizla costume I'm building in cooperation with DW Design Studios for Shawnon.  If you don't know who Shae Vizla is, she's the redheaded badass that shows up prominently in this video.  Here's the prototype for one of the gauntlets in progress:
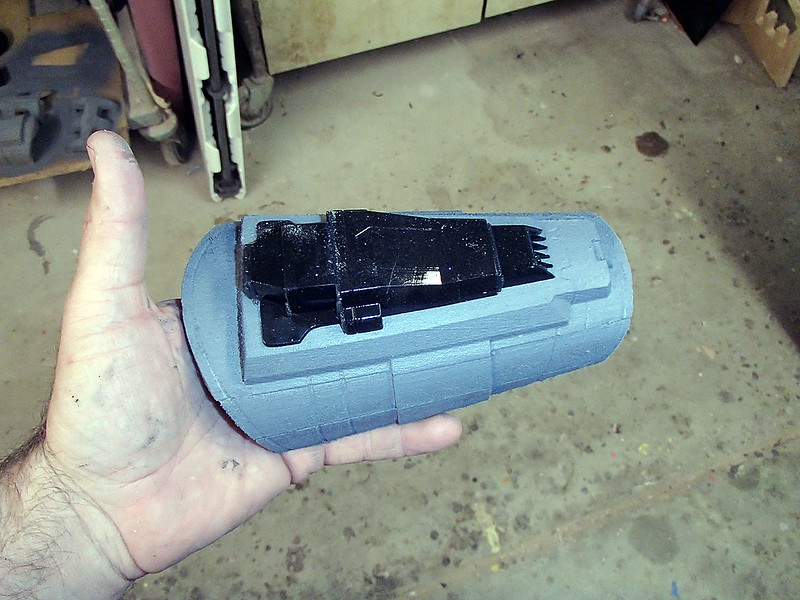
Gauntlet Detail Test Fit
Still not sure if I want to make the flamethrowers functional or not...

For one of the other Star Wars costumes I'm making, I had to lifecast a copy of Shawnon's head.  Here's a shot of me cleaning up the seam line in the lifecast so you can see what she's look like if she shaved her head and painted herself orange:
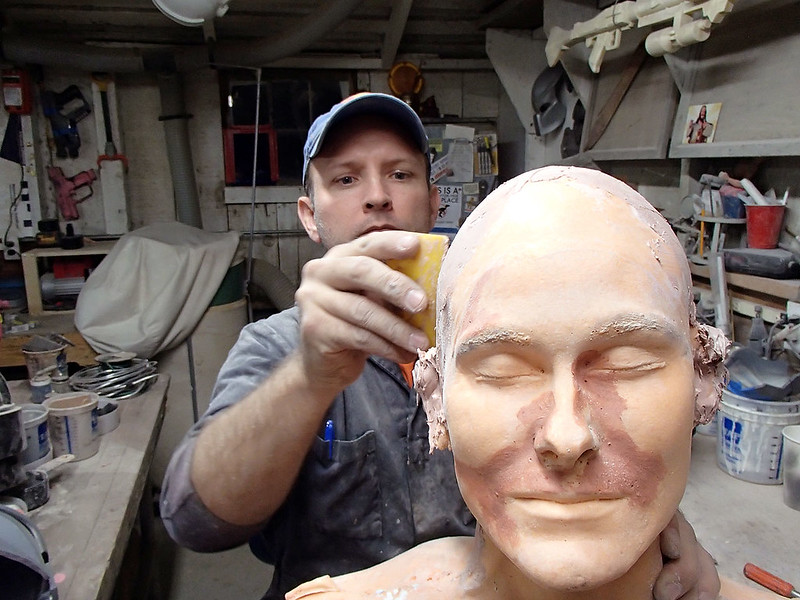
Filling Seam Line

Getting away from Star Wars for a moment, I'm also doing some work on another set of Warhammer 40K armor:
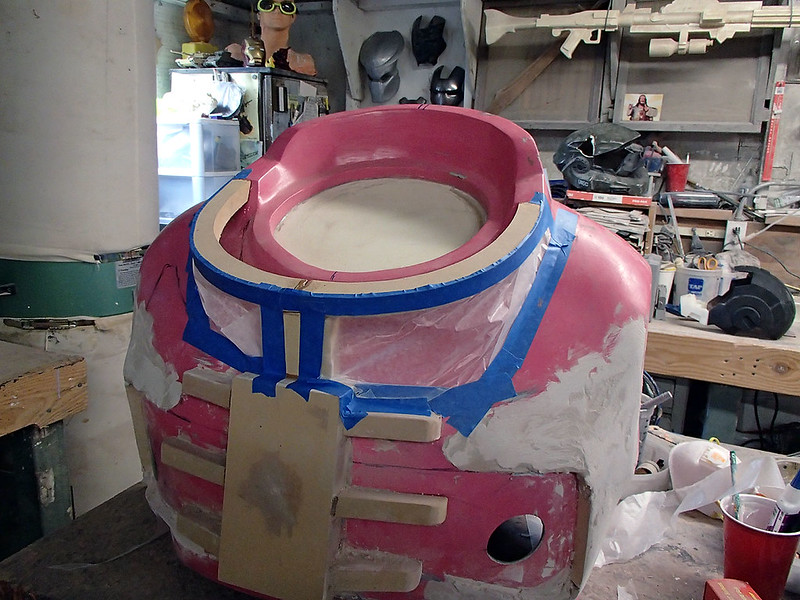
Ready to Add Foam
This one will be epic.

And finally, since I can't seem to get enough Ironman, I've been tinkering with a prototype for the War Machine helmet from Ironman 2:
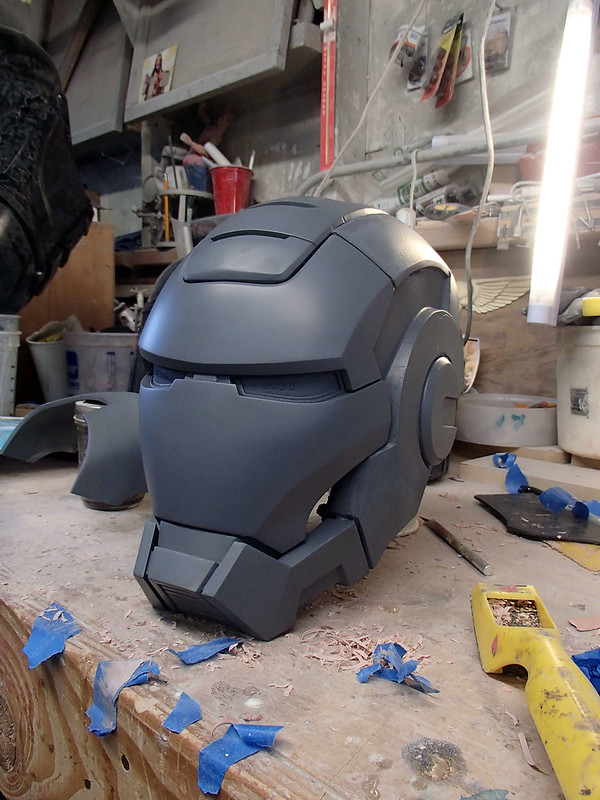
WM Helmet Front Left
It's still got a ways to go, but I'm loving the way this guy is coming out.

Stay tuned for more detailed write-ups of these and many more of my projects...
Sunday, January 11, 2015

The Purge is Good for the Workshop

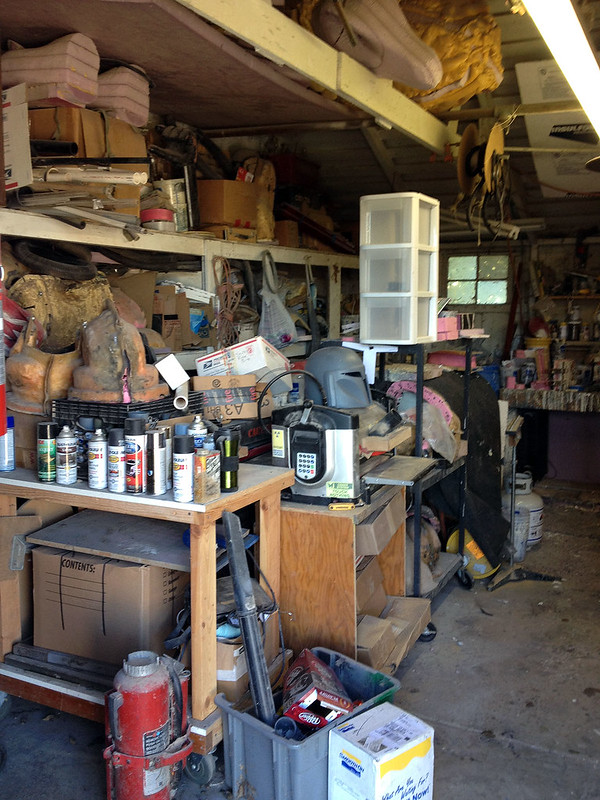
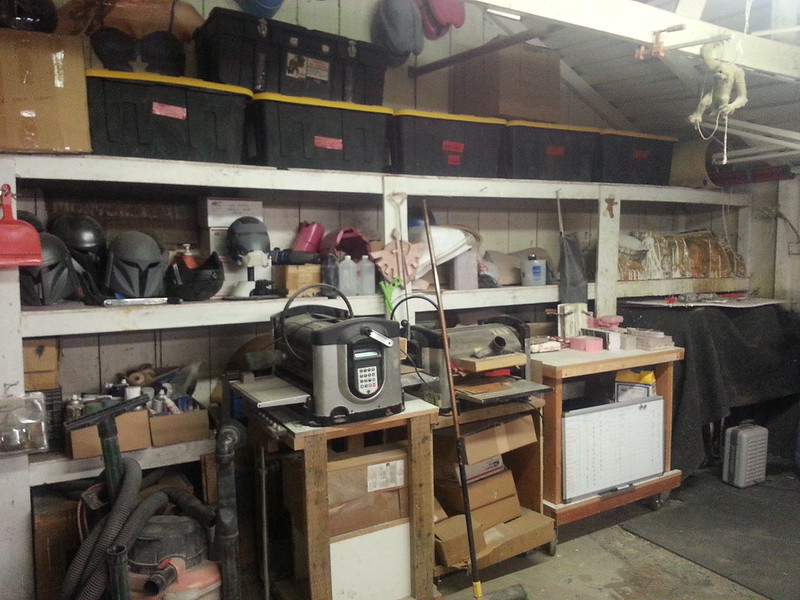
For years now, I've been watching the walls close in around me.

It happens a little bit every time I get to the end of a project there's little bits of hardware or leftover materials that I just know I'm going to use for something sooner or later.  Or when a project gets aborted early on and huge pieces should go in the trash but I find a place to hang them up just in case there's a chance I may someday get a chance to work on it again.  Or when someone else has a great idea, comes over to get it started while I offer advice, and then leaves a barely started pile of dreams in a box somewhere in a corner of my shop to collect dust.

Well after about a decade of working out of the same space, the clutter had become overwhelming.  Since I've been right in the middle of all of it, I didn't really notice the encroachment of hoarded bits and pieces over the many months.  It actually took my girlfriend, who's months-long semesters away at school allow for sort of time-lapse impression of the mess in the shop, to point out how completely insane the overflows had become.

She snapped a few photos.

Here's one wall in what we'll call the "before" stage:
Workshop Purge 11

See the wall?  It's there.  On the left.  I know because I've seen it before.  The only problem is that there's easily nine feet of other stuff piled up between the wall and the nearest place a person can stand (and pile up more stuff).

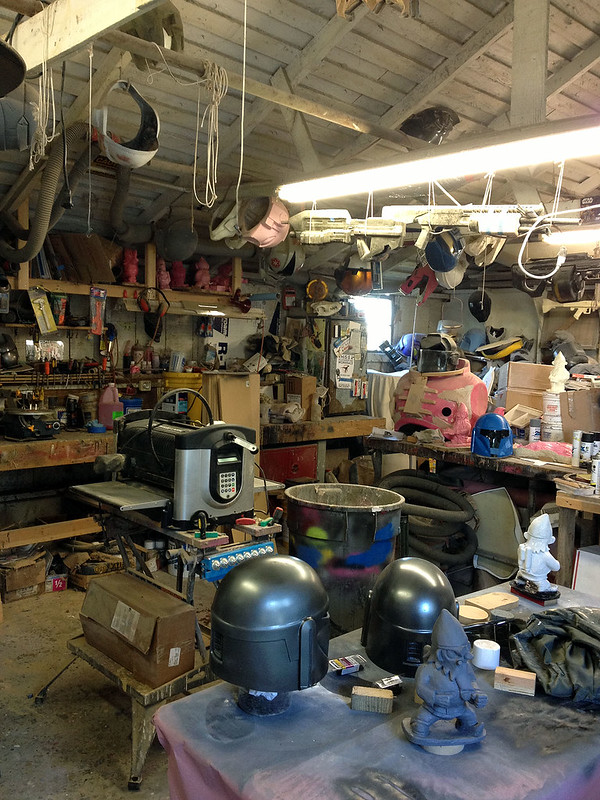
Here's another angle:
Workshop Purge 12

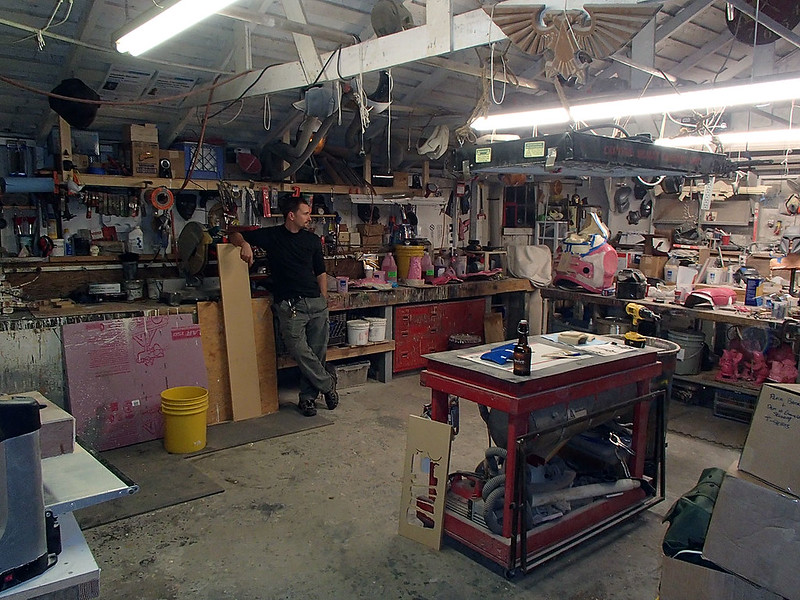
Believe it or not, the workshop is actually pretty big.  But with the clutter of projects on top of projects, on top of years, on top of dust, on top of tools, on top of whatever was in here before I started working out of this space, there's not a lot of room left.

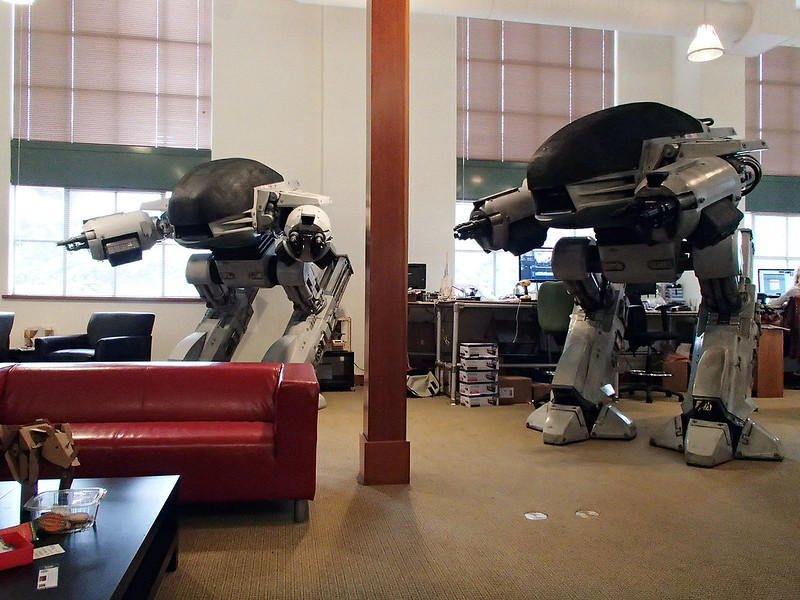
In hindsight, I'm baffled at how I managed to build not just one, but TWO of these things in this space:
2nd ED at Make HQ

Just think of the things I could achieve if only there was more room...

Clearly, it was time for a change.

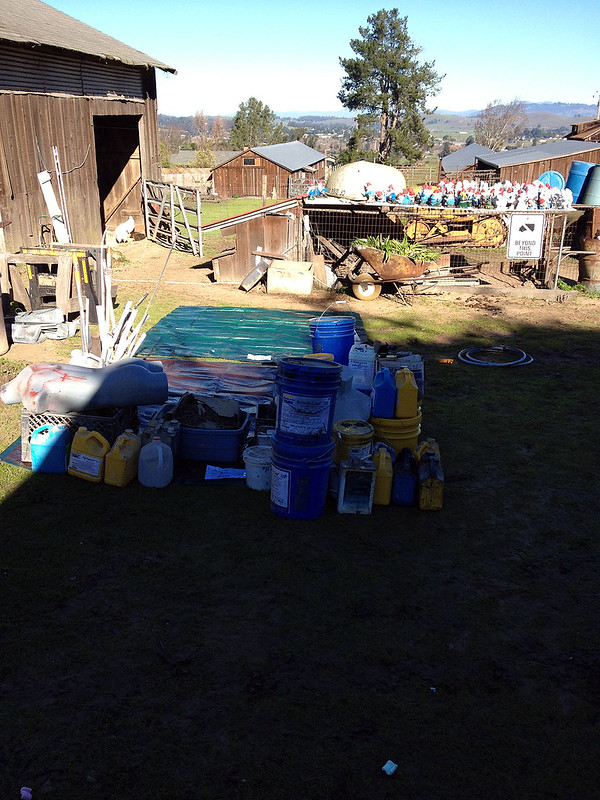
The project began with laying a couple of tarps out on the field next to the shop.  Then I put everybody to work dragging things out and setting them out for sorting.  Here's the first half hour or so worth of progress:
Workshop Purge 09

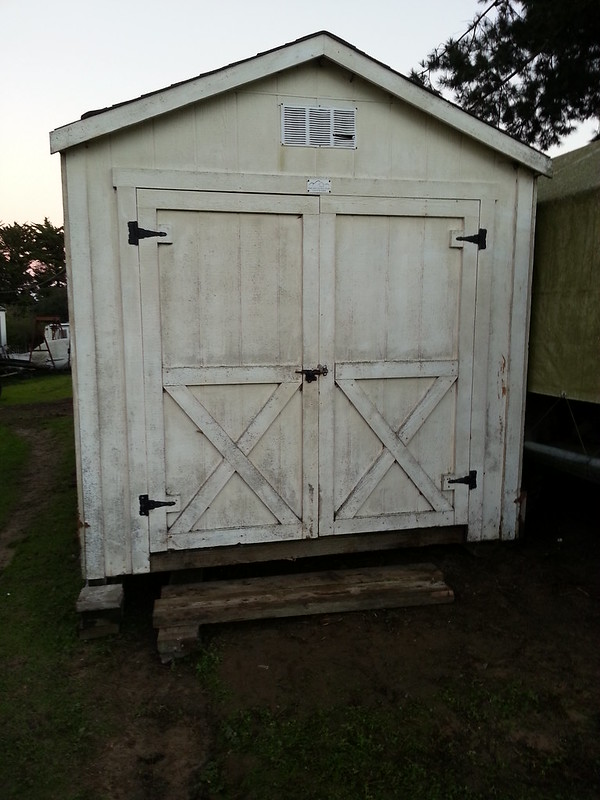
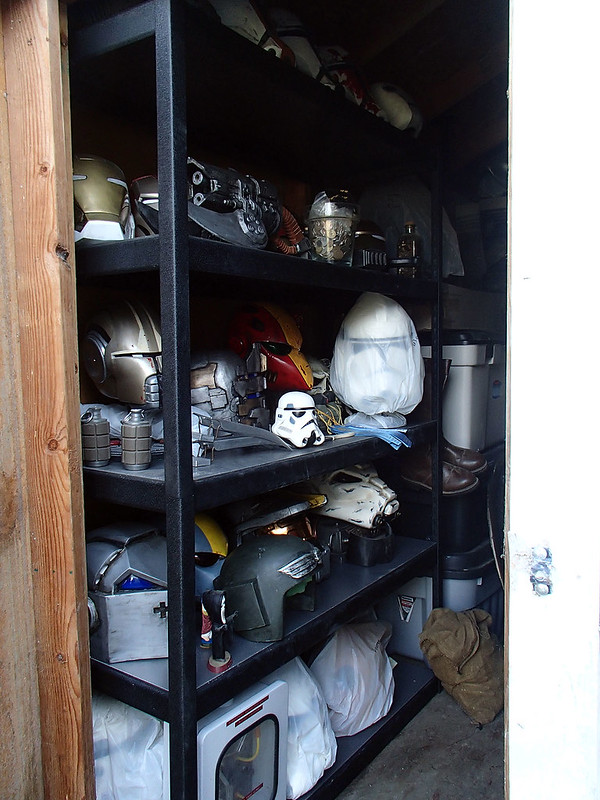
While they were doing that, I busied myself with filling up a new storage shed:
Untitled

That little project started with dragging in all of the packaged complete projects from my collection to get them out of the way:
Untitled

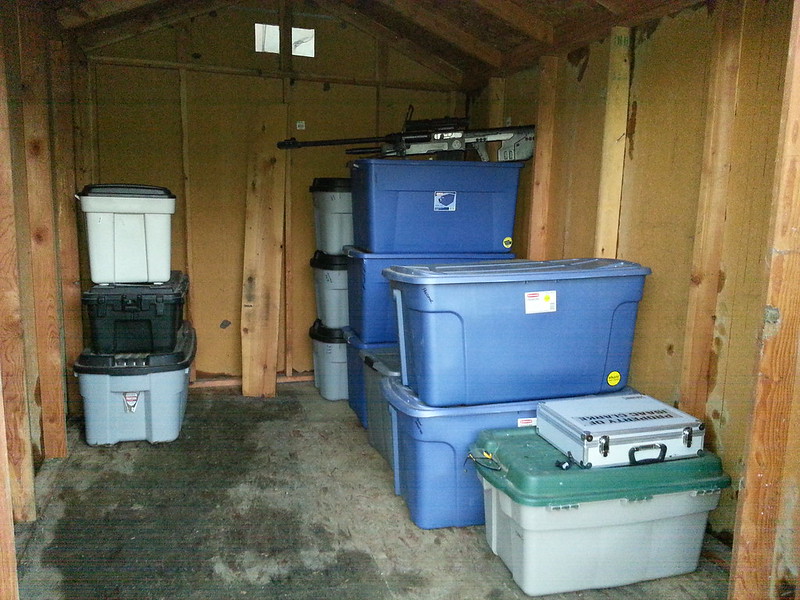
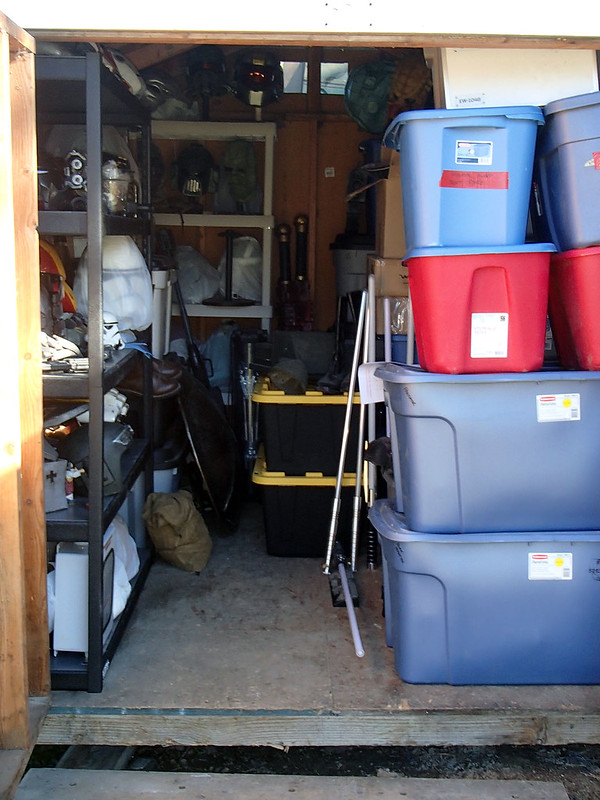
I was hoping to keep it neat and have everything where I could reach if I needed to dress up, I could just grab the bin with whatever character I wanted to dress as and I'd be on my way.  That's not quite how it worked out:
Stuffed Shed

The helmet rack was a good idea though:
Finished Helmet Shelf

While things were being piled out of the shop, larger items finally had a chance to be rearranged:
Workshop Purge 14

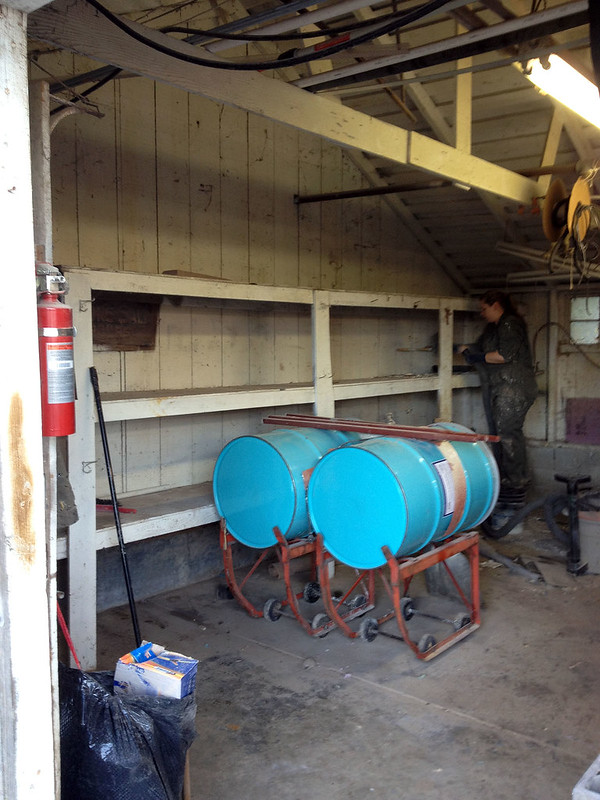
After cutting away a section of one of the shelves, we were able to relocate the drums of casting resin and free up some much-needed floor space:
Workshop Purge 15

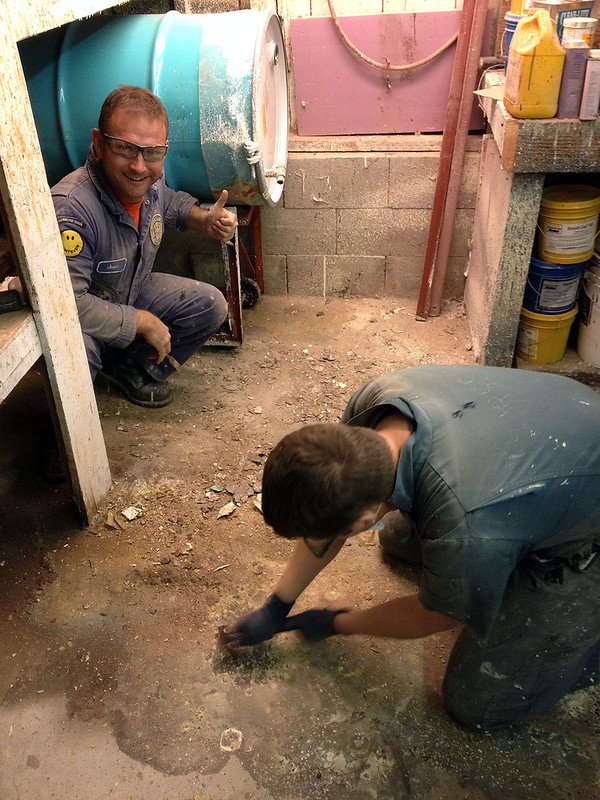
With the drums moved, the next step was chipping and scraping a few years worth of resin drippings off of the concrete floor:
Workshop Purge 16

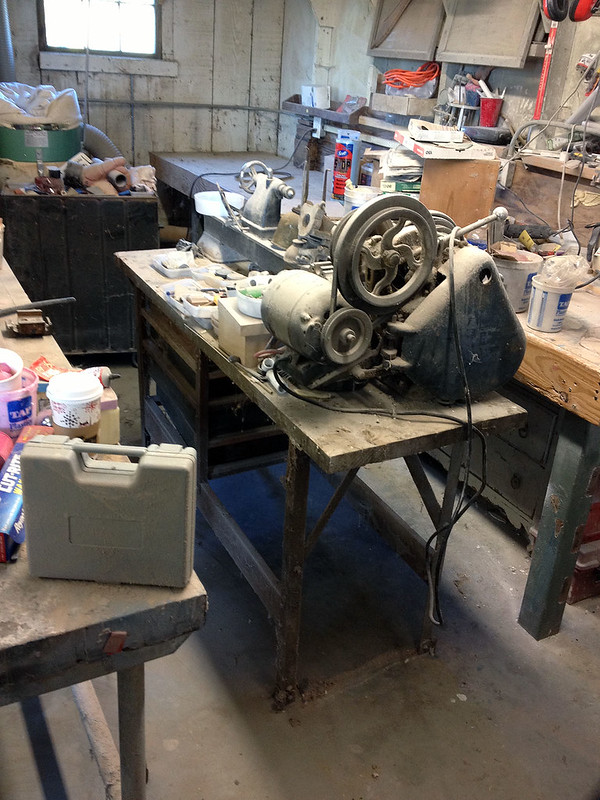
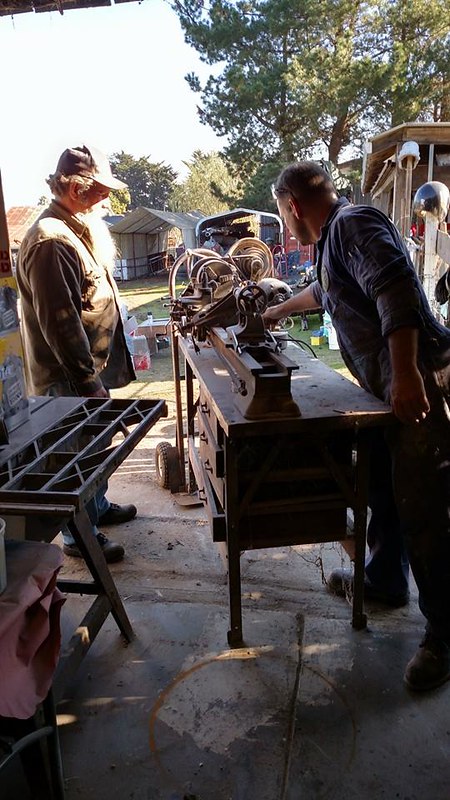
To free up even more space, my father's old lathe was finally moved out:
Workshop Purge 17

Beginning the Workshop Reorg Project

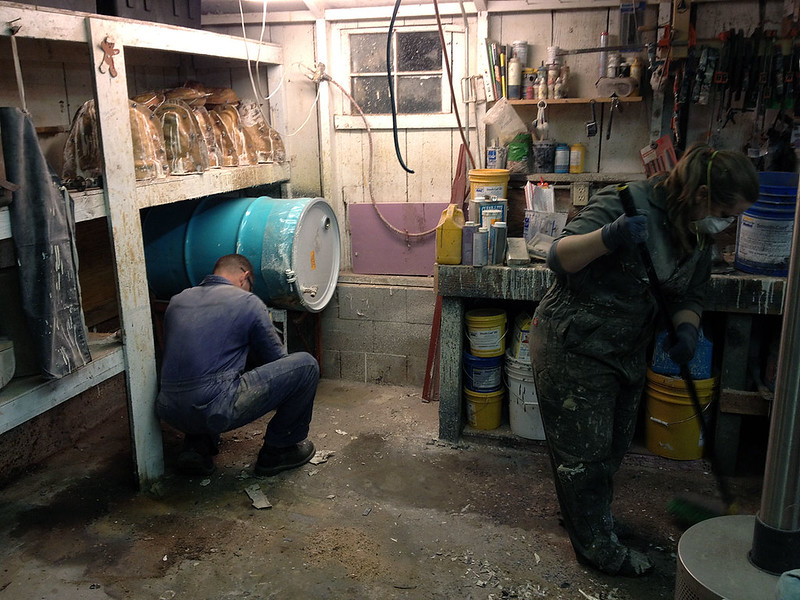
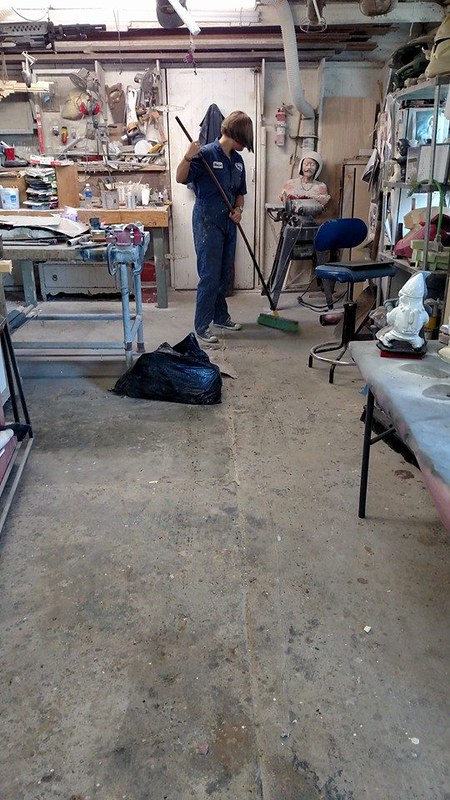
Then I set my niece up with a broom and told her to do her worst:
Beginning the Workshop Reorg Project

While that was going on, Kate was going through the bench, dusting things off and sorting tools and materials into their various boxes and drawers:
Beginning the Workshop Reorg Project

When it was all over, the shelves in the shop were re-stacked with works in progress and neatly contained (and labelled) bins of various materials.  Then a few rolling benches were pushed against that wall:
Untitled

The end result was more open floor space than the shop has had in ten years:
Open floor

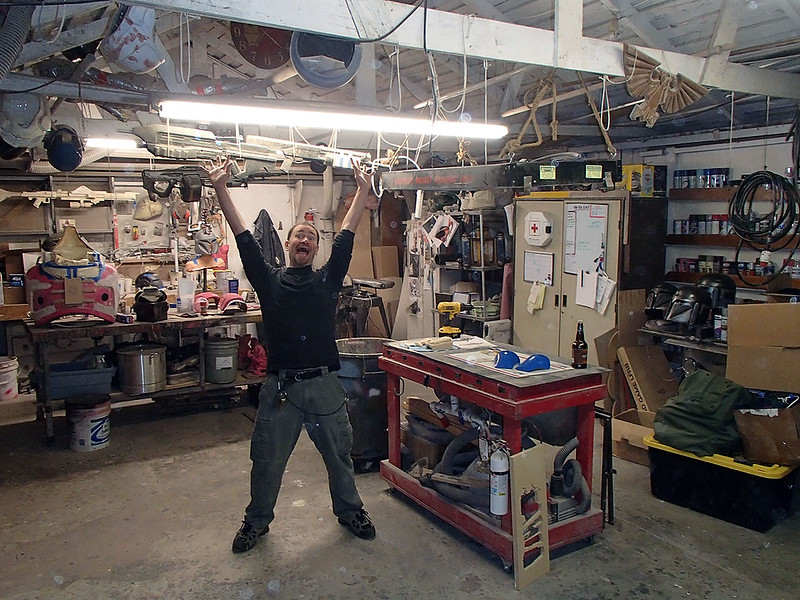
So much that Trevor didn't quite know what to do with himself:
Trevor is Goofy

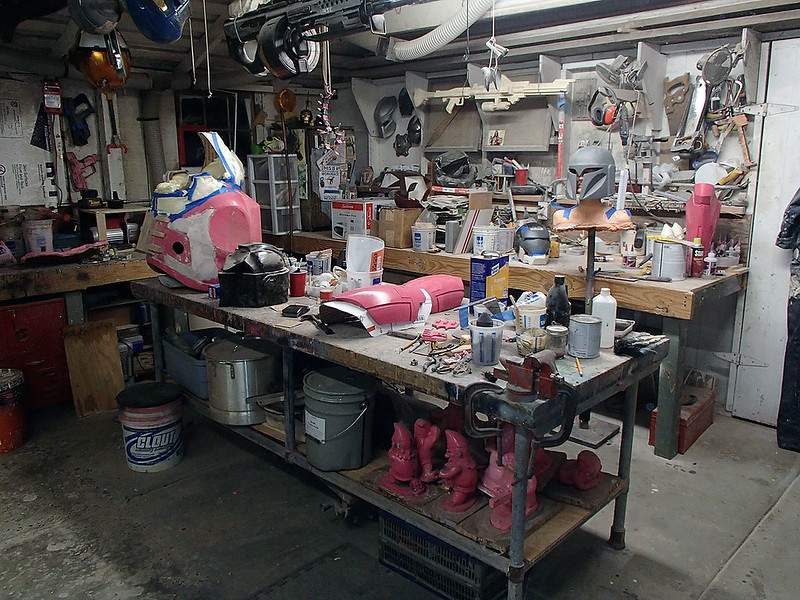
Various works in progress already have cluttered the workbenches:
Re-Cluttered Bench

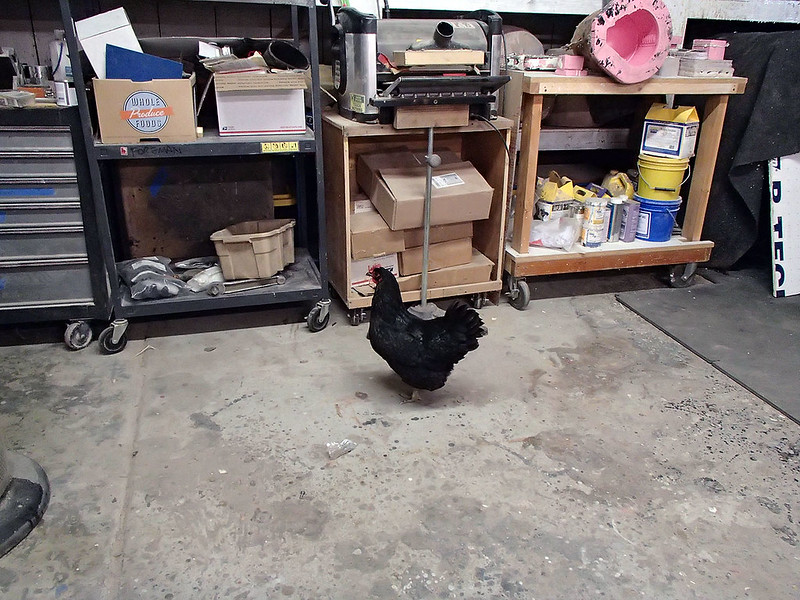
But at least the whole operation was met with the approval of the random chicken inspector:
Chicken Approves

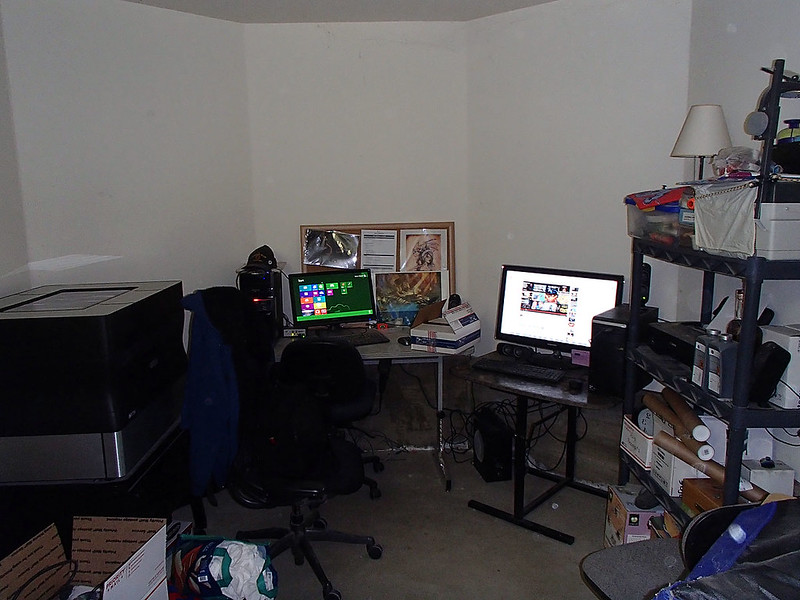
Now I just need to do a bit more tidying up in my office space:
New Office Space

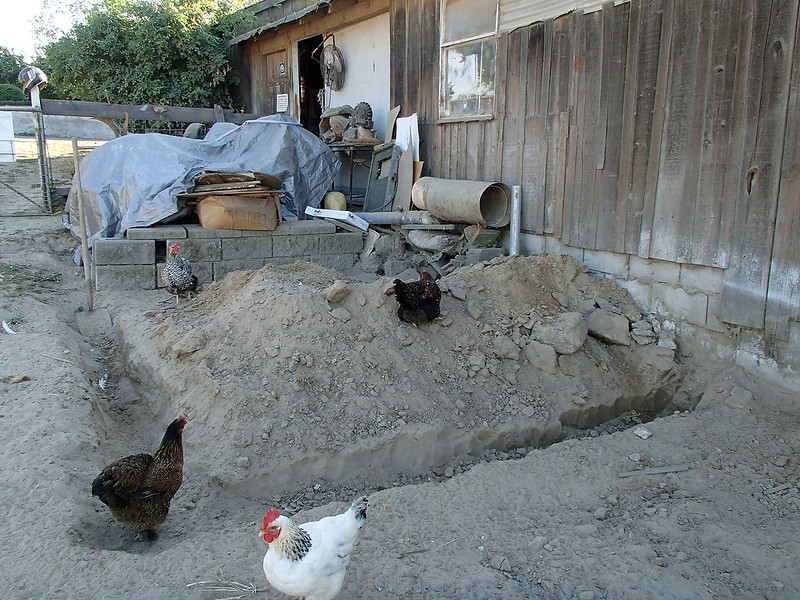
Then I can get serious about adding a couple more rooms to the outside of the building:
Chicken Clearance

Stay tuned...

Thursday, January 8, 2015

Making Weapon Props from EVOLVE Part 5: the Laser Cutter

If you're just now tuning in, allow me to sum up...

Back in late July of last year, I was contracted to build four props to promote the upcoming release of the video game EVOLVE.  They had to be sturdy enough so that folks in the crowd could pose for photos with them at conventions.  The first one was the Penny Arcade Expo which was right around the corner.  Total build time for all four would be just about twenty days.

So far I've covered the making of the Harpoon Gun, the Lightning Gun, and the Lazarus Device.

The last, but certainly not least, of the four weapon props I made was the Laser Cutter.  Since the timeline for the whole project was so short, work for all four was being done simultaneously.

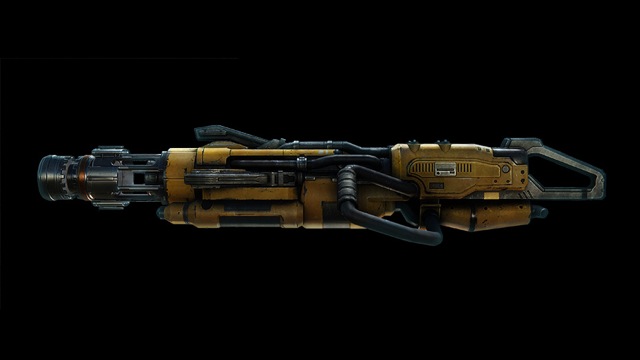
The first three were relatively simple.  A quick glance at the reference image I was initially sent made this one seem like it would be the easiest of all:
Laser Cutter Reference Image
Sadly, it was not to be...

Here's a studio photo of the finished piece:
Laser Cutter Studio Pic

For details on how it was made and a bunch more photos, read on...


Monday, January 5, 2015

Making Weapon Props from EVOLVE Part 4: the Lazarus Device

When I mentioned earlier that I built four unique weapon props to help promote the upcoming game EVOLVE, I kinda lied.  This next one could hardly be described as a weapon.  Carried by the medic Lazarus, the "Lazarus Device" has the sole purpose of bringing recently deceased teammates back to life.  So while it's not a weapon per se, it is the most iconic piece of gear available to the medic class of hunters.  

Here's what it looks like in the game:
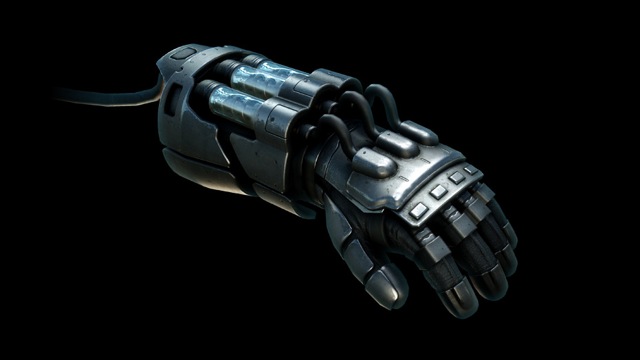
Lazarus Device Reference Image

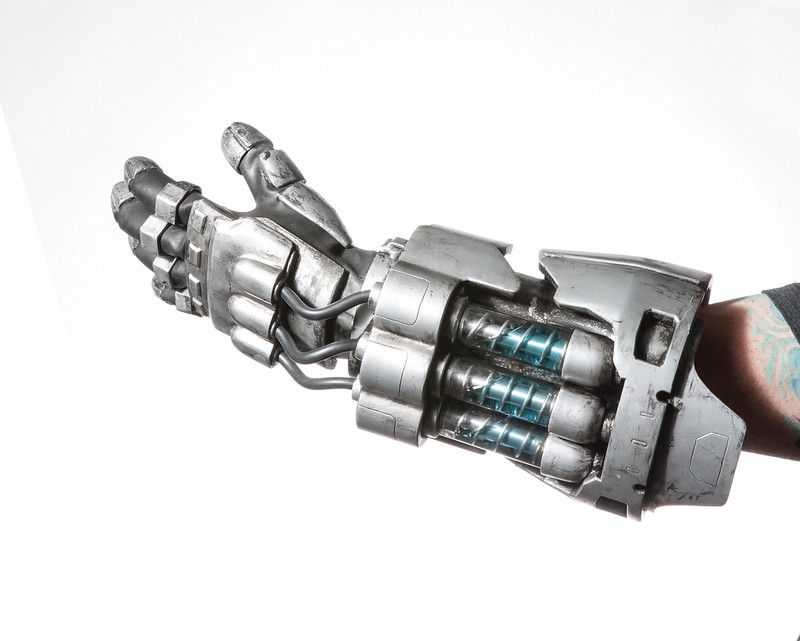
This is the finished piece my crew and I put together in the shop:
Lazarus Device Studio Pic

For all the grisly details describing how it was made (and a lot more photos), read on...