Back in late July of last year, I was contracted to build four props to promote the upcoming release of the video game EVOLVE. They had to be sturdy enough so that folks in the crowd could pose for photos with them at conventions. The first one was the Penny Arcade Expo which was right around the corner. Total build time for all four would be just about twenty days.
So far I've covered the making of the Harpoon Gun, the Lightning Gun, and the Lazarus Device.
The last, but certainly not least, of the four weapon props I made was the Laser Cutter. Since the timeline for the whole project was so short, work for all four was being done simultaneously.
The first three were relatively simple. A quick glance at the reference image I was initially sent made this one seem like it would be the easiest of all:
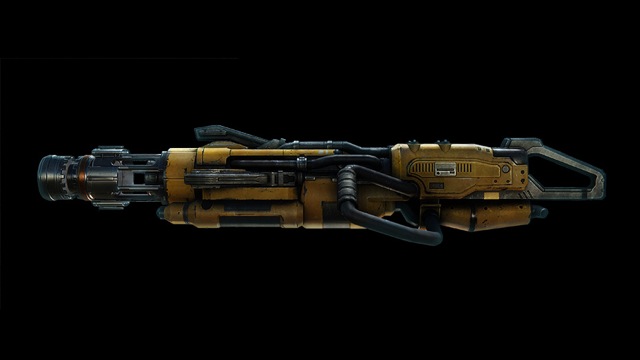
Sadly, it was not to be...
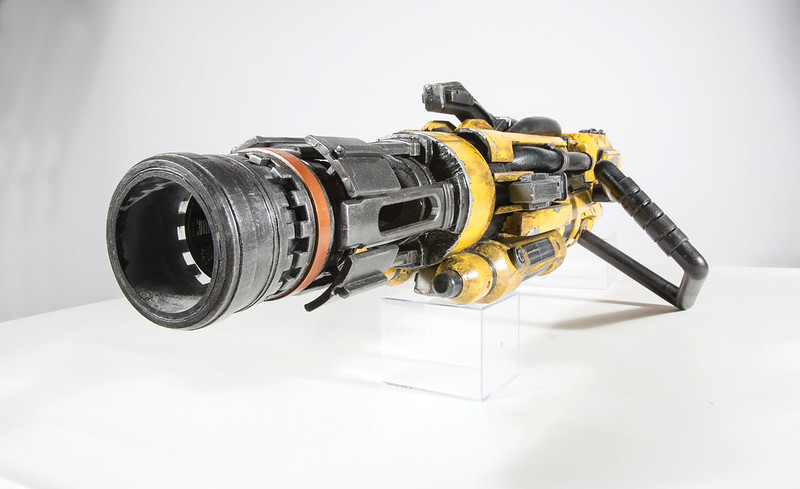
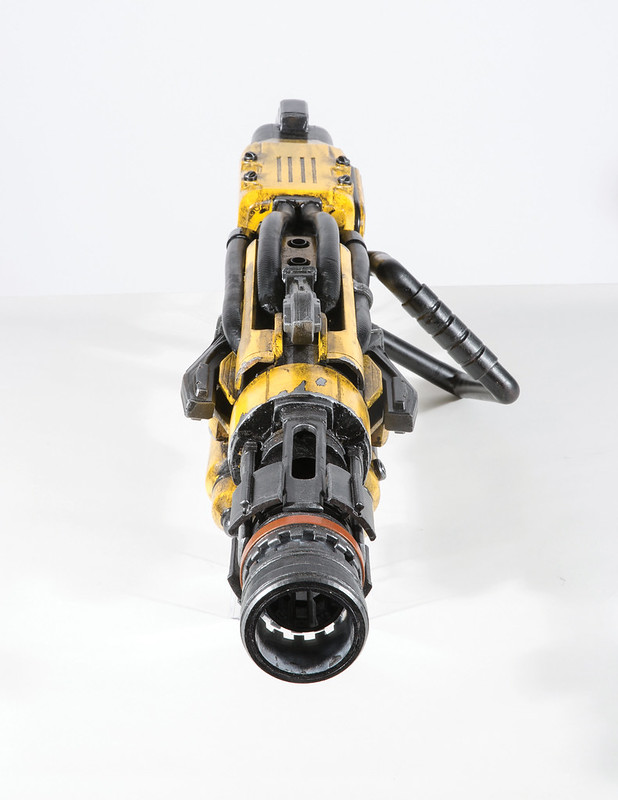
Here's a studio photo of the finished piece:

For details on how it was made and a bunch more photos, read on...
Since I thought this would be the simplest of the four, I started on it last.
Once again, I began by taking apart the digital cutscene model:
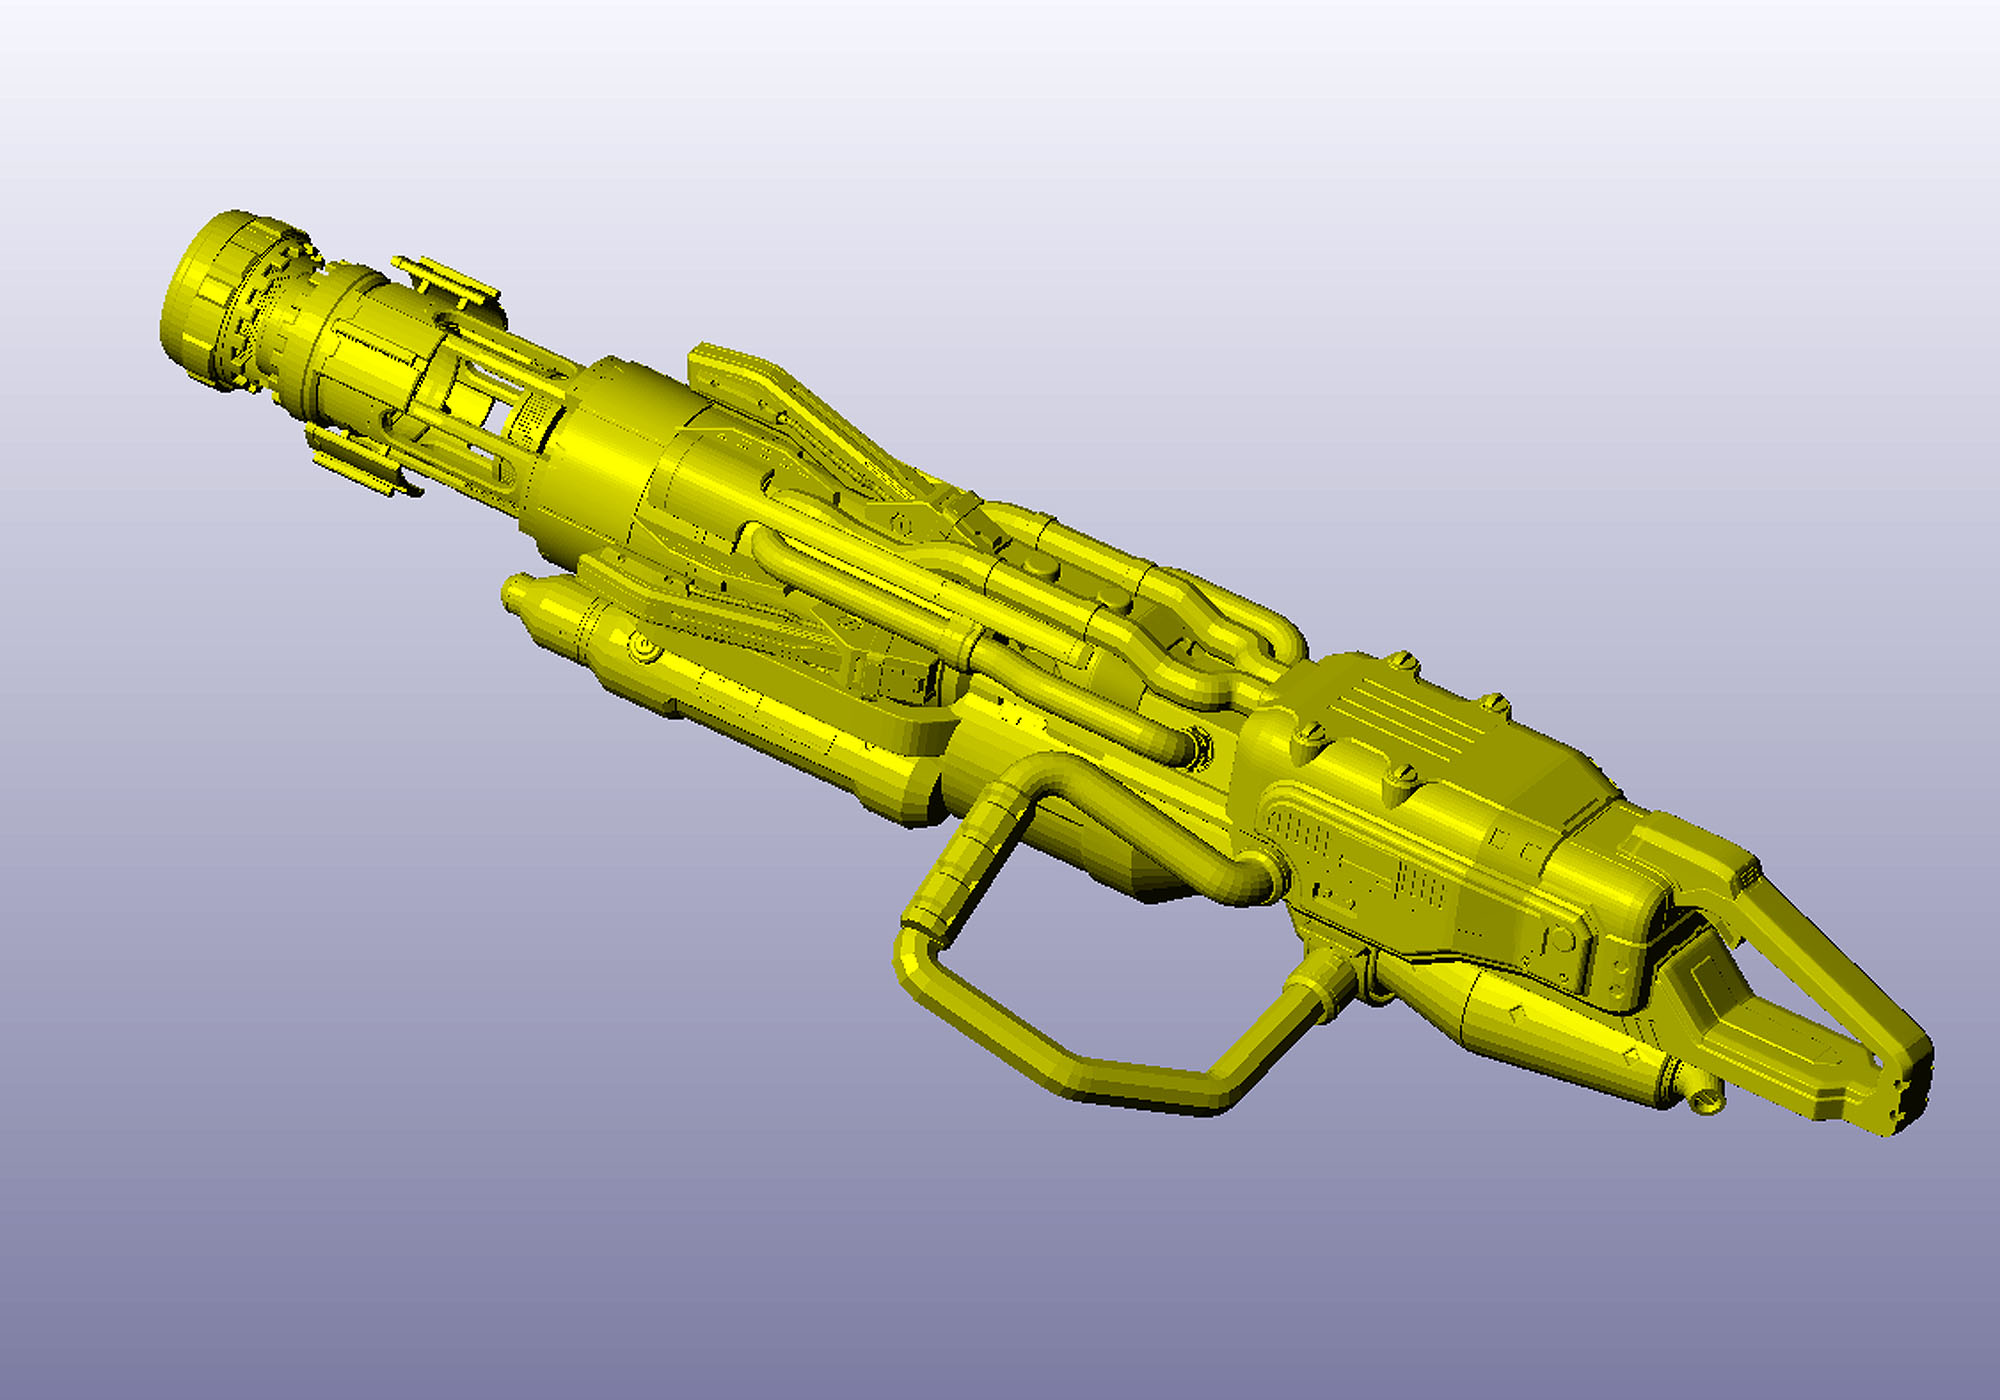
While the first image I ever saw of this thing made it seem simple, closer inspection of the digital model revealed that it would be anything but. Here's a closeup of the muzzle:

Even just looking at that end of things, it was clear that there were going to be a hell of a lot more pieces and parts than any of the other three props needed. Moreover, there was nothing holding the very tip onto the end of the barrel. It just floats magically in front of the weapon with a good half inch of clearance all around.
After hours of staring at the various pieces and getting rid of everything that was a duplicate of something else, here's the whole thing broken down into separate parts and picked out in contrasting colors:
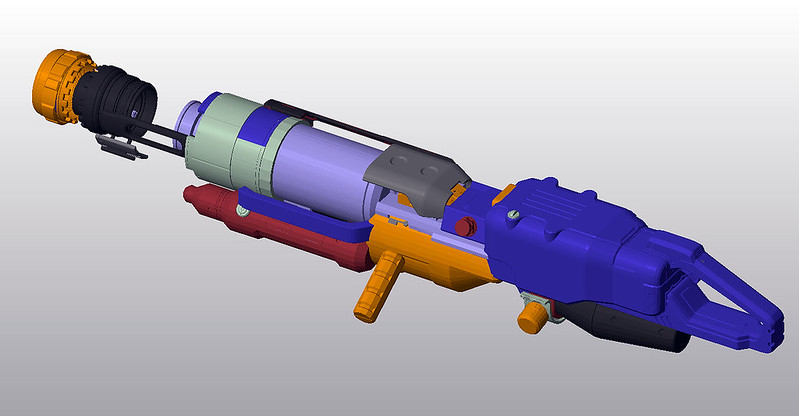
Not shown: a couple of detail panels, a whole pile of hoses and clamps, and one week worth of banging my head on a wall.
One of the things I haven't really explained about this project is how I determined the exact scale of each of these pieces. When I originally asked the folks at 2K games what the finished dimensions needed to be, the answer was some version of "make them realistic."
No problem.
This particular weapon is carried by an Support-class hunter named Hank. Here's Hank:
| Hi Hank. |
Hank is huge.
Hank has hefty arms and a heavy exoskeleton to help his hardy legs heave around the hernia-maker that is his hunting hardware of choice.
If I made the laser cutter the right size for Hank the Hulking Hunter, there's a good chance it'd be impractically large for a normal human being.
In order to determine a scale that would look right with a more normal person holding it, I projected a render onto the wall, then zoomed in and out until it felt right with someone standing there and holding their hands where the grips were supposed to be. Here's my friend Matt standing in for Hank the Hulking Huge Heavyweight Hunter:
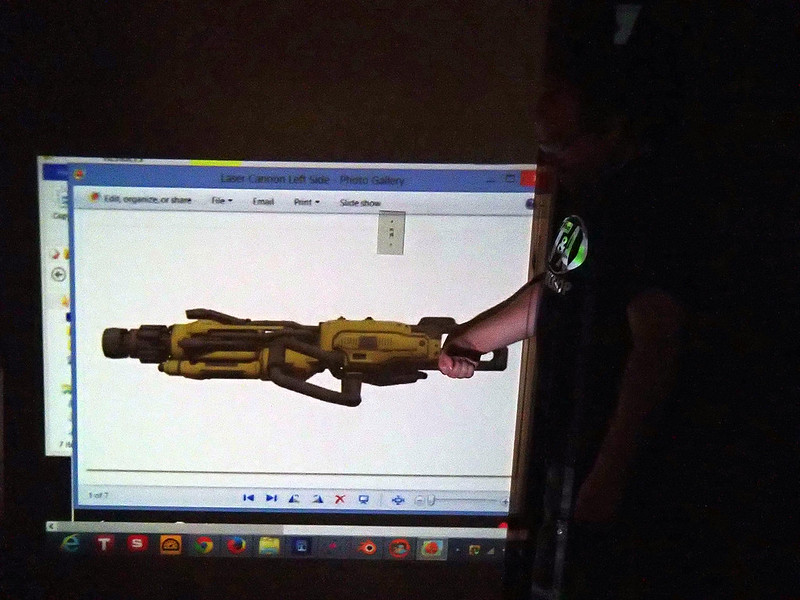
While Matt may be a far cry from the massively yoked-out bodybuilder-looking guy that Hank is in the game, he is a man of somewhat average height. I decided this would look about right in his hands:
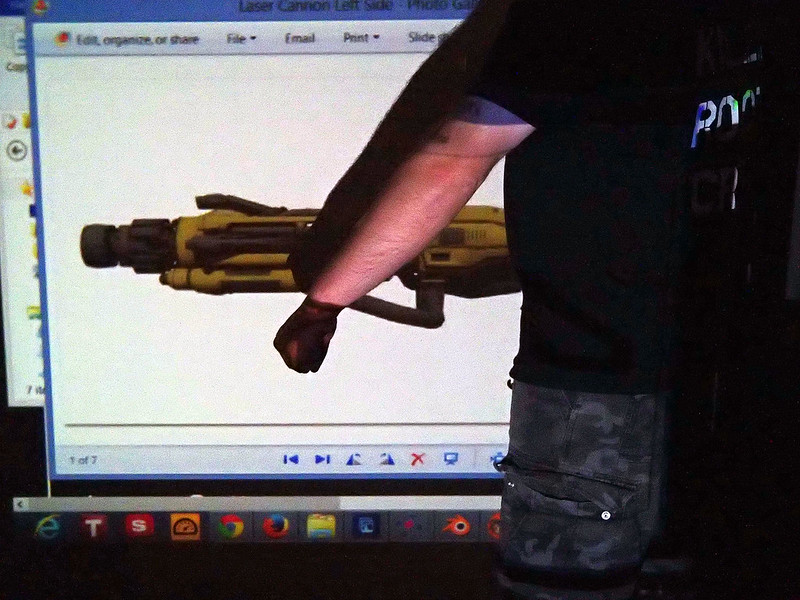
Once I was happy with the dimensions, it was a simple matter of taking a tape measure to the projected image on the wall and writing down the overall length. Then this was the scale that was set in the digital model.
Once 2K had sent me some high-res images of the piece, I printed this one out as big as I could:
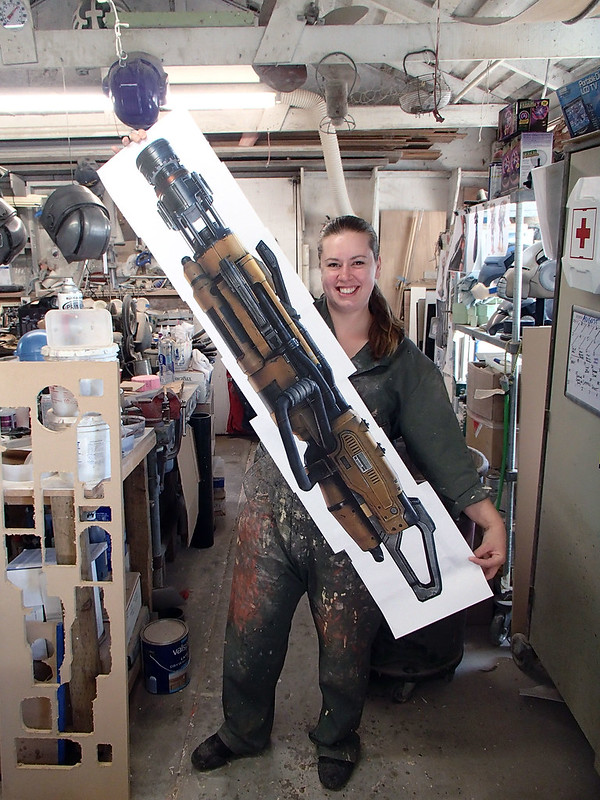
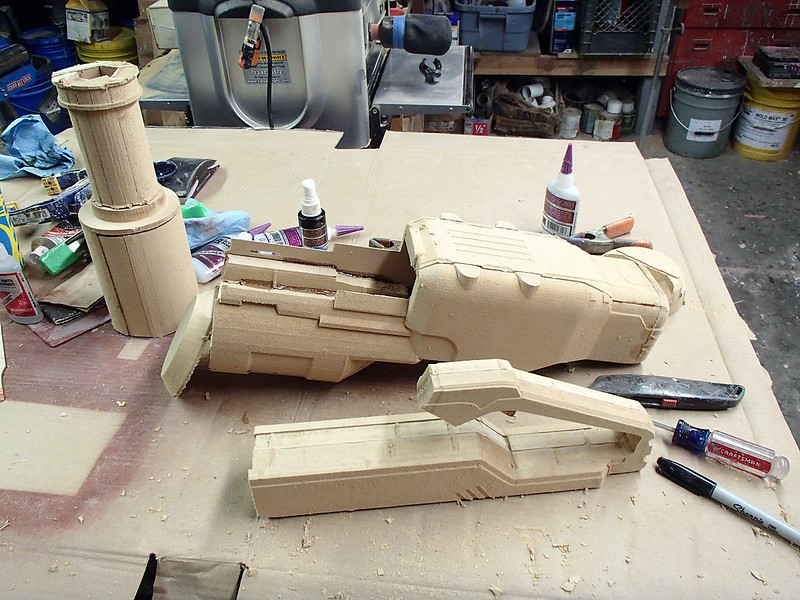
Then I set Lopez (my Carvewright CNC machine) to work whittling out all of the big pieces of the main body:
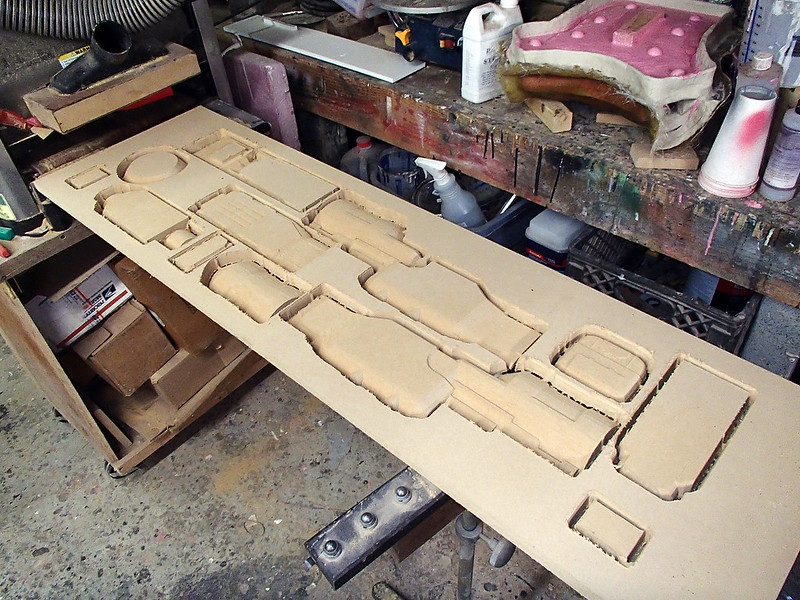
Here's all of the parts carved out in MDF:
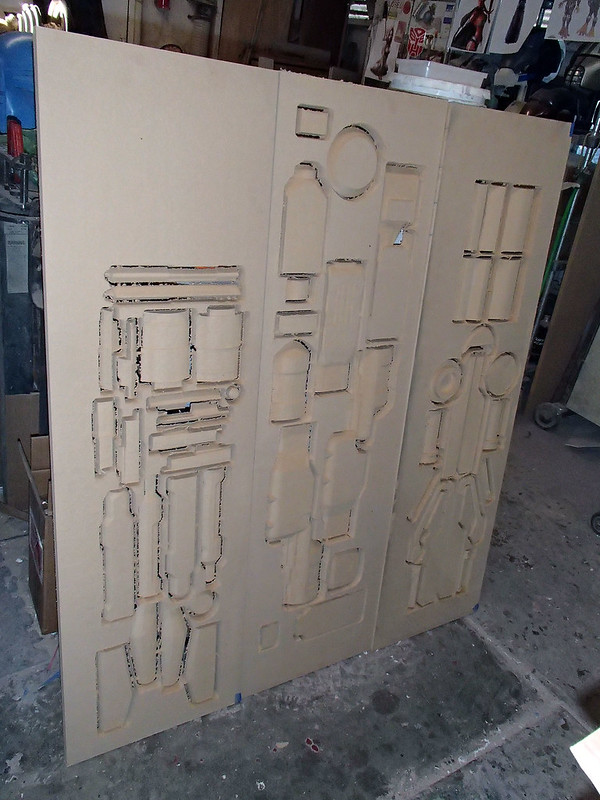
And the initial assemblies:
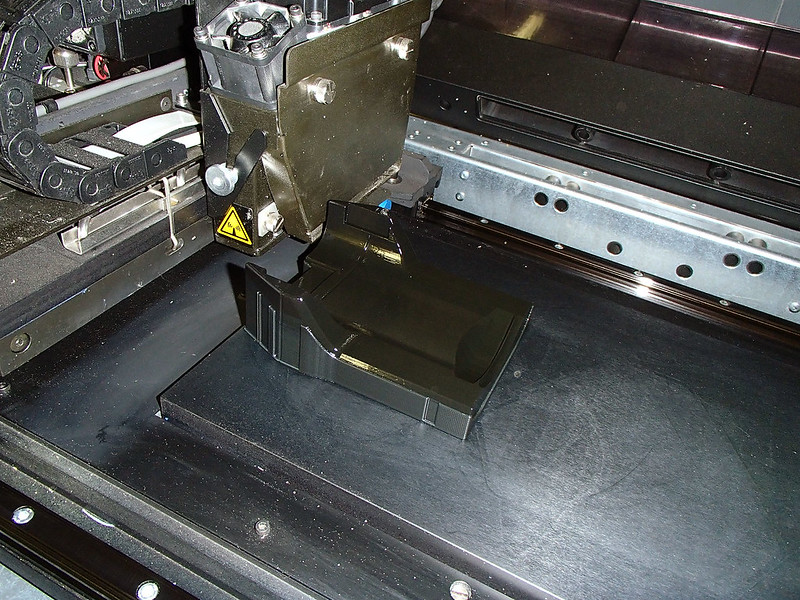
While that was going on, I had Jarvis (my Objet30 3D printer) crank out some of the more detailed pieces:
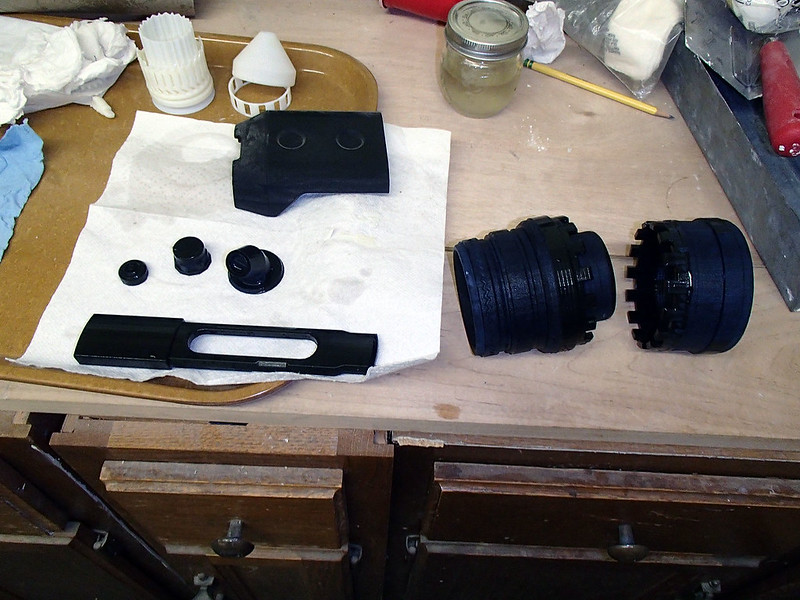
Here's a few more (printed in black):
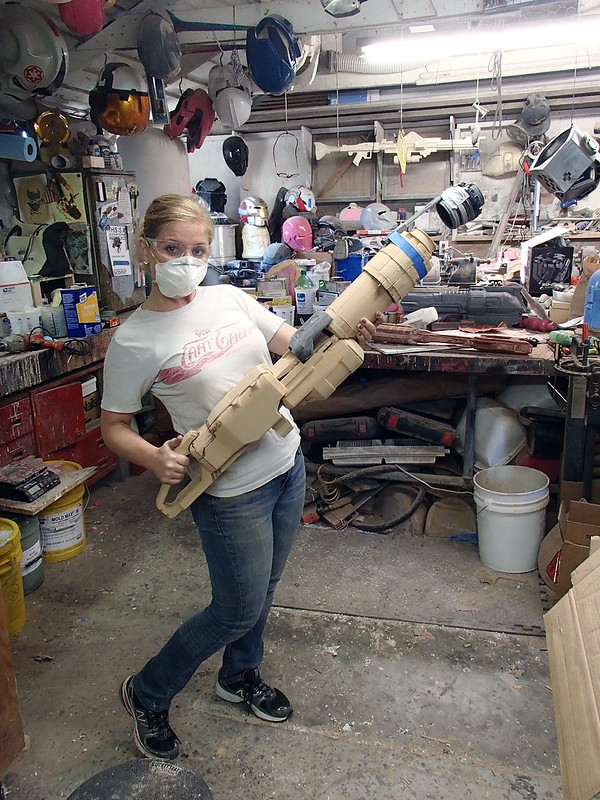
Pretty soon the time the main body was really taking shape. Just in time for my little sister to stop by the shop and try it on:
With all of the pieces tacked together, I went ahead and soaked the MDF with a few coats of primer:

Here I am test-fitting a couple more of the pieces:
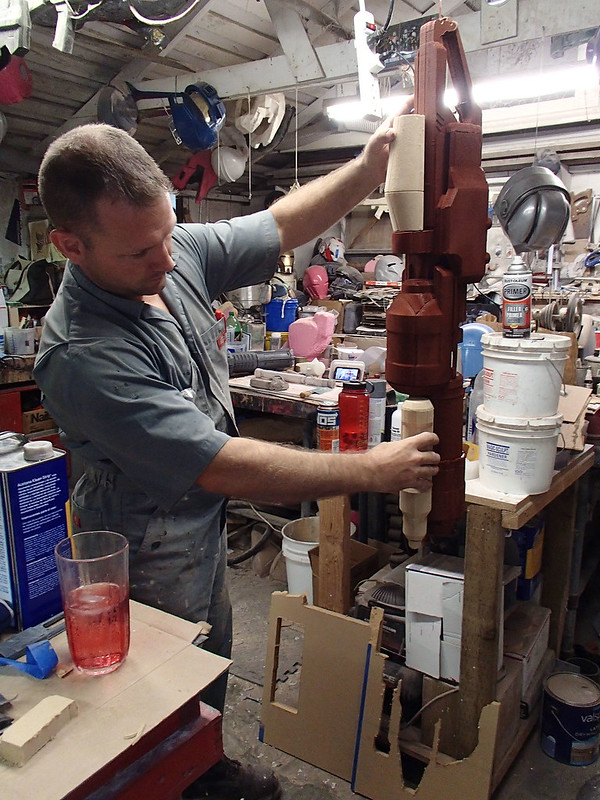
After the third (or fourth) coat of primer, it was time to get to work filling in the seams and smoothing out the surface. Actually it may have been the fifth (or seventh) coat of primer. I can never keep track. Something about fumes... Ninth?
Anyhow... Here's the body after the first pass with the Bondo:
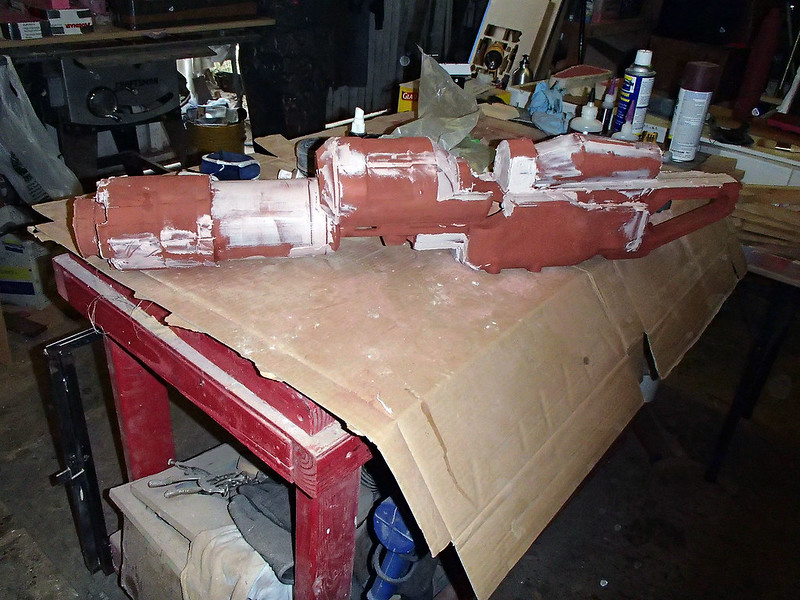
After a day of filling, sanding, and general cleanup, here's how the parts were looking:
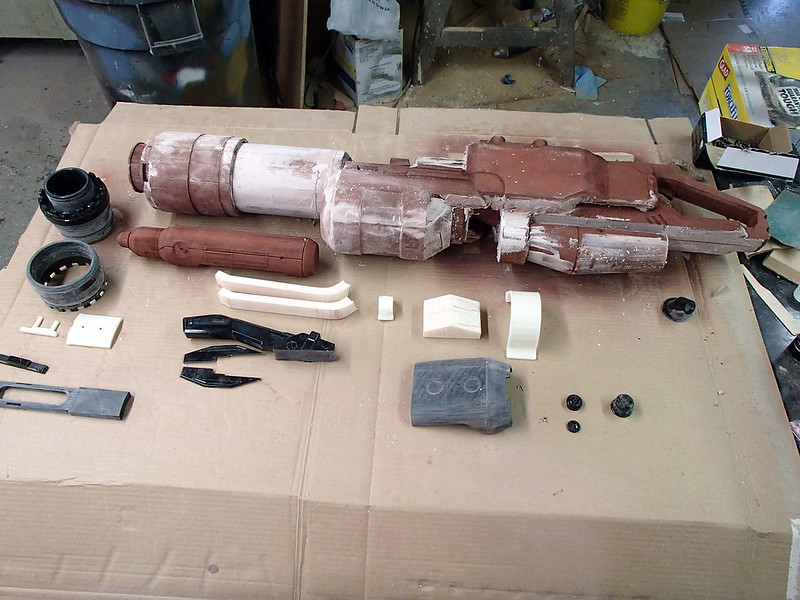
The black parts were printed out on my Objet30 and the white parts were printed out on a Zortrax M200 3D printer.
The next day I spent some more time dry-fitting various pieces in order to make sure they'd fit once they were molded and cast in resin:
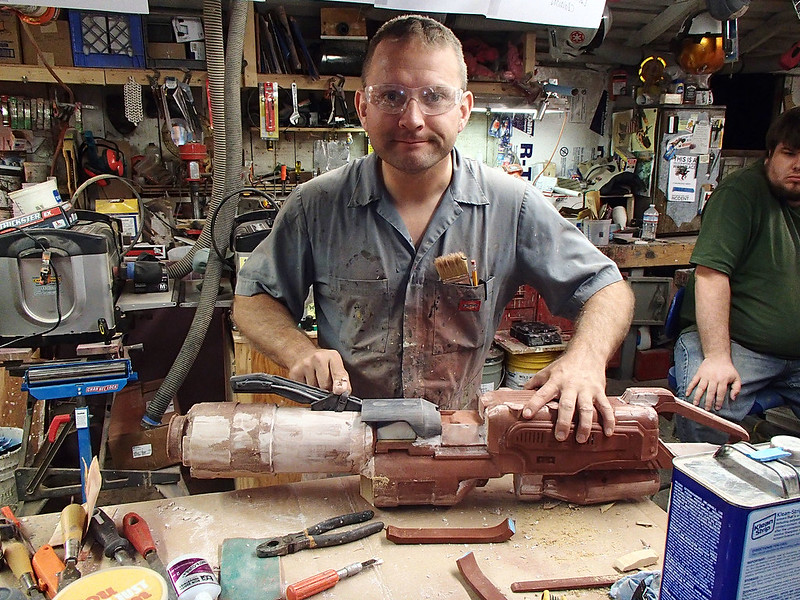
Since I needed four of them, one of the first pieces I cast was this odd prong-looking detail:
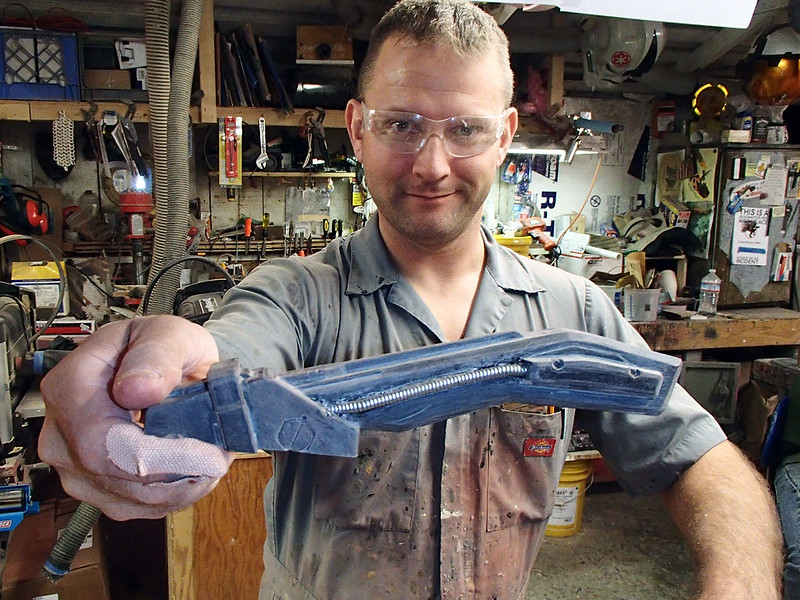
(Please excuse the creepy grin. There wasn't a lot of sleep happening at this stage of the project.)
Here you can see it boxed up for molding in the top left corner along with all manner of other small parts:
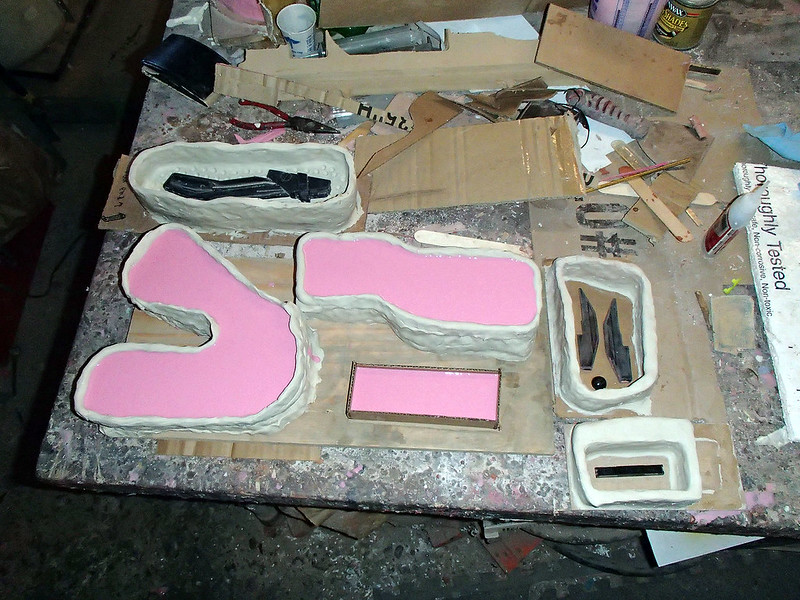
The largest piece that was molded was this tank detail that goes under the forward end:
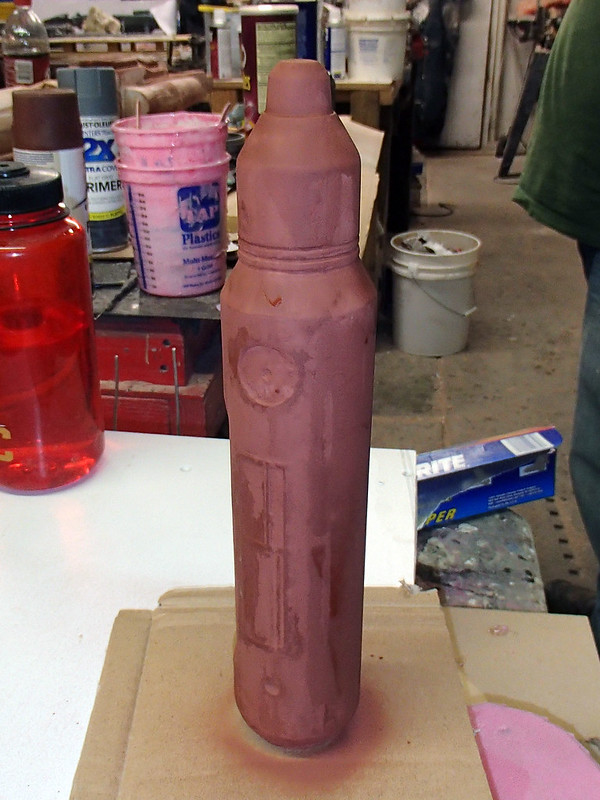
Here you can see it all polished up and painted lightish red before it was molded:

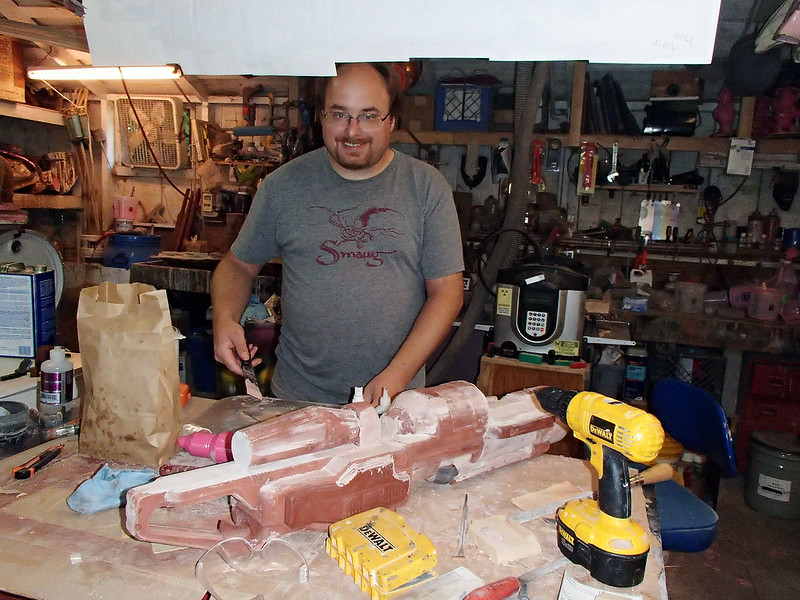
While I was making molds and tinkering with the other three pieces, everyone had a hand in smoothing out the main body of this beast. Here's Matt laying up some Bondo:
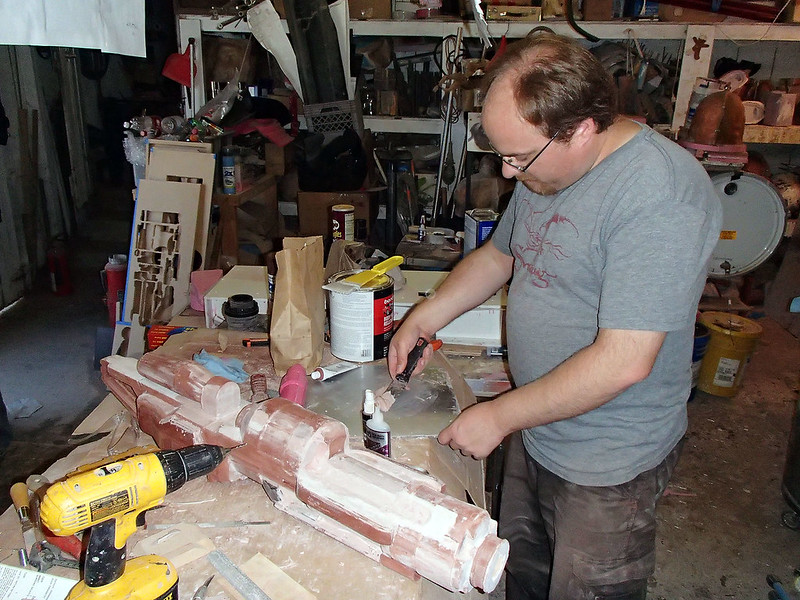
Usually he doesn't notice when I'm taking pictures of him:
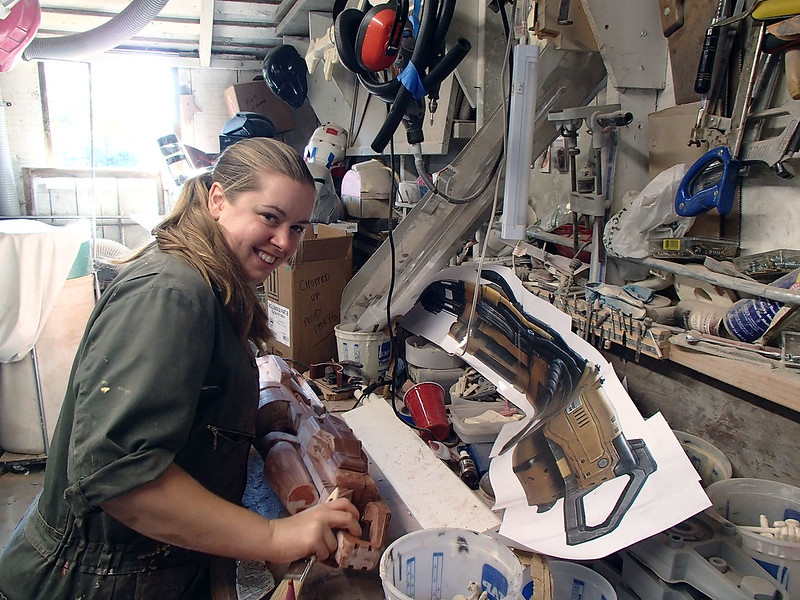
But the one person who spent the most time sanding and cleaning up the Laser Cannon was Kate:
Running short on time to do anything particularly elegant, Matt and I fashioned the left handle out of a variety of PVC pipe and fittings:

While it seemed kinda hokey when we were thinking it through, the finished result was satisfactory:
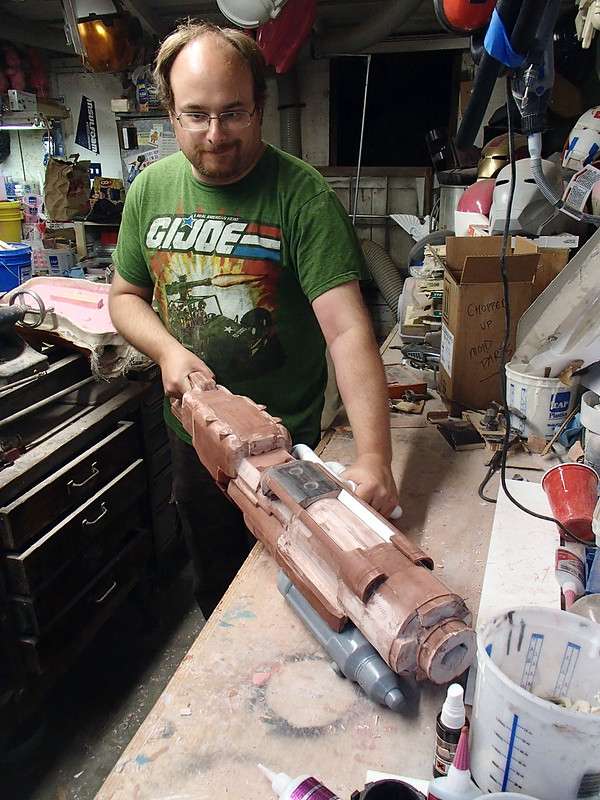
Given more time, it would've been nice to have something sturdier custom-bent to serve the purpose, but at this point things were really getting down to the wire.
While Matt and I were focused on the myriad details, the main body still needed a lot of work:

Fortunately, Kate was there:
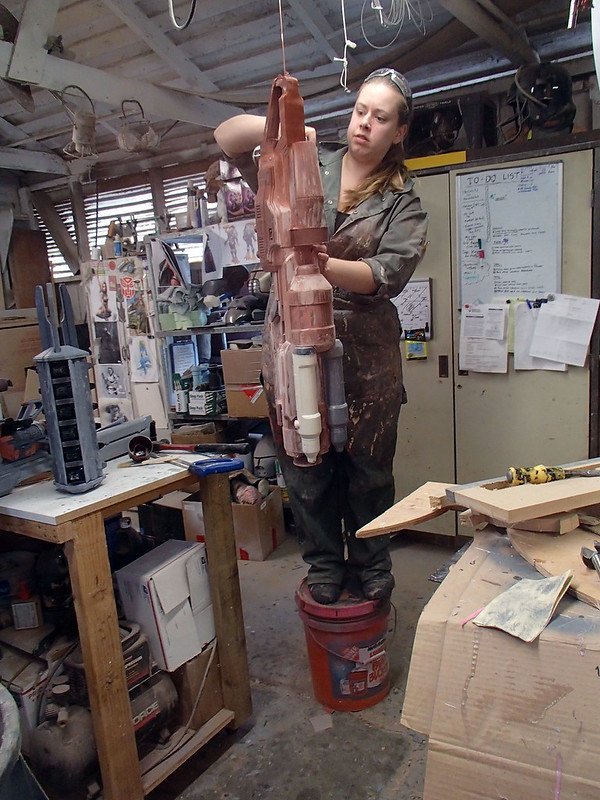
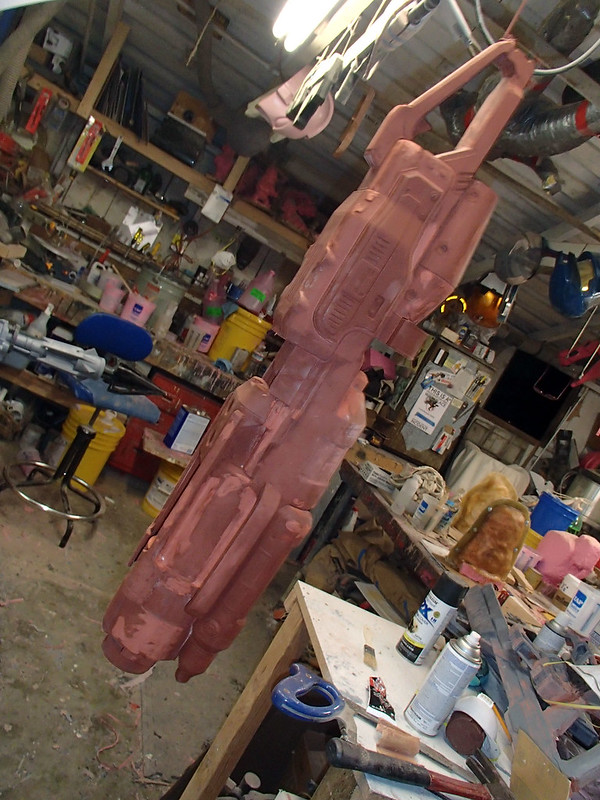
Here's a great in-progress shot after some of the bigger detail parts had been added:
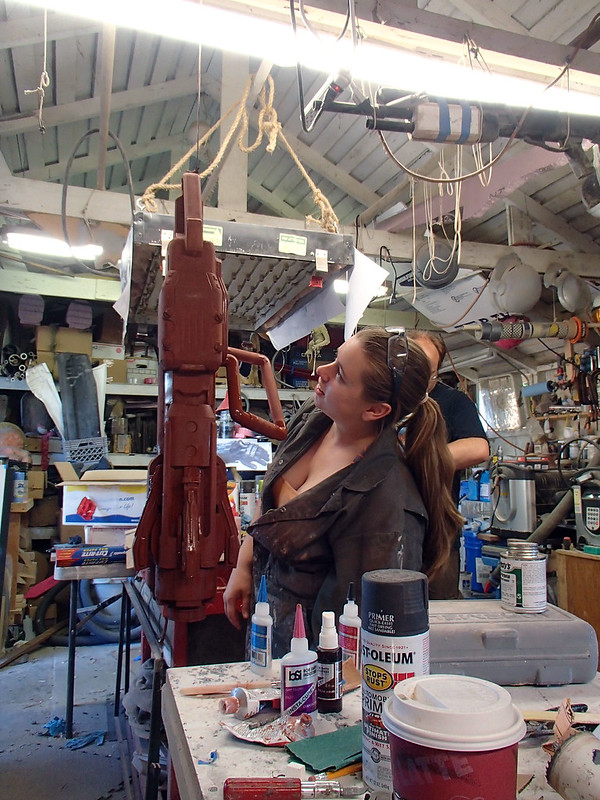
Here's Kate inspecting her work as we moved closer to beginning the paint job:
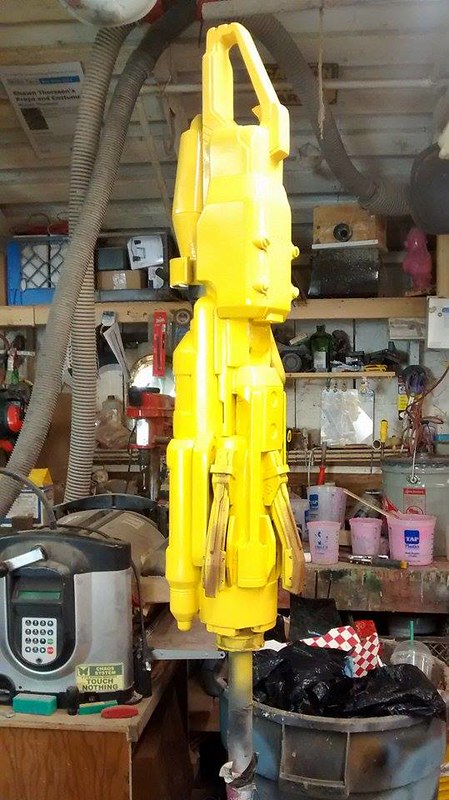
The primary color was yellow farm equipment paint from Rustoleum:
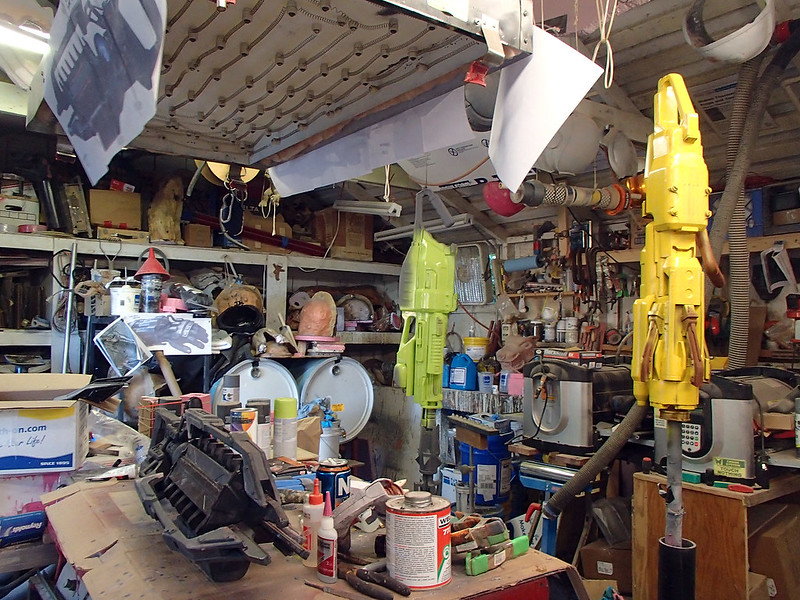
The color really helped it remain visible despite the usual clutter in the shop:
While the main body was drying, Kate assembled the muzzle parts:
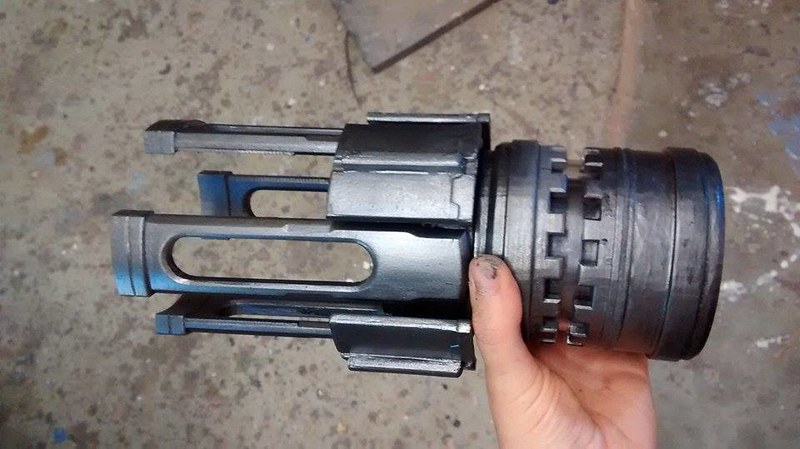
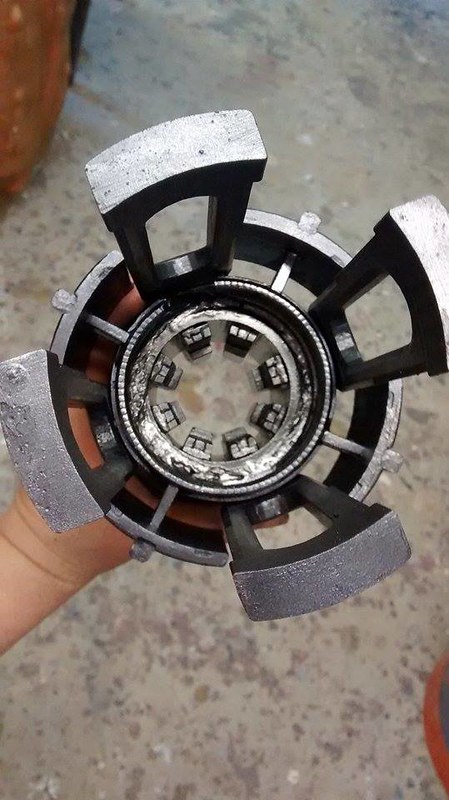
It was fully detailed inside and out, even though there's a chance nobody will ever notice much of it unless they look directly down the barrel:
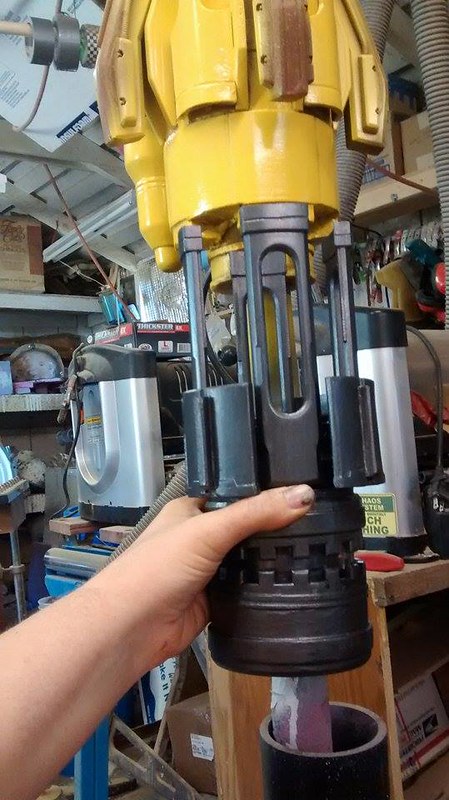
Here she is fitting it into place:
Once the base colors were picked out on all of the details, it was time for weathering. Detailing and weathering were handled by Matt and Mark. So while Matt was goofing around with the Lazarus Device:
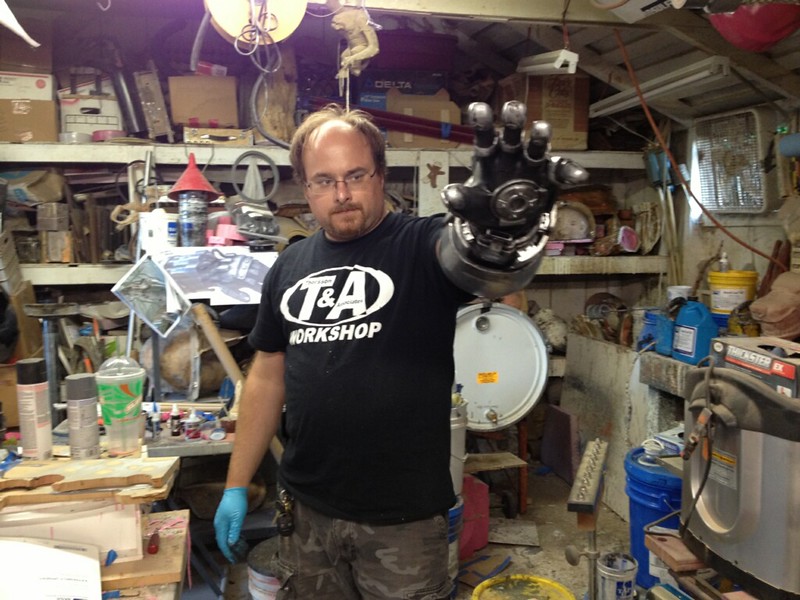
Mark was diligently painting details:

And scratches:
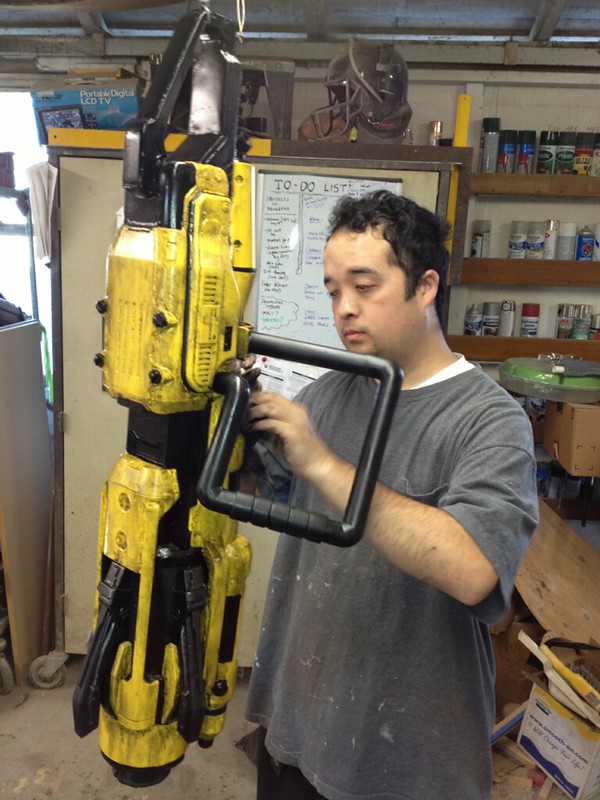
And scuffs:
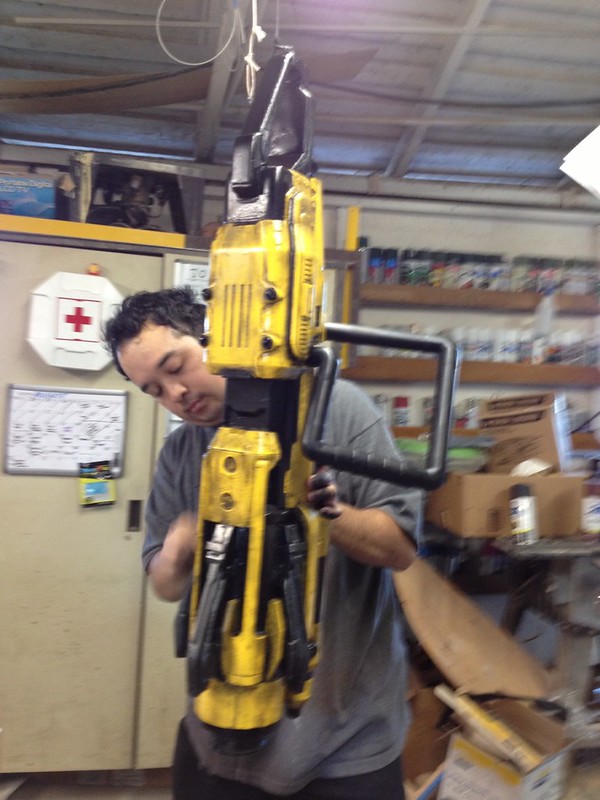
And blackwashing like a man posessed:
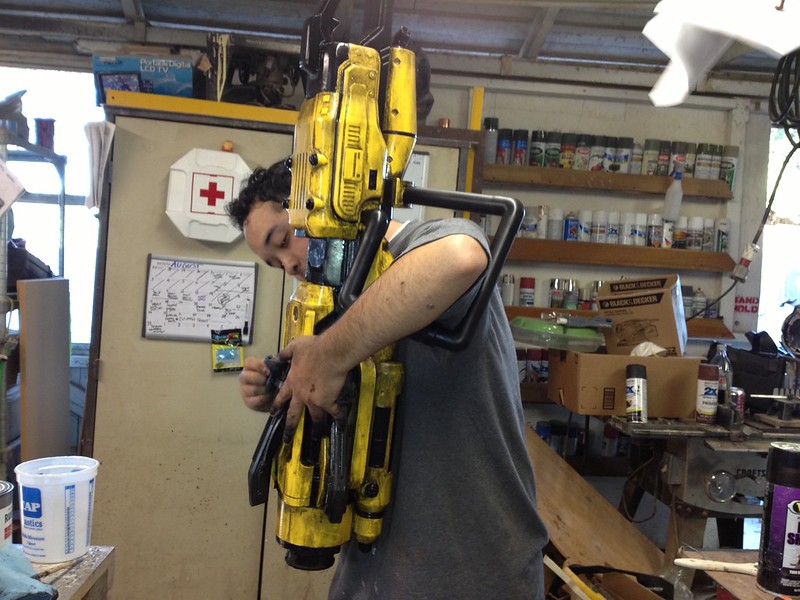
In the end, he'd done a wonderful job on this piece:
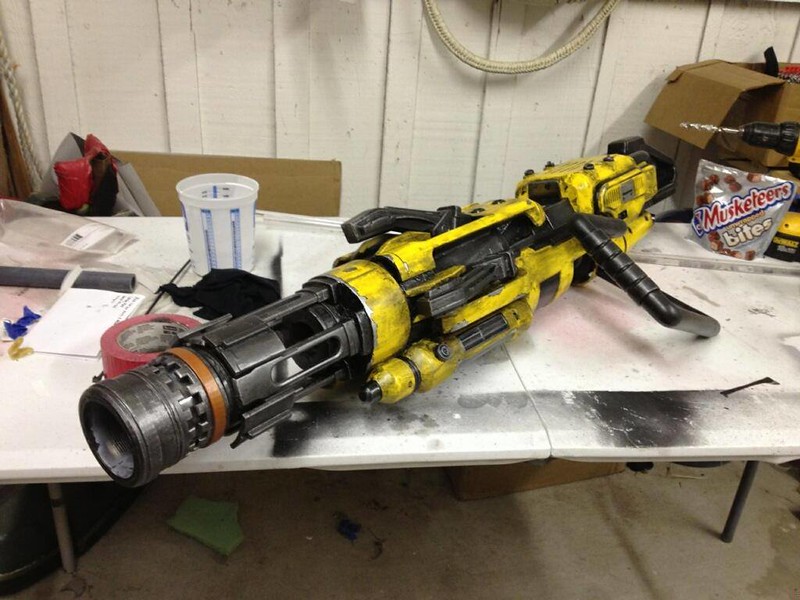
Here it is from another angle:

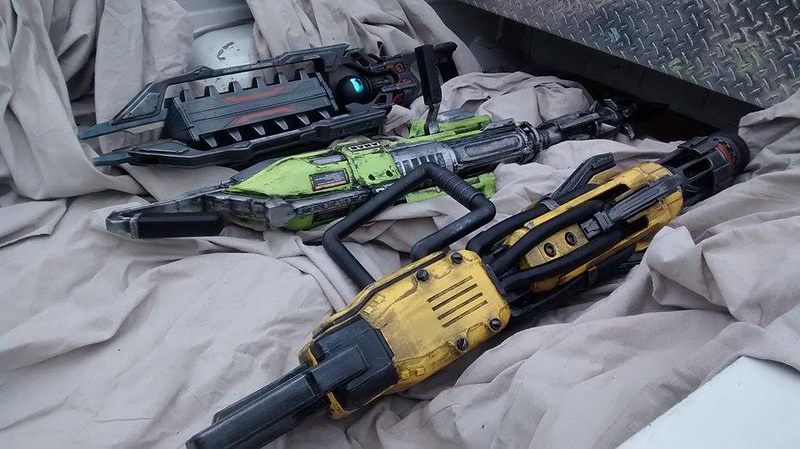
Here it is lined up with the rest of the EVOLVE props:

Looking at it, I know what you're thinking. You're thinking, "But what about those hoses you were complaining about earlier?" Not to worry, dear reader. Matt was way ahead of you.
The hoses were made out of the most flexible automotive fuel hoses we could find. Even so, they didn't quite want to take the bends that they needed in order to be completely identical to the in-game model. The hose just wanted to straighten itself into a single gentle curve from end to end. That's a problem.
Matt came up with the solution: bend some copper pipe to the right shape first:
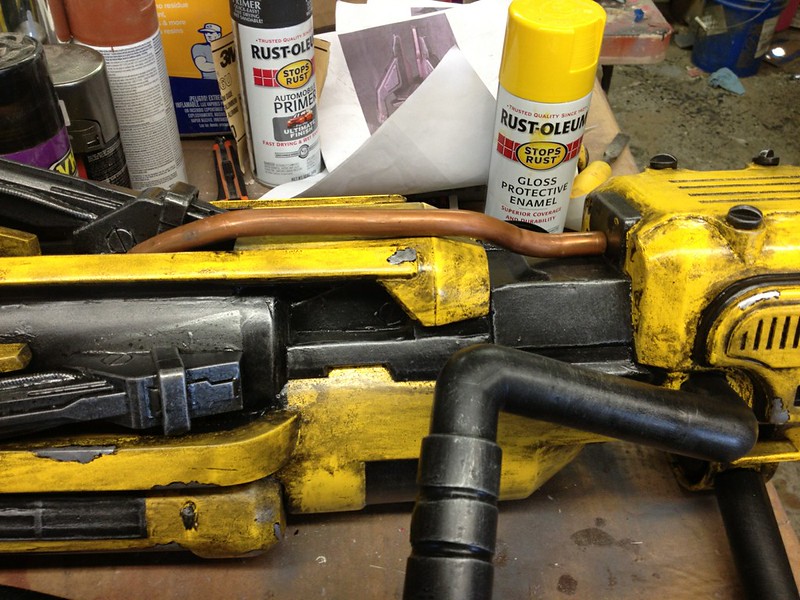
Then slide the hose over the pipe and glue the whole thing into place:

Brilliant!
Here you can see the two upper hoses in place:
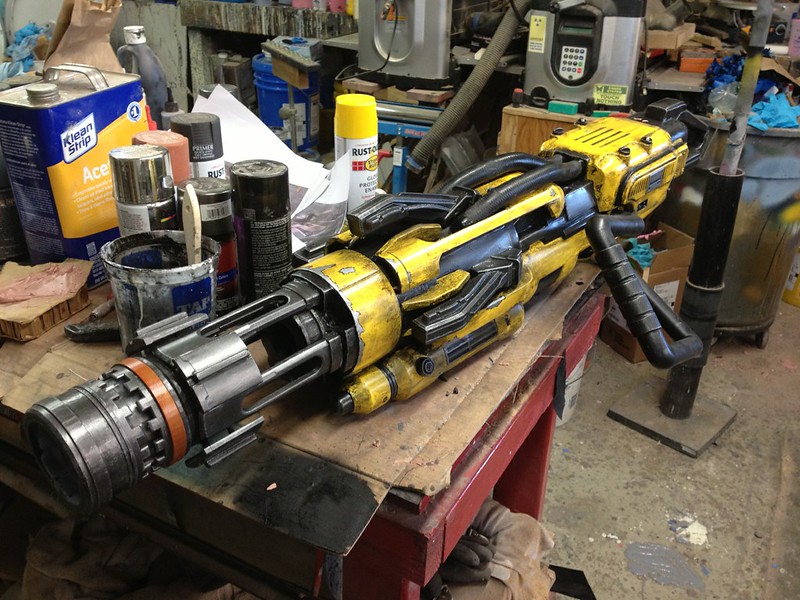
With the addition of the two side hoses and their retaining clips, the last of the four props was ready to go. Not a moment too soon either. The next morning, they were loaded into a truck and on their way to PAX Prime in Seattle:
All finished, here it is in proper studio lighting (photo courtesy of MAKE magazine):

And a couple more pics from MAKE:
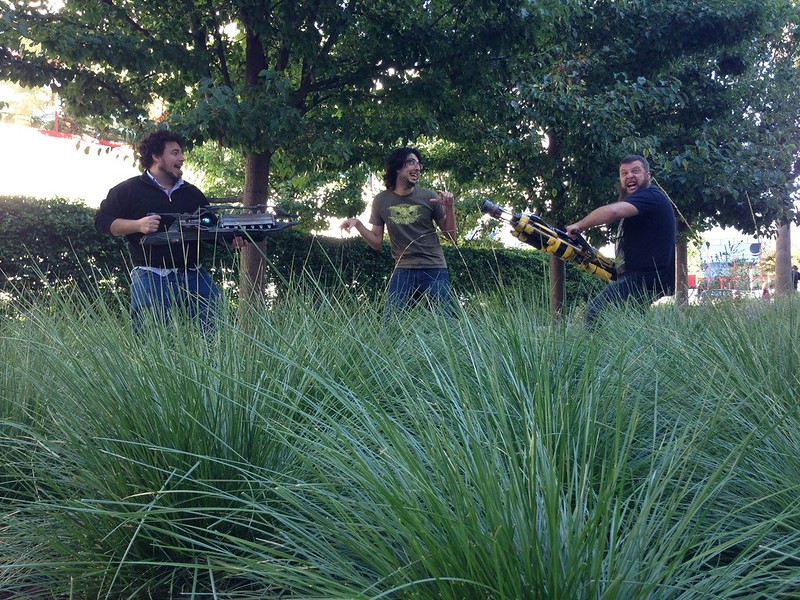
So that's that. If you're following the EVOLVE facebook page, you'll catch a glimpse of these pieces from time to time. Apparently they find their way out when meetings get out of hand:
The game is due out next month, so be sure to pre-order your copy ASAP to get in on the hunt.
Also, please be sure to subscribe to this blog so you don't miss out on any of the other insane projects I've got in the works.
Stay tuned...
No comments:
Post a Comment